
You want to use the colors in a lip palette, but you do not know how to pick them up without touching them with your fingers. Or you tried two colors, and even the surface of the original color got mixed in. In that case, if you separate the place where you take the color, the place where you mix, and the tool you use to apply to your lips, the steps become easier to organize.
Here we explain how to use a palette holding solid or cream lipstick with a compatible spatula and a lip brush. The flat board used for portioning out the color is called a "mixing plate." The step of mixing two colors applies only when that combination is permitted for the product you have. On days when you use a single color without mixing, the flow of preparation and clean-up is still useful.
1. Before taking the color, get your tools and workspace ready
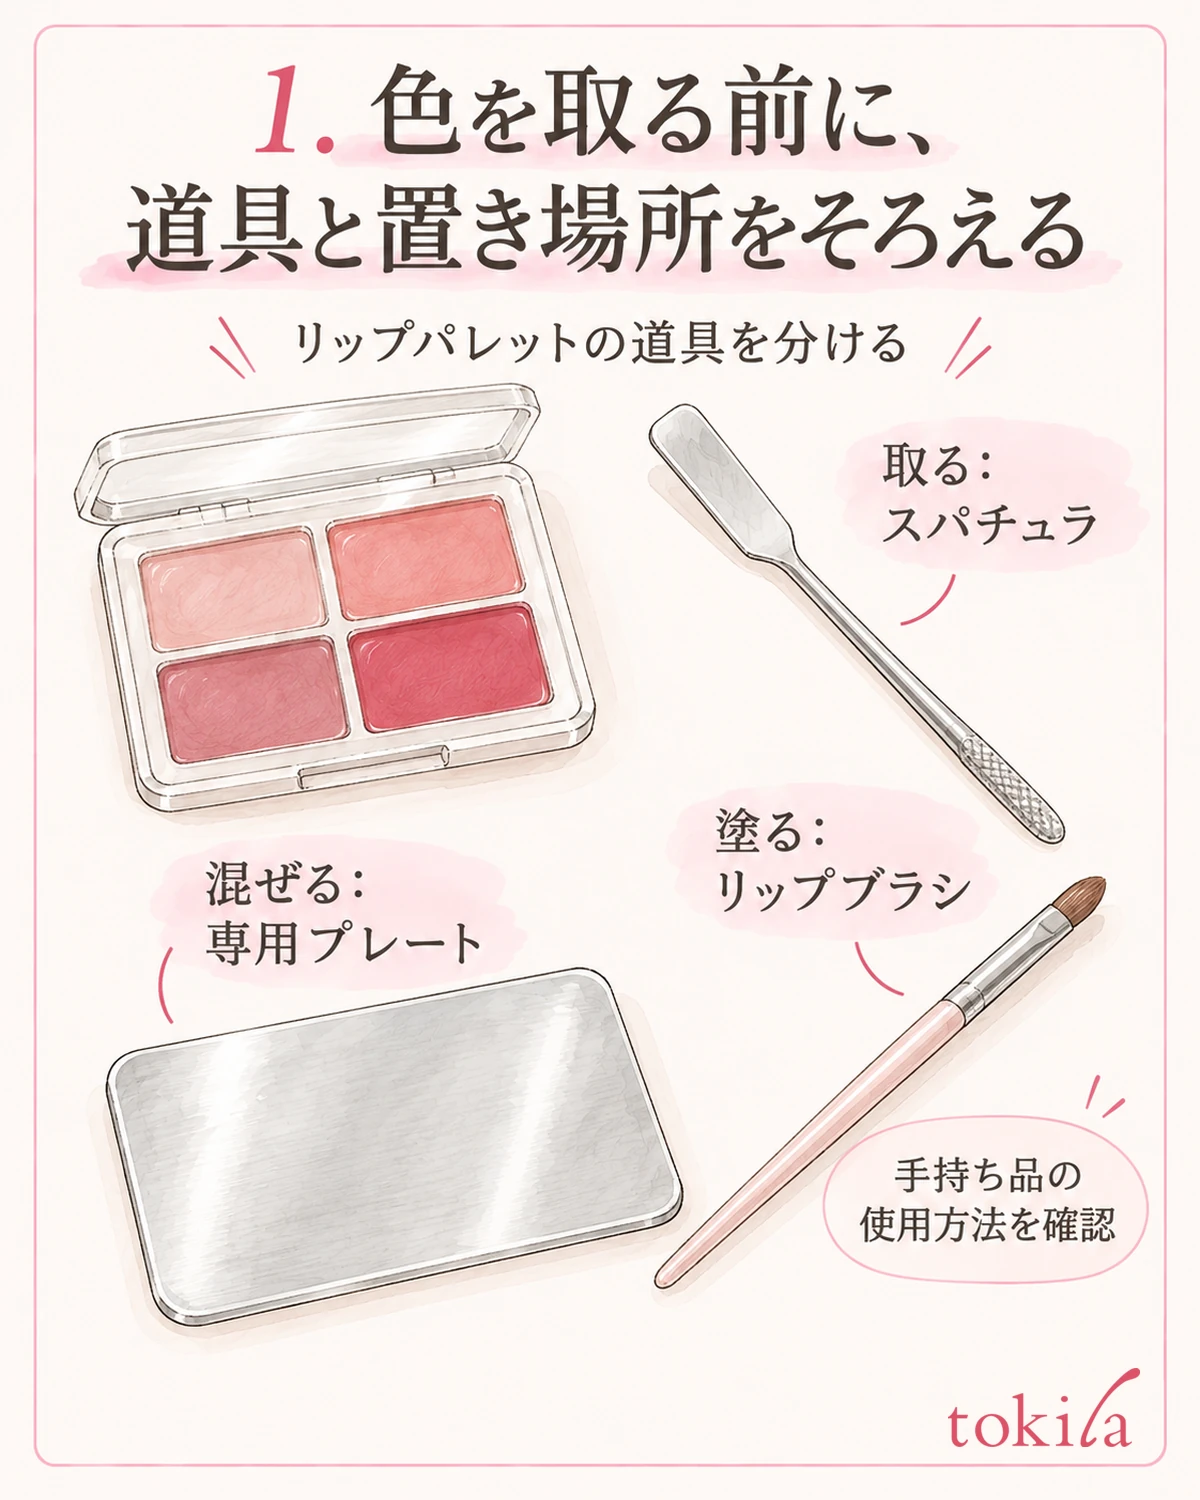
First, read the palette's directions for use and check whether it is meant to be picked up directly with a brush or portioned out with a spatula. Even containers of the same shape differ in how hard the contents are and in which tools are recommended. If the instructions specify using the included brush, follow that guidance first. Do not start by scraping with a metal tip on a product when you do not know whether a spatula can be used.
When portioning out, prepare a clean, dry compatible spatula, a mixing plate made for cosmetics, and a lip brush. The key is to place the container itself and the board for portioning separately. The lid or the back of a mirror may look flat, but that does not mean they can be used for mixing. If you do not have a dedicated plate, rather than looking for a substitute not mentioned in the container's instructions, use a single color as directed.
Choose a level surface and a bright place where you can see your hands. Set the container and the plate side by side, and arrange them so that the arm holding the brush does not repeatedly cross over the open container. Also keep separate places for tools you are about to use and tools you have already used. Moving from a stable, set-down position makes it easier to see where the tip is going than rushing to pick up the color with the board held up in one hand.
Tidy up your hands, and tell the tip of the tool from the handle. If the tip is chipped, still dirty, or still carries the previous color, take care of it first as appropriate. Do not assume that a single wipe with a tissue will always restore a dirty tip to its original state. Start with tools that have been cleaned and dried.
The mixing plate is a tool for portioning lipstick on the spot, and it is distinct from a storage container. Before using it, check for leftovers from last time or water droplets, and make sure there is enough surface for the tools you have prepared. Do not reuse a spot where other cosmetics were mixed as it is for lip products.
2. Portion out the colors you need onto the plate, a little at a time
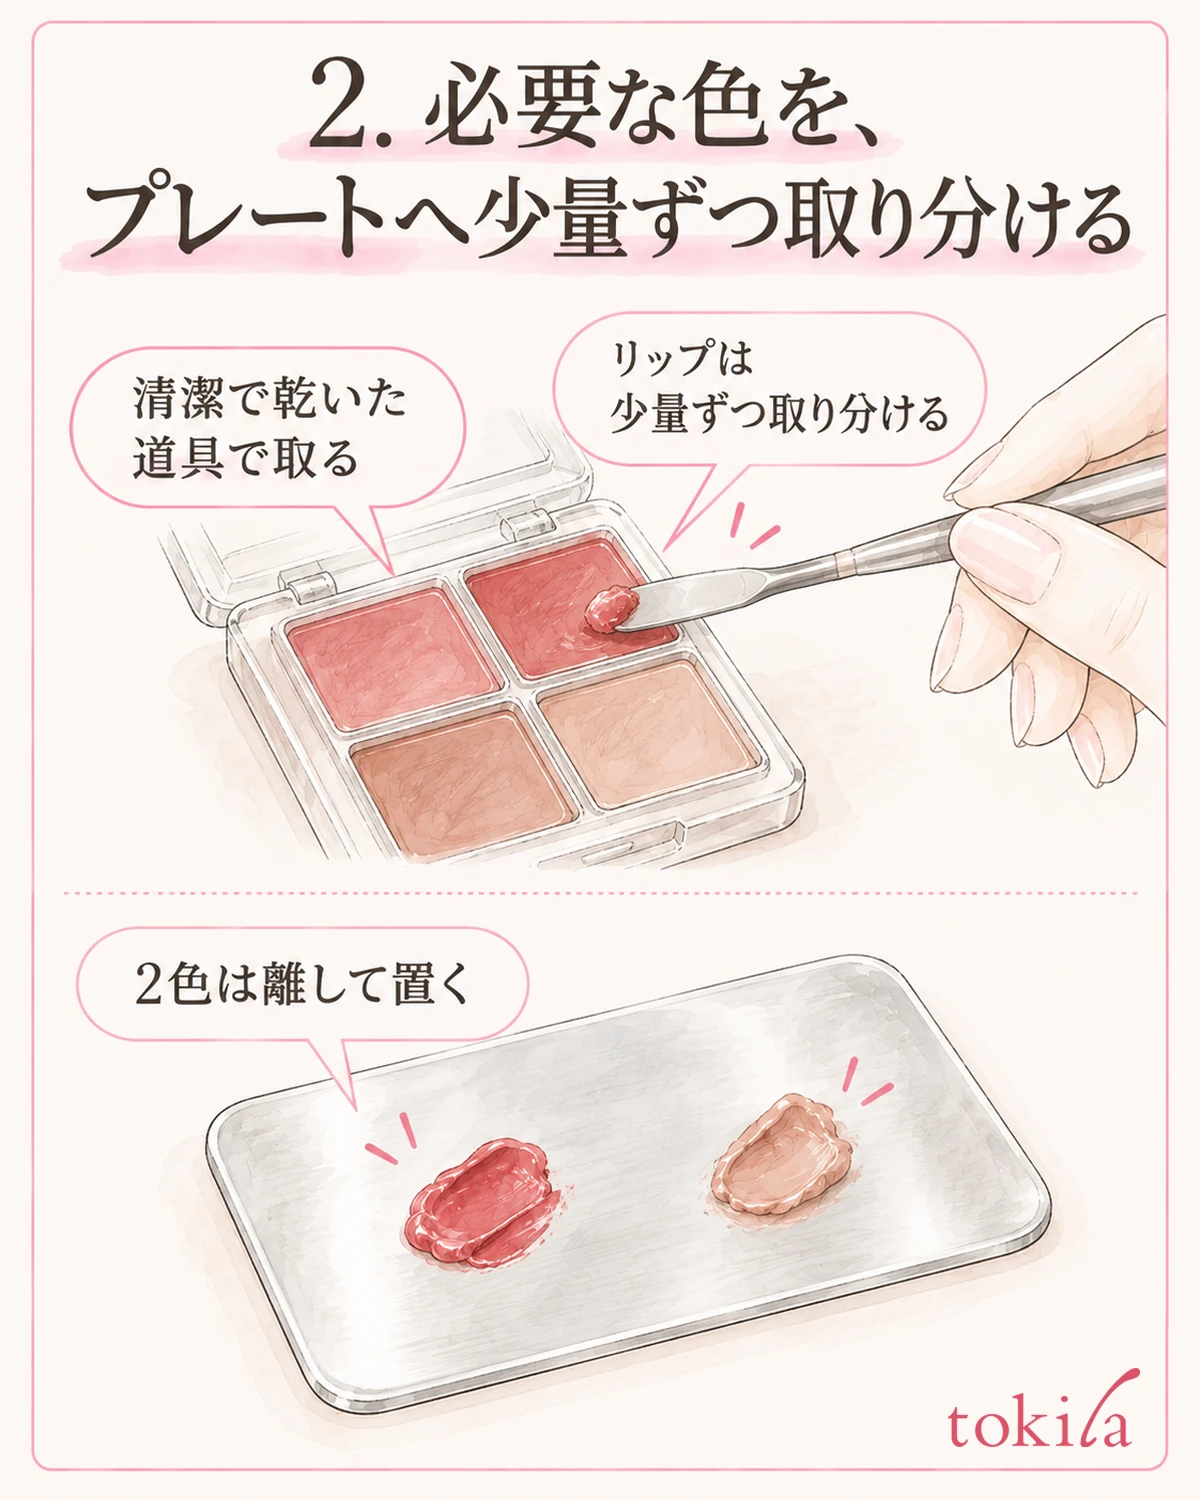
Decide on one color you want to use, and pick up a small amount on the tip of the spatula following how your product is meant to be taken. Rather than digging deep and pulling out a large lump, start with the amount you will use this time. Do not spread lipstick up to the handle you hold with your fingers, and place what you took onto the plate. It is also important not to use the rim of the container or the neighboring color as a place to shed the excess.
If the product allows you to use two colors, at first place them apart from each other on the plate. For example, put a red-toned color on the left and a beige-toned color on the right, leaving enough space to see the colors before mixing. This is not a rule about keeping left and right positions; it is an arrangement so that you do not lose track of which color you took and how much. If you place them overlapping from the start, it is hard to return to the original colors later for comparison.
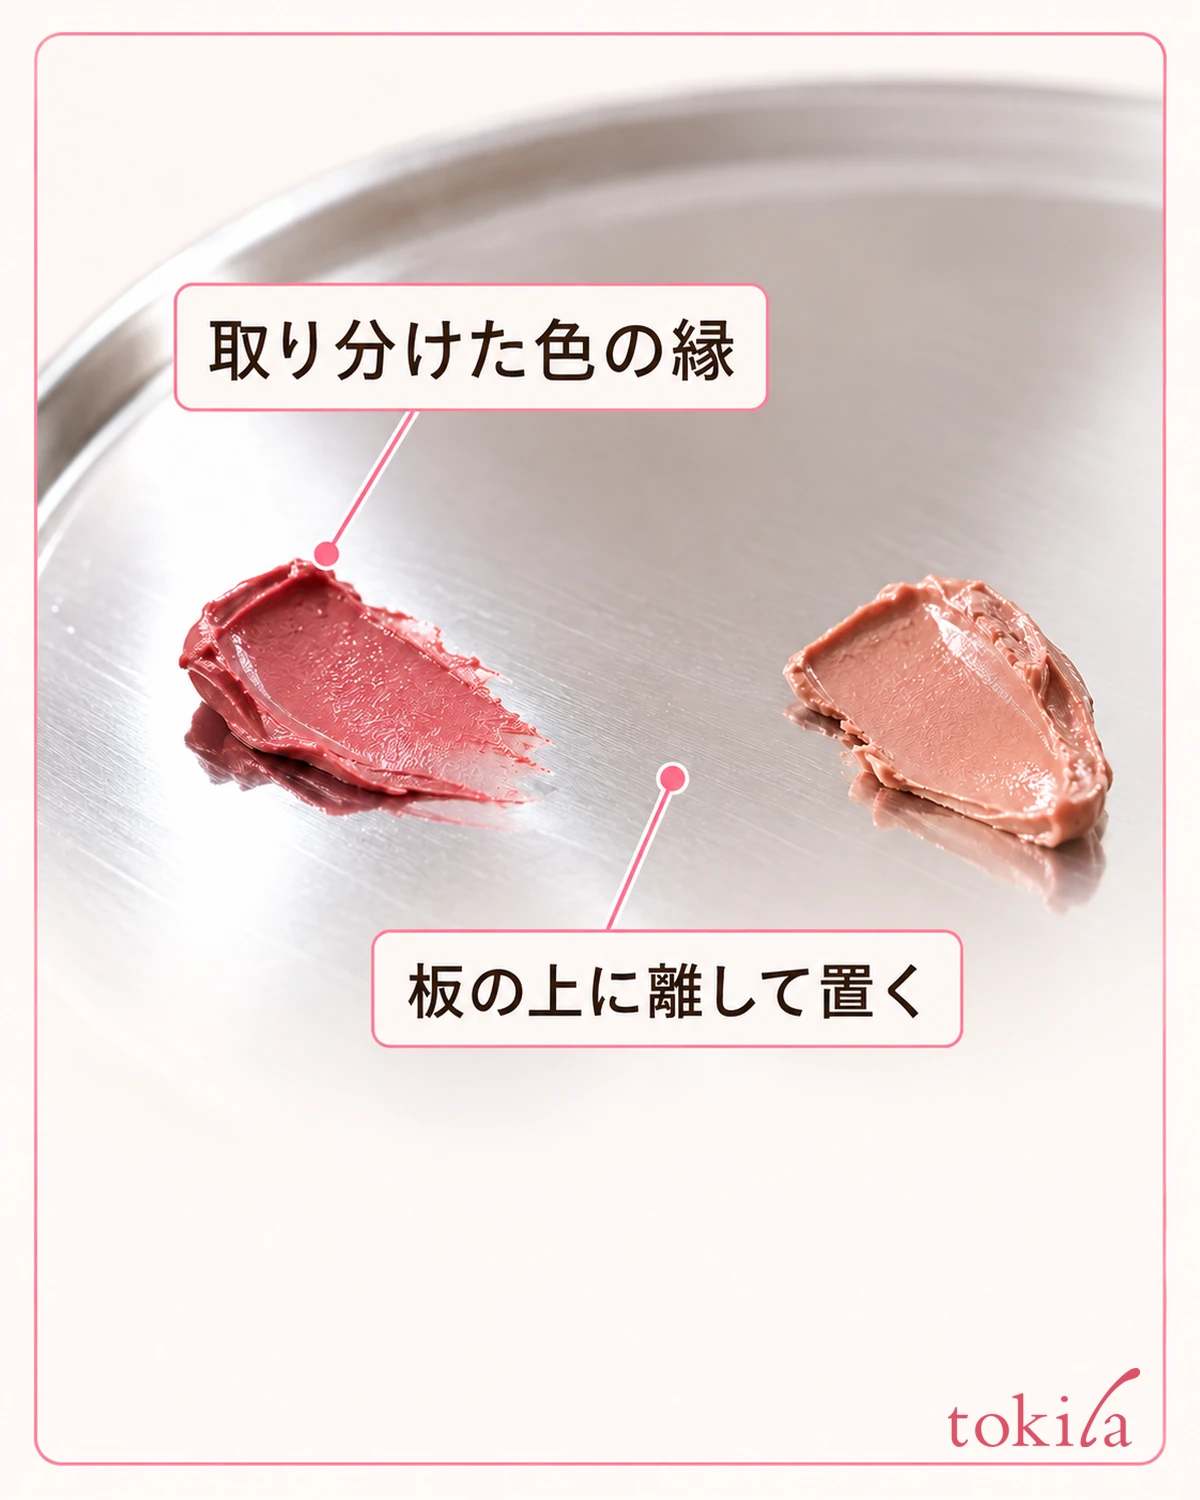
When taking another color, do not put the tip that has touched other colors or the plate straight back into the container and go back and forth. Follow the instructions for the product and tools to separate the cleaning steps, or use another clean, dry compatible spatula. If you keep separate roles for the brush that touches your lips and the tool that scoops from the container, the motions when adding more are also easier to organize.
Even if you take too much, do not push the excess back into the section of the original color. Treat what was in the container before and what has been put out onto the board as separate. If you remember the amount for next time, record it by the action, such as "took a little on the tip and, when it was not enough, took more." There is no need to apply the same particle size or weight to every product.
If the palette is small and the tip is hard to get in, do not stand the tip upright and try to scrape to the bottom. If the tool is large enough to touch neighboring sections, check which tools and methods are appropriate. Do not warm the contents or add water or the like to make it easier to take; start with the amount that can be taken within the instructions.
3. Adjust the color a little at a time, only with combinations that can be mixed
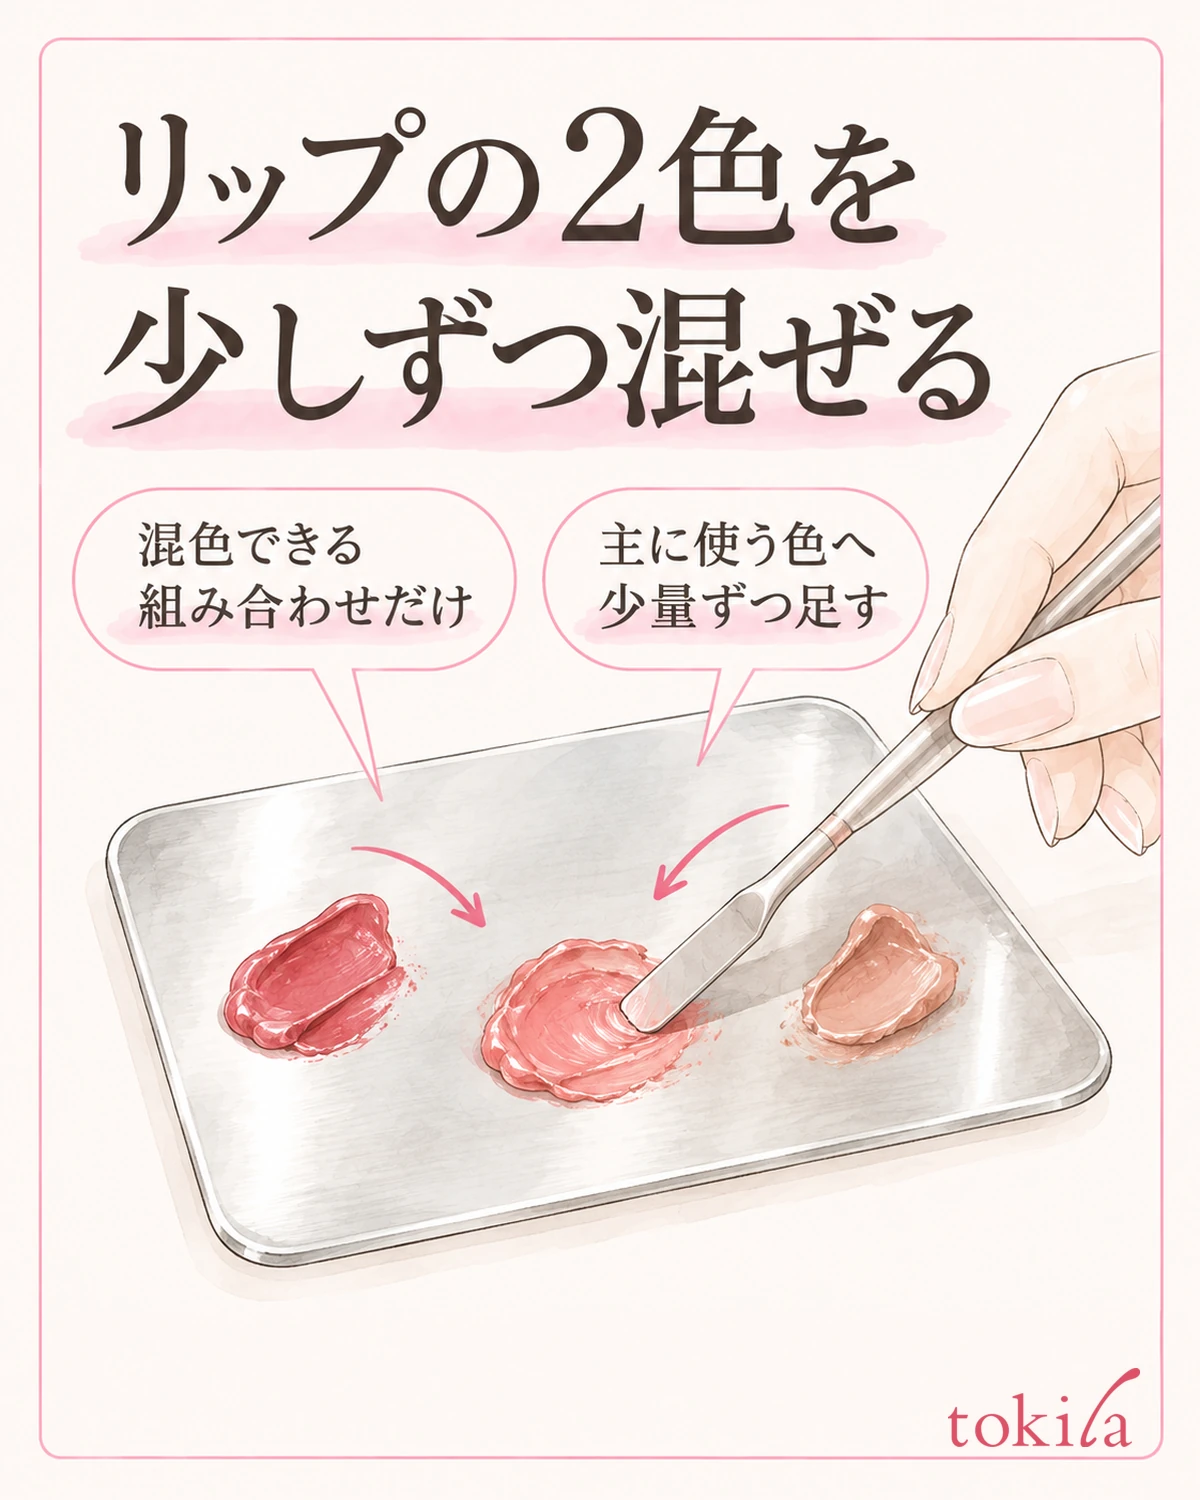
Even when colors are in the same palette, that does not mean all colors and textures can be mixed. First, check whether the instructions show the range and combinations in which mixing is allowed. If you are not sure, use a single color, and do not add another liquid lipstick, tint, lip balm or the like on your own judgment. The steps from here on are options for when the directions for use permit mixing.
For the two colors placed on the plate, leave a little of each original color and draw only the amount you will use toward the center. Taking the color you mainly want to use as the base, add the other a little at a time and blend it in with the spatula. If you combine equal amounts all at once from the start, you will need more adjustment when the result is a different color from what you like. Prioritize watching the change with each mix over making the amounts equal.
If streaks of color remain, a different color will be picked up depending on where you take it with the brush. Look at whether large streaks remain on the plate, and even out the area you will use. However, a uniform appearance does not guarantee quality or comfort of wear. If it is hard to blend, separates, or is otherwise in a different state from usual, do not keep going by applying force; stop using it for that session.
When adding a dark color, do not assume that the result will necessarily be darker, or that adding a whitish color will necessarily suit you. How it looks also changes with sheerness, shine and the color of your own lips. Do not consider the color on the plate to be the finished look; check with a small amount on your lips in the next step. Before increasing the number of colors to the point where you lose track of what you added, check once with up to two colors, and it will be easier to follow the process.
The reason for keeping the original colors is to see the difference from the mixed color. It does not mean taking out a large amount in order to store the unused portion. Make your first portion small, and for any additions, also portion out only what you need with a clean, dry compatible tool. If you are unsure partway through, try the color on your lips once before continuing to add.
4. Pick up a thin amount with the brush, and check on your lips and across your whole face
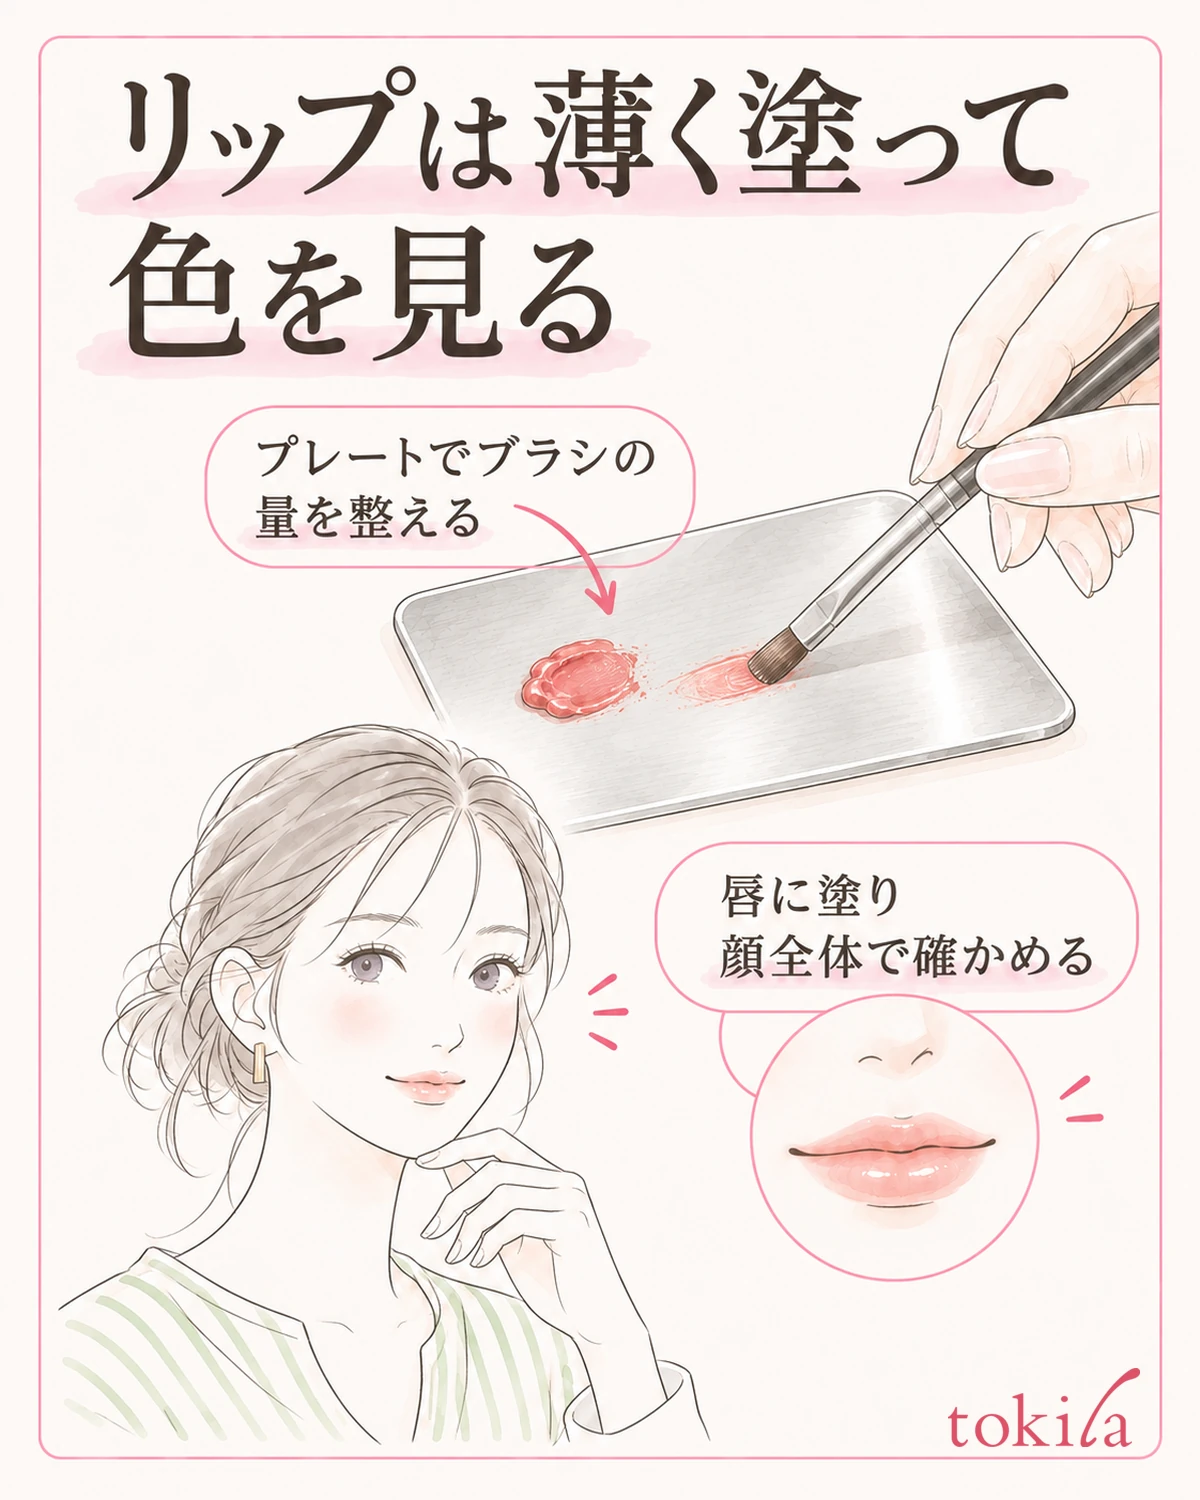
Pick up a small amount of the portioned color from the plate with a clean lip brush. If a large lump sticks only to the bristle tips, adjust the amount and the direction of the bristles on an empty spot on the plate before carrying it to your lips. You do not need to fill the bristles down to the base with lipstick. Shape the tip just enough to tell which side you will use to apply, and spread it thinly without pressing hard.
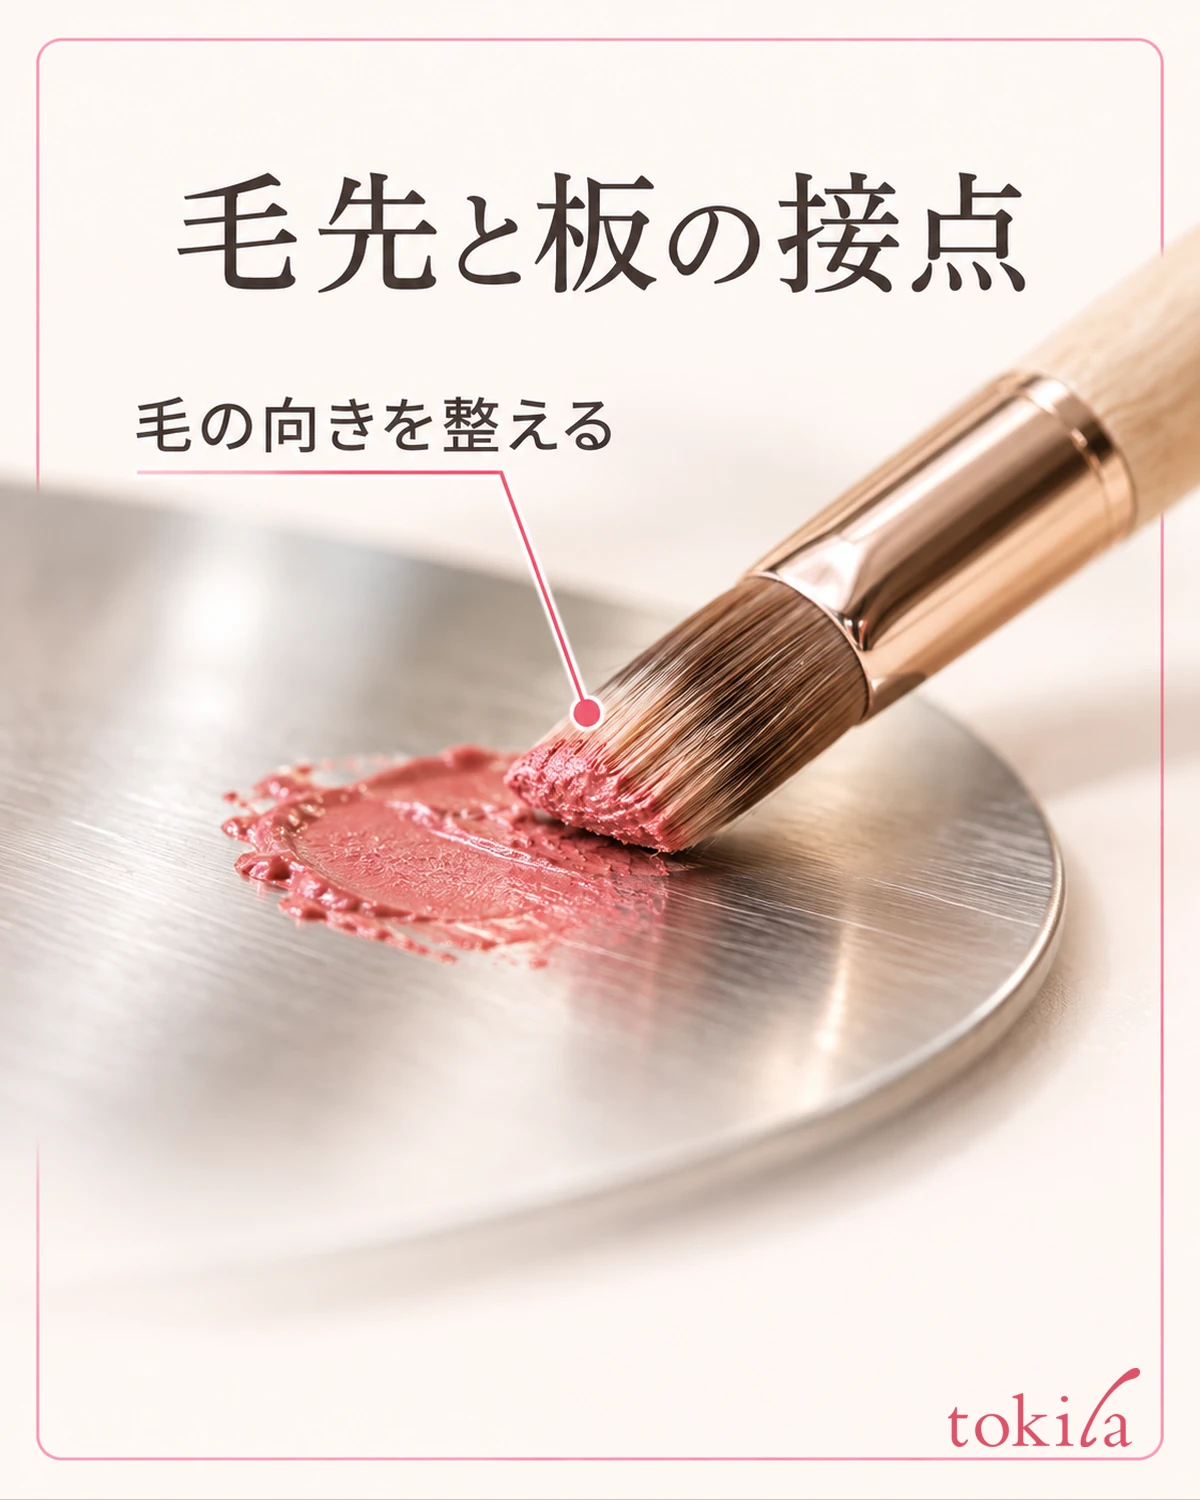
Before applying, tidy up around your mouth and check the condition of your lips according to how your product is used. The basics of outline and amount are also explained in how to apply lip color that goes on unevenly. What we want to check this time is how much color the portioned color shows when applied. Do not apply it thickly from the start and try to use up the leftover.
After looking up close for streaks or lumps of color, step back to a distance where your whole face fits in the mirror. A color that looked calm on the plate can look vivid on the lips. View it together with the colors of your clothes and cheeks, under conditions where light falls the same on left and right. Use the state of the color actually applied thinly, not just the look in the palette, as your basis for judging.
If it feels too dark, rather than adding other colors one after another on the lips to cancel it out, first review the amount and how you apply it. If you remake the color, portion out a fresh small amount onto a different spot on the plate, and it will be easier to compare with the first one. Separate whether you changed the color you mixed or the amount you applied, one at a time, and bring it closer to the finish you like.
When adding a little more, do not probe the original color's section with bristles that have touched your lips; go back to the portioning step. Decide on a place to use for applying, so that a brush that has touched your lips does not wipe broadly over the unused color on the plate. If you switch tools or colors partway, tidy up your hands before applying again.
5. Do not return the leftover color; put away the tools and the container
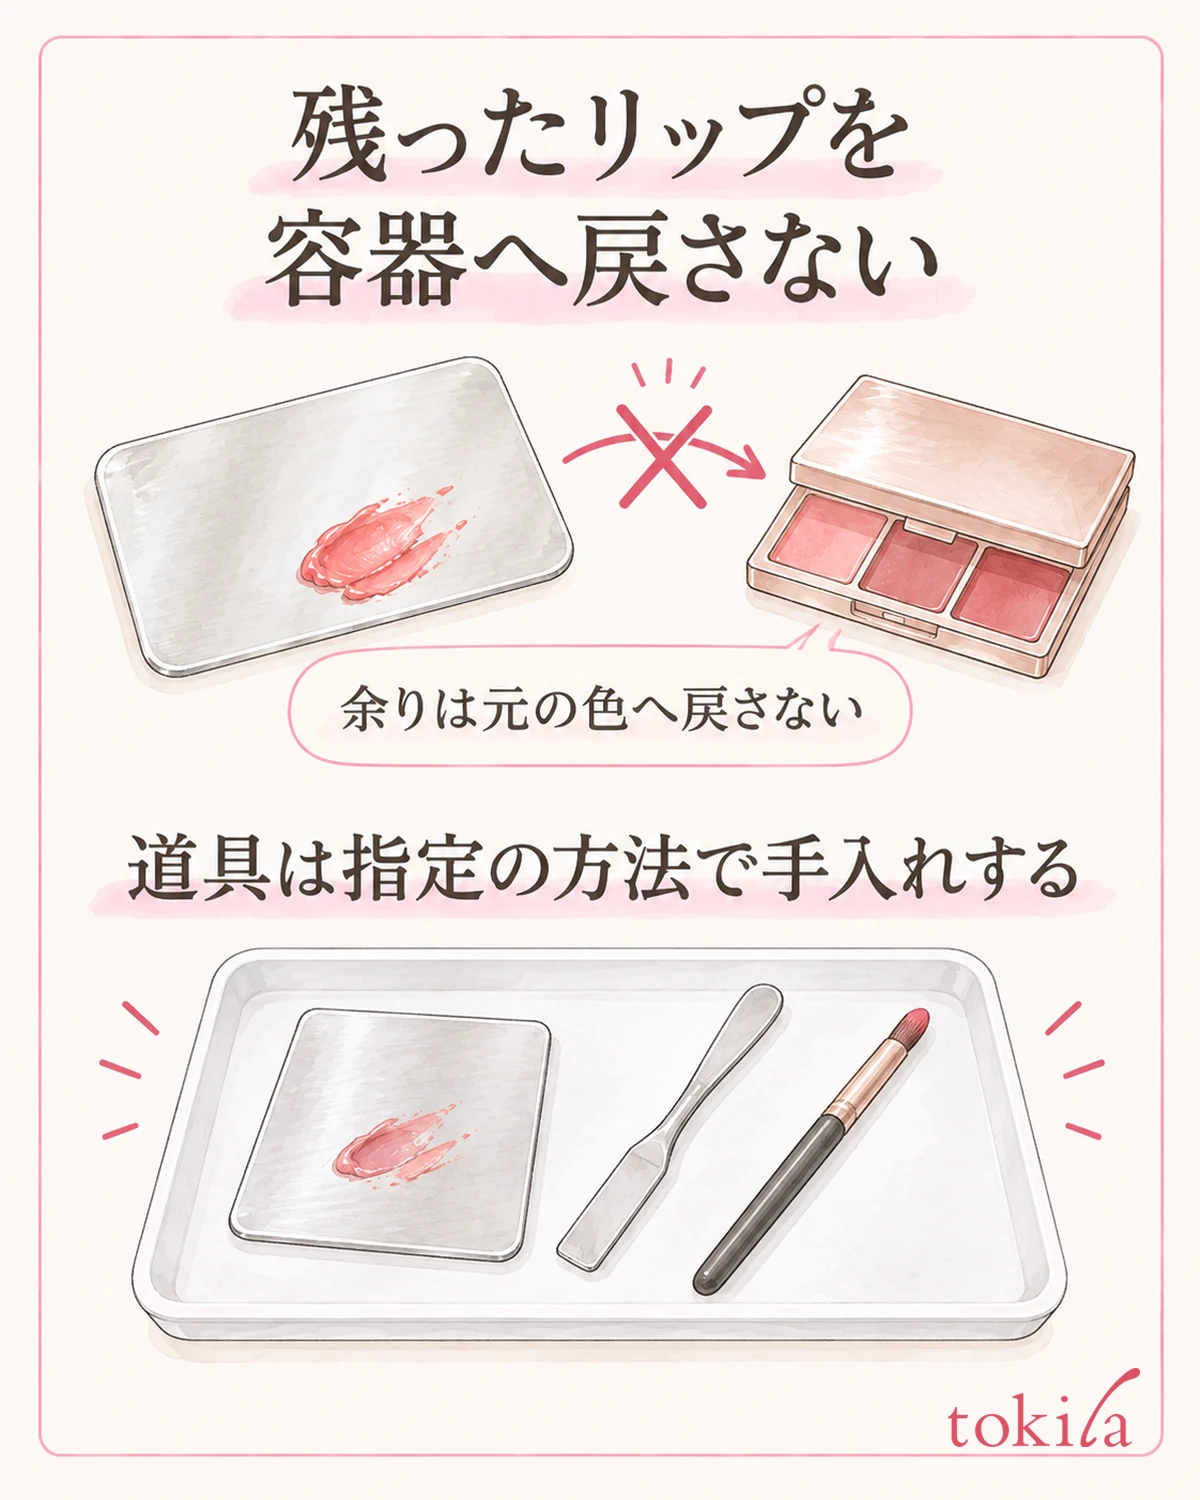
When you are done, do not return the color left on the plate to the original palette. This applies not only to mixed colors but also to the leftover of a single color portioned out. Do not turn this into a storage step by thinking that putting it back in the color's section would let you use it next time. Packing a color you made into another small container to carry around is also not treated as a continuation of normal mixing.
Remove the lipstick left on the plate and the spatula according to each material and the specified care method. Check for each tool whether washing with water, a cleanser, or wiping is permitted. Even for items that can be used with water, do not return them to a state where the next lipstick is picked up while still wet; finish by letting them dry. Also keep the arrangement in which tools not yet used and tools waiting for care are not stacked together.
Also remove the color from the lip brush by an appropriate method and reshape the bristles. If it has a cap, check how it is stored and where the bristles go; if you washed it, store it after drying thoroughly as directed. If the bristles get caught when closing it, see checking how to store your lip brush. If you separate the step of removing color from the step of protecting the bristles with the cap, it is easier to find where the resistance is.
Finally, tidy the contents that got onto the rim of the palette as directed, close the lid properly, and store it. For a note for next time, it is handy to record the positions or numbers of the two colors used, the color you mainly used, and the color you added a little of. However, even for the combination you noted, the same amounts are not always needed each time. Take, mix if needed, apply a small amount and look, and put away without returning the leftover. Use this flow in line with the instructions for your product.
Instead of making a batch in advance for going out, one option is to carry the original palette and compatible clean tools in a state that meets the directions. Pay attention to temperature and impact while carrying, and check that the lid is closed. Think of not keeping the leftover and leaving yourself a setup that is easy to use next time as two separate things.



