
You want to put a protective net over a makeup brush, but the bristles spread at the opening, snag partway, or you don't know when it's okay to put it on. In that case, don't push it on by force; check in order the net's purpose, the sizes it supports, and the brush's care and drying instructions.
This article deals with stretchy tubular nets that cover the bristles of makeup brushes. They are different from rigid caps, nets for washing, and brushes for gel nails. Without assuming that every brush needs one, it summarizes the points to check so you can choose a protection method that suits what you own.
1. Read the net's purpose and compatibility: for storage or for drying
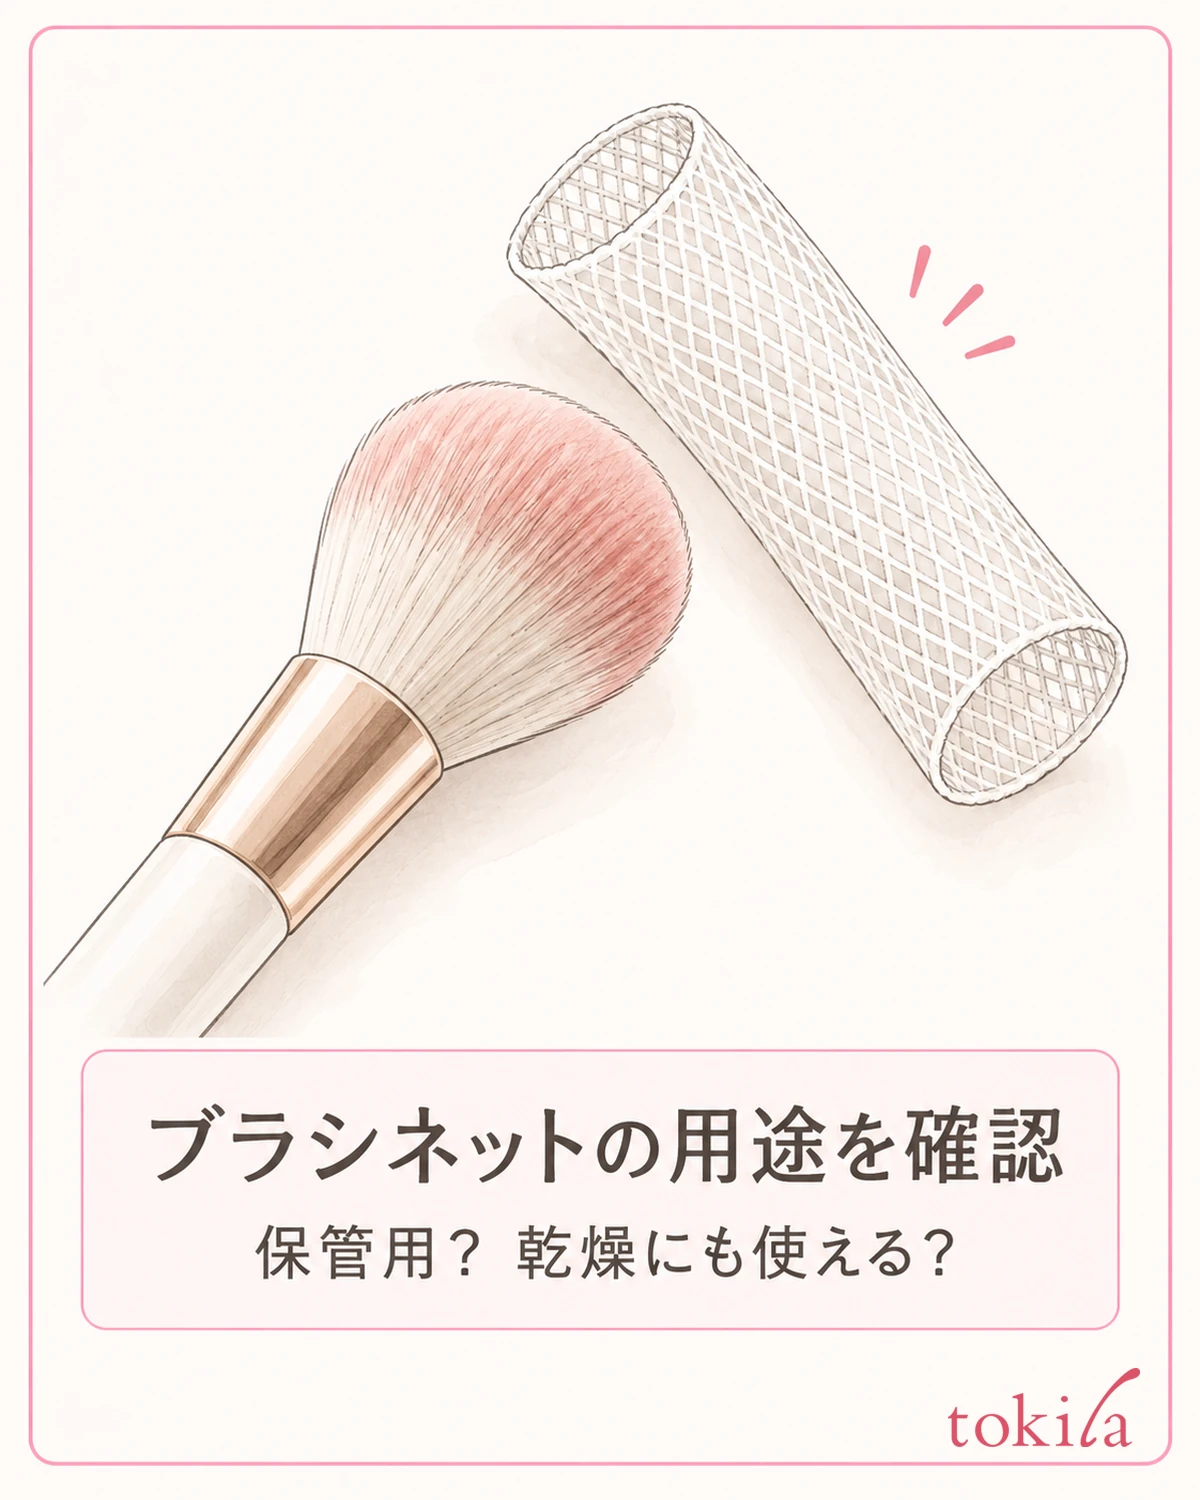
First, look at the net's packaging and the instructions from when you bought it, and confirm what it is for. Don't treat one used to store dry bristles and one also used in the step of reshaping and drying after care as the same just because they look alike. If you don't know when to put it on, check before you cover a wet brush with it for now.
Look at the brush's name, the shape of the bristle bundle, and the range the net supports as a set. A large round face brush and a small eyeshadow brush differ in both the width and the length to be covered. Even if the material stretches, that does not mean it can be used for every thickness. Start from whether it is a specified target, not from whether the bristle bundle goes in when you grip it thin.
Also look at the opening of the tube and how the mesh continues. Check whether it is a tube open at both ends or whether the ends differ in shape, and work out the specified opening to pass through. It is not a tool for threading bristles through the mesh one by one. Don't insert a pointed object to find the opening, or press the tip of the brush against it to widen the hole.
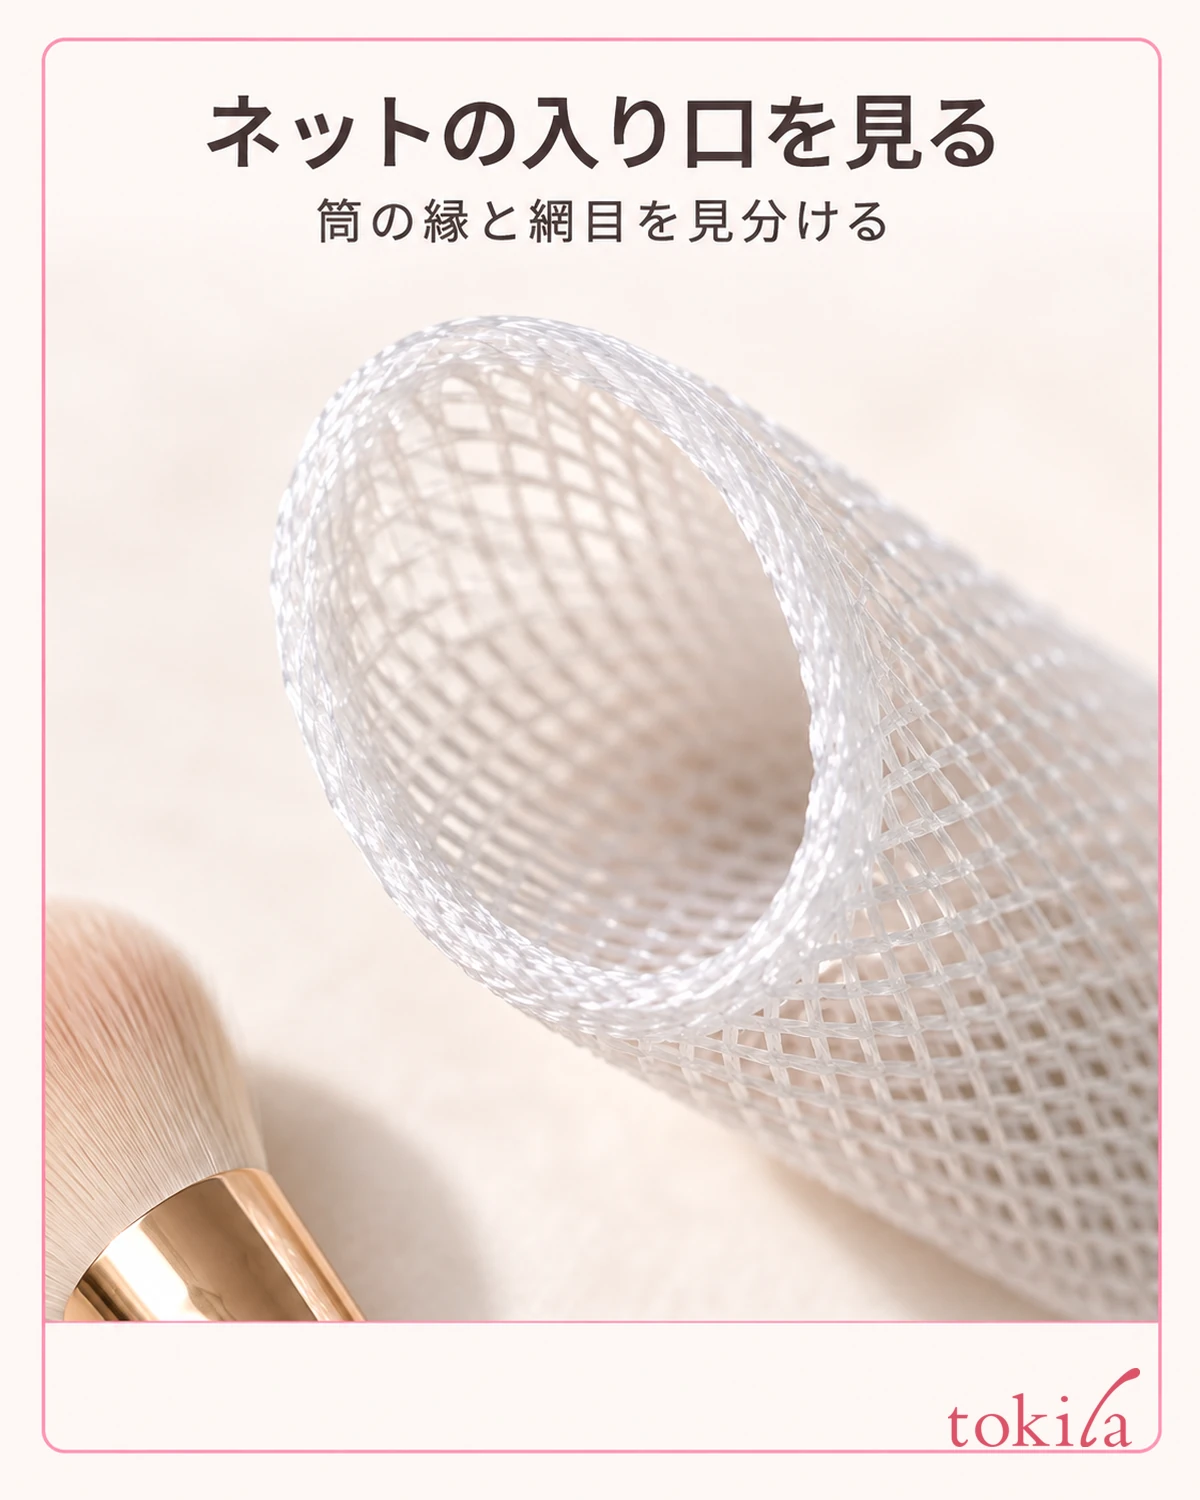
The clear part that wrapped the bristles when you bought it is not necessarily for repeated storage use either. Separate packaging material, hard covers, and stretchy nets, and use each only for the purpose given in the product instructions. Also avoid a situation where you put parts similar in color or transparency together and can't tell which brush they are for next time.
If you use several sets, you can match them up by keeping a photo in your own records that shows not only the net in place but also the brushes and parts laid out with the net removed. A photo is not proof of fit, so note the compatible product names and the timing of use as well. You don't need to mark the bristles or tape the inside of the net.
For a net whose use you can't confirm, don't force it into use as a necessity for holding down the bristle tips; set it aside. First check whether the bristles are pressed by other tools in their original storage method, and proceed with putting things away as far as you can tell.
2. Look at the bristles and the net, and separate dirt from damage
Before putting it on, finish caring for the brush you have just used, following the instructions for the brush and the cosmetic. Covering it with a net does not remove leftover powder or oil. Don't cover it to hide dirt; first check that it is clean enough to use. Whether it can be washed with water and which cleanser to use should be checked separately from how to use the net.
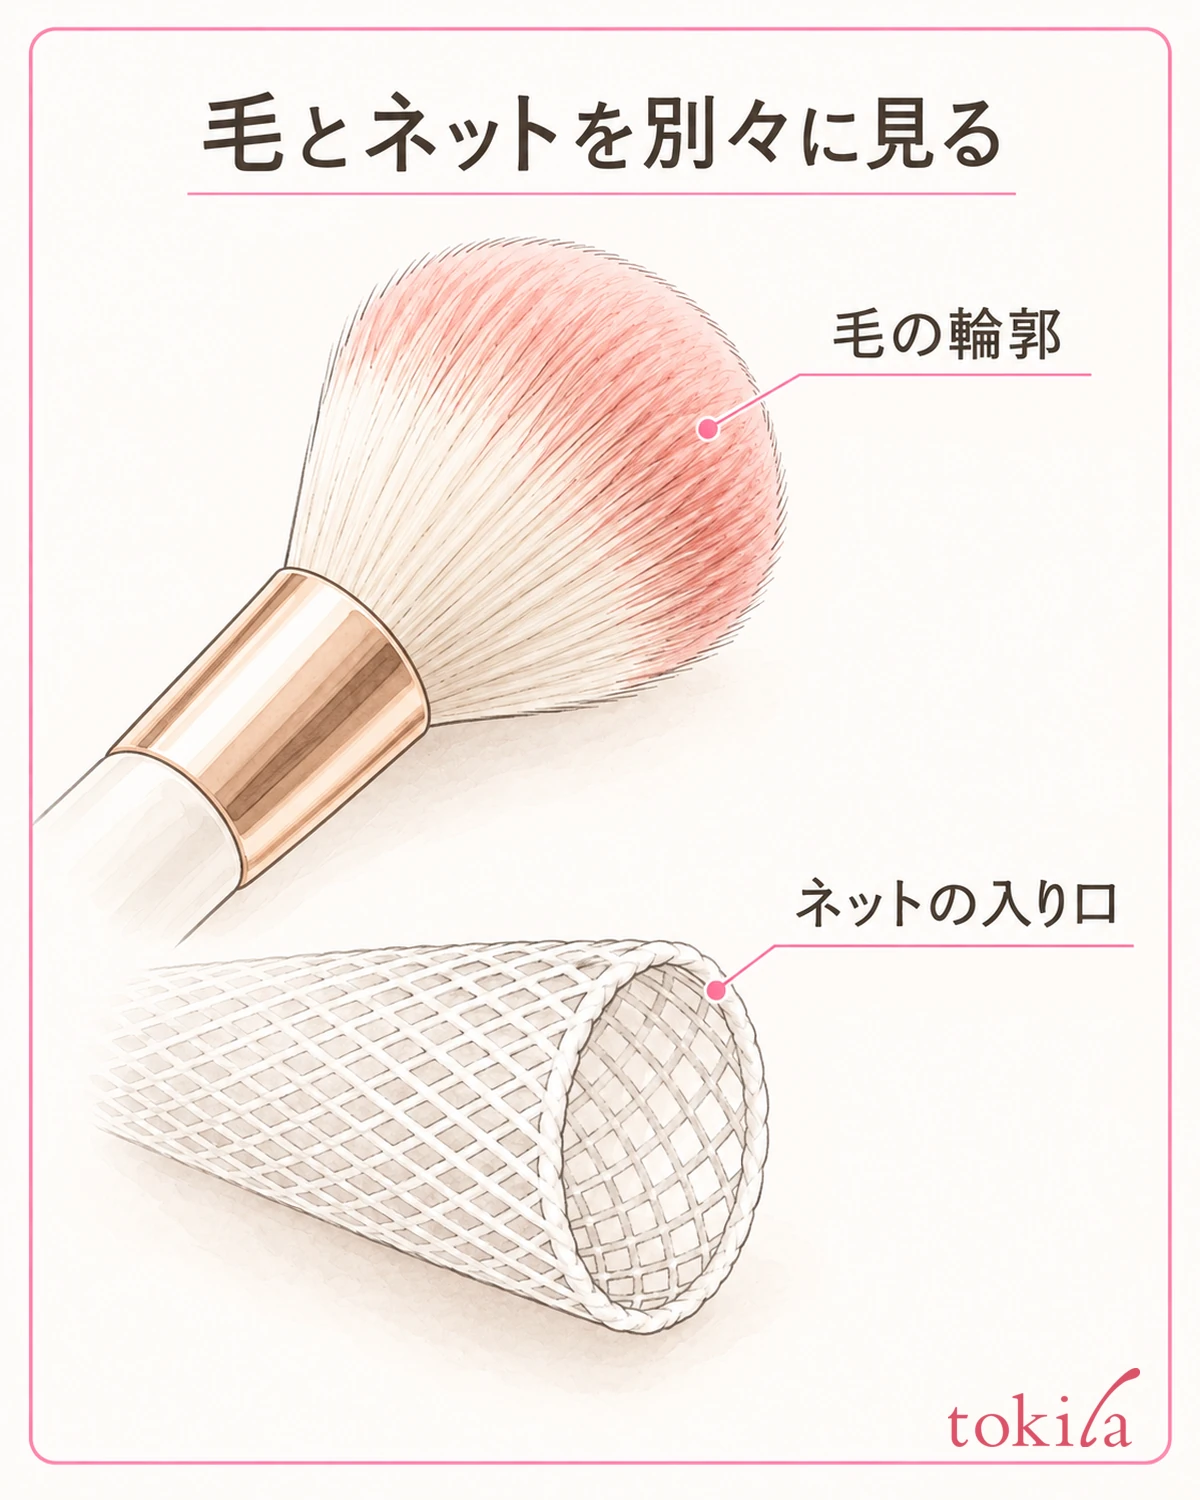
Look at the outline of the bristles from the front and the side and compare it with its usual shape. You don't need to make an angled brush or a flat brush into a round bundle. If there are bristles sticking out, parts that look bent, or clumps of dirt, it is important not to cover them tightly and hide them from view.
On the net side, look at fraying at the opening, tears, and powder stuck to it. Also check, before bringing it close to the brush, whether small bristles remain in the mesh. If it needs care, follow the net's own washing or replacement instructions, and don't reuse brush cleanser unconditionally.
Also be careful about combining a wet net with a dry brush. Dry washed parts as instructed, and put them back once they are in a state fit for storage. Don't decide that something is dry just from how clear it looks or how deep its color is; if moisture remains, don't rush to put it away.
If the bristles are badly bent, a metal fitting is loose, or the edge of the net keeps catching, don't go on to a step of forcing the shape back. Instead of trying to fix it with improvised repairs such as cutting the bristles, applying heat, or wrapping the net tightly, check whether to keep using it or replace it.
If you want to review basic washing and drying, see also caring for makeup brushes and sponges. Separating the washing step from the covering step makes it easier to see at which stage the condition changed.
3. Follow the specified way of passing it on, and don't press the bristles backward
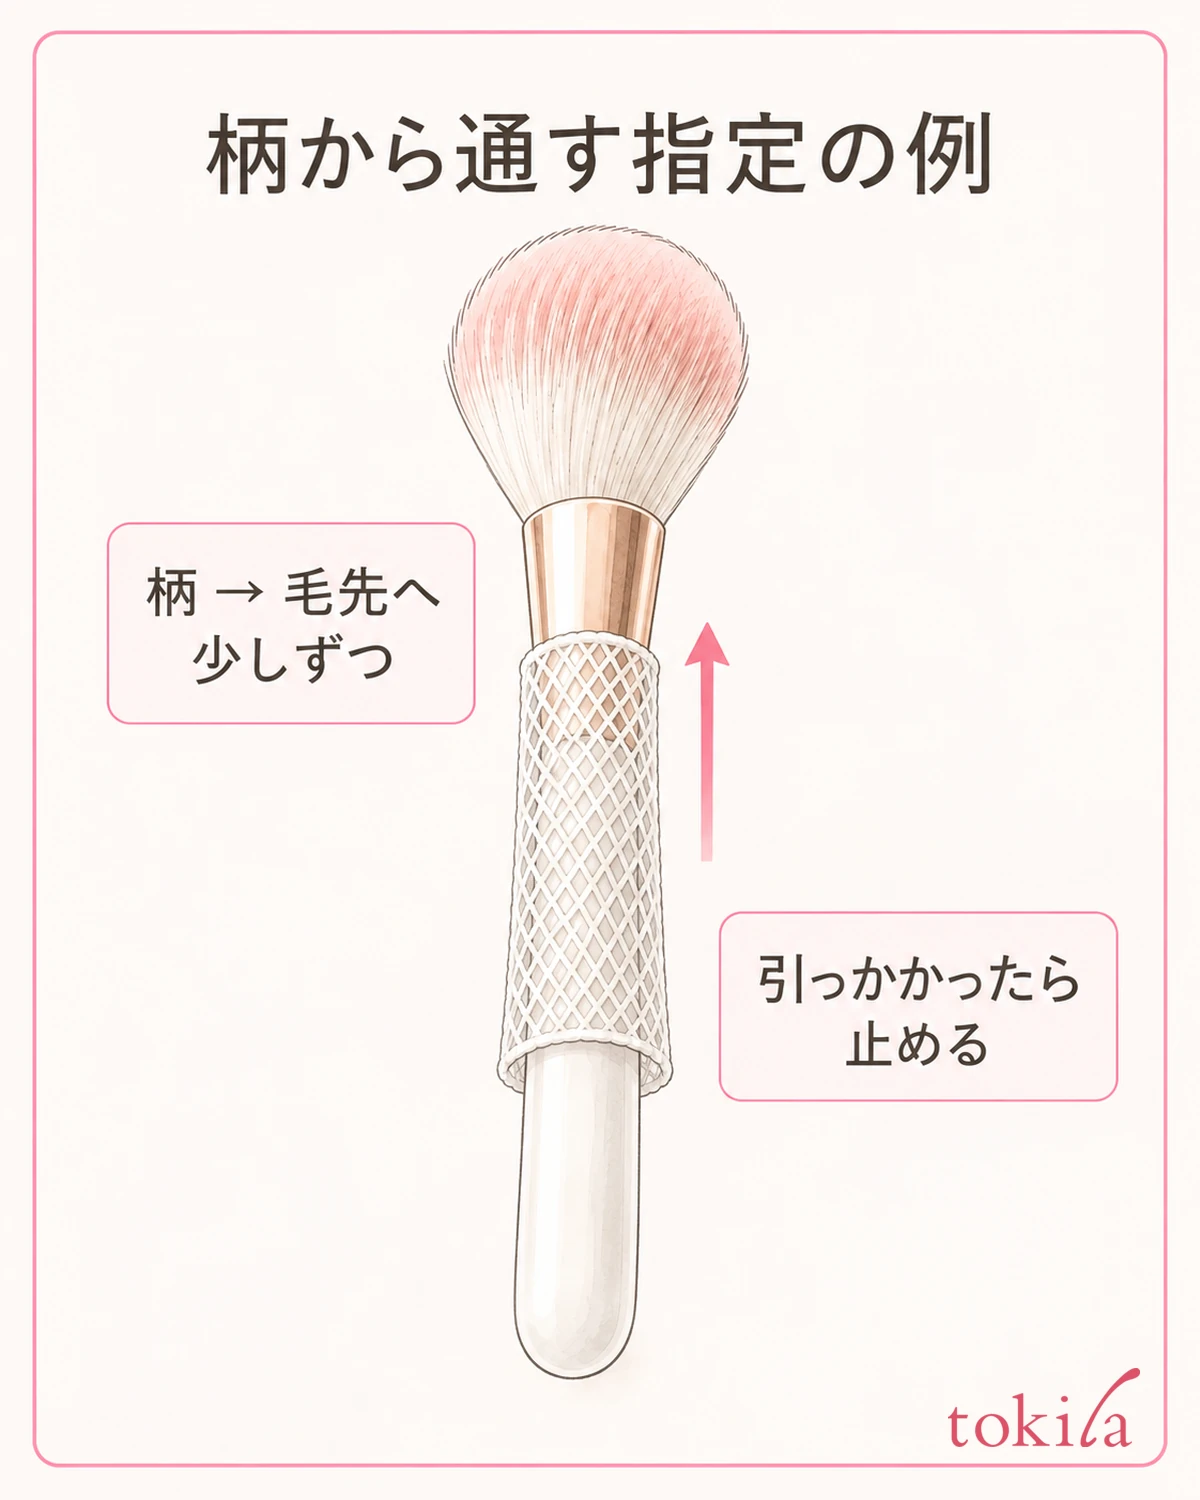
Match the direction you pass it on to the instructions for your net. If it is a type that goes on from the end of the handle and advances toward the bristle tips, first put the end of the handle into the tube of the net. Don't push it down over the bristle tips from above and fold the flow of the bristles back the wrong way. Don't apply this method to a structure for which it is not described.
Hold the handle steadily and support the opening of the net with the other hand. Advance the net little by little, and when it gets close to the metal fitting, reposition it at an angle where you can see the outline of the bristles. Rather than gripping the whole bristle bundle hard with your fingers to make it thin, it is important to advance while checking where the net meets the bristles.
Stop if it catches partway, the bristles are being pulled along, or the bristles bend and gather at the opening. Don't pull it up with force; check whether it can be released with the product's normal removal method. The direction to remove it also depends on the instructions, so if you don't know, don't keep moving it back and forth and rubbing the bristles.
Remember where it stops by separating the cases: at the thick part of the handle, at the boundary of the metal fitting, or partway along the bristle bundle. The purpose of separating the positions is not to assume a cause but to sort out whether to review the compatible size or the procedure. You don't need to stretch a net that stops at the thick part to its limit to get it through.
When you've finished covering, check whether bristles are caught at the opening and whether only one side is being pressed. Don't count it as a failure just because the bristles show slightly through the net; match it against the instructions for what range it is designed to cover. Don't fold and stack the leftover tube over a short brush, thinking that longer coverage is better.
Check the direction of the bristles before using it after taking it off too. If they are more disordered than last time, check the size, the specified direction, and the original condition of the bristles instead of repeating the same operation. Judge separately whether the net went on and whether you handled it without pressing or bending the bristles.
4. Check together when you put it on and where you dry it
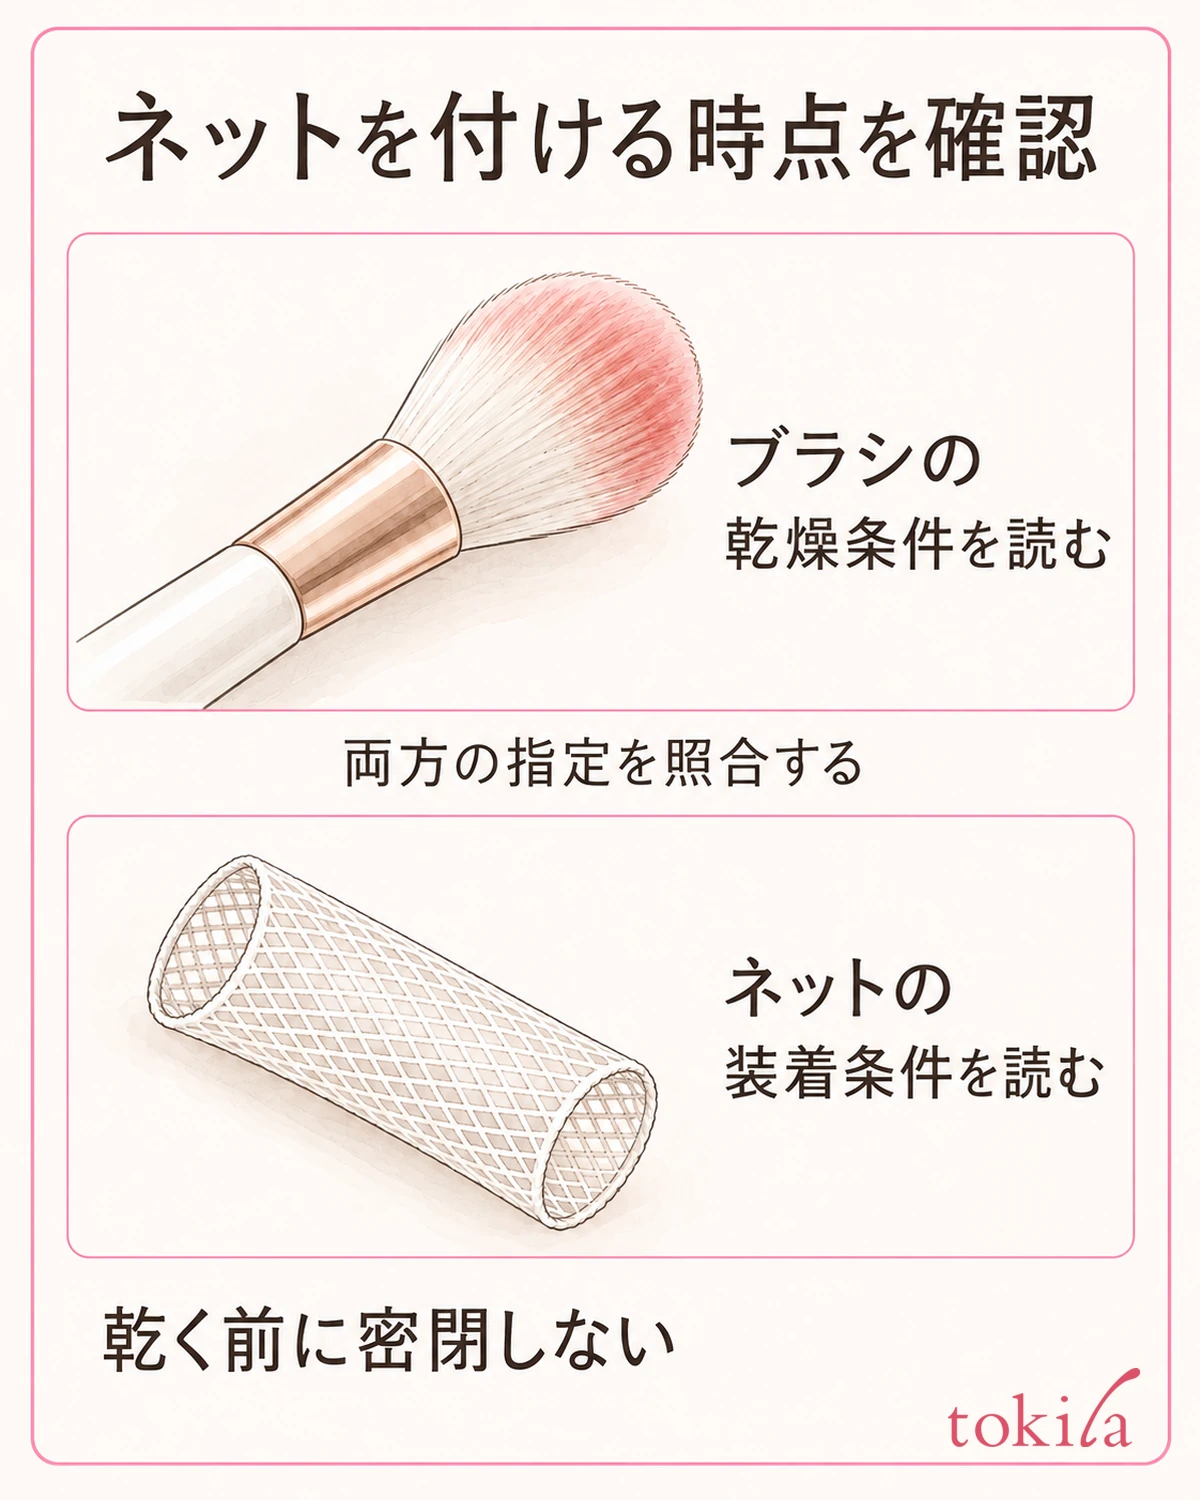
The timing for putting on the net after washing is not set uniformly. Some products cover after drying, while some instructions say to use it partway through the specified drying. Confirm that the conditions of both the brush and the net match, and don't carry over a "half-dry" explanation you saw for a different product to what you own.
Even for a set that can be used while drying, don't take putting on the net as a sign that drying is finished. Match the placement direction, the support, and the airflow to the instructions, and check that the bristle tips with the net on are not pressed against the stand. You don't need to stand a brush that doesn't fit a standing tool up on its bristles alone.
Secure space for drying so that brushes don't overlap each other. If you lay them flat, check that the handle of the neighboring brush doesn't rest on the bristles; if you use a dedicated hanging tool, check that you attached it to the compatible fixing part. Don't hang a heavy brush somewhere using only the stretch of the net.
Before moving to storage, check whether moisture remains not only in the bristles but also in the net. Don't decide from progress such as "I washed it yesterday" or "the surface feels lighter"; look at the drying instructions and the actual condition. If in doubt, don't hurry to put it in a sealed bag; allow more time to dry.
Even if you want to use it in a hurry, don't switch to a method of drying quickly by holding it near a hair dryer or heater. On days when you need the next brush, prepare a clean, dry spare. Not washing all the brushes you need at the same time, and keeping those waiting to dry separate from those ready to use, reduces the chance of putting something back undried.
If the drying conditions conflict, or you feel dampness when you take off the net, put off using that set for now. Don't judge that the mesh alone will dry it well in any placement. Check without mixing the roles of the tool you use and the tool you store.
5. Review the pressure after storage and the bristle tips when you next remove it
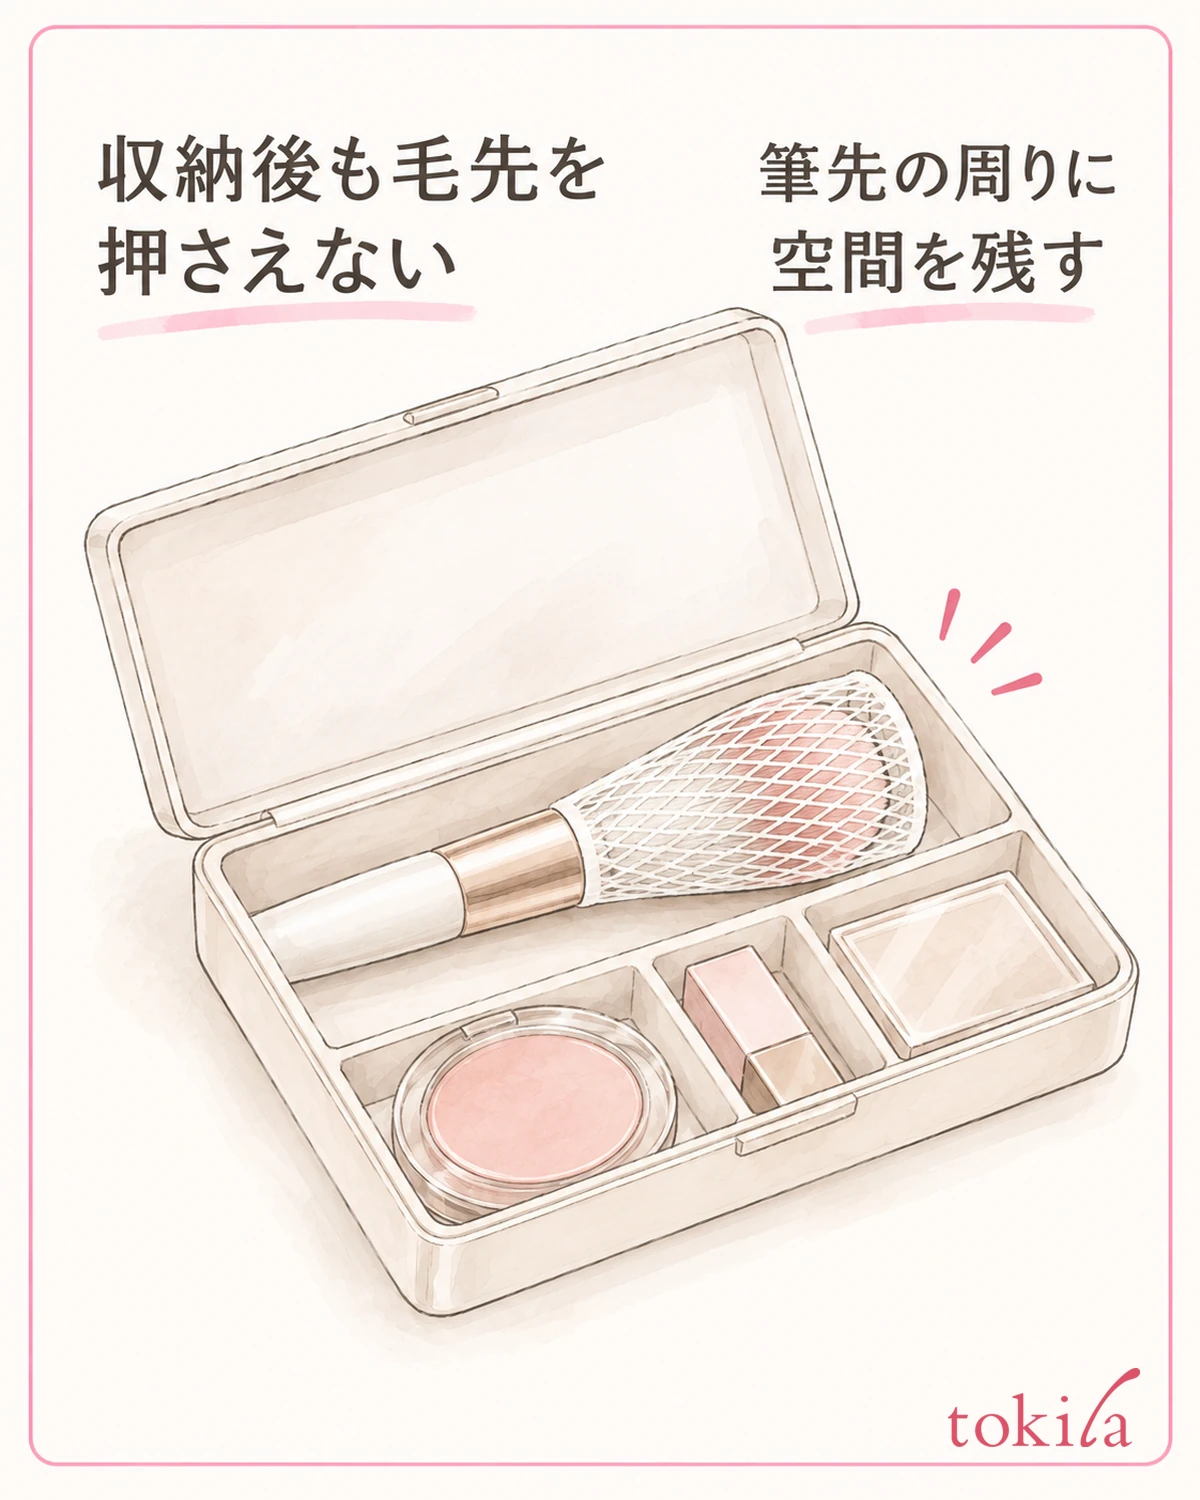
When it is in a state fit for storage, put it back where the bristles won't be pressed by surrounding tools. Even with a net on, don't assume it is fine to stack cosmetics on top in a cramped pouch. Before closing the lid or zipper, check whether space remains around the brush tips.
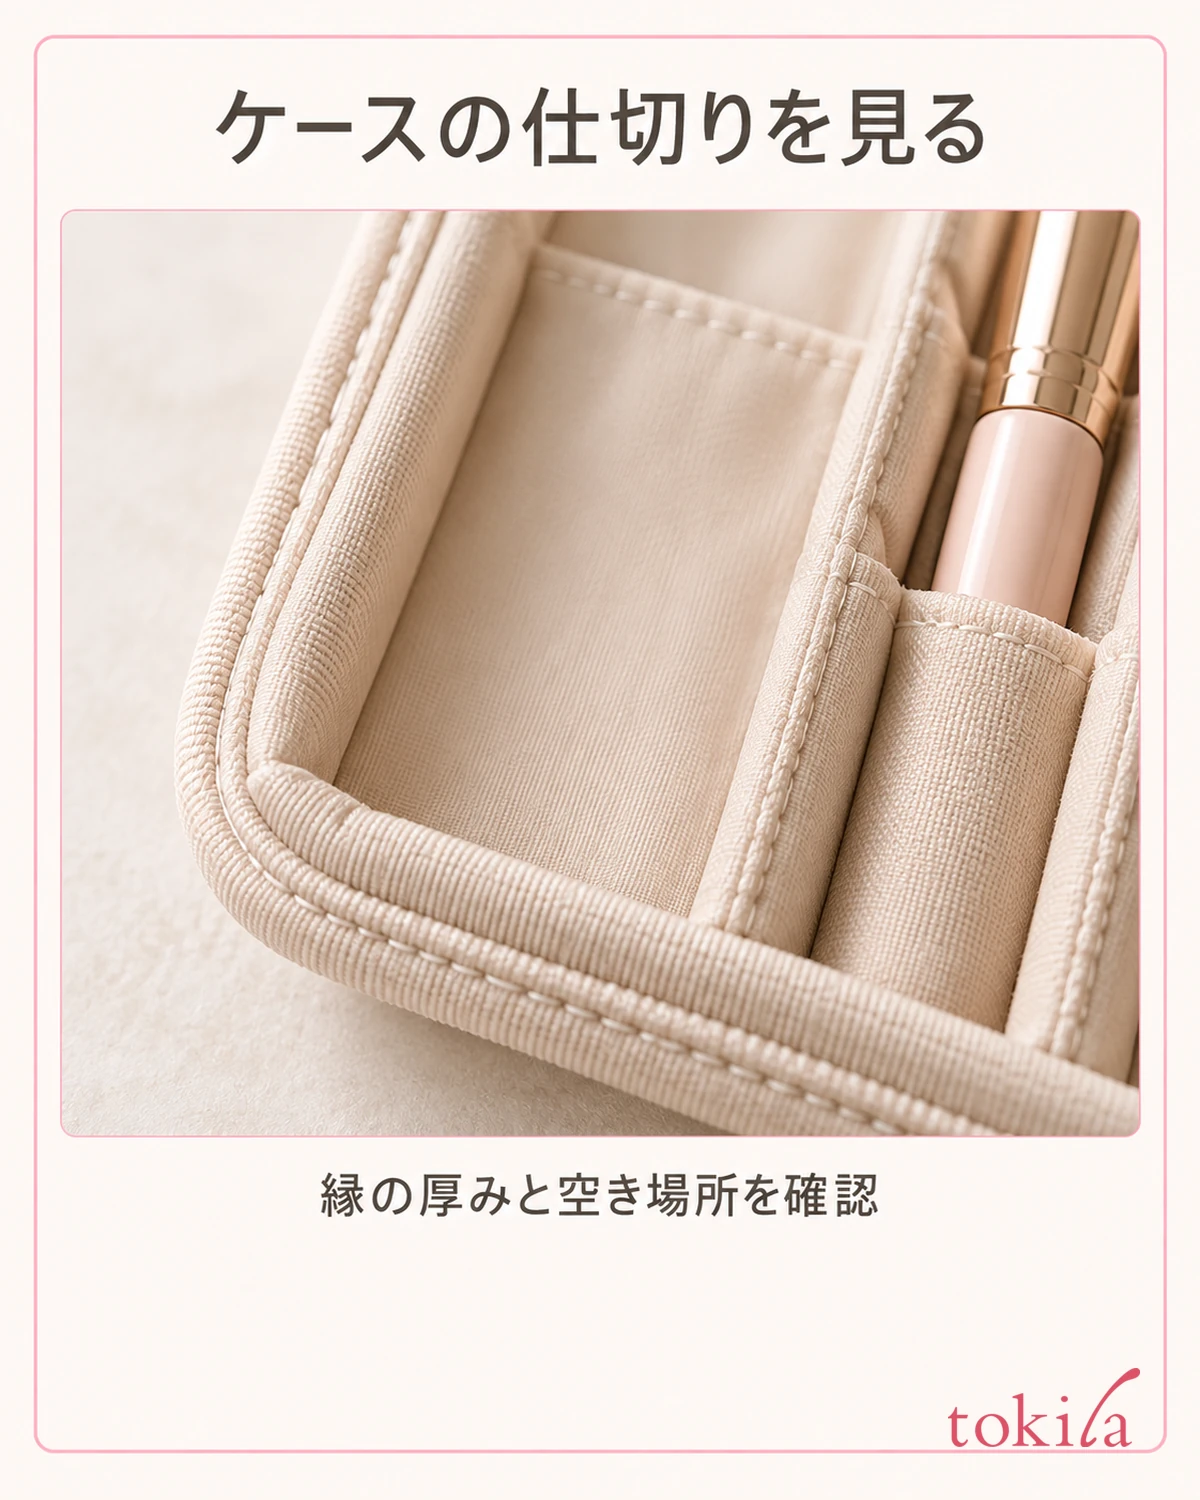
If powder gets on the outside of the net, check the compartment you store it in as well. If you put it back in spilled cosmetics, a tool without a cap, or a dirty pocket, the net can get dirty along with it. Tidy the case according to its care instructions, and keep the place for brushes you have used separate from the place for clean spares.
On the day you next use it, remove the net in the specified direction and look at the bristle bundle from the same direction as last time. Check the outline, any bristles sticking out sideways, and the places the opening was touching. If you keep photos, don't change the light and angle much, and don't judge damage just from a difference in how it looks.
When you replace the net, free up storage space, or change how you pass it on, record what you reviewed one item at a time. If you change everything at once and the result differs, you can't tell which change was involved. Treat comparison as a check for your own use, and don't regard it as having proven an effect in a single try.
If the bristle disorder or snagging continues, it is important not to keep forcing things with a tool meant for protection. Keep options other than continuing to use it, such as going back to another storage method you have confirmed works, or checking whether to replace the part or the brush. You don't need to modify a net that doesn't fit and reuse it for every brush.
The order of checks is purpose and fit, cleanliness, the specified way of passing it on, drying conditions, and the state after storage. The aim is not to run a long inspection every time, but to be able to go back and check where you ran into trouble. When you touch up your makeup with tools you carried with you, also see the order for touching up makeup and secure a clean surface you can use.



