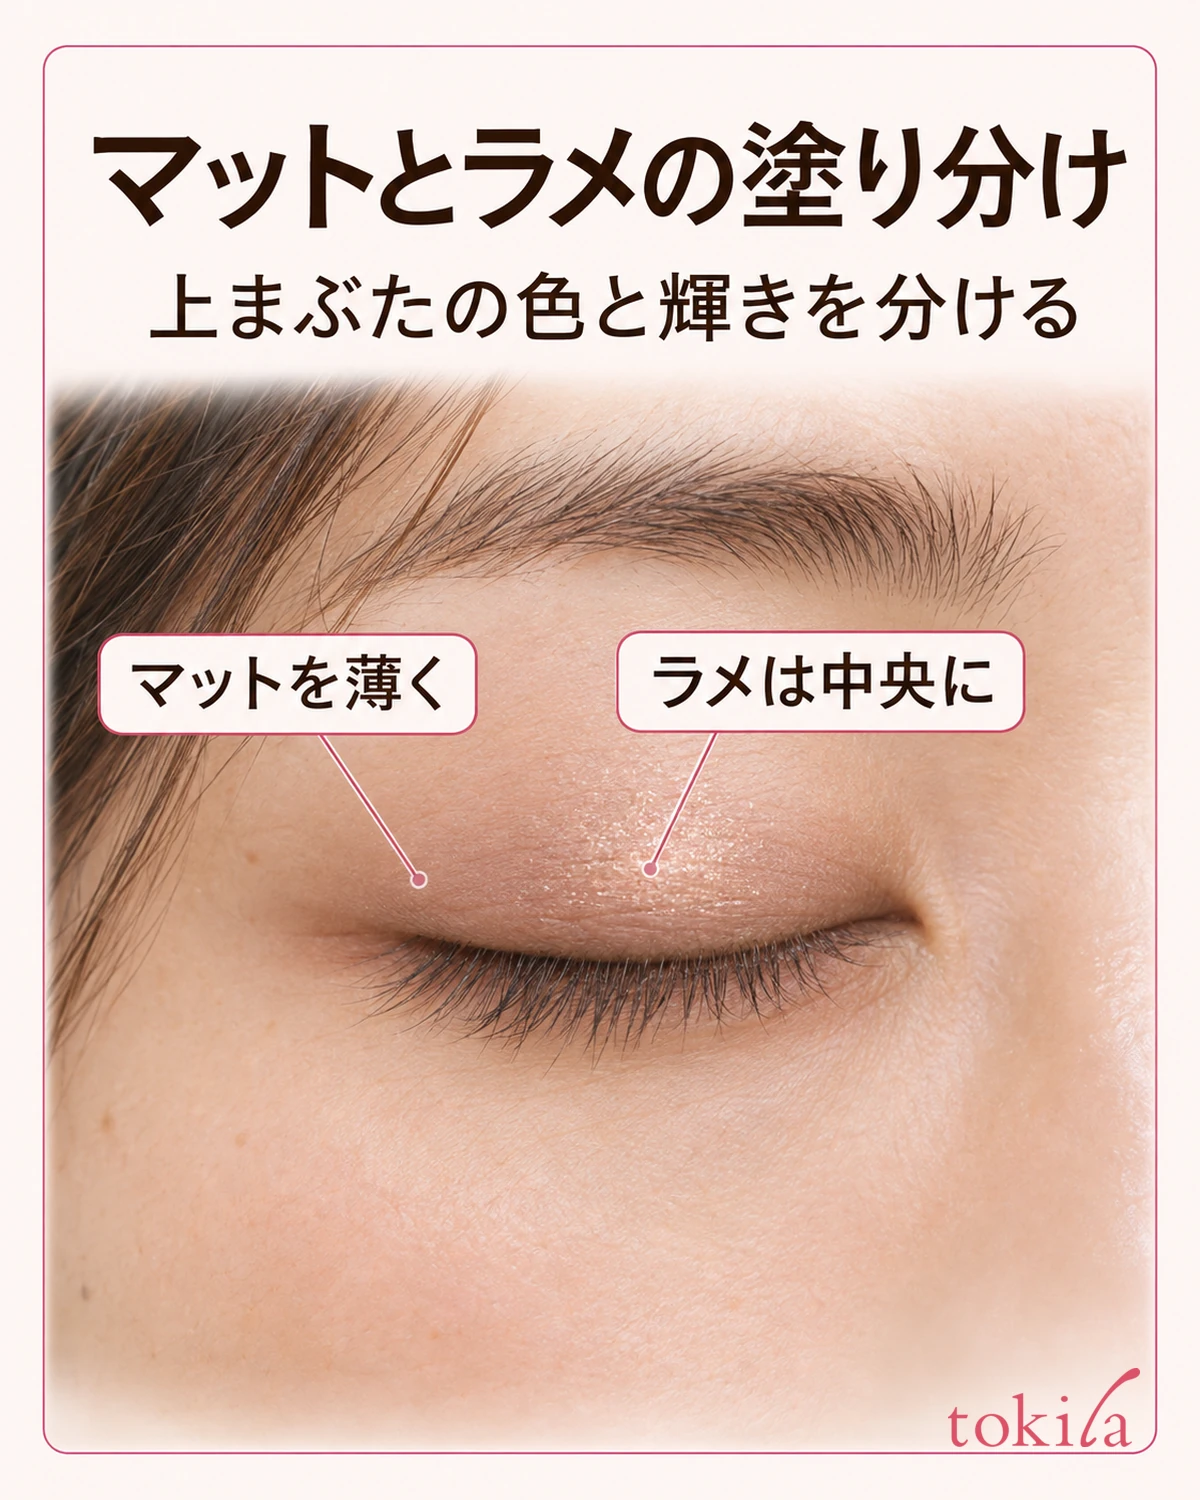
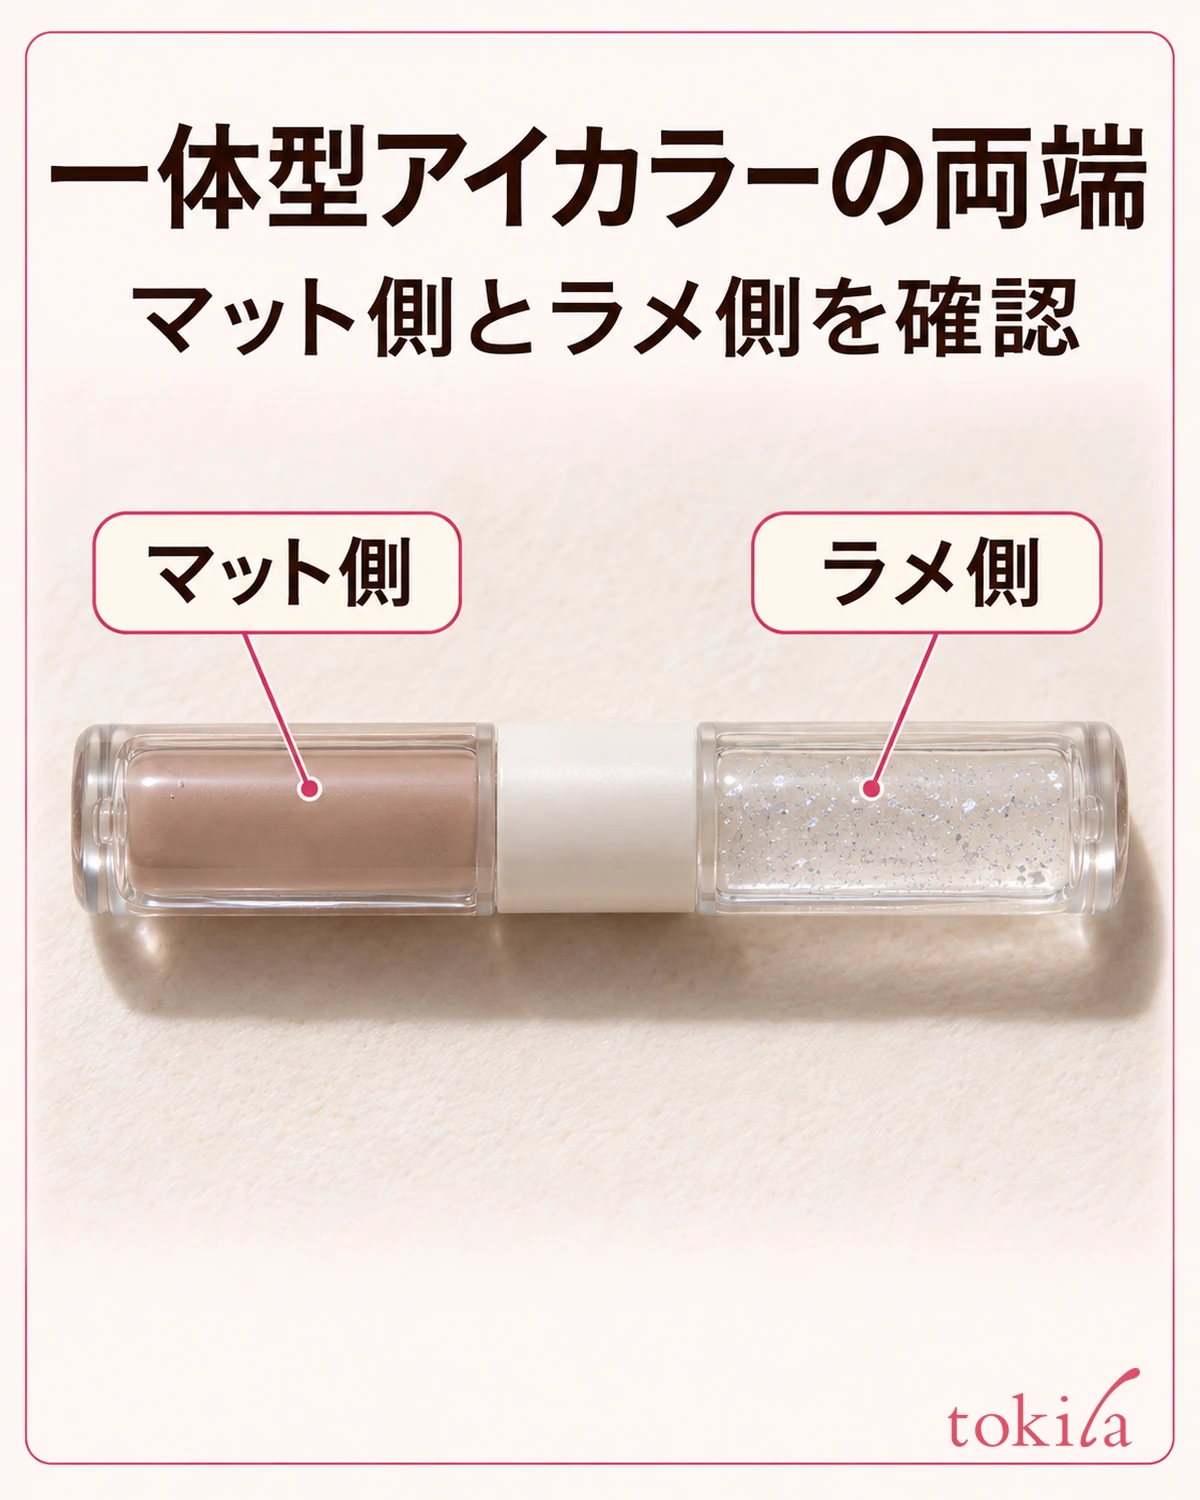
With a dual-ended liquid eyeshadow, one end can lay down color on your lids and the other lets you choose where to add sparkle. When you first use it, sweep on a thin coat of matte and add a little glitter in the center. This makes it easier to tell which amount needs adjusting than if you spread both across the same area.
These steps are for products suitable for the upper eyelids. Follow your product's directions on where to apply it, how to use the applicator or your fingers, when to layer it, and how to remove it.
1. Identify the Matte and Glitter Ends and Decide Where to Add Sparkle
Start by checking the shade names or markings on both ends. The darker shade isn't always the matte one. If the tube is clear, tilt it in the light to distinguish the end with even color from the one with sparkling particles. If you can't see inside, match the packaging description with the marks on the caps. Opening one end at a time also helps keep you from putting an applicator back into the wrong end.
Look straight into a mirror and check how much of the center of your upper lid shows with your eyes open. For a subtle sparkle, start with a small dot in the middle of the lid with your eye closed. If you normally wear matte alone, apply it over the area you usually do and simply pick a spot for the glitter.
Here, matte adds color across the lid and glitter brings light to one area. If you're using both a light shade and a deeper shade for definition, see how to apply two eyeshadow colors.
When choosing a pair of shades, ask whether you'd wear the matte shade on its own. If you want a soft everyday look, for example, it's handy to have a matte you'll reach for by itself. If you want a different look only when you add sparkle, you can also look at the shade descriptions or swatches before buying to see how much the glitter color differs from the matte.
2. Blend a Thin Layer of Matte Over One Upper Lid at a Time
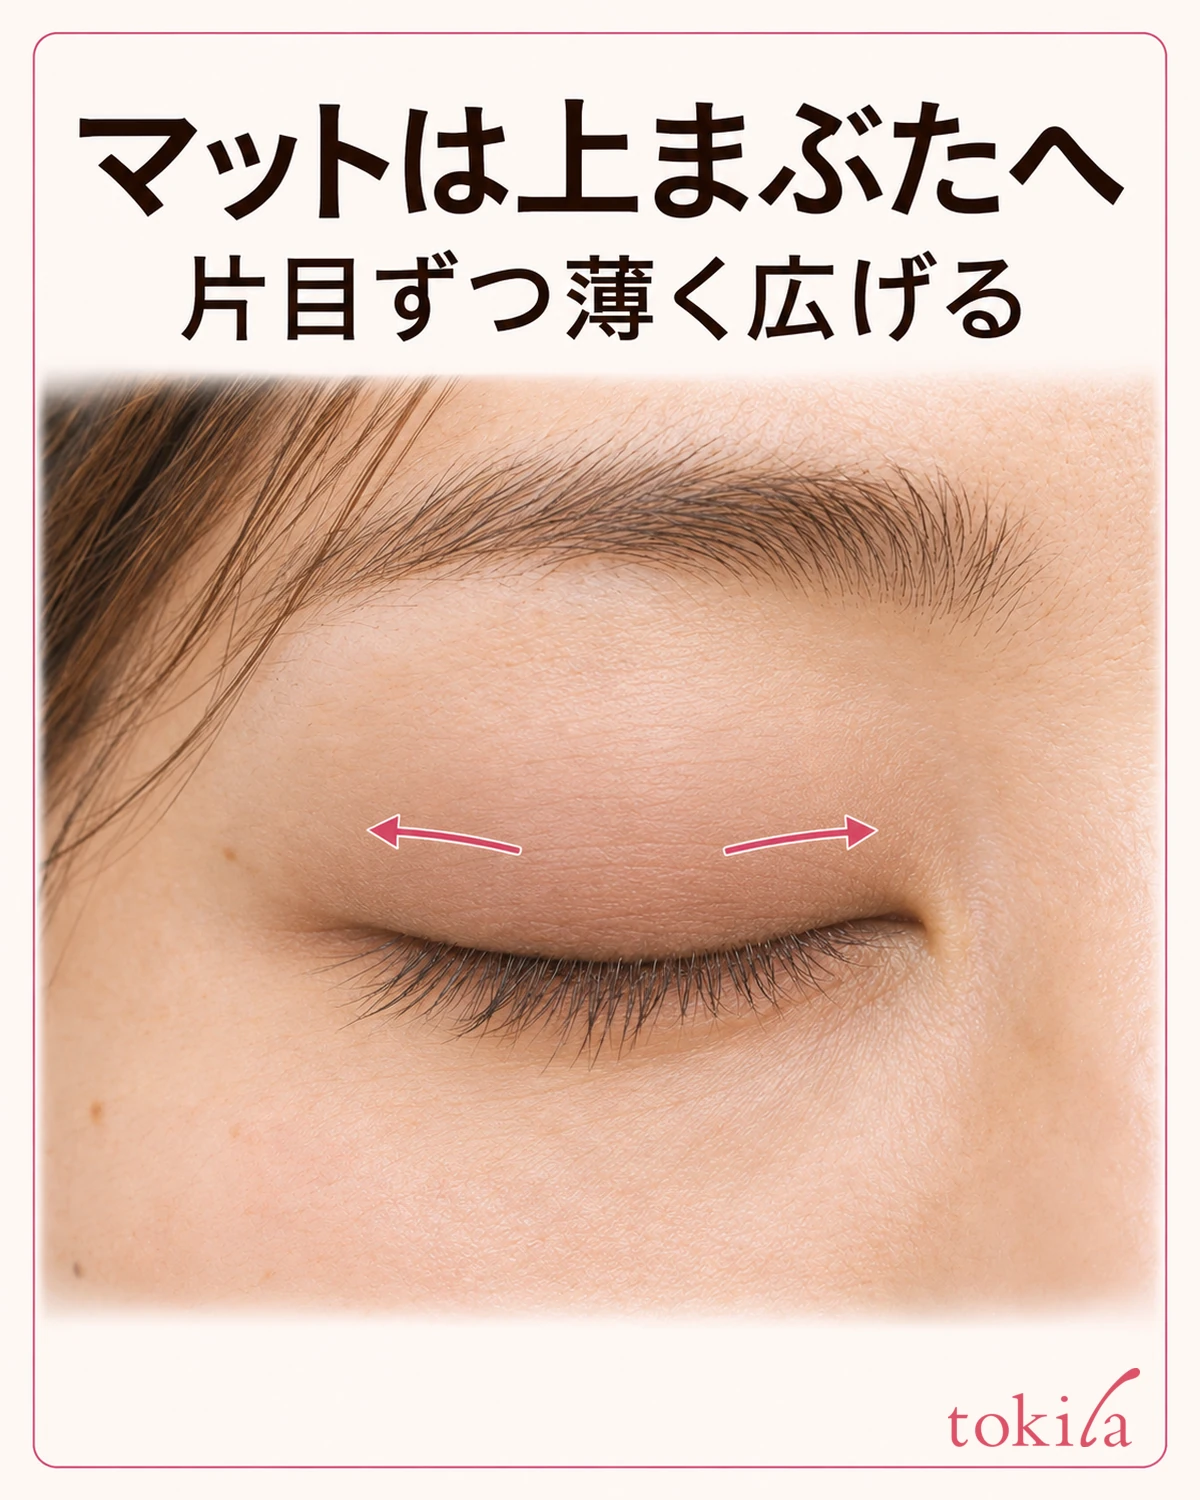
Open the matte side and check how much product is on the applicator. If it can go straight onto the lid, dab a little where you want the color. For formulas you can apply with your fingers, you can portion some onto the clean back of your hand to control how much you pick up. If you're unsure how much to take, see how to control the amount of liquid eyeshadow.
Blend a thin layer sideways from the center of the upper lid, softening the edges. Before taking it all the way up to the brow, look at where you want the color to show when you move your eyelid. When you're bringing color into narrow areas near either corner, stretch out the first dab thinly before picking up any more for the spots that need it.
Finish blending the color on one lid before starting the other. If you dab both lids first, the second one may be harder to blend by the time you've finished the first. If some spots look too light, open your eyes and compare the two before adding the same amount to both.
To soften the edge of the matte, use short, gentle touches from the colored area toward the lighter edge. Avoid rubbing the same spot repeatedly. Check the directions for any waiting time before layering. If there's still a wet patch on one lid, even out the color first so you can see where to place the glitter.
If an edge looks abrupt when you wear a darker shade, find where the color is concentrated before blending it across a wider area. If just the outer corner is dark, start by softening that edge. You don't need to darken the inner corner to match. If you prefer a sheer look from the start, use a smaller dab in the center next time and follow the same steps on both eyes.
3. Dab a Little Glitter in the Center of the Upper Lid
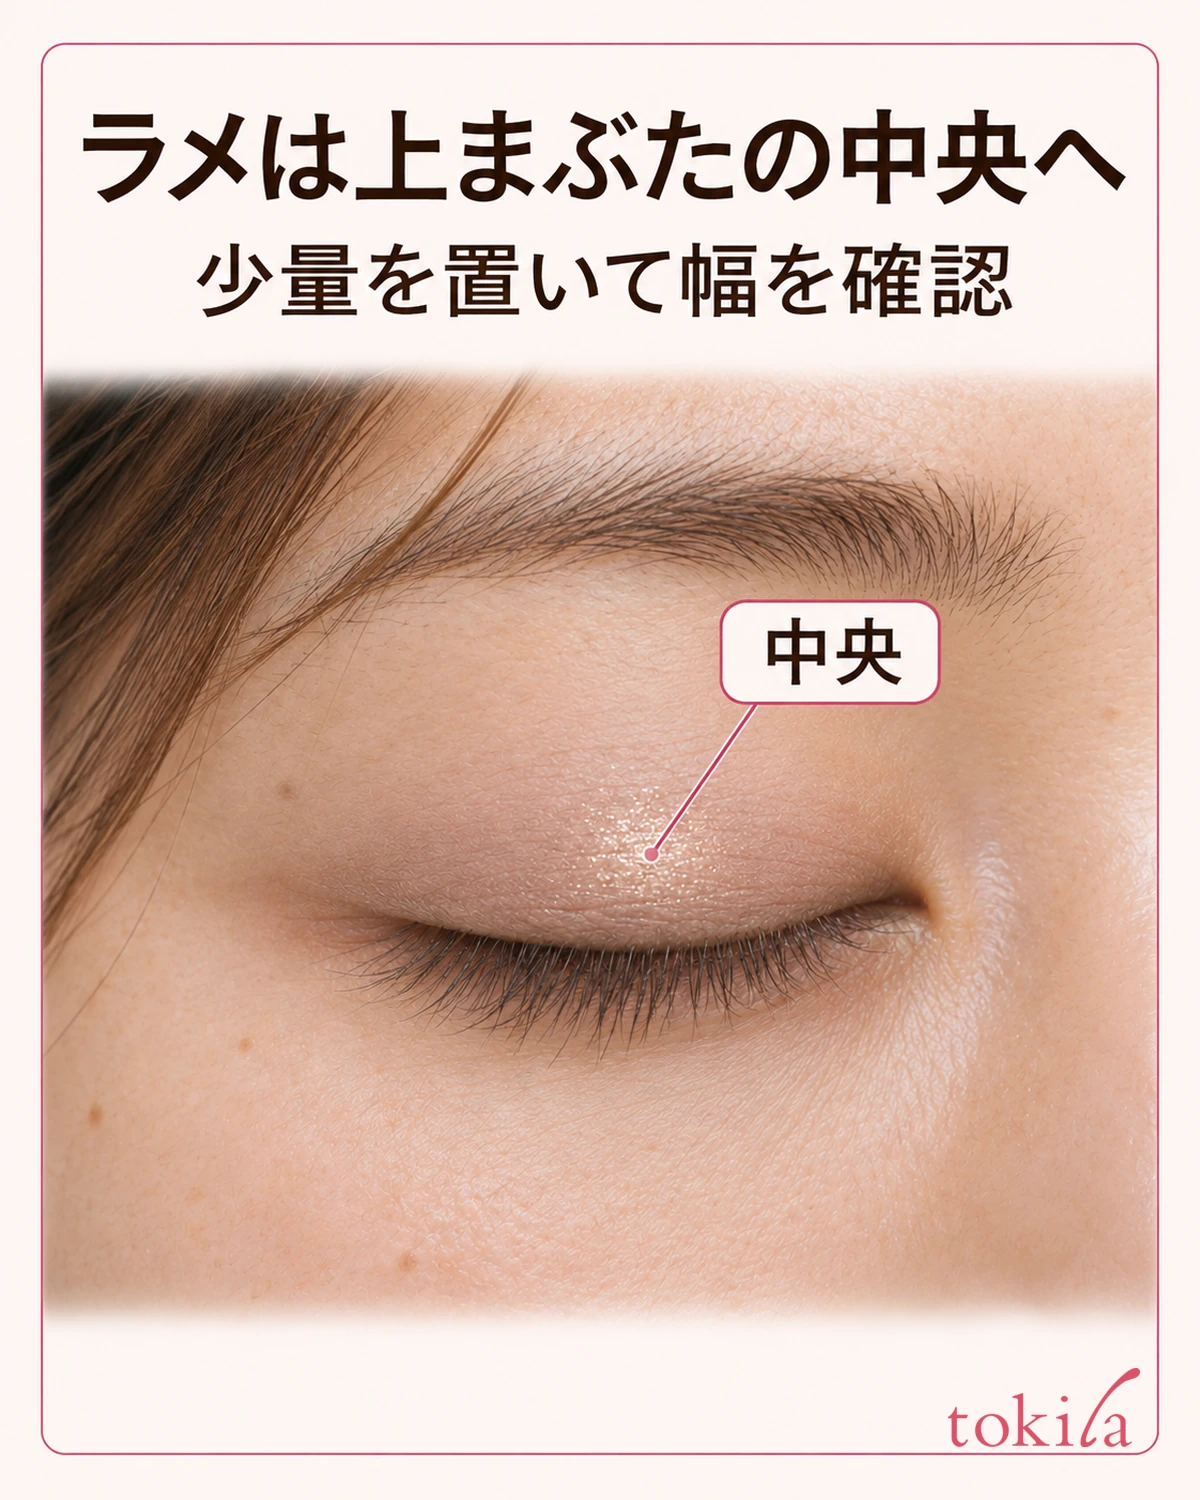
Once you've blended the matte, open the glitter end. Place a little in the middle of the upper lid. If your product allows you to use a finger or the applicator, gently blend just around the dot. For a first try, leave some matte visible around it instead of spreading glitter all the way to the lash line. This makes it easier to see how wide the sparkle is. Check where the product can be used and which areas to avoid.
After applying glitter to one side, open your eye and see if it shows. If it's barely visible, try moving the mirror to see how the angle of the light changes the look before adding more. To shift the sparkle a bit outward, add a touch right beside the outer edge of the original dot. That makes it easier to track the width than starting a separate dot farther away.
When blending with a finger, use a different part of it for the glitter than you used for the matte. If you're using the included applicators, put each one back into its own tube. Follow any directions for wiping the applicators.
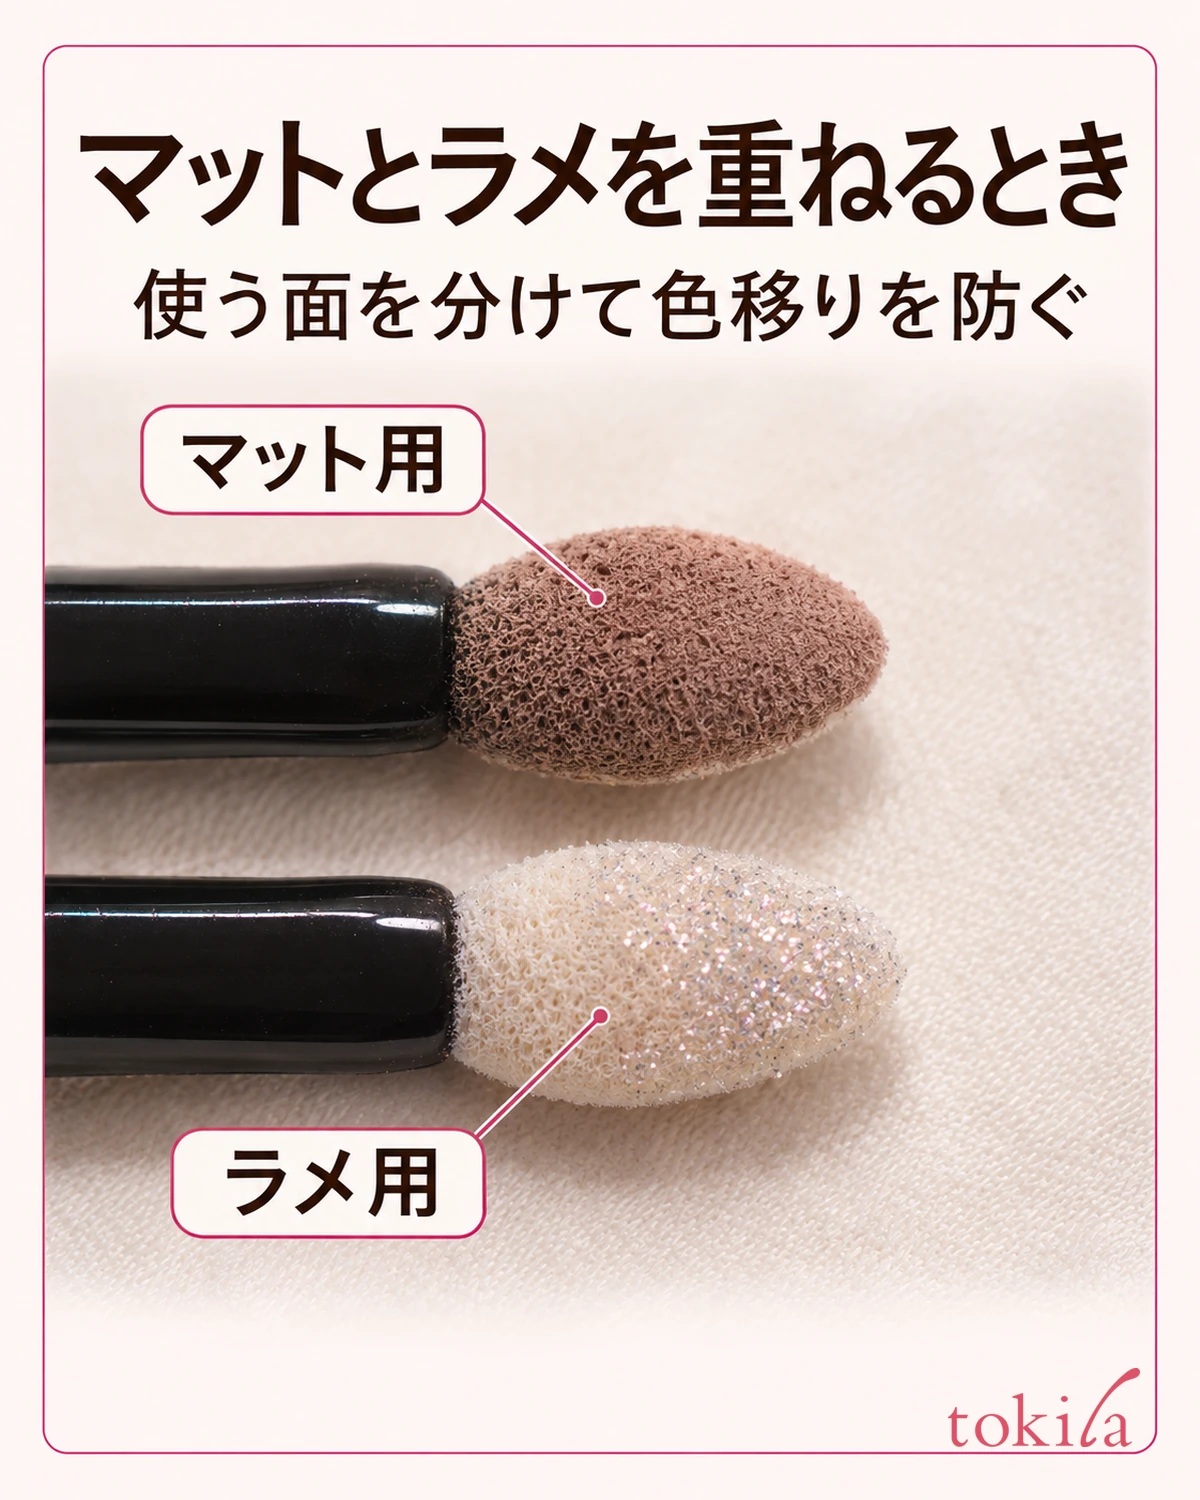
If glitter gets mixed into your matte, for instance, check which finger or applicator touched both before picking up any more matte. If you can blend the formula with a finger, use a separate clean finger to soften the matte edge after spreading the glitter.
Once you've chosen where you want sparkle, note where you dabbed it with your eye closed and where it appears with your eye open. That makes it easier to repeat. To make it show above the iris in the mirror, for example, locate it with your eye open first, then close your eye and find the spot just above it.
4. Open Your Eyes and Check the Look Straight On and at a Slight Angle
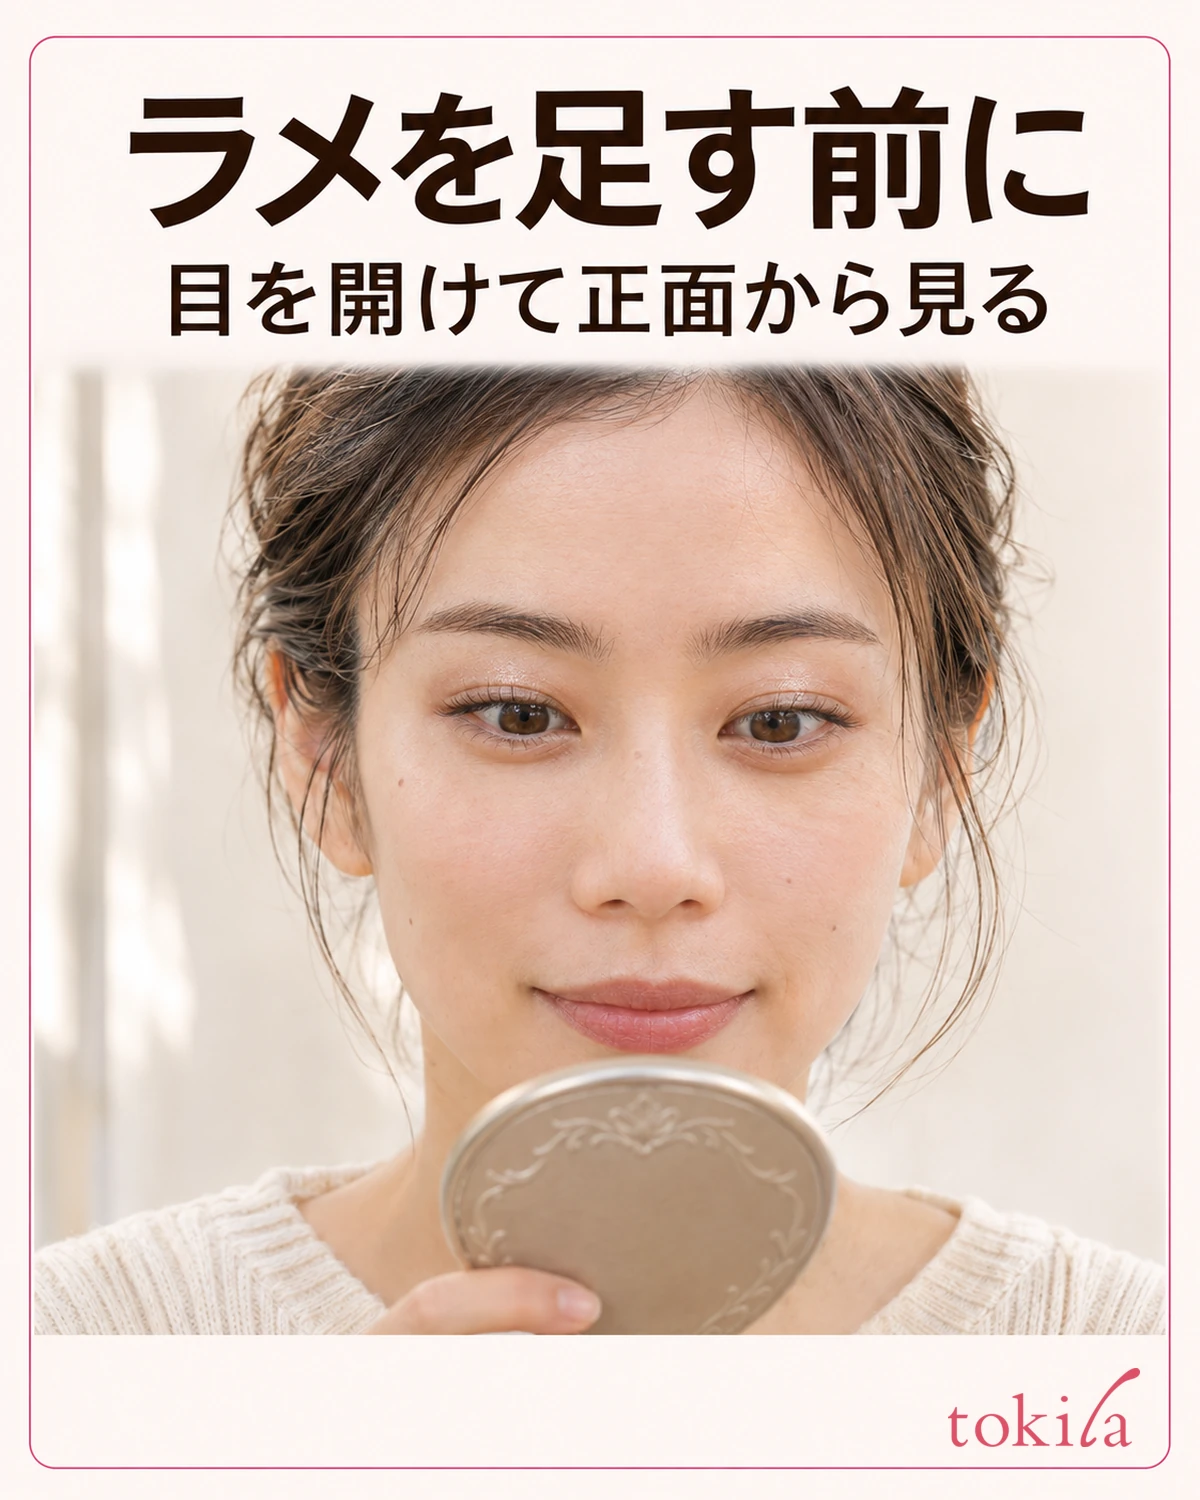
Once you've applied glitter to both eyes, hold the mirror a little farther from your face and look straight ahead. Even if you covered the same width with both eyes closed, differences in the lid creases can change how much you see with your eyes open. Follow the directions to adjust just the side where the sparkle is harder to see, if needed.
Next, turn your face slightly to one side in the same spot. If the sparkle is subtle straight on but catches the light at an angle, you can leave it as it is. If possible, check in indoor light similar to where you spend your day, in addition to bright vanity lighting or daylight by the window.
If the sparkle covers the area you wanted, check the visible edges of the matte color, too. If only the color needs more intensity, there's no need to add glitter. Next time, look straight ahead during the matte step and decide how far to blend it so you don't have to go back and forth between color and glitter.
If the sparkle seems to extend from the inner corner to the outer corner, see whether it looks continuous from a distance that shows your whole face before bringing the mirror closer to look for individual particles. How much you need to touch up depends on whether you want to keep the center dot and tidy one side or reduce the glitter all over the lid.
5. If the Glitter Spreads Too Far, Follow the Removal Directions to Tidy It Up
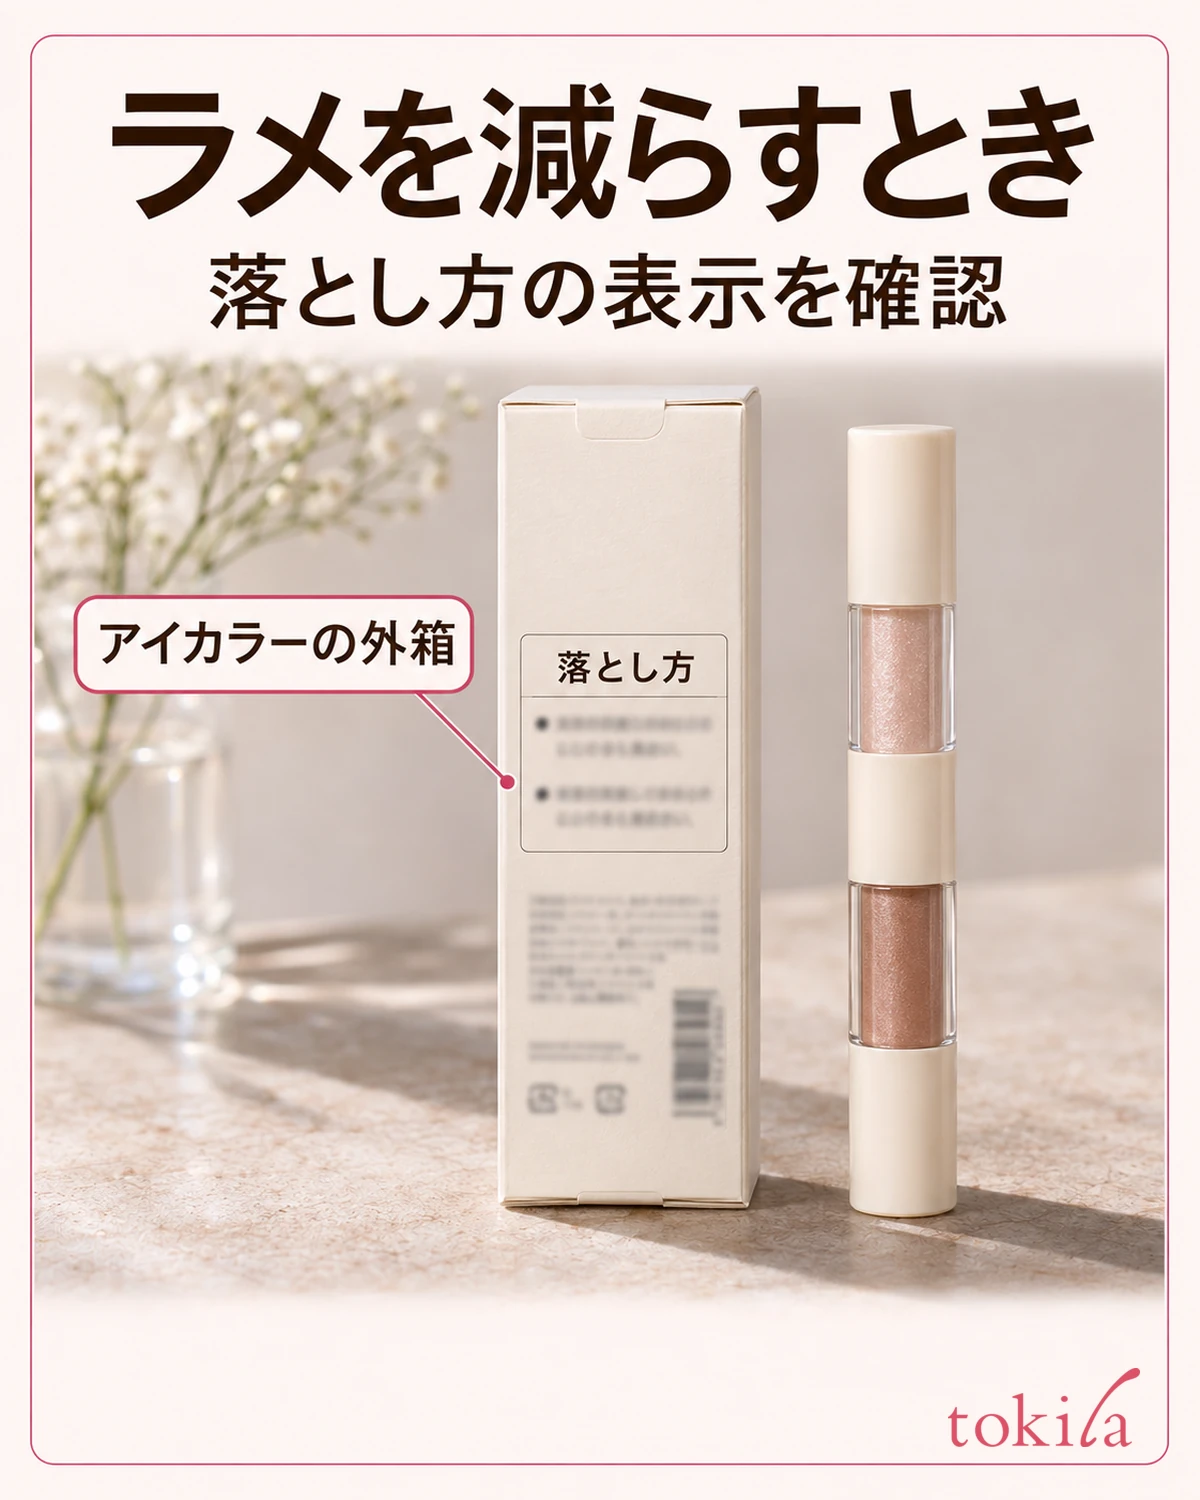
If the glitter covers too wide an area, read the removal instructions before trying to cover it with multiple coats of matte. If the product allows for partial removal, follow its directions to tidy up only the excess area. If it's difficult to remove, stop rubbing with a dry finger. Use the specified removal method on that area, then reapply only where needed.
If some of the matte comes off too, restore that color first and adjust the glitter last. If the color looks different where you removed the glitter, hold the mirror farther away to look at the edge before redoing large areas on both eyes.
The next time you use the same duo, adjust the amount of matte or the placement of the glitter, whichever bothered you. For example, if the color covered just the right area but the sparkle spread too far, make the first glitter dot smaller. Once you know how far you like to blend the matte, you'll be able to vary the look by keeping glitter in the center on some days and blending it a little farther out on others.