Pink, lavender, and beige can sit side by side in a single face powder. If you’re unsure where to place the puff, start by checking whether the powder is designed for the shades to be picked up together. If it is, looking at which shades the puff passed over can help you spot an imbalance more easily than pressing it into the same shade every time.
This guide uses a pressed face powder with several connected shades, meant to be blended with a puff. We’ll cover how to recognize the pan design, how to move your hand when applying powder to your cheeks, and what to check if one side looks different.
1. See whether the shades form one continuous surface
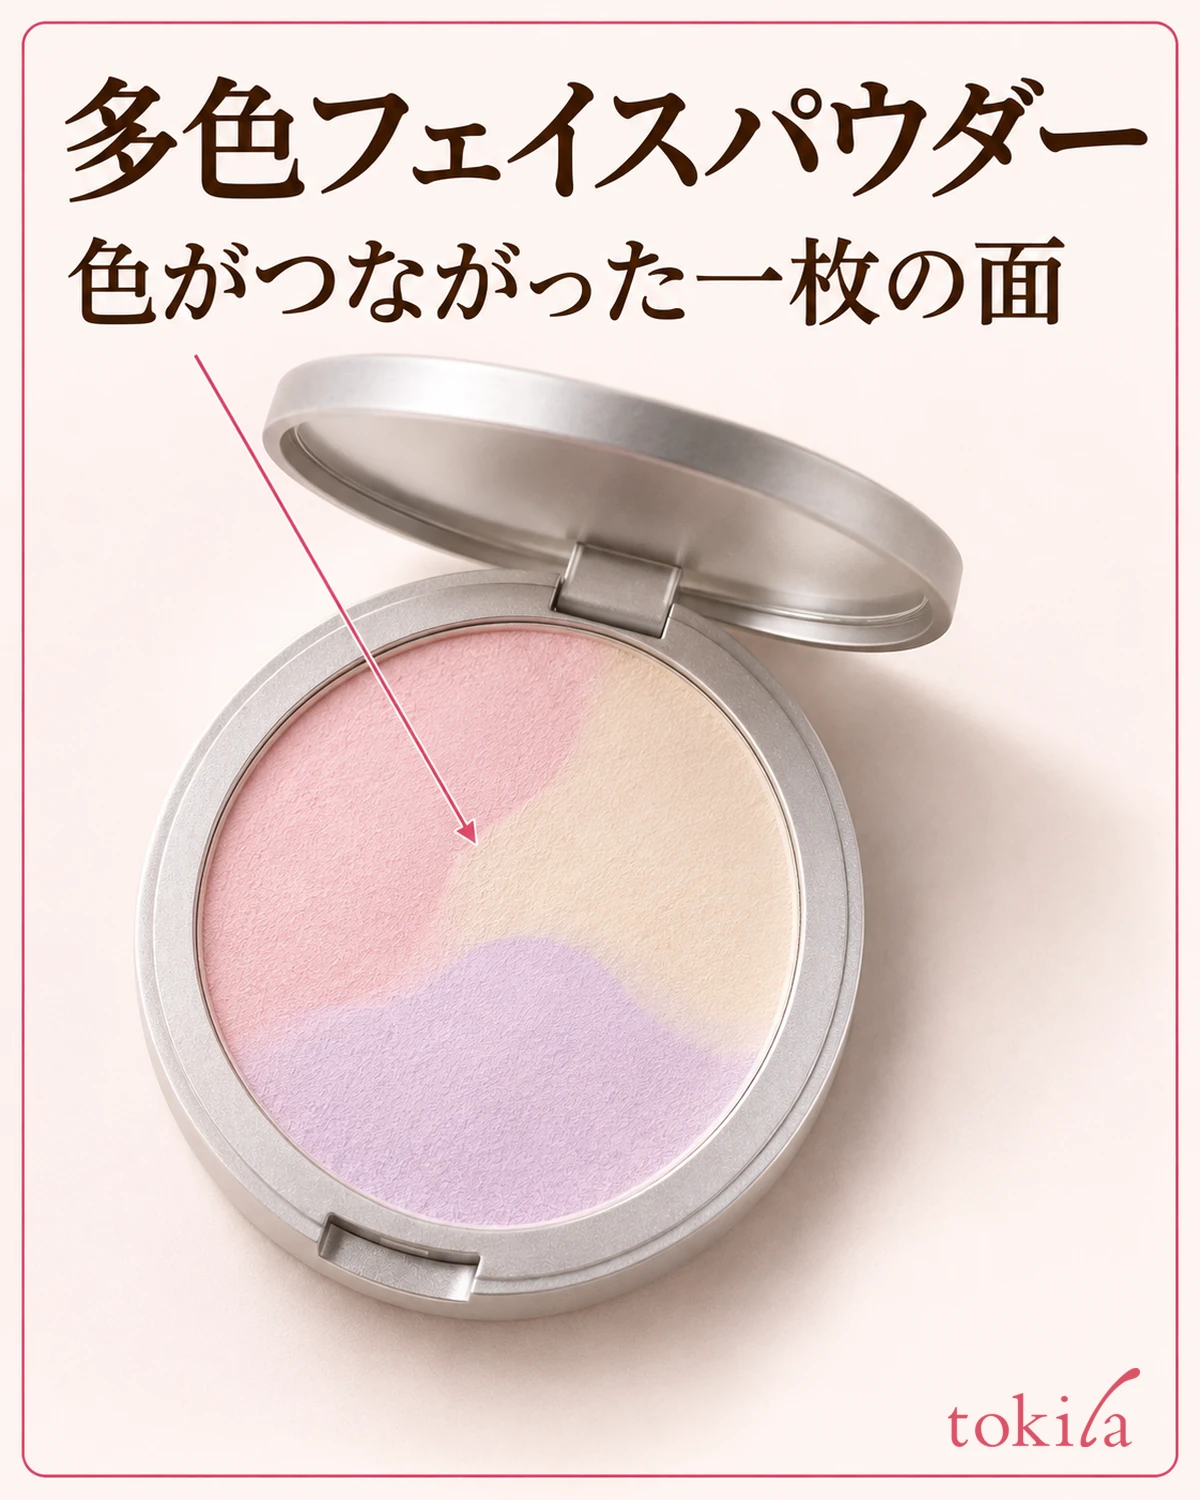
When you open the compact, look at where the shades meet. Some multicolor pressed powders combine several shades in a single pan. Other palettes hold neighboring shades in separate pans. Both look multicolored, but you still need to decide whether to pick up individual shades or several at once.
If the boundary is hard to see from above, set the compact on a stable surface and look from a slightly lower angle. Check whether there’s a divider between the shades or whether the powder forms one level surface. There’s no need to dig at the boundary with a nail or brush.
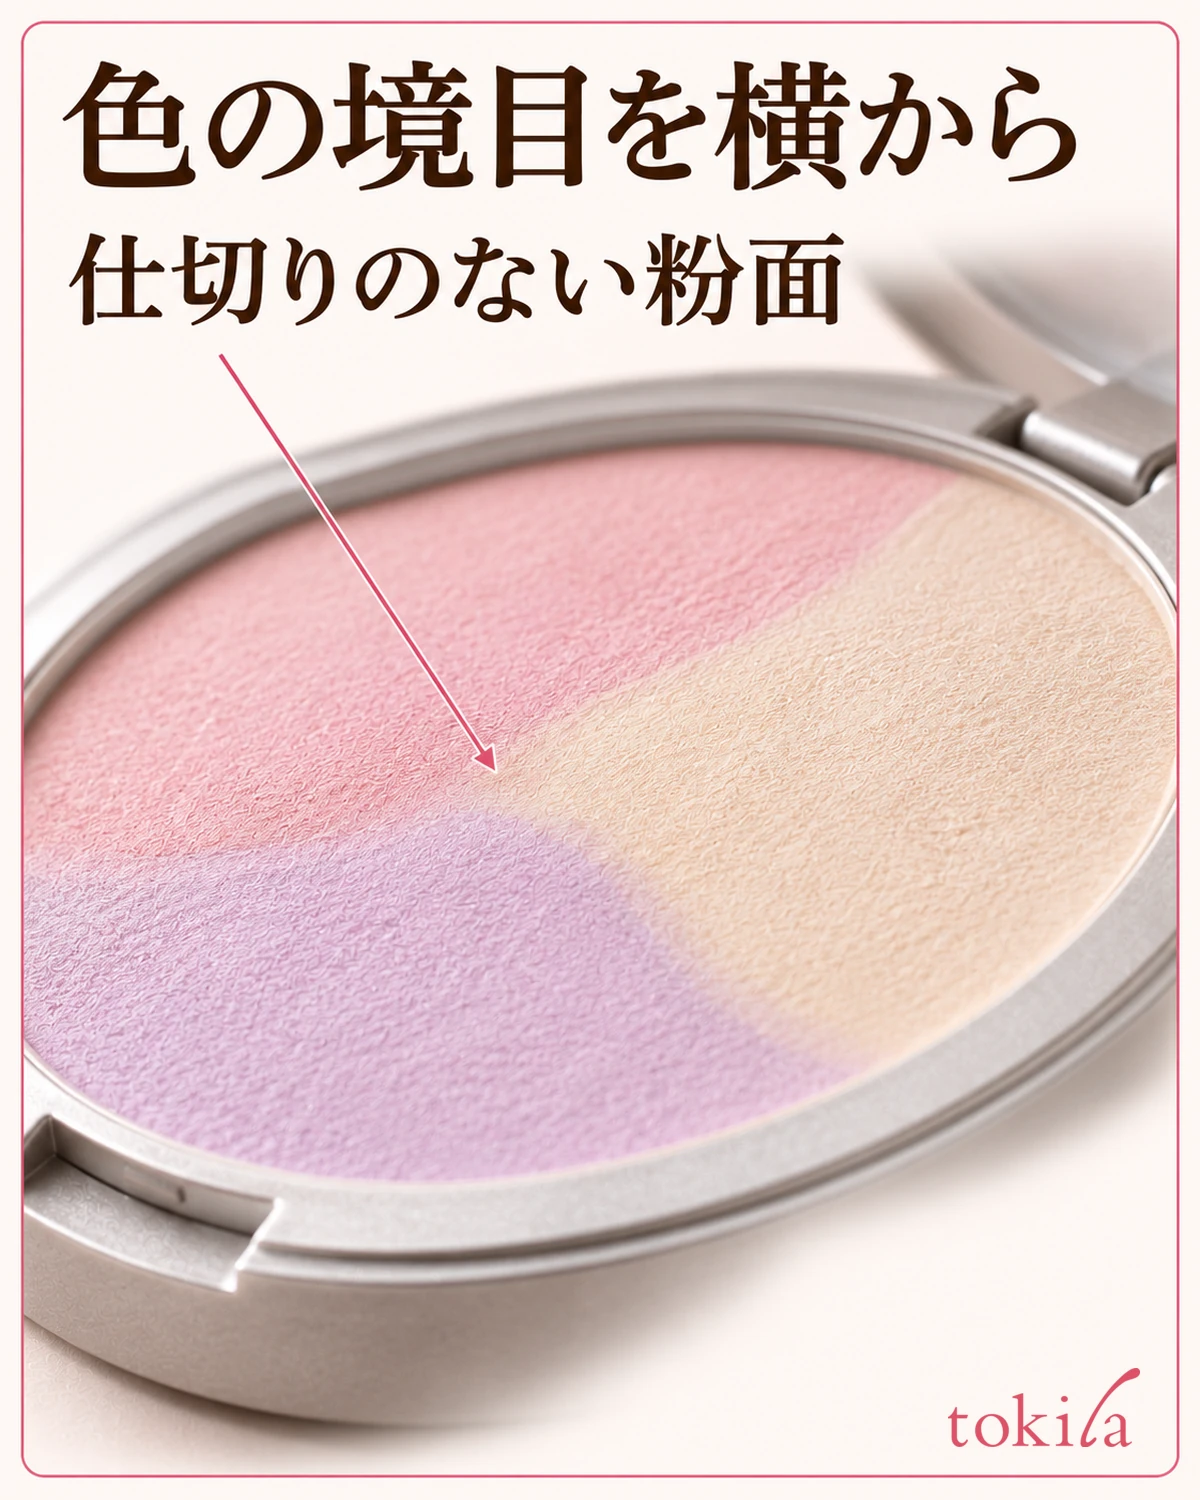
Even when the surface is continuous, products can call for different ways of picking up the powder. Read your product’s directions first, such as whether to blend across the whole surface or use the included puff. If the product is designed to let you choose shades by section, follow those directions. Loose powder that comes through a mesh or holes works differently, so don’t apply the same puff movement to it.
The colors you see when you open the compact can also differ from the color you see after picking up several shades and applying them. A lavender section, for example, doesn’t mean your whole face will take on that color. If you’re unsure which color to use, avoid deciding based on one section alone. Pick up the powder as directed, apply a light layer, and check the effect straight on.
2. If the shades are meant to blend, move the puff across their boundaries
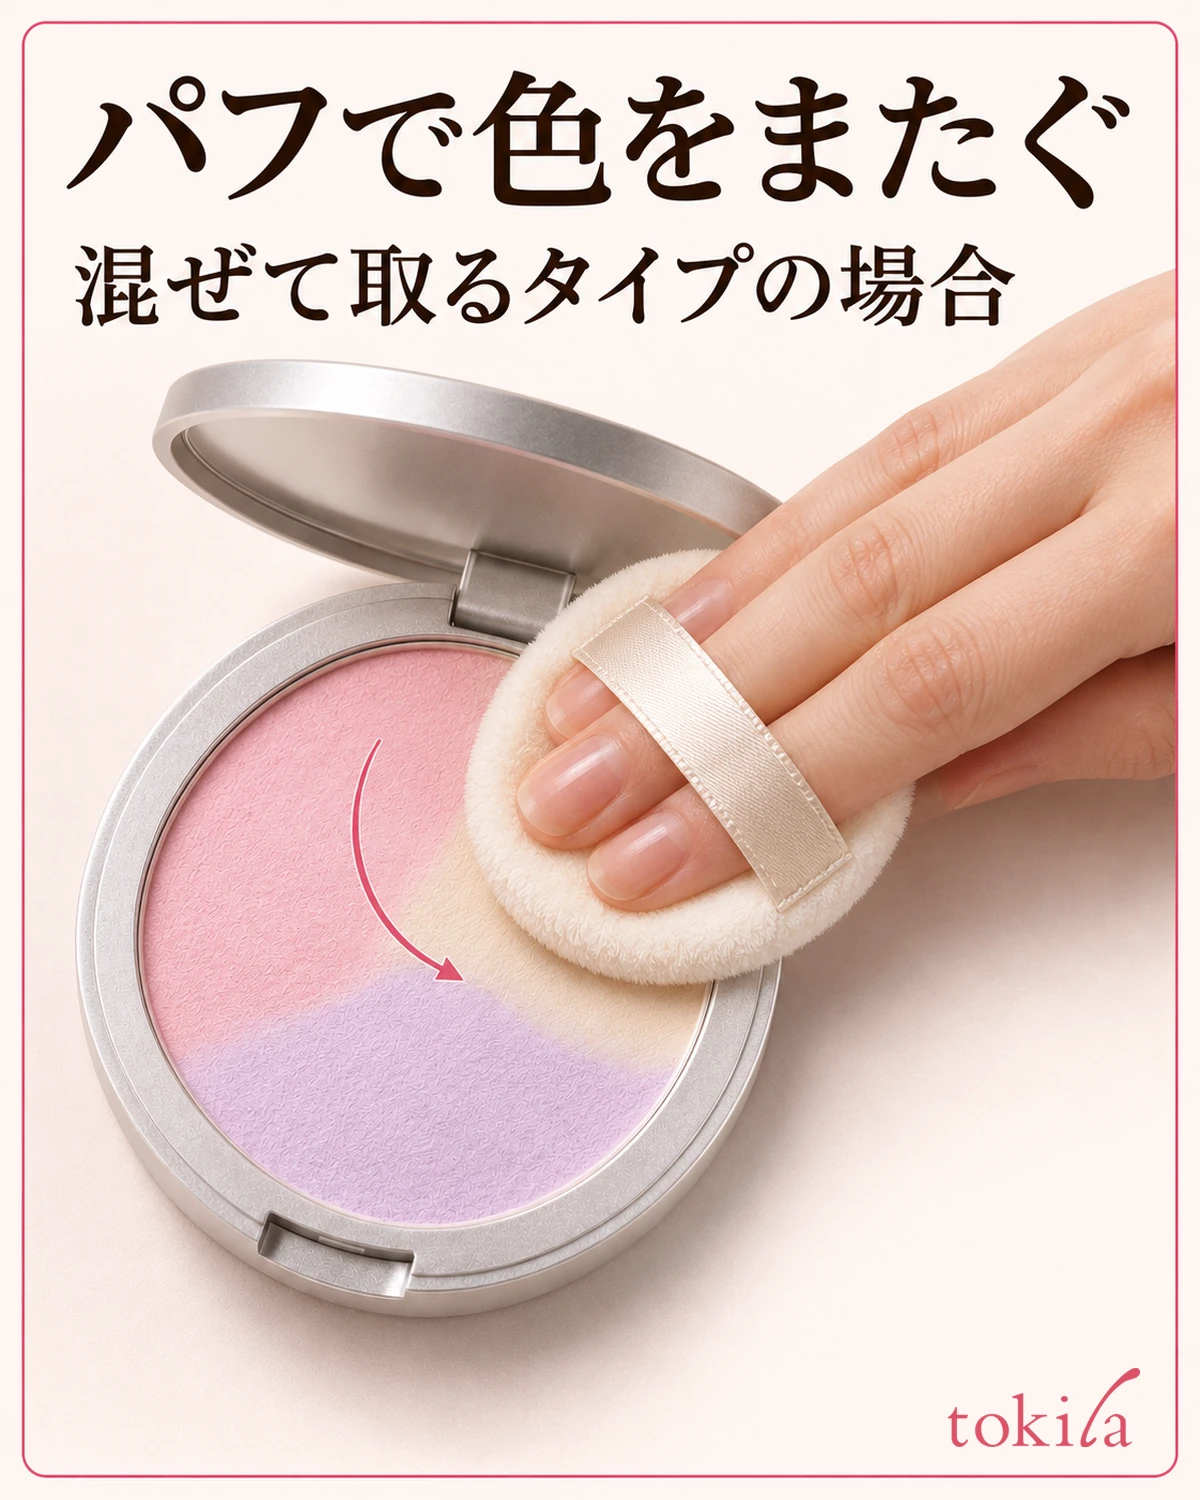
If the directions call for using a puff to pick up a blend, start with the specified puff, clean and dry. Position the compact so you can see where the shades meet and gently touch the flat side of the puff to the powder. Move it in the indicated direction or pattern so it touches several shades. If your product calls for a curved motion, first see which shades the arc crosses rather than rubbing the same one repeatedly.
If the puff has a strap for your fingers, holding them too upright can leave only the edge touching the powder. Look at the point of contact and adjust your grip so enough of the puff meets the surface. If only one narrow patch of color is wearing down, check whether you always start in the same spot before pressing harder.
Before bringing the puff to your face, turn it over and look at the side that picks up powder. Check whether powder has collected in just one spot. If the shades are too pale to tell apart, there’s no need to keep picking up powder until you can see them. Use the contact area and direction of motion as clues.
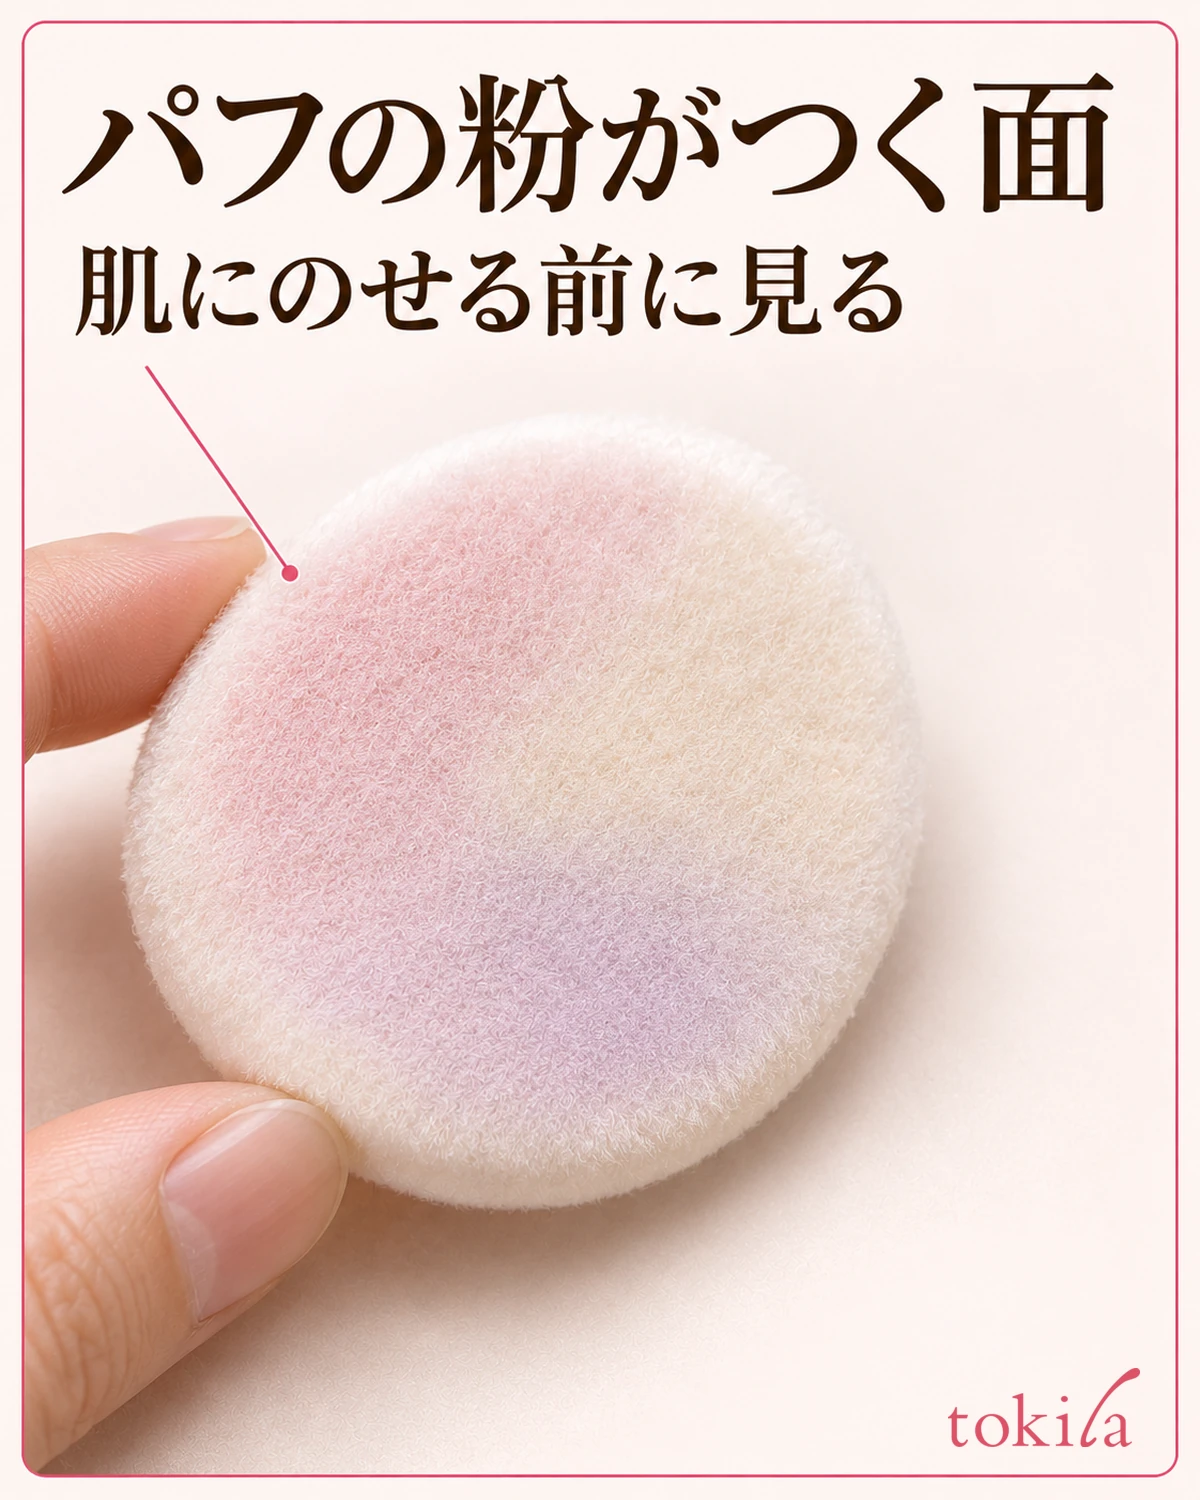
If you pick up too much powder, follow the product’s directions for handling it. There’s no need to drop the powder back into the compact or scrape the shade boundaries to mix them. Hold off on adding another layer now, and adjust how much you pick up next time.
3. Gently press and lift the puff on the broad part of the cheek
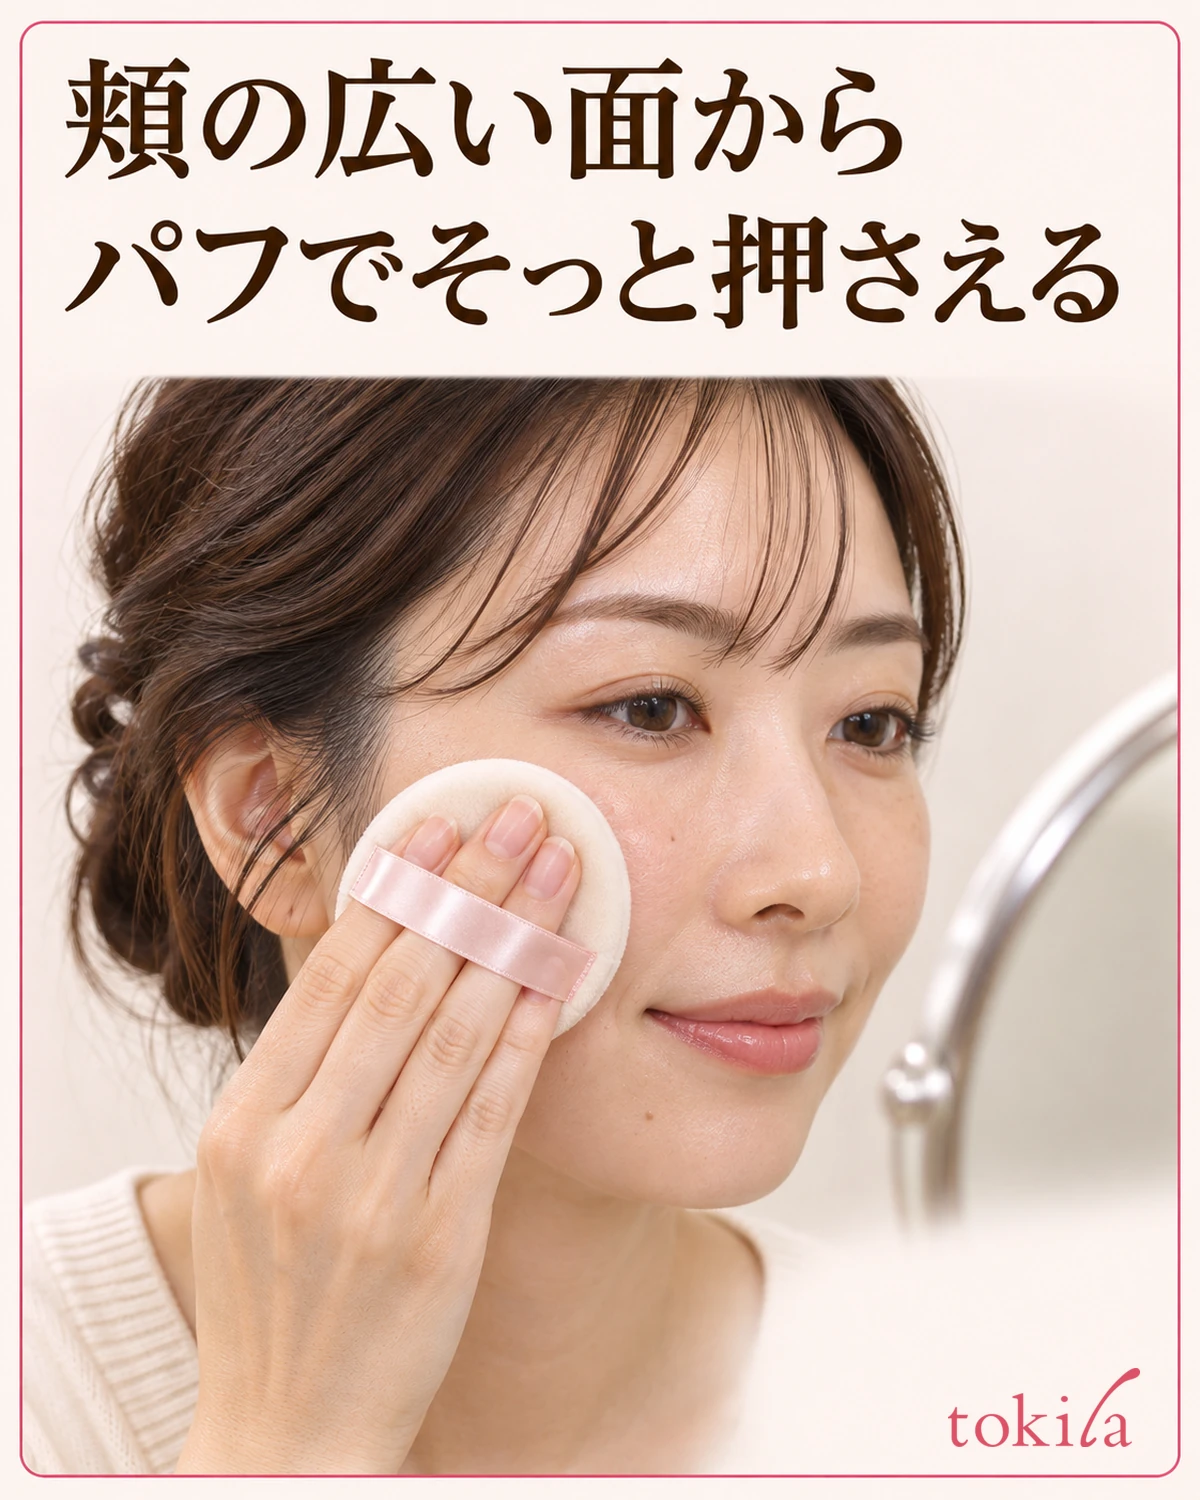
If the product is for all-over use and calls for pressing with a puff, the broad part of the cheek makes it easy to see how the puff meets the skin. Use a mirror to choose the first spot, then gently press and lift. Lift the puff fully before moving to the next spot. If you’re wearing foundation underneath, avoid dragging the puff sideways and shifting your base.
If you finish one cheek before starting the other, more of the freshly picked-up powder may land on the first side. If you notice a difference between sides, check the broad areas of both cheeks early. If one side looks like it needs more, first see whether the powder left on the puff is enough rather than reloading immediately. If the product gives a specific order for moving on to your forehead or chin, follow it.
Around the sides of the nose or mouth, pressing the same area you would on a cheek can spread powder beyond where you want it. Choose a part of your puff that fits comfortably and lightly press just the narrow area. Reloading every time you press a cheek makes it harder to gauge differences in amount. Check the overall finish first, then decide which spots need more.
On days you wear blush, adding more powder can change how the area where you place blush looks. Finish the powder on the cheeks first, then decide the order based on the blush you’re using. If you’re unsure whether it can go over your finish, check the blush texture and layering method, including whether it’s a powder or cream.
4. Compare both cheeks straight on before adding powder
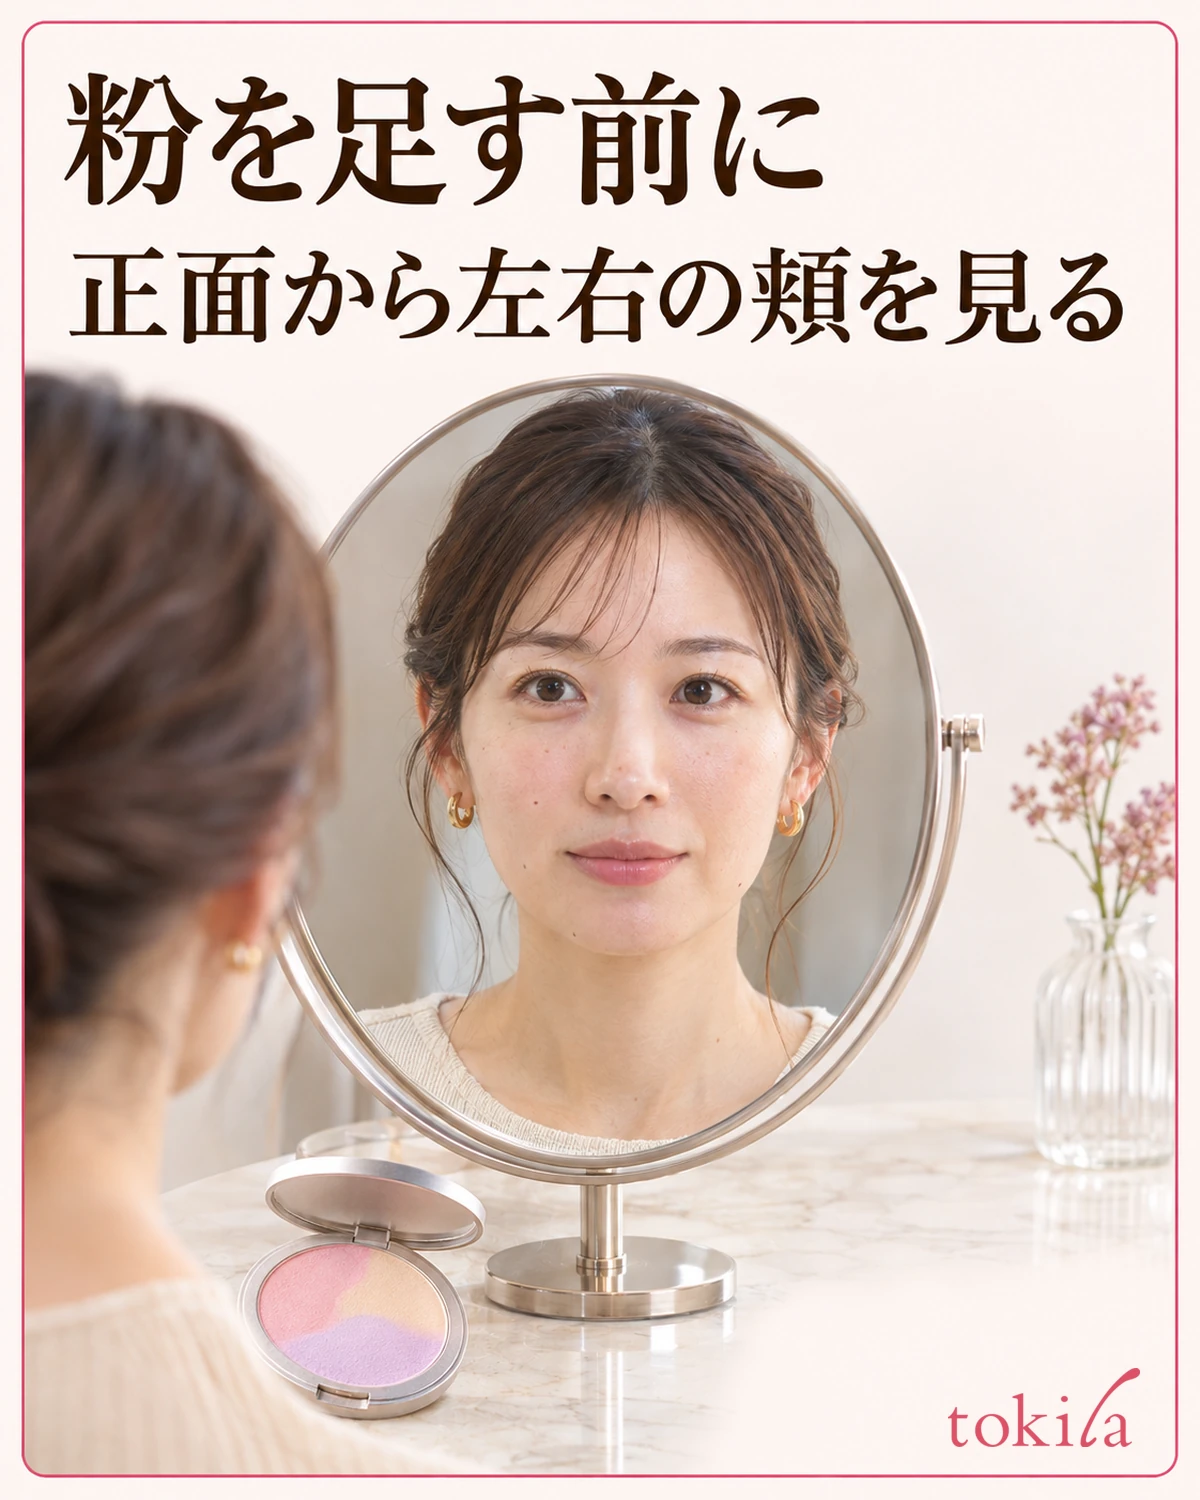
If one side looks brighter, face the mirror again and try to get light hitting both cheeks from as similar a direction as possible. If only the side nearest the window looks brighter, turn slightly or move the mirror. If the difference shrinks when you return to a straight-on view, there’s no need to add powder to the other side right away.
If one side still looks powdery straight on, see whether it’s where you first placed the puff. If the color difference bothers you, recall which shade you started on and which way you moved. Don’t settle on one cause from the mirror alone. Check where you picked up the powder, how much you applied, and the light, in that order.
If you already feel there’s too much powder, check a spot on the side that looks heavier before building up the lighter side to match. If the directions allow you to lightly sweep away excess with a clean tool, adjust just the area that bothers you, then step back and look again. If your base starts to shift, stop rather than rubbing the same spot repeatedly. If the amount or a white cast is the issue, see how to tell if you’ve applied too much face powder for more guidance.
5. Next time, change either the amount or where you pick it up
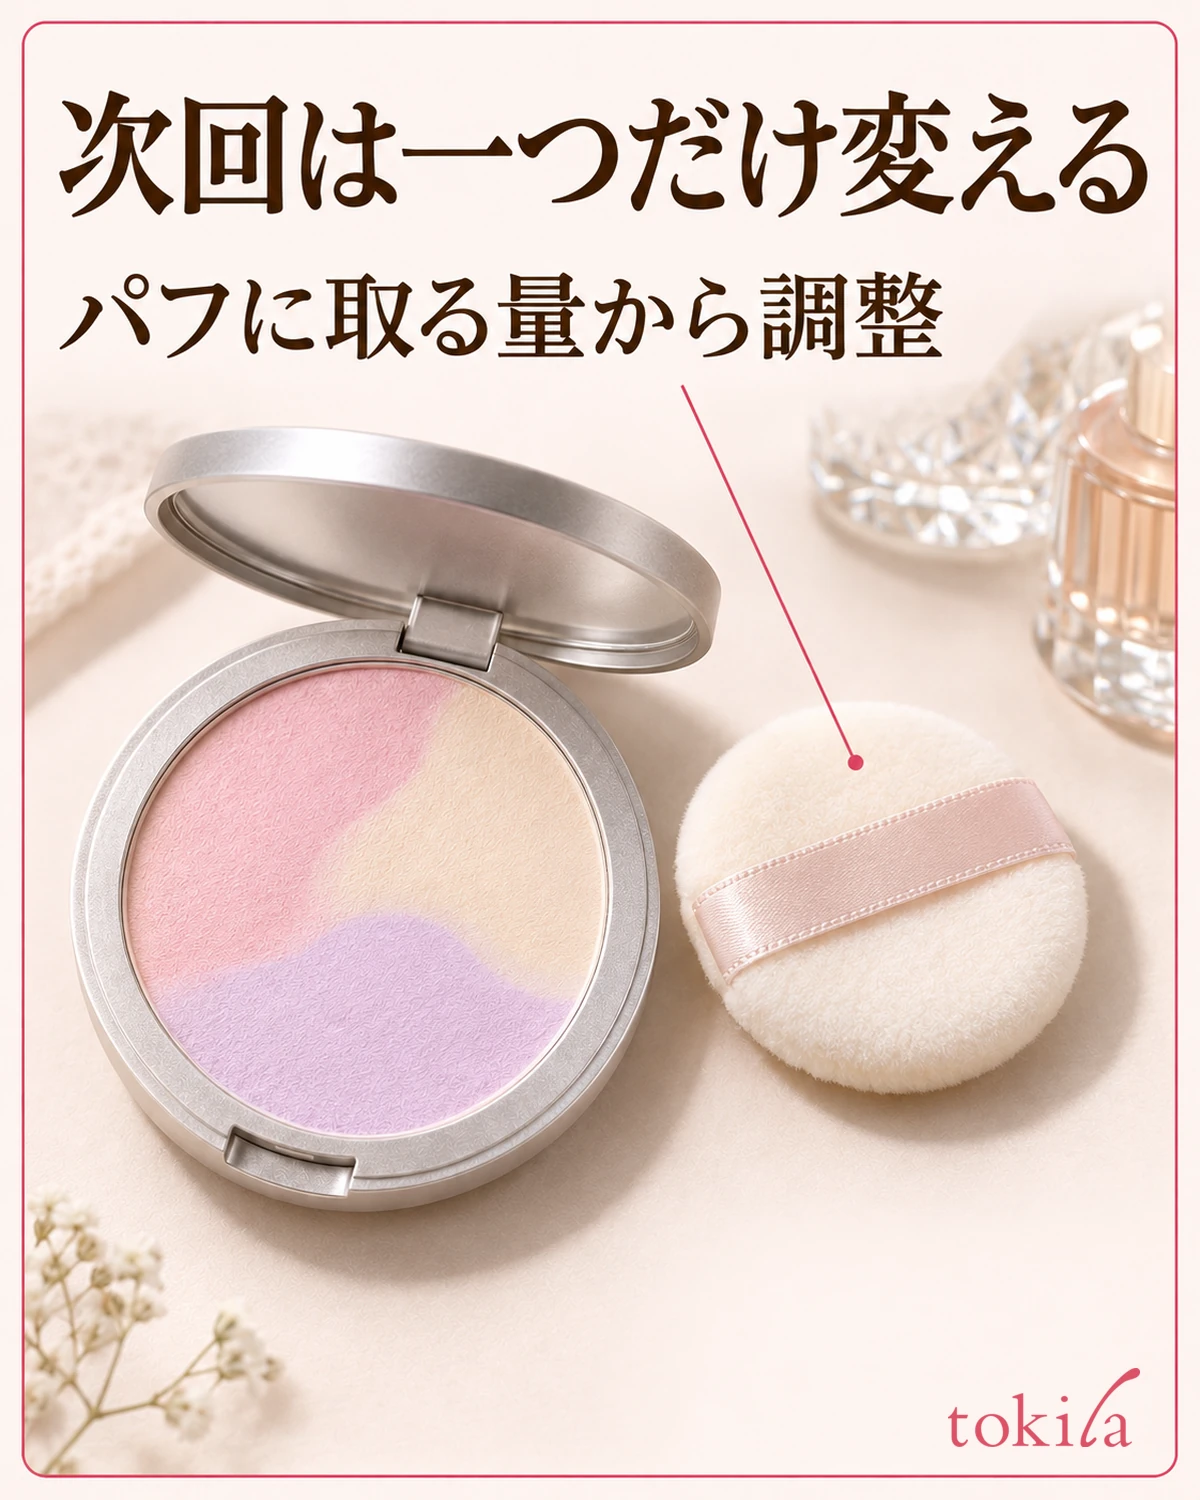
Next time, change just one thing based on what bothered you. If both cheeks looked heavily powdered, pick up less without changing the starting spot much. If the amount seemed fine but you noticed you keep touching the same shade, try crossing the boundary at a different point without increasing the amount.
If you change the amount, puff, and light all at once, it’s hard to tell which affected the finish. When you want to compare, use your usual base and check the mirror in roughly the same spot. Simply remembering where you placed the puff in the compact and where you first placed it on your face can help you decide what to change.
As you use the powder, its surface can wear unevenly and the usual angle may no longer make good contact. Before digging into a recessed shade with the edge of the puff, look for a flat spot and see how much of the puff can touch it. If buildup makes it hard to see where fresh powder lands, follow the washing or replacement directions so you can start with a clean puff.
With multicolor powder, it’s more useful to ask whether it’s designed to blend, which shades the puff crossed, and how the finish looks under the same light than to memorize the number of shades. If you like the finish, there’s no need to add steps. When something looks off, start by adjusting either the amount or the pickup spot.