Apply the mask, let it dry, and slowly remove the film. When first using a peel-off mask, you may wonder how far to spread it and what to check before peeling. Keeping its steps separate from those for a rinse-off mask and reviewing your product's instructions first helps you proceed calmly from preparation through cleanup.
This article covers face masks applied as a gel or similar substance and removed as a dry film. Adhesive nose strips and brow tints that leave color behind are different products. Follow the container's directions for amount, time, frequency, and peeling direction; the film's color or size in the photographs is not a model for the amount to use.
1. Read the order and application areas to confirm it is a peel-off product
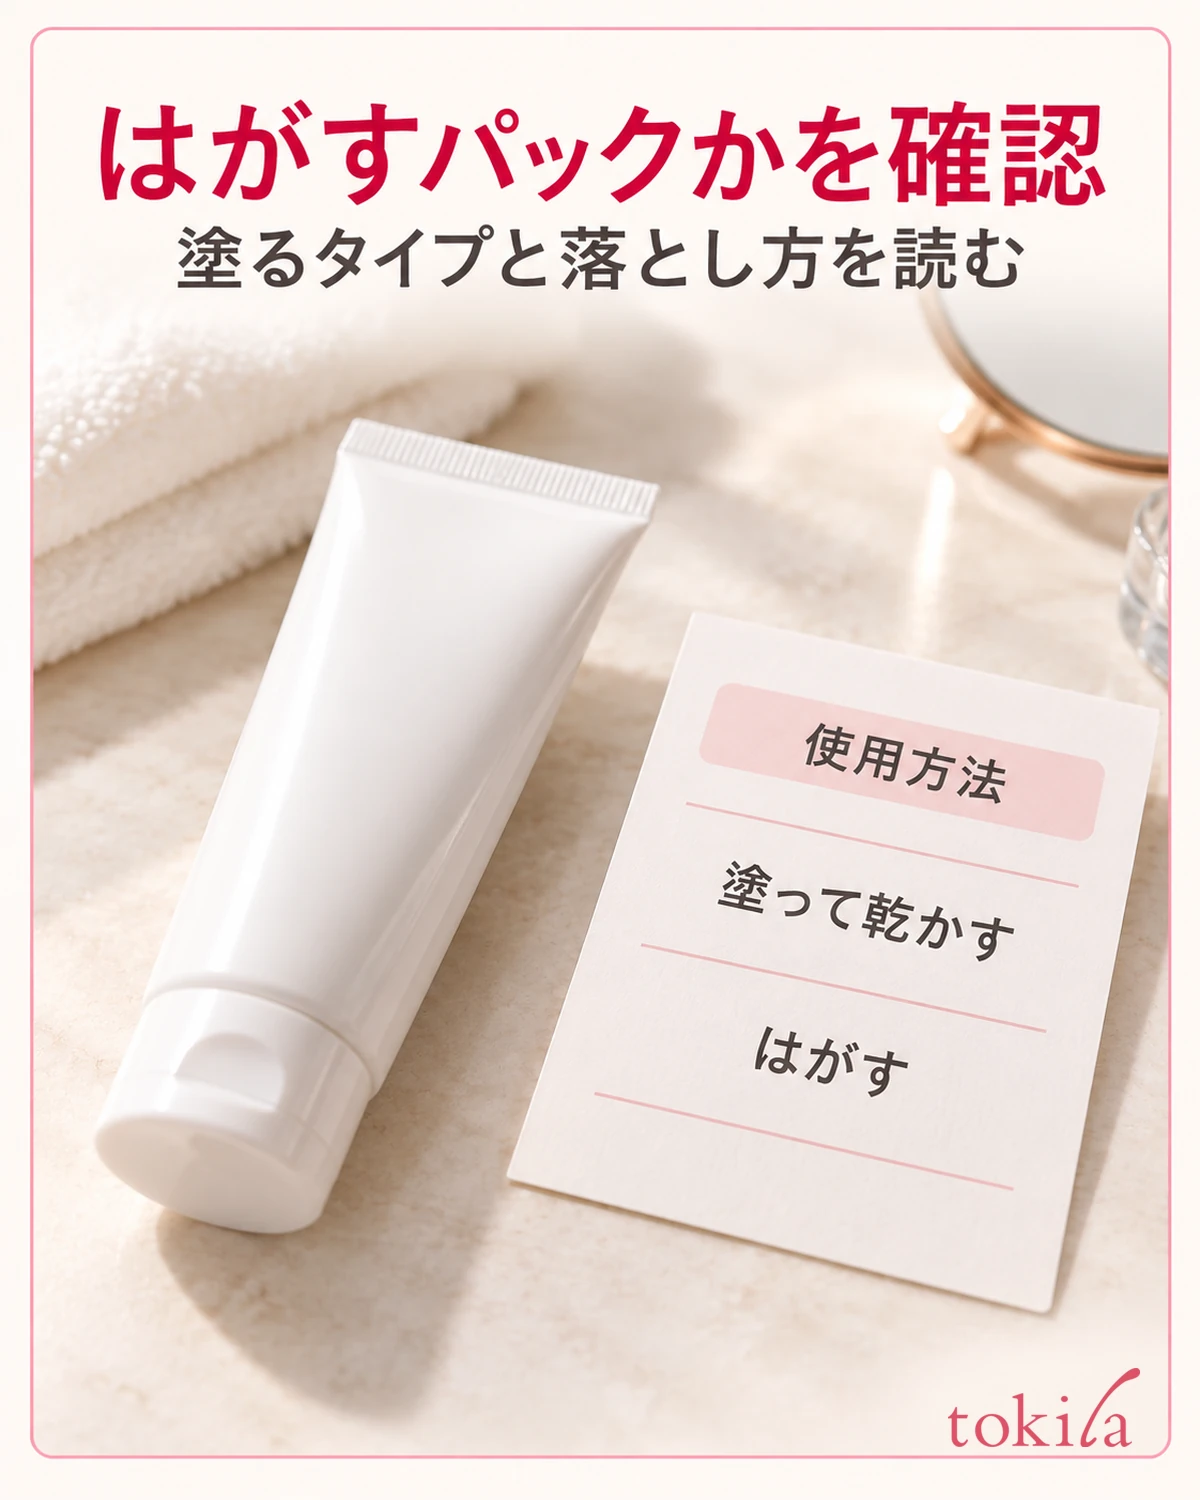
Read the instructions on the container or box and check the full sequence: apply, dry, and peel off. Similar-looking gels may instead be rinsed off or left to absorb. Do not decide how to remove a product merely because it is called a mask; prepare according to the instructions for the one you have.
Next, read when to use it and where it can be applied. Establish its place after cleansing, whether it goes before or after toner, and whether it is for the whole face or specific areas. If an application area is specified, limit use to that area. Also avoid transferring the moisture requirements for nose strips to an applied mask.
Read the amount, recommended thickness, waiting time, and frequency separately. If an amount is specified, planning how to spread it in several portions can help avoid using it all on one cheek. Rather than prioritizing thinness alone, aim to distribute the directed amount evenly.
Choose a day when you can allow drying time and plan the care that follows removal. Trying it for the first time just before leaving may tempt you to peel it off before it dries. Check whether your product's timing fits your schedule and choose a time when you can comfortably complete the process.
Before use, also check skin conditions in which the product should be avoided and what to do if a reaction occurs. Do not force application over wounds or eczema; follow your product's precautions. Do not interpret pain or redness as signs that the treatment is progressing. If your skin looks different from usual, reconsider adding a new treatment that day.
2. Prepare your face and hands and keep the mask away from hair and eyebrows
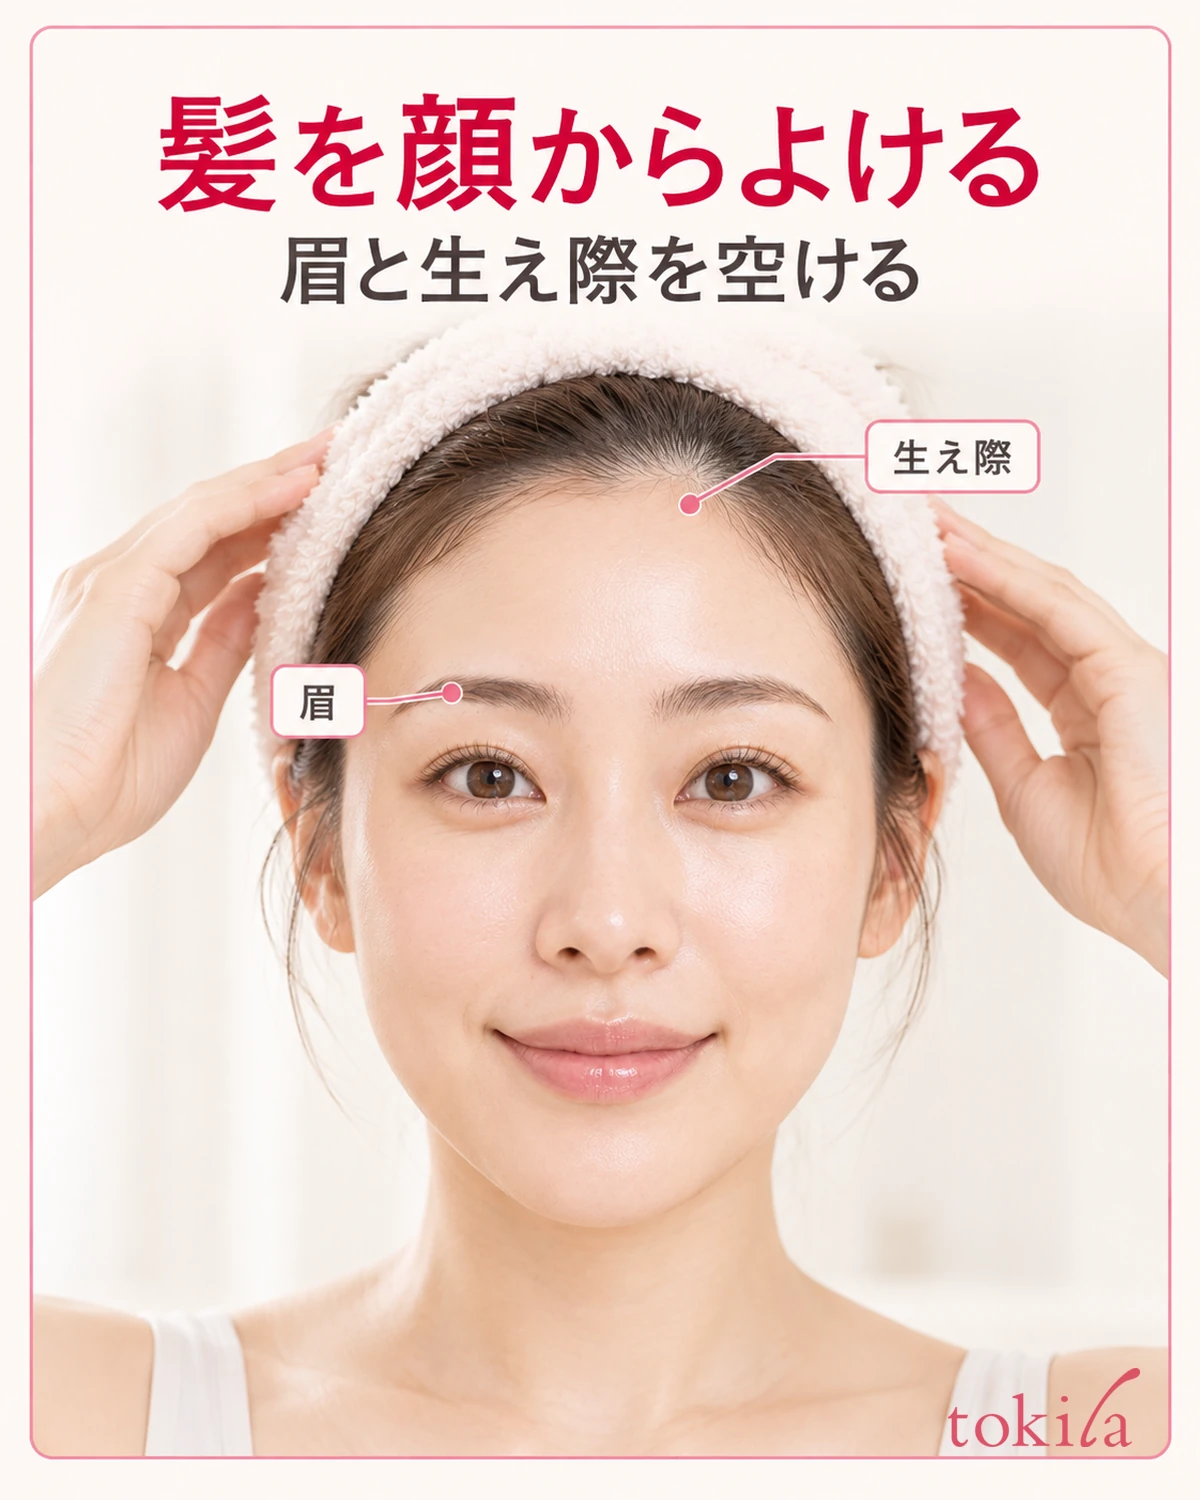
Prepare your face according to the product's place in your routine and handle it with clean hands. If instructed to remove moisture from your face, gently press with a soft towel before proceeding. Follow the container's directions on damp or dry skin instead of adding your own methods to speed drying.
Keep bangs and side hair away from your face so that you can see your eyebrows and hairline in the mirror. Short hairs may remain at the temples even after you have tied your hair back. Moving them aside from the hair side before dispensing the mask, without tracing your face with your fingers, reduces the need to adjust them with product-covered hands.
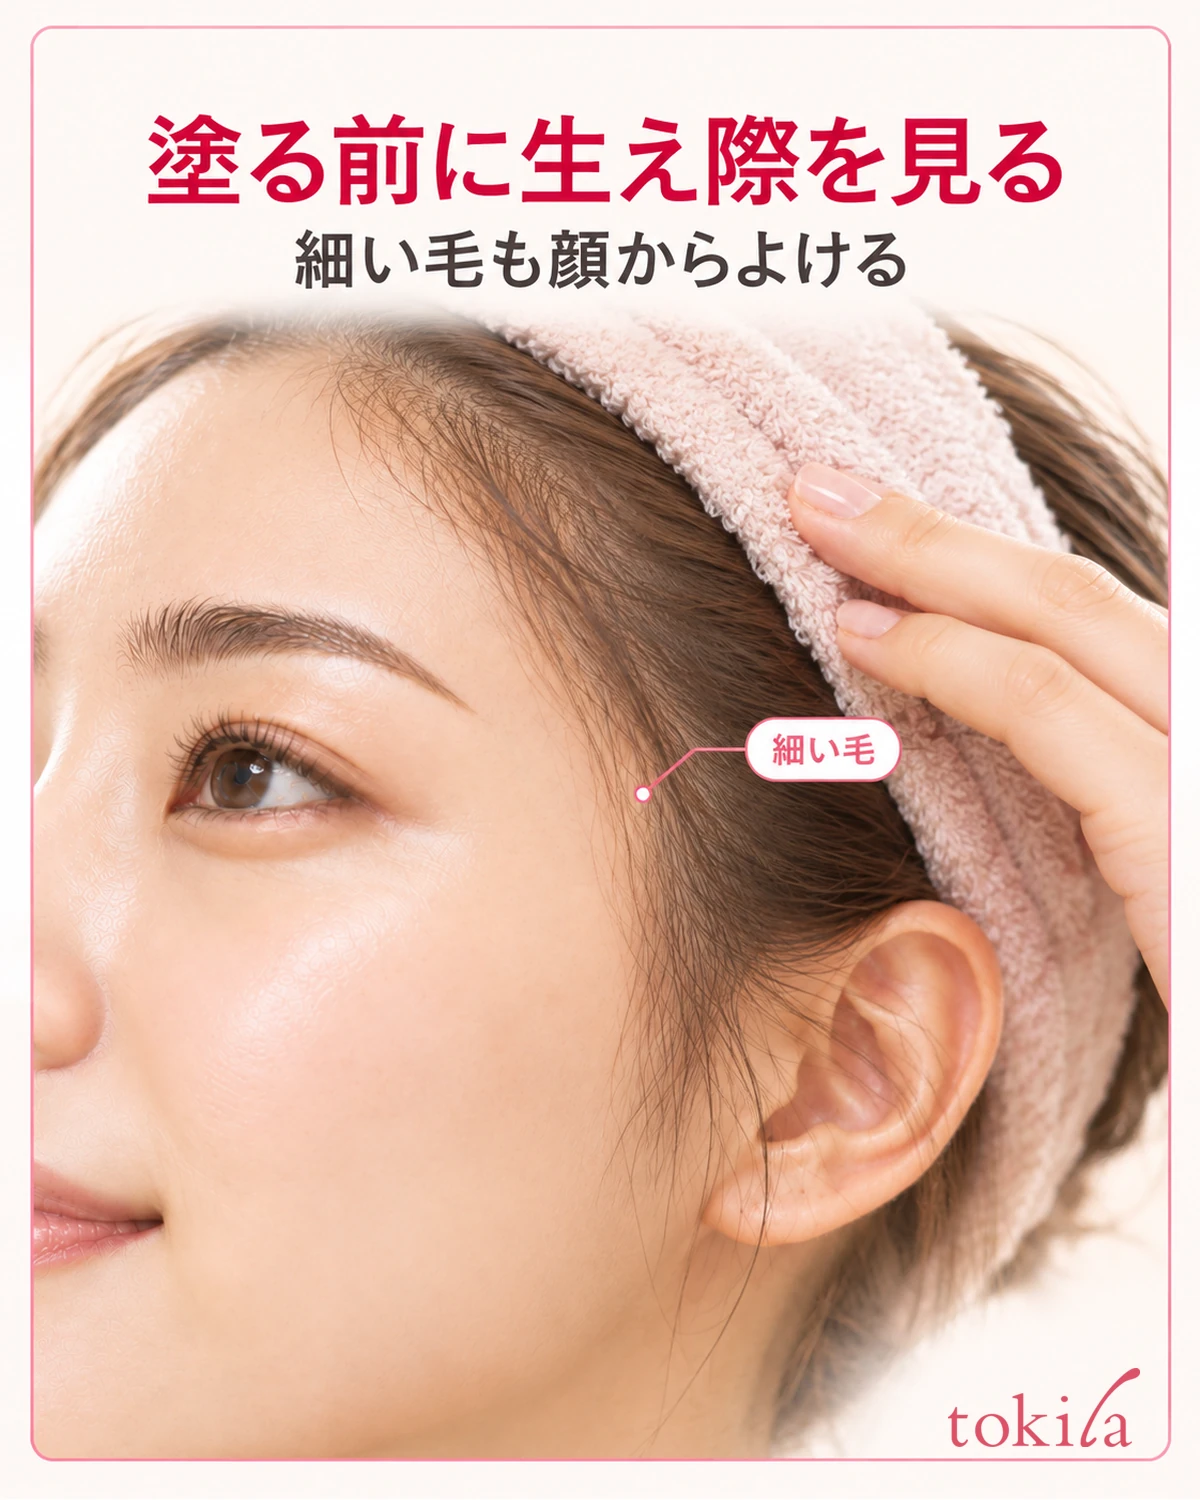
Check the product's instructions for areas to avoid, such as eyebrows, around the eyes and mouth, and the hairline. In the mirror, include fine hairs above your eyebrows and hair falling in front of your ears. Prioritize your own hair placement and the product's directions over measuring the blank spaces shown in the photographs.
Place the container and instructions somewhere dry where you can read them again. Preparing tissues or something similar for the removed film also saves searching for a place to put it while holding it in one hand. If a specific applicator is required, prepare it rather than treating the product like one intended for finger application.
Avoid positions that could allow product to enter near your eyes, and work in light bright enough to see your face. If applying while holding a hand mirror is awkward, move to a stable mirror. Arranging a clear view of your hands and face beforehand lets you break the process into steps instead of moving your hair or mirror after application.
3. Dispense the directed amount and spread evenly over the specified area
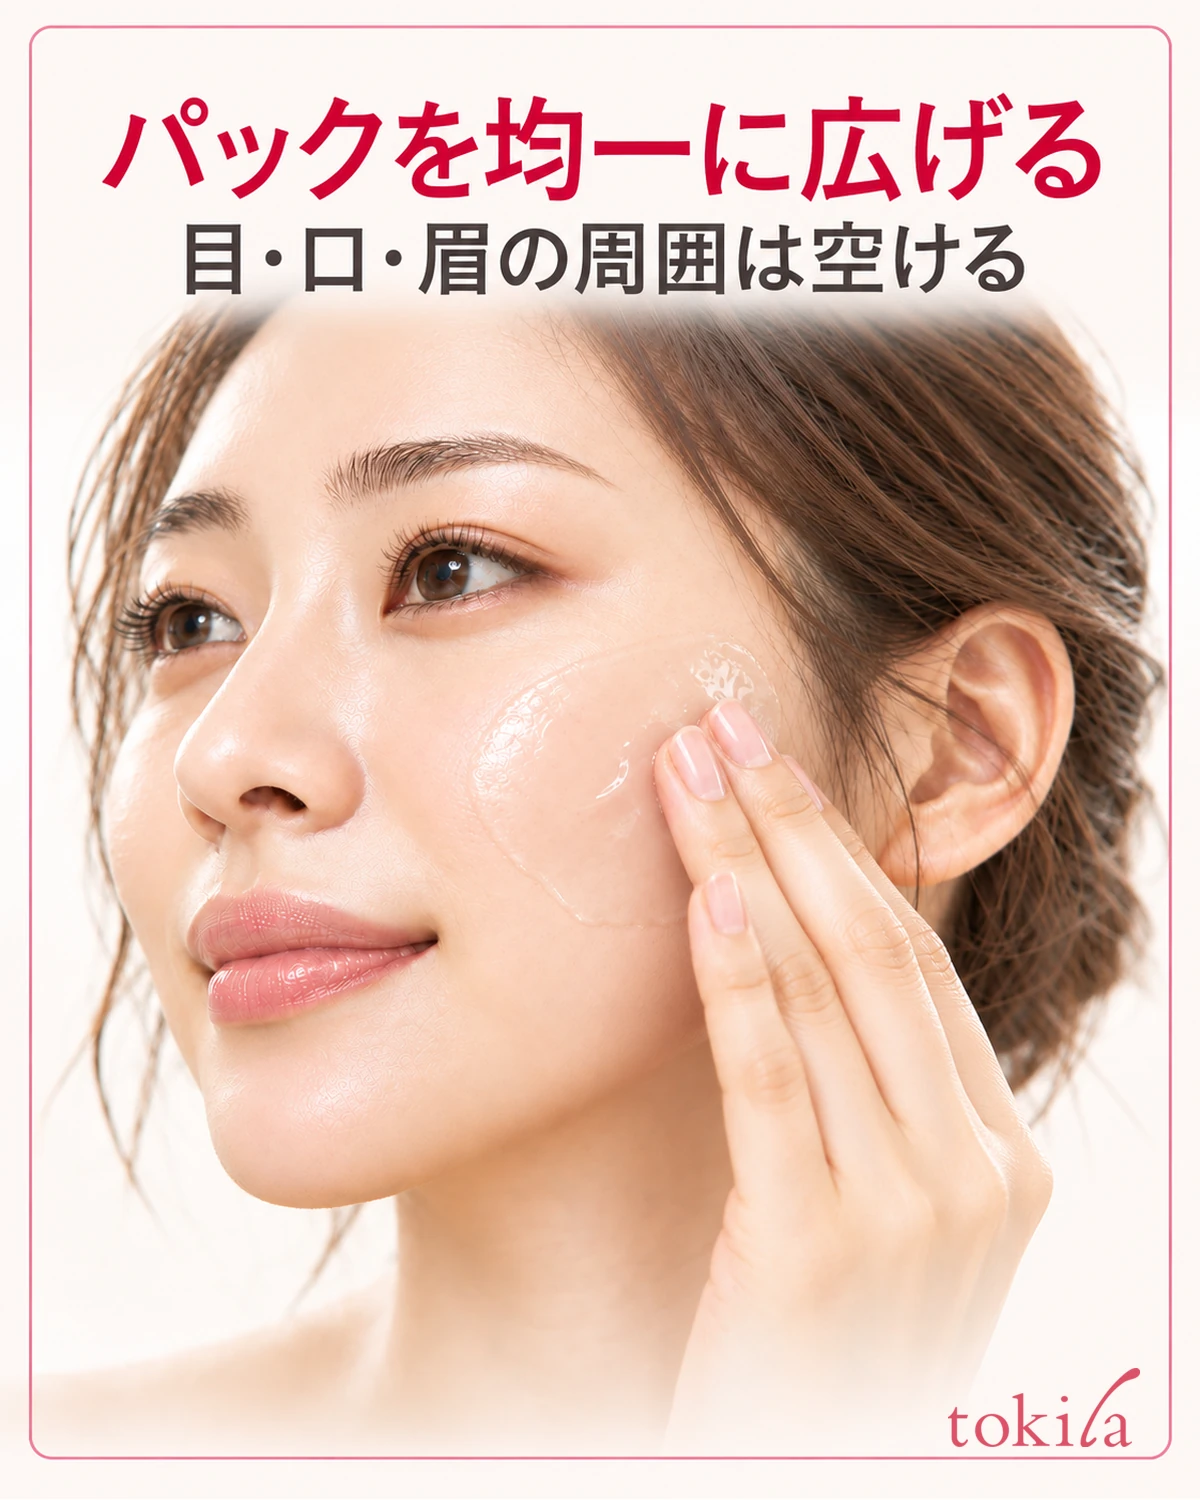
Take the directed amount and spread it over the indicated areas. Even if the gel is sticky, move it gradually with finger pads or the specified method rather than pulling hard on your cheeks. Do not add repeated back-and-forth polishing movements; use the mirror to see which areas are covered and which remain bare.
A thick patch may not dry at the same rate as the surrounding area. Avoid creating a mound at the start and even out the product to the thickness your instructions recommend. Conversely, spreading it extremely thin out of fear of taking too much can make the film hard to grasp later, so consider amount and thickness together.
Adjust the angle of your fingers to the contours of your face. Even if use around the nose is indicated, check the area to keep product out of the nostrils, eyes, and mouth. Whether to include the forehead or chin depends on the product; suitability for cheeks does not mean it can be extended to the neck or eyelids.
Distinguish directions to connect the application areas from directions to apply only to limited areas. Do not cover your face simply to achieve removal in a single sheet; maintain the product's specified area. Even if one side starts drying first, do not switch to adding unspecified water or toner and reapplying.
After application, look straight ahead and check for contact with hair or eyebrows and for thickness concentrated in one place. Continually touching the surface makes its condition harder to assess, so proceed according to the stated waiting time and checking method. Clean and close the container opening and remove product from your hands.
4. Check the directed time and film condition before removal
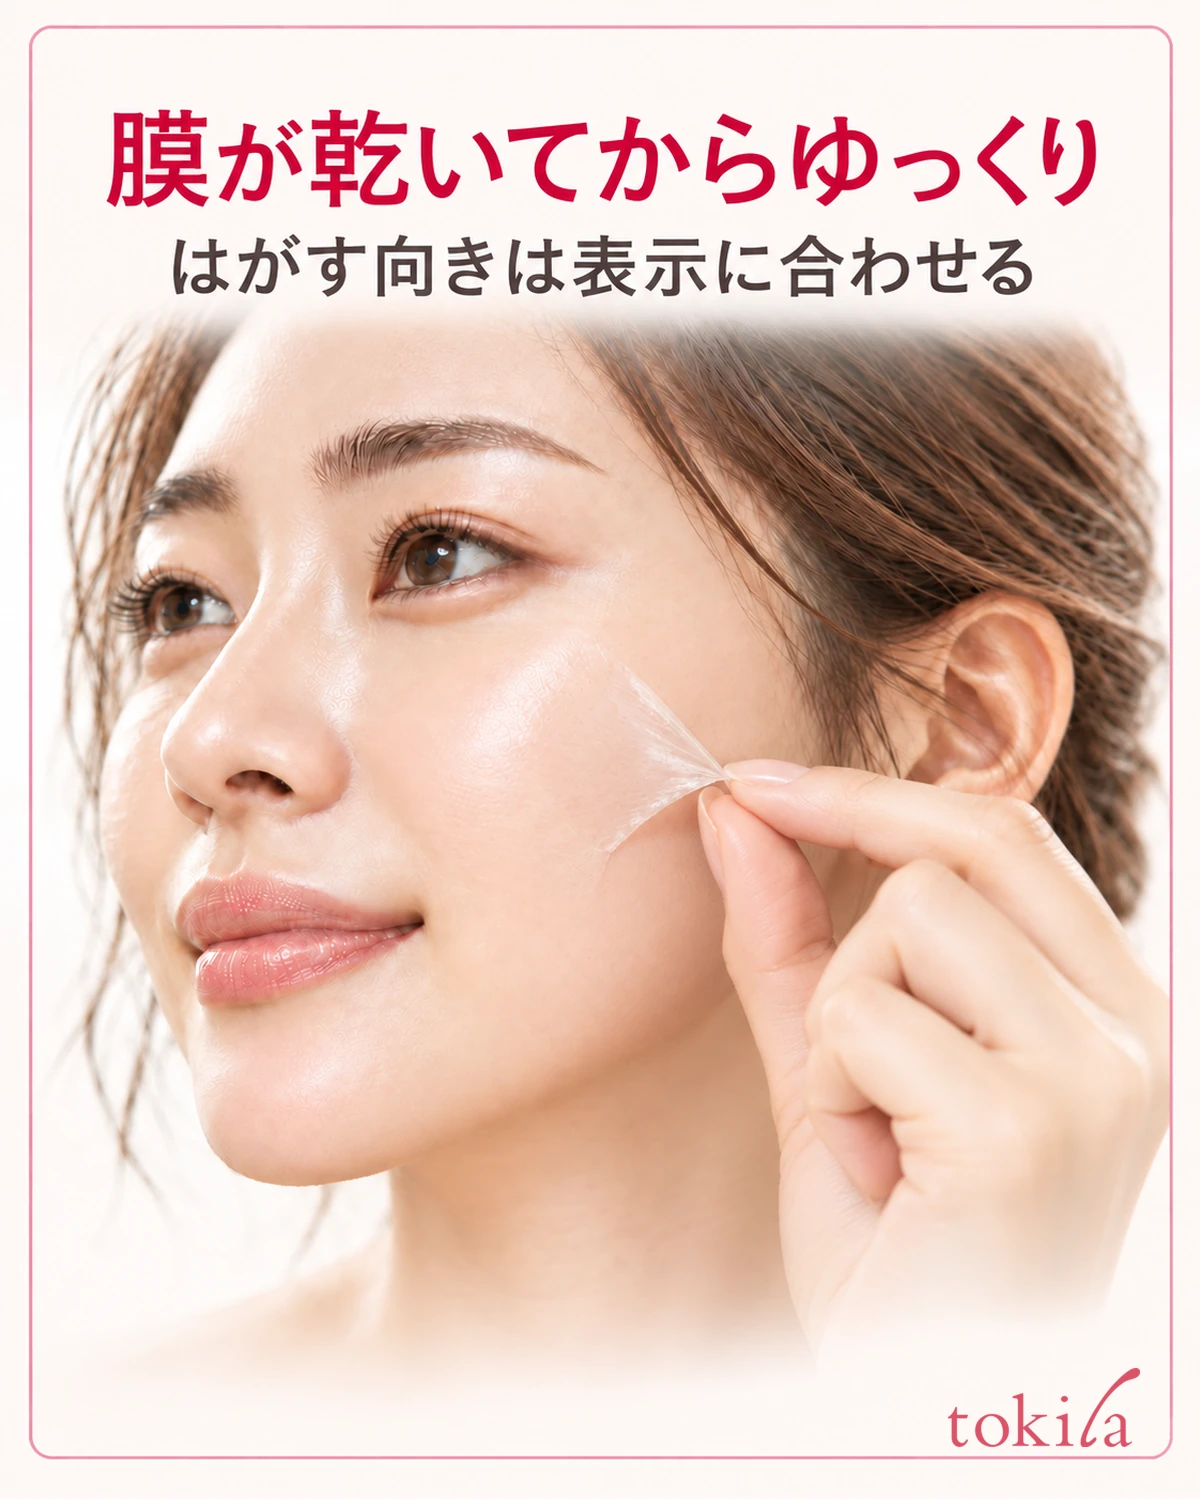
After application, use your product's stated time as a guide. If peeling after drying is specified, check the film's condition as well as the time. Even when room conditions or thickness alter how it looks, do not use another product's timing as a universal deadline; return to the instructions for the one you are using.
If the instructions describe how to check the surface, follow that method. If some areas have formed a dry film while others are still sticky, avoid pulling the whole mask off in a hurry. Equally, do not assume longer drying is better and leave it on excessively or add direct heat from a hair dryer or heater.
When ready to peel, remove slowly from the specified edge and in the specified direction. Do not choose upward or downward peeling based solely on the hand position in the photograph; follow the container. Find an edge that is easy to hold and proceed gradually without digging your nails into the skin to scrape it off.
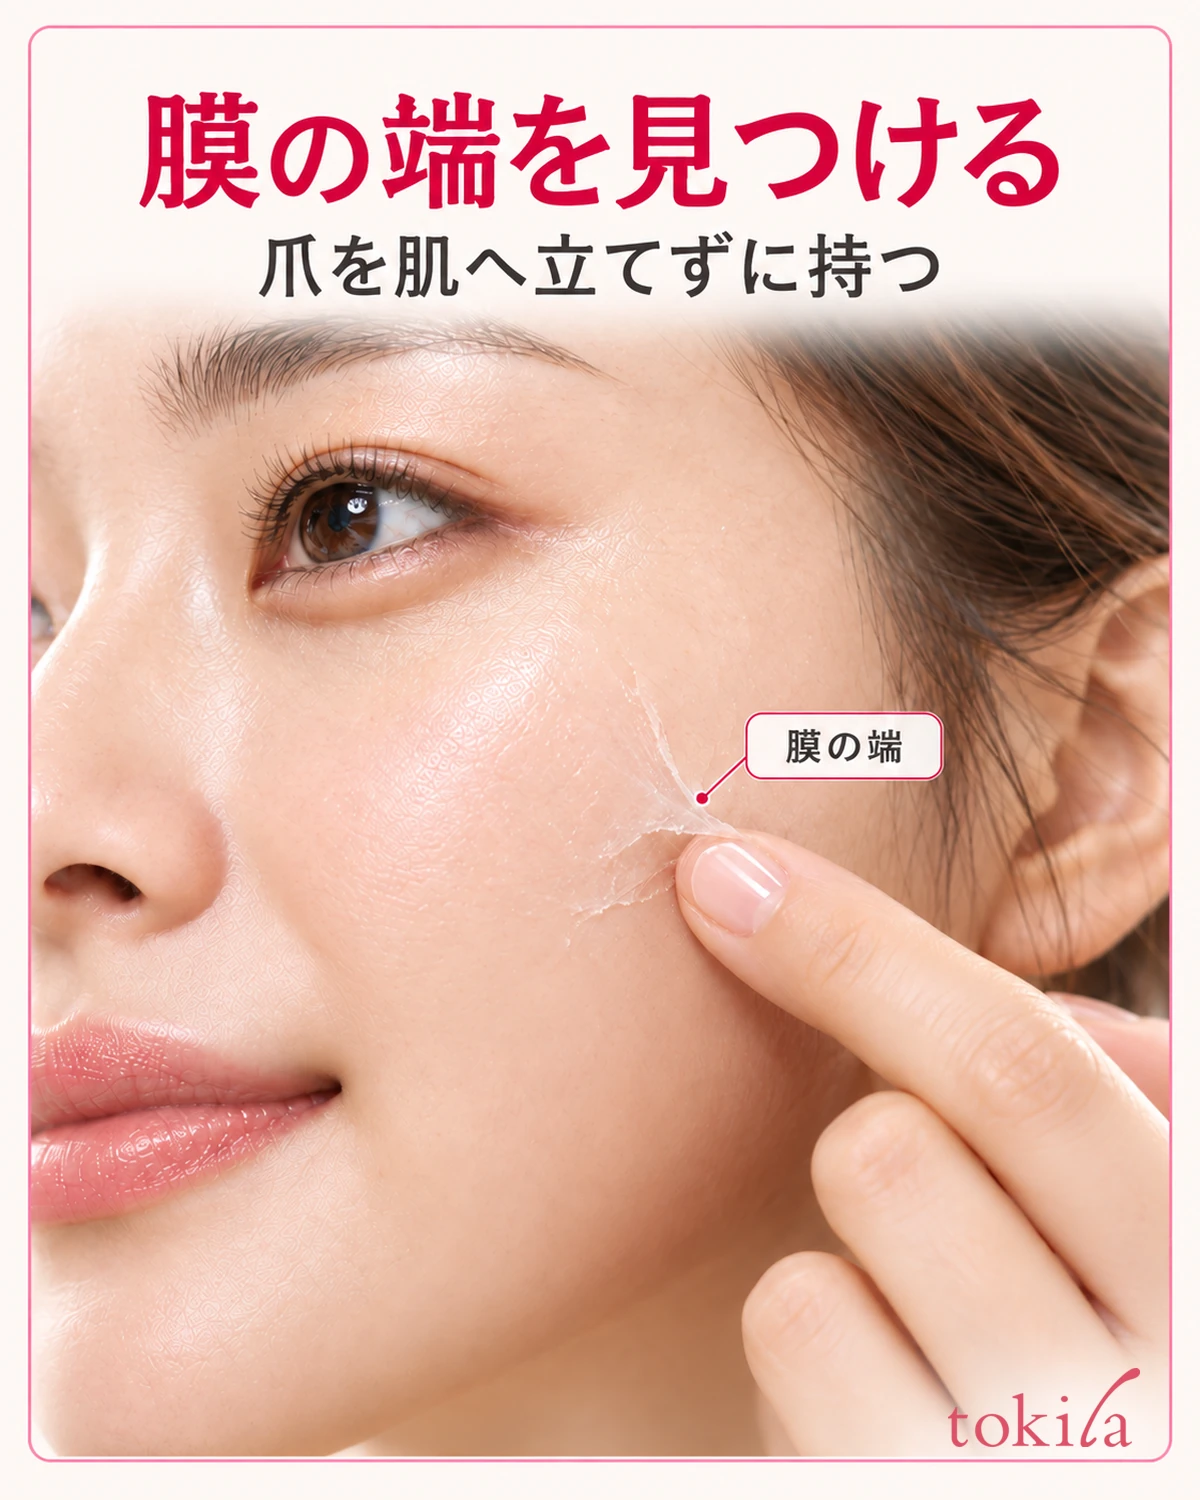
Move your hand while watching how the film releases and how your skin looks instead of pulling it far away from your face all at once. Removal in one connected sheet need not be a condition of success. If it tears, find another graspable edge and follow the instructions for handling the remainder.
If strong pain occurs or the film catches in hair, stop pulling forcefully. Check any instructions for dealing with a film that will not release easily. Also check whether removal with water or another specified method is indicated; avoid layering solvents or other cosmetics at your own discretion.
5. Remove remaining film as directed and continue with moisturizing
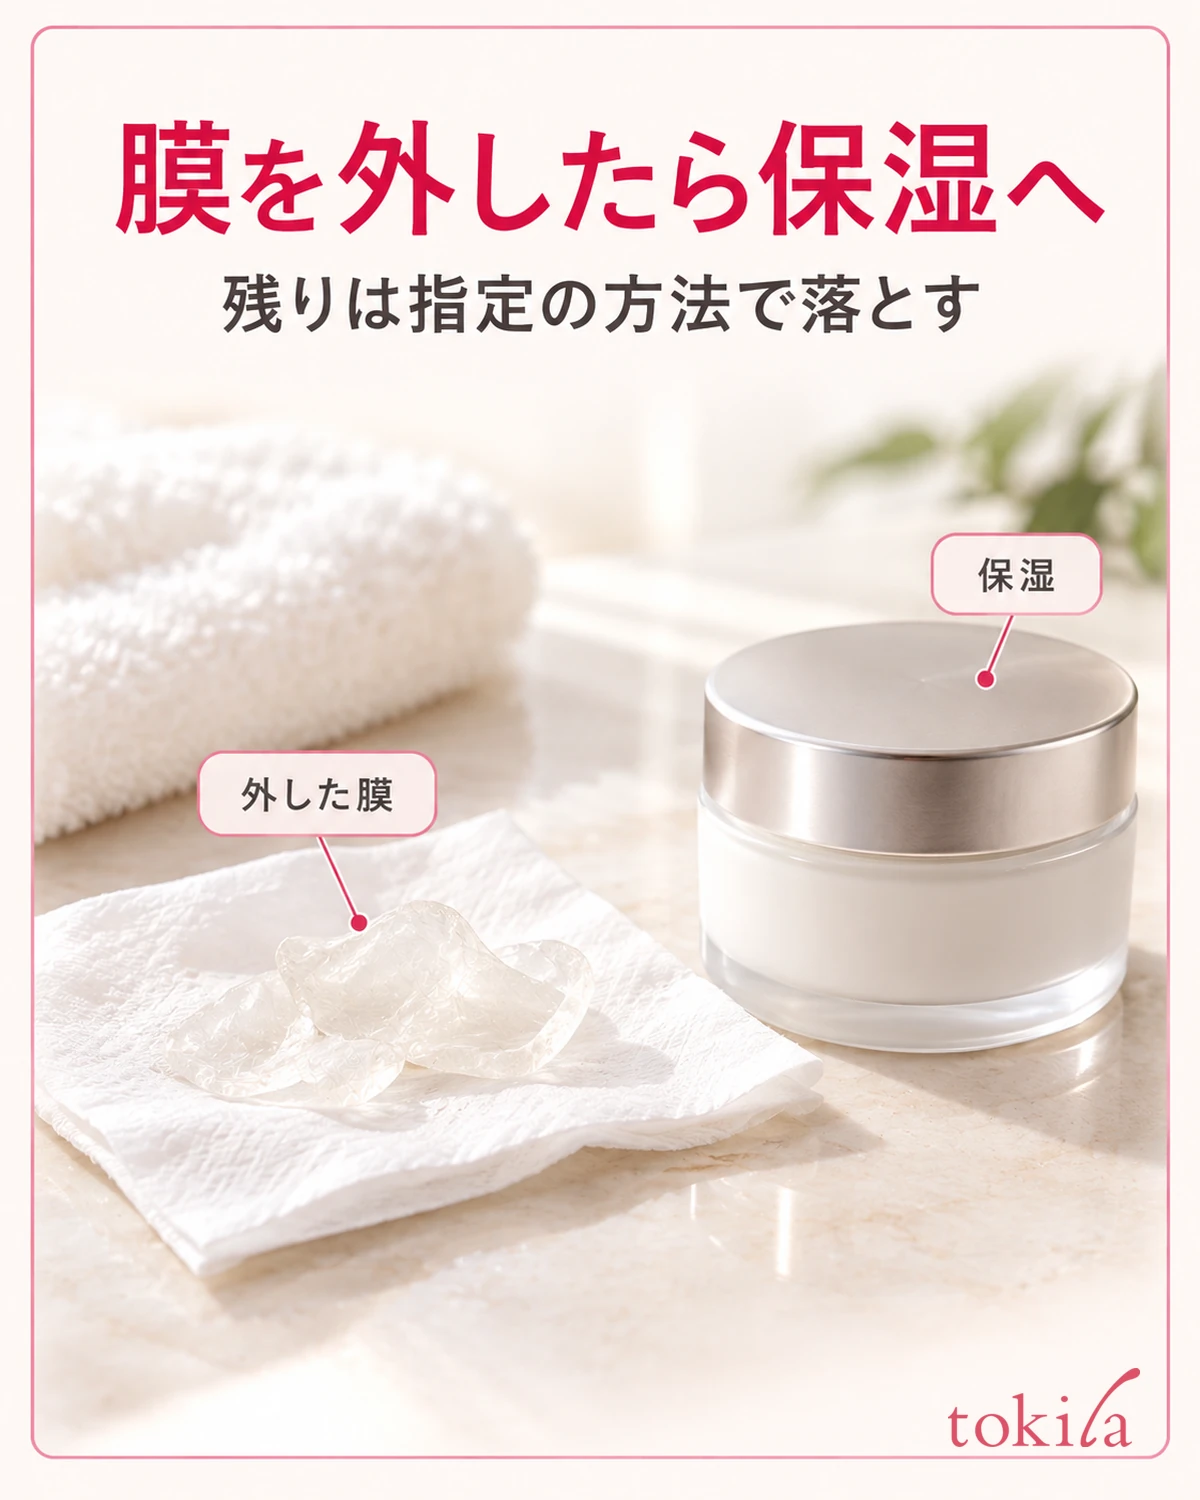
After peeling, look in the mirror for remnants beside the nose, on the chin, and at the edges of every treated area, not just the cheeks. Instead of scraping small pieces off with your nails, use the product's directed method for remaining film. Follow any instructions to rinse or use moistened cotton.
Do not judge the amount of dirt removed or changes in your skin from the film's color or particles. Its appearance alone cannot establish what it contains. Rather than immediately reapplying to the same place to remove more, finish that session according to the label.
Next, continue with the usual skincare indicated. When using toner, emulsion, cream, or other products, follow their normal directions while observing your skin. If you tend to take too much moisturizer at once, you can also review portioning in Checking and adjusting the amount of moisturizing cream.
Check frequency separately when planning the next use. Do not increase it based only on how your skin feels that day; follow the indicated interval and combination conditions. To clarify the difference from rinse-off products, Steps for using a rinse-off face mask can also help you choose the appropriate finishing method for your product.
After use, clean the opening and lid and store according to the label. Specific points to carry forward include whether you kept hair clear, where thick patches remained, and whether the film edge was easy to find. Rather than competing over the amount removed, gradually refine preparation that suits your face and the product you own.