
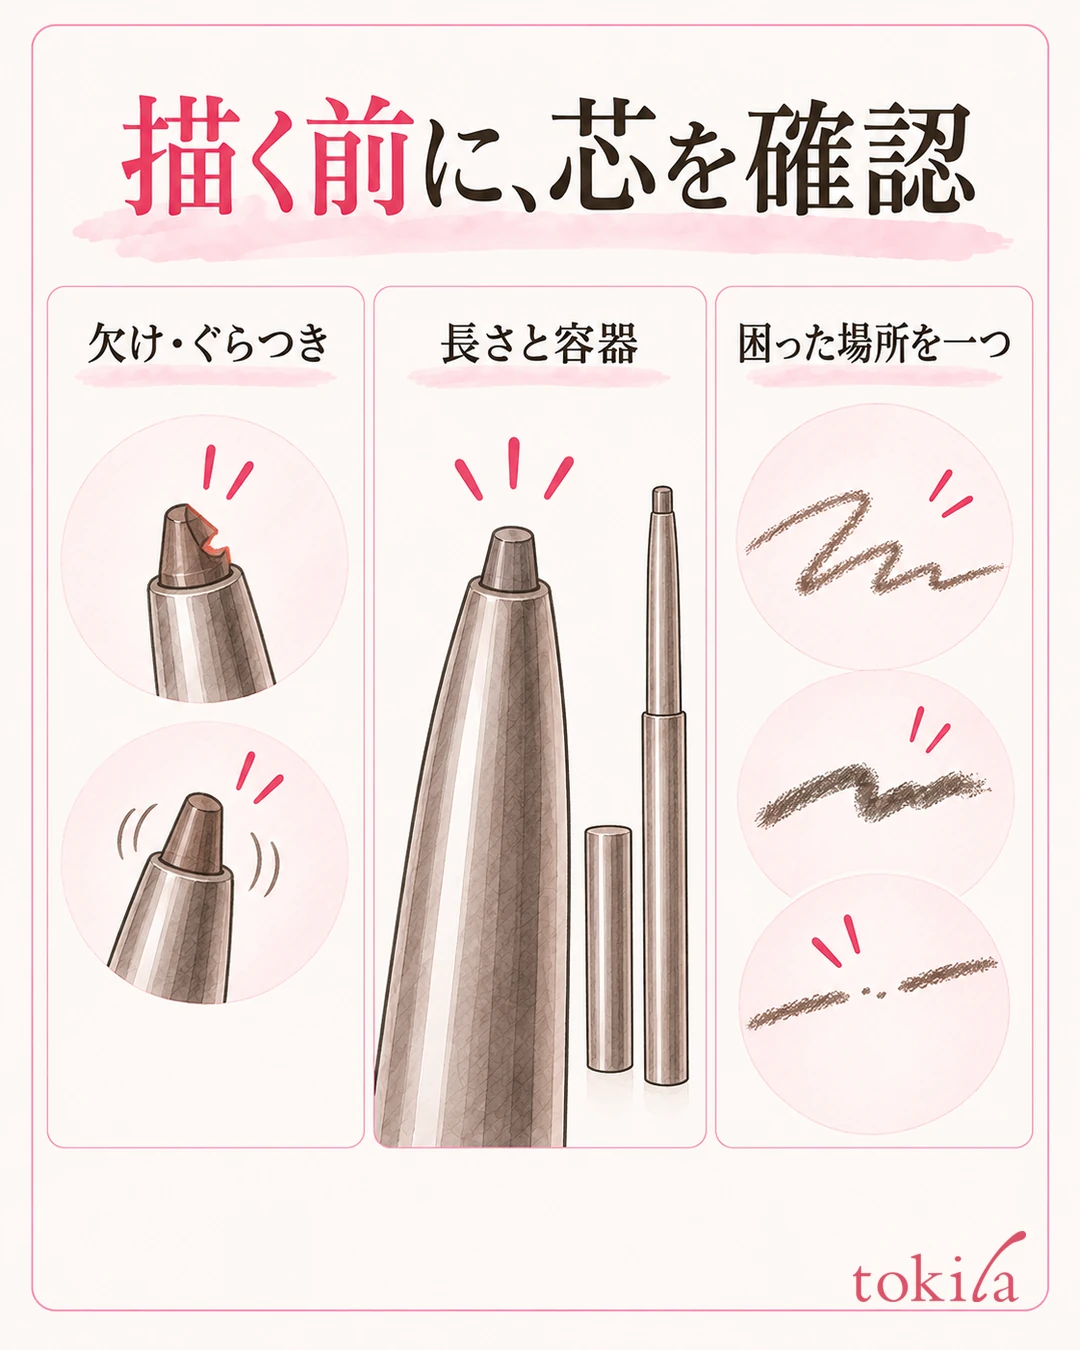
You move your pencil eyeliner but no color goes on. You press a little harder and the lead snaps, leaving only a thick line on your eyelid. In that case, before you keep tracing on your eye area, take the tool away and check the condition of the lead and how your product is meant to be used. The starting point is not to try to solve every difficulty with pressure.
This article focuses on trouble at the start of drawing with a pencil-type liner that uses a solid lead. It separates this from how to feed liquid liners, smudging over time, and left-right differences in the line, and goes in order through reviewing how far the lead is extended, the lead tip, mirror and hand position, and storage. If you are still at the stage of choosing a type, the basics of eyeliner and mascara may also help.
1. Move it away from your eyes and check the lead and the situation where you had trouble
First, look at the cap and the body in a bright place. If the lead is chipped, cracked at an angle, or wobbly, do not move on to testing how it draws on your eyelid. Also think back on whether the container touched your skin, or whether it changed after being dropped.
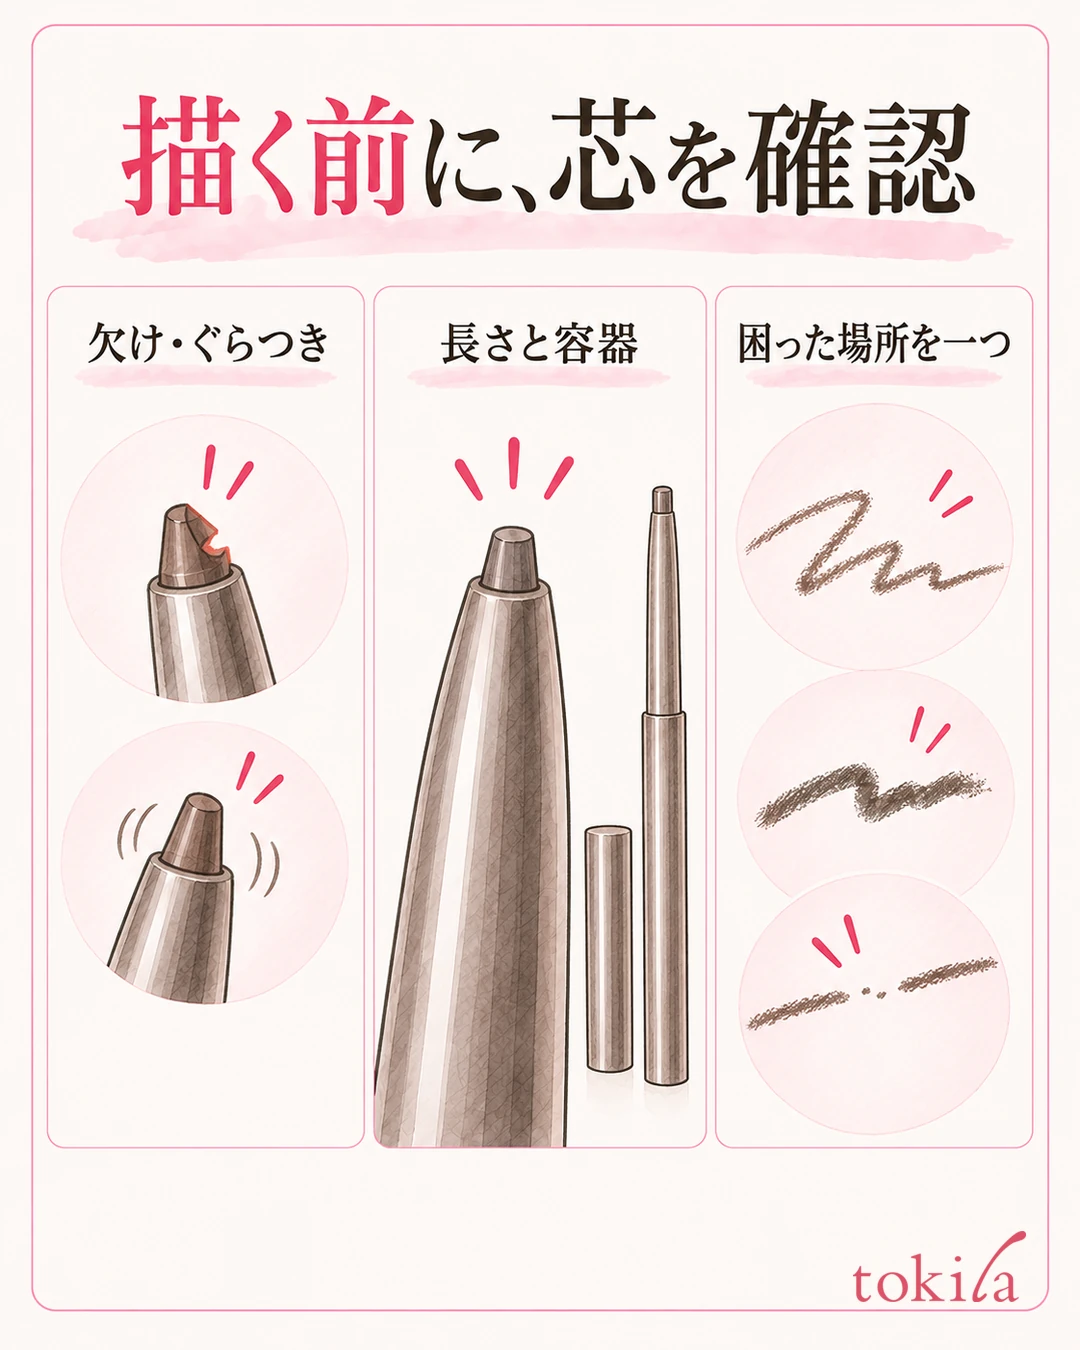
Separate these: the color goes on faintly, it catches partway, or it suddenly gets thick. If a faint line is going on, that does not necessarily mean the lead is not working at all. If you treat the color you want and whether the tool can be used normally as separate matters, it is easier to stop yourself from going back and forth hard over the same spot to see the color.
If it caught, try to recall just one place where it happened. Was it in a short stretch at the outer corner, or when you moved along the upper eyelid for a long stretch? If it hurts or the skin is pulled a lot, do not keep practicing with a lighter hand; stop using it and check the product's precautions.
Next, check whether it is a twist-up type where you turn the barrel, or a sharpened pencil type. Even if they look alike, whether it can be sharpened, whether the lead can be retracted, and whether the cartridge can be replaced differ. If the body has little information, confirm the product name, go to the product's labeling, and do not substitute the description of another product.
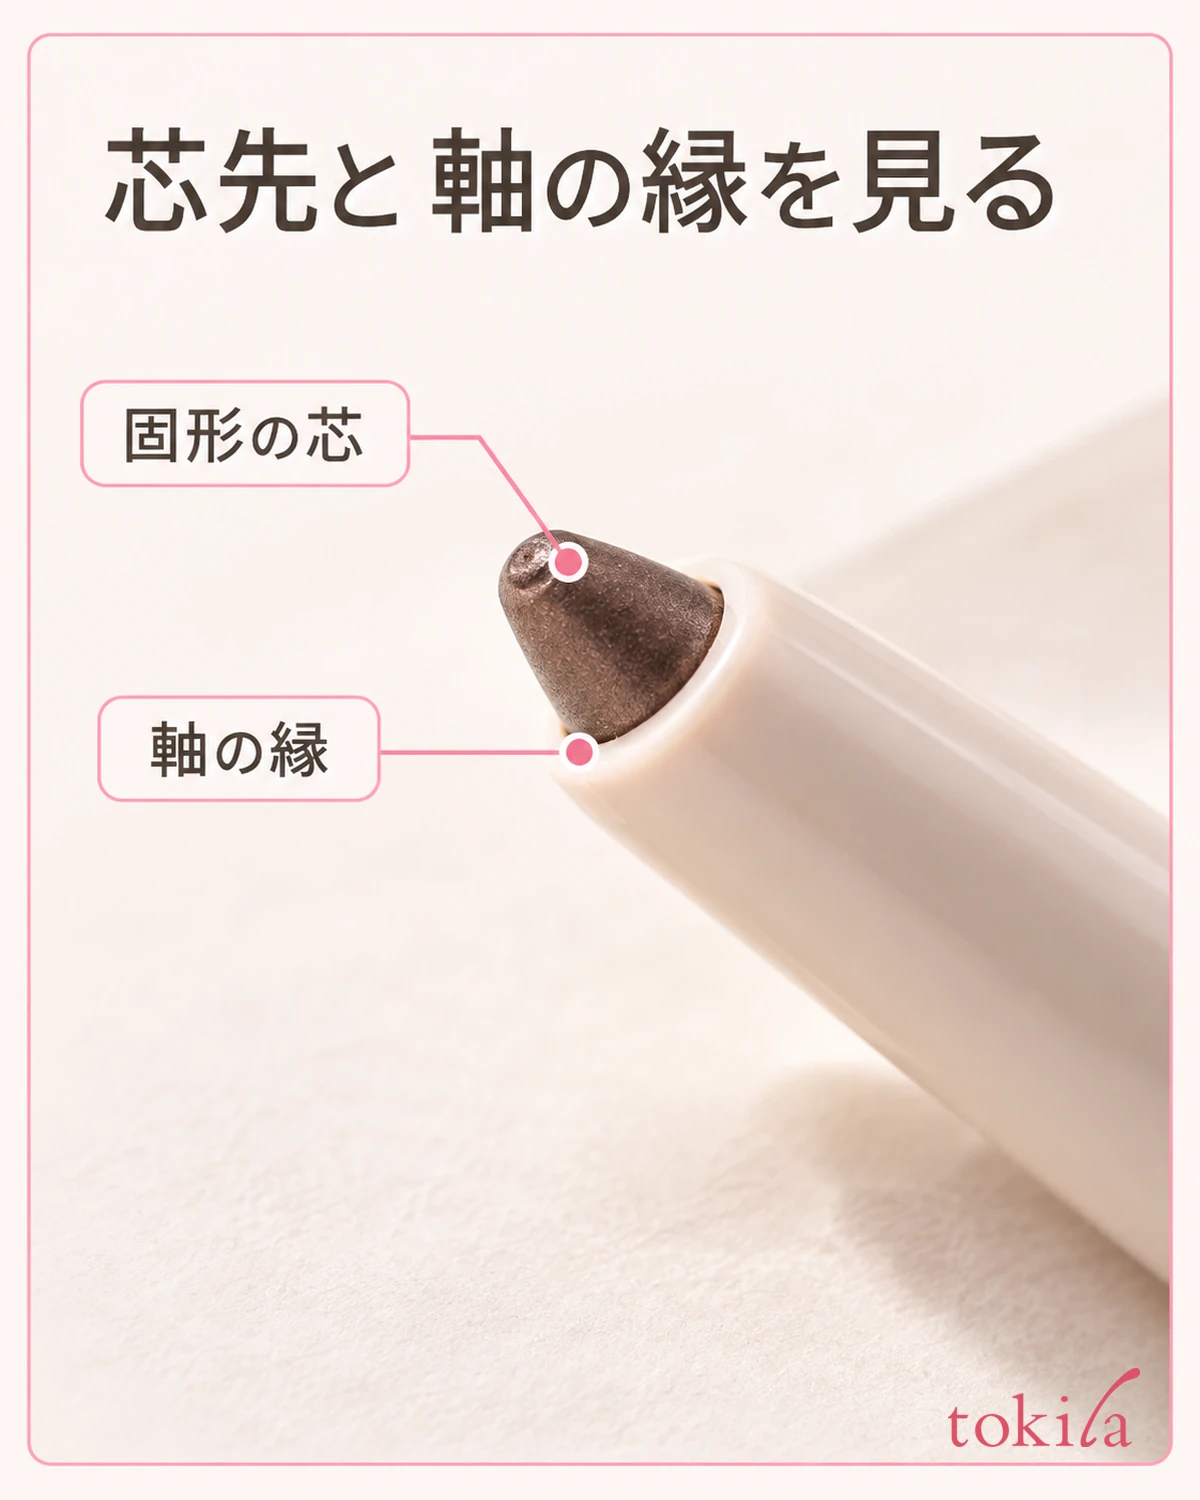
You do not have to decide the cause of dryness or breakage from appearance alone. Use facts such as "the cap was left open," "the tip hit something in the pouch," or "it was left in a hot place" as clues to reread the directions. Do not move on to remedies of your own, such as adding water or oil to change the hardness of the lead.
Even when a thick line goes on, look at the surface that is touching before extending the lead further. Check whether the side rather than the fine tip was touching, or whether you tried to draw an unseen spot all at once. What you decide here is not the shape of your eyes today, but the tool and the step to inspect next.
2. Decide how far to extend the lead, and whether it can be retracted, by the labeling on your product
For twist-up types, extend only the length given in the directions. Do not begin by adjusting with "it won't draw, so extend it more."
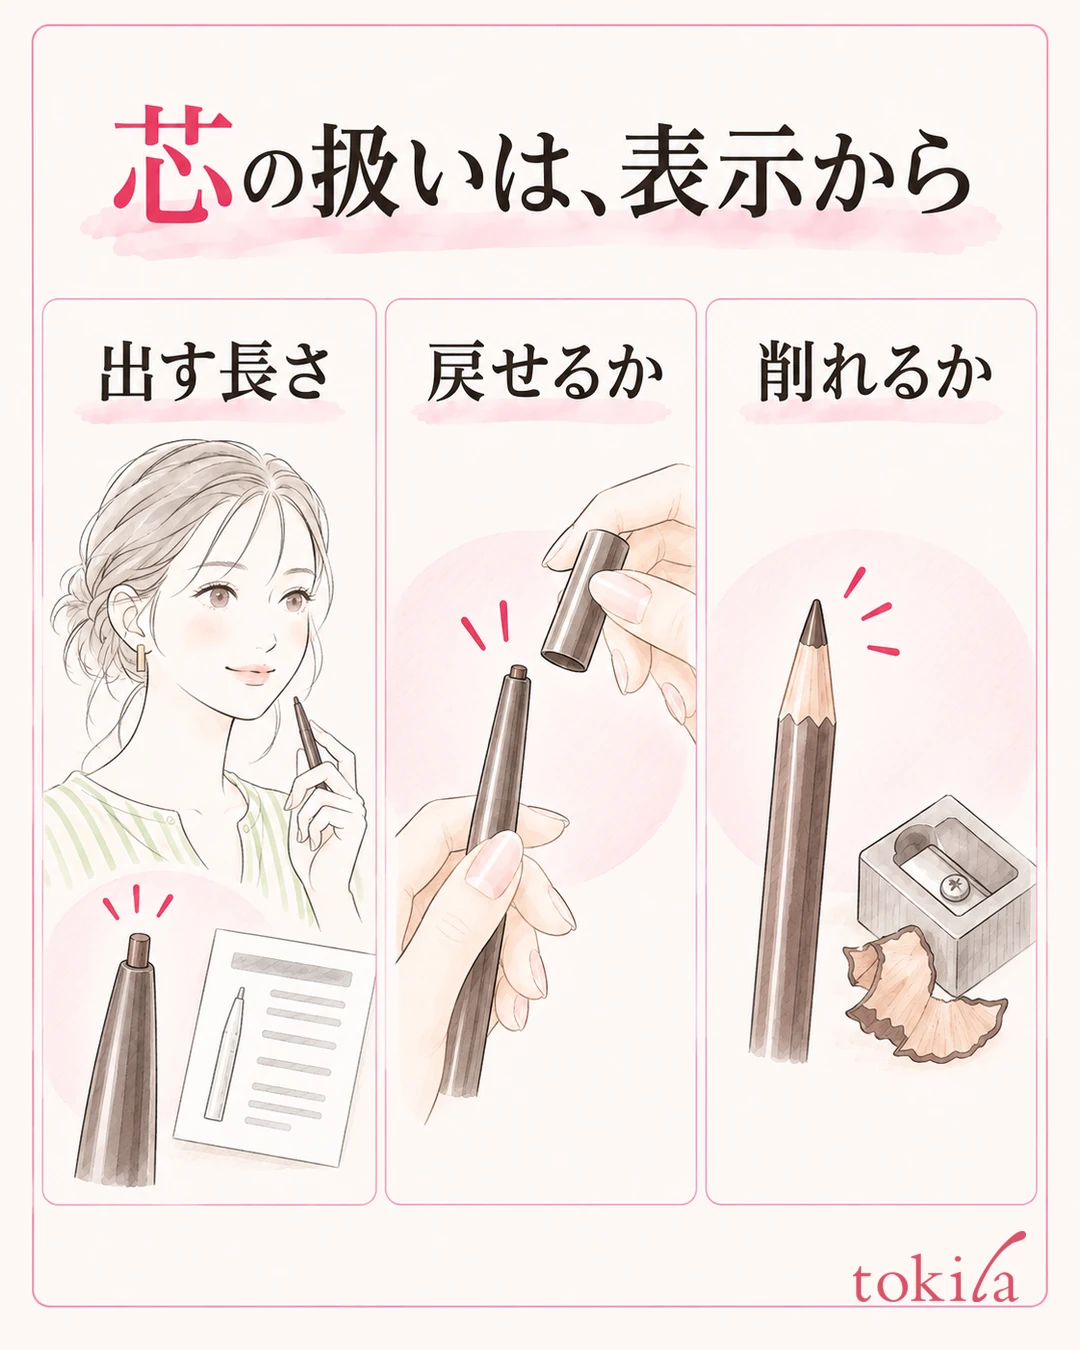
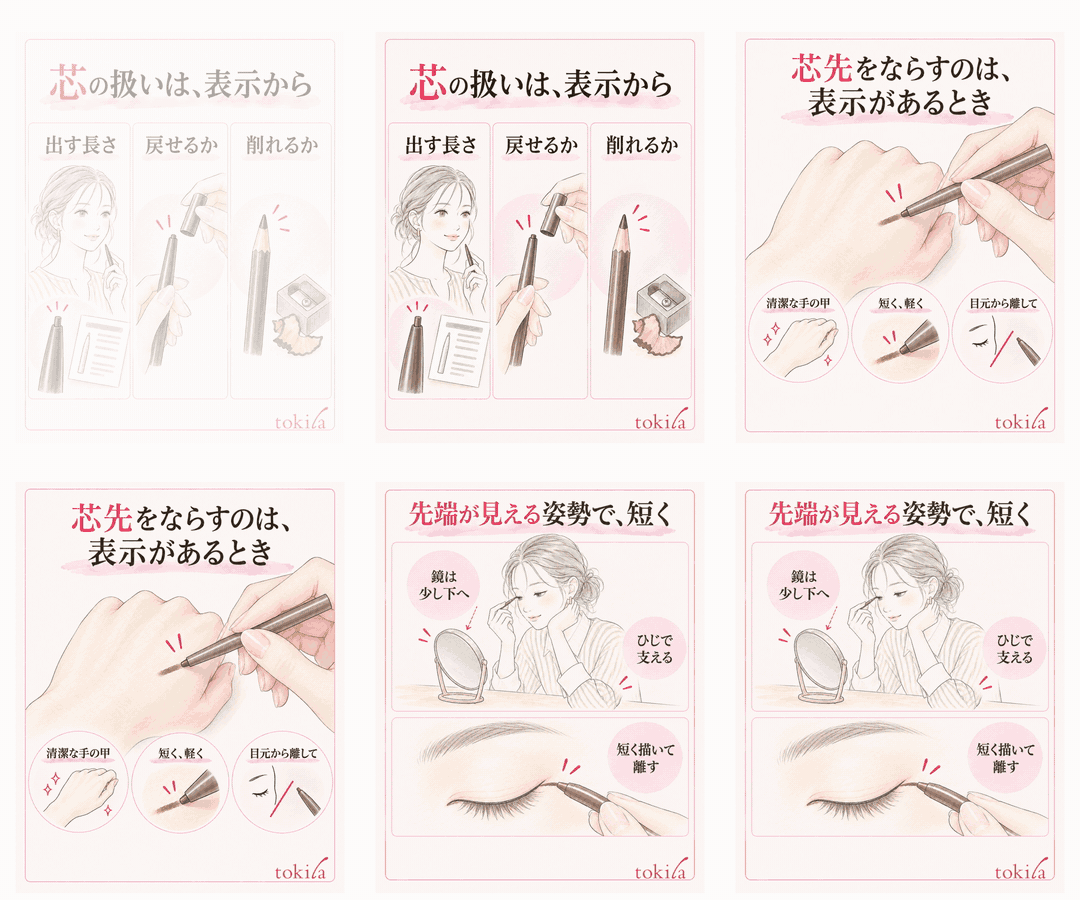
If the lead is short and the rim of the container was touching, adjust it within the range specified for that product. Rather than extending it a long way and then trying to push it back, turn it a little at a time and look at the exposed part.
For a sharpened pencil type, check the sharpener that fits and how to sharpen it. Do not add steps such as using a pencil sharpener on a twist-up type or sharpening it your own way with a blade. If the tip breaks or the barrel will not turn, do not adjust it while pressed against your eyelid; check the remaining amount and the attachment as the directions say.
If trouble began right after replacing a cartridge, also look at the combination with the holder. Do not insert a lead from another series just because it looks similar; check the corresponding model number. This is information to read when your product has that mechanism.
If you do not know how to use it or the lead is unstable, choose to consult the manufacturer or replace it, rather than changing the length or pressure and using it up. The end condition of this step is confirming that it is in a state where it can be handled normally before bringing it to your eye area.
3. Smooth the lead tip only on products that say to do so
How to prepare the lead tip at the start of use also differs by product. The point is not to treat this method as a way to restore every pencil from dryness.
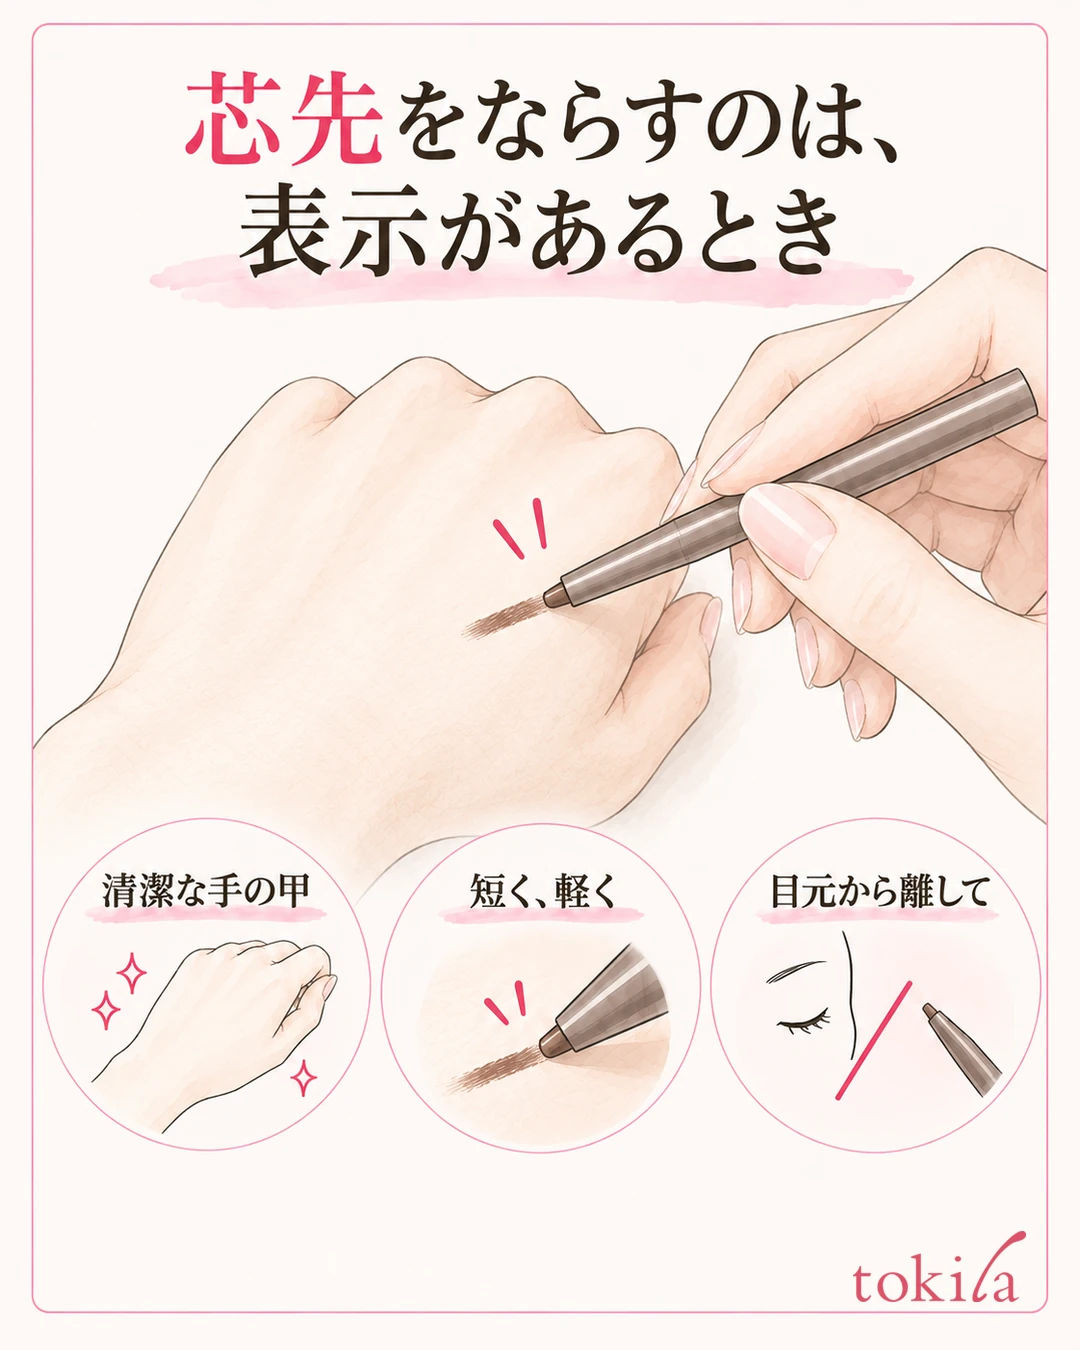
If a product you own has the same directions, move it briefly and lightly on a specified place such as a clean back of the hand to prepare the lead tip. Do this away from your eye area, and do not press hard or use up the lead by drawing many long lines. Nor does it mean confirming that the color on your hand looks exactly the same as it will on your eyelid.
After smoothing the lead, check again for chips and wobbling. Stop once it is in order with light contact, and do not try to turn the tip into a needle-like shape. If it breaks partway or the whole container slips, hold off on using it near your eyes.
If your product has no such directions, do not keep rubbing based only on a method introduced for another product. Check the cap, how to extend the lead, and whether sharpening is needed, and choose the preparation that matches the explanation. Even if it feels cold and hard, do not warm it with fire, a hair dryer or boiling water.
Do not assume that making it softer will always make it easier to draw; review the storage environment as well. Also avoid your own repair of joining a broken lead with your fingers and putting it back near your eyes.
If it is still hard to draw even though the lead tip is in order, next check the mirror and the stretch you move along. Separating the point where you finish inspecting the tool from the point where you steady your hand, instead of adding more preparation methods, makes it easier to trace where you are having trouble.
4. Prepare a mirror that shows the tip and a support, and draw lightly over a short stretch
Place the mirror in a position where it does not wobble, and choose an angle from which you can see the lash line of the upper eyelid and the tip. Rather than leaning your body forward awkwardly, adjust the mirror's position first.
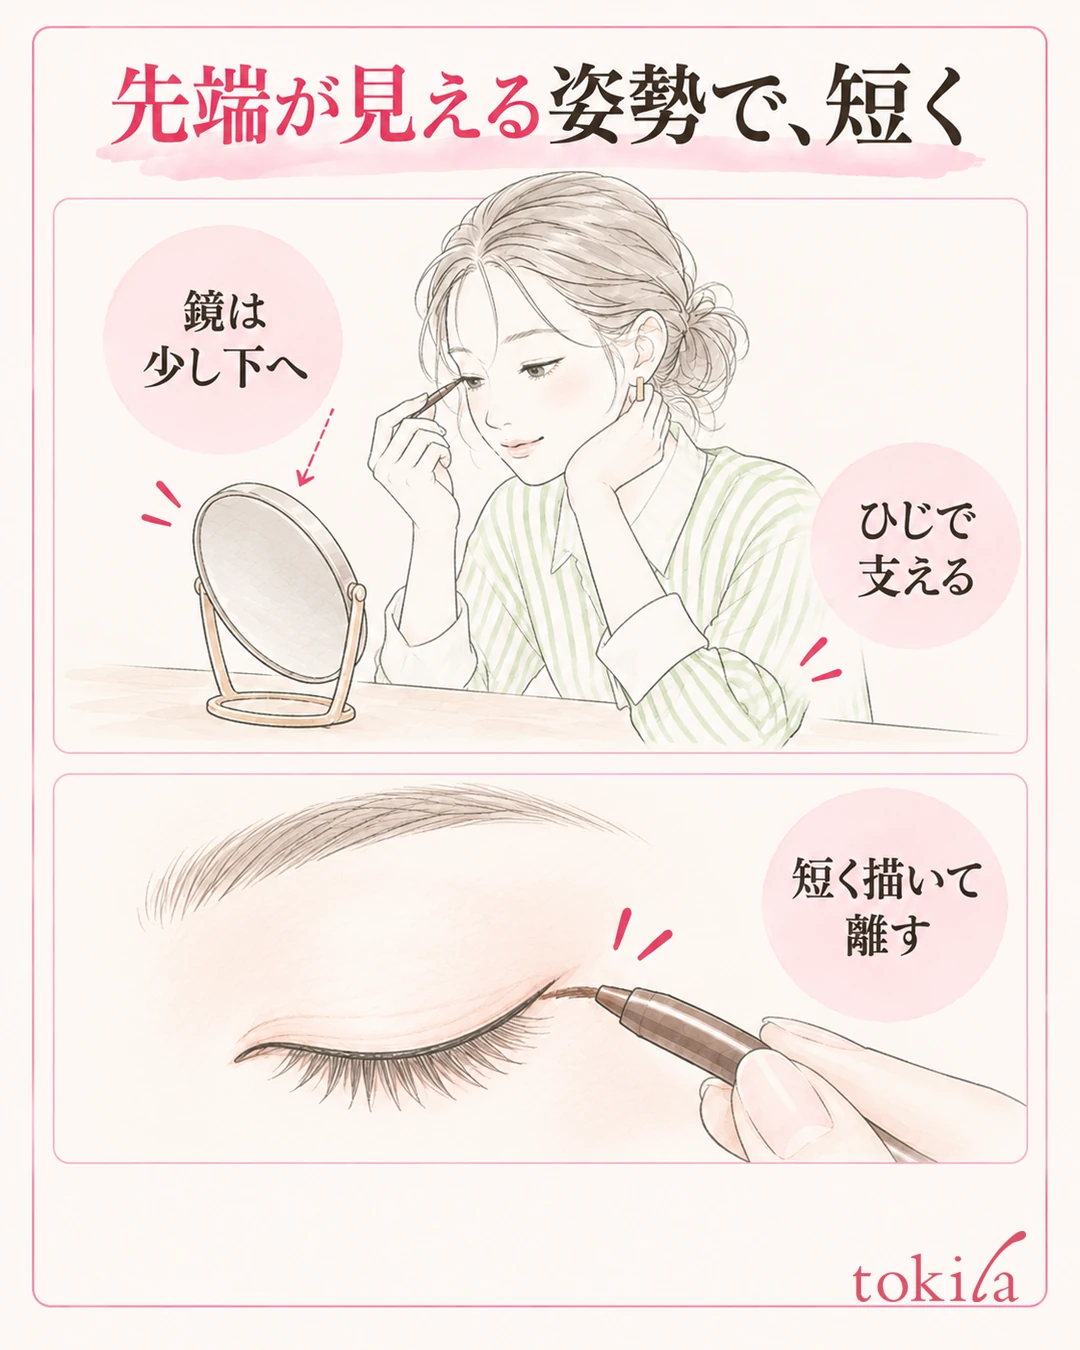
On the skin just outside the upper lash line, draw lightly starting with a short visible stretch. Do not make it a step that aims at the inside of the lid or the mucous membrane. Touch where you need to, move briefly, and lift away to look right away. Repeat this as one set, and do not try to pull the line from one end to the other without seeing.
A short line here does not mean lining up thick dots to fill it in. Check together whether a fine line of color remains where the lead touched and whether the thickness is not increasing too much.
Even if it does not get darker at once, move the tool away before increasing the pressure. Separate the places where there is already a line from the stretches that are lacking, and give priority to the product's explanation for how to layer. There is no need to press a naturally soft-finish color until it matches the depth of a black liquid liner.
If it keeps catching, hurts, or you cannot see the position of the tip, do not keep trying on your eye area. If only the shape of the line is wobbly, you can also check partial fixes in how to support your hand and draw short lines. Keep it separate from hiding a tool problem by adding more line.
To fix a line that has become thick, use a remover that can be used on the eye area by that product's method, and tidy the excess color on the skin. Also check what to do after removing it and the base you need, and do not rush to redraw on a wet surface. Check on the labeling whether the product can be blended, and do not scrape it hard with a dry cotton swab.
5. Decide when to stop with your eyes open, and store the lead and cap
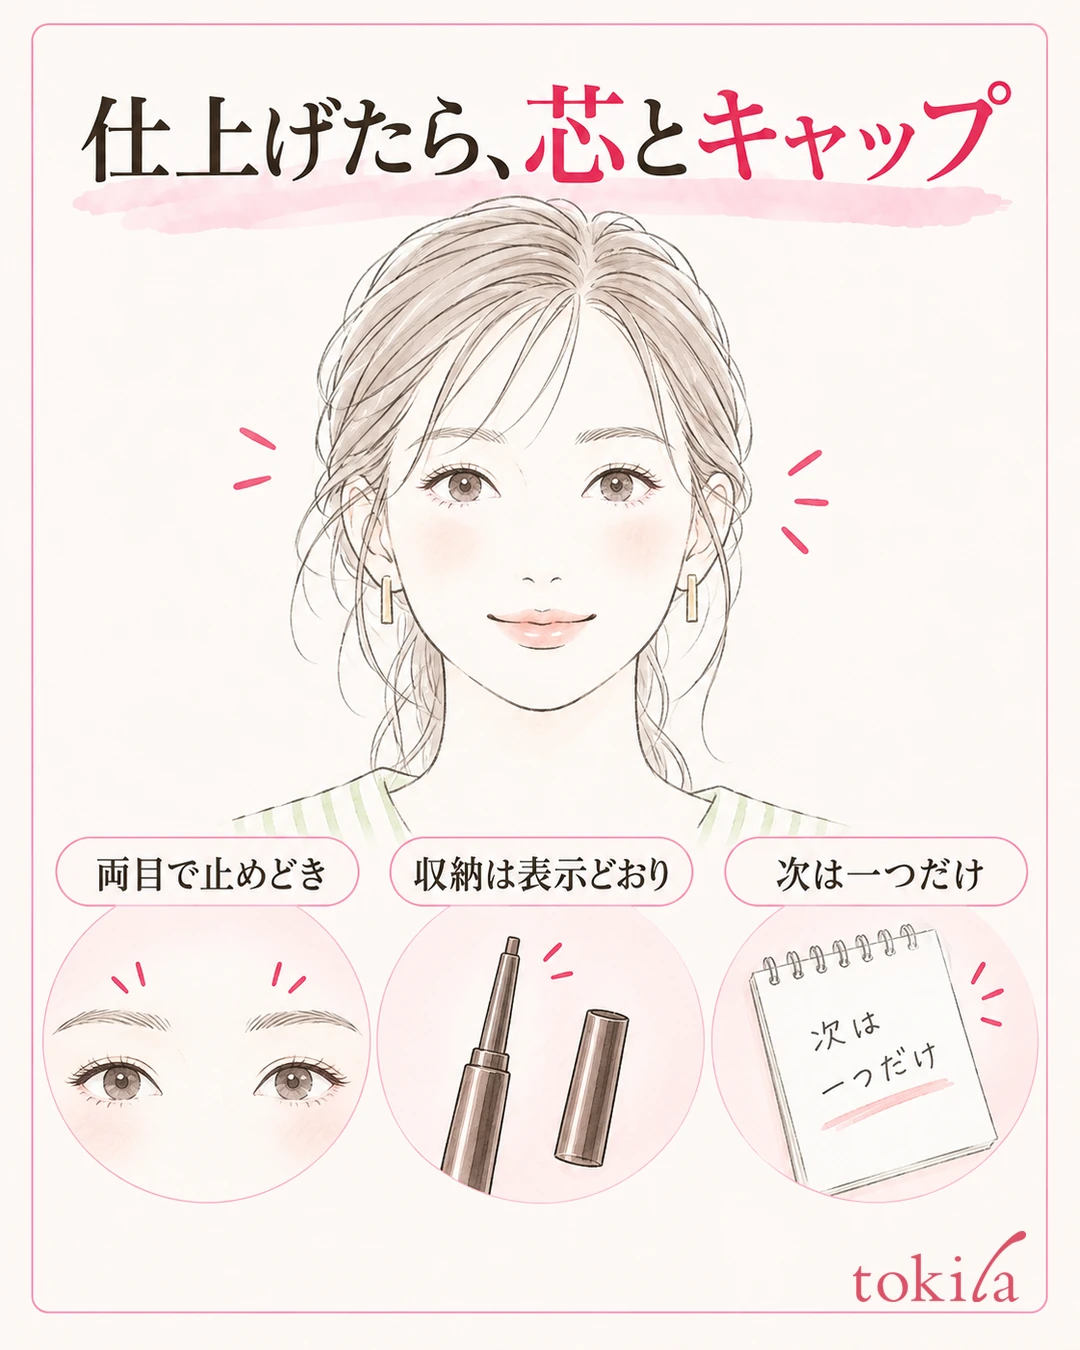
After placing color on a short stretch, open your eyes naturally and step back to a distance where both eyes and your whole face can be seen. Look at how the line connects, its width, and its depth on the whole face, and if the needed touch-up is done, stop adding more. Do not make tracing the same number of times on the left and right the end condition.
On a day when only one side was hard to draw, check the original shape of that eyelid and the visible width before extending the other side to the same thickness. If left-right difference is your main concern, go on to how to match the length, angle and visible width of the outer corner, and keep it distinct from inspecting the lead.
For a used lead, put it away following the directions if it is a product that can be retracted. For a product that does not retract, do not force it in; first check how to use it without extending it too far, and how to handle the cap. Close it while watching the tip so that the lead does not hit the rim of the cap.
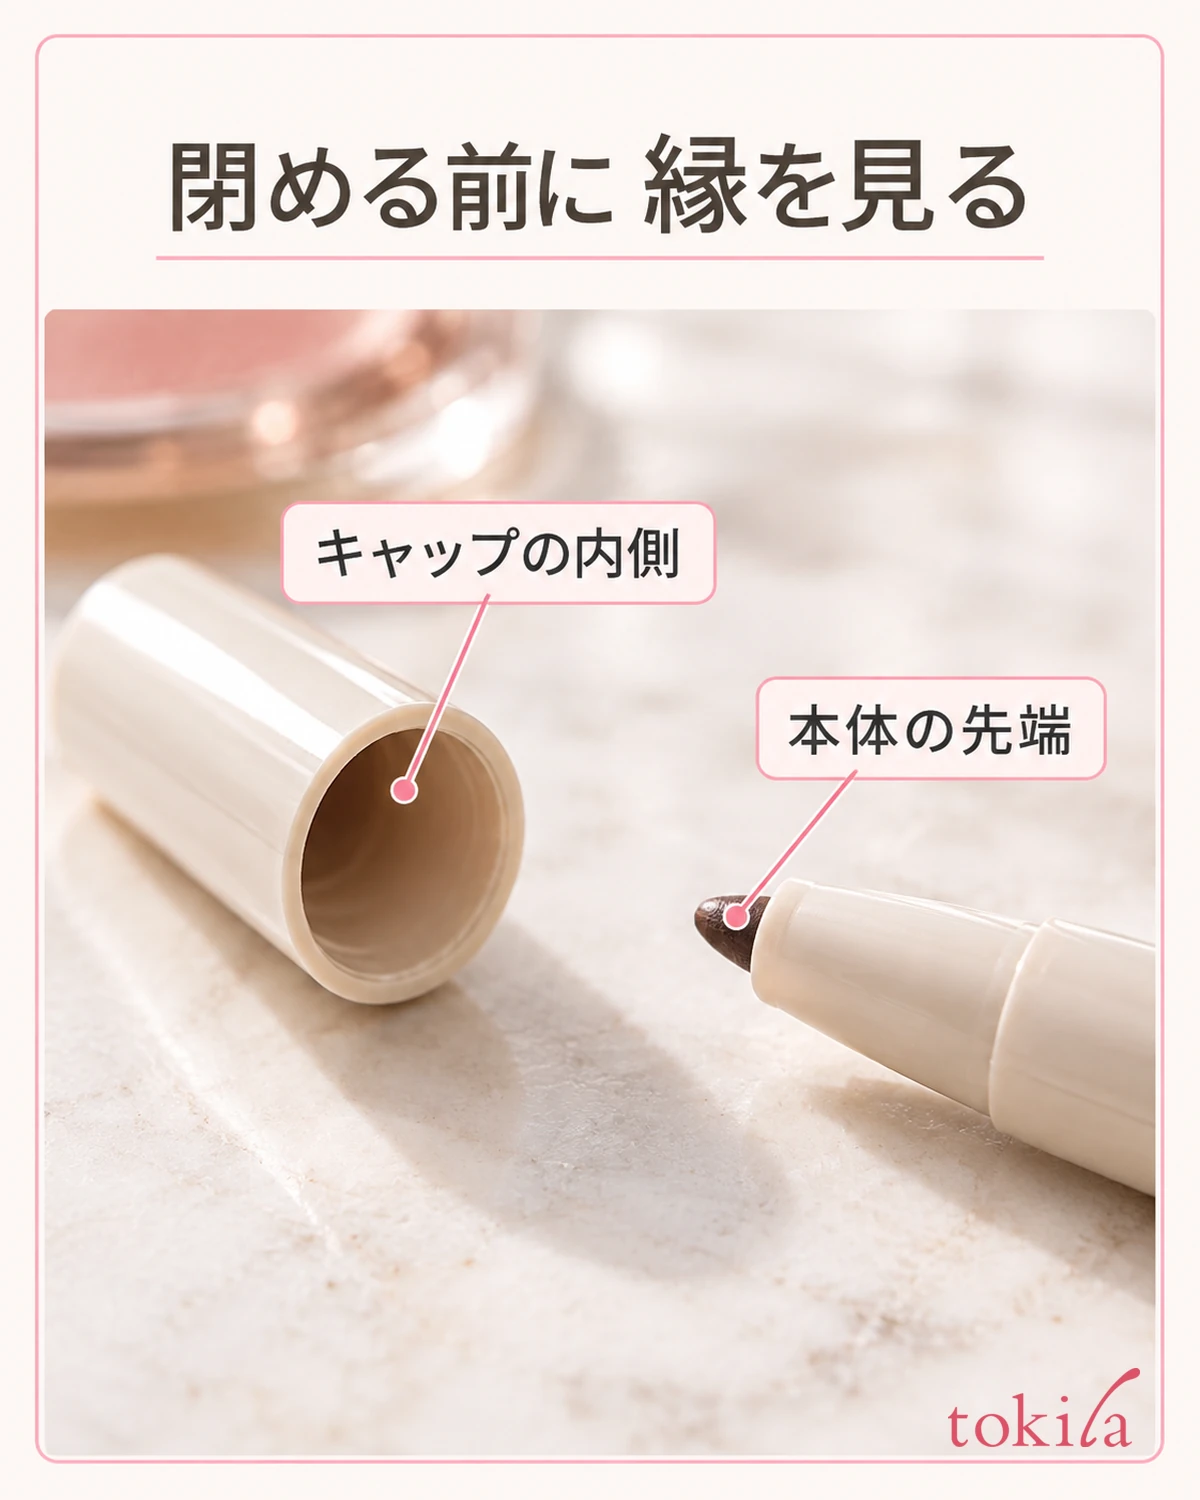
Do not make it a rule to lay every pencil on its side; choose what the product specifies. Do not move on to other makeup with it left open, and build the habit of closing it even for a short break.
For the storage place, check the labeling for cautions about direct sunlight and high heat. Also review a pouch where the lead hits other things, and ways of placing it that let it roll off a desk. If a gap remains even though you thought you closed the cap, check the parts and the position of the lead before pushing it in.
For next time, a single note is enough, such as "I set the lead to the length on the labeling" or "I placed the mirror lower." Rather than changing the product, the lead length, the pressure and the mirror all at once, leave a record of which step you changed. Do not turn one observation of your own into a verification that applies to everyone; make it a record for handling that same pencil.
On days when it is hard to draw, inspect it away from your eyes and match the length and lead tip to the labeling. Once the preparation is done, draw lightly over a short stretch in a posture where you can see the tip, then open your eyes naturally and stop. If you review everything through to putting it away, you can sort out the repeating pattern of the lead snapping every time you press hard, starting from how you handle it.



