On your first day using an eyeshadow stick, begin slowly by extending the product. Even if it can be applied directly to the eyelid, there is no need to extend it far and press it firmly against the skin. Read how to extend your product, and separate placing the color from blending its edges with a finger to make the next movement easier to understand.
This guide focuses on retractable solid eyeshadow and the steps for applying one color to the upper eyelid. Sharpenable pencils and liquid products with applicators require different preparation. The colors in the images illustrate placement and hand contact, rather than the actual color payoff of a product. Start with one shade to learn the movements while considering your preferred color and finish.
1. Check that it is solid eyeshadow, where it can be used, and its packaging
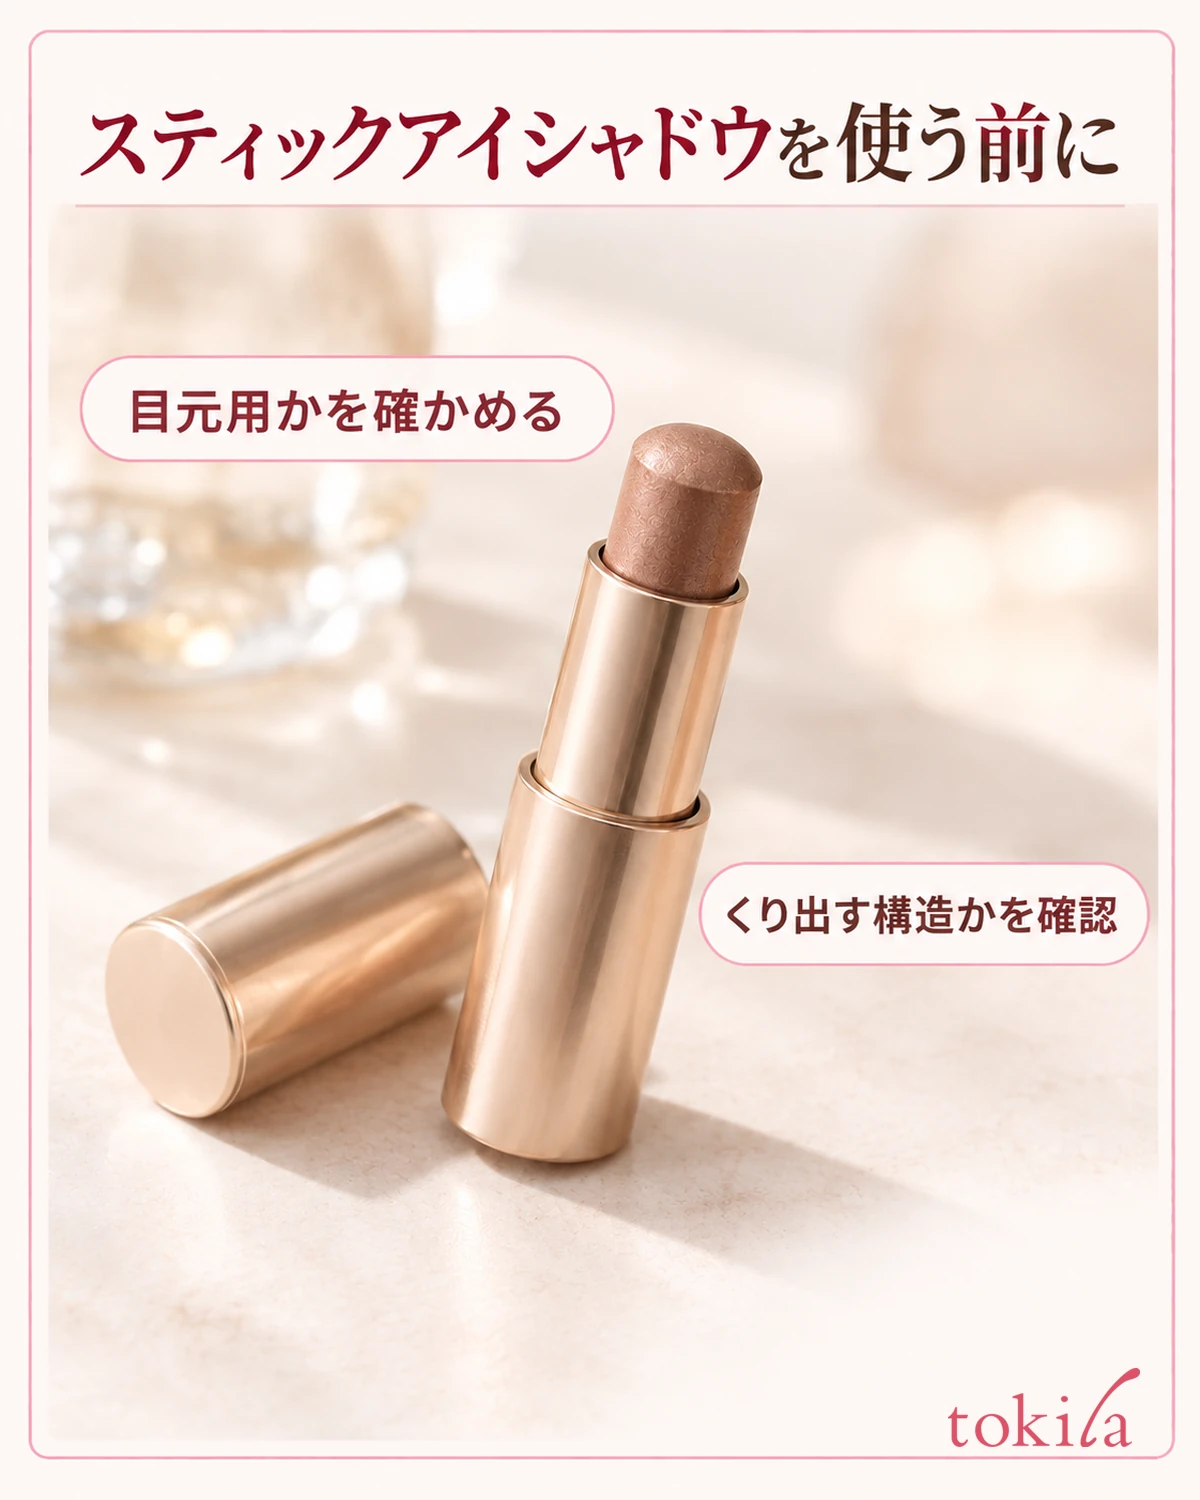
Products called sticks may be eyeshadow, eyeliner, or brow makeup, each with a different purpose and application area. Read the container or box to confirm that yours is eyeshadow for the eye area, and whether to apply it directly to the upper eyelid or pick it up with a finger. Do not substitute lipstick or blush of a similar thickness for eye makeup.
Next, check whether it twists up or needs sharpening. Preparation differs between products with a rotating base or barrel and those requiring a dedicated sharpener. Do not apply a blade to packaging that does not need sharpening; check the instructions for where to hold and move it. This guide mainly covers products that can be extended a little at a time.
Choose your first shade by considering whether you want to spread it broadly or use it as a narrow accent around the eyes. Even a pale shade may have a strongly reflective pearly finish, so the color in the container alone does not determine how it looks on the eyelid. A matte or pearly texture can also help you choose today's finish.
Even if one product shows application to the lower eyelid or lash line, another stick may not be used the same way. Learn the steps on the visible surface of the upper eyelid first, keeping the product out of the eyes and off mucous membranes. If the eye area has an abnormal condition, refrain from use rather than continuing by applying a lighter layer.
If you want to layer an eyeshadow base, read both products' application order and compatible textures. Do not assume that a stick always requires a base or always makes one unnecessary. Choosing the base itself is covered as a separate step in How to Use Eyeshadow Base.
For double-ended packaging, identify the colored product and any applicator, such as a sponge, before opening it. Check each end's purpose rather than relying only on cap color. Avoid changing your grip with one end extended; opening only the end you are using can make handling it calmer and easier.
2. Extend only the stated length and hold the container steadily
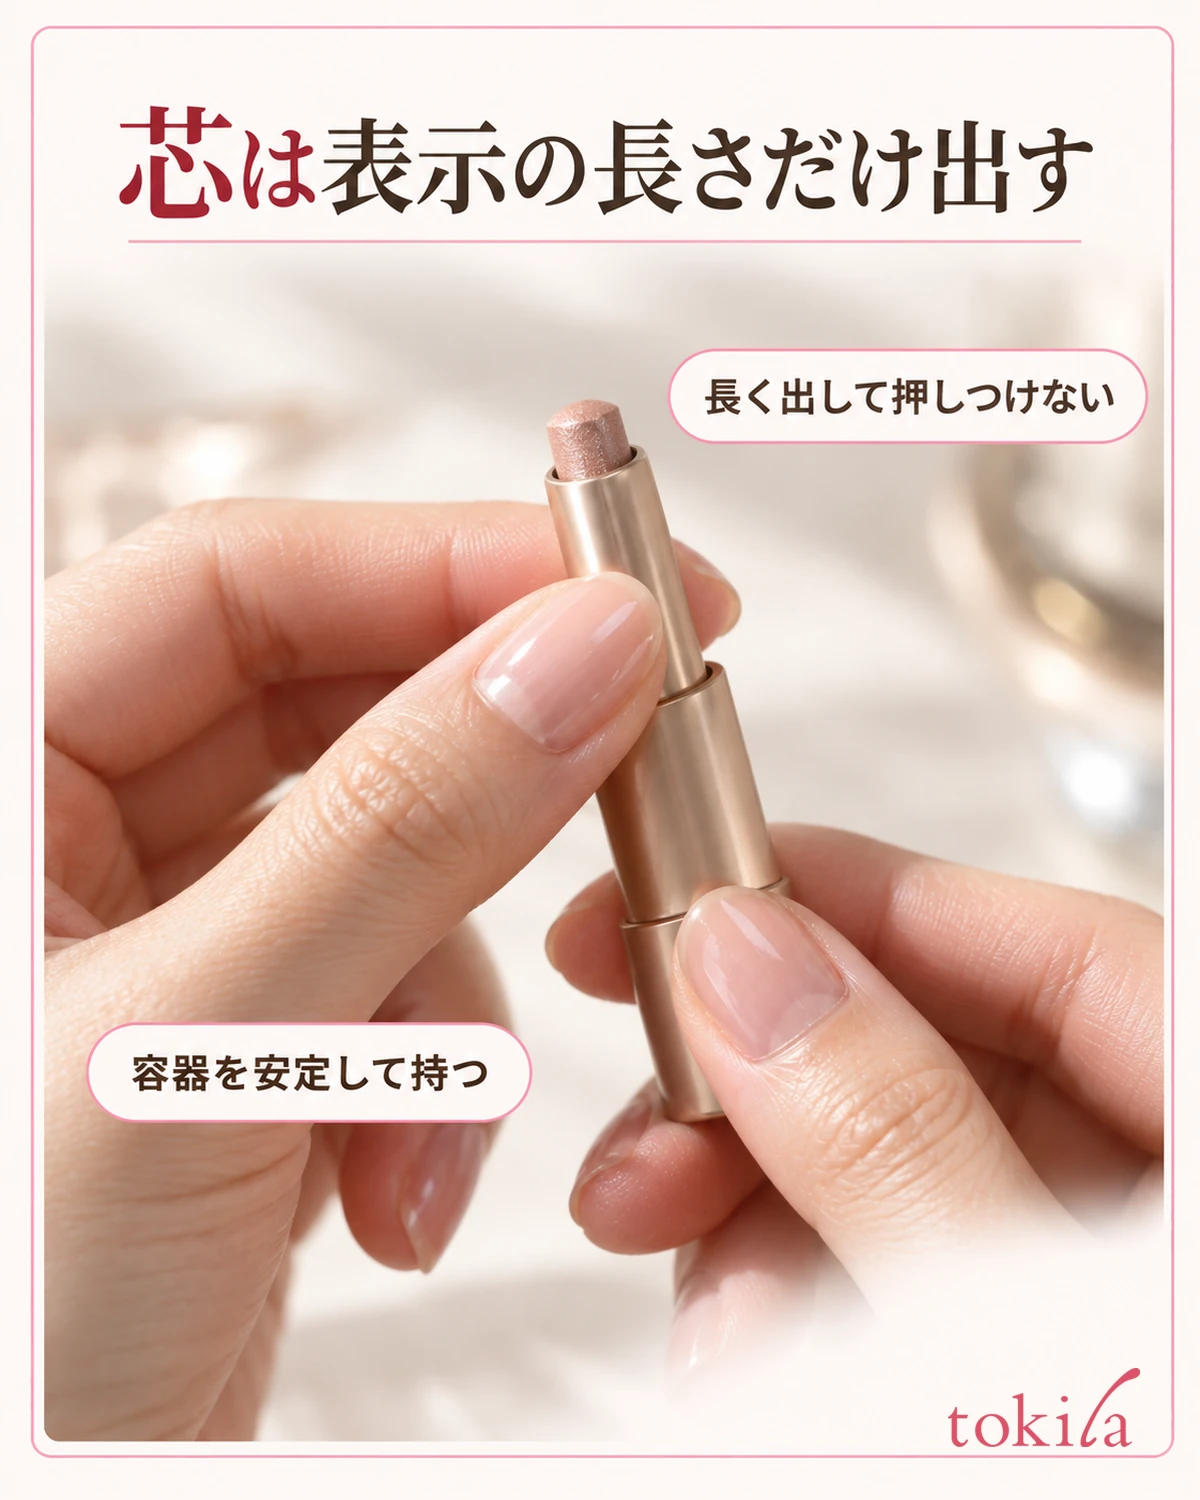
Clean your hands and dry any moisture remaining on the fingers that hold the container. Remove the cap, look at the tip, and slowly turn the specified part. Follow your product's instructions for how far to extend it, rather than using a number remembered from another stick for every product.
Extending the product farther is not a way to cover a wider area at once. A soft solid stick has less support throughout its exposed section, not just at the tip. Avoid applying angled pressure with more product extended than instructed, and check the required length before bringing it to your face.
In the photo, distinguish the tip of the solid product from the rim of the surrounding container. Seeing where the product emerges also helps you check whether it might touch the inside of the cap. However, do not use the length shown in the photo as a ruler; follow the instructions on your actual product.
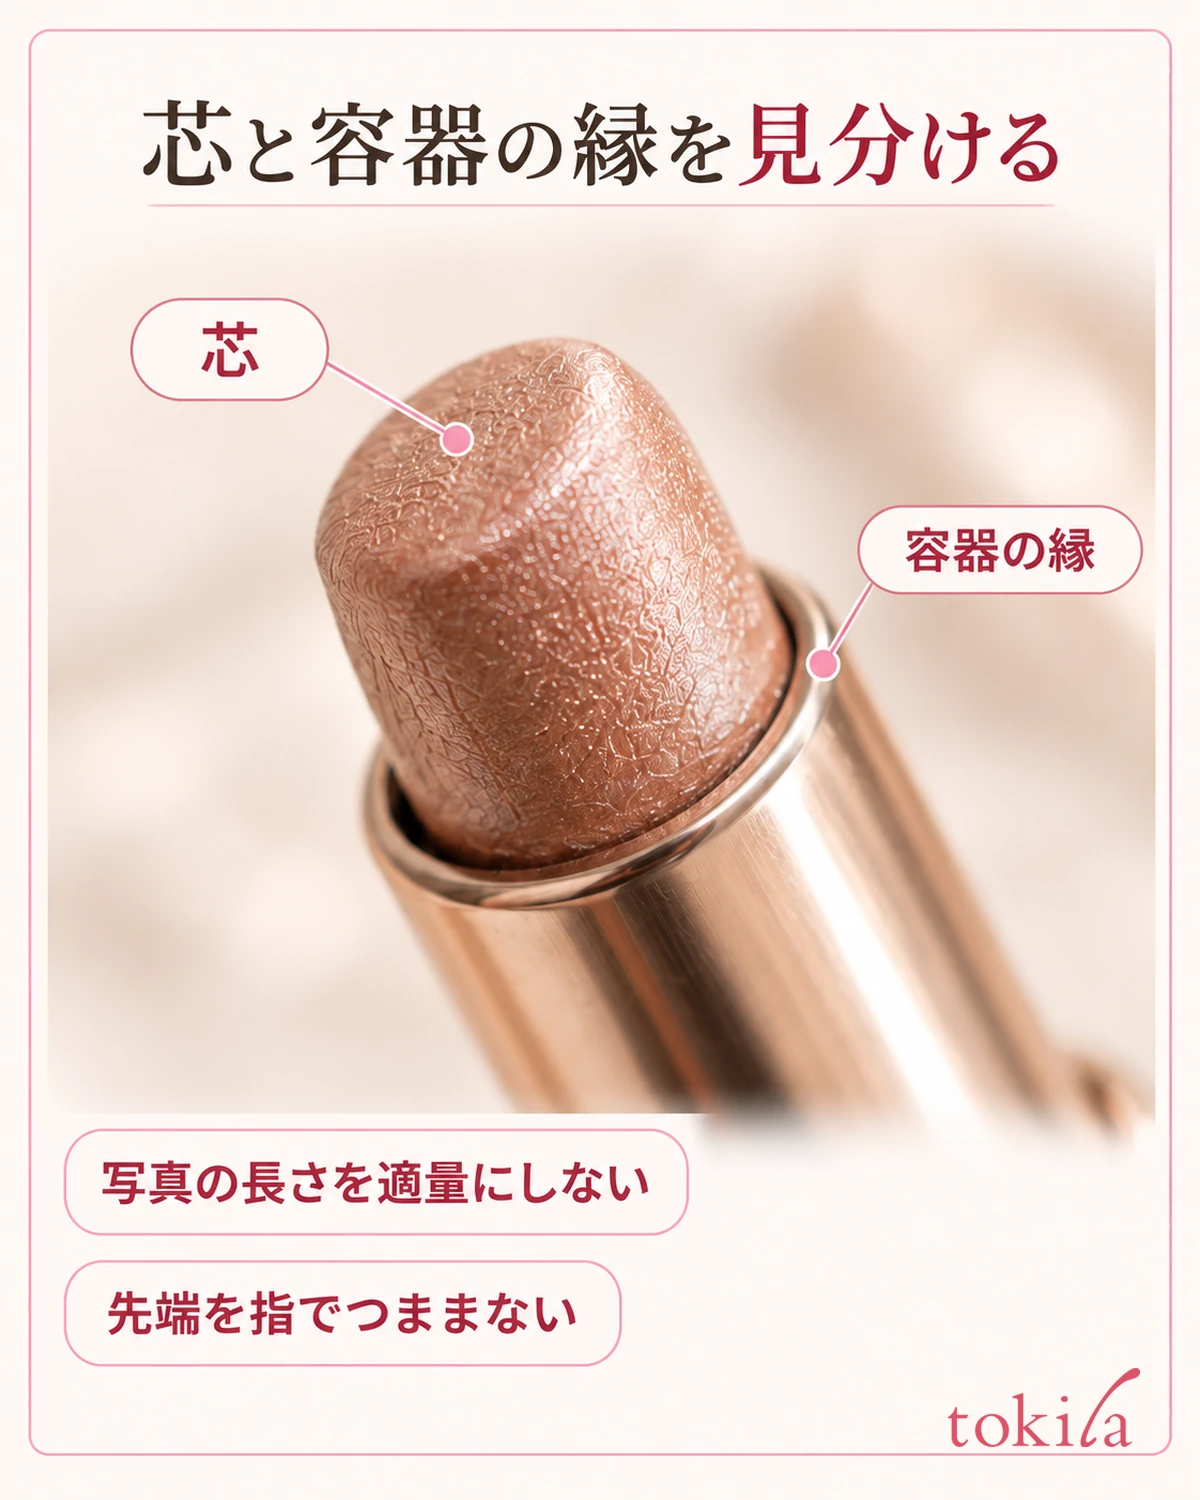
Do not pinch the tip to pull it out or reshape it by scraping with a fingernail. A rounded tip or slanted surface is part of the product's design. If you are unsure which surface to use, read the instructions rather than reshaping it into a fine eyeliner-like point.
Support the container like a pencil, at a position where you can change its direction comfortably. Avoid putting your fingers too close to the exposed product, and check that you are not accidentally turning the rotating part. Find a grip that lets you lightly touch the skin and then lift away, rather than gripping tightly and locking your wrist.
Do not start applying if the product will not extend or retract, is broken, or seems different from usual. Follow the packaging instructions instead of melting it with heat, digging with a pin, or adding water or oil. Some designs cannot retract, so it is important not to twist them up too far on the first use.
3. Apply lightly to the upper eyelid and lift away before spreading too far
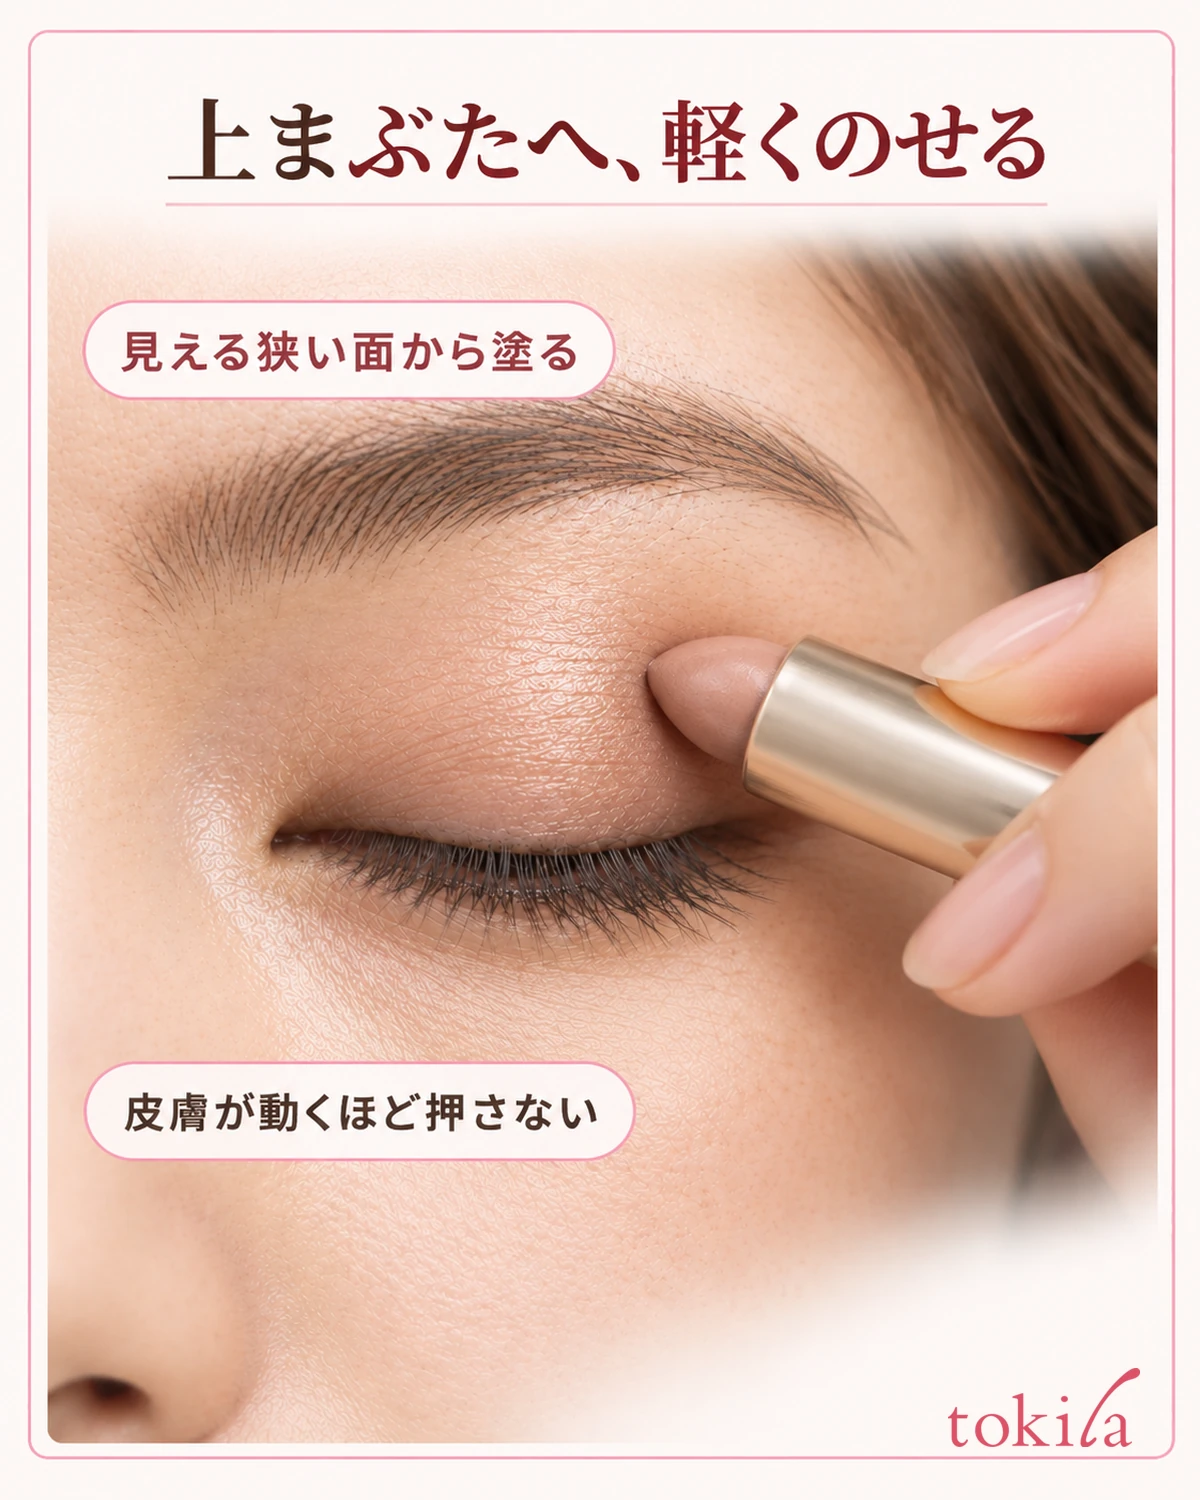
Position the mirror so you can see both the upper eyelid and the stick's tip. Lower your gaze slightly or close one eye comfortably to reveal the application surface. There is no need to raise your brows forcefully or pull the skin with your other hand.
For products intended for direct application, lightly touch the surface of the stick to the upper eyelid and move it in short strokes over the area where you want color. Begin with a small visible area rather than spreading all the way toward the brow at once. Distinguish placing color on the eyelid surface from tracing the lash line firmly.
Lift your hand once and look at how far the color has spread. Before making repeated passes because it looks faint, leave room to blend it with a finger afterward. The stick's width does not automatically create a flattering application width for everyone. Check its appearance with your eyes open too.
If the stick feels as though it is catching, lift it away rather than pressing harder. Review the underlying surface, the product's condition, and whether you are following the directions. Do not rub hard enough to move the skin or repeatedly stroke the eyelid to warm the stick.
If the directions say to pick up the product with a finger, transfer a small amount to the eyelid that way. A photo of direct application does not mean every product should be used identically. Use the supplied applicator if specified, and proceed with clean tools and hands.
If you are unfamiliar with bringing makeup close to the eyes, do not rush to apply it to both at once. Complete the next blending step on one side first. If your hand is unsteady, stop and adjust the mirror and elbow position. Avoid pointing the tip toward the eye; prioritize a light touch where you can see it.
4. Blend the edges with a clean finger pad and check one eye at a time
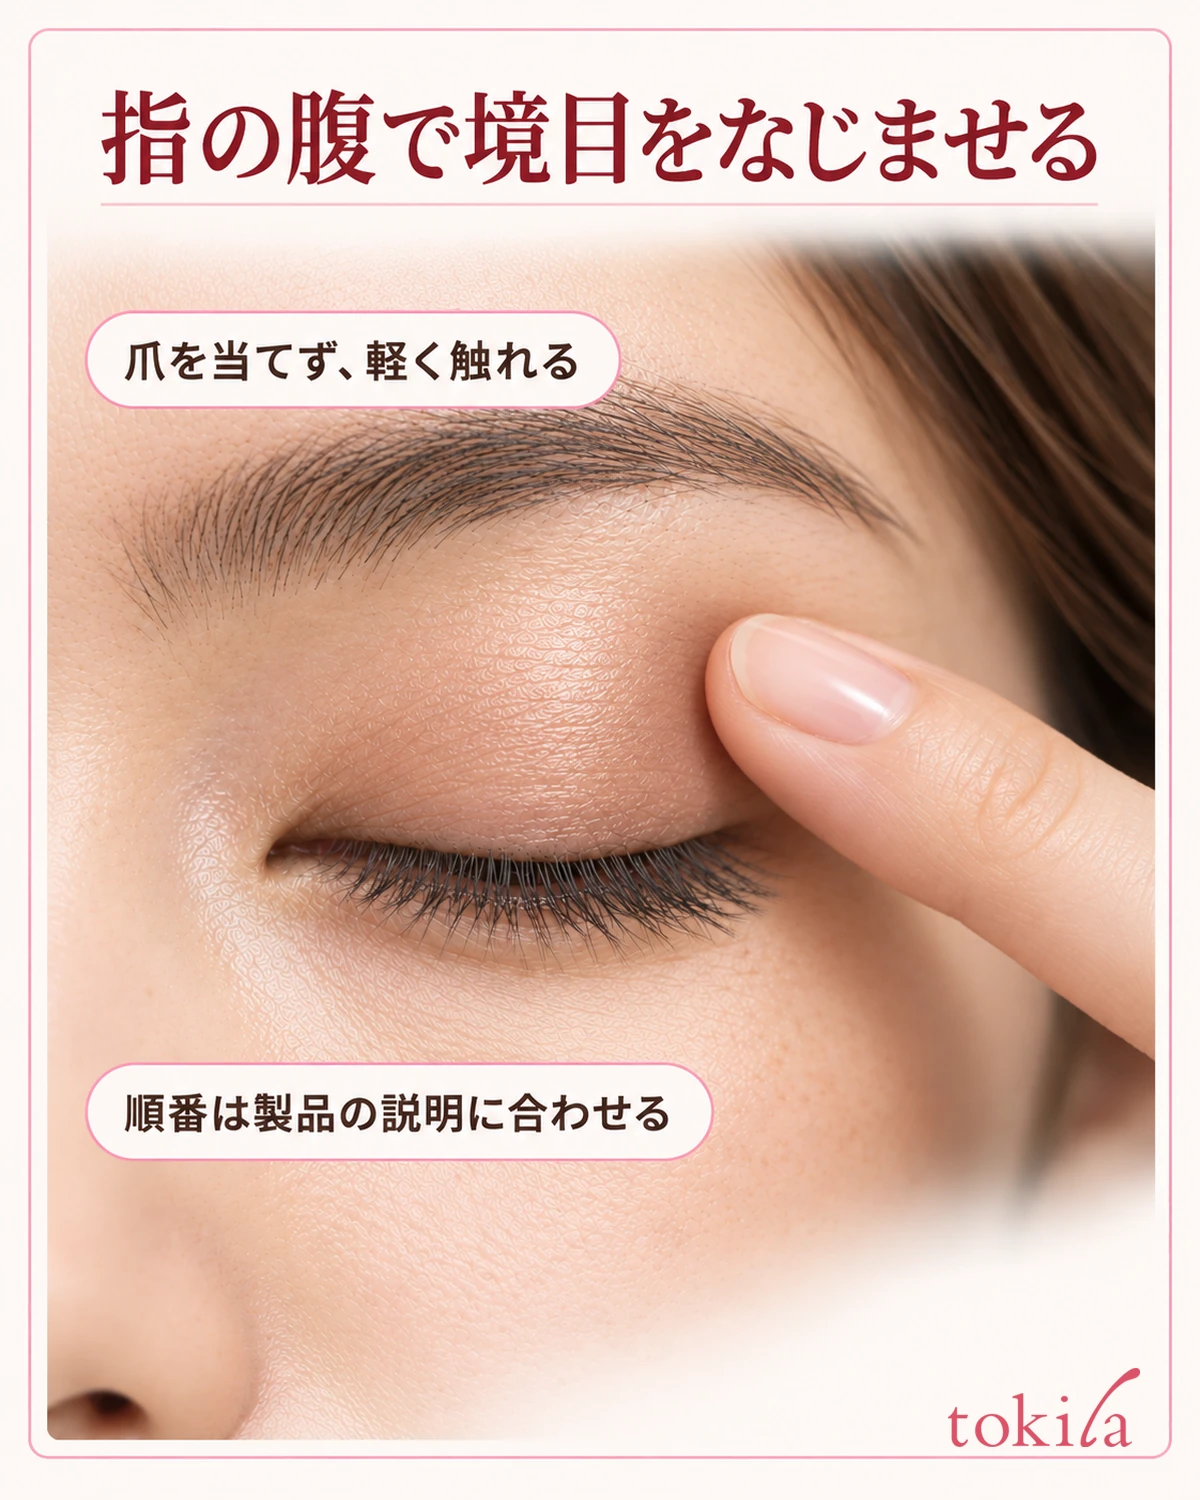
For products that can be finger-blended, use a clean, dry finger pad. Lightly touch the outer edge of the applied color and blend with short movements. Use the soft part of the finger rather than scraping a line with your nail. There is no need to repeatedly stroke the center of the color and thin out the whole area.
If the product directs you to blend before it dries, apply and blend one eye before moving to the other. Some products become harder to move if you apply both eyes and wait too long. However, do not set the same waiting time for every product; read the order and timing for the one you are using.
If color gathers on your fingertip, lift your hand and check rather than continuing to expand the area with that finger. A finger with another shade left on it makes it harder to know what you have added. Keep a clean, color-free finger surface available and inspect it before touching the eye area.
Even if an edge bothers you, do not aim to diffuse the color all the way up to the brows. Refine only the edge of the area you initially chose, avoiding moving color to the lash line or mucous membranes. With a strongly shimmery product, distinguish color from reflection rather than treating every bright spot as a dense patch of makeup.
After moving to the other eye, return to a straight-on view instead of examining only one eye. Open both eyes naturally and check the visible color height and any strong edges. Eyelid shapes may differ between sides, so look for the appearance you prefer with eyes open rather than matching closed-eye widths numerically.
Do not keep rubbing firmly at color that has already become difficult to move. Use correction methods suitable for that product. Before adding more color to compensate for a dark area, decide which part to refine today and check a removal method suitable for the eye area.
5. Decide where to add color, then finish by handling the stick and cap
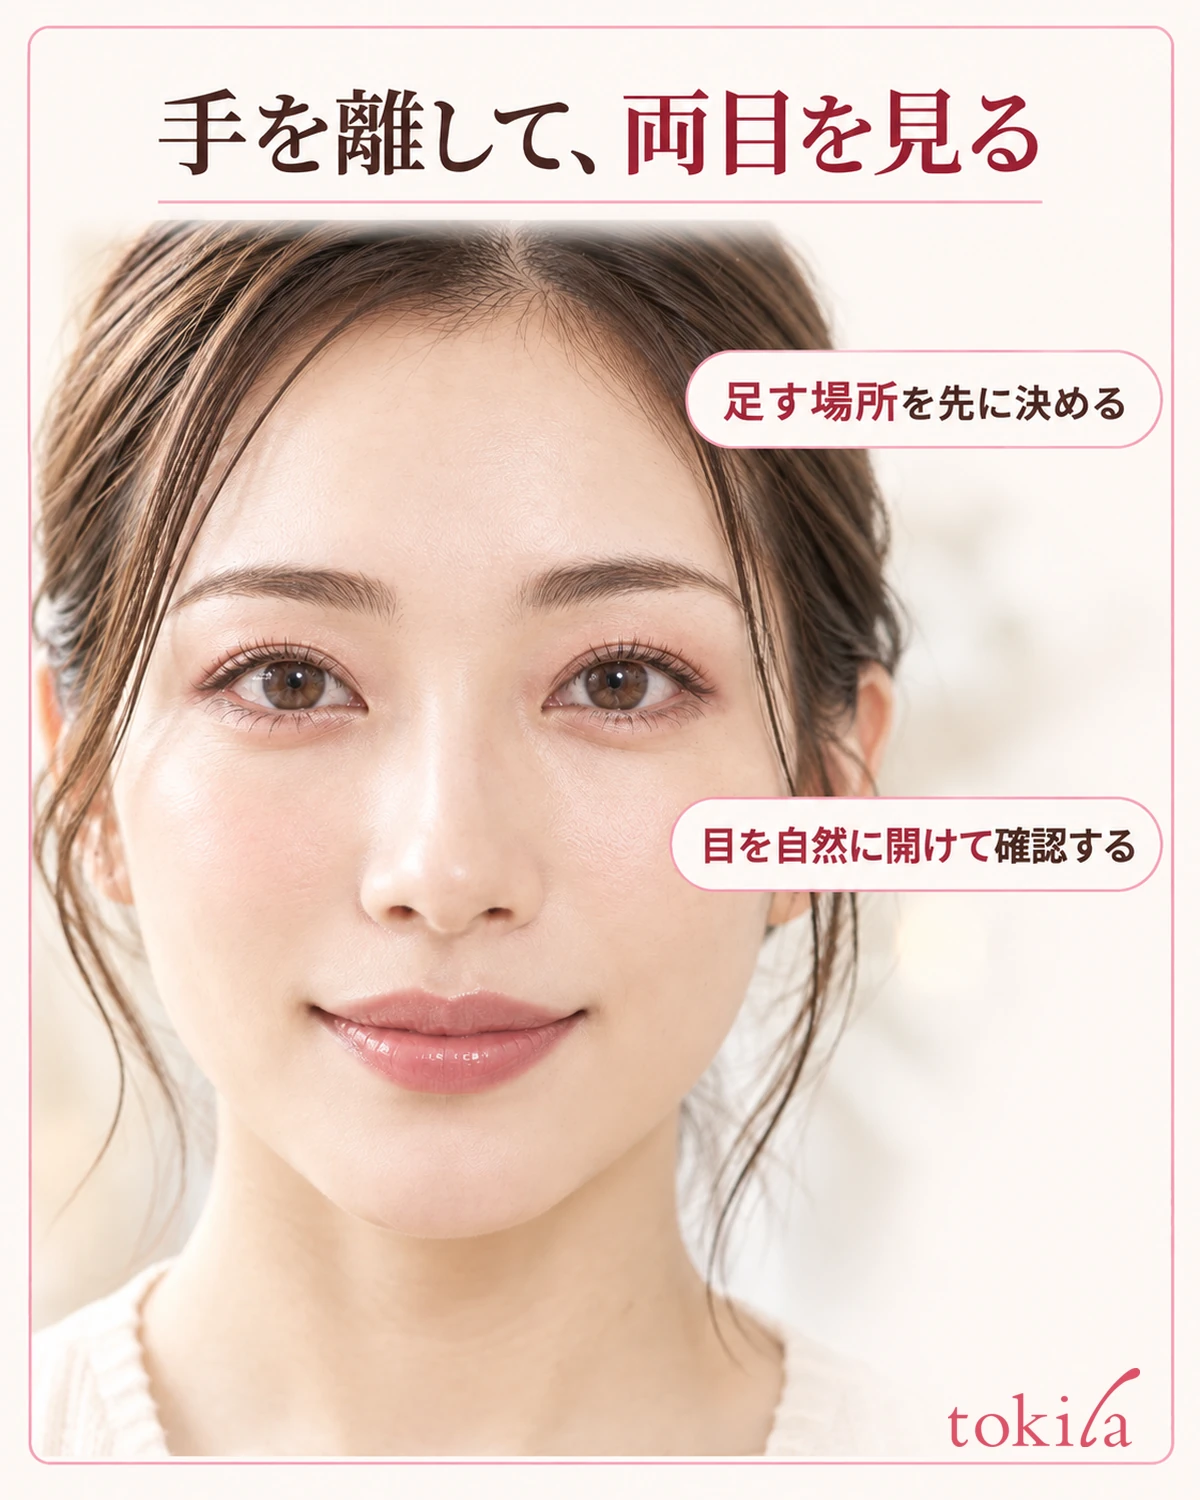
For a one-shade look, move a little away from the mirror and look at both eyes. Even if one area seems faint, decide whether there is a specific place to add color rather than applying another layer over the entire eyelid immediately. If layering is allowed, add a little to a small area and check the edges again.
When using two shades, complete the first shade's steps rather than spreading both over the whole area at once. For deciding where to place lighter and darker colors, see Two-Color Eyeshadow Combinations and Placement. Do not translate powder-pickup techniques directly into how firmly to press a solid stick.
After use, check whether the design allows the stick to retract. If instructed to retract it, lower it to a position where it will not touch the cap before closing. Do not use the cap to push the product down or force it closed while the product is extended. Check once before closing, where you can see the container rim and tip.
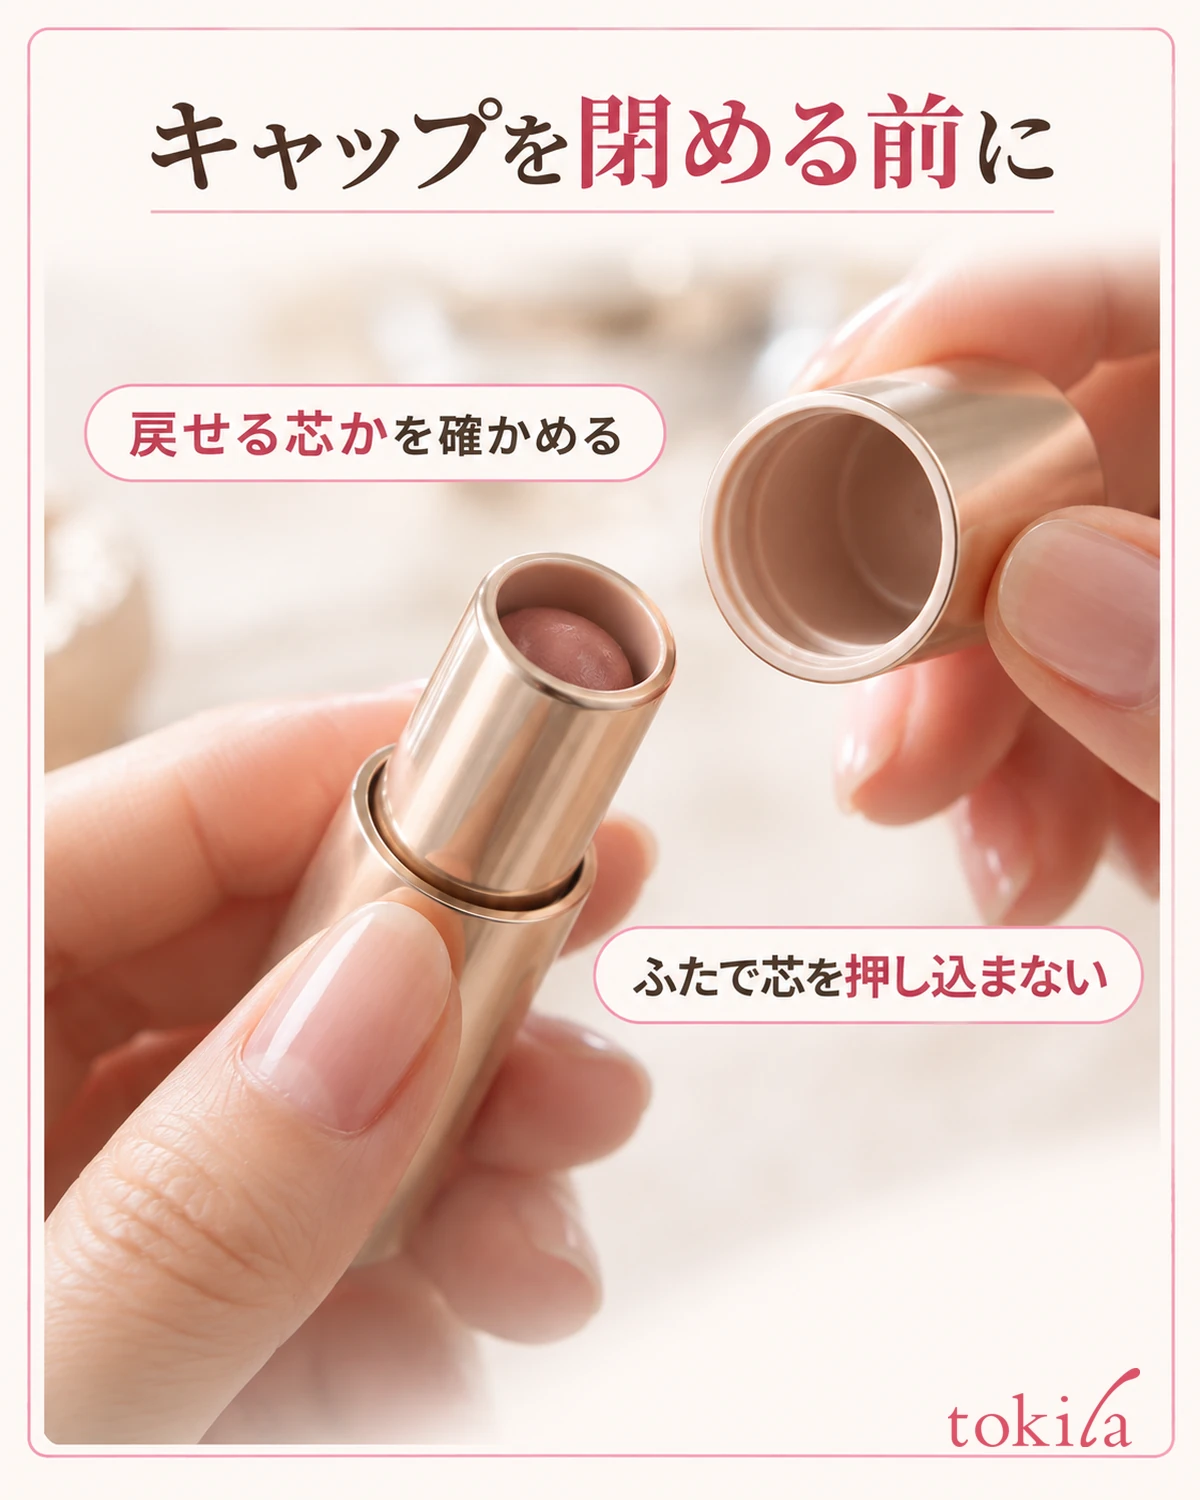
Care for dirt on the tip or container only as the product directs. Do not independently add steps such as washing the solid product with water or spraying it with disinfectant. Close it properly and follow storage instructions, such as avoiding direct sunlight and high temperatures.
For removal, follow the directions for a suitable cleanser or eye makeup remover. If it is difficult to remove, do not rub firmly with dry tissue; check the permitted areas, amount, and blending method. Stop using the product if redness, itching, irritation, or another abnormality occurs, and follow its precautions.
Next time, review one point that confused you: how far to extend the product, where to apply it, or when to begin blending. Start by enjoying the brightness and texture of one shade rather than adding many colors before you feel comfortable. Without pressing the eye area, make placing, blending, and stepping back to look separate parts of your routine.