You bought a stick highlighter, but wonder whether to glide it directly on like lipstick or pick it up with your finger first. How far to extend the stick and whether to apply it before or after foundation are also things to check for each product. Similar slim containers do not necessarily mean identical directions.
This guide covers solid stick highlighters used on the cheeks. From preparing the stick to applying it to a small area and checking it before putting it away, follow along with your own product’s directions.
1. Check the application order and whether to apply the stick directly
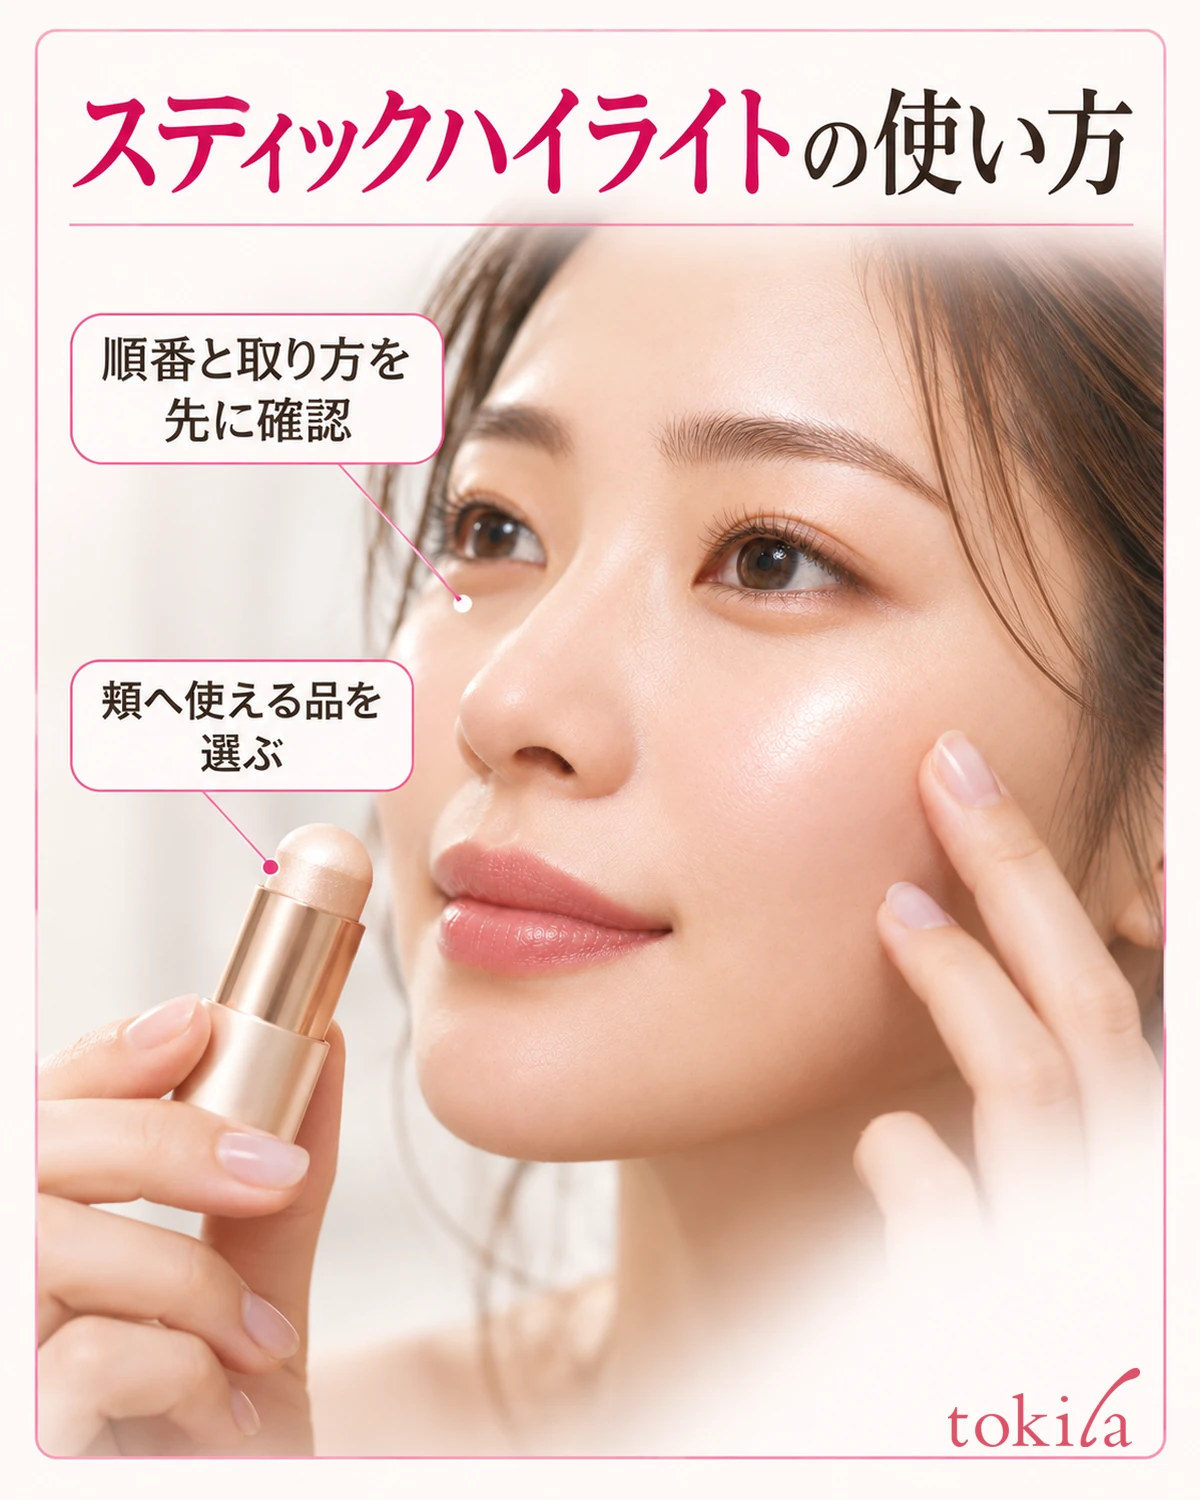
First, read the container and outer packaging to identify the intended application areas. Choose a product suitable for the cheeks; being a face product does not automatically make it suitable for the lips or eye area. This guide focuses on cheeks and does not extend to applying along the eyes or on mucous membranes. For multipurpose products, check how to handle tools for each area.
Next, consider where highlighter belongs alongside skincare, primer, foundation, and powder. Blending it before base makeup and adding it as a finishing touch involve different underlying surfaces. Instead of assuming every stick goes on last, build your sequence around the directions for that particular product.
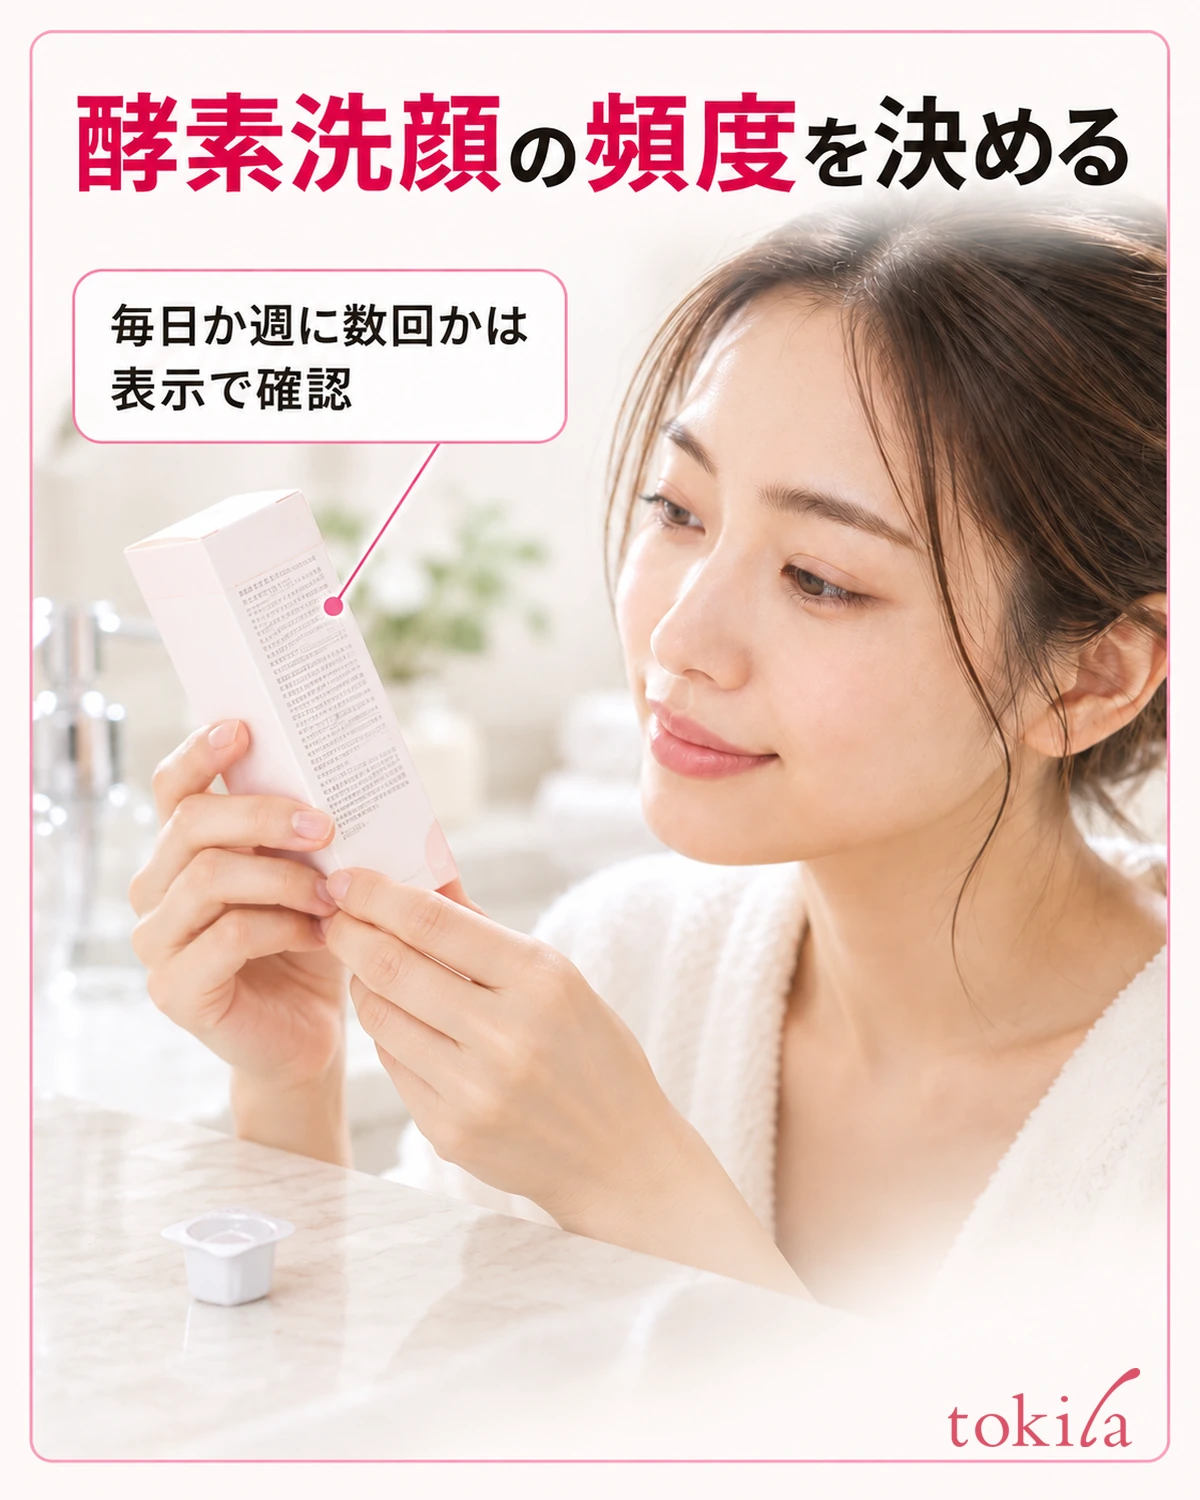
Read the pickup method separately, too. Some products are applied directly to the cheeks and then blended with fingers; others direct you to pick up product with a finger or compatible brush. Do not switch to direct application based on the shape alone. If the method varies by application stage, check those conditions together.
For example, if the finishing directions call for picking it up with a finger, do not add a step of rubbing the stick back and forth over foundation. Even a product intended for direct application does not need to be pressed on heavily. If changing tools, check that the tool is suitable for solid makeup.
Use a mirror to find the part of your cheekbone where you want to add light. Start with a small cheek area rather than aiming to cover the entire under-eye area. This prepares you to decide where you want light on your face as a whole, rather than drawing matching white lines on both sides.
If the pickup method remains unclear after reading the directions, make sure you can confirm how to use it before forcing a tool into the stick or mixing in another product. Keeping the original box or instructions at hand makes it easier to reread the sequence as you go.
2. Extend the stick as directed for your product and inspect the tip
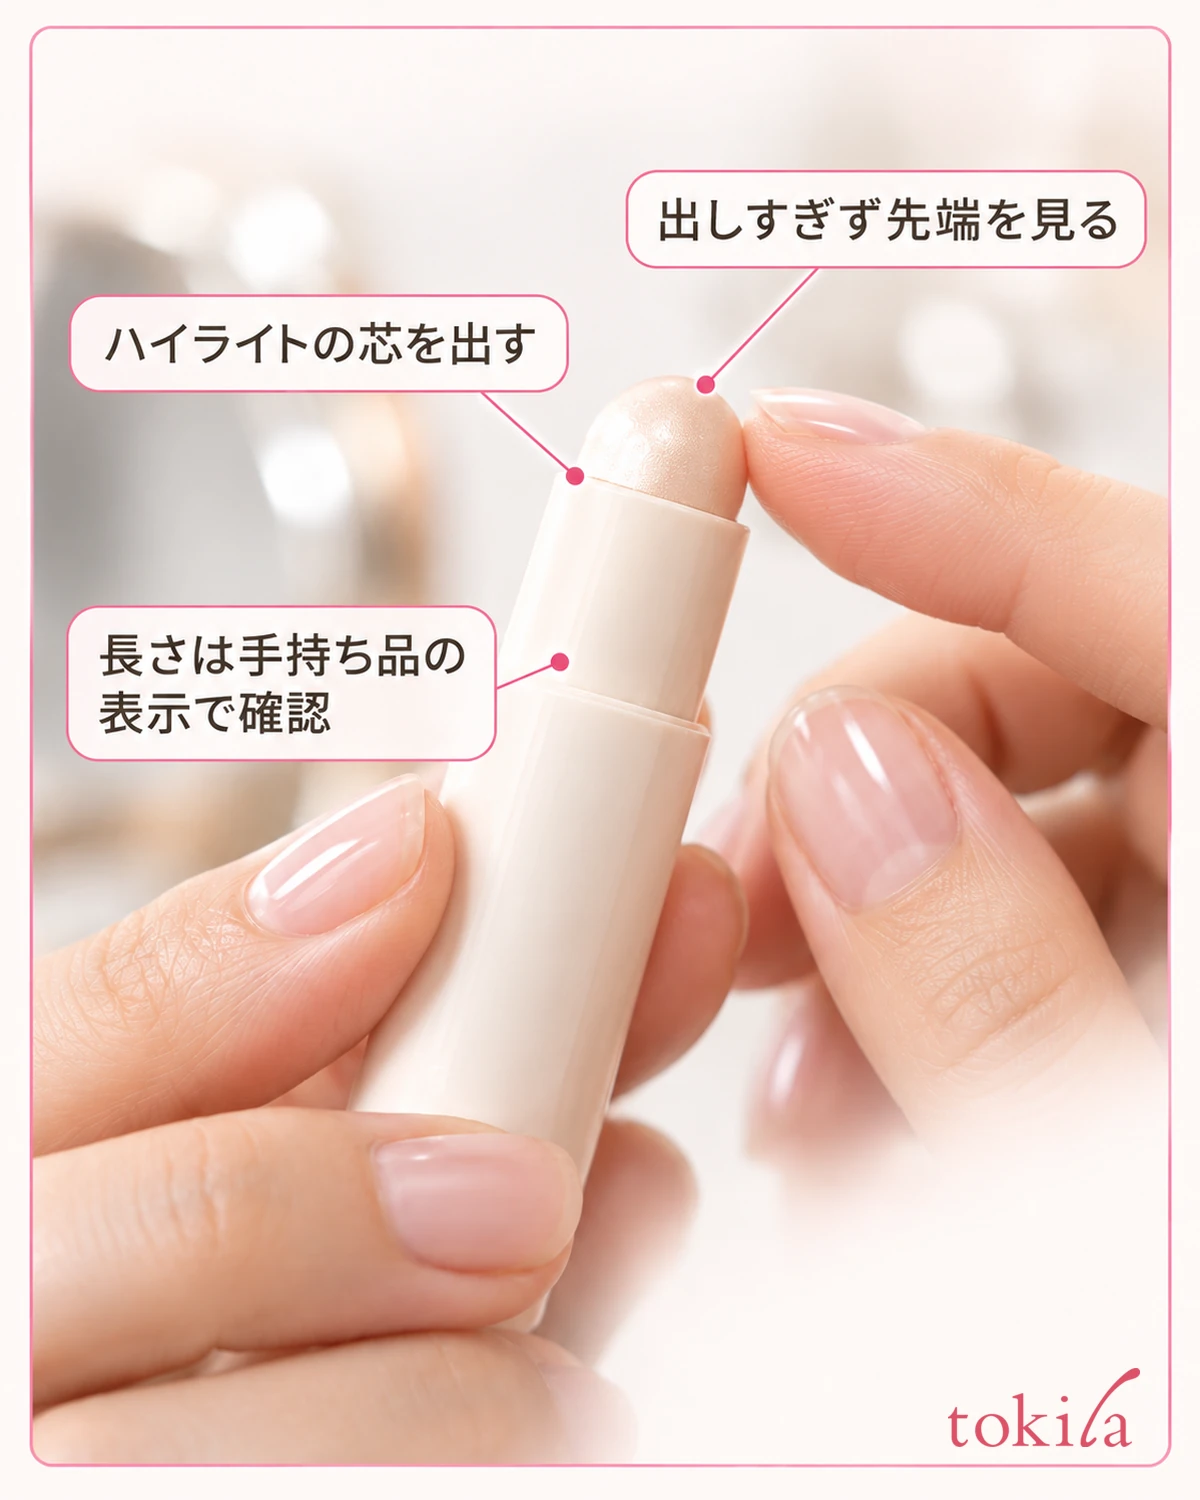
Clean your hands and hold the stick and cap securely. For a twist-up container, check which part you turn to move the stick and operate it gradually. Do not keep turning to expose the whole stick at once; stop at the length specified by the product.
There is no single extension length for every product. Some direct you to extend it only a little; others specify a different guideline. Do not use the length shown in an image as a ruler. Prioritize your own container and instructions. Since thickness and softness vary, there is also no need to match the length of a lipstick beside it.
Before use, inspect the tip and the rim of the container. Check for major chips, whether the stick sits at an angle against the tube, and whether product has transferred inside the cap. Appearance alone cannot establish quality or how long the product remains usable.
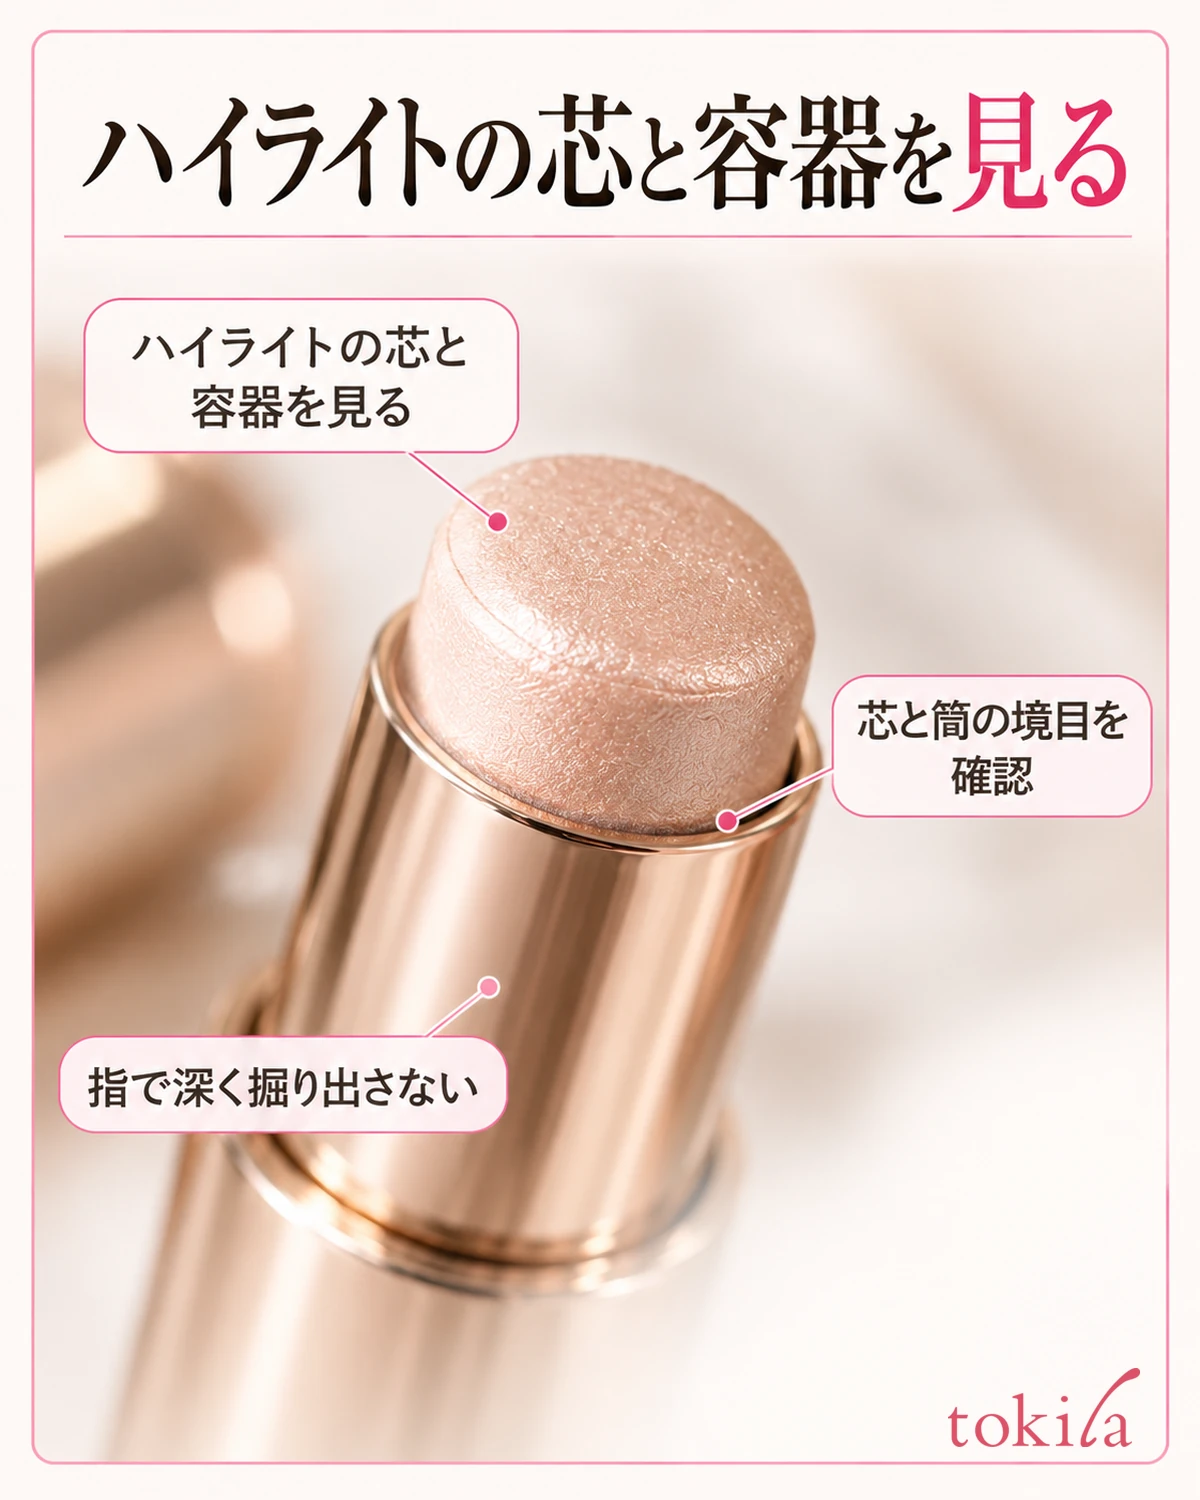
If hair or other makeup is on the tip, read the care instructions before bringing it to your cheek. Scraping the surface with a nail, applying alcohol directly, or adding water or emulsion to soften it are not universal procedures. Handle it according to the container’s structure and precautions.
If something is unusual, such as a stick that will not retract or is broken and loose, stop before using more force to turn it. Do not dig out product remaining inside with fingers or pointed tools; check the directions for finishing the container. Caring for the contact surface and dismantling the container are separate matters.
Once prepared, return to today’s pickup method. For a product picked up with a finger, use the finger pad rather than gouging a large amount out with the nail tip. Instead of scooping up a thick lump at once, take the amount directed and inspect what is on your finger before transferring it to the cheek.
3. Apply to a small cheek area and gently blend the edges
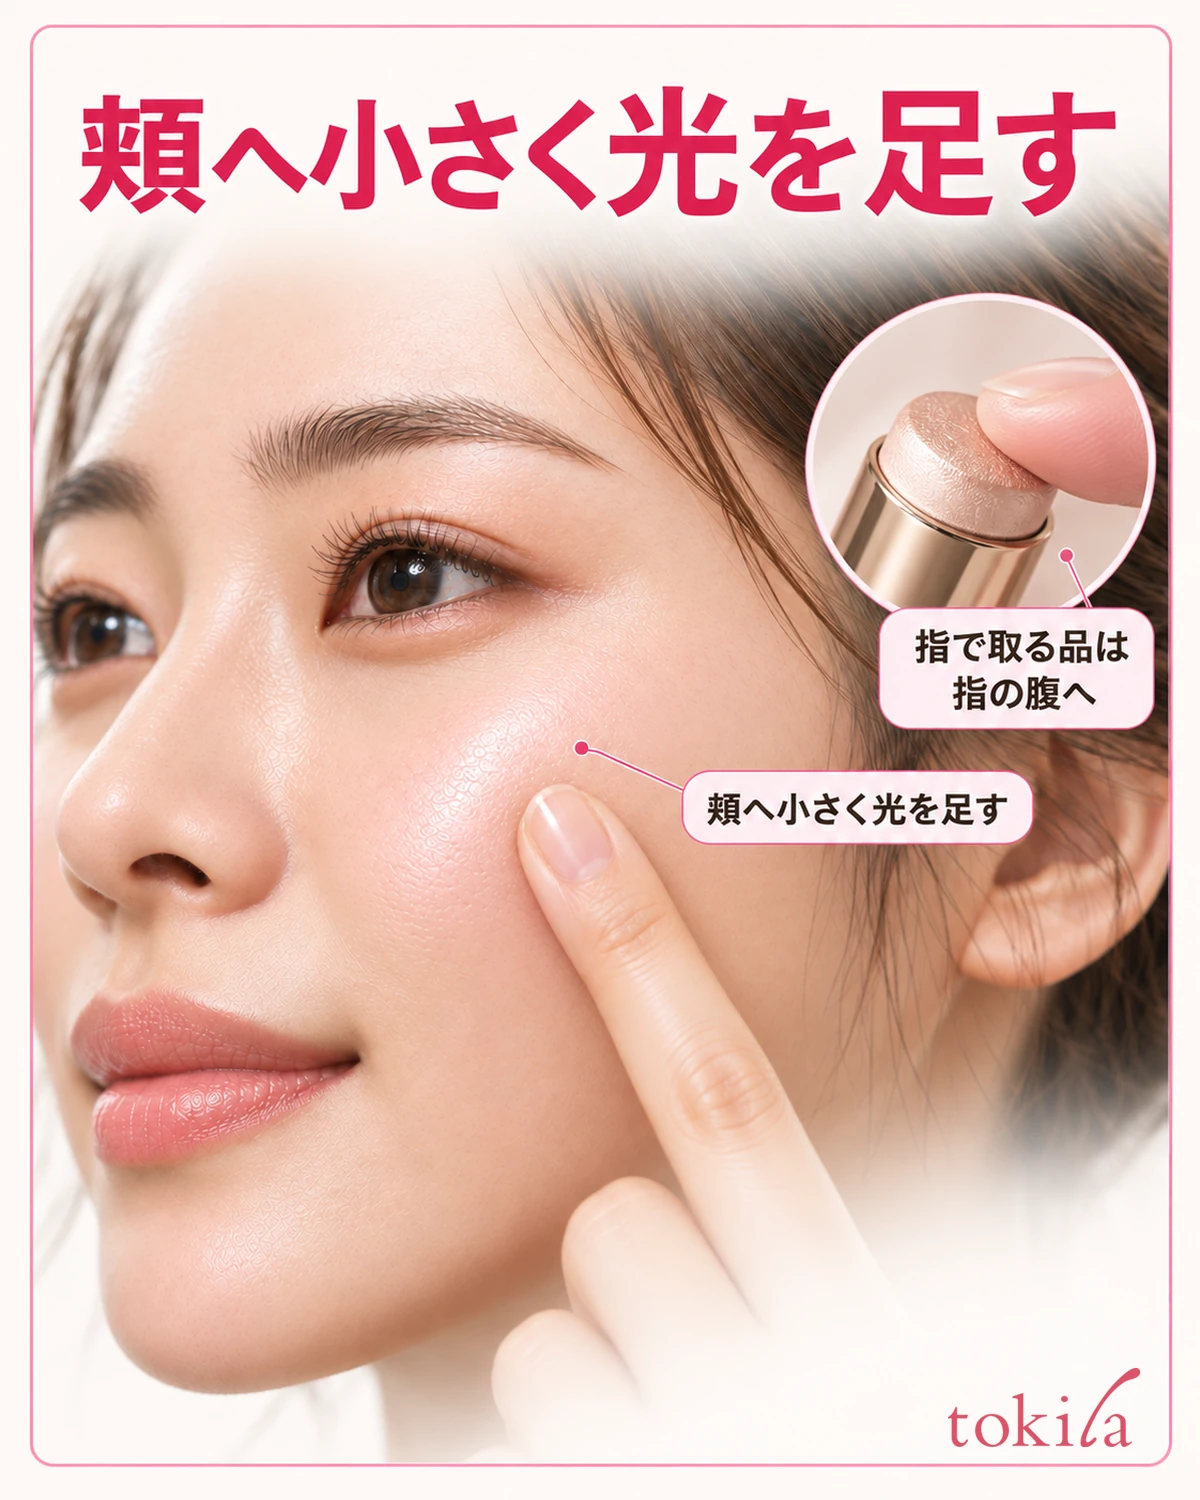
At a mirror where you can keep your face and hands steady, check the intended cheek area again. If the foundation underneath has significant creasing or gaps, address the base before covering it with highlighter. Keep adding light separate from filling gaps in base makeup.
For a product applied with fingers, gently place the amount on your finger pad onto the small cheek area you chose. Touch and lift once, then check the placement before blending the edges. Follow the product directions gently rather than switching to forceful repeated tapping, pulling the cheek sideways, or buffing in large circles.
For a directly applied product, extend the stick to the specified length and touch it lightly where needed. Rather than repeatedly rubbing hard over the same spot because you cannot see color, take the container away from your face. If the directions then call for finger blending, use a clean finger to soften the outer edges.
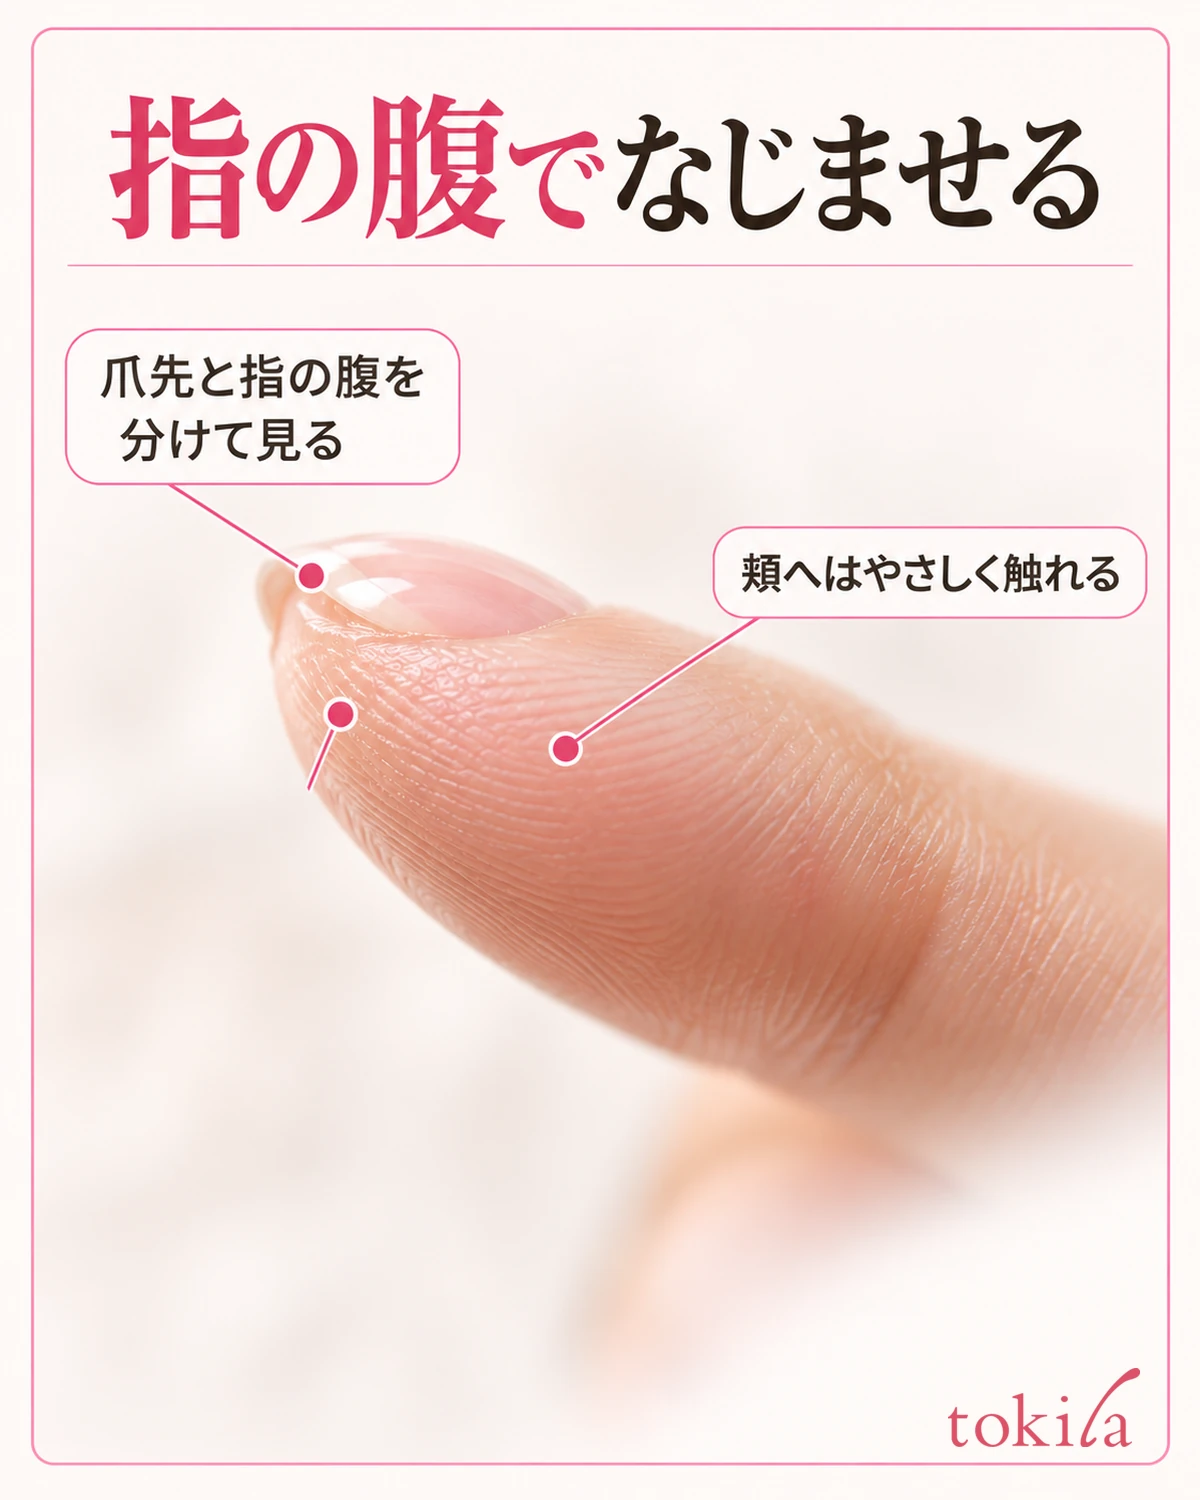
Distinguish the nail tip from the finger pad. Position the finger so its soft surface can touch lightly, rather than holding it so upright that the nail touches your cheek. The number of fingers or dots in the image does not indicate the correct amount. Even when adjusting your grip, prioritize avoiding firm pressure on the skin.
After blending once, move the finger or stick away and look. If the highlight stays within the small area where you want light, move on to the next check. Repeated touching and spreading are not requirements for completion; use the mirror to decide whether more product is needed.
If even a light touch creates streaks in the base or removes skin-colored coverage, do not keep layering highlighter over it. Reconsider the order, amount, and pickup method, and repair the base in that area if needed. Stop if you feel irritation or pain and follow the product’s precautions.
4. Move your face to check the light and underlying base
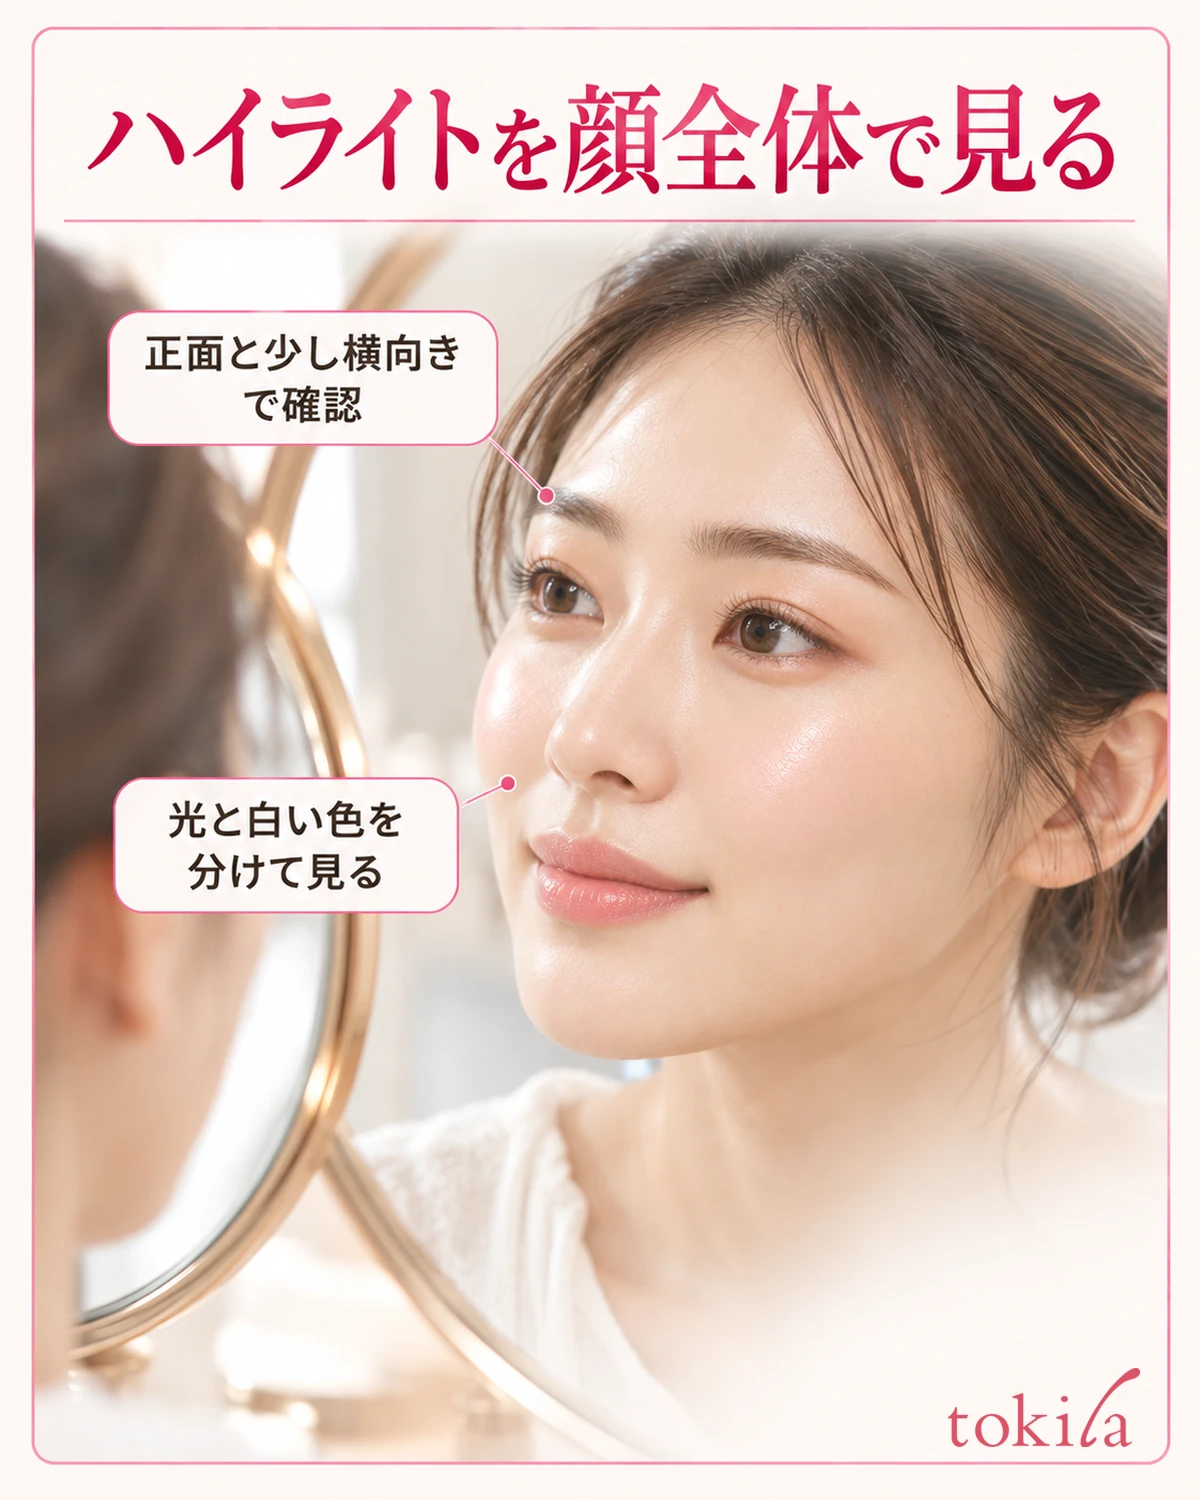
For the final check, return to a distance where you can see your whole face rather than keeping the mirror close. Look straight ahead and turn slightly to the side to see where light appears on the cheeks. If stronger light falls on only one side, adjust your viewing conditions before adding more to make both sides equally pale.
Distinguish a sheen visible only at certain angles from a pale band that remains visible from the front. Do not treat shine itself as a mistake; check whether it is within the area of radiance you want to keep. Do not try to eliminate natural skin texture or lighting shadows entirely through highlighter application.
Also check for new streaks where you blended with a finger. Your next step depends on whether you only want to soften color or reflection, or also need to repair the foundation underneath. Do not cover gaps in disturbed base makeup by layering more product from the stick.
If you are concerned about overapplication, seehow to adjust too much highlighteras well. Decide whether to remove all the light or retain some, then adjust only the necessary area.
Conversely, even if the light looks subtle, avoid chasing it simply by increasing the amount. A close magnifying mirror and a mirror viewed from a distance can give different impressions. If you like the light across your whole face, you can choose to stop there today.
Smartphone photos can show sheen differently because of screen brightness or image processing. Use your cheeks and surrounding makeup in the mirror as your reference rather than matching the paleness of a photo. Instead of aiming to reproduce someone else’s reflection, choose your finish alongside your blush and lip makeup.
5. Retract and close the stick, ready for next time
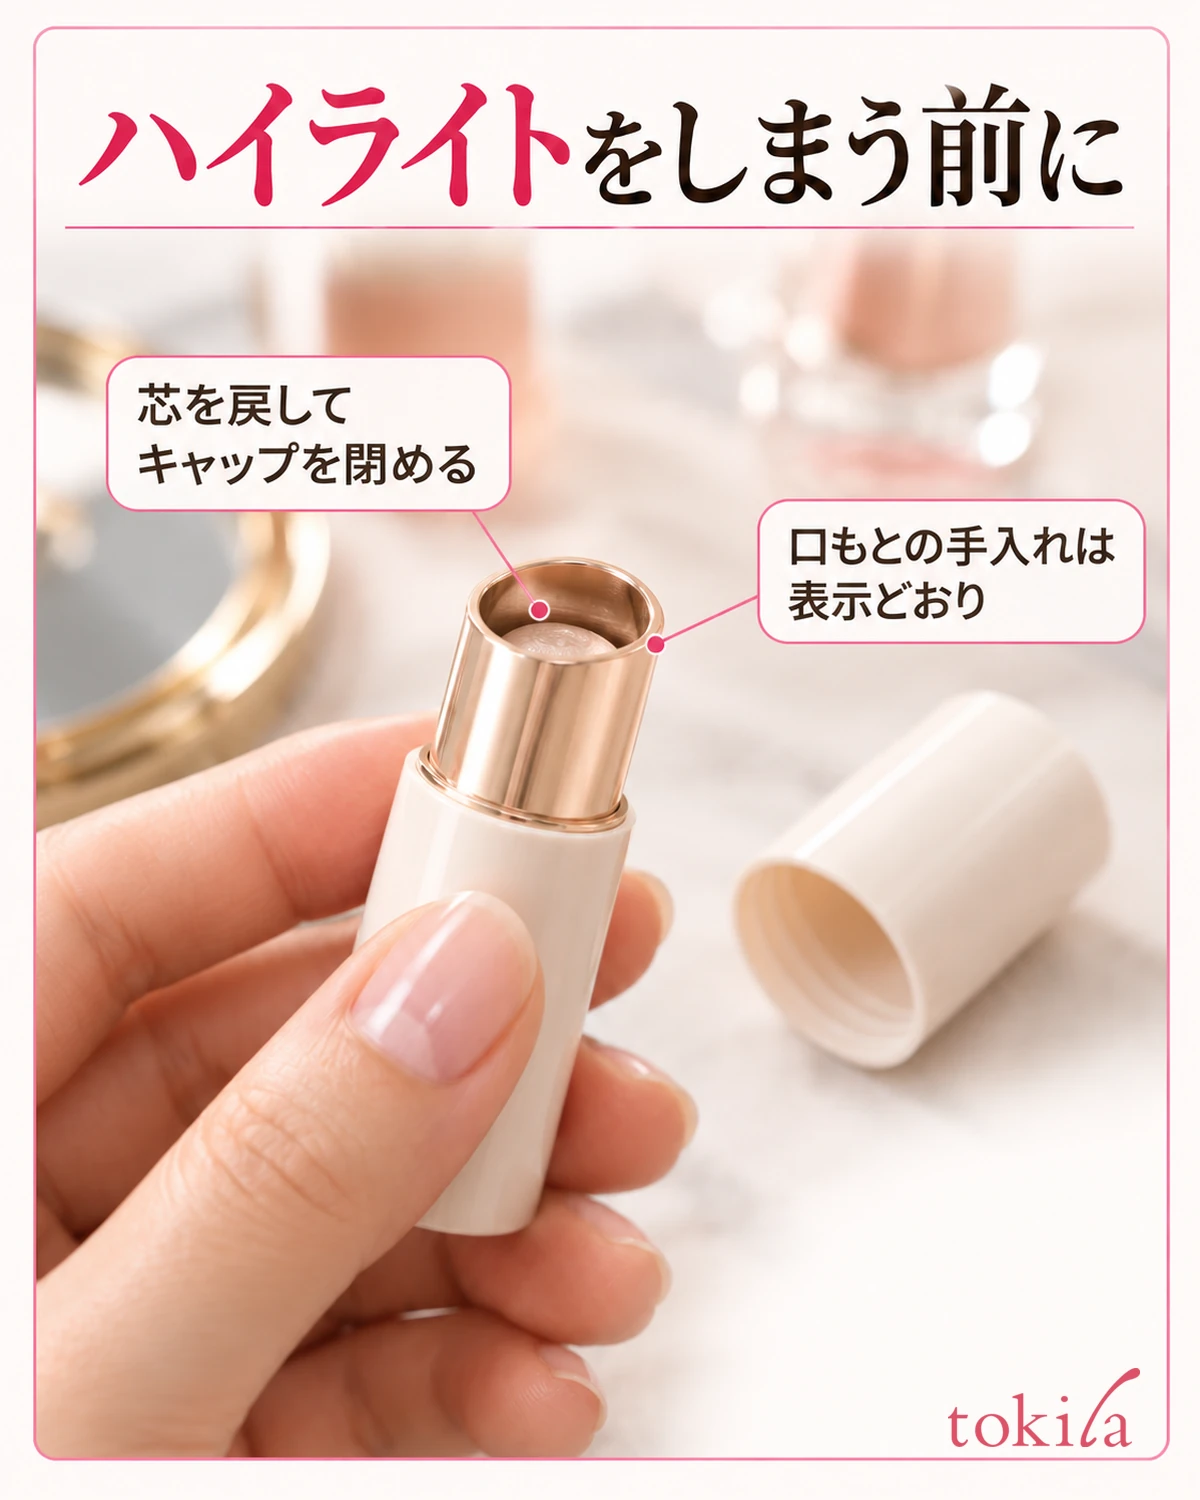
After use, hold the container securely away from your face. If the directions call for retracting it for storage, slowly turn the base to return it into the tube. Do not force the cap on while product is extended; check that the tip will not hit the cap before closing.
If makeup is on the container rim, tidy it according to the care instructions. For a product whose directions call for wiping, work around the opening without pressing hard enough to crush the stick. If the cap does not close properly, check for an obstruction or other issue before pushing it into a pouch.
Follow your product’s temperature and storage instructions. If it says to avoid direct sunlight and high temperatures, avoid leaving it in a sunlit car. Do not freeze a soft product or heat it to make pickup easier on your own; handle it under the conditions described.
For next time, you might briefly note today’s sequence and method, such as “picked up with a finger after foundation” or “placed only on the outer cheek.” Use this as a reminder of your own procedure, rather than as evidence of an effect.
If you change your base next time, check again whether the same order still applies. Familiarity with the stick format does not mean it suits every combination. Treat extension length, pickup method, cheek contact, retraction, and closing as one sequence, and make it manageable for you.