
You take nail parts out of their container, and they roll on the desk, similar colors get mixed up, or they spill when you put them back. If you use a work tray, first check the shape of the bottom, the rim and the corner for pouring back. That a tray is triangular does not mean they all work the same way, or that shaking it will turn every part face up.
Here, from preparing to handle small stones and beads on a work table, through dividing out a small amount, to putting away the leftover parts. The steps for adhesive and gel to be applied to the nail are separate; choose handling that suits the tray and the parts you have, according to their labels.
1. Choose the Work Tray and the Storage Case Separately
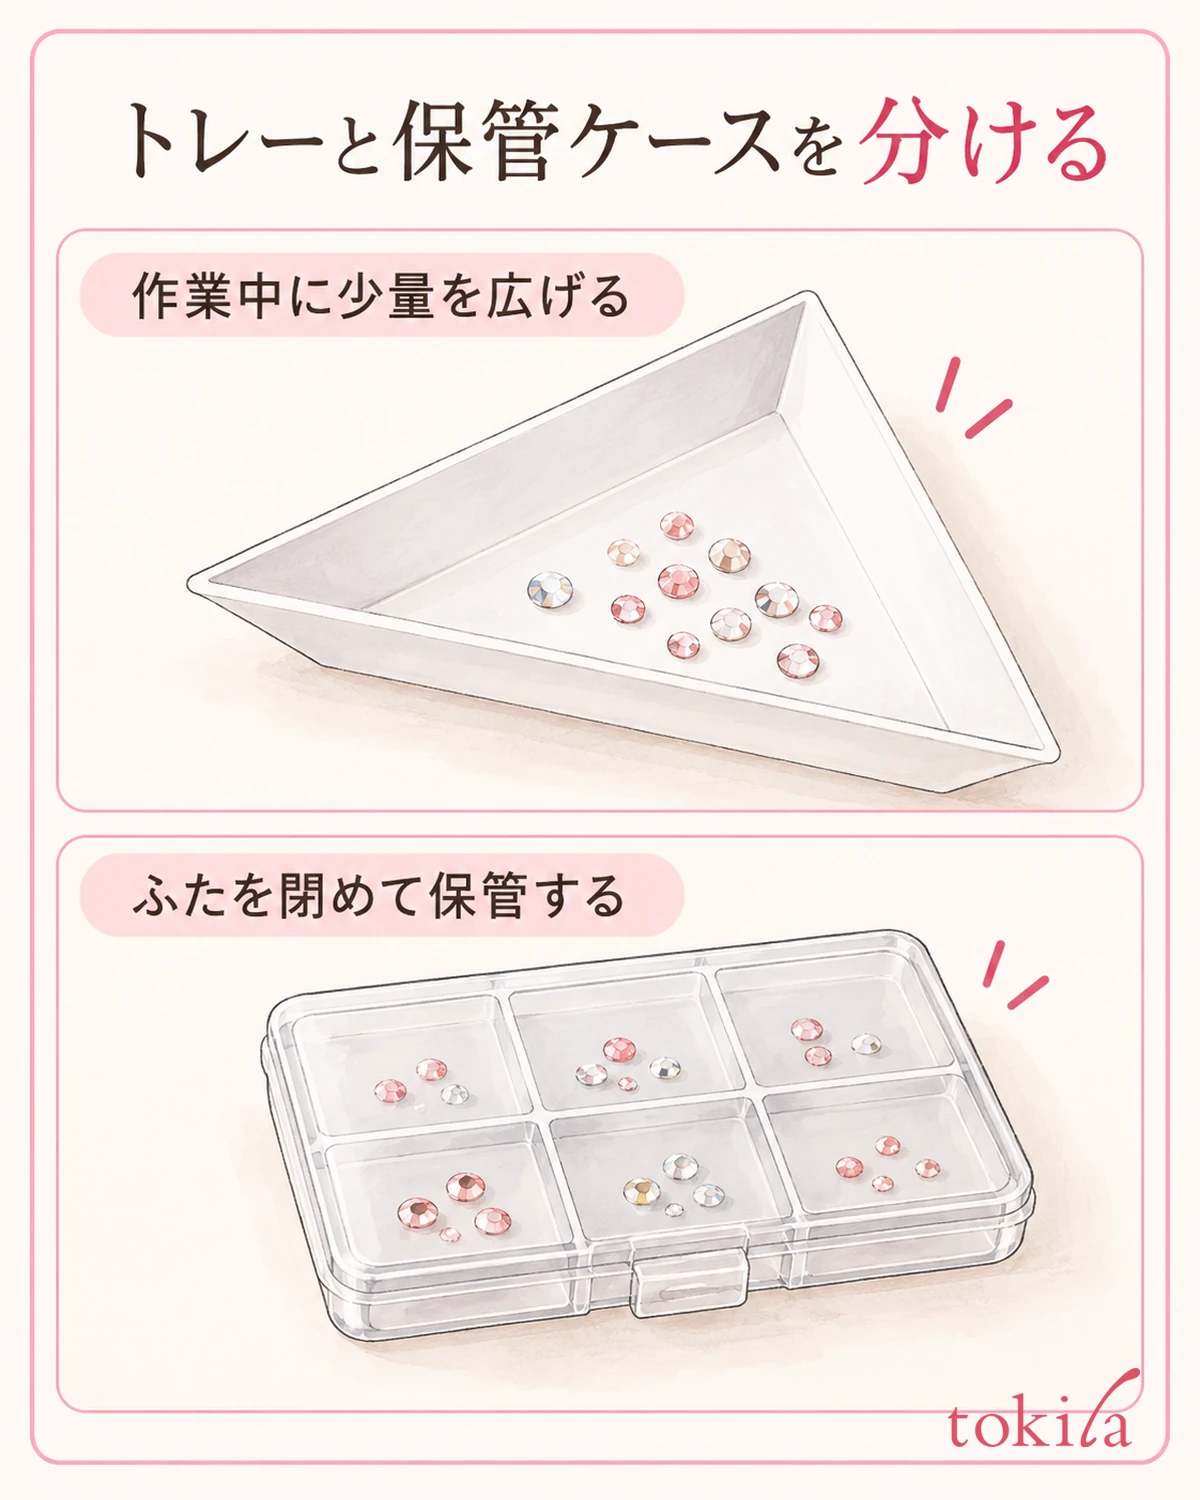
First, decide whether what you need now is "a place to spread a small amount while working" or "a container to keep types separated until next time." A shallow, open-topped tray can be used for looking over the parts at hand, but think of it separately from storage you carry around with no lid.
For storage, there are also cases with dividers, lids or a stacking structure. The way you take things out differs between a structure that sorts types into small compartments and one where you temporarily put them out on a wide bottom. Even under similar names, take care not to mix up the corner of a work tray with the opening of a storage case.
Place the tools you have in an empty state in a bright spot and look at the bottom, rim and corners in turn. Check whether the bottom is flat and whether it has grooves or fine bumps. Do not decide the use by color or shape alone; read whether it is a tool with instructions to align orientation with its bumps, or one that simply divides things out.
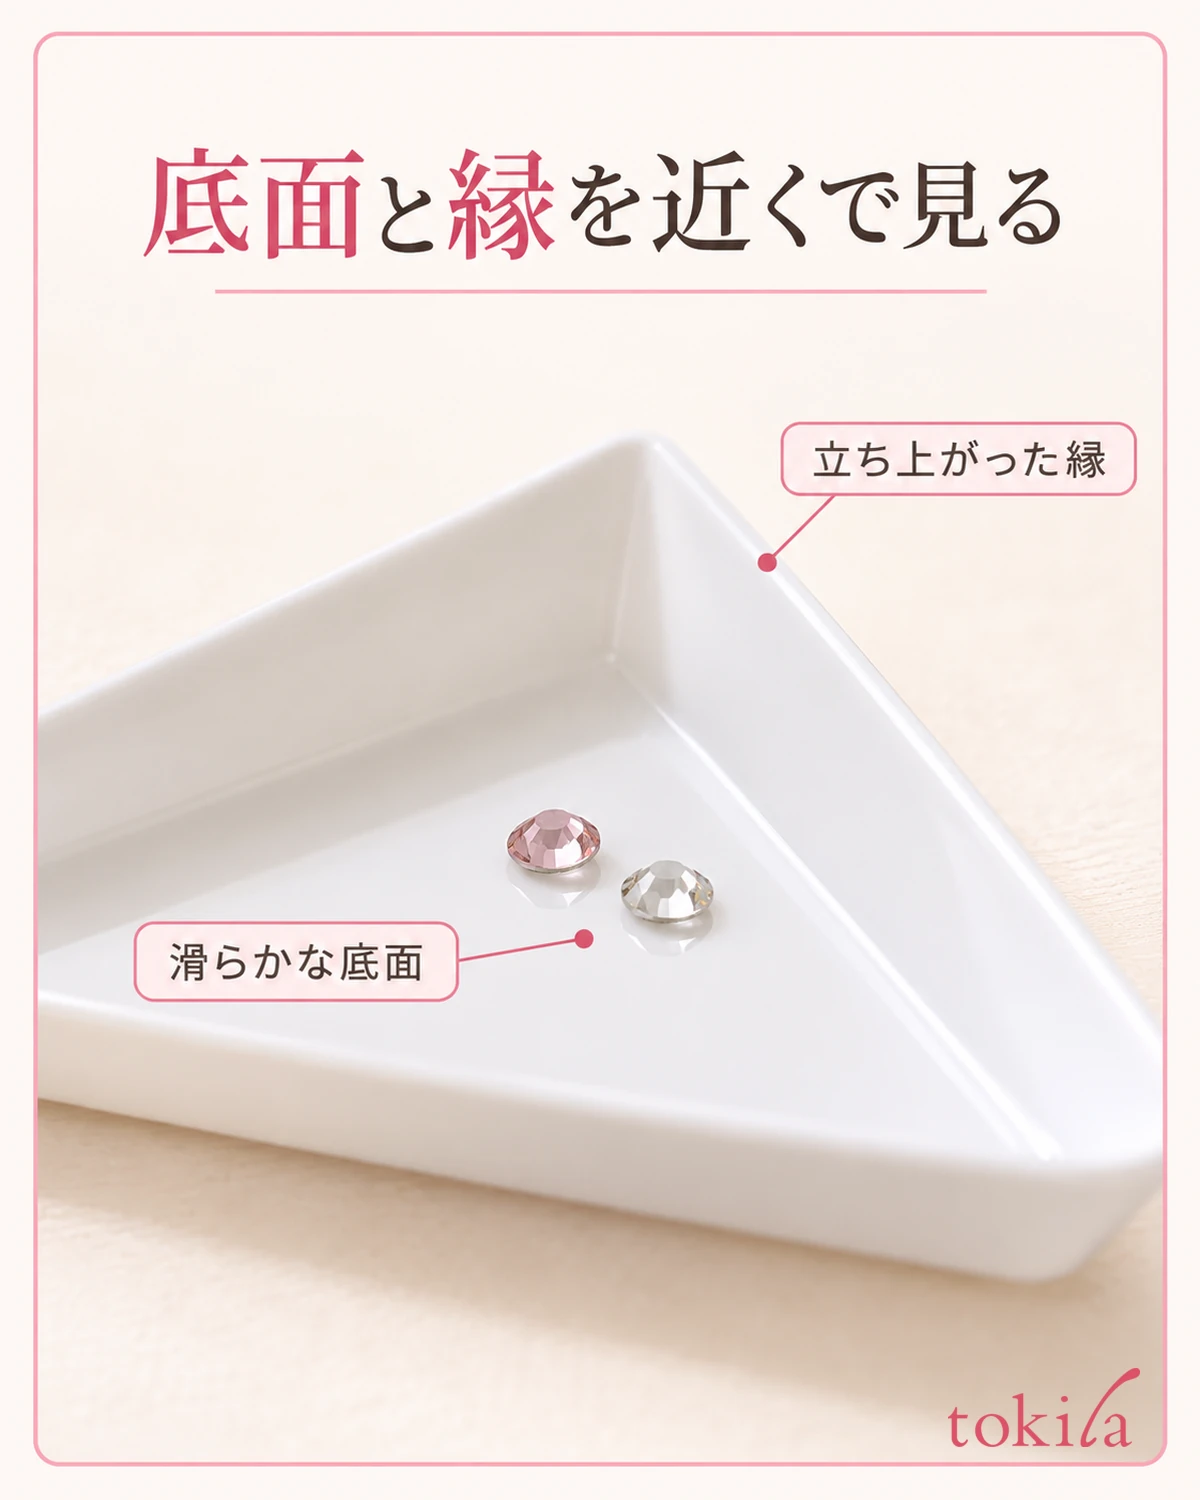
For one with a part of its corner narrowed, also look at the positional relationship between that shape and the container opening. Just having a triangular point does not mean it has a spout that can be sealed or a feature that prevents leaks. If it has a notch or an opening, look first at where things come out.
On days you use several small trays, match one to each color and size. If you plan to leave your seat partway, do not move with them still in the shallow work tray; leave time to put them away in the storage container. If you separate what you put out on the work table from what you put away first, you can also choose the tools to prepare.
If the rim is chipped, the bottom is warped and unstable, or the surface finish is peeling, check that it is in usable condition before putting in parts. Do not press a finger hard on the corner or scrape the bottom with a thin-tipped tool to shape it; if it differs from the explanation, hold off on using it.
When choosing a tool, also check that it is wide enough to look over the parts you plan to use and that you have a place on the desk to set it. Without deciding that bigger is better, see whether you can set it down stably within your reach. Do not set things up so that you also work on your nails while holding the tray.
2. Tidy the Desk and Put Out a Small Amount of One Color or Size at a Time
Before you start, prepare a dry, flat surface. Place the tray where it does not stick out past the edge and where your elbows and sleeves are unlikely to touch it. Move aside unneeded small items and open containers around it so you can find a small part if it falls.
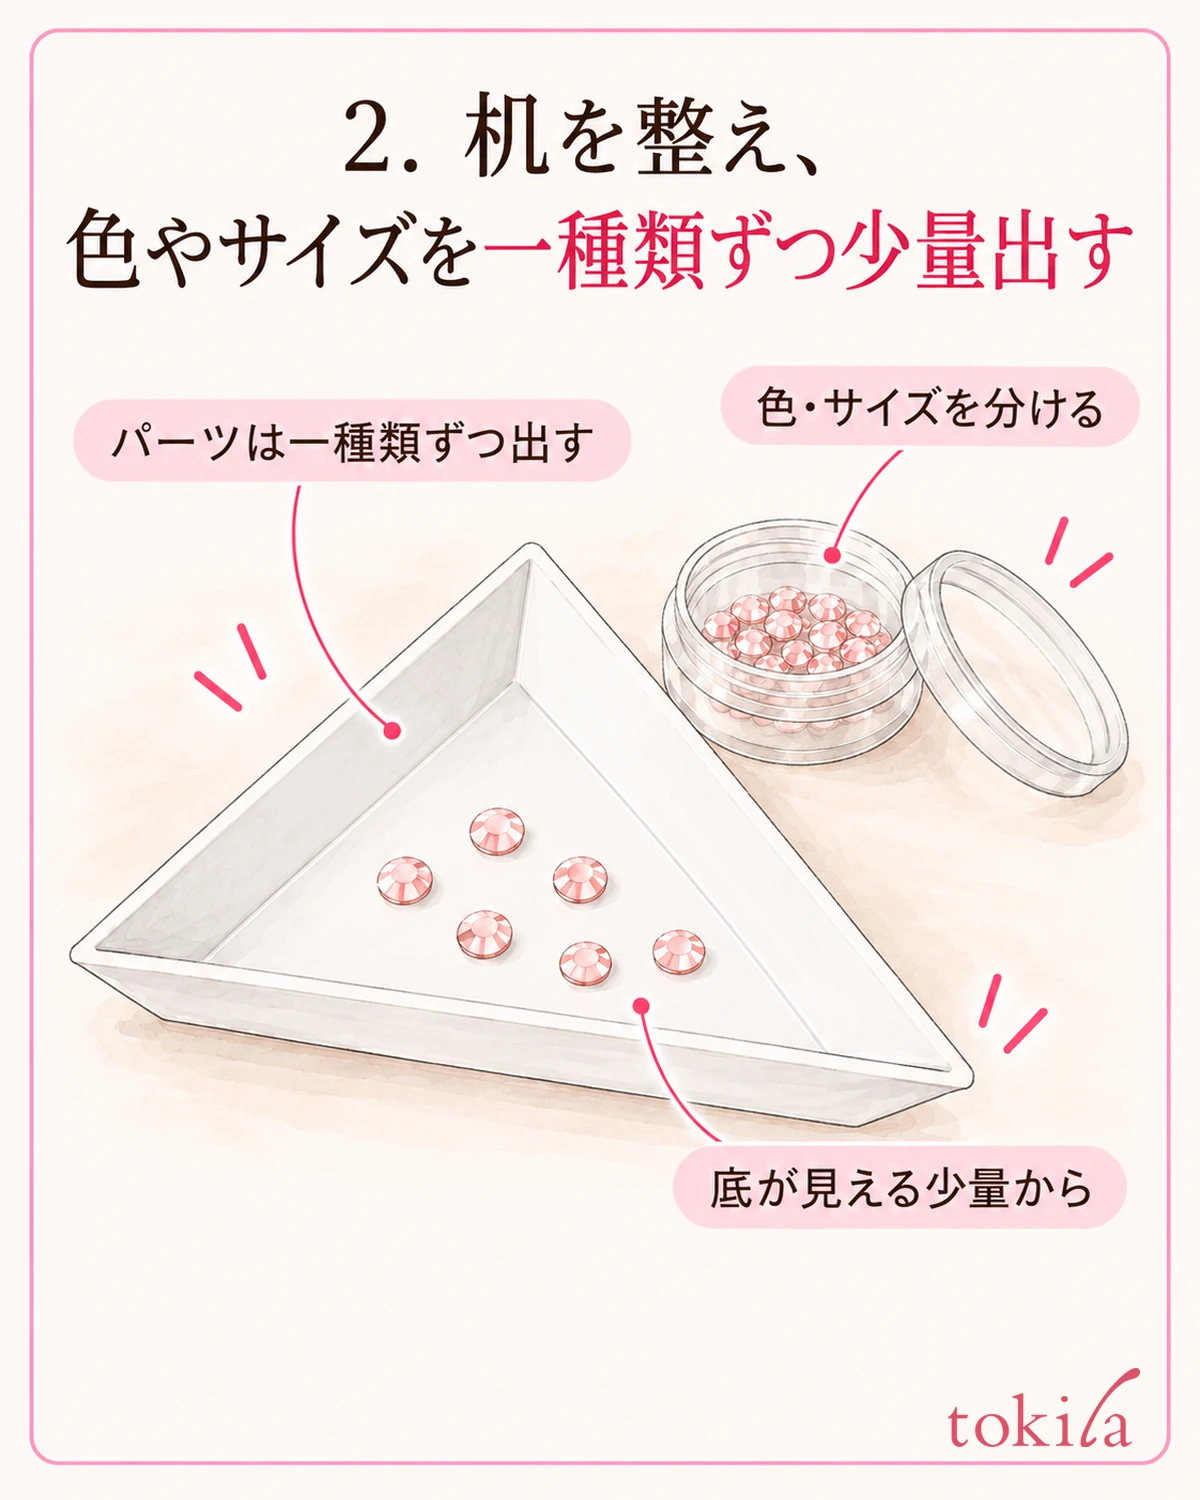
Before opening the original container, choose one combination of color and size to use. Even in the same color, items of different sizes are easier to think about for returning if you divide them into separate trays. Rather than lining up several empty trays, start with the one type you will use this time.
Point the container opening toward the inside of the tray, and at first put out a small amount so the bottom still shows. Do not spread more than the number you need at once; add more later if it is not enough. This is because when the bottom is hidden under many layers of parts, it becomes hard to tell orientation and size.
Place the original container and its lid in a decided spot near that tray. If you swap lids when closing, or open containers of other colors at the same time, it becomes hard to tell what corresponds to what when you put things away. Keep using them with the origin of what you put out preserved.
After you set down the tray, check the movements of the hand that opens the container and the hand that picks up parts while it is empty. If your sleeve touches the neighboring tray at that position, move it apart and reposition it while it is still empty. Secure a place to put the lid as well, to match the order of the hands you use.
When whitish parts are hard to see, check the brightness at hand and the color of the tray. If you have trays in other colors, there is also a way of choosing the candidates again while they are empty. But the background color does not change the color or quality of the parts themselves; use it as an aid for telling them apart.
Think of preparing to decide how to arrange the parts you will use as separate from dividing out tools. Also use the list of nail how-to articles as a guide, and proceed without mixing the preparation before bonding with the steps of applying to the nail.
3. Match the Bottom's Mechanism and Check Orientation Before Moving
Once you have put the parts out, first look, without moving them, at whether you can tell front from back. Check the structure of the parts you have, such as a shiny face and a flat back, holes or curved surfaces. Do not rely only on how they look in a photo; sort out which side of the real item you are handling.
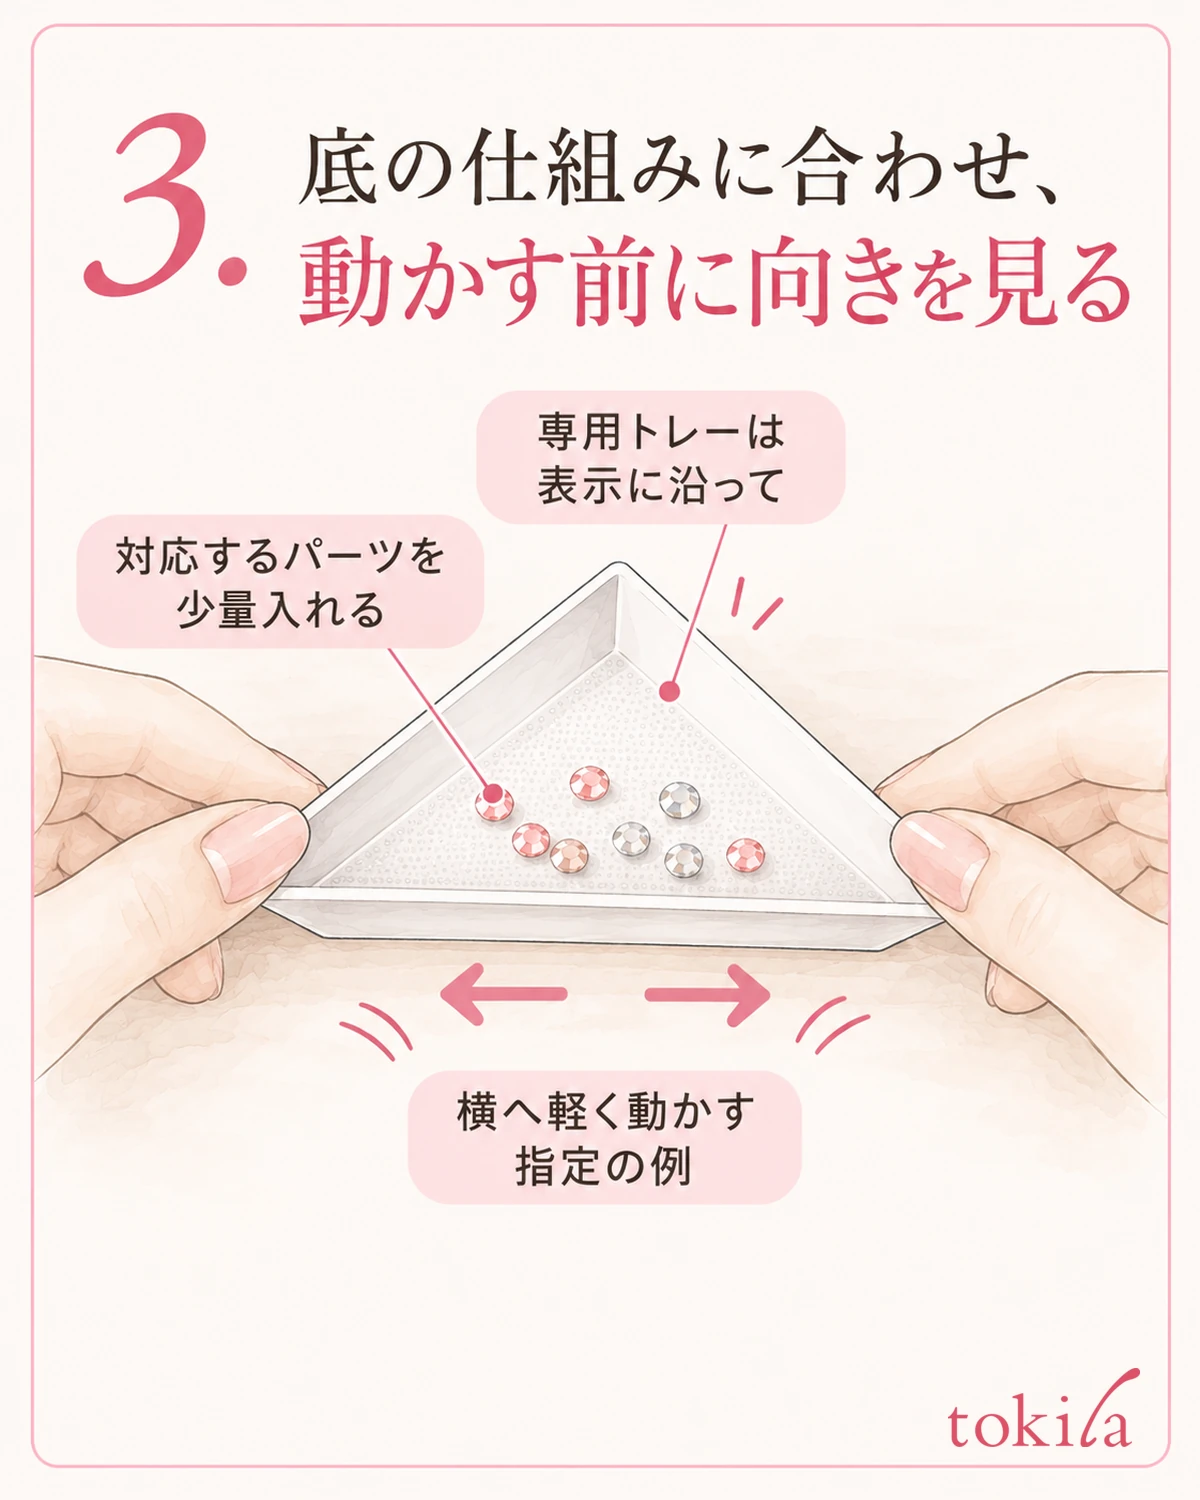
A flat tray is used as a place to divide things out. On the other hand, there are also dedicated trays that use surface friction and the like to align orientation. Only when there is a dedicated explanation, follow the target materials and amount and the direction of movement it gives. Do not judge a tool to be one you shake hard just because you can see lines on the bottom.
For a product with an instruction to move it lightly sideways, try it in a small way at a low position on the desk. Do not change to lifting it high and shaking it up and down, or fanning it vigorously many times. Do not try to line everything up at once; make the ones whose orientation you have confirmed ready to use.
When it does not move easily, before increasing force right away, check whether you have put in too many parts or whether they overlap. If there is a tool specified for gathering them back, use it, and do not rub the surface finish with a fingernail or a pointed tip. Do not add oil or powder to a finished bottom on your own, either.
Depending on the material, orientation may be slow to change. Even with a dedicated tray, parts of every type will not necessarily give the same result. Do not keep shaking hard those that do not move well; it is important to return to the handling that corresponds to the item you have.
If you try several methods at once, it becomes hard to tell whether the amount was too much or the match with the bottom was the issue. Review them one at a time, in this order: first go back to a small amount, then check the movement in the explanation. Do not assume you will keep using a tool in which you find deformation or anything stuck to it.
4. Separate the Tool You Pick Up With From Where You Put the Adhesive
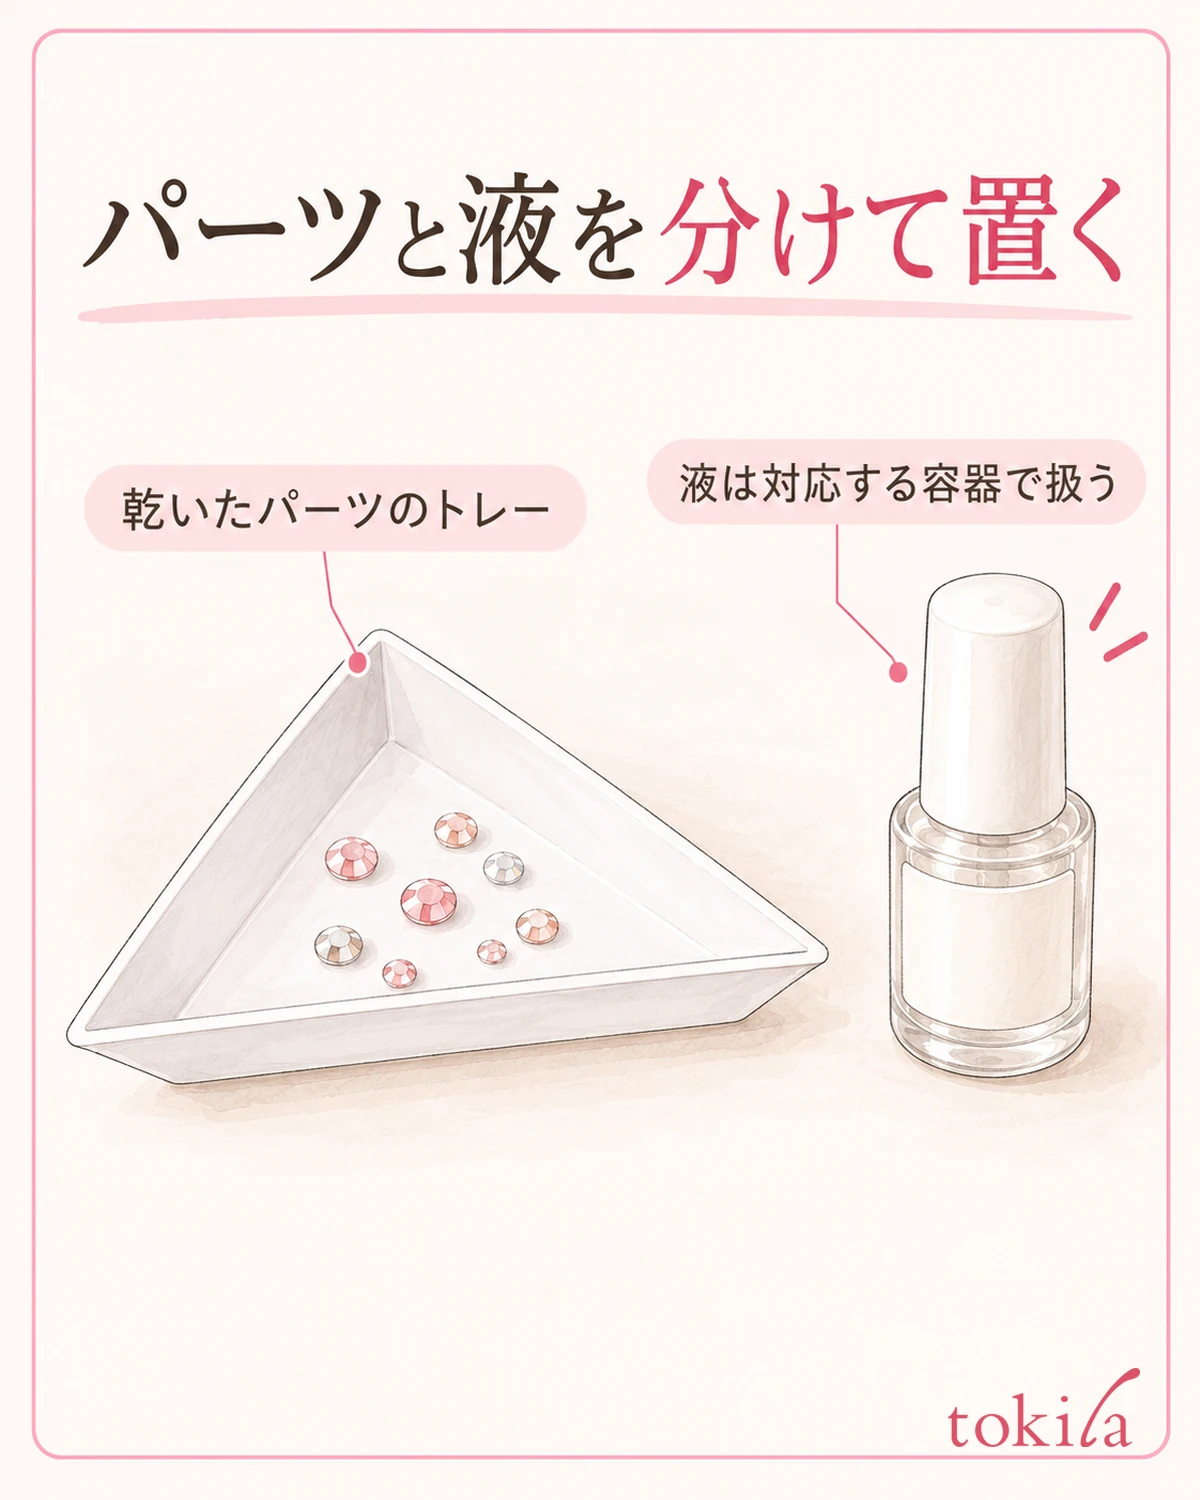
Before carrying parts to your nail, check what the tool you pick them up with is suited for. Tweezers, dedicated picks and the like differ in how they lift and release. Do not assume anything with a thin tip will do instead; combine the explanations for the parts and the tool.
Put the tray where it stays stable without you continuing to hold it. Orient it so you can see the tip of the tool and the part as you pick up, and bring it to a spot you can reach without twisting your wrist far. If you cannot pick one up well, before gripping the tool tightly, check whether the parts overlap.
Keep the containers of nail polish, gel and adhesive apart from the surface where you have spread the parts. Whether the tray itself can be used as a dish for mixing liquid depends on the product, so do not make it a procedure to pour liquid as it is into a tool meant for dividing out dry parts.
With tools that have a surface finish in particular, handling can change once liquid gets on them. If liquid spills, stop work without adding more parts and check the handling specified for the tool and the liquid. Do not assume that wiping with remover or alcohol will always restore it.
For the order of attaching parts, the amount to apply, and the conditions for drying or curing, go back to the guidance for the nail products you have. Do not judge the strength or durability of the bond from how easy the tray is to use. Preparing to divide things out on the desk and the process of setting them on the nail are separate checks.
5. Match the Corner to the Container for Returning, Look at the Bottom and Rim, and Put Away
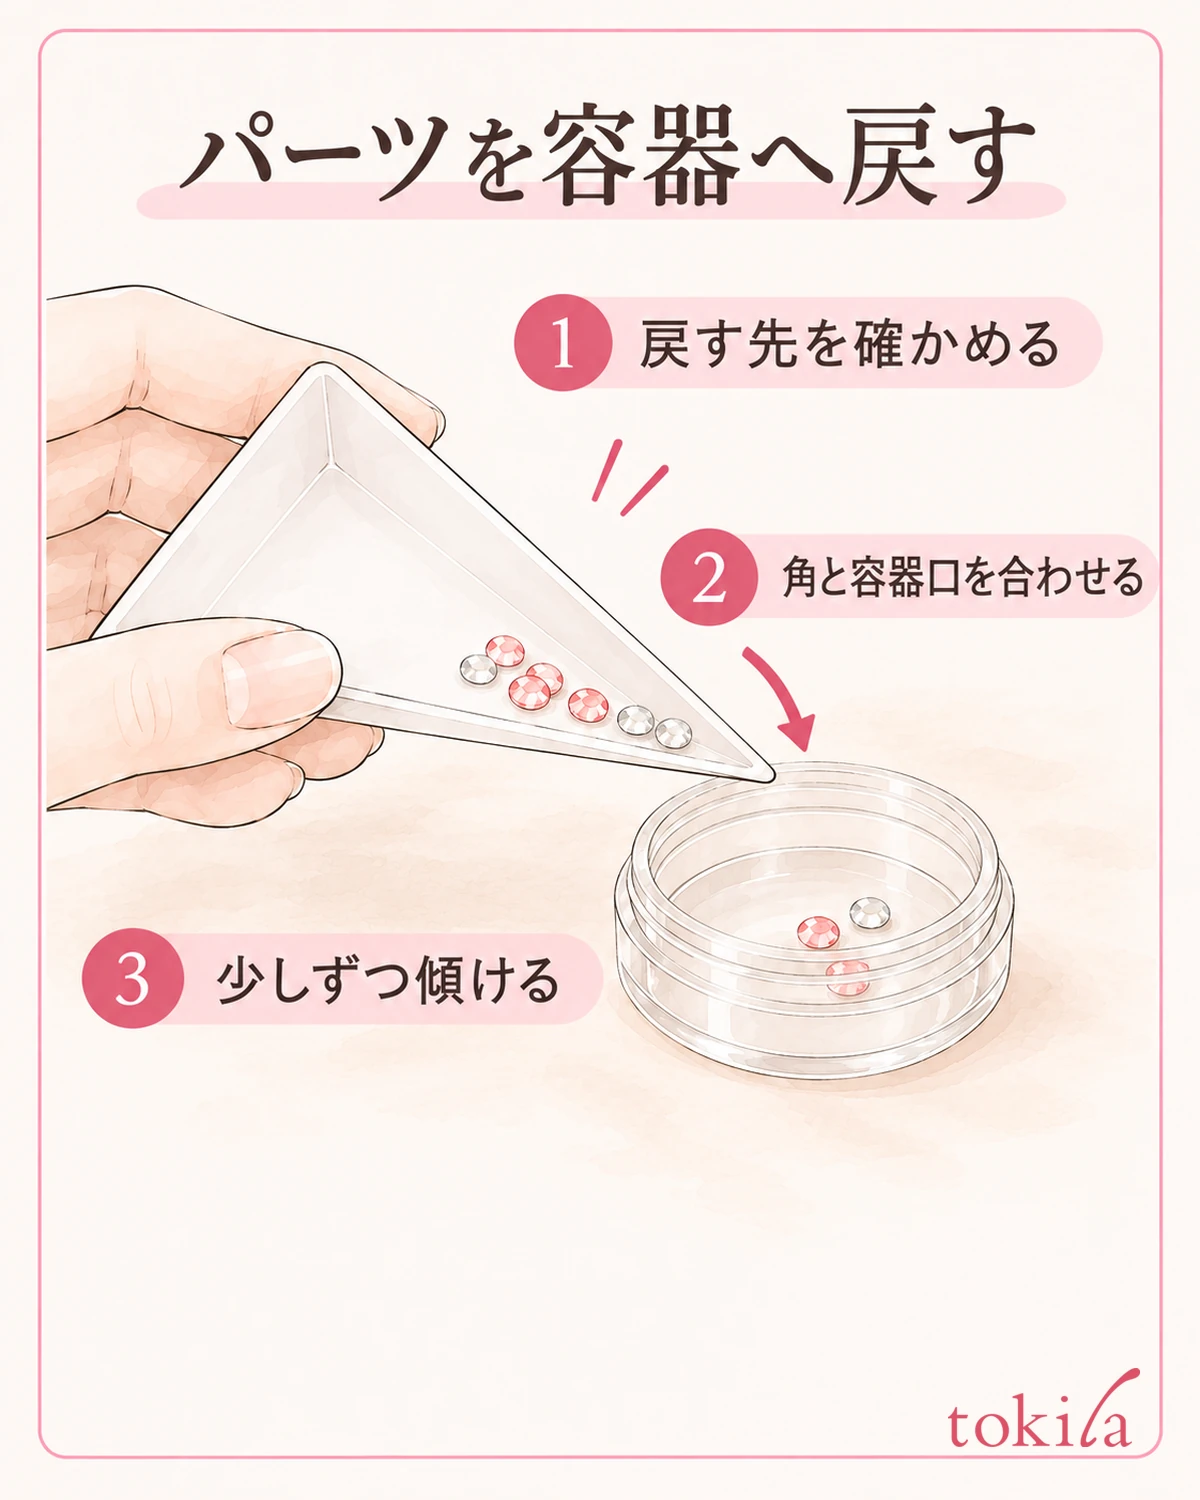
When you finish, first confirm which is the original container. Do not return everything to it together, including items mixed with a different type or items with liquid on them; separate them and check how to handle them. Do not decide that things are the same size or material just because they look similar.
For the remainder that can be returned, place the original container on a stable surface and match the position of the tray's corner to the container opening. Look, using the empty parts, at whether the width of the corner fits into the opening and where the parts will pass when you tilt it. Do not force the tray into a container with a narrow opening to make it match.
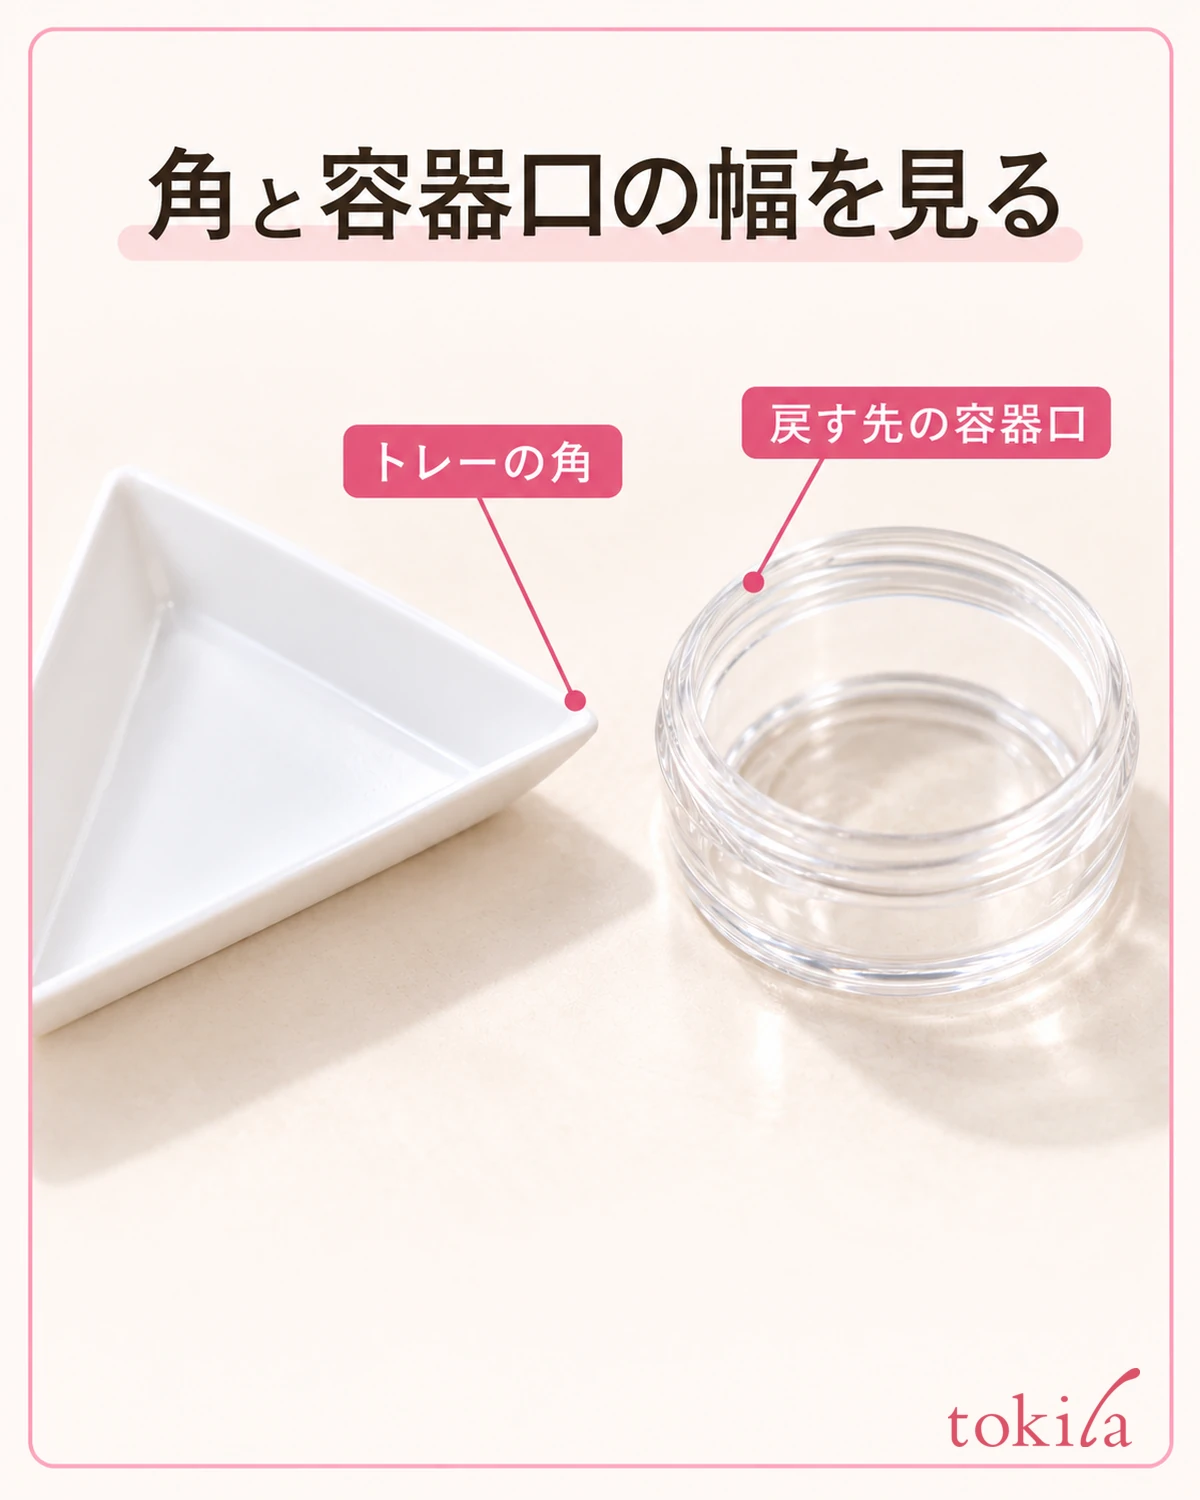
Tilt a little at a time and return them while watching the flow. Do not tilt it far at once to pour everything out; if it jams, return it to level on the surface and look at the situation. If you keep switching hands, such as operating the tool with the hand holding the container, rearrange your setup.
If the container opening is small and returning directly from the corner is difficult, do not try to pour them in forcefully. Set them back on the surface and check whether you can move a small amount at a time with a tool suited to the parts. If you switch to a separate wide-mouth container, choose it after keeping the type and storage conditions clear.
Even when you think you have finished returning them, look in a bright place for small items left in the bumps of the bottom, the inside of the rim and the corners. Finishing putting away one type before putting in the next color right away helps keep things matched up. Do not use the method of sweeping the remainder off onto the desk with force.
For care, check the explanation that suits the tray's material and surface finish. Some can be washed with water, but not every tray can be washed hard with the same cleaner. Put it away after you have finished the specified care and drying and also checked that the lid of a lidded container closes.
Finally, check whether any parts have fallen on the desk or around it, and put it all away out of reach of children and pets. For next time, leave one note about where you tripped up: go back to one color at a time if putting out two colors at once caused the mixing, or go back to how you line up the container and tray if you were unsure when pouring back.



