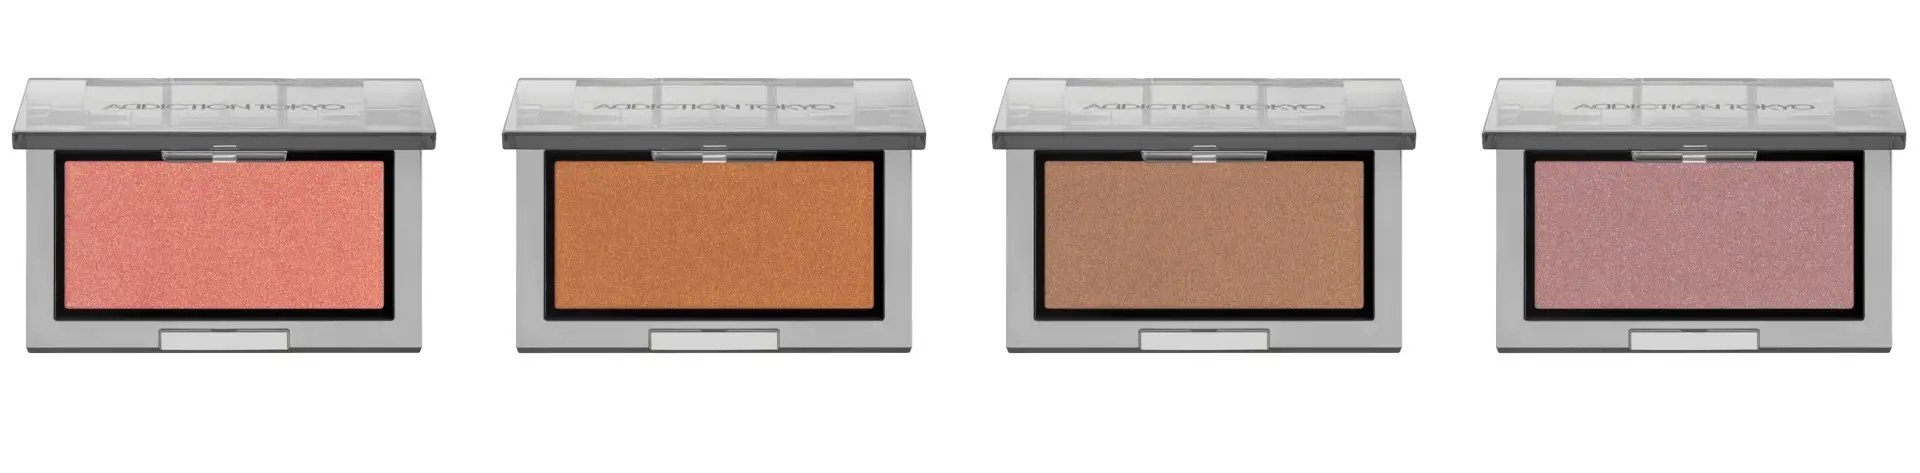
When pressed eyeshadow is labeled “wet or dry,” it can be hard to tell what to dampen and how to change your usual technique. Start by checking your product’s directions to see which liquids and tools you can use. If it calls for dampening the brush tip with water, make sure there are no droplets on the brush and start with a small area of the upper lid so the color is easier to adjust.
This guide covers pressed shadows that can be used both wet and dry. Decide how much of the lid you want to cover first. Use the shadow dry when you want a sheer wash over a wider area, and wet when you want to place color in one spot, such as the center of the lid.
1. Check whether your eyeshadow can be used wet

Read the directions on the box or insert and look for wording such as “wet or dry.” A pressed texture or shiny surface alone won't tell you. For a palette, check whether the instructions apply to every shade or just certain ones. If you aren't sure about a shade, use a dry tool.
Once you know the product can be used wet, check what to dampen it with and where it can be applied. Some shadows can be picked up with a water-dampened sponge applicator or synthetic brush. Others call for a particular liquid or for lightly dampening a fine brush to draw a line. Follow the product directions to find out whether you can substitute toner or a spray you have on hand for water.
“Wet” doesn't necessarily mean adding water straight to the pan or wetting the entire lid. If the directions say to lightly dampen the brush, for example, the water goes on the bristle tips. Decide which tool to use before you start so you're less likely to add too much water or dampen another shade.
When a palette contains several colors, identify the shade you want and which shades can be picked up with a damp brush as soon as you open it. If only one of two shades can be used wet, set your dry and damp brushes on separate sides so they’re easy to tell apart when you switch. If you're unsure about a brush you already own, start by checking the tool supplied or specified for that product.
2. Use a dry brush for a sheer wash of color
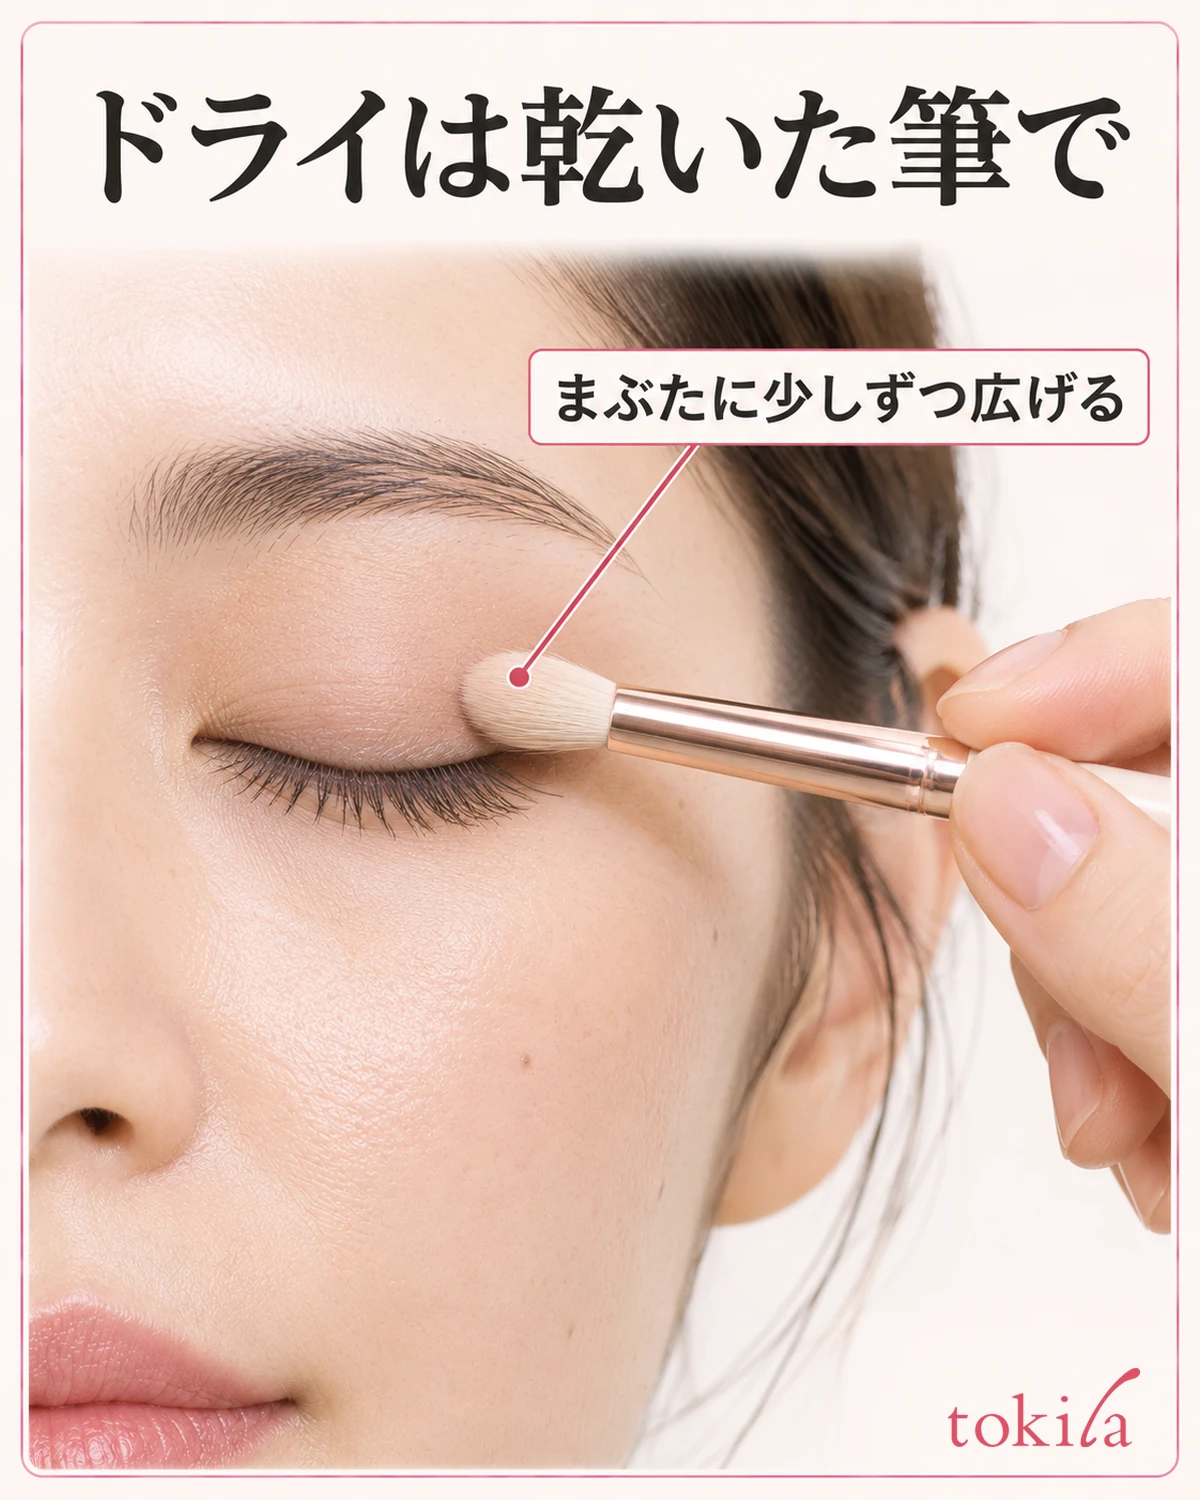
For dry application, set aside brushes that are still damp from washing and get a clean, dry brush or applicator. Use the tool specified by the product if there is one. If using a brush, lightly touch the tips to the pressed shadow and pick up just enough for one stroke at first. There's no need to rub hard enough to work color down to the base of the bristles.
For a sheer wash on the upper lid, place the color where you want it to remain strongest, then gradually blend out. Color often collects where the brush first touches, so starting at the edge near the brow that you want to blend can make the outer area darker first. Lightly trace the edge with a brush tip that has no color on it, then open your eye to check the visible width.
If the shade looks too sheer, check whether the color itself is light or whether it disappears when you open your eye before adding water. If the color is light, build it gradually in the same spot. If it disappears, place the mirror straight ahead and decide where the color needs to sit to remain visible. If the intensity is already enough and you just want a different finish on one area, you can use the shadow wet there only.
If the color you place in the center tends to spread outward, start a little farther in to leave room to blend the edge. If you keep blending with your eye closed, it can be hard to tell how wide the shadow will look from the front. After placing color on one lid, match where the color is visible on the other in a mirror straight ahead instead of spreading it the same distance.
3. Dampen the brush as directed and check for droplets
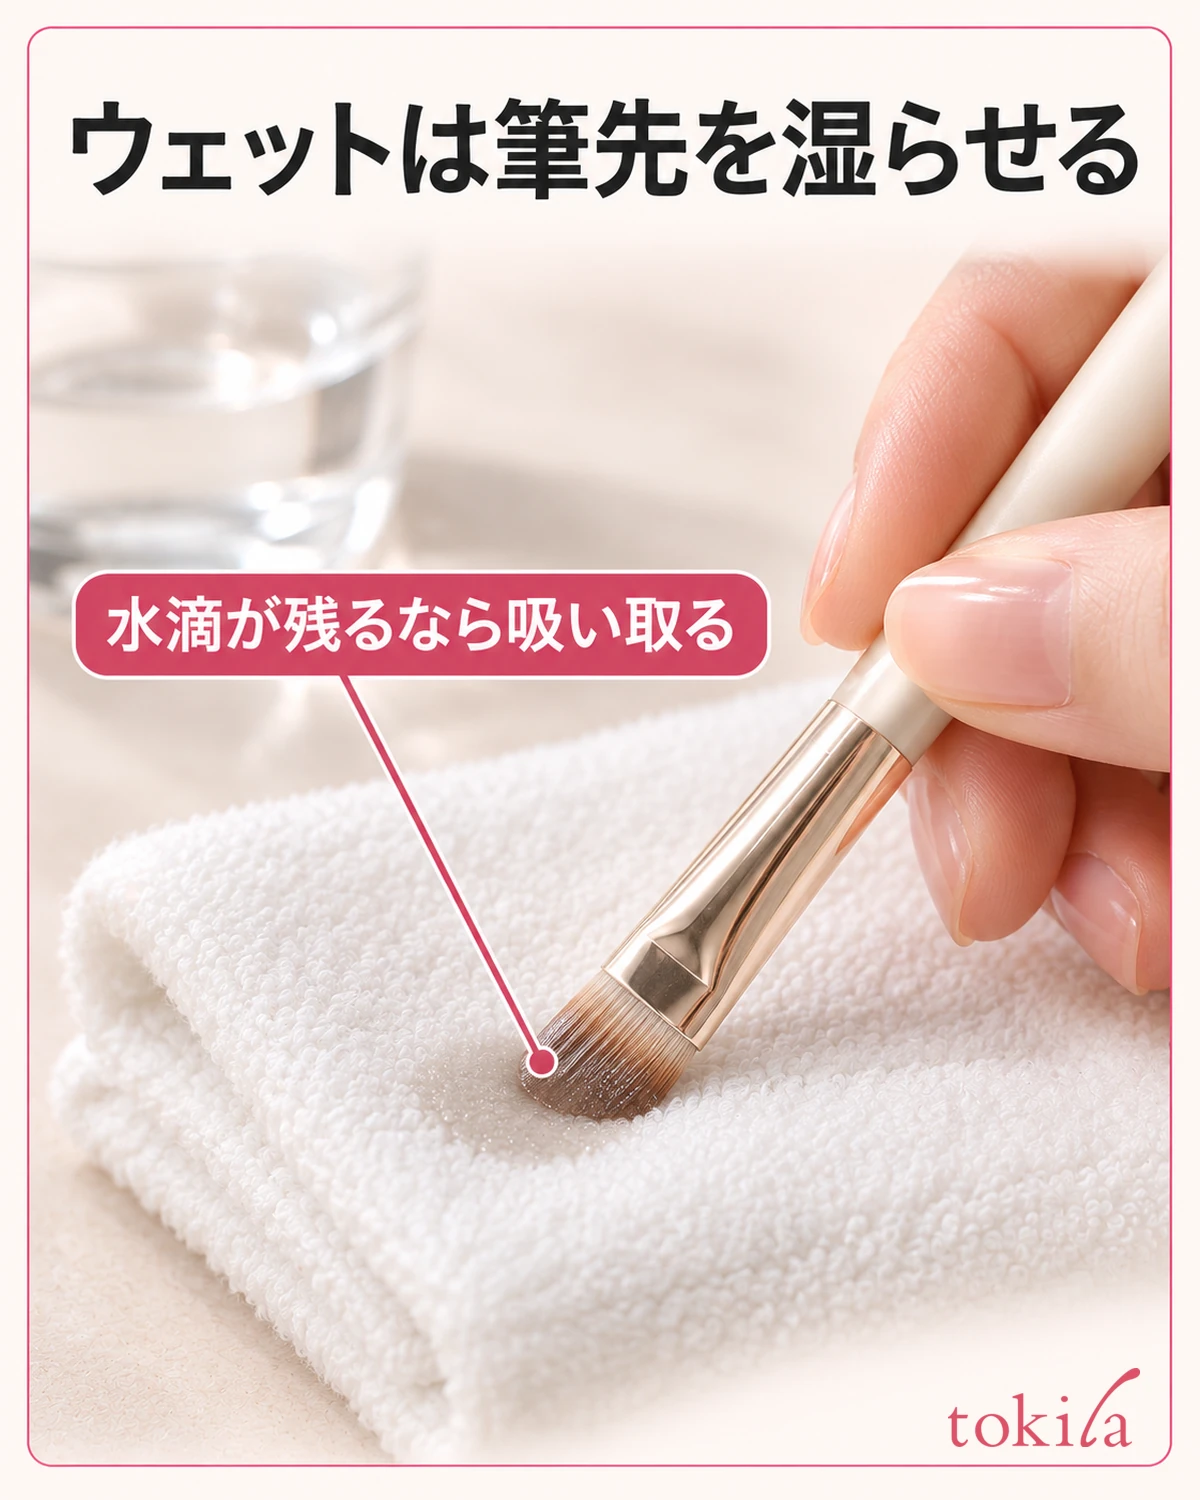
If the directions call for water, lightly dampen only the part of the tool you’ll use. Damp bristles look grouped together, but a clear round bead hanging from the tips means a droplet is still on the surface. Lightly touch the tips to a clean cloth to absorb excess moisture, then check again. There's no need to rub or splay the bristles.
Droplets can hide among the bristles when you look straight on. View the tips from the side against a light background to check for a bead underneath. Telling a slight sheen on the bristles from a distinct bead helps you spot when the tool is too wet.
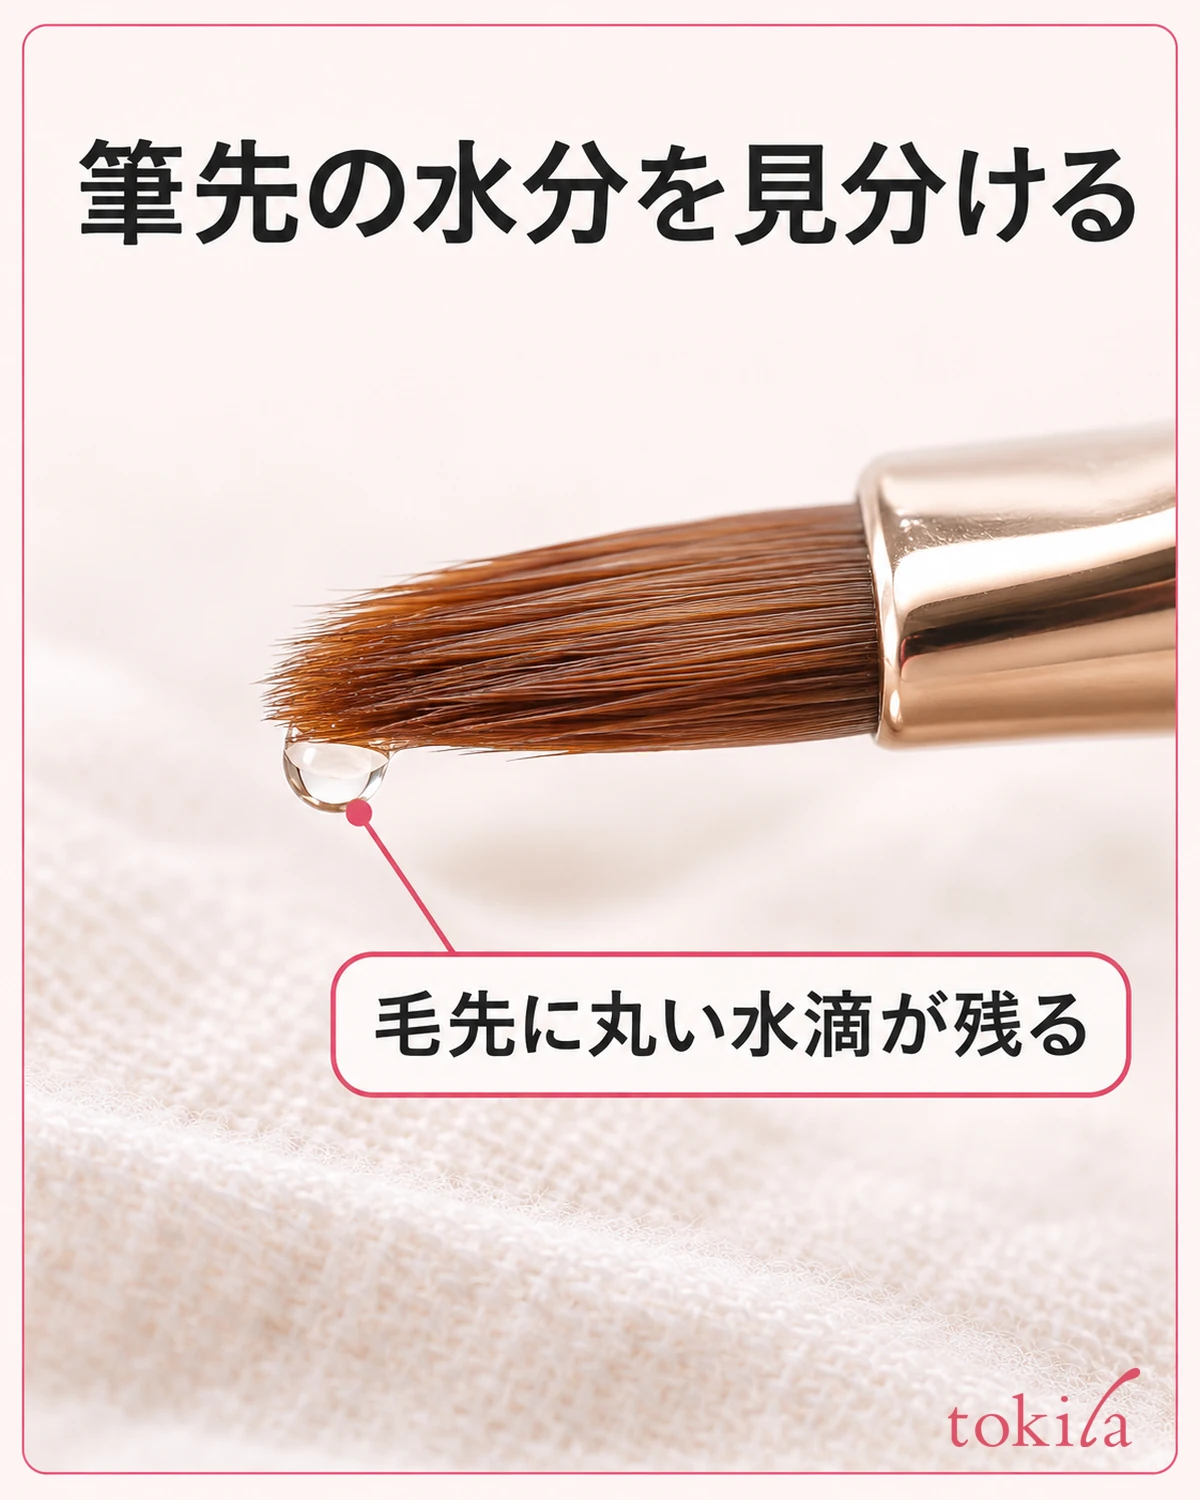
Once the moisture is right, pick up the color as directed. Even among wet-or-dry shadows, directions for using the same surface vary by product. If a separate area is specified, use only that part. Instead of repeatedly rubbing a damp brush hard against the pan or adding liquid to the pressed shadow to change how it picks up, check the moisture on the brush and then the amount of color you pick up at once.
If you use both techniques on the same day, set out a dry brush as well as the damp one so you can tell which you used. If you stick to one brush, check that it has dried before using it dry after wet application.
Check the amount of water separately from the amount of color. If liquid is about to drip from the tips, adjust the moisture before picking up color. If the brush already has a clump of shadow on it, it's easier to start again with a small amount on another clean brush than to carry the clump to the lid. If the brush is wet down to the base of the bristles, moisture can come back to the tips as you work. If the instructions say to dampen it lightly, start with just the tips.
4. Apply wet eyeshadow a little at a time to a small area
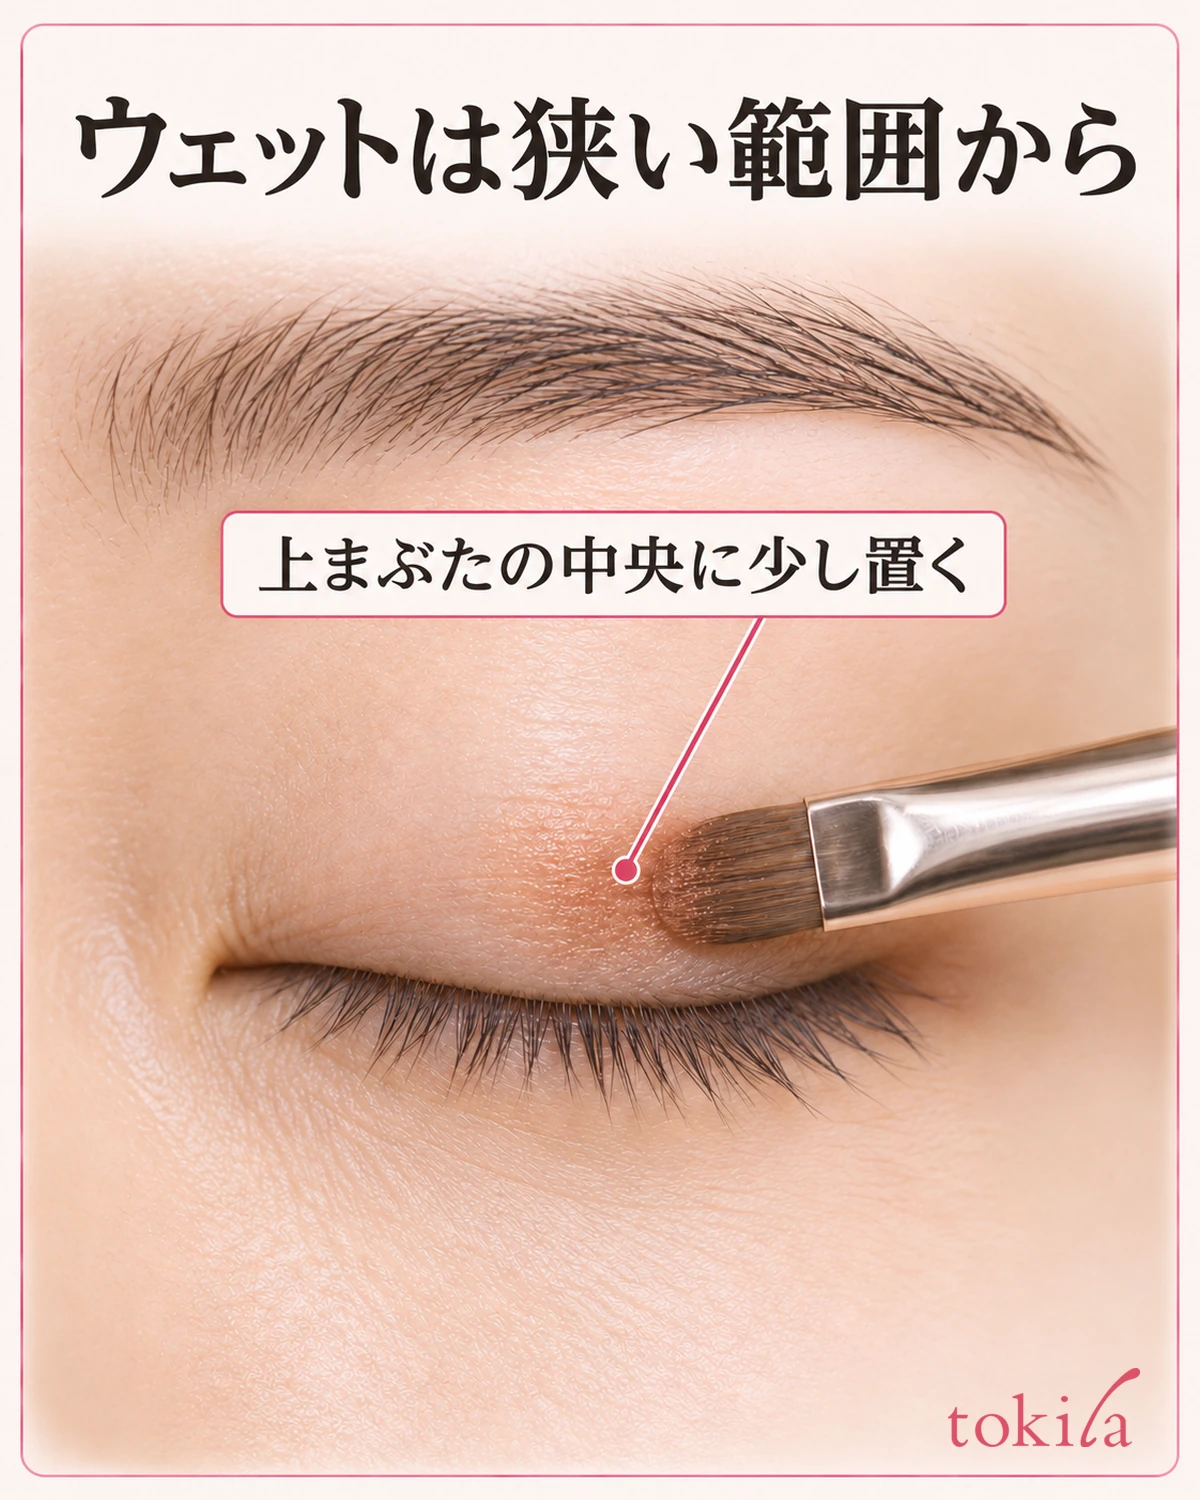
Start with a small area where you want the color to stay, such as the center of the upper lid. Dab a little of the color in one spot, then lift the brush. If you immediately pull it across the whole lid, you’ll have both the coverage and intensity to adjust. Open your eye slightly to check where the color shows and how wide it looks, then extend it only where needed.
With a flat brush, laying the broad side down creates a wider area of contact. You can start in a much smaller spot with the same brush by touching just the tip to the lid. If the color spreads wider than you expected, pick up less color on the next side and check the angle at which the brush meets the lid.
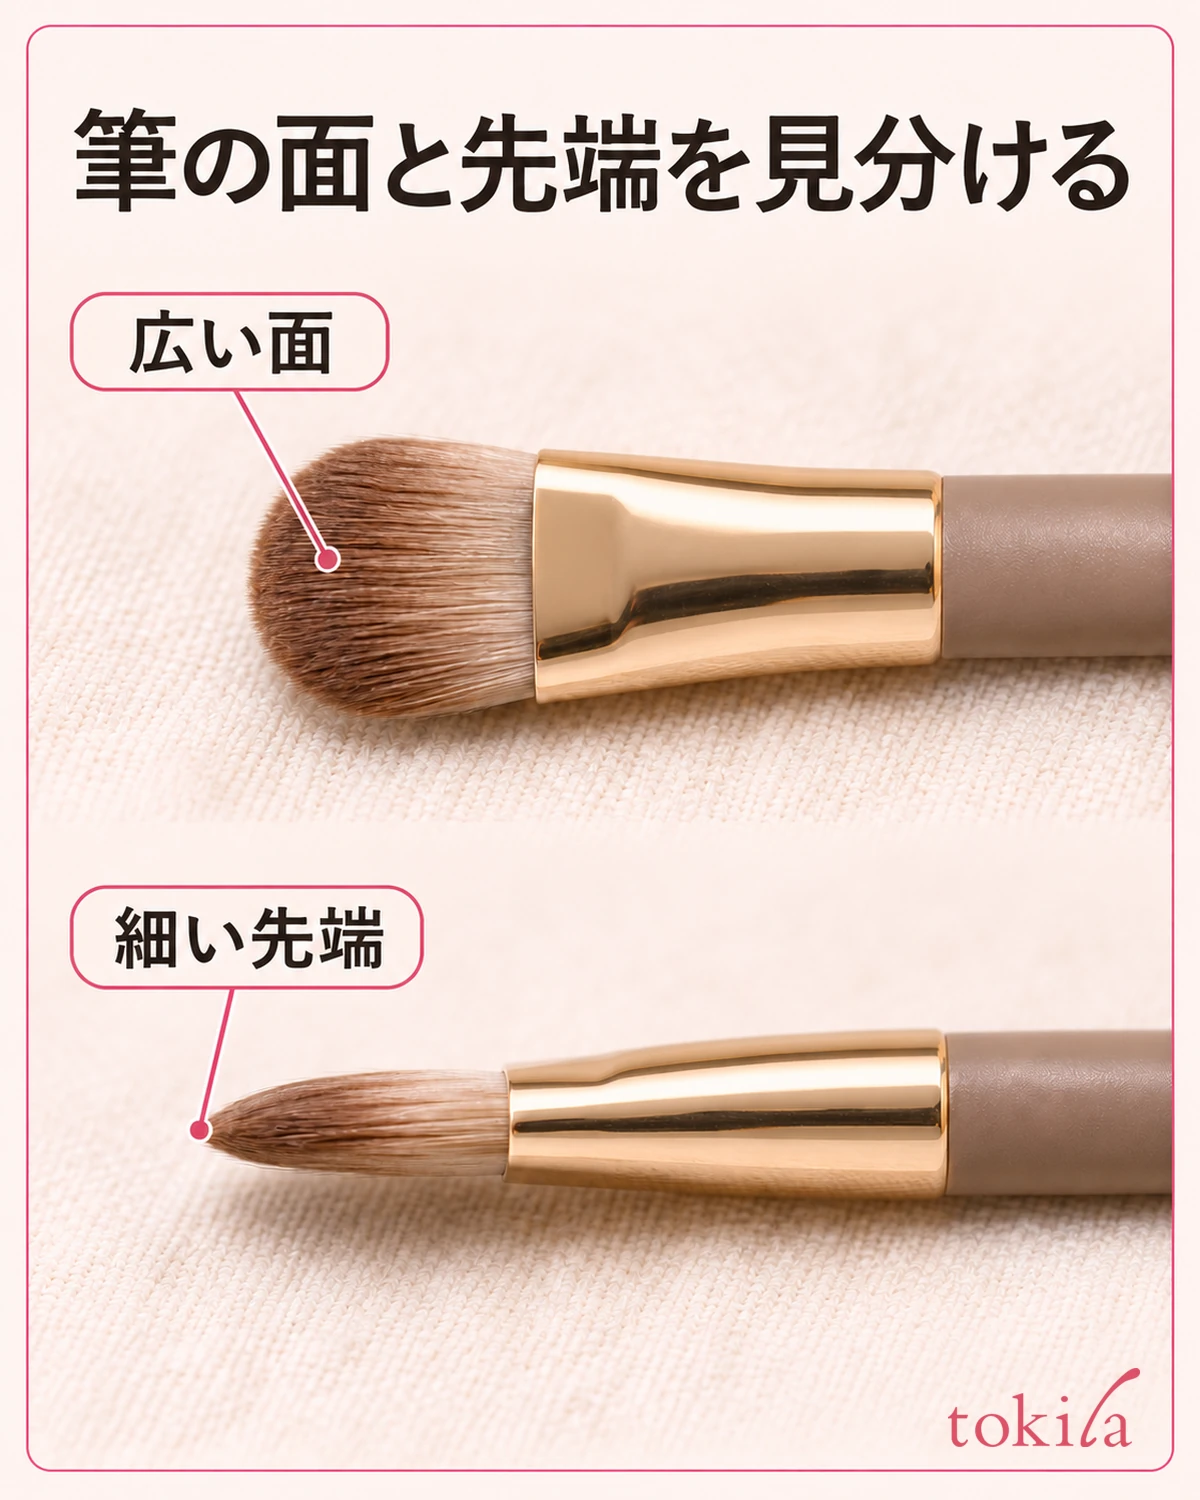
If the product can be used as a thin liner, use a liner brush and begin with a short section on the skin just by the lash line. Check first whether the shade is intended for the whole lid or as a liner. In either case, if the shade looks sheer, there's no need to extend it onto the inner rim of the eye.
If you’re layering over dry shadow, you don't need to cover all of it. When you only want to add color at the center, stop there and check the edge from the side. If you’d like to start by deciding where to place two colors, see where to apply and how to blend two eyeshadow shades.
If the color looks different on each eye, look at where the brush touched on the first side before going straight to the other. Different crease widths or the way your eyes open can make one side look wider from the front, even if you applied color at the same height. Match the width you can see from the front before adding the same amount on the other side. If you already have enough wet color, you can connect it to the rest of the lid with a sheer layer of dry shadow.
5. If the color looks too dark, check the edge before adding more
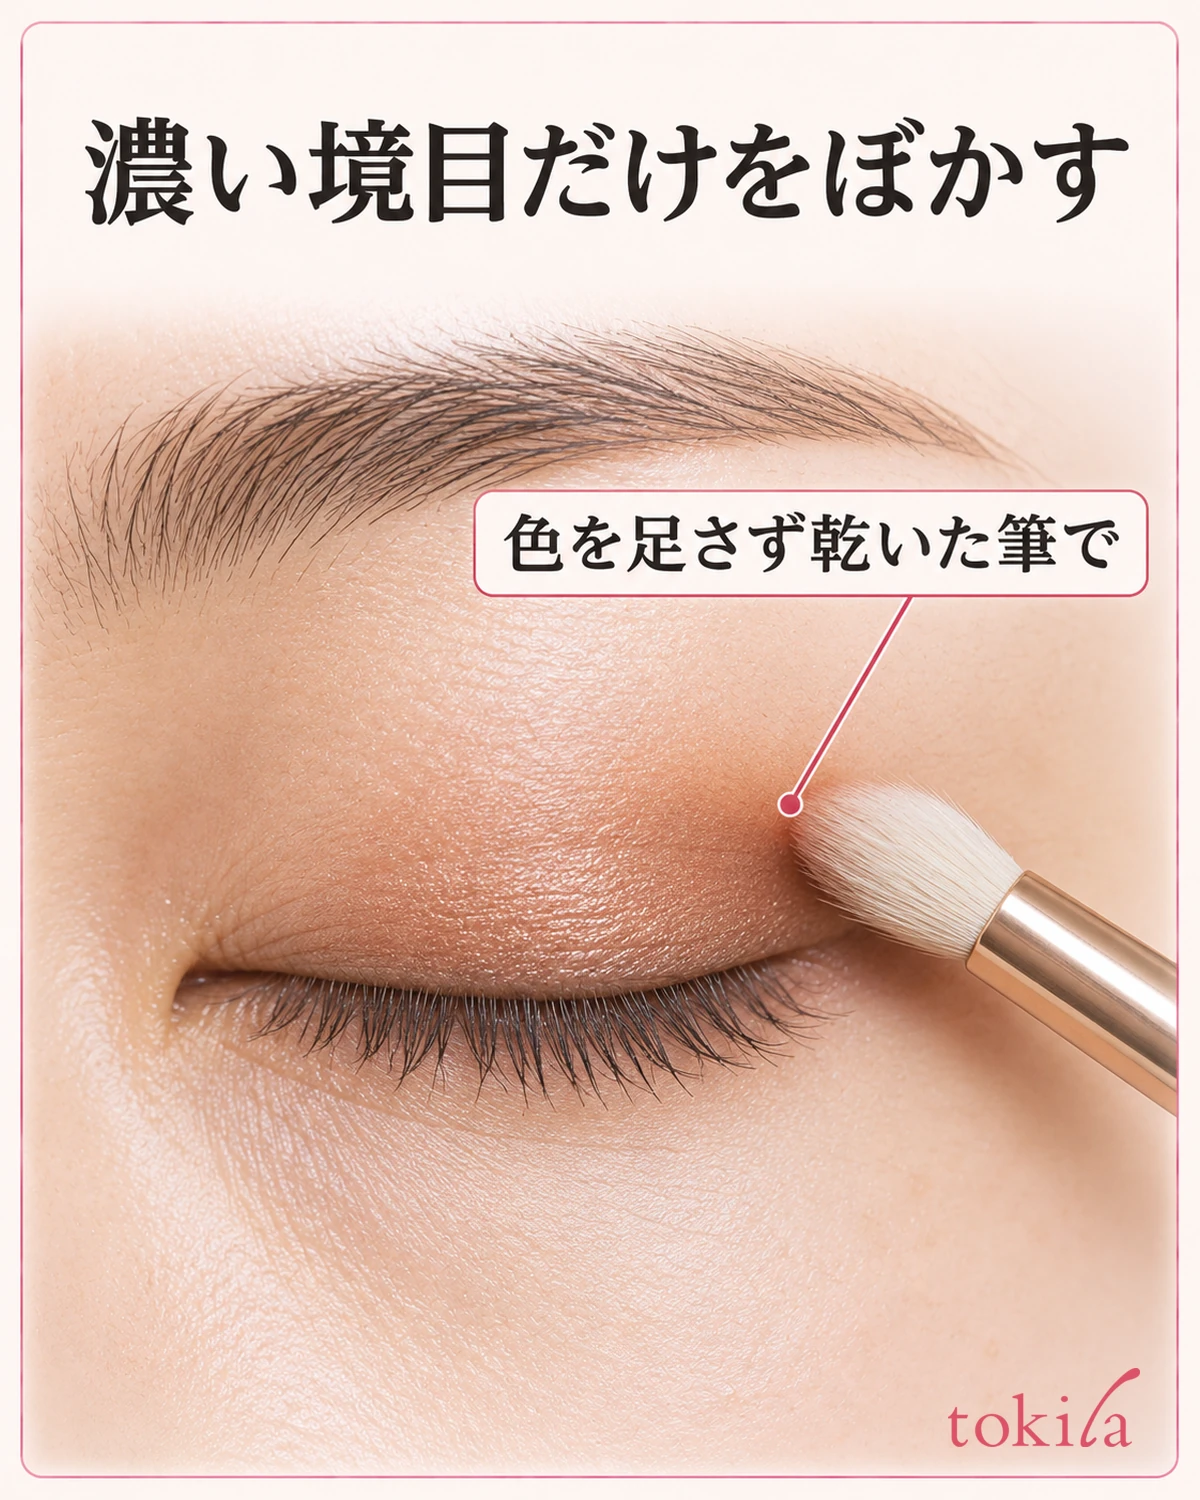
If the shadow looks too dark, look straight into a mirror and determine whether the colored area itself is dark or a sharp edge makes it look wider. If only the edge stands out, lightly trace short sections around the darker area with a clean, dry brush with no shadow on it. Stop once the edge softens, without pulling color from the center outward.
If the center itself is too dark and blending the edge would spread it farther, it may be easier to remove the shadow from that spot and start over before layering another color. Use a removal method suitable for the product and avoid rubbing the lid hard over and over. Next time, use the same amount of liquid and compare by reducing either the amount of color you pick up or the area where you place it, one at a time.
Even with a product you can use wet or dry, follow any directions on application order and layering. To see which finish you prefer, apply the color in the same spot under the same lighting and avoid changing how damp the brush is and how much color you pick up at the same time. A sheer wash over a wider area one day and a touch of color in one spot another can give you different finishes from a single shade.