After applying liquid lip tint, is it okay to press your lips together? You may want to blend it like your usual lipstick, but some products require you to wait without touching after application. Before picking up the liquid, check application and finishing as one continuous process so you know what comes next.
This article covers lip tints that apply liquid color with an applicator attached to the cap. Twist-up sticks, peel-off packs, and clear coats used over lipstick are different types. Follow your product’s directions as we review adjusting the amount, handling it after application, and touching up during the day.
1. First check the tint’s form and the instructions for after application
First, check the container or outer box to confirm that the product is a lip color for coloring the lips. The word “tint” alone does not determine its form or use. Even products with applicators have different purposes from clear topcoats or moisturizing serums, so take care not to mix up similar-looking containers.
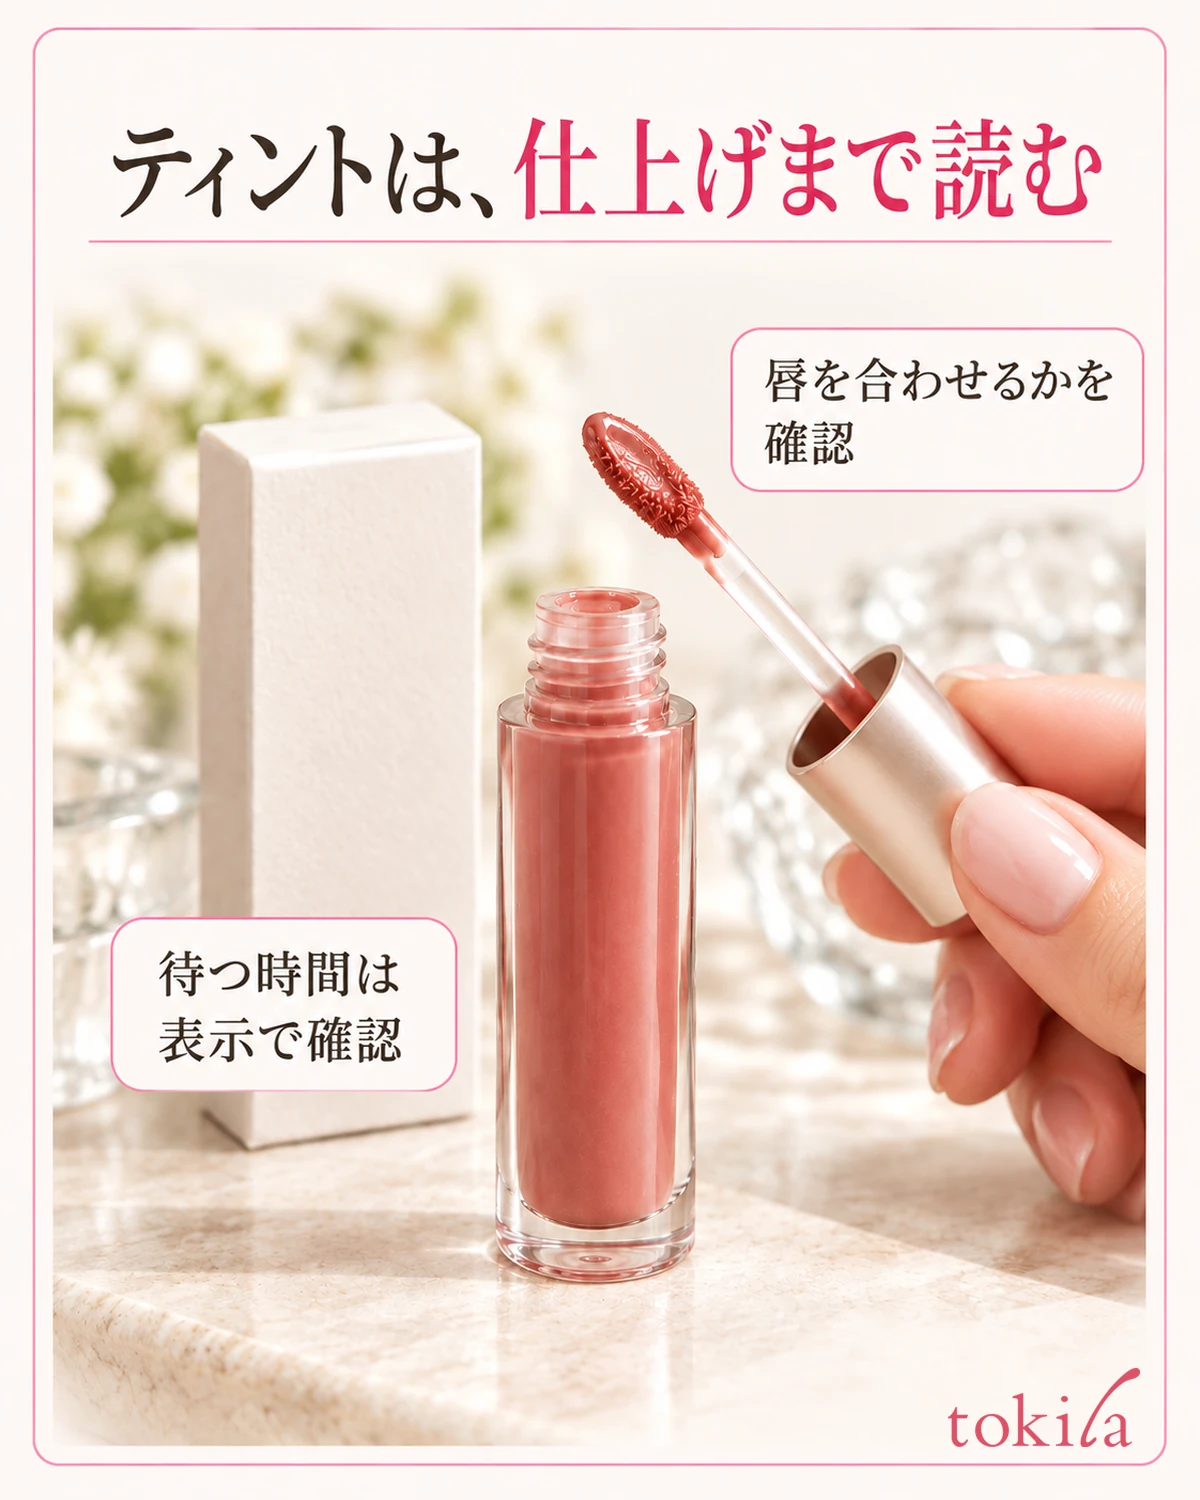
Read not only how much to apply but also what to do afterward. Check in advance whether you should wait without rubbing your lips together, press them together to blend, or blot with tissue. Start by avoiding the assumption that a method learned with one tint applies unchanged to the next one you buy.
If you use lip balm underneath, check the instructions for combining products and their order. Removing all oil is not a universal preparation step for every tint. Conversely, do not assume you can apply it over a thick layer of balm without conditions; return to the directions for the combination you are using.
Before application, look at your lips in a mirror and check for food residue or lipstick already on them. Cleaning away any necessary residue hygienically is different from repeatedly rubbing the lips until dry. If you have cuts, pain, or chapping, do not try to cover them with color; follow the precautions for use.
Position the mirror so you can see your mouth comfortably, and prepare a place where the container can stand upright. Read through the finishing conditions before opening the cap so you do not have to search for instructions after application. There is no need to add water or another oil to the container to figure out how to use it.
When choosing a color, consider your desired shine and translucency as well as the liquid color seen through the container. Do not compare only intensity in photos lit from different directions; try to view your whole face in lighting similar to where you will wear it. A tendency to leave color behind does not mean it looks the same on everyone.
2. Adjust the liquid on the applicator and identify the surface to use
After removing the cap, look at the direction the applicator emerges and how much liquid is on its tip. If your product directs you to adjust the amount at the container opening, remove the excess that way. Do not carry an overloaded applicator to your mouth and try to use up all the liquid on your lips.
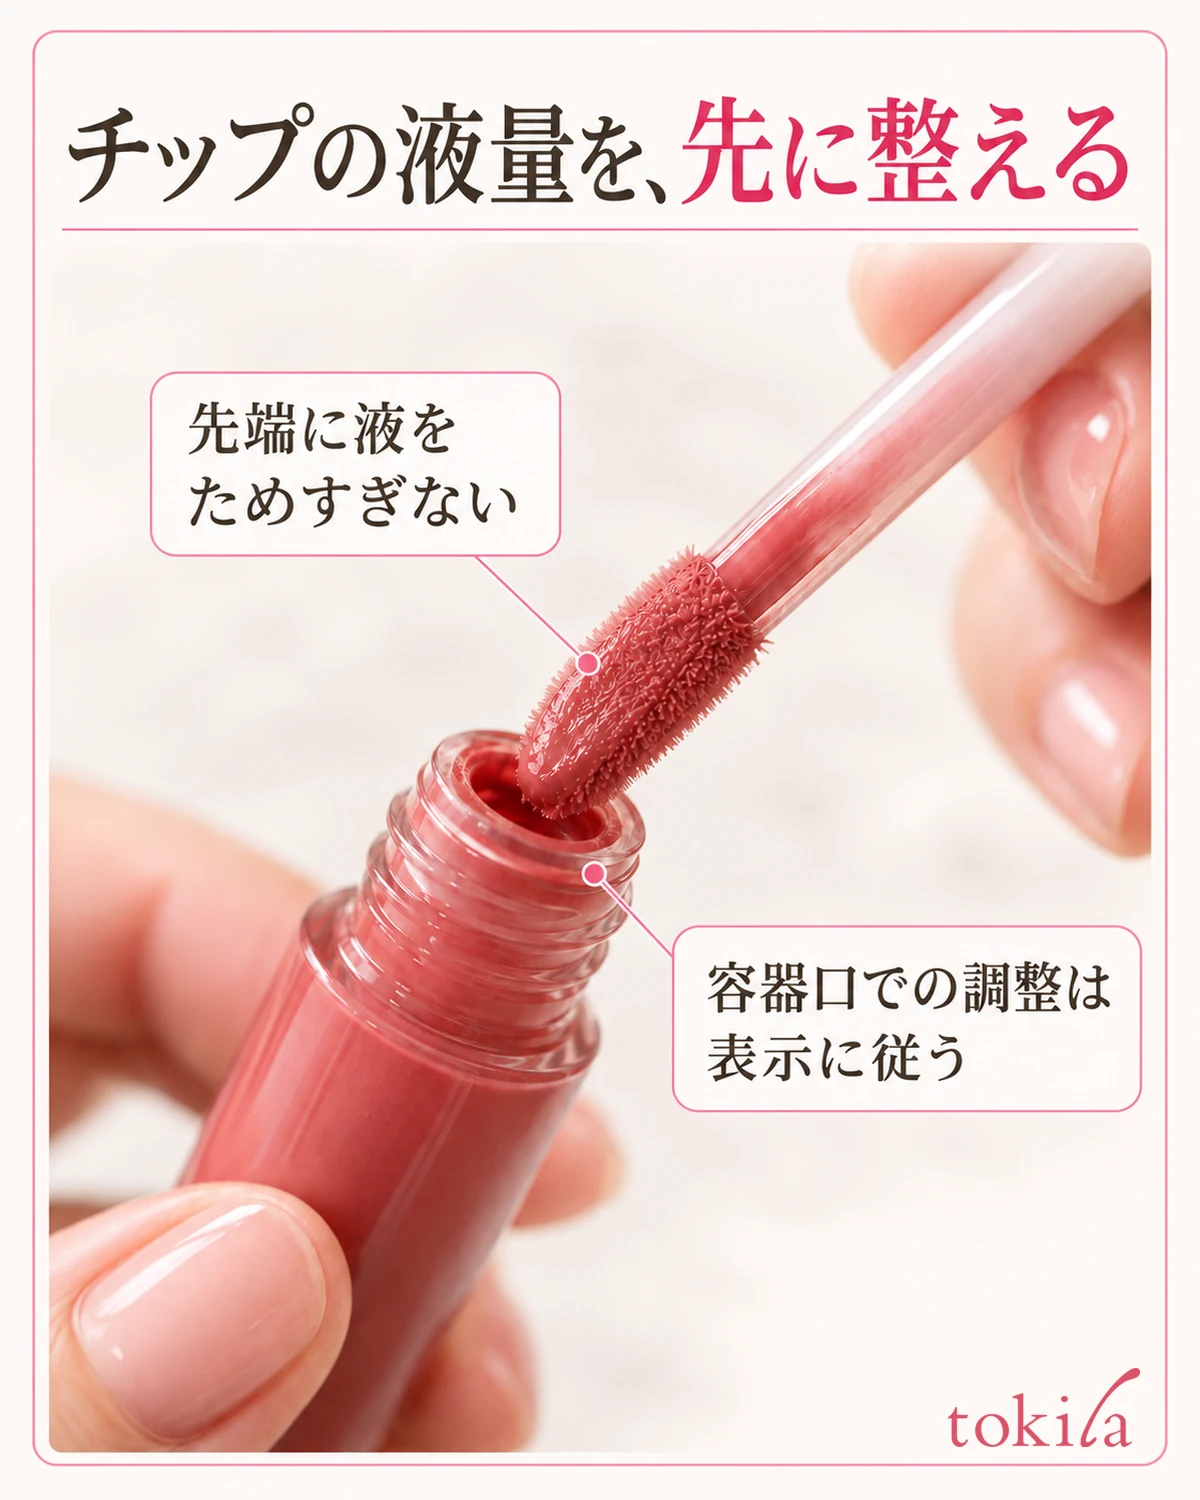
Follow your product’s directions for where on the container opening to touch the applicator when adjusting the amount. Do not pull out internal parts or widen the opening. Even if the liquid becomes difficult to dispense, do not shake it vigorously with the cap open or stir the contents with the stem.
Identify the applicator’s broad surface, thin edge, and rounded tip. The broad surface can rest against the lip surface, while the tip’s shape helps you see smaller areas. However, not all applicators have the same shape. Do not assume from a photo alone that a flocked type and a smooth spatula-like type have the same structure.
Viewed from the side, an applicator that looks flat also has thickness. Gently turn the handle to check the surface’s orientation before touching your lips, helping you avoid contact with the stem or hard parts. There is no need to bend the tip forcefully with your fingers to test its flexibility.
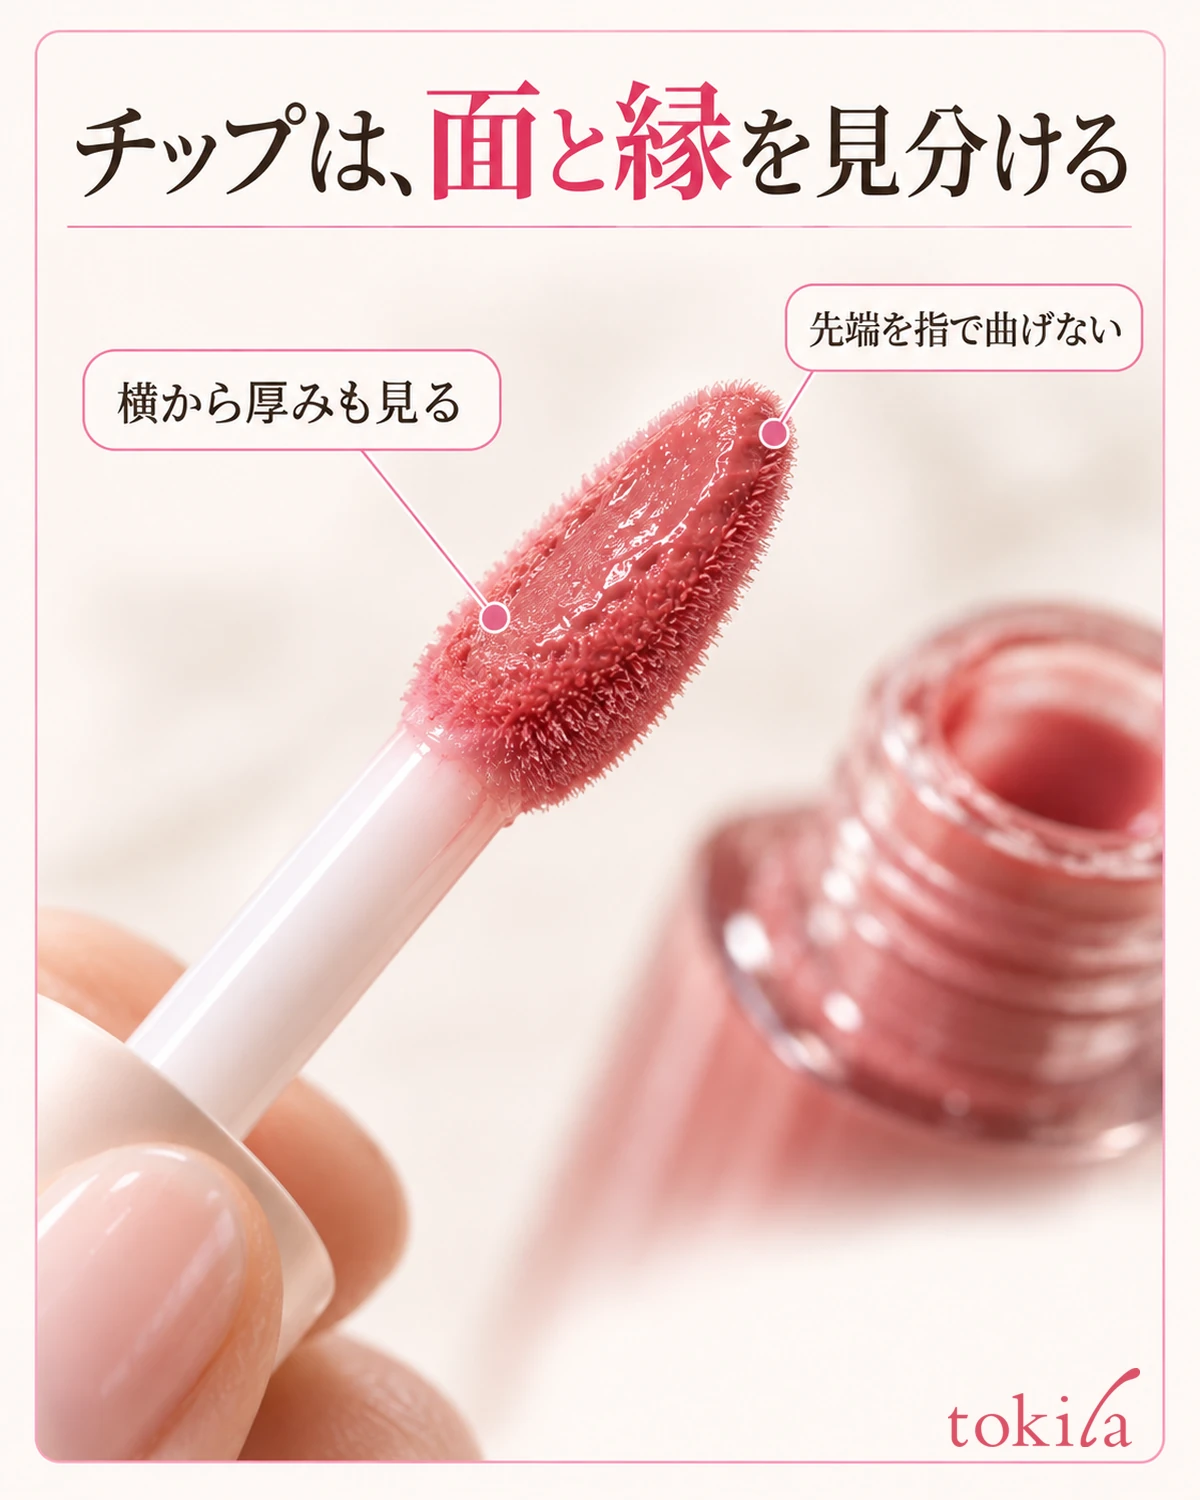
Do not set a universal amount such as a full applicator or a fixed number of strokes. Liquid viscosity and tip size differ by product, so even one seemingly similar application does not deliver the same amount. Adjust according to the label, and avoid starting with liquid about to drip from the tip.
If you put down the removed applicator, consider how to keep its tip from touching the surface. When pausing, follow the product’s use instructions, such as returning it to the container, and distinguish the parts that touch your mouth from those that touch your belongings. If you drop it or damage the tip, do not continue using it without checking for dirt or damage.
3. Apply a thin layer to the lip surface, lifting the applicator to check the corners
Position yourself so you can see your lip outline and corners in the mirror, and lightly touch the applicator’s working surface to your lips. As you spread a thin layer, work while observing the coated and uncoated areas rather than forcefully going back and forth over the same spot. There is no need to press hard enough to indent the lips to add color.
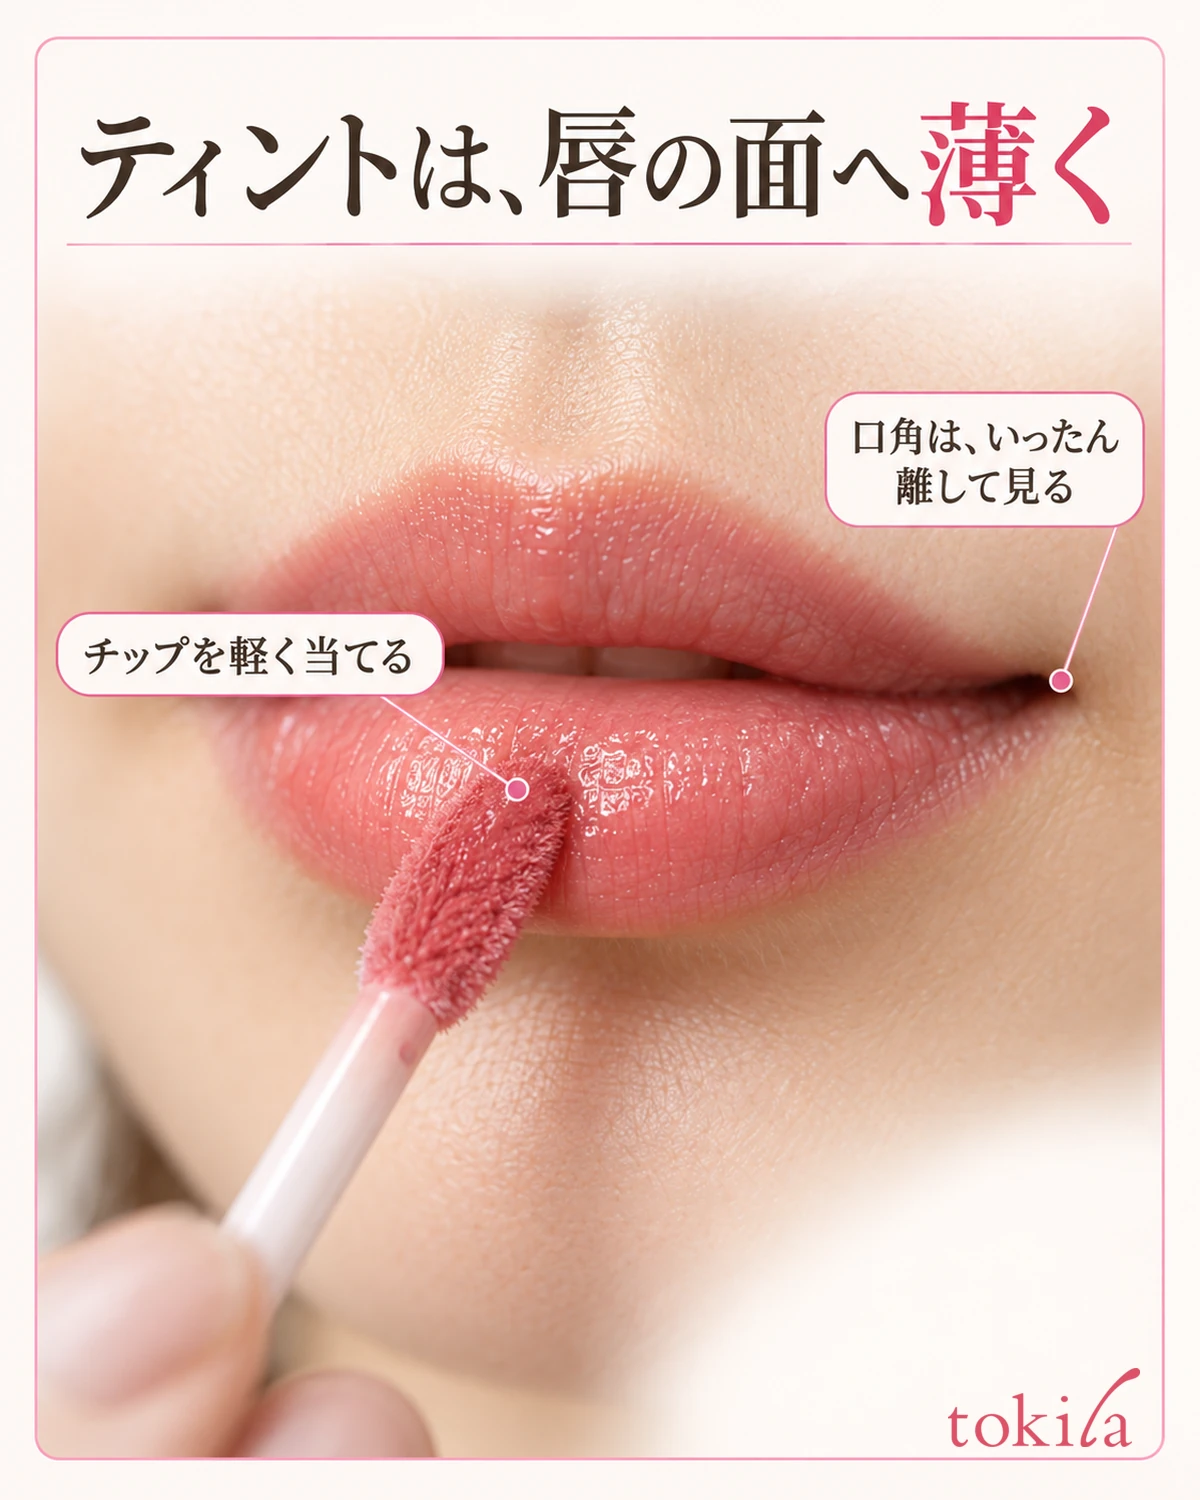
When working from the center outward, divide the movement into short, visible sections rather than trying to draw one long stroke to the corner. Lift the applicator once before approaching the outline and check its orientation and remaining liquid. Avoid pushing it into the corner without knowing where the tip will touch.
When finishing the upper lip’s peaks or corners, check their position with your mouth returned to its natural shape rather than only while strongly pursing your lips. Even if an area is easier to reach with your mouth wide open, check whether color extends beyond it when closed. Do not spread color inside the mouth or onto the teeth.
If your natural lip color shows through a thin layer, that alone does not mean you missed a spot. Distinguish a product intended for a sheer finish from one you want to apply more intensely, and choose the look you prefer. Do not aim to keep layering until the lips match the color inside the container.
If liquid has already pooled thickly, stop rather than adding more to even it out. Check your product’s instructions to determine whether you can adjust it before it dries or need to start again. Do not universally add finger blending learned with another stick product to a type that does not direct you to blend with your fingers.
Look separately at color outside the outline and areas lacking color within the lips. If small corrections are needed, also refer tohow to fix uneven lipstick and color outside the lip line, tidying color outside the lips first, then checking when you can add more.
4. Follow the product’s instructions on pressing the lips together or waiting without touching
Once you have applied the color, move the applicator away from your lips and proceed with the finishing instructions you read first. If the product calls for waiting without rubbing, avoid repeatedly moving your lips together to even the color; follow the stated time and method. Do not assign the same number of seconds or minutes to every tint.
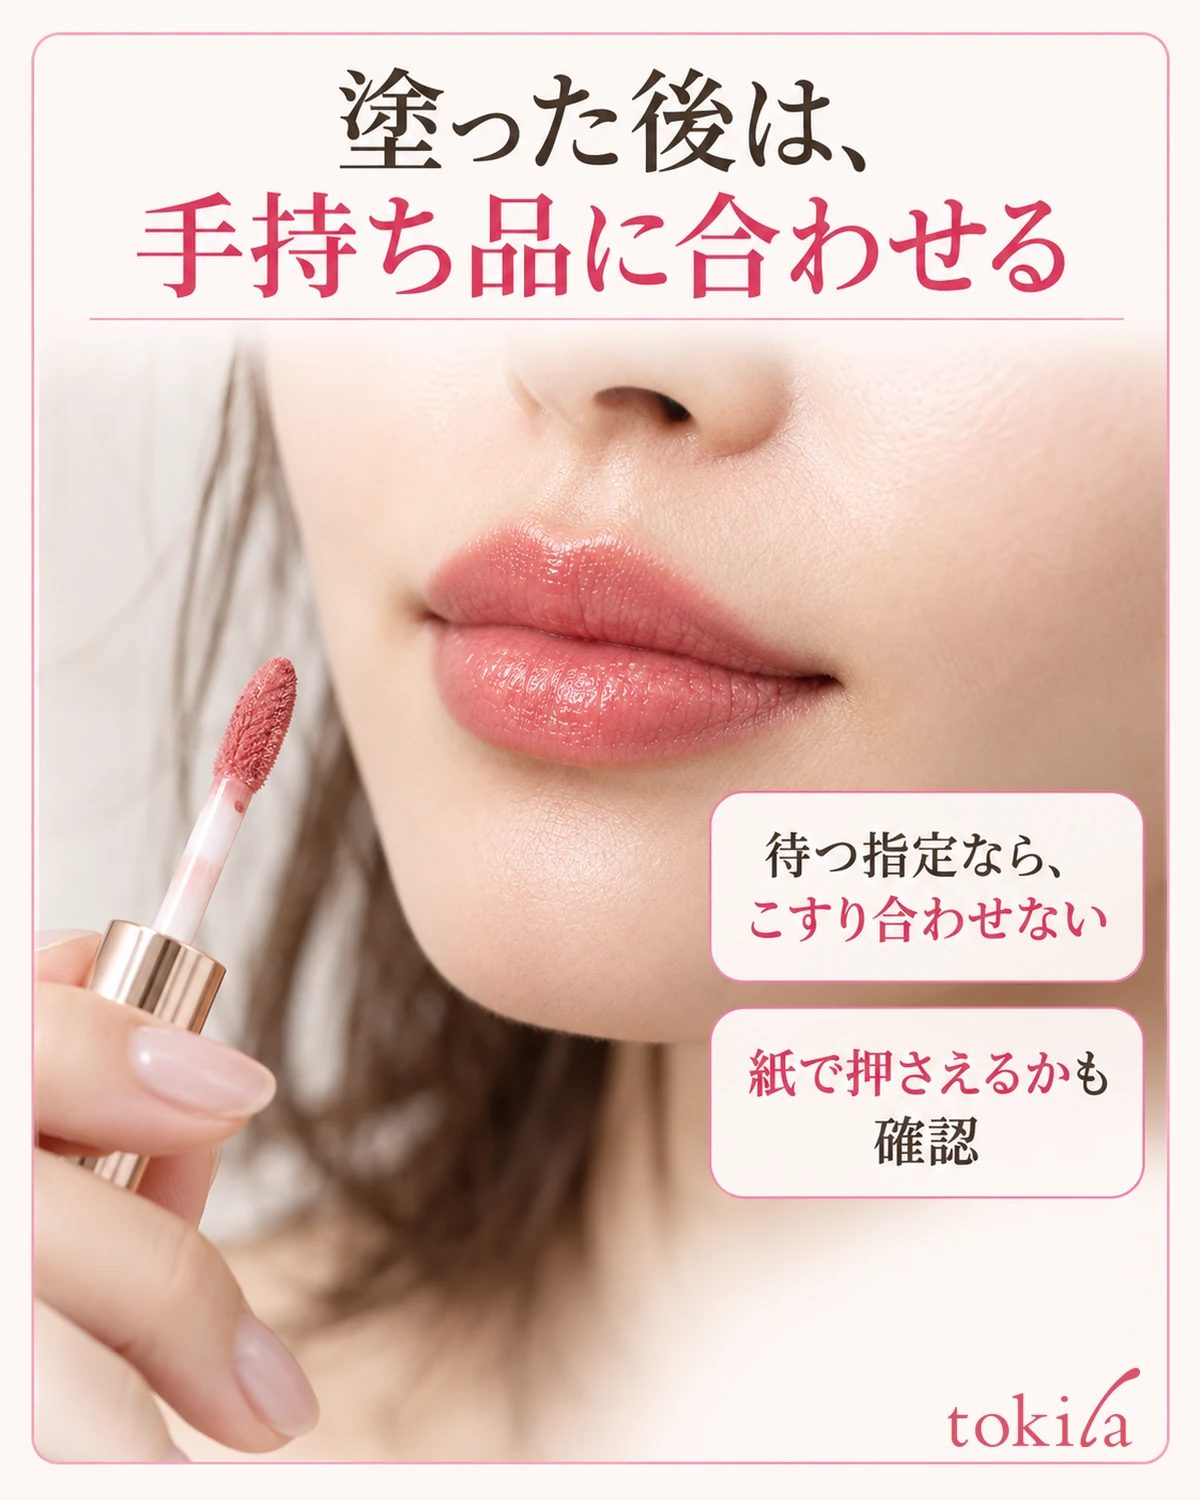
For a product that instructs you to press your lips together, blend according to its method. Do not adopt the opposite universal rule that all tints must be left untouched. Because directions differ within the same category, checking before use directly informs your finishing decision.
Whether to blot with tissue also depends on the product. If it says to wait without touching, avoid habitually adding a tissue step immediately afterward. Only when blotting is instructed should you lightly place clean tissue against the lips and lift it away without dragging it sideways.
You do not need to repeatedly touch the lips with your fingers or press them to a cup to see if they are dry. Once you complete the specified steps, check the continuity of color in the mirror. A glossy appearance does not mean the post-application process is unfinished.
If you want more color, prioritize the directions for when and how often to layer. Instead of continuing to touch and adjust an intermediate layer, finish the process once and move back far enough to view your whole face before judging intensity. If adding another gloss, check the instructions for combining them first.
When viewing the finished lips, avoid an angle that casts only one side in shadow. Turn your face slightly forward so the center and outline are in the same light. Rather than immediately adding color to the side that looks dark, first check the mirror’s and lighting’s orientation.
5. Check the remaining color before touching up, and decide how to remove it
After eating or drinking, look at your lips in a mirror before opening the container. Distinguish food residue, color in the center, and color remaining along the outline, and avoid touching the applicator directly to a dirty surface. Clean the surface hygienically, then touch up according to your product’s directions.
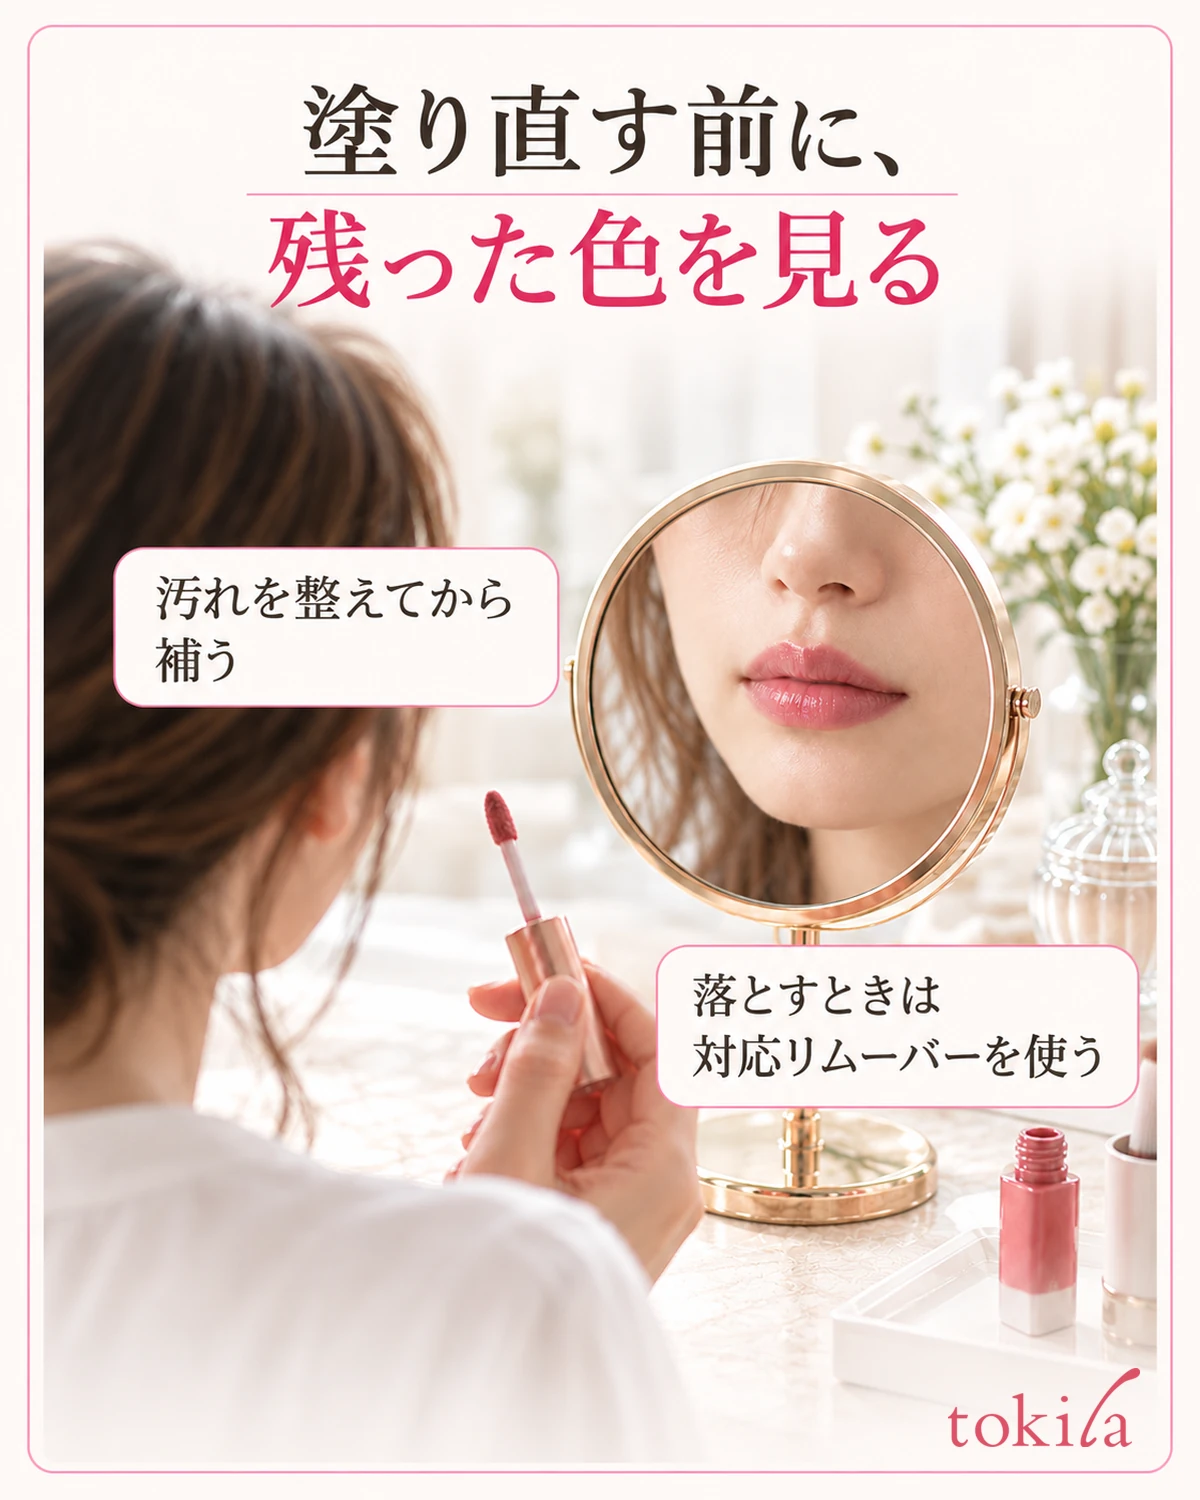
If the condition allows you to fill in only lighter areas, you do not need to add the same amount to the outer areas where color remains naturally. For touch-ups too, work while checking the area rather than applying a thick layer at once. If the product requires waiting afterward, include that step as part of one touch-up.
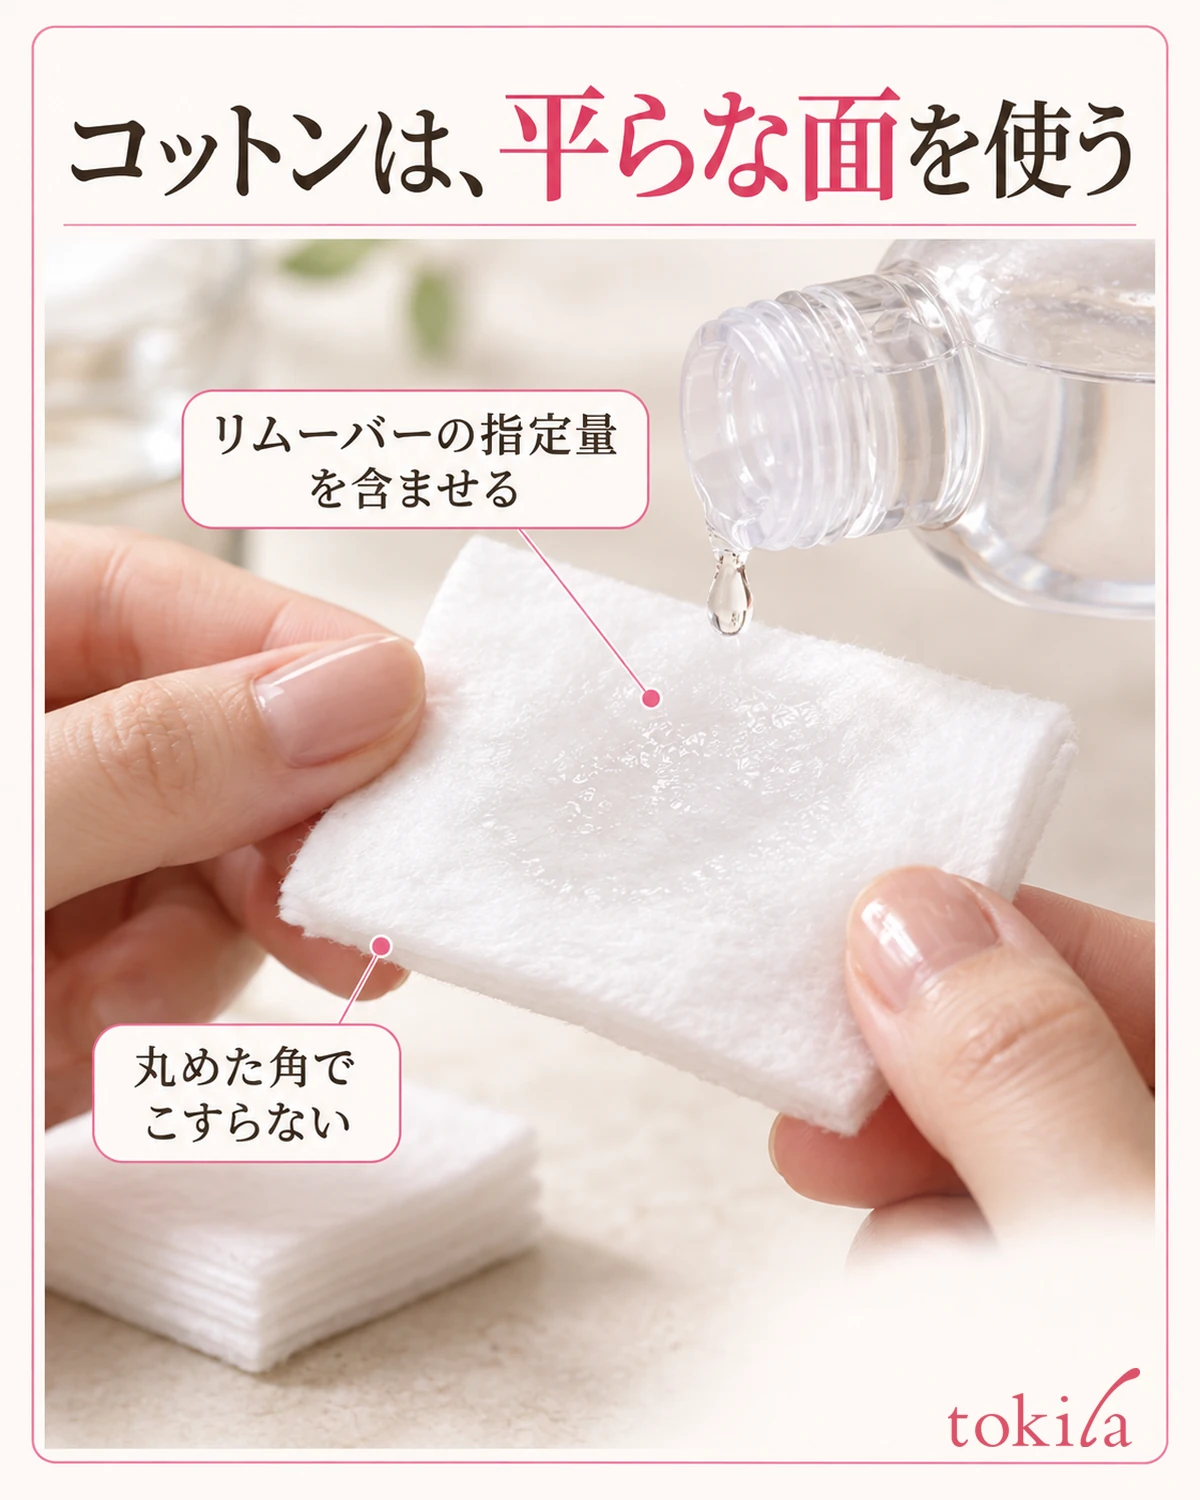
If the remaining color varies greatly and spot application is difficult to even out, removing it with a suitable makeup remover and starting again is an option. Check that the remover can be used on the lips, its required amount, tools such as cotton pads, and how to work it in. Do not try to scrape off remaining color with dry tissue.
For a type used with cotton pads, prepare a flat surface and place it against the lips according to the remover’s instructions. This is different from pressing a hard corner made by rolling the pad with your fingers. Follow one product’s directions throughout, including waiting time, wiping direction, and whether to rinse afterward.
Follow each product’s instructions for wiping the used applicator and cleaning the container opening. Do not add water to thin the liquid or another tint you previously used to the container. Close the cap, store it according to the label, and keep it so you can check the directions again next time.
For next time, simply note one step you were unsure about, such as “too much liquid on the tip” or “pressed my lips together immediately after application.” Do not present this as a test of staying power if you have not measured how long the color lasts. If irritation, redness, or other abnormalities occur, stop according to the precautions rather than continuing to experiment with different methods.