
When small pills form on the sleeves or underarms of a knit, it is tempting to pinch them off. But before you pull, take a look at whether it is a round pill, a soft fuzzy surface, or a thread sticking out of the stitches. They may look alike, but the areas you can safely touch are not the same.
This article walks through observing the surface of the knitwear you own, checking whether your pill-removing tool is suitable, and starting care from a small area. The goal is not to restore a brand-new surface but to preserve the fabric and its original texture. Read the instructions for both the garment and the tool, and do not keep shaving anything you cannot judge.
1. Tell pills, fuzz and pulled threads apart
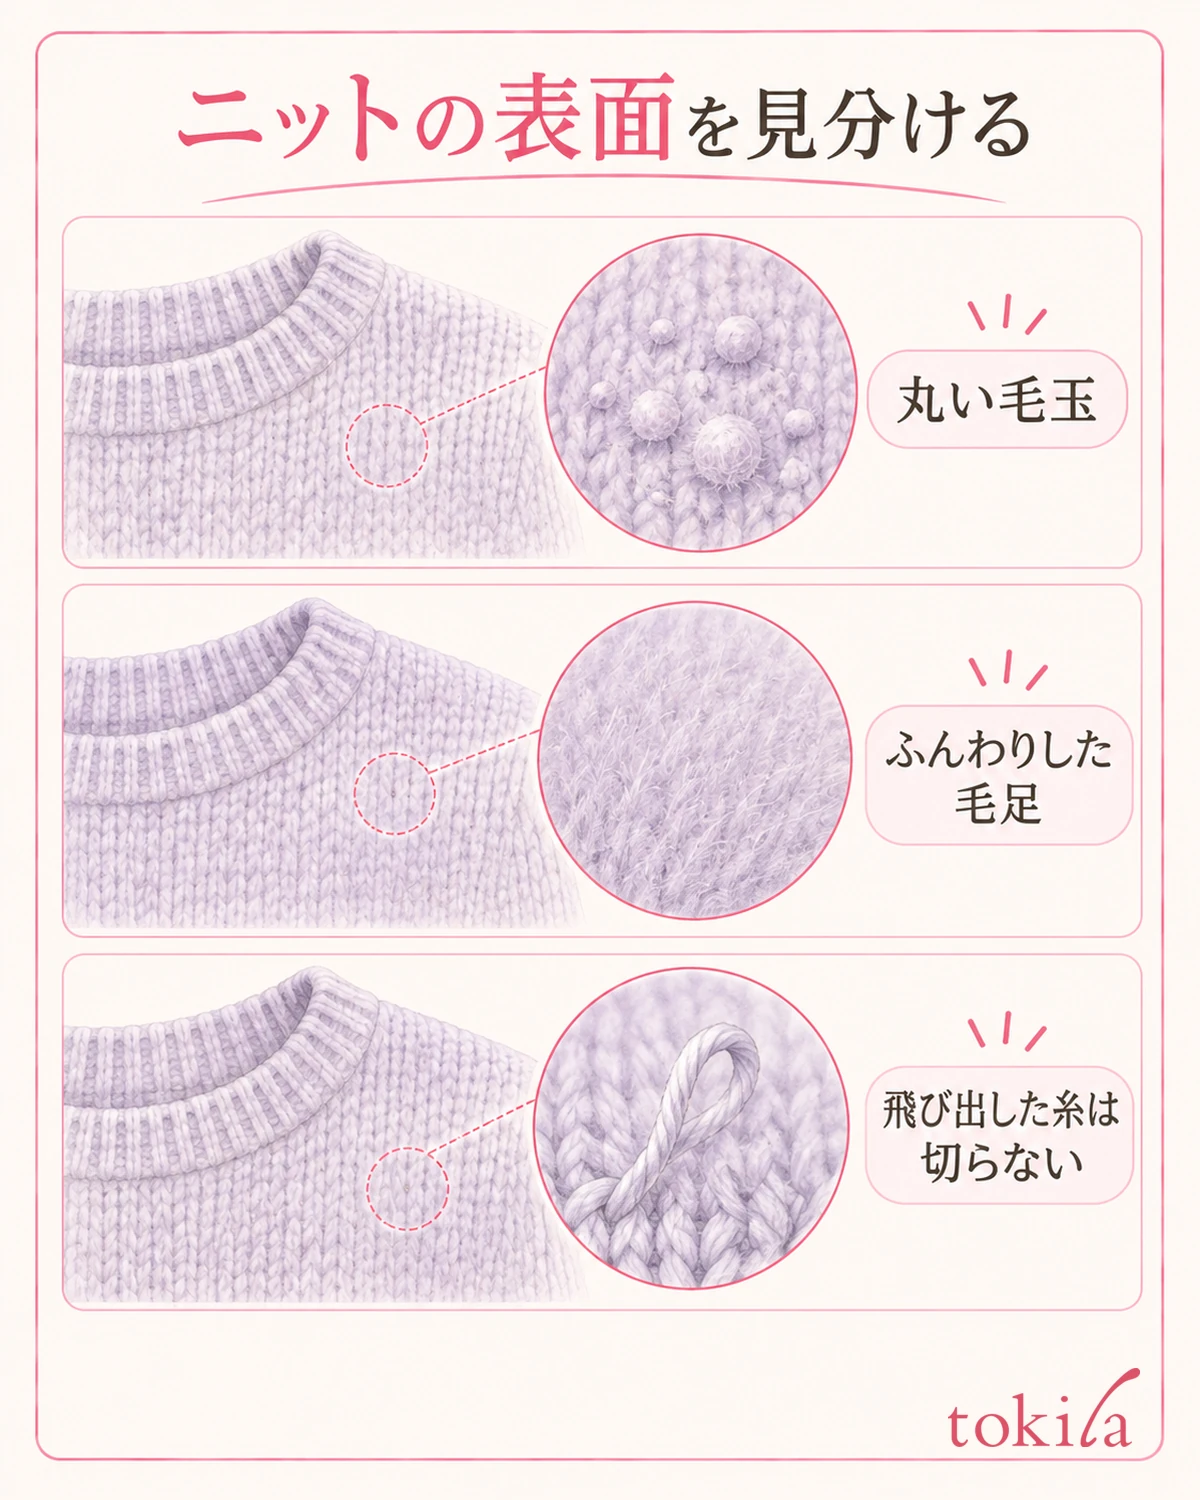
Take off the knit and spread it out on a flat surface in a bright place. Look at the area that bothers you without stretching it, and check whether there are small round clumps of tangled fibers. Pills form when surface fibers rub together and tangle, but how they appear varies with the material, the knit structure and the friction while you wear it.
On the other hand, some knits that are fluffy all over have that nap as part of their texture. Do not shave everything off as pills just because you can see fine hairs. Compare with the surface as it was when you bought it and with an inconspicuous area, and distinguish the round clumps from the surrounding nap.
If a single long thread or loop is sticking out of the stitches, it is not a stage for a pill remover. It could be a thread pulled out by a snag. Avoid pulling the thread, cutting it at the base, or feeding it into a machine, and instead observe the stitches and check whether there are holes around it.
Also note where the pills are, such as the inside of the sleeves, the underarms, or the waist where a bag touches. Even on the same garment, only the parts that rub may stand out. Rather than deciding right away that "the material is bad," knowing which surfaces they gather on lets you review where to care for it and how you wear it separately.
Dirt or fibers from other clothes may also be mixed in. Separate whether you want to remove something that is stuck on or to deal with pills that are part of the knit. You do not need to rub hard to check parts you cannot identify. If you still cannot judge after changing the light or the angle, leave that part as it is.
If you take a first photo, make sure it shows the whole garment and the spot that bothers you. It is not for counting every fine hair but a marker to look back at where you touched. Look from the same direction before and after care, so you do not mistake a difference in lighting for a difference in the result.
2. Check both the garment label and the tool's suitability
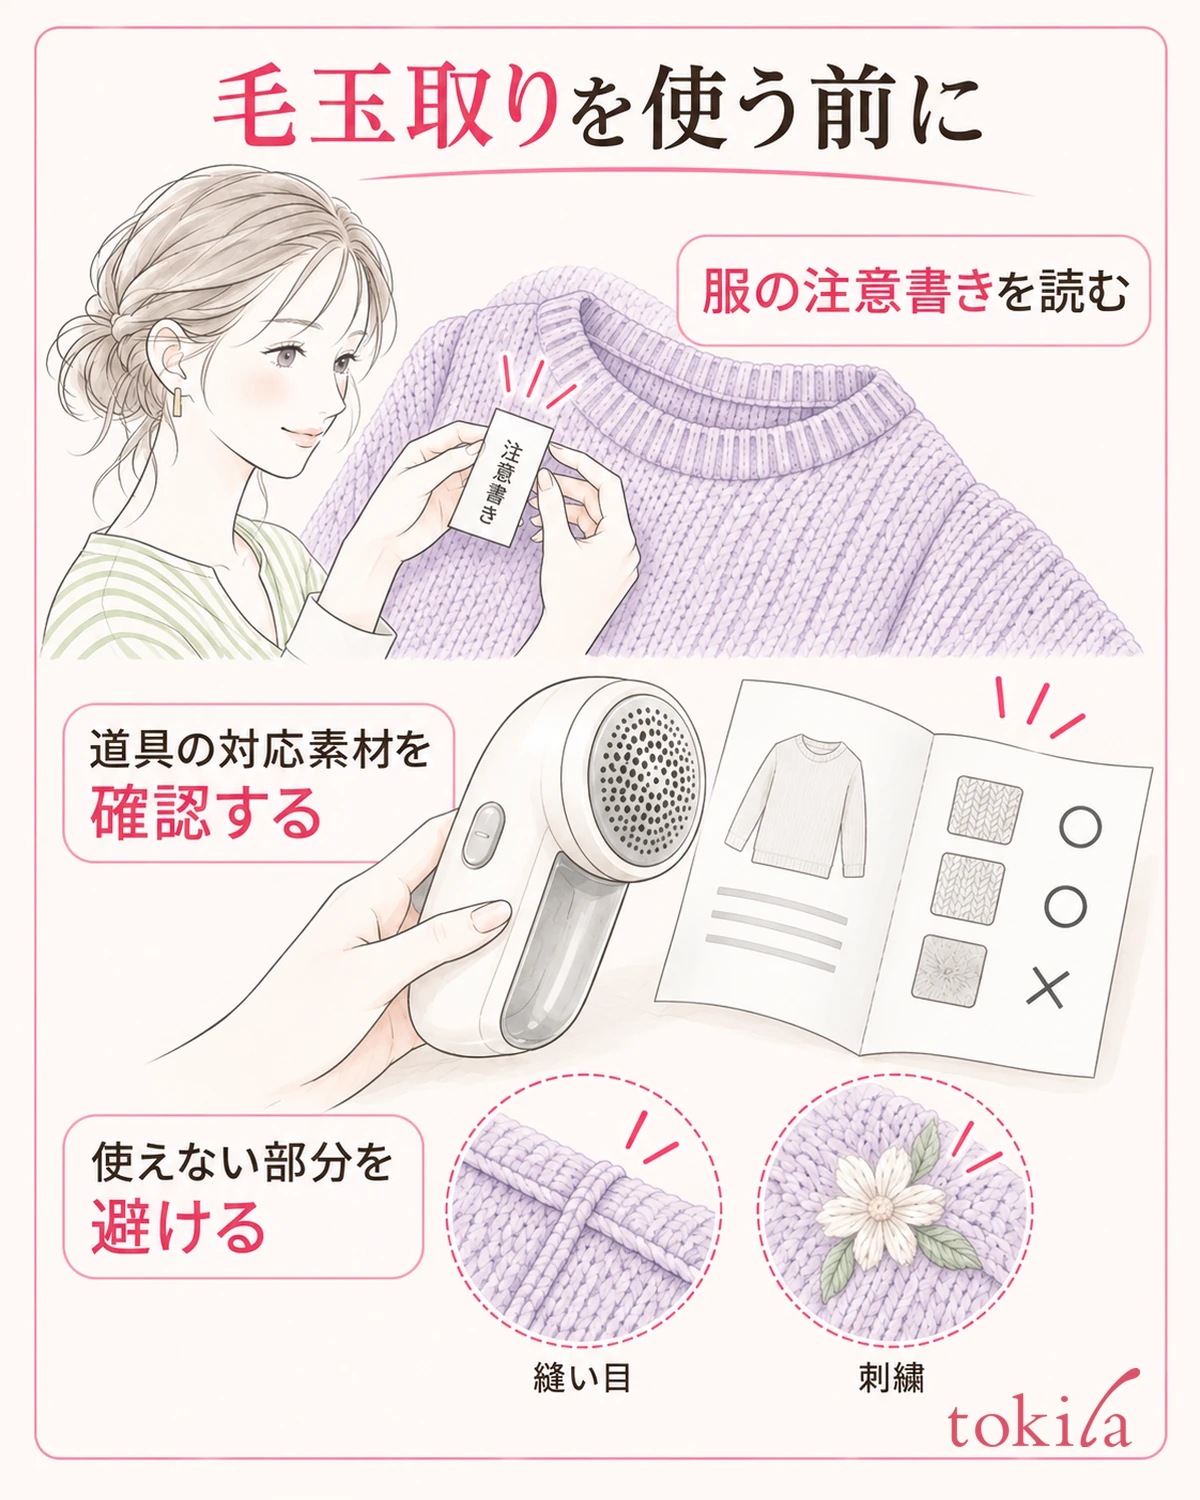
On the garment's care label, read not only the fiber composition but also whether there are notes about pills or fuzz. Even if there is a mark saying it can be washed in a machine, you cannot conclude from that alone that an electric pill remover can be used. Check the washing conditions and the conditions for applying a blade or brush to the surface separately.
Next, in the tool's instructions, look for the fabrics it supports, the materials and areas it cannot be used on, and any required guard. Even among pill removers, whether one can handle long nap or thin knits differs by model and attachment. Do not assume that "any pill remover is the same"; match the model and attachments you have.
Long-napped garments, garments so thin they are see-through, and knits with a strongly textured structure are ones for which you especially want to confirm suitability. Do not carry over the statement that one model can be used to a different model. If either the garment's or the tool's instructions say to avoid use, do not work with that combination.
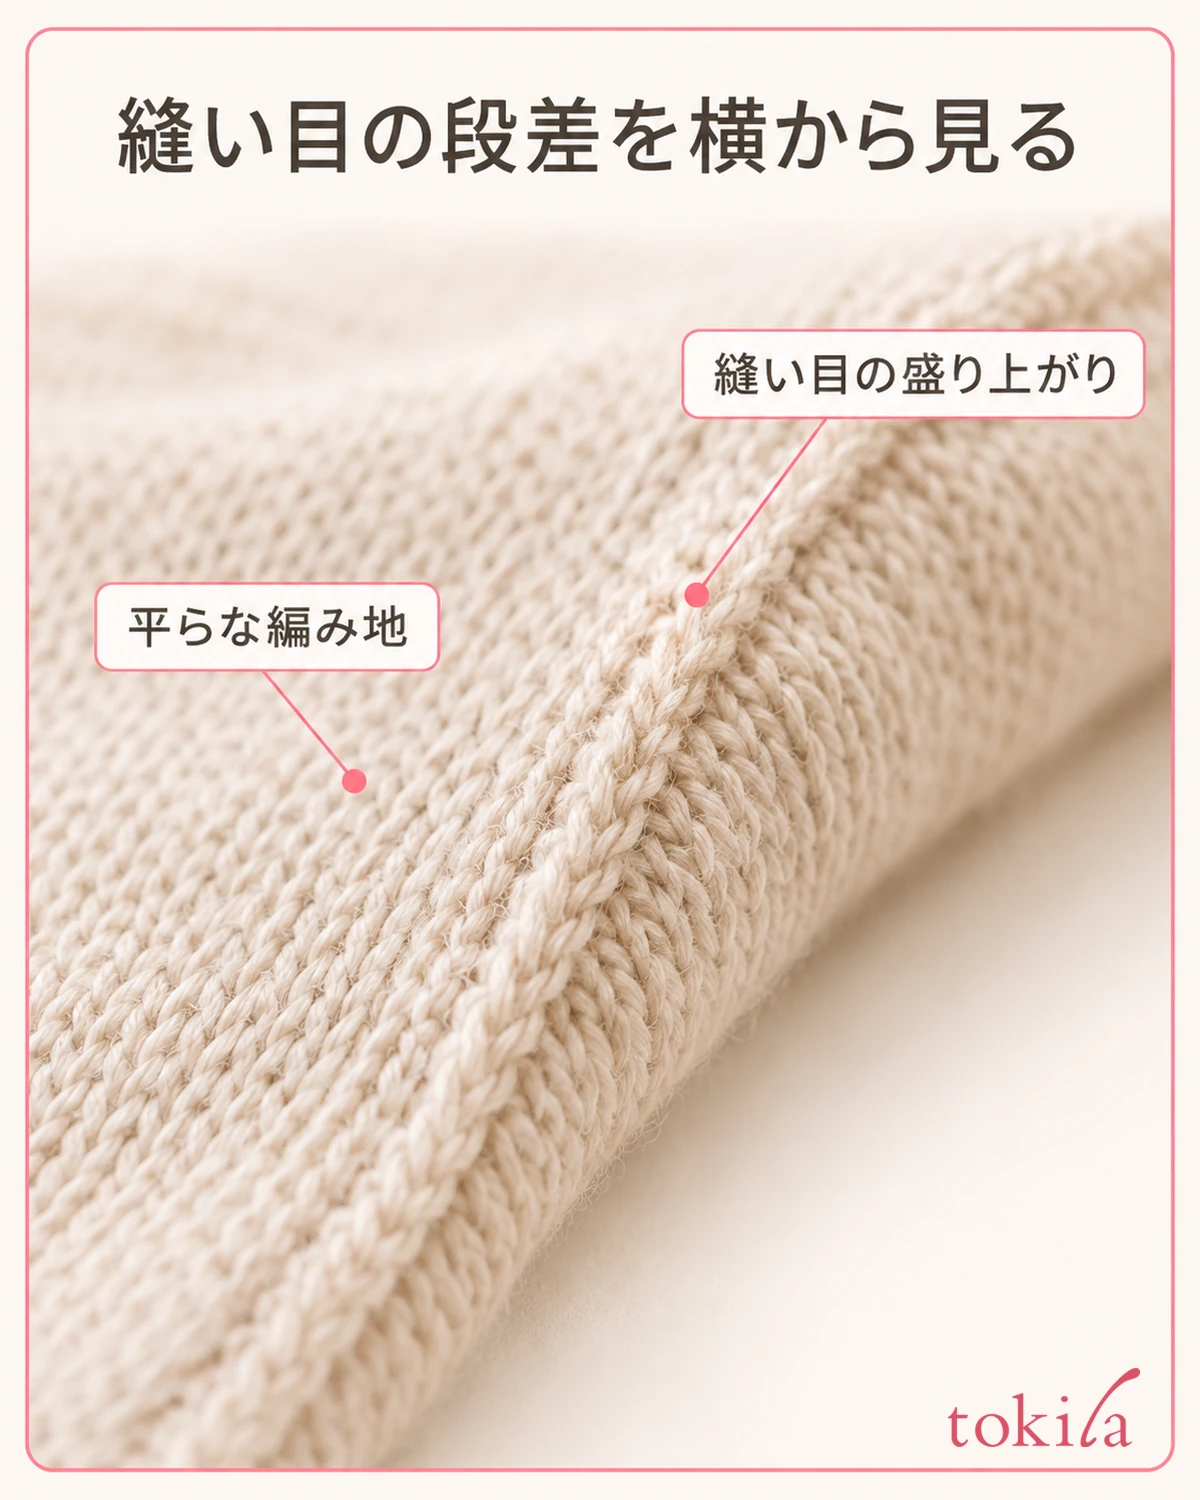
Also check the seams, embroidery, decorations, areas around zippers, and frayed parts. A tool that works on a flat body panel may not be suitable to apply in the same way to raised or weakened areas. Even if pills are visible, deciding beforehand the areas where you will not advance the tool makes it easier not to hesitate.
Clothing brushes also vary in bristle stiffness and purpose. For a garment whose instructions call for smoothing the surface with a soft brush, use one that meets those conditions. Do not forcibly tear off tangled pills with a brush, or substitute a household cleaning brush.
Before buying a new tool, check whether it can be used on the garment you have now. Knowing the necessary attachments and the areas where it cannot be used comes before choosing by price or blade size. For a tool whose manual you cannot find, do not decide the settings by appearance; hold off until you can confirm the conditions of use.
3. Lay it flat and try a small, inconspicuous area first
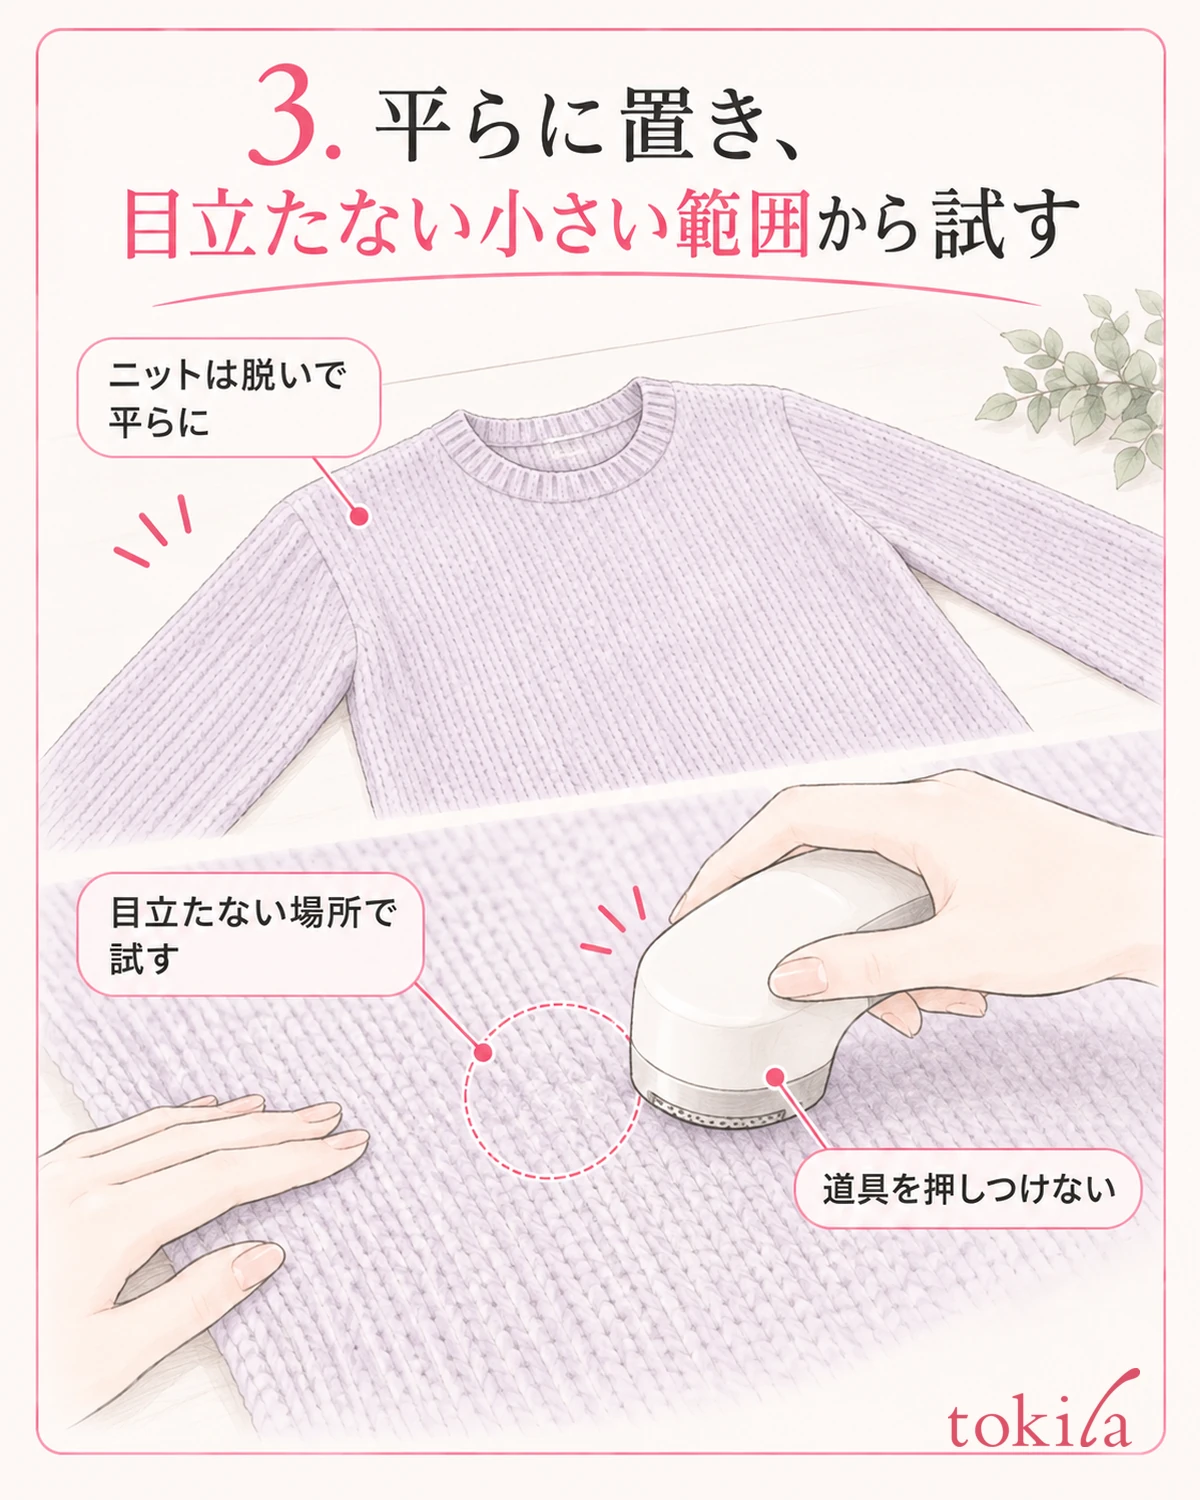
Once the conditions are met, take off the knit and place it on a stable surface. Some tools have special conditions for use while wearing the garment, but this article does not extend to operations while it is being worn. Check that a sleeve or another panel has not slipped under the body, and lay out only the one side you need, flat.
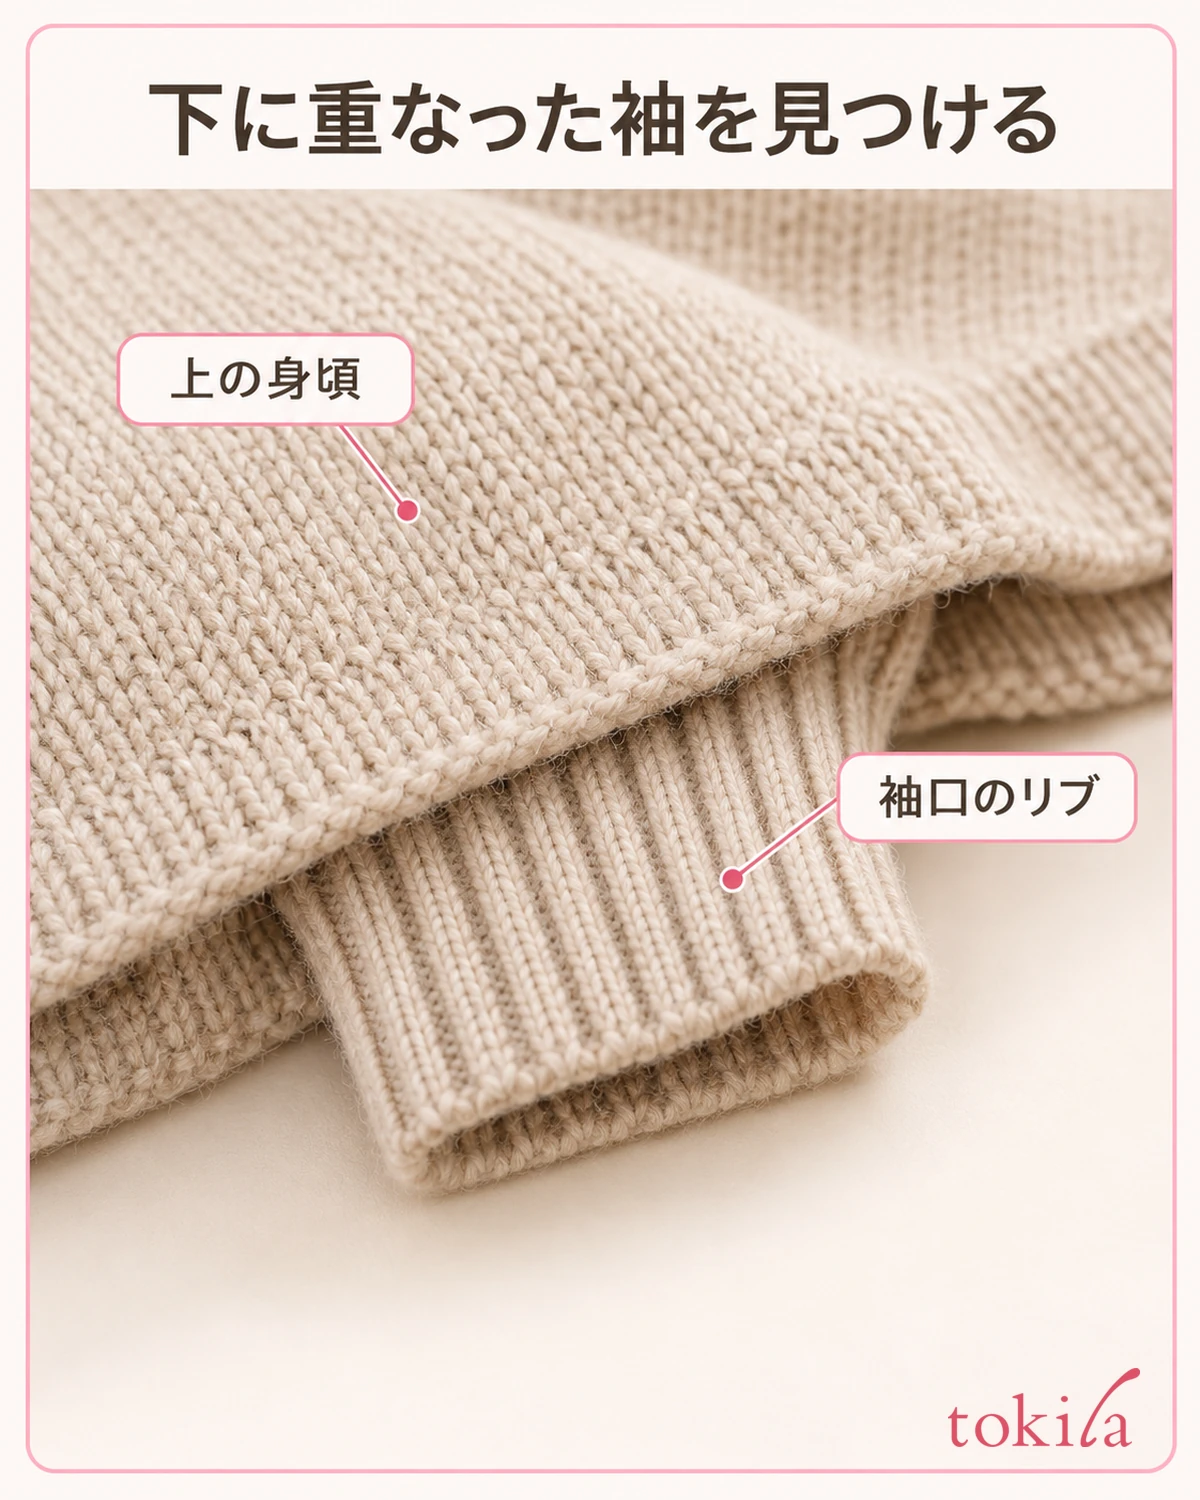
Gently smooth out wrinkles by hand, and do not pull the fabric taut. If you apply the tool over a large fold or a step, the contact surface changes. Avoid thin parts and seams, and try a small area in an inconspicuous place specified by the instructions.
If a guard or height adjustment is needed, attach it as instructed before turning on the power. With a tool that changes the length of nap left behind, do not jump to a setting that cuts short; check the conditions that suit that knit. Do not stack parts that are not in the instructions, or remove the guard to increase how much is cut.
With an electric tool, do not press down; apply it lightly in the way described. After one pass, stop once and look not only at the pills but also at the surrounding nap. It is important not to add force because pills are hard to remove, or to keep it on one spot. If you feel the machine pulling the fabric or hear an unusual noise, stop on the spot.
Tools used by hand also need the same suitability check. When using scissors, do not proceed where the boundary between the fabric and the pill cannot be seen, or where long nap overlaps. Do not substitute pulling a pill up or cutting a thread sticking out of the stitches, and do not force yourself to handle anything you are unsure about.
If the area you tried looks thinner than its surroundings, the sheen has changed, or the nap seems too short, stop there. Do not widen the area thinking "a little more and it will match"; leave the place where the change appeared and check it. A small test is not permission to necessarily continue over the whole garment.
4. Do not keep shaving the same spot; look at the whole garment midway
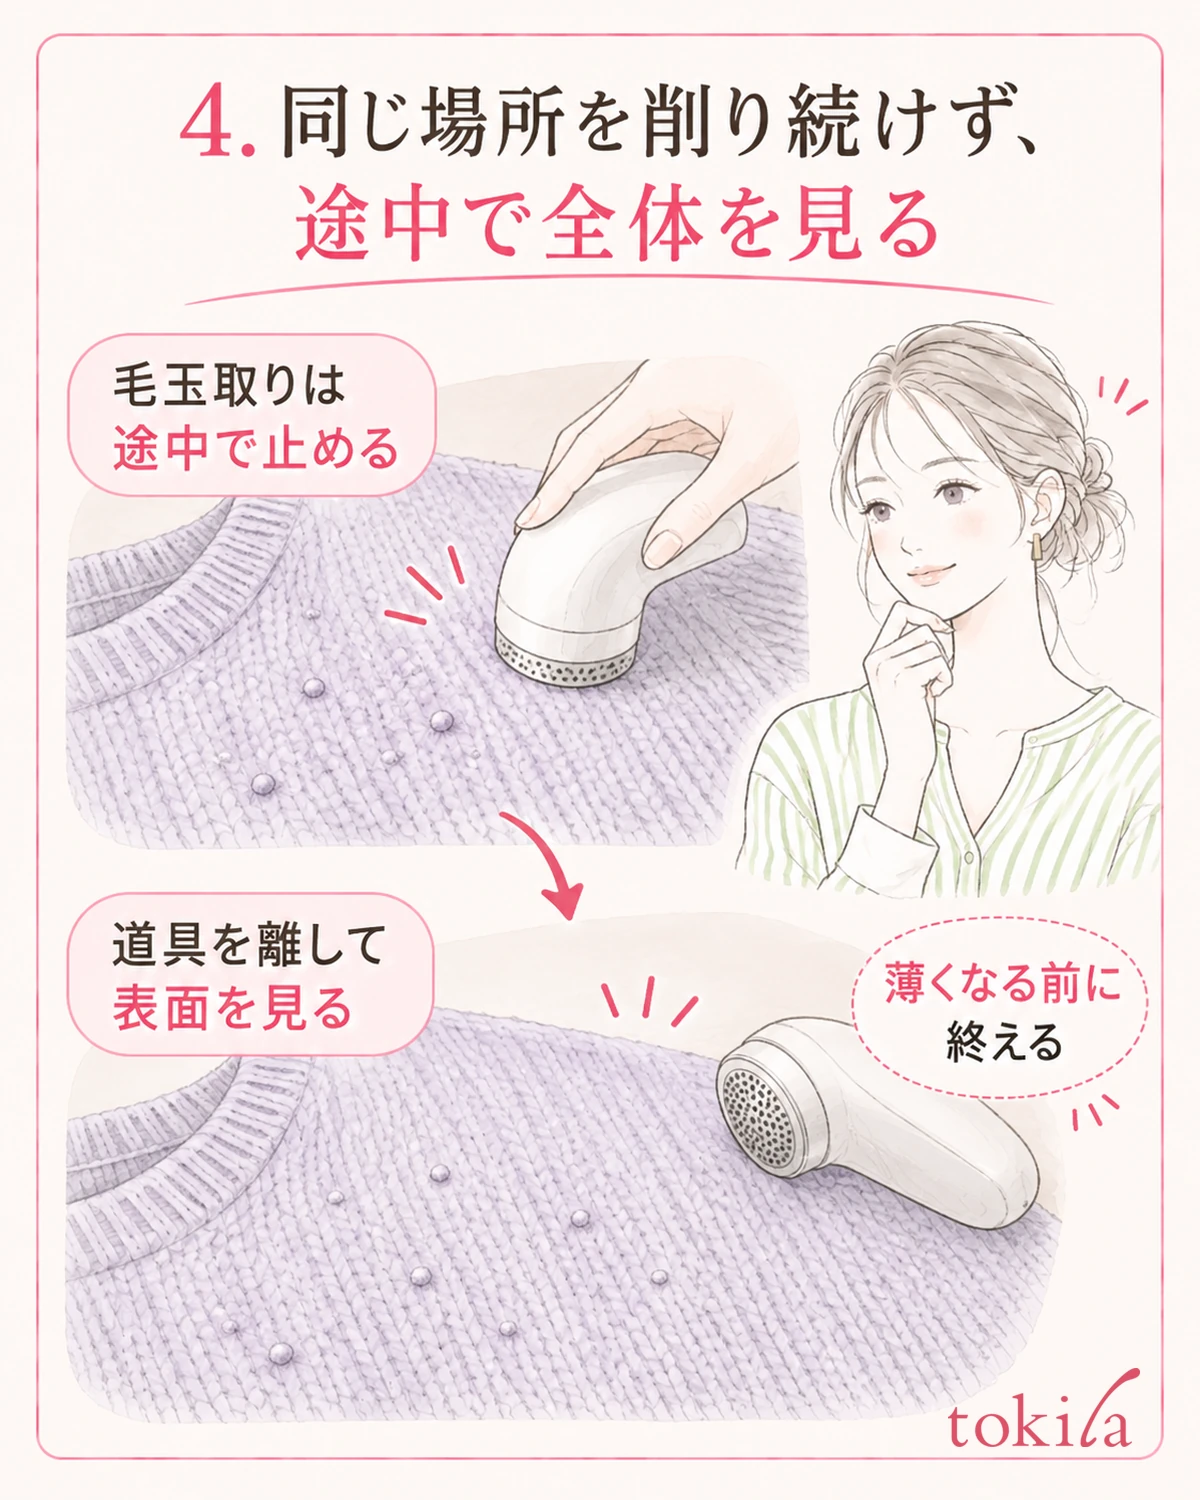
Even if there was no problem in the inconspicuous area, do not go back and forth over the whole garment all at once. Divide the area that bothers you into small sections and take time between them to lift the tool and look at the state. Rather than the amount of pills removed, check whether the surface blends with its surroundings and whether the stitches are damaged.
Even if some small pills remain, you do not need to shave until none are left. Repeated removal also reduces the fibers of the fabric and can make it thin. If it looks less noticeable from a little distance, you can choose to stop there.
It is natural in some cases for the surface where pills were removed and the surface that originally had long nap to look different. Do not shave the unproblematic side just to make the left and right sleeves look completely identical. The area you touch this time is limited to the part that bothered you at first and the part whose suitability you confirmed.
When lint collects inside the tool, turn off the power and clean it in a safe state, following the instructions. Do not bring your fingers or a brush near a moving blade. Whether turning off the power is enough or whether you also need to remove the batteries or power cord should follow the guidance for your tool.
When you finish, spread the garment out and look at the front, back and sleeves. In addition to whether the pills have decreased, check for holes, puckering, shaved streaks, and uneven nap. If there is any change, do not try to fix it by going over it again; record the place you worked on and the tool settings.
5. Review where friction gathers and carry it into your next wear
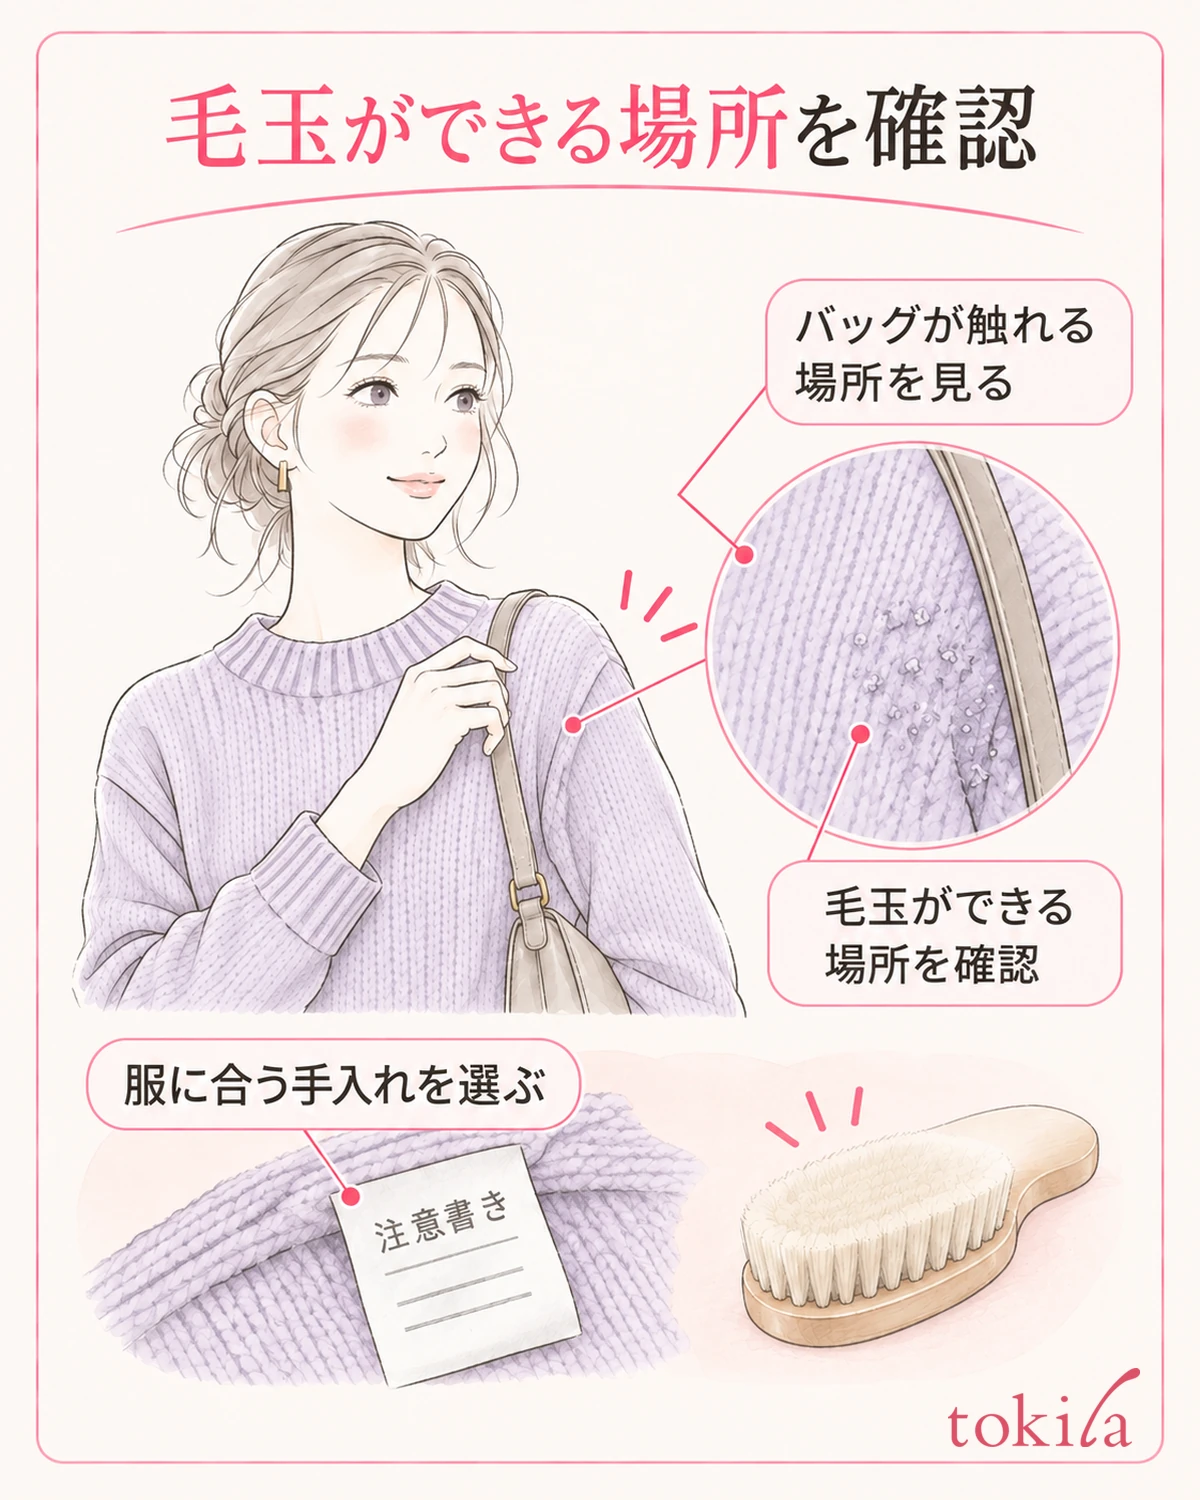
After removing pills, look back at what was touching the same spot. Daily movements are clues, such as a bag handle, a crossbody strap, or a sleeve that rests on a desk. Rather than holding back from wearing the garment, try what you can, such as switching bags or slightly changing how you carry them to avoid rubbing.
If you tidy the surface after wearing, use a soft clothing brush suited to the garment and follow the method given. Separate the work of removing pills from the work of smoothing the nap, and do not force through places that catch. You also do not need to assume that brushing will mean pills never form again.
When washing, too, do not decide the method from the material name alone; go back to that garment's care label. If it specifies turning it inside out or putting it in a laundry net, follow that. Do not increase the number of washes or the water flow because pills bother you; keep a washing method that suits the garment.
Make a note for next time as a short sentence that shows the garment, the place and the conditions, such as "right underarm, where the bag touches" or "this tool only on flat parts of the body." If you switch to a different knit, do not reuse the same settings as they are; check the suitability of the garment and the tool again.
If you cannot tell whether it is a pill or a pulled thread, there is expensive decoration, or the fabric is already thin, one option is to consult a garment-care service rather than tidying it with household tools. Rather than continuing to shave in search of a guarantee that it will return to how it was, think about the range in which you can keep wearing it while keeping its texture.
If you are unsure about matching colors once the care is finished, you can also use the basics of combining clothing colors. For related checks on clothing, see the fashion know-how list. First tell the surface apart, confirm the tools you can use, and care for it while stopping little by little. In this order, choose the care that suits the knitwear you own.



