
You press the hair spray button and no mist comes out, or the force weakens partway through. When you are in a hurry you want to press it again and again or shake the can, but stop first and review the container and the label. There is not always just one reason it will not spray, and you cannot simply carry over what works for a product with a different way of shaking or holding.
This article organizes what to check when a styling spray is hard to spray, in this order: container type, the label before use, the nozzle, rechecking, and stopping. White powder on your hair and how long a style lasts are separate problems. Rather than repairing the container yourself, it treats checks that suit the product you own and the decision to stop as two different things.
First, check the container of the styling spray and how it sprays

First, make sure that what you are about to use is a product for styling hair. Even if the shape is similar, sprays that temporarily change hair color, scalp products and dry shampoos have different conditions of use. Do not substitute the directions for another purpose; read the product name and intended use on the body or the outer box.
Next, check the type of container. An aerosol can sprays by the force of the gas inside. There are also mist containers where you work a pump or lever by hand. The starting point is not to treat both the same just because both are called "spray." If you cannot tell from the outside, check the cautions on the container.
Have the body at hand, together with the outer box and instructions if you still have them. Even with the same product name, the button shape can differ by size or by old and new versions, so confirm that the parts in your hand match the diagram. Finish the checks before using it on your hair, and avoid continuing to press it while hunting for the outer box.
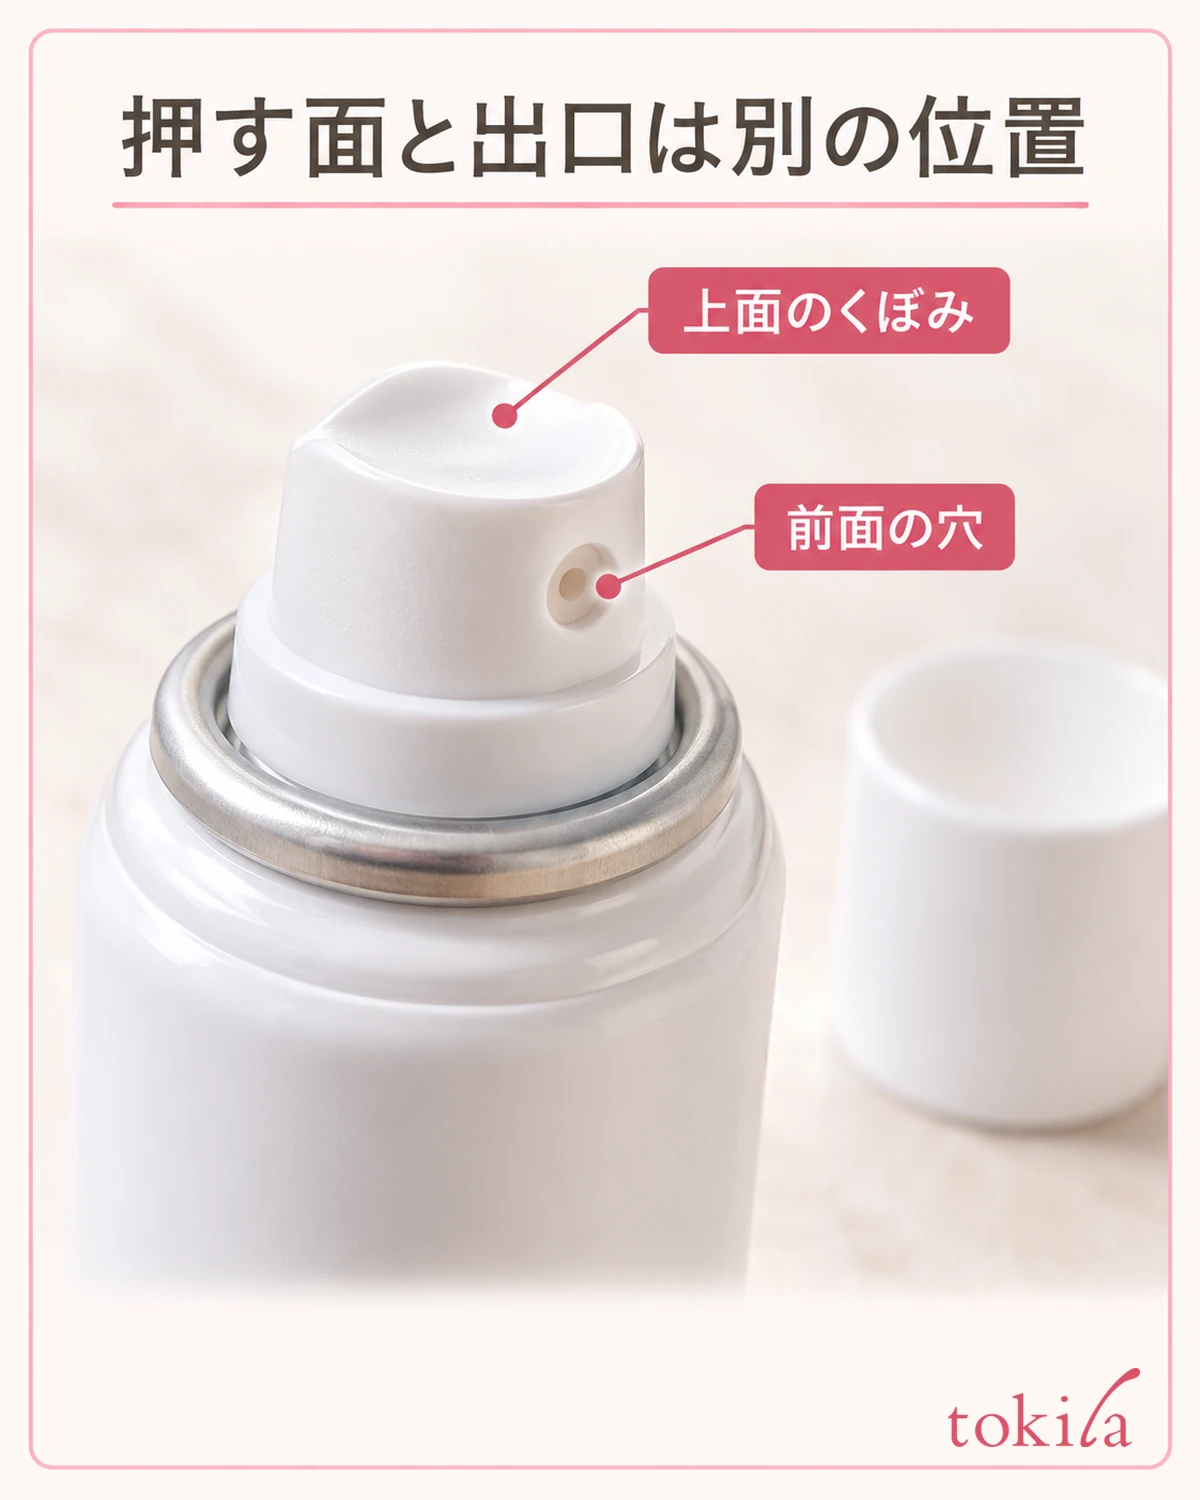
Make a note of how it sprays, as far as you can see, such as "the button will not move," "it presses but nothing comes out," "there is a sound but I cannot see any mist," "the mist leans to one side," or "the droplets are large." You do not need to decide that it is empty because there is a sound, or that it still works because it feels like something sloshes when shaken. Do not keep spraying repeatedly to test it.
Also compare the label with the actual product for whether the cap is still on and whether there is a starter stopper. Even if a part will not move, do not pry it open with pliers or the tip of a nail. If the diagram for opening it differs from the shape in your hand, do not proceed with that procedure.
Also, if you see an unusual leak, a large deformation of the container, heavy rust or the like, do not go on to the spray check below and stop using it. It is easier to organize if you first tell whether it is in a state where you can confirm how to use it, and then move to the next step.
Follow your product's label on shaking or not and on container orientation

Even among aerosol types, some products are shaken before use and some are used without shaking. Do not shake a different can out of the habit you have with your usual one, and do not decide "if it does not come out, shake it hard." Hold the body in a way that makes it easy to read, and look for the part that describes what to do before use.
If shaking is specified, follow the instructions for the number of times and the method as well. If it says not to shake, use it under those conditions as they are. If the label is rubbed off and unreadable, or you threw away the outer box and cannot check the conditions, this is not the stage to increase the way of shaking by guesswork. Keep the information that identifies the product, and hold off using it until you can confirm.
The orientation in use also differs by container: some are held upright, and some specify a different orientation. If you use an upright-only product sideways or upside down, the gas may come out before the contents. However, this does not mean that holding every spray upright will solve it. What matters is comparing the specified orientation with the way you were actually holding it.
Even if you notice that you were holding it the wrong way, that alone does not always mean the remaining contents can be used. Checking by returning it to the specified orientation is separate from judging the gas and the internal condition. If it still sprays strangely after you correct your posture, do not keep tilting it to search for an angle; stop for now.
How you press the button or lever is also covered by the label. Distinguish products that you press all the way down from one-push types, and do not press by brute force. If you only increase the number of presses to make up for a hard spray, it may suddenly come out and land too heavily on the same spot, so do not keep checking with it pointed at your hair.
The order of checking is three things: how to shake it, which way to hold it, and how to press it. Also keep separate the motion of turning the container to read it from the orientation in which you hold it to spray. If you return to the specified posture after reading, you can avoid pressing it while it is still sideways from the checking.
Observe the nozzle from the outside, and touch only what you can care for

If you can see dried liquid or lumps around the nozzle, the deposits may be related to how it sprays. However, do not settle on the cause from visible dirt alone. Do not bring the nozzle close to your face or press it while peering in; take your finger off the button and check the outside.
First, read whether your product has instructions for wiping the nozzle or washing the button. If wiping is specified, match the paper or cloth you use and the area you wipe to that description. Do not push paper into the hole, or insert a toothpick, needle, pin or the like. Avoid trying to widen the hole to improve the spray.
Some products let you remove the button and wash it, but only when that structure and procedure are clearly stated for your product. Check how to remove it, which part to wash, the water temperature, the time and how to dry it before proceeding. Do not pull on it or swap in a different part just because the button looks similar.
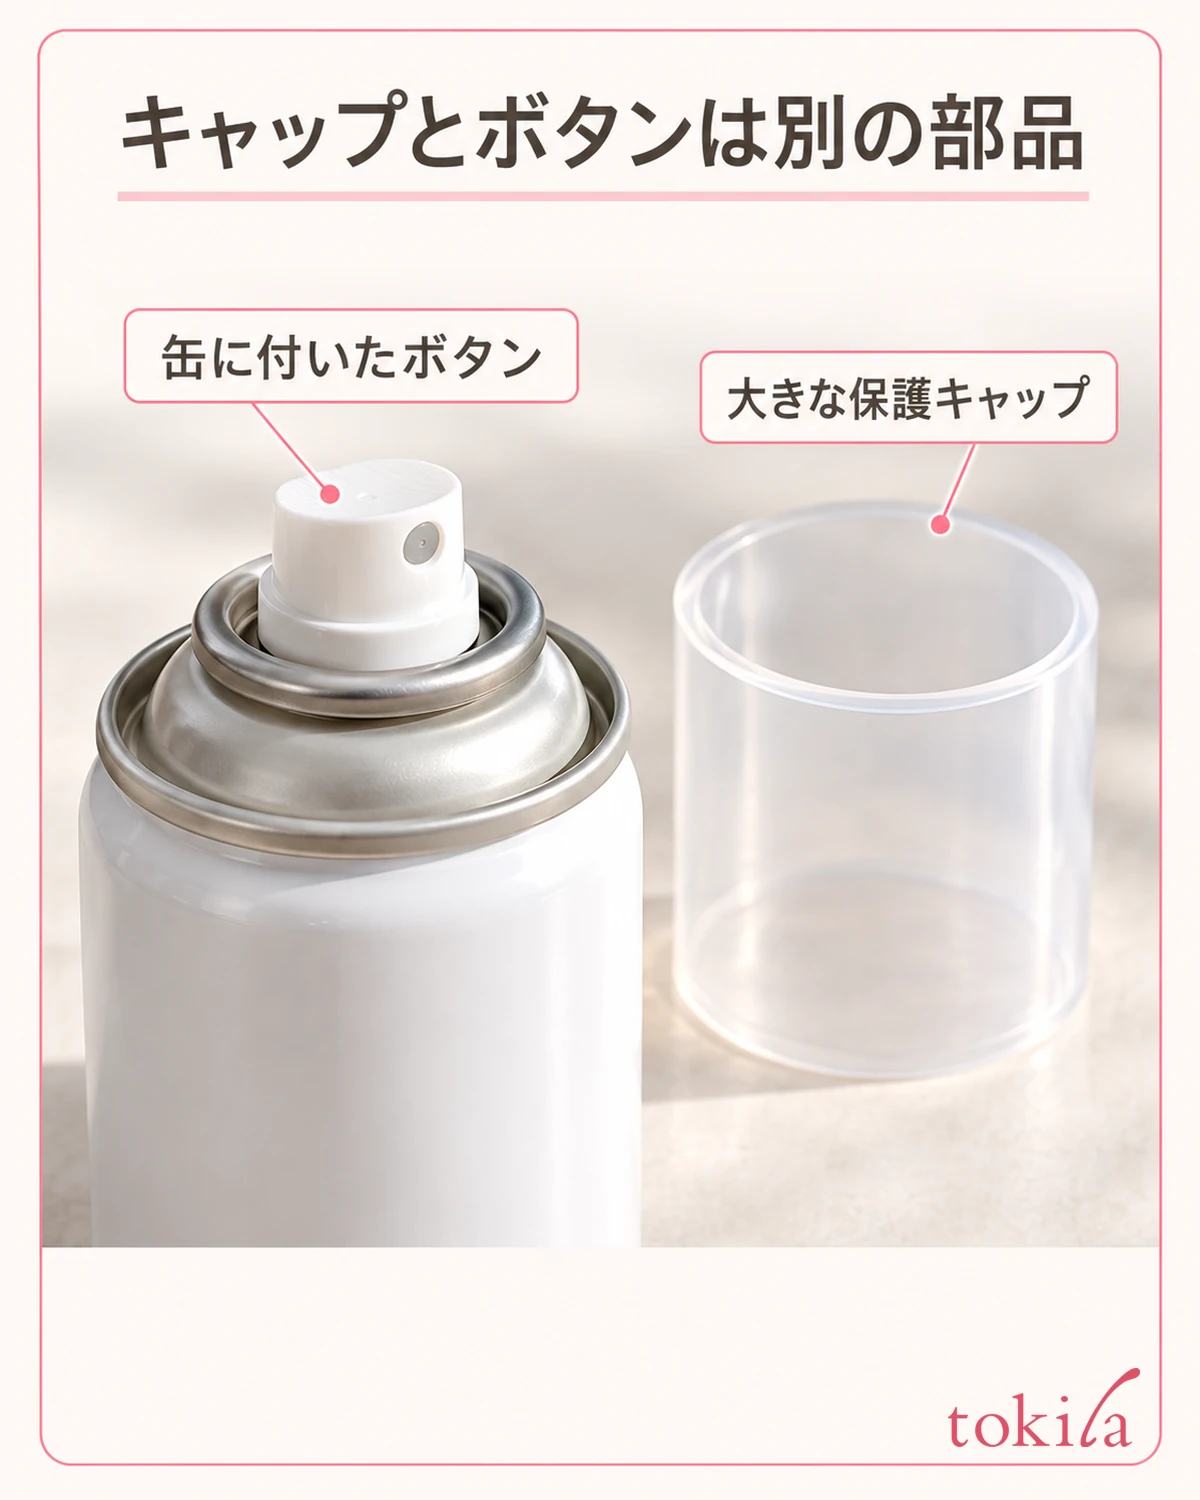
In particular, do not confuse "washing a removed button" with "warming the can itself." Seeing the instructions for caring for the button and then putting the whole can in hot water, or bringing it near a hair dryer or heater, is a different operation. Do not heat the container in order to restore the spray.
If you do not know whether it comes off or can be washed, do not widen what you touch and stop. Do not go on to do-it-yourself work either, such as adding water or alcohol to thin the liquid, or opening the container and transferring the contents. Treat care not as a job of fixing the container, but as a job of tidying the specified parts within the specified range.
After care, check only after preparing where you will spray and the environment

When you have finished the specified care, wipe off any needed moisture and reattach parts as the instructions say. If the button sticks up or a part wobbles, or anything differs from its original state, do not force it in, and cancel the spray check. Do not fix it in place with tape or adhesive just to make it look right.
If you test the spray, follow the place and method that your product's instructions give. Do not point it at your face, eyes, other people or pets, and keep liquid and mist from landing on your surroundings. Avoid continuous spraying near an open flame or in a small space, and match ventilation and care for nearby objects to the label on the product.
What you want to confirm here is whether a normal mist comes out under the conditions shown. Do not press dozens of times to use it up just because the force is weak. If only sound, only dripping, or a lopsided mist continues, remember that change and stop for now. Do not decide that it is completely fixed from a single spray right after care.
If it is in a state where you can resume use, go back to the original instructions for the distance from your hair and the amount to use. Do not try to make up all at once for the times it did not spray, and be careful not to apply it intensively to the same spot. If you feel you already put a lot on your hair, stop adding more and also check whether it is a product you may run your fingers or a brush through.
How a spray is handled after it dries differs by type. If you think of problems with spraying and clumps or white powder on your hair after application as separate matters, you can avoid repeating the same remedy over and over. If the spray on the container side does not recover, give priority to the decision to stop rather than continuing to set your hair.
If it does not recover, stop using it, keep a record of its condition, and choose the next step

If it does not spray even after you check the orientation and care by the label, do not add any more do-it-yourself operations. Sometimes you cannot tell from the outside whether the gas came out first, the inside is clogged, or a part is defective. There is no need to keep pressing until it is used up on the grounds that "there should be some left."
On a day when you are short of time, keep your getting-ready and checking the container separate. If you leave yourself one note to look at later, it prevents you from forgetting what you tried and repeating the same thing. Do not leave it lying in your work area; store it according to its condition as the label says, and do not fill in unclear points with guesses on another day either.
The information to keep for checking is the product name, the container type, since when it has been hard to spray, how it came out when pressed, and the care you carried out. If you save it with the label and the manufacturing code on the body still legible, it will be easier to sort out the situation later. Do not repeat the remedy for a different can without information that identifies the product.
If there is no leak or large deformation and it is in a state that can be stored, follow the label: avoid high temperatures and direct sunlight, and keep it out of the reach of children. Do not puncture the can to see what remains, or heat it to raise the pressure. When discarding it, too, rechecking normal use and releasing the gas are separate tasks. Check the conditions for sorting the product and your local area before handling it.
If you are heading out, you can also choose to stop fussing over fixing the spray and switch to another styling product you have, or to an easy hair arrangement. Handle a different product with its own amount and way of using, and do not layer the same amount as a substitute for the spray. You may also pick the step that suits your current goal again from the list of hair know-how.
The next time you use it, start after checking the way of shaking, the orientation and the care of the nozzle after use once. It is also important to consider adjusting the finish and a container problem separately, as in what to review when you have put on too much hair oil. Rather than settling the reason it will not spray, keeping separate the conditions you could confirm and the conditions under which you stop will make it harder to hesitate even on a rushed day.



