
When you try to thread a scarf through a scarf ring, it gets stuck partway. Or you think it went through, but only one side seems about to slip out. In that case, before pulling harder on the cloth, check the combination of the ring's holes and the scarf you have on a table.
This article covers rings used for neck scarves: telling the structures apart, the thickness of folded cloth, the path to thread, checking after putting it on and taking it off and putting it away. Do not assume that anything with a hole can be used as a substitute; use what is presented as being for scarves, and how it is meant to be used, as your standard.
1. Look at the Ring's Holes and Dividers and Check the Path
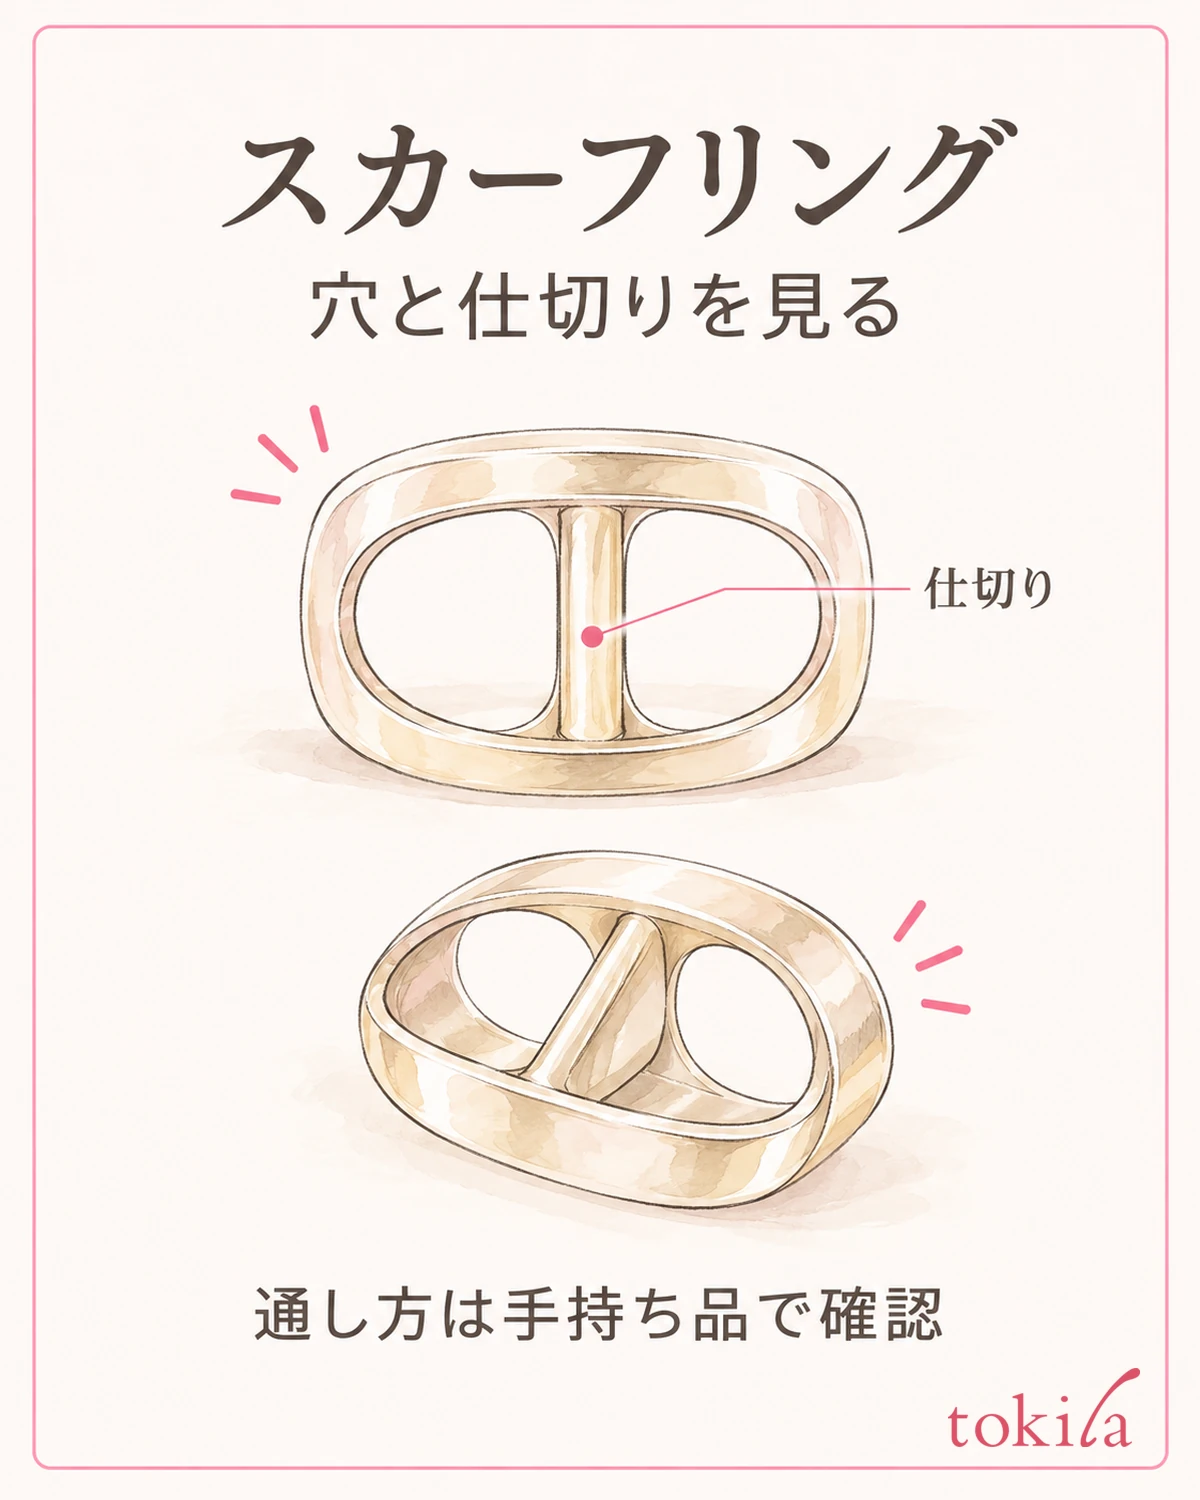
First, place the scarf and the ring separately on a bright table. Look not only at the decoration on the front of the ring but also at the back and the sides. Some look like a single loop but have dividers inside, or have several holes that connect. Do not decide how to thread the cloth only by whether the outline is round or square.
Follow with your eyes how many holes there are and whether there is a bar or divider between them. Checking whether the exit is right behind the entrance or comes out on a different face lets you sort out the path before you put the cloth in. Types with a clasp that opens and closes are operated differently from rings with a fixed loop to thread through. Do not try to force it open; read the explanation for the item you have.
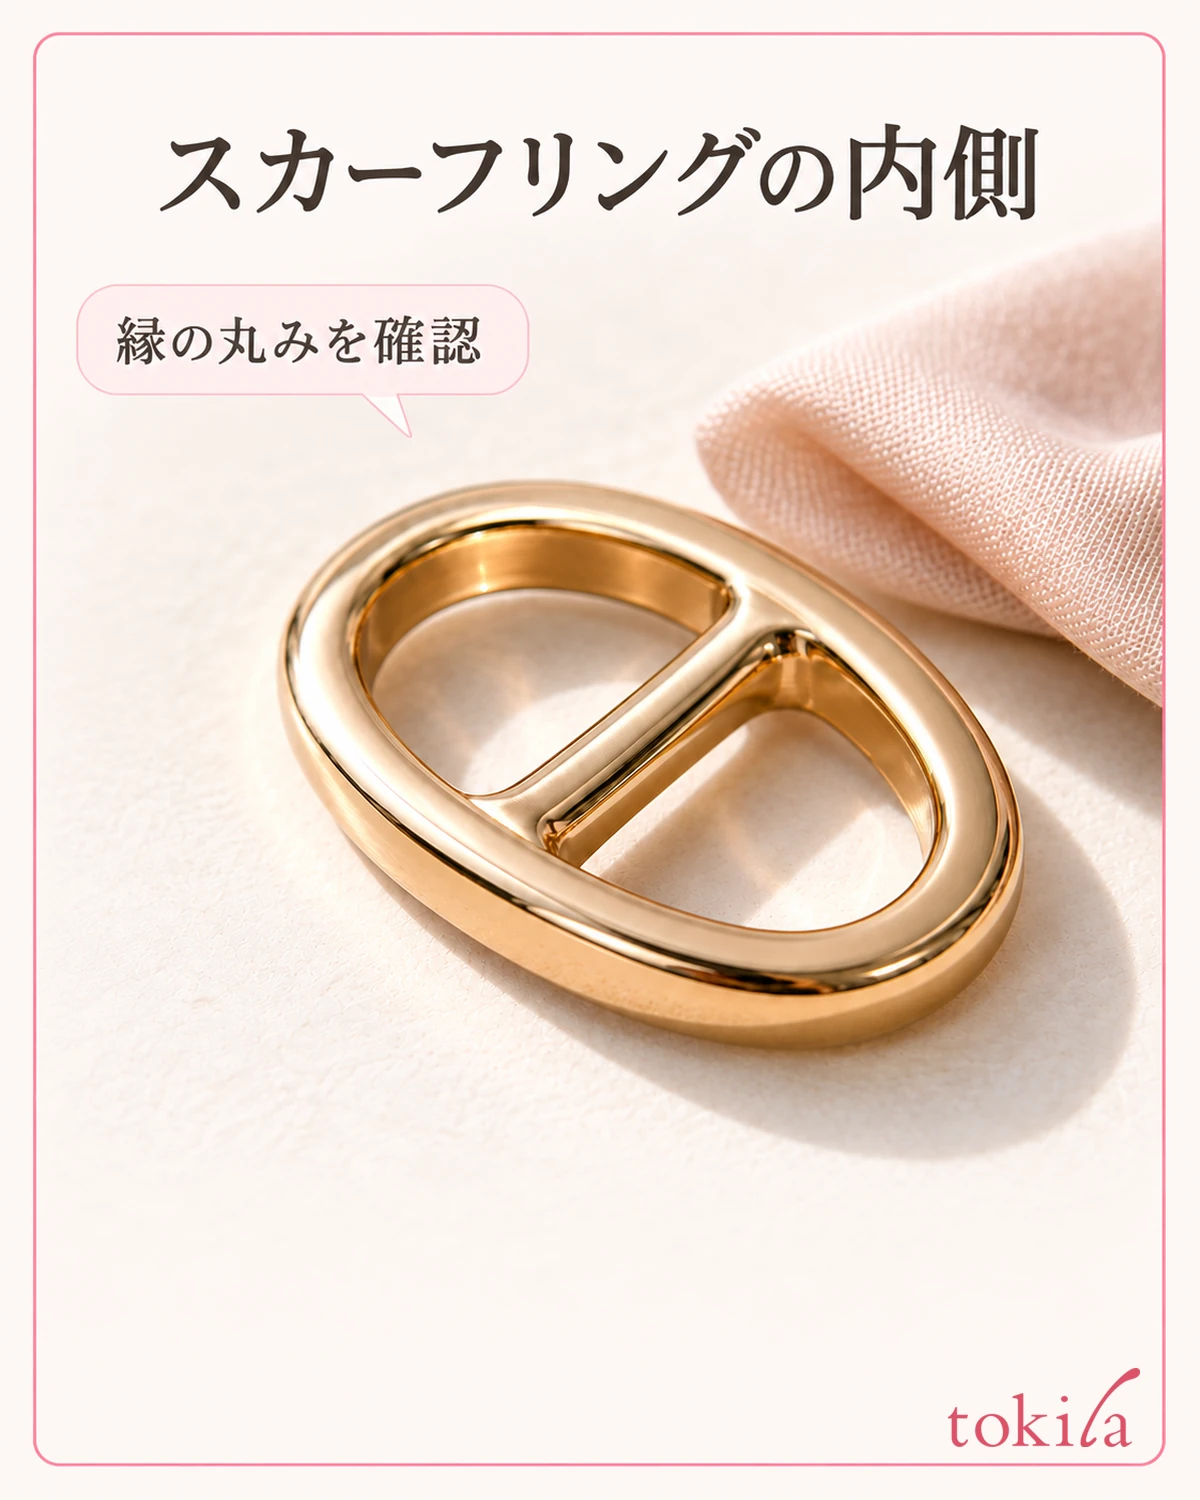
Match the front and back shown in the instructions, the hole to put in first and the position through which to pass the other end. Do not apply a diagram of a different product that looks similar. If you cannot tell the orientation in the instructions, turn the ring on the table and look for the orientation in which the positions of the holes and dividers match.
If you keep the backing card or instructions from purchase, keep them together with that ring. If you own several similar shapes, take them out one at a time and check before using. Even if the number of holes is the same, the shape of the back is not necessarily the same.
Also check the edge for chips or deformation. If there seems to be a snag where the cloth touches, do not rub your actual scarf against it to test; hold off on using it. Altering it yourself, such as filing it down or widening the hole with a tool, is not part of the adjustments covered here.
If you cannot confirm how to thread it, do not keep trying at your neck; stop the step that uses that ring for now. Threading cloth through a ring and being able to keep its shape while worn are separate checks. Do not judge that the combination is right just because you found an entrance.
2. Look at the Thickness of the Layers and the Remaining Ends, Not Just the Fold Width
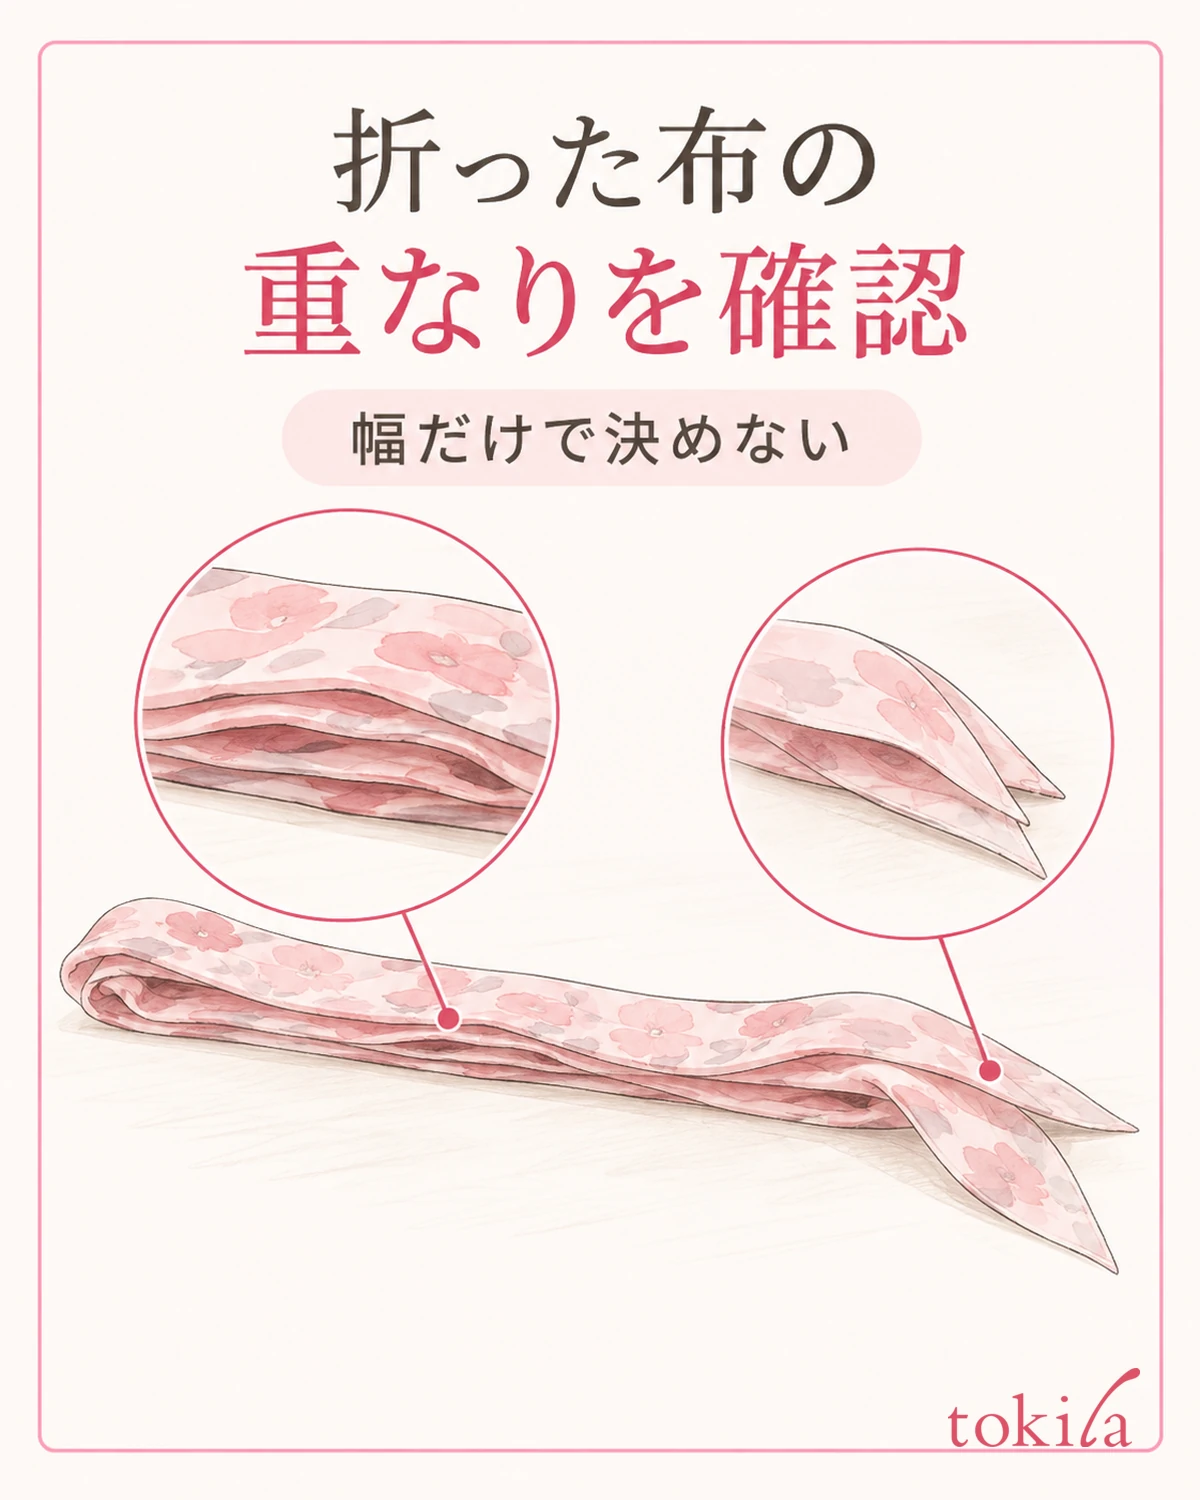
Spread out the scarf and decide which side to use and which pattern you want to show. Even when folding it into a band, first check the folding method the ring's instructions specify. If you want to sort out the types of wraps, you can also refer to the basics of scarves and stoles.
After folding, look from the end to the center on the table. Even at the same width, the layering differs between the center, where the corners gather, and the tip. Lift the place you plan to thread slightly and check that the thickness is not weighted toward one side. Separate tightly rolling the cloth thin from arranging the layers flat.
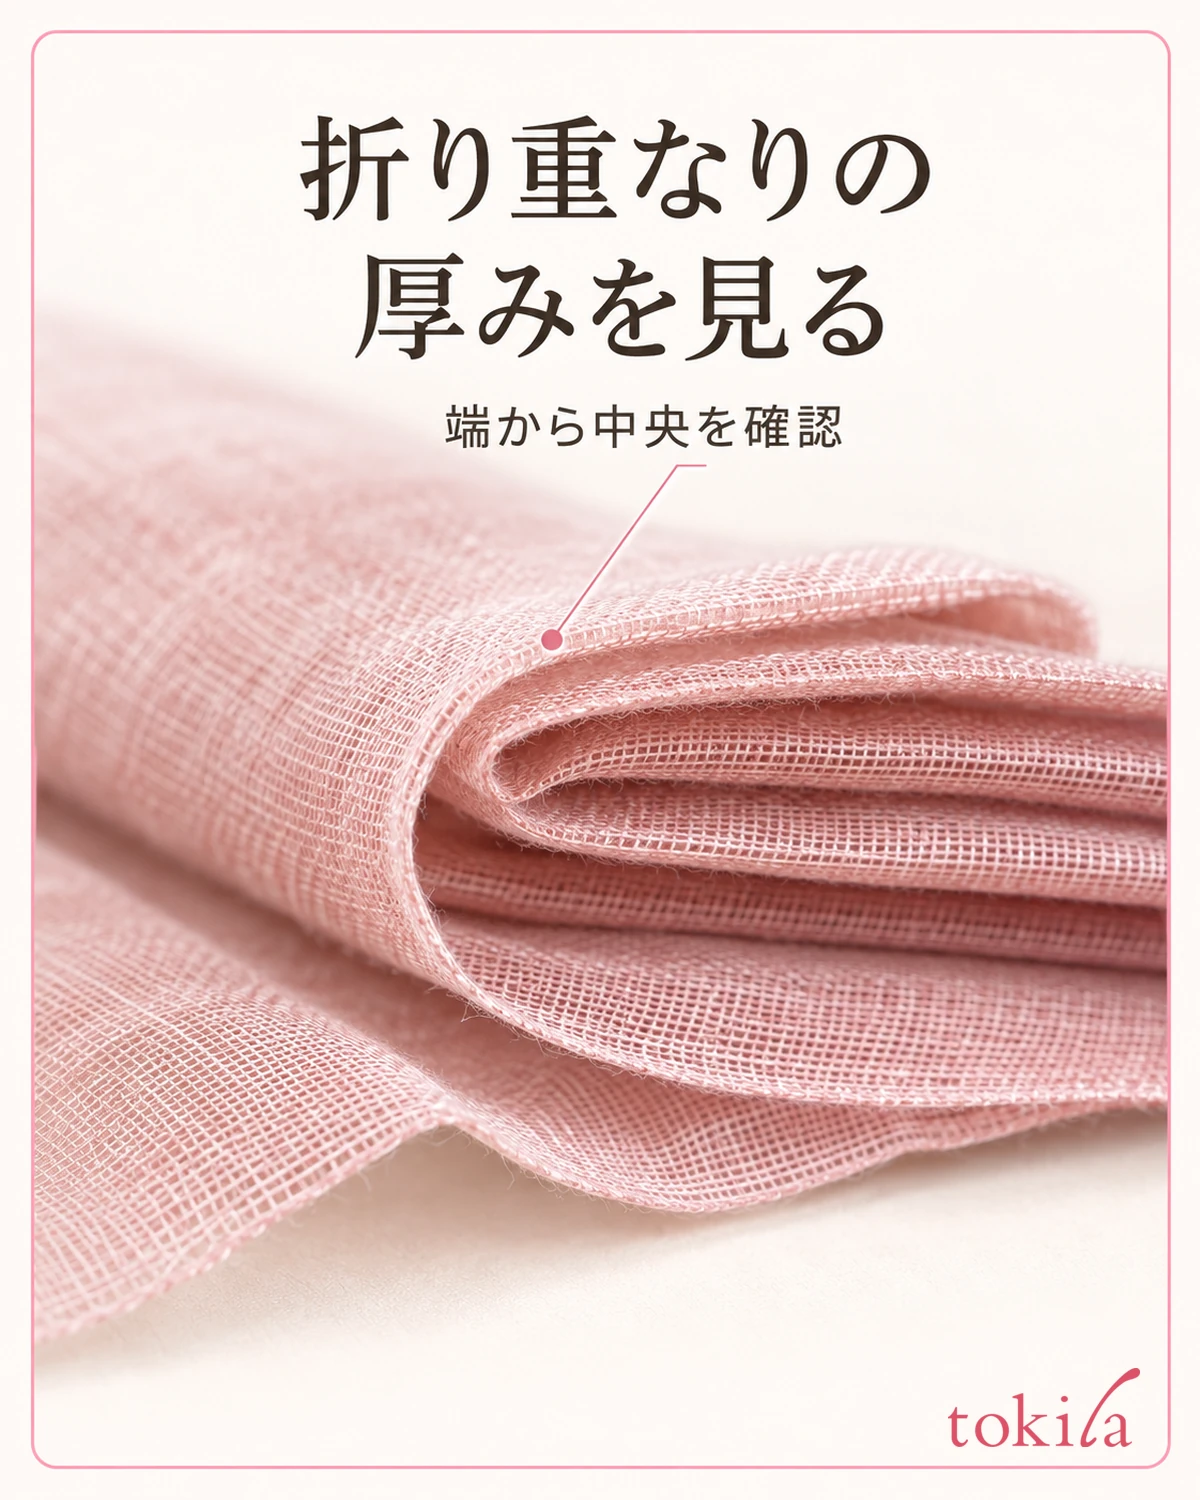
See how the folded cloth fits relative to the width of the ring's hole. Do not first make changes such as twisting it hard to make it thin just to get it through, or wrapping it several more times so that it is harder to slip out. If it is hard to handle with the specified folding method, it is time to review the size and thickness of the cloth and the ring's compatibility.
The scarf's length and width alone do not determine this thickness. Even with the same material name, the thickness of the fabric and how it layers differ. A ring that worked with a different cloth before may not handle this cloth the same way, so check again whenever you change the combination.
Also check whether enough length remains at both ends for you to handle by yourself after it is finished. Do not make up for ends that are too short by making the loop around your neck smaller. Rather than making the left and right exactly the same length, prioritize making the specified shape without strain and being able to hold the cloth when you take it off.
3. Pass the Tips of the Cloth Through in Order, and Go Back Before Pulling If It Gets Stuck
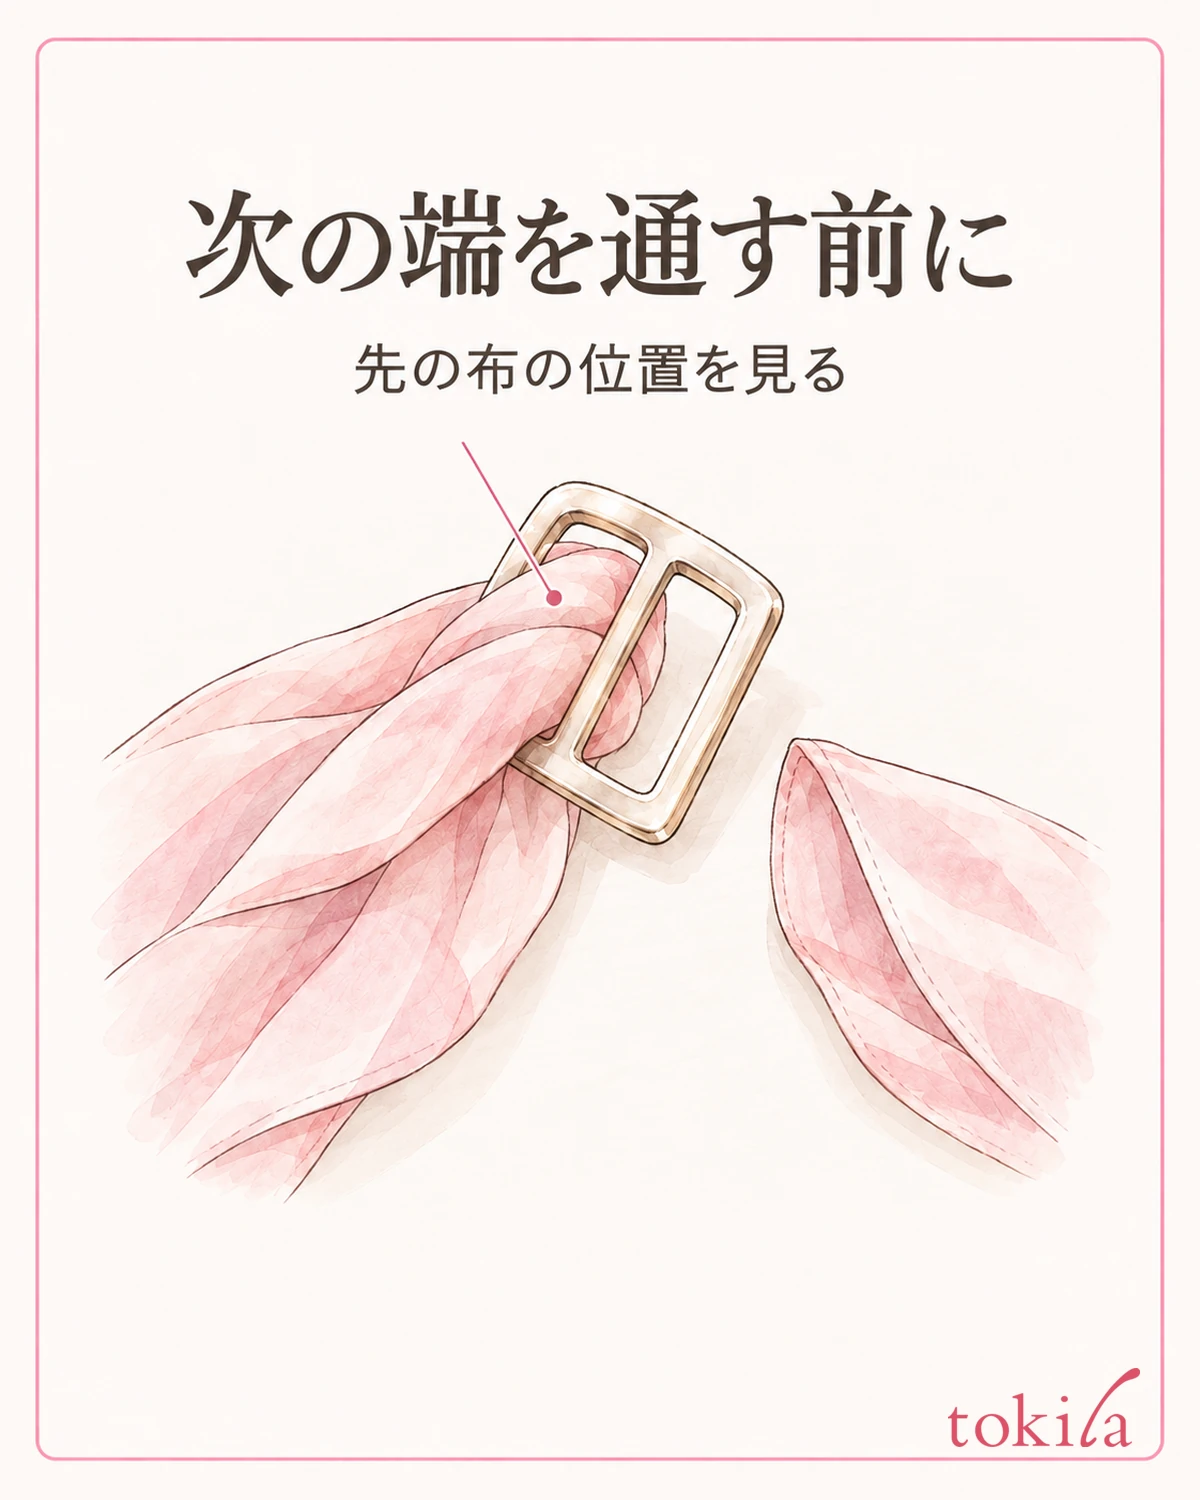
For the first practice, do not wrap it around your neck; start on the table in a state where you can see both the ring and the cloth. Check the order of threading in the instructions and handle one tip at a time. Do not hide the entrance with the fingers holding the ring; proceed while watching where the cloth passes.
Once you have passed one end through, before moving the next end, look at where the cloth you put in first is passing. The direction and hole for the other end change depending on the ring's structure, so it is not a procedure where everything goes in the same direction. Check the diagram of the item you have against the dividers in front of you.
Do not push in the next end with the cloth you passed first still caught up. If the cloth bunches up at the entrance or a fold catches on the edge, stop your hand from advancing. If it is still in a position where it is easy to return, pull it back a little and rearrange the layers and the path on the table.
When the cloth is partway through, look at the exit side as well as the entrance. It may look thin from one side while folds are piling up behind. Do not pull on the side you cannot see by feel alone; turn the ring in your hand and check.
Avoid grabbing both ends and pulling sharply when there is strong resistance. Separate whether the reason it will not pass is thickness, another piece of cloth caught up, or the wrong hole chosen. Do not switch to methods such as wetting the cloth, applying oil, or pushing it in with a pointed tool.
After it passes through, also check whether the overlap has bunched up in just one spot. If the cloth seems likely to slip out easily even when you hold the ends, or it does not settle into the specified shape, do not go on to the stage of trying it on. Take it off once and go back to check the combination and the path of threading.
4. Once It Is on Your Neck, Look at the Ring, Collar and Both Ends Together

Once you understand the flow on the table, drape the scarf around your neck following the instructions and arrange it. Do not make tightening the loop around your neck the way of securing it; take it off if you feel any tightness or discomfort. Do not decide the position of the ring first; also check that your collar, hair and other accessories have not gotten into the cloth.
Step back from the mirror a little and look in order at the front and back of the ring, any twists in the cloth and what remains of both ends. To line up the pattern on the front, do not keep pulling out only one end again and again. If the orientation is wrong, rather than pulling and rotating it while it is on, taking it off and going back to how you distributed the cloth at the start of threading makes the situation easier to see.
Do not keep using a combination that looks tidy only while you support it with your hand and from which the cloth slips out right after you let go. Separate whether the ring is moving over the cloth, the cloth is slipping out of the hole, or the whole thing is shifting because it is pushed by your collar. Rather than adding a knot or another fastener just to stop the movement, review the combination so that the pieces fit.
Look not only when standing but also at where the ends sit when you sit down in the clothes you will wear that day. Do not solve ends that are long enough to catch on a chair or bag by pulling the ring up close to your throat. Do not fix it by pulling the tip while walking; stop and check somewhere you can handle it calmly.
Even when the shape looks tidy, take a break from wearing it if the cloth or the metal fitting touches your skin and bothers you. Think separately about looking finished and being able to wear it without strain. If you change to a shape tied without the ring, see checking a scarf knot and the length of its ends, which covers it as a separate procedure.
5. Check How to Take It Off, and Put the Cloth and Ring Away Separately
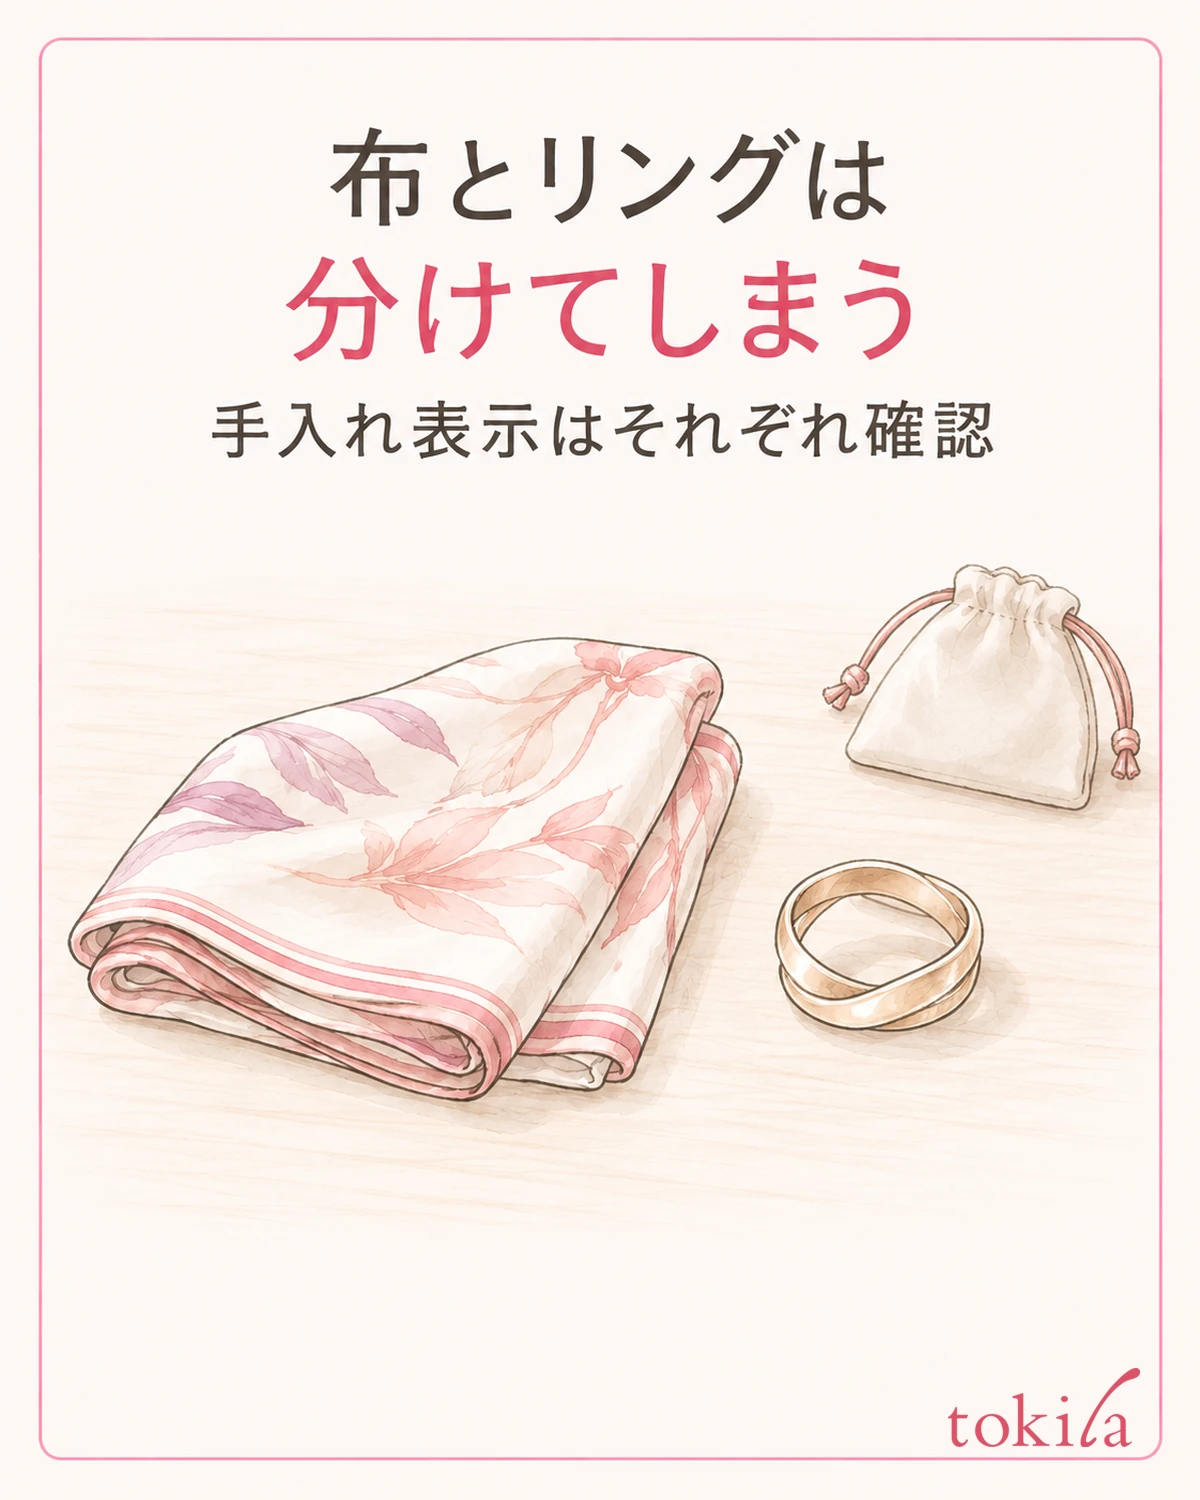
When taking it off, too, check the instructions for the ring you have. Loosen the cloth at your neck as far as you can, so that the ring and the ends passed through are visible. Recall the path from when you put it on, and confirm which end goes back where before you move it. Do not assume that pulling one side all at once will release it.
When returning the cloth, move it little by little near the ring while watching the overlap. If a fold catches on the edge, stop before pulling hard on the opposite side. If it stays hard to remove, do not push a needle or scissors into the cloth, and do not try to take it off by force.
Place the removed cloth on a flat surface and look at the parts the ring touched. Take care not to confuse patterns or fold creases with fraying threads or tears. If you find a snag, do not pass the same spot through again to test; hold off on using it, so that you can also check the ring's edge and compatibility.
Before putting them away, read the care labels for the cloth and the ring separately. Do not assume that because the cloth is washable, the metal fitting can be washed the same way. Do not make it a uniform procedure to wash them together with the ring attached or to wipe both with the same detergent; follow the instructions for each part.
If you place the ring down with the cloth removed, you can look again at the dirt and shape on the inside. Do not go on to scraping off any deposit you see with a fingernail; read the range of care that is allowed. Keeping the cloth's laundry label and the fitting's instructions separately means you can check the same conditions before the next use.
When putting them away, place the cloth and the ring separately so that the edge of the fitting is not pressed hard against the cloth. If the ring has a dedicated pouch or case, check how to use it. If you want to remember the combination, you can choose a way that does not leave it attached to the cloth, such as keeping the storage places close together.
One note to leave for next time is enough. Put into words where and in what state it happened, such as "the layers bunched up at the entrance," "I caught up the end I passed first" or "it was pushed by the collar of my clothes." Do not change the ring, the cloth and the folding method all at once; choose a combination you can thread and remove without strain.



