
You layer a sheer stole over an outfit and it looks darker or the colors seem to blend compared with how it looked on its own. You re-wrap it, and now only the area around your neck looks deeper. Before looking for a different color, try looking at the clothes underneath and the overlapping layers of cloth separately.
Here is a way to compare a sheer stole you already own with today's outfit. Rather than settling on one right answer for color combinations, you check the single-layer area, the folded area and the area where the clothes show through, in that order. This is a separate check from care for removing stains or color transfer.
1. Look at the Single-Layer Area and the Overlapping Area Separately
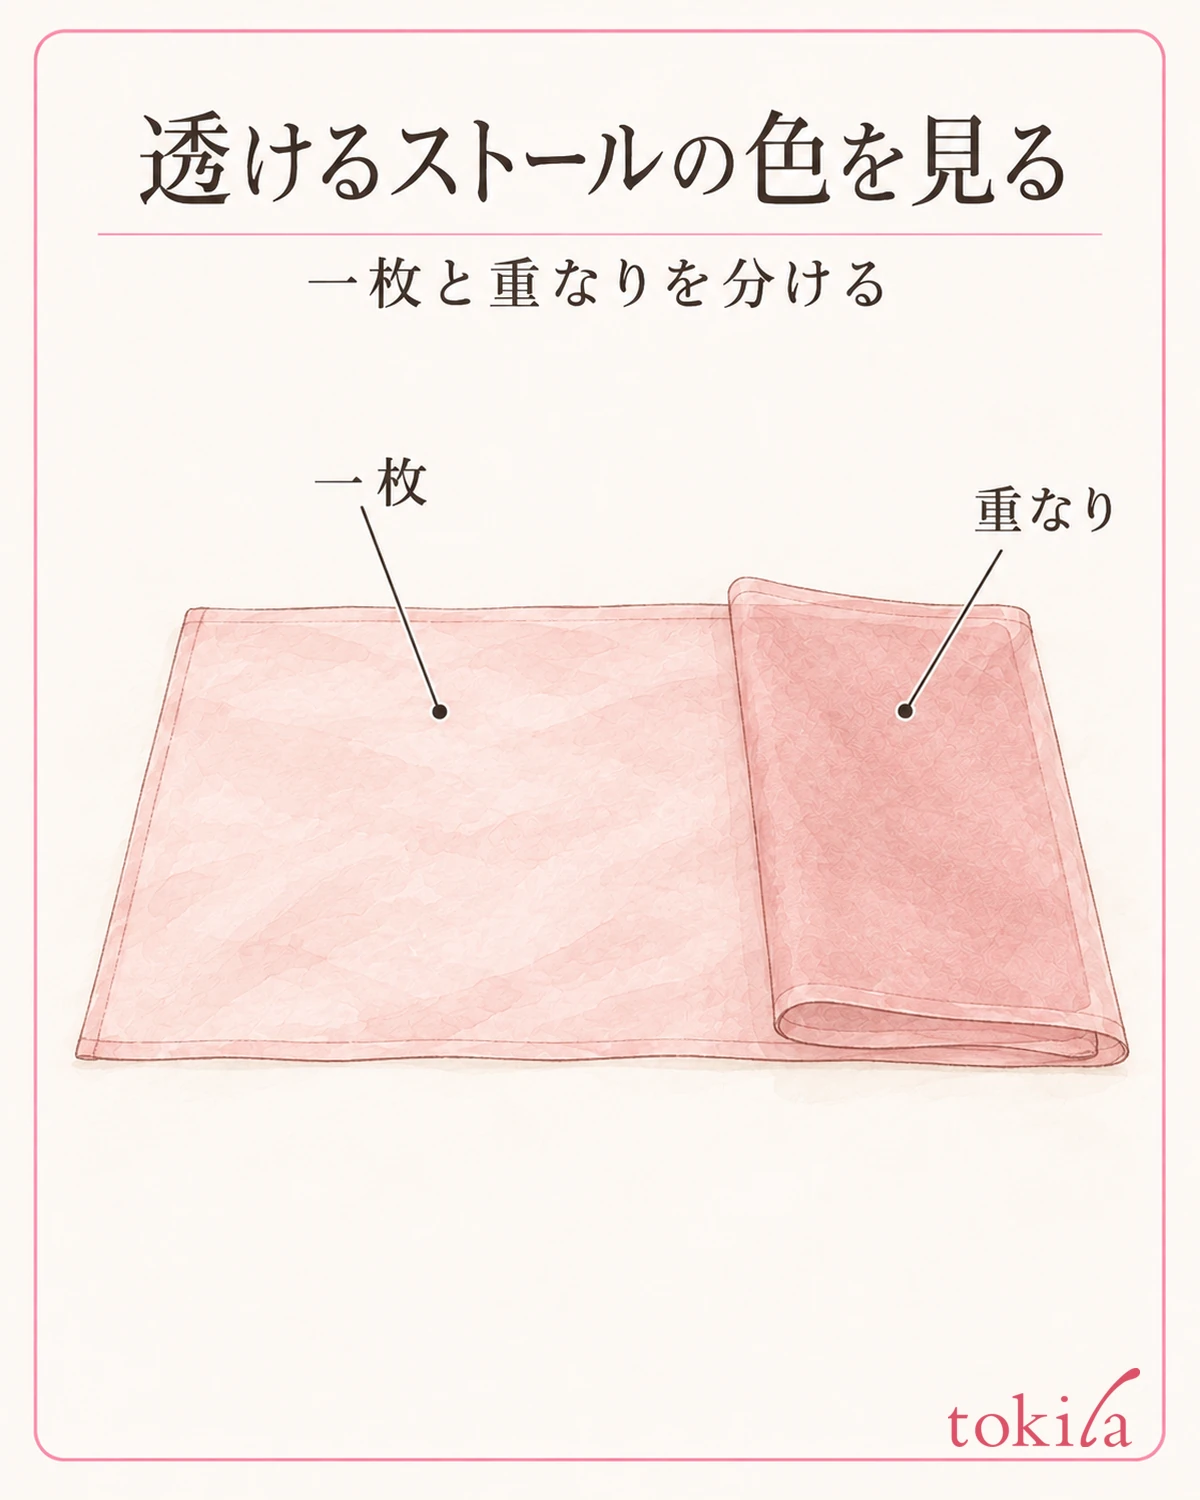
First, spread the dry stole loosely on a clean surface with nothing to snag it. Do not pull the edges hard to open the weave; start with it lying naturally. Rather than re-wrapping it again and again in front of a mirror, it is easier to sort things out by checking by hand which parts are a single layer and which are folded over each other.
Choose one spot that bothers you: the whole cloth, a narrow folded band, or the place where the two ends cross. Move your eyes from the single-layer area to the overlapping area and check whether they look the same. If only the overlapping spot looks darker, look at the layers of cloth before changing the color combination.
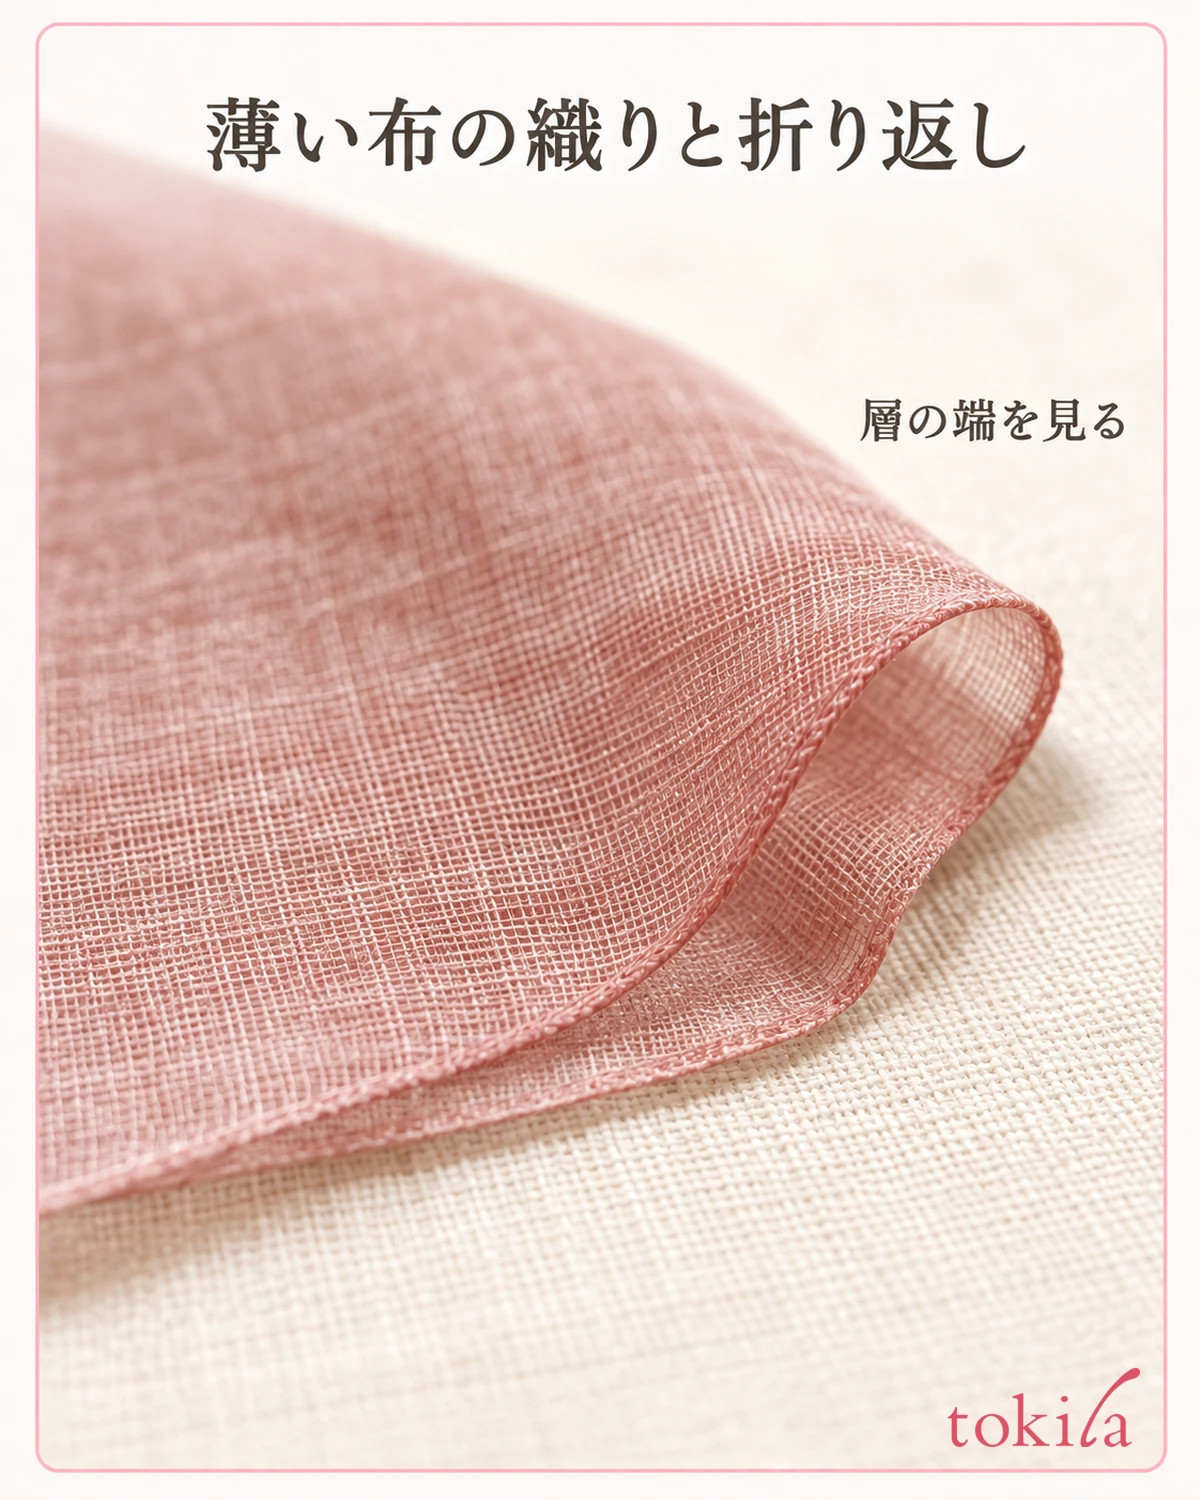
With thin cloth, the clothes or the surface underneath can show through. Do not assume that the impression on a table is the color you will see when wearing it. Something that looks bright on a white surface may look calmer over dark clothes, so make the final decision with the clothes you plan to wear.
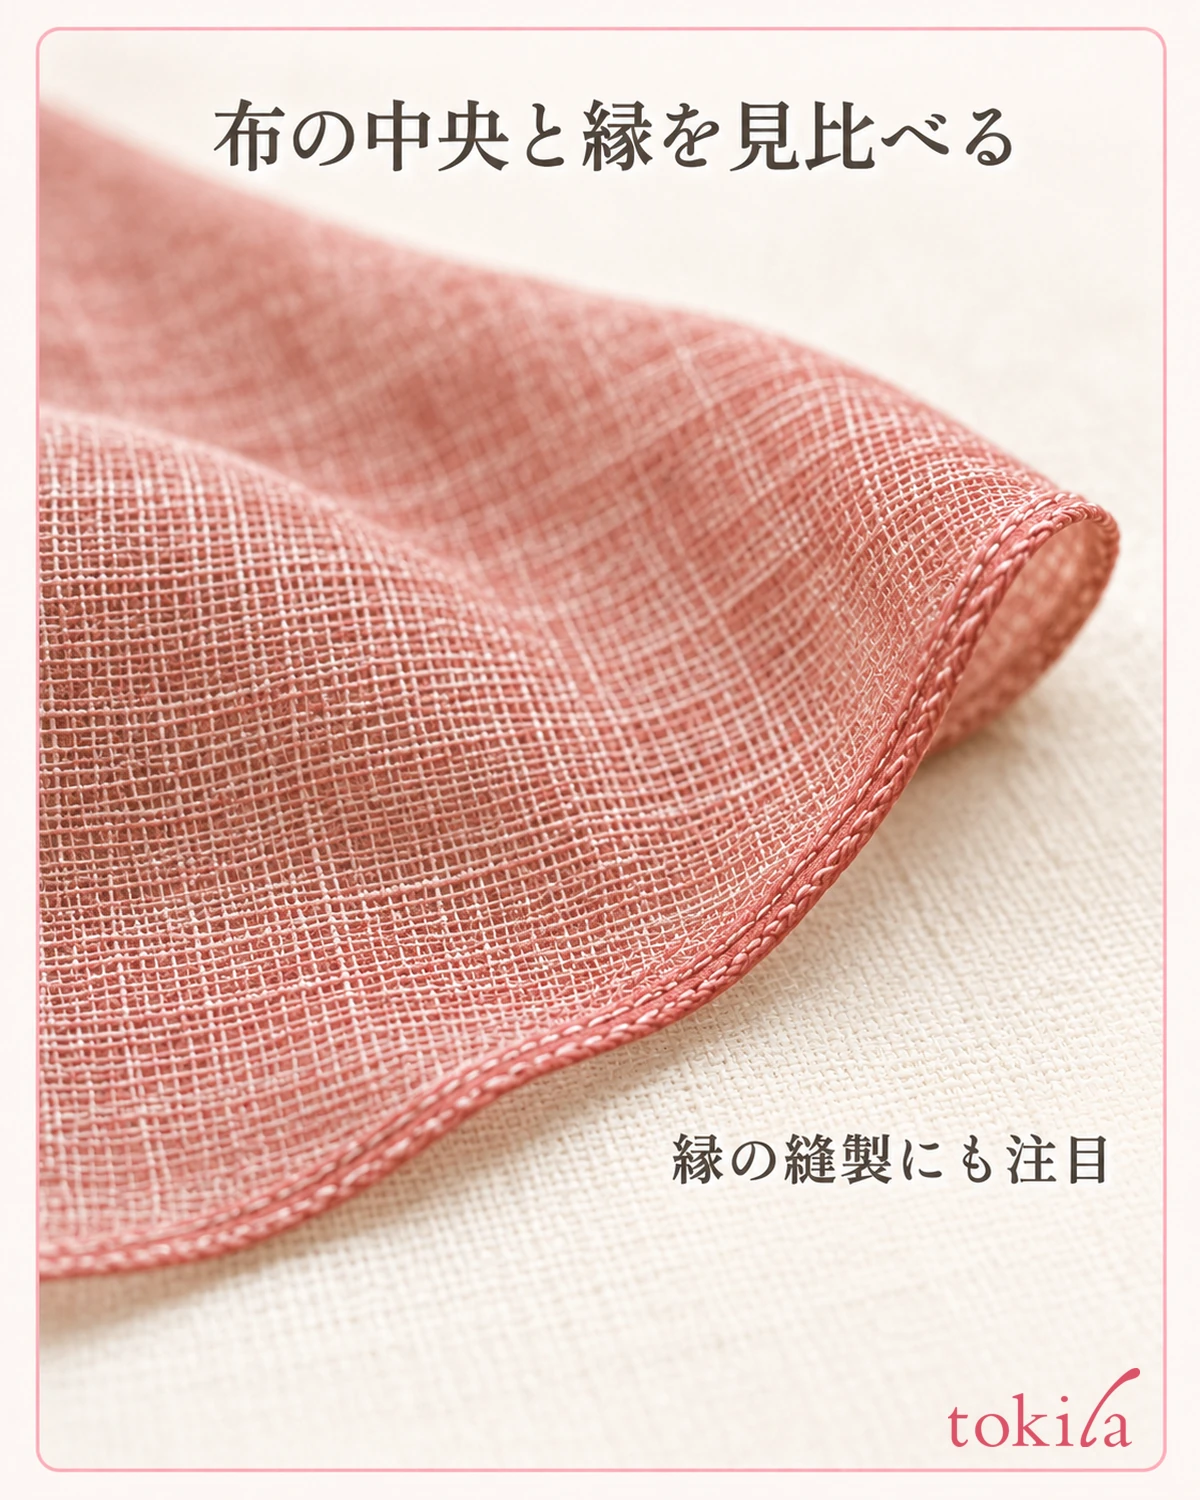
Areas with densely woven edges or embroidery can look different from the thin center. Rather than using only the edge as a color sample, look at the center and the edge each on their own. For a patterned cloth, also distinguish the background color area from the area where the pattern overlaps. Do not judge the whole stole as muddy just from the darker parts of the pattern.
What you are checking here is the visible color and the places where layers overlap. This is not a way to diagnose color fading, deterioration or quality from appearance alone. If you are actually concerned about stains or damage, check how to handle the item according to its care label before trying to hide it with a color scheme.
If you put your hand under the cloth to check how much it shows through, take care that rings or fingertips do not catch on the fine threads. Stretching the cloth out widely creates gaps different from usual, so do not judge it as see-through based only on the stretched state. Start by looking at the cloth as it naturally falls.
2. Change Only the Clothes Underneath and Compare the Same Part of the Cloth
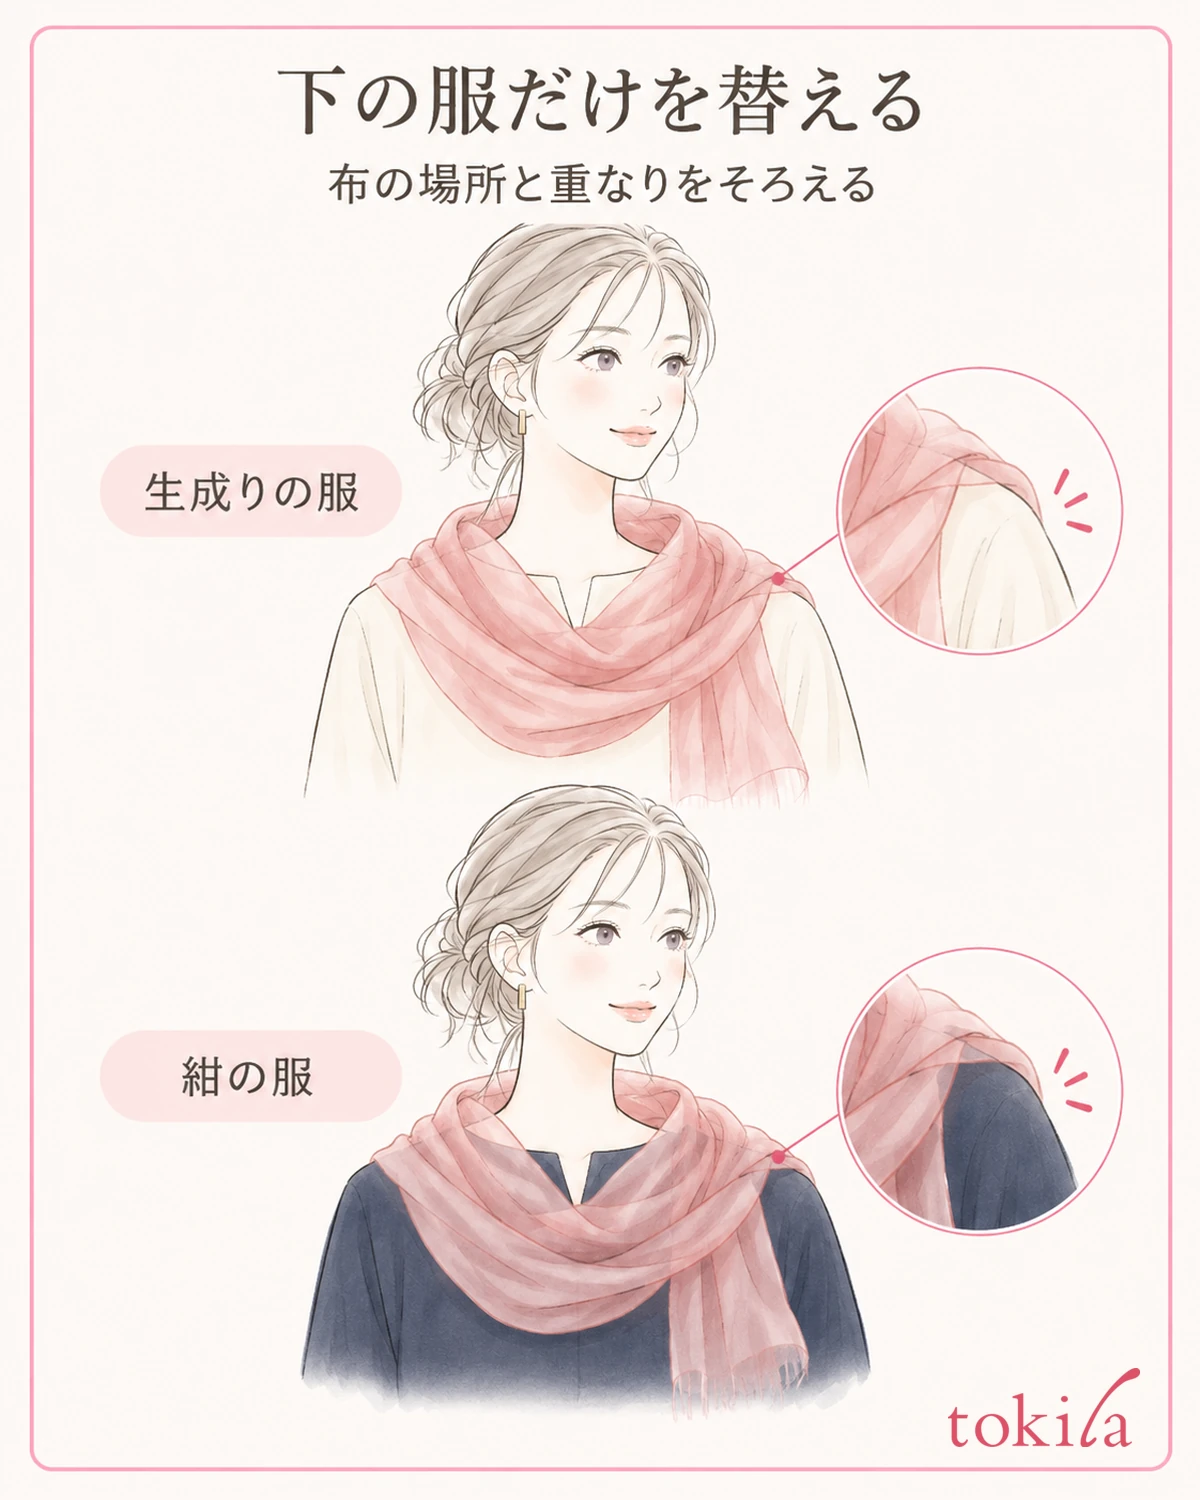
Next, keep the stole in the same shape and compare the clothes you pair it with underneath. It is enough to start with today's outfit and one other piece you already own. If possible, choose clothes with little pattern or sheen, which makes it easier to focus on the difference in the color underneath. You do not need to buy new clothes just to compare.
If you place the clothes on a surface, lay the same single-layer area of the stole over each in turn. If it is doubled the first time and single the next, things other than the color of the clothes will change as well. Use a pattern near the edge of the cloth as a landmark so the same spot lands on the clothes. Also check whether large wrinkles in the clothes cast a shadow on only one of them.
For light and dark clothes, see which one looks closer to your preference. Do not decide that white always looks clear or that black always looks muddy. The color of the stole, how the cloth lets light through and the color of the clothes underneath all play a part, so it matters not to predict the result from the combination of color names alone.
If two pieces in different colors also differ greatly in shape or material, remember that difference too. A short note is enough, such as "navy is a glossy blouse, ecru is a matte T-shirt." Even if you cannot make the conditions perfectly equal with what you own, knowing what you changed leads to a better comparison next time.
Once you have decided which one you like better, actually put it on. Clothes that were flat on the table change where shadows fall and how far the cloth sits from the body once they follow the body. Treat the comparison on the table as preparation for narrowing down candidates, and check again in a mirror that shows your face and collar. For subtle differences between clothes, you can also refer to our steps for comparing clothes of the same color.
If the only candidates are patterned clothes, first place the same part of the stole over the background color of the pattern, then over the motif itself. If the pattern underneath shows through and overlaps in shape, there are different things to look at than with two plain colors. Do not judge the compatibility of the background color and the overlap of the motif all at once; note which one bothered you.
3. Change the Fold Width by One Step and Check the Dark Band Around the Neck
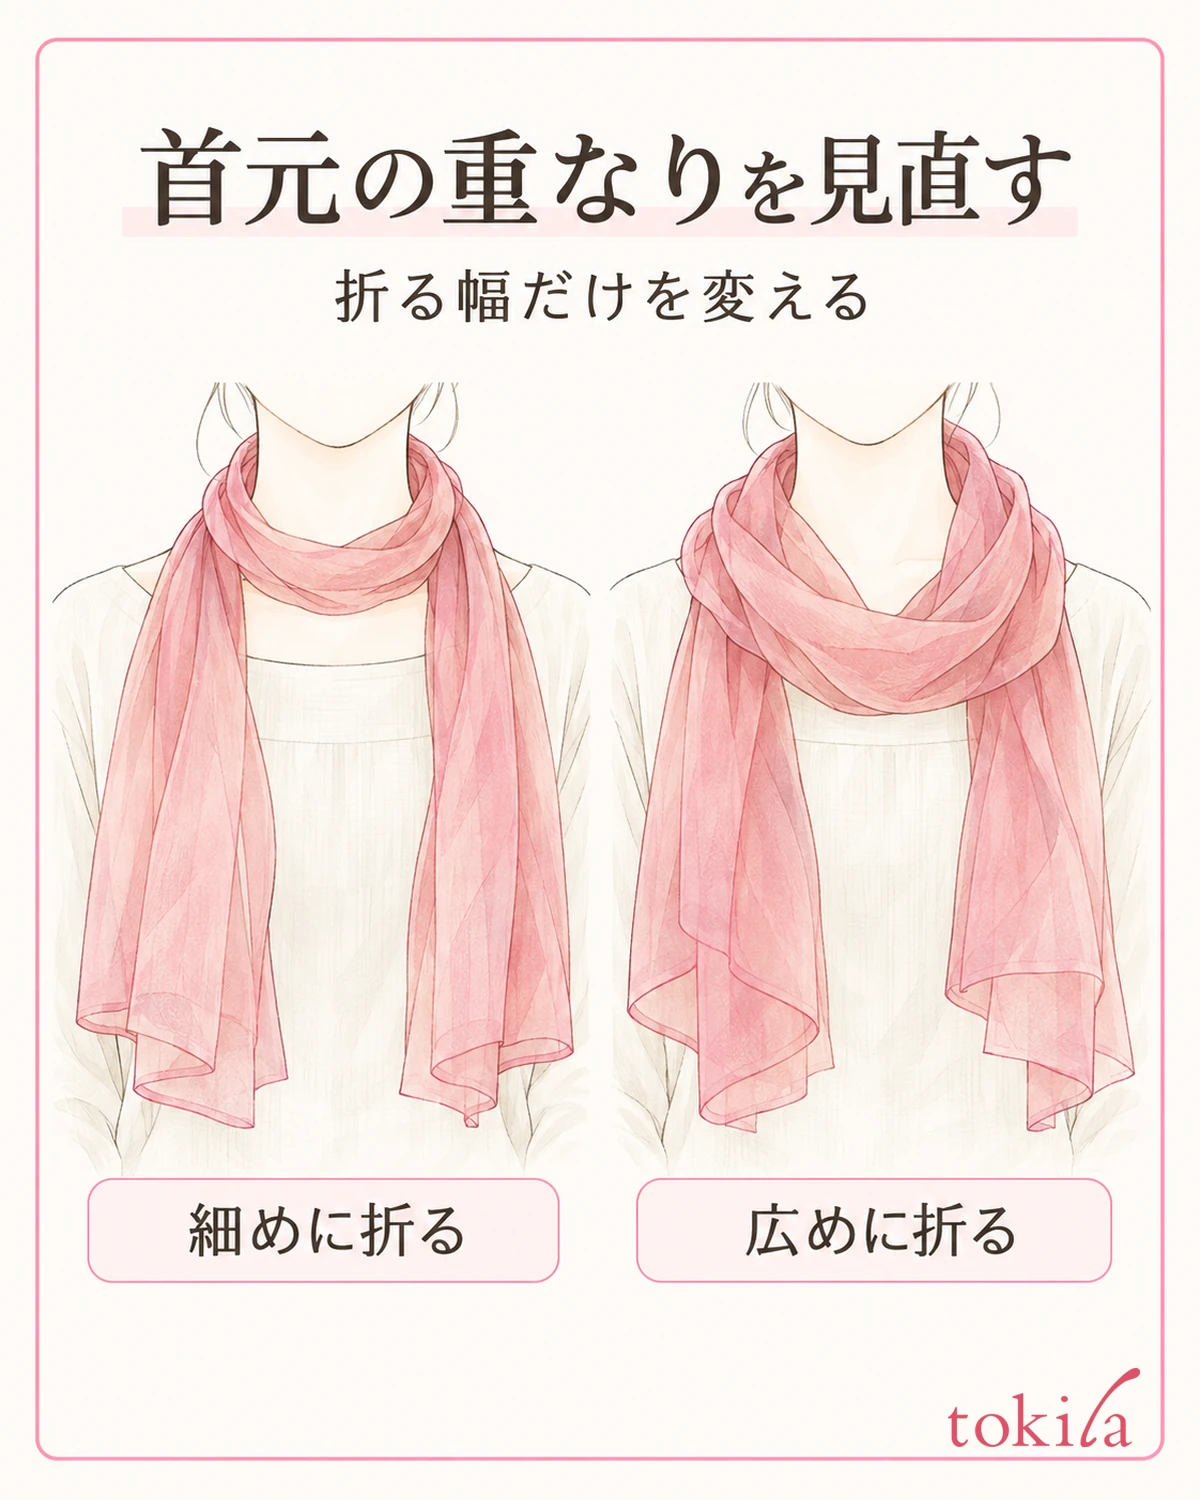
Once you have chosen the clothes, move on to how you fold the stole. Spread it out again, fold it loosely to your usual width and drape it over your shoulders. At this stage, do not change the number of wraps or the fastening at the same time; check in the mirror where the cloth gathers around your neck. Do not tighten it hard to try to make the colored area smaller.
If it looks like a dark band only around your neck, check whether several folded edges are gathering in the same spot. Compare it with the single-layer part hanging down, and see whether there is a difference at the folds. Also see whether the places where the color bothers you are the same as the places with wrinkle shadows, so that you do not blame everything on the color scheme.
Next, take it off and put it back on with only the fold width made a little wider. If the shape adds more layers the more narrowly you fold it, widening it changes how the layers gather. However, a wider fold does not always look brighter. The area covering your shoulders changes too, so look at the dark band and the appearance of the whole cloth together.
If the two ends overlap in front of your chest, review the crossing position within a range you can move comfortably. Before pulling the ends hard or adding a new knot, check whether the overlap is concentrated right below your face. Think separately about wanting the color to look lighter and wanting to wear it so it does not slip.
If problems arise, such as it coming loose or slipping off your shoulders, do not keep using an unstable shape for the sake of color. Return to an easy-to-handle shape for now and choose a way to drape it that suits the length and thickness of the stole. If your neck feels tight or the cloth touches your face, take it off on the spot before adjusting.
When you spread out the cloth, also check the front and back and the direction of the pattern. If only one side is turned to the wrong side, or a narrow band at the edge is showing on the front, things other than the fold width will also look different. If you notice during the comparison, return it to the same side, and rather than pulling the edge to flatten it, take it off your shoulders once and fold it again.
4. Look from a Distance That Includes Your Collar and Face, and Change the Light
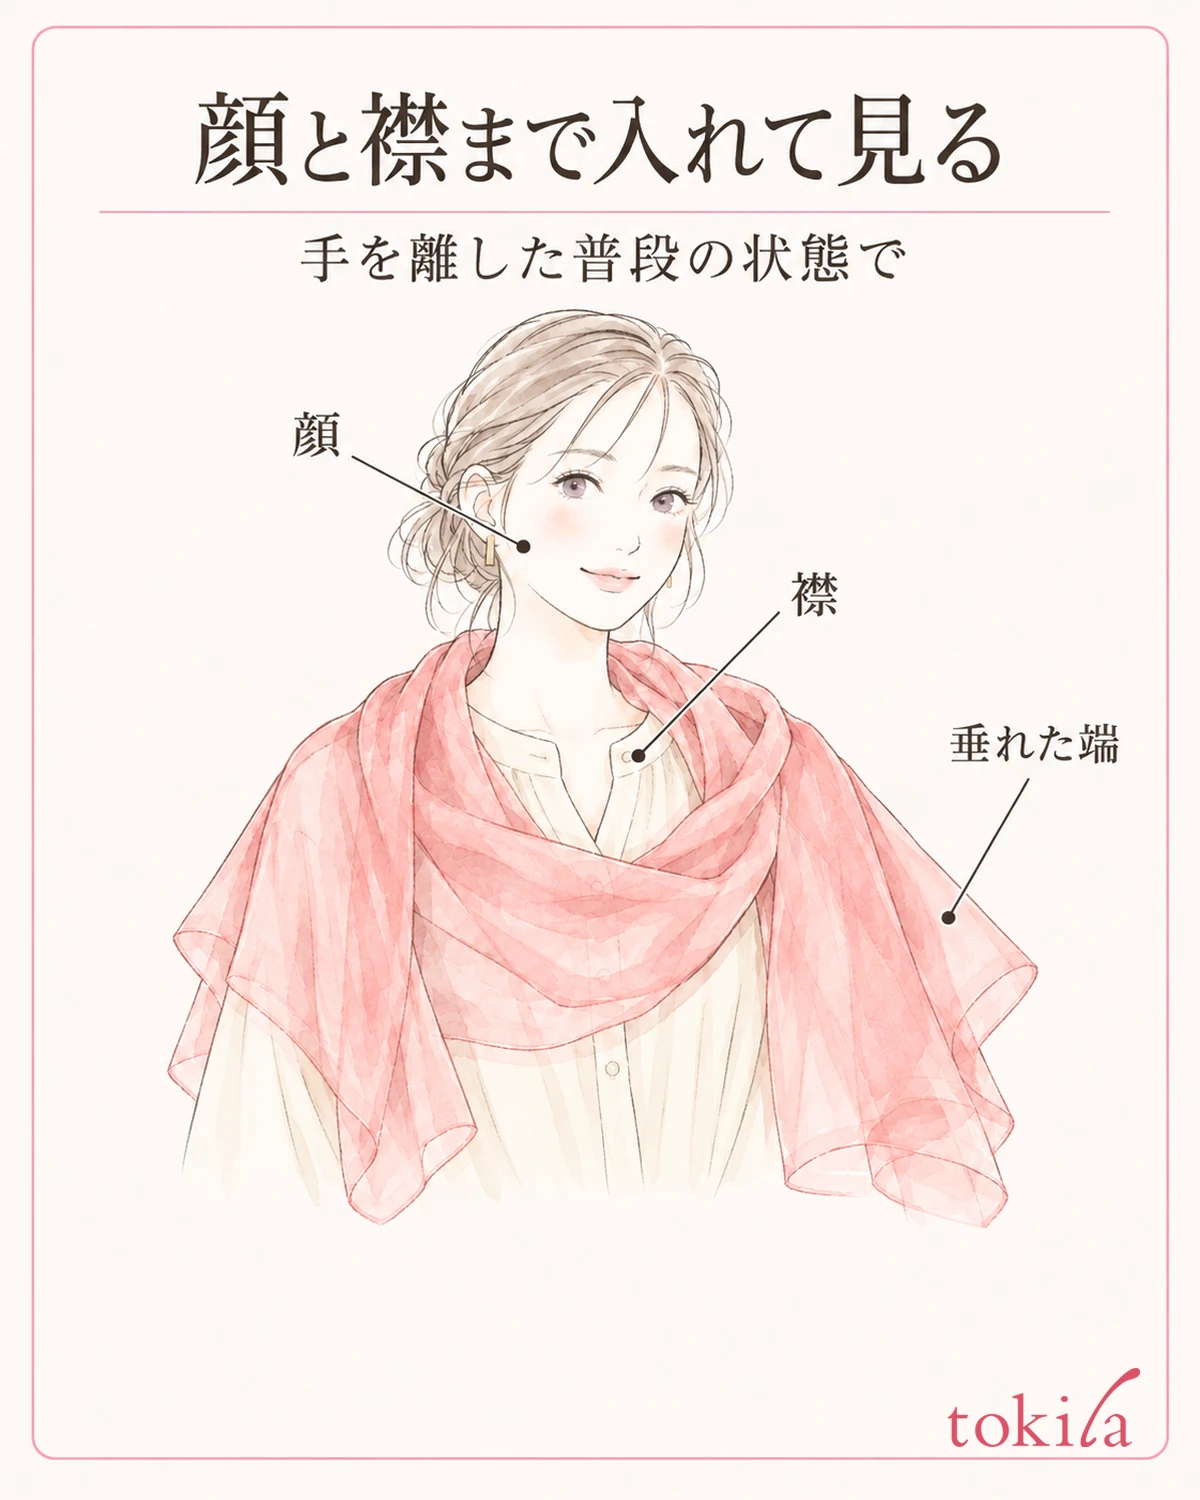
After checking the boundaries of the cloth up close, step back from the mirror to a distance that takes in everything from your face to your chest. If you keep looking at a small patch of cloth color, your eyes may gather on a part that does not bother you overall. Try looking at the whole, including the opening of the collar, the color of the clothes that show near your face and the hanging ends.
After looking from the front, turn slightly to the side, move your arms naturally and return. Check whether the overlap shifts and whether there is any spot where the color of the clothes looks new. Use the usual state with your hands released as your standard, rather than holding the cloth taut with your hands only while you look in the mirror. Do not keep pulling the end every time the color bothers you.
Once the candidates are narrowed down, if possible look once more in another brightness you usually use, such as indoors and by a window. This is because the impression of a color can change with the light. If you look at the first outfit only by the window and another outfit only at the back of the room, the difference in clothes and the difference in light get mixed up. Compare the candidates in the same place first, then move.
You do not need to reproduce every light you will be in when out. If you plan to go somewhere with warm-colored lighting, it is enough to check the combination in a room with that tendency. Do not make it a passing condition that it looks exactly the same color in any light; choose the range in which you feel at ease wearing it.
If you keep a photo, do not decide by the color on the screen alone; pair it with the impression in the mirror. Automatic brightness adjustment and screen settings can make the real thing and the photo look different. Rather than editing the image to bring it closer to an ideal color, add a short note about the clothes underneath and the way it is folded, and use it as a record to help you remember the combination.
If part of the cloth will be hidden by your hair or a jacket, check it in that state as well. Do not decide based only on how it looks when you step close to the mirror and lift all your hair; use the width that is normally visible as your standard. If you pull the cloth out after putting on a jacket, look at your hands once so that the threads do not get caught in a zipper or fastener.
5. When in Doubt, Go Back to One Thing: the Color Underneath or the Overlap
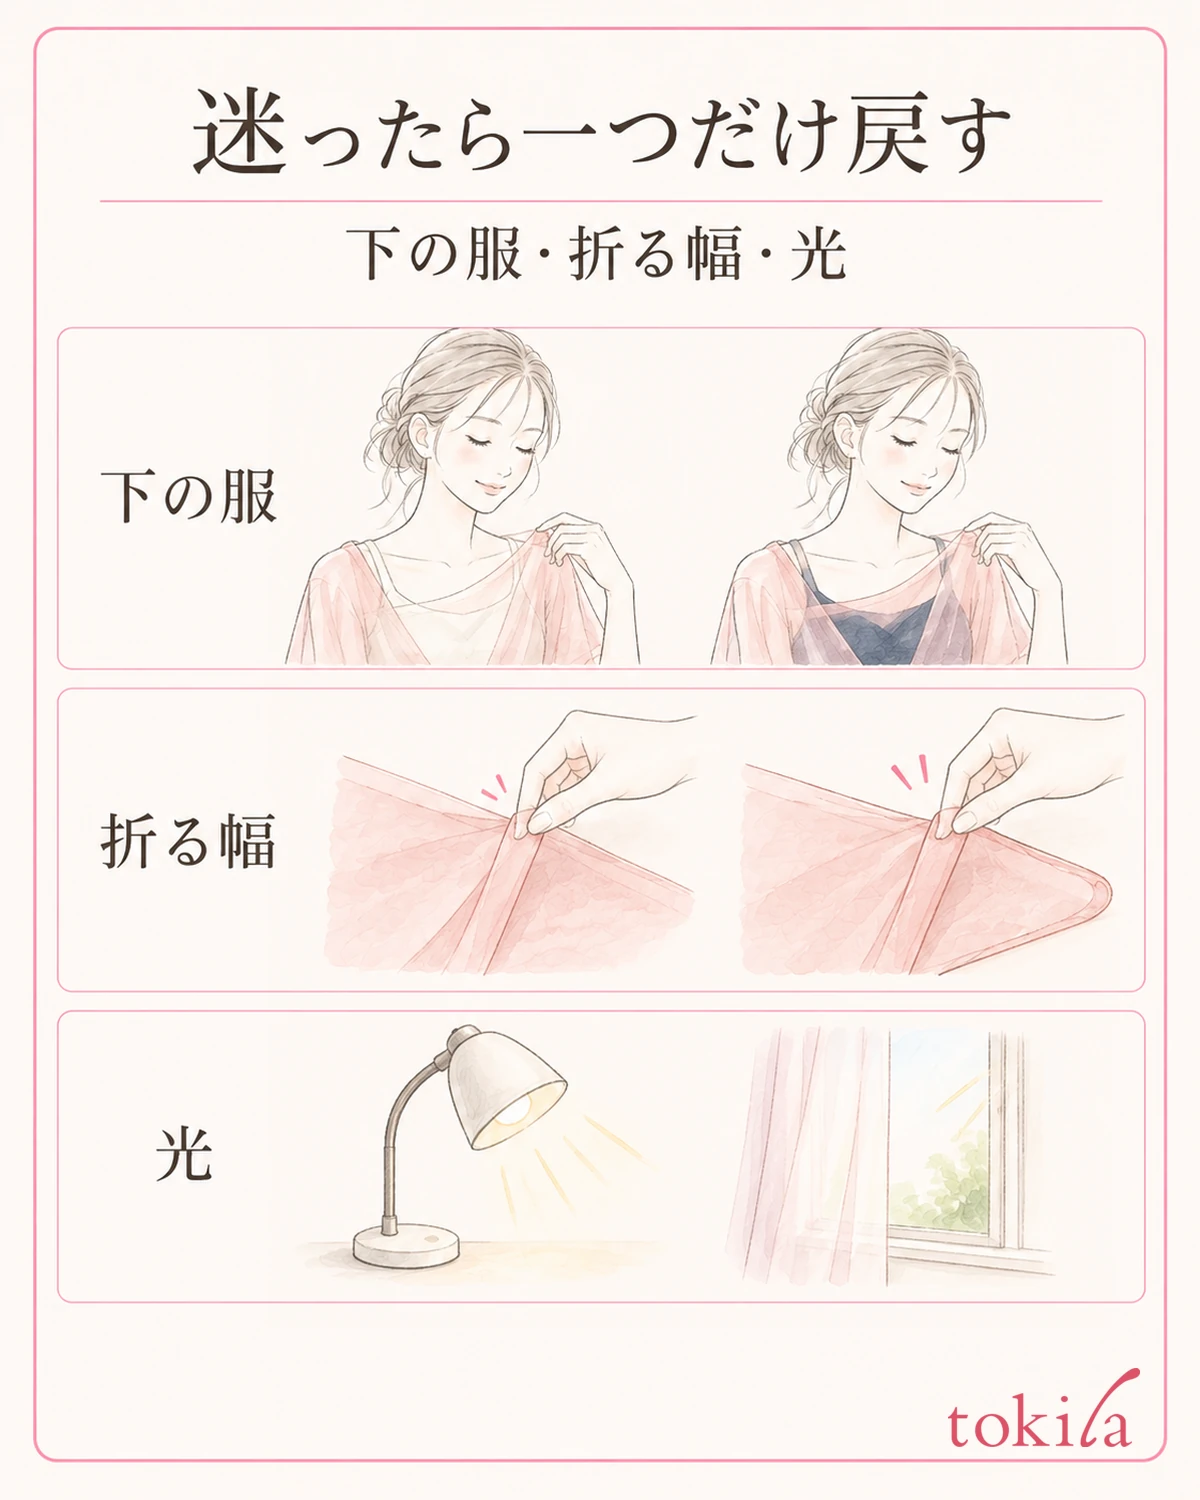
If it still does not feel right, go back to the situation in which it looked different. Pick one: when you changed the clothes underneath, the place where the cloth is folded, or the difference in lighting. This gives you a clearer condition to return to next than stopping at "it somehow does not suit me." Do not keep searching for an answer by changing the clothes, the way of wrapping and the lighting all at once.
If the color of the clothes underneath bothers you, keep the stole in the same shape and change only the clothes. If the overlapping band bothers you, put the clothes back and review only the fold width. If you like the base color but only the place where the pattern gathers feels off, check where you drape the cloth once, and do not pull hard to try to hide the pattern.
If the impression differs between the center and the edge of the cloth, you can choose whether you want to show off only the center broadly or enjoy the line of the edge as part of the color scheme too. The overlapping area looking darker does not have to count as a failure in itself. If you like the difference from the single-layer area, you can keep that gradation.
On a day when what you own does not settle it, you can also use another stole that shows through less, or leave the wrap off for today. Do not wet the cloth, bleach it or force it to stretch just to change how it looks. Follow the care label for care, and do not confuse trying out color schemes with processing the fabric.
For a combination you have settled on, jot down briefly the features of the clothes, the single-layer area of the stole and the fold width. Writing something like "a wide shoulder drape over an ecru top" makes it easier to reproduce than color names alone. If you want to review the basic shape, also use types of wraps and how to tie them as well, and shape it up after you have finished the color check.
When you recreate it the next day, you do not have to force the real thing to match the color in the previous photo. Even for the same combination, the light and the creases change slightly. Keep the record as just a clue for getting back, and check again, in the state you will wear that day, whether the dark band bothers you and whether you are keeping enough ease and length.



