
Do you assume that any water-based nail polish will come off if you just wash it with water? Some products say to remove them with warm water, some call for a dedicated remover, and some are designed to be peeled off. Just because a container says "water-based," you cannot apply the same temperature, the same amount of time or the same remover to it.
When a polish is hard to remove, before rubbing more, check what you applied against the tools you plan to use. This article focuses on water-based nail color applied to natural nails, and explains how to read the labels, how to prepare, how to test on one spot, and when to stop if some remains. It is not a method for removing gel that cures or nail tips that are glued on in the same way.
1. Don't decide by the name "water-based" alone; check what you applied
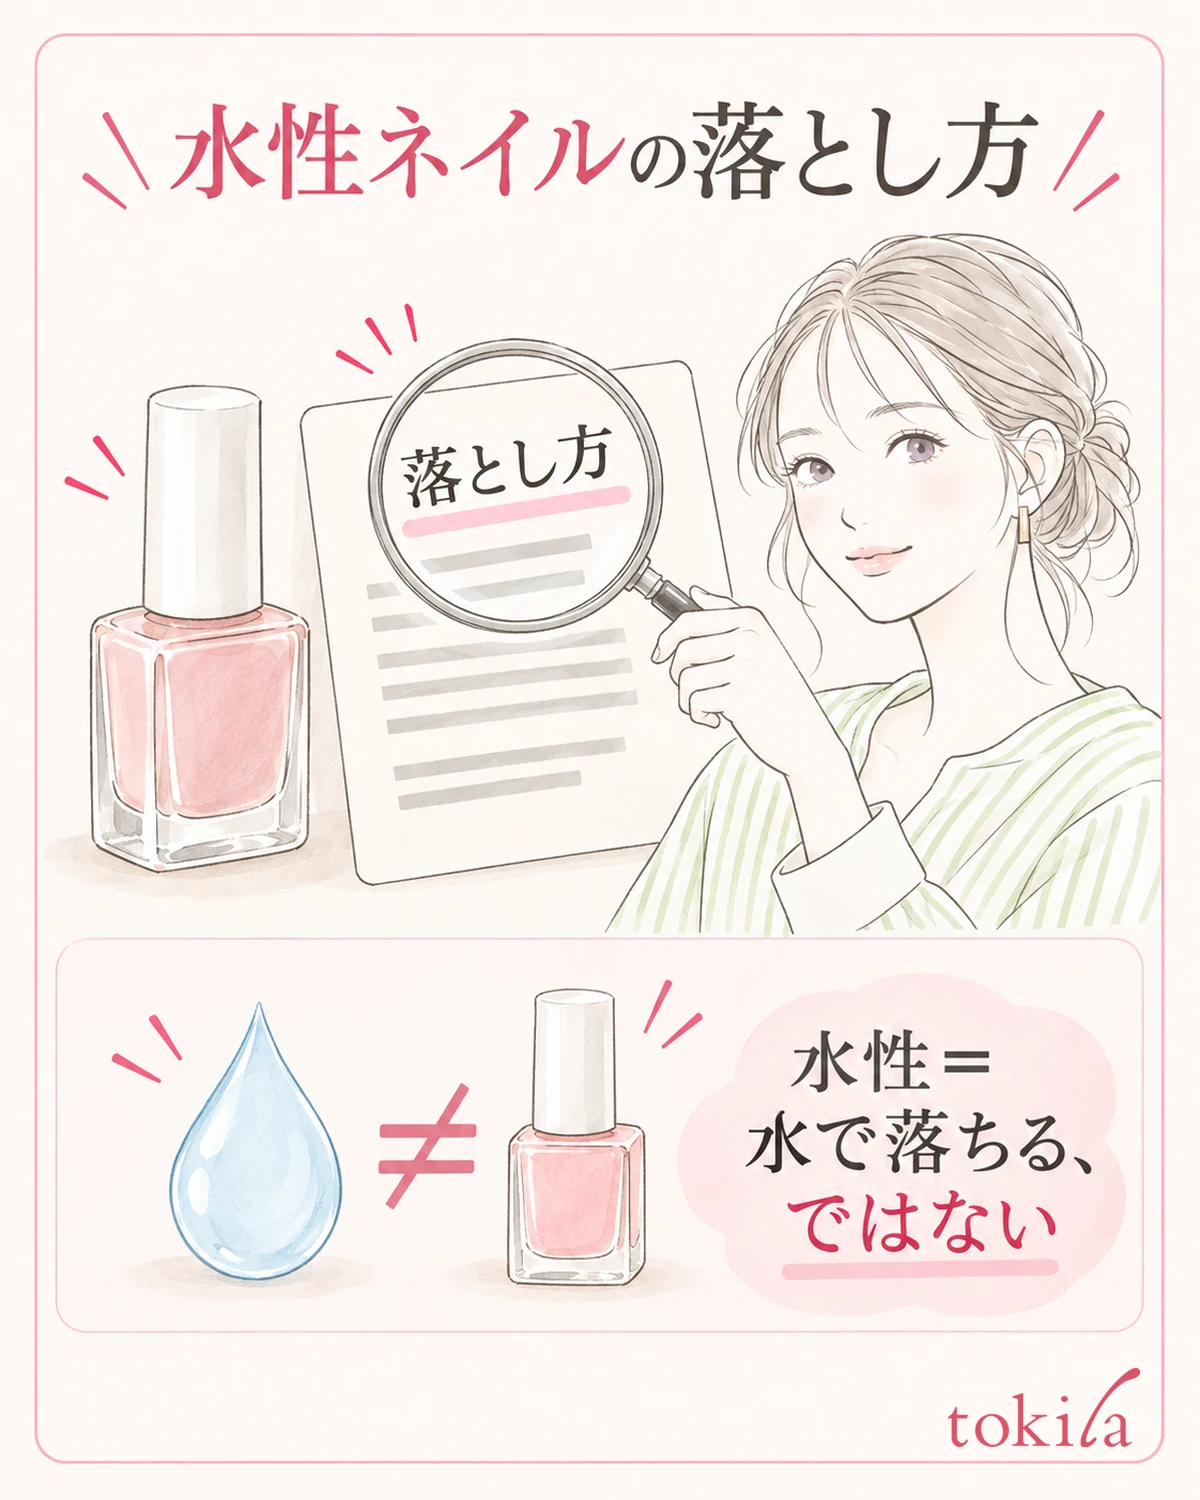
First, get the container or box of the polish you applied, and check the product name and the removal instructions. Don't use the instructions for another bottle in a similar color; identify the one you used that day. A product being mainly water and a product coming off with water alone are different pieces of information.
If you layered a base coat, color and top coat, check the products above and below the color as well as the color itself. If you applied a different top coat over a water-based color, the removal method for the color alone may not apply as it is. Even if you mixed products, line up what you used as far as you can tell.
Look for instructions such as "remove with warm water," "use a dedicated remover" or "peel off," and read under what conditions each applies. Even if the wording is similar, an explanation that it may lift naturally in the bath is not the same as an explanation that uses warm water as a removal step.
Also think back to when you applied it. Briefly note whether it was that day, several days ago, or layered over. Some products become harder to remove over time, but don't decide the cause by the number of days alone. If you don't know how thickly you applied it or what you layered, don't force yourself to choose a method; stop at checking the information.
If you don't have the container, check the product name, the labeling at purchase and any remaining instructions for use. Don't guess the type from a photo of the color or the shape of the bottle. If you don't even know whether it is gel or regular polish, don't move on to filing, soaking for a long time or pulling at the film.
If you want to sort out the overall types of nail products and tools, you can also check Nail basics and care. What this article asks you to decide first is not the color you see, but the removal method specified for the product currently on your nails.
2. Gather tools that match the removal method before you use them
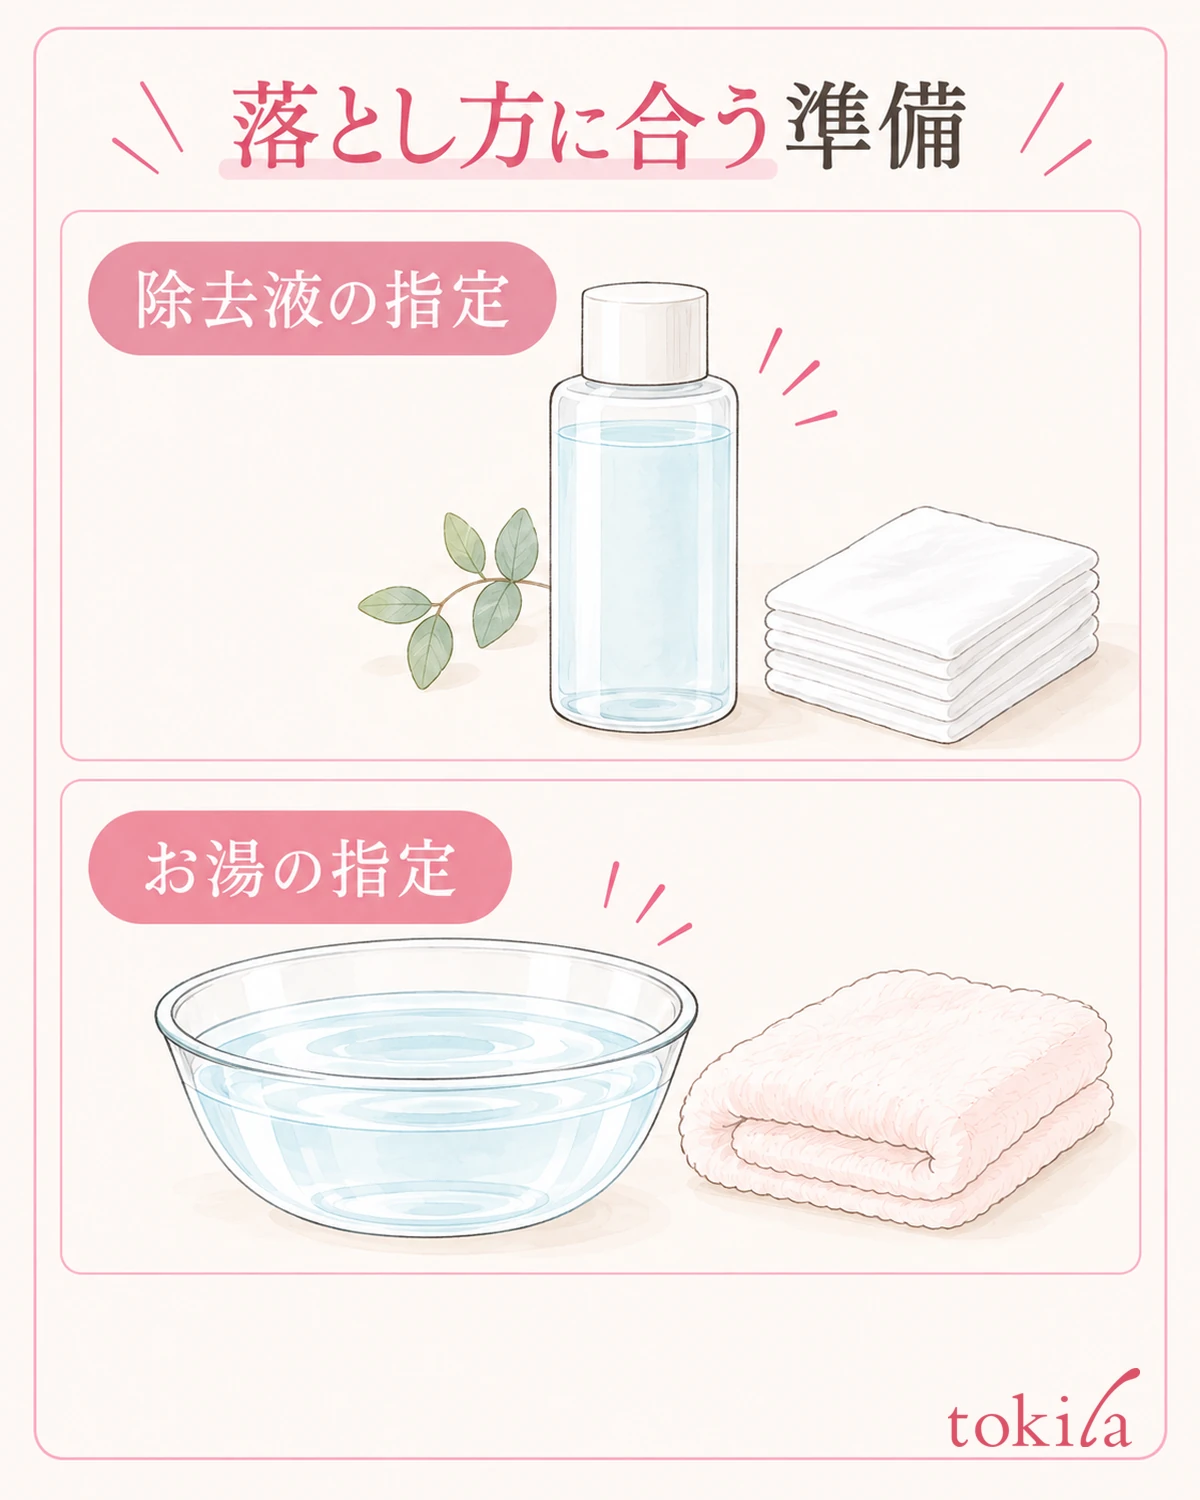
If the instructions say to use a remover, prepare the matching liquid and the cotton or other tools shown in the instructions. Whether the remover you already own will work depends on the intended uses of both the polish and the remover. Don't judge that a single label such as "non-acetone" suits every water-based polish.
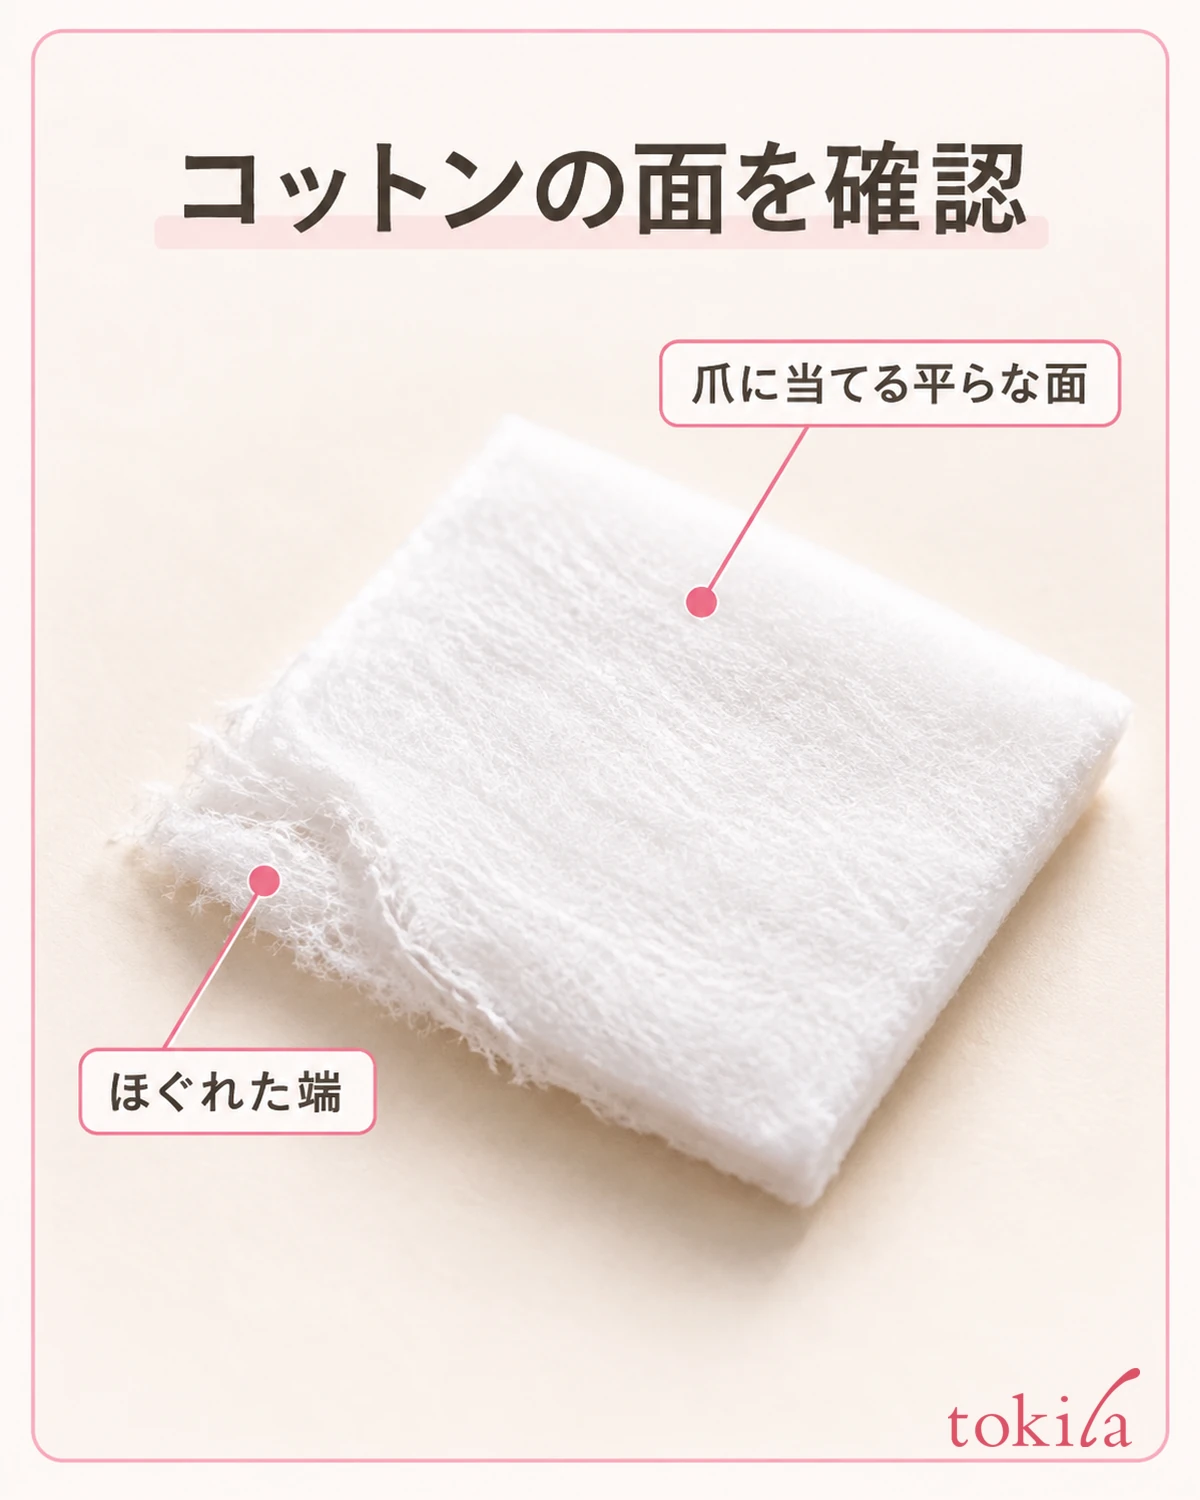
Prepare cotton so that the surface that touches the nail is visible. Don't keep using a frayed, thin edge or a surface already stained with another color; replace it with a fresh piece if needed. Follow the remover's instructions for how much to use and how to soak the cotton. Don't use rubbing the nail hard with dry fibers as a substitute for letting the liquid work in.
If the instructions say to use warm water, prepare a container that sits stably and a clean towel to dry your hands. If the temperature or soaking time is specified, follow it. Don't switch to hot water because it seems hard to remove, or soak for a long time from the start; set things up first so that you can touch the water comfortably.
Choose a work surface where you can deal with spills of liquid or water right away. Place the container away from the edge of the table, and make a place to keep unused cotton separate from cotton that has picked up color. If the remover comes with a warning about ventilation or open flames, follow it, and don't start working right next to a kitchen flame or a heater.
Make sure you also have bright enough light to see your hands, so that polish or remover doesn't get on clothes or the desk. Keep the mat that catches stains and the towel that dries your skin separate. To make cleanup easier, don't repurpose food containers or tools used on skin as holders for liquids they were not meant for.
If you have a cut, pain or any abnormality around the nail, don't prioritize removing everything as planned. Don't proceed on the idea that you must finish because you have gathered the tools; if your condition doesn't match the precautions for use, hold off.
3. Test on one spot with the specified method and proceed while watching for changes
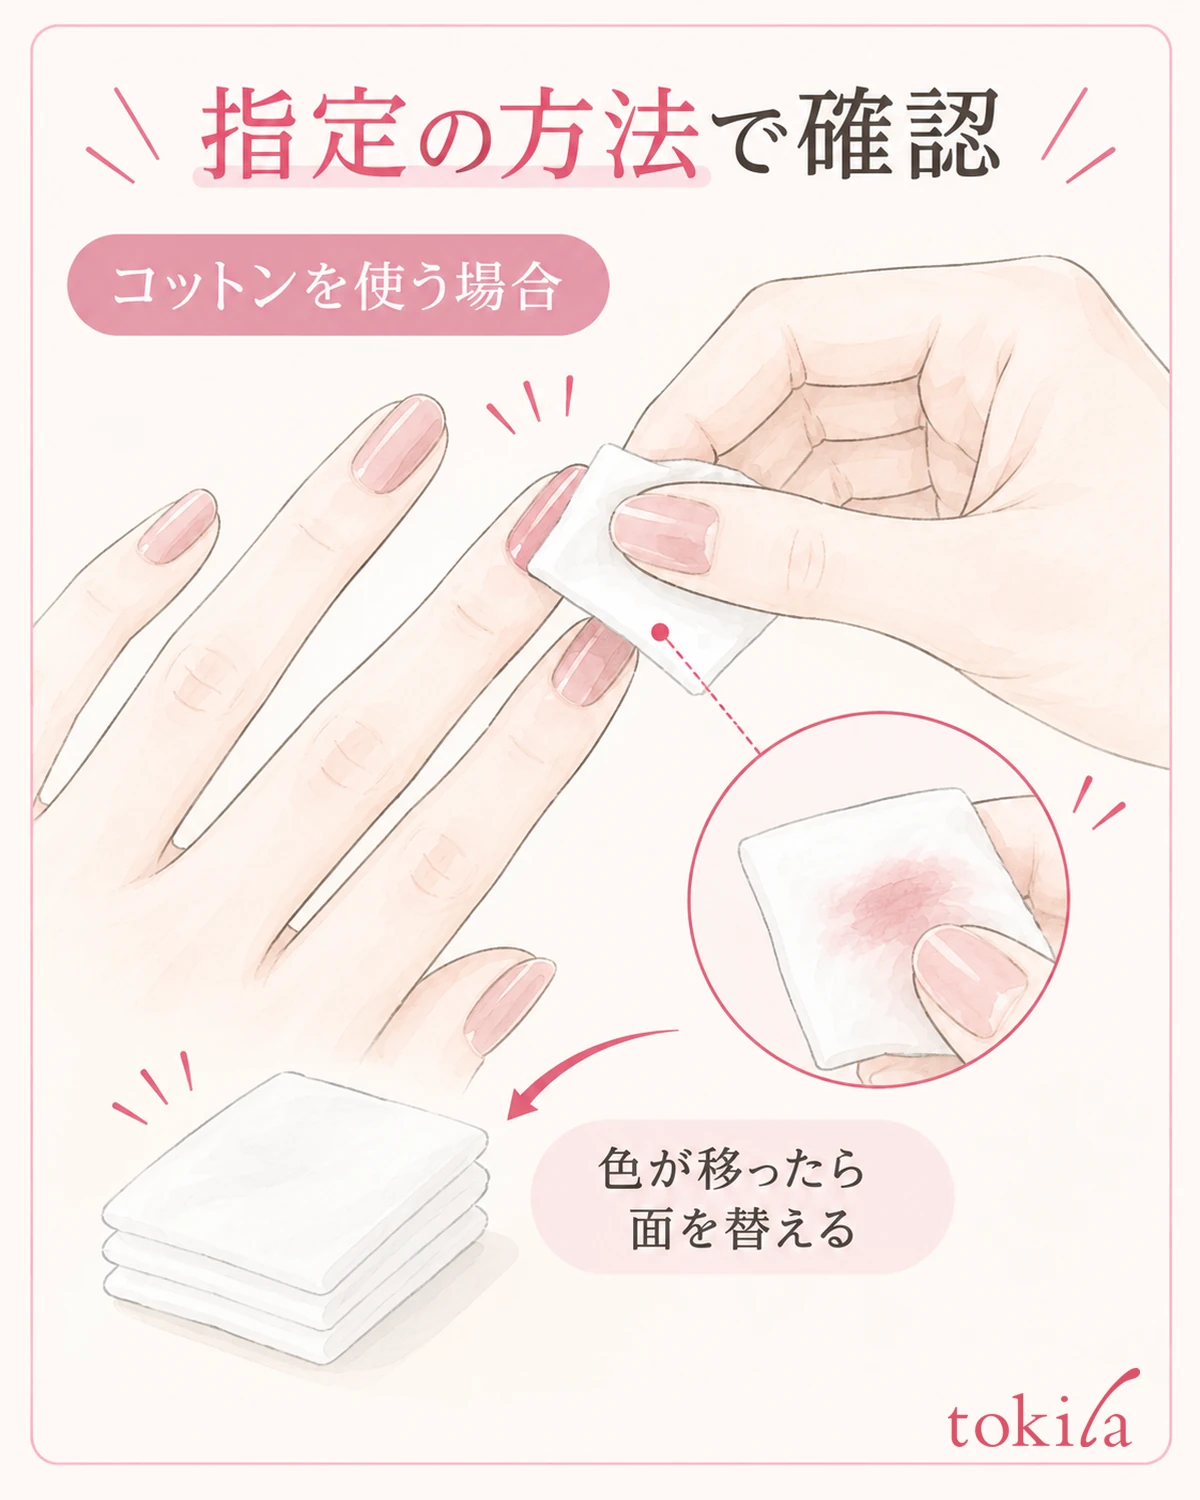
Once you are ready, test the specified removal method on a single nail before handling all of them roughly at once. If you are using a remover, press cotton soaked as the instructions say onto the nail, and allow the needed time for it to work in. Don't shorten the time the liquid sits and switch to just rubbing harder.
If the color transfers to the cotton, work while looking at the stained surface. Don't keep going back and forth over the same spot with the dirty part; switch to a clean surface or new cotton. Watch the area of the nail so that you don't spread color onto the skin beside it. If the direction of rubbing or the way to apply is specified, follow that procedure first.
For a product with a warm-water removal procedure, follow the specified conditions and check the state of the film. Don't assume that cold water works the same because it is water-based, or that it will surely come off if you leave it longer. Even if the instructions mention warming, that is separate from permission to pull hard on the lifted film.
For peel-off types as well, check the removal method the product indicates. Don't judge that you may pull the whole film off briskly just because an edge has lifted a little. Don't move on to slipping in another nail, prying with a metal tool or scraping off the nail surface along with it; stop where it catches.
While working, distinguish whether the color is coming off, a thin film remains, or the shine has simply changed because of water or liquid. Don't immediately conclude that reflections on a wet nail are leftover polish. If it is hard to see, follow the instructions to tidy up the moisture and so on, and check in bright light.
Once you have confirmed the change described in the instructions on one nail, move on to the other nails with the same product. However, you don't have to repeat the same number of times on each. End at the parts that have already come off, and handle each nail according to how much remains.
4. If it won't come off, review the liquid, the layers you applied and where it remains
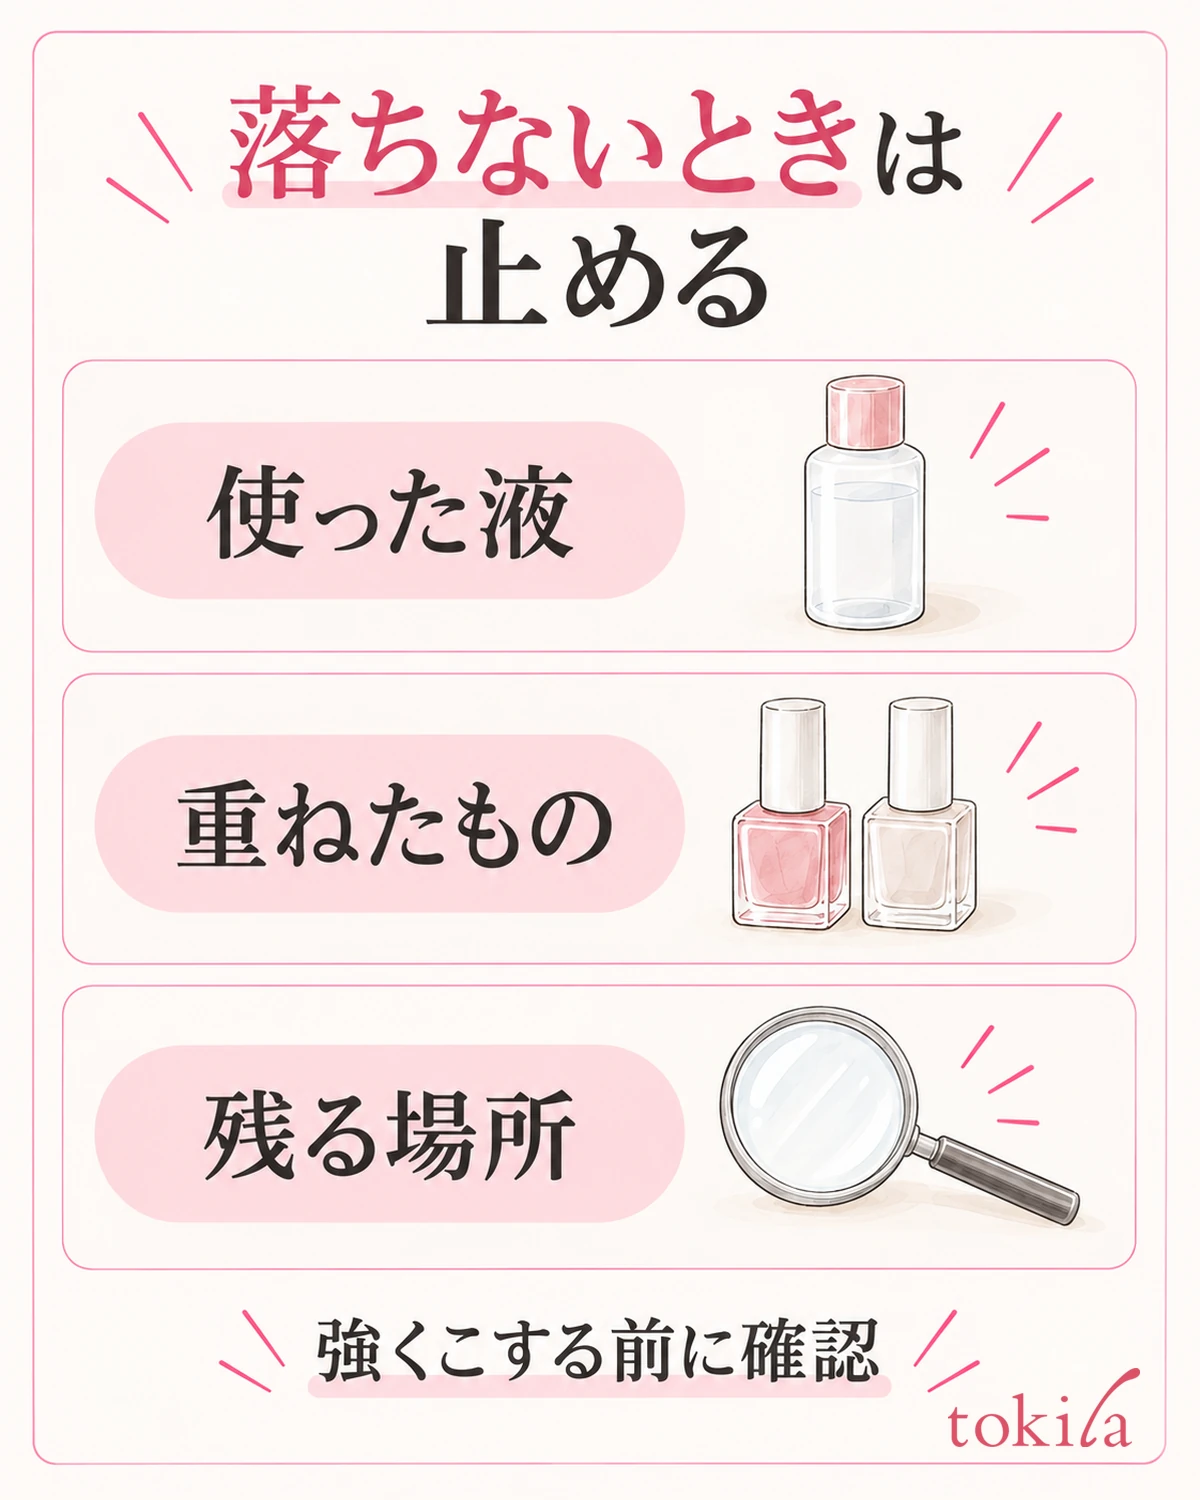
If it won't come off, first stop what you are doing. If it remains over the whole nail, recheck whether the removal liquid or method is suitable and whether the type of top coat you layered is different. Before using more force, go back to the bottle you first checked and its instructions for use.
If only some remains, look at where it remains and its condition. Sort out where it stays: the edge of the nail, where you layered, around glitter and so on. Choose only the responses described in the instructions, such as switching to new cotton or letting it soak in again within the specified range, and don't scratch it off while it is dry.
There are products that use warm water as an aid, but don't apply that to all water-based nail polish. Also avoid adding another liquid to the remover, adjusting the concentration at home, or thinking that any disinfecting product can be substituted. Don't try combinations that the original instructions do not allow.
When you feel like rubbing the same spot again and again, rather than setting a number of times, put the tools down for a moment and look at the condition. Don't continue if you feel pain or stinging, and don't pull at the film while ignoring a sensation that the nail is peeling up. If you don't know what a thin color you can see is, don't make scraping it to find out the next step.
If nothing changes even though you followed the instructions, note the product name, the remover you used, what you layered, the day you applied it and where it remains. Use this information to check suitability and compatibility, and avoid trying one remover after another while it is still unclear. Painting over a nail that hasn't come off completely to hide it should not replace normal cleanup either.
5. After removal, take care of your hands and record what to use next time
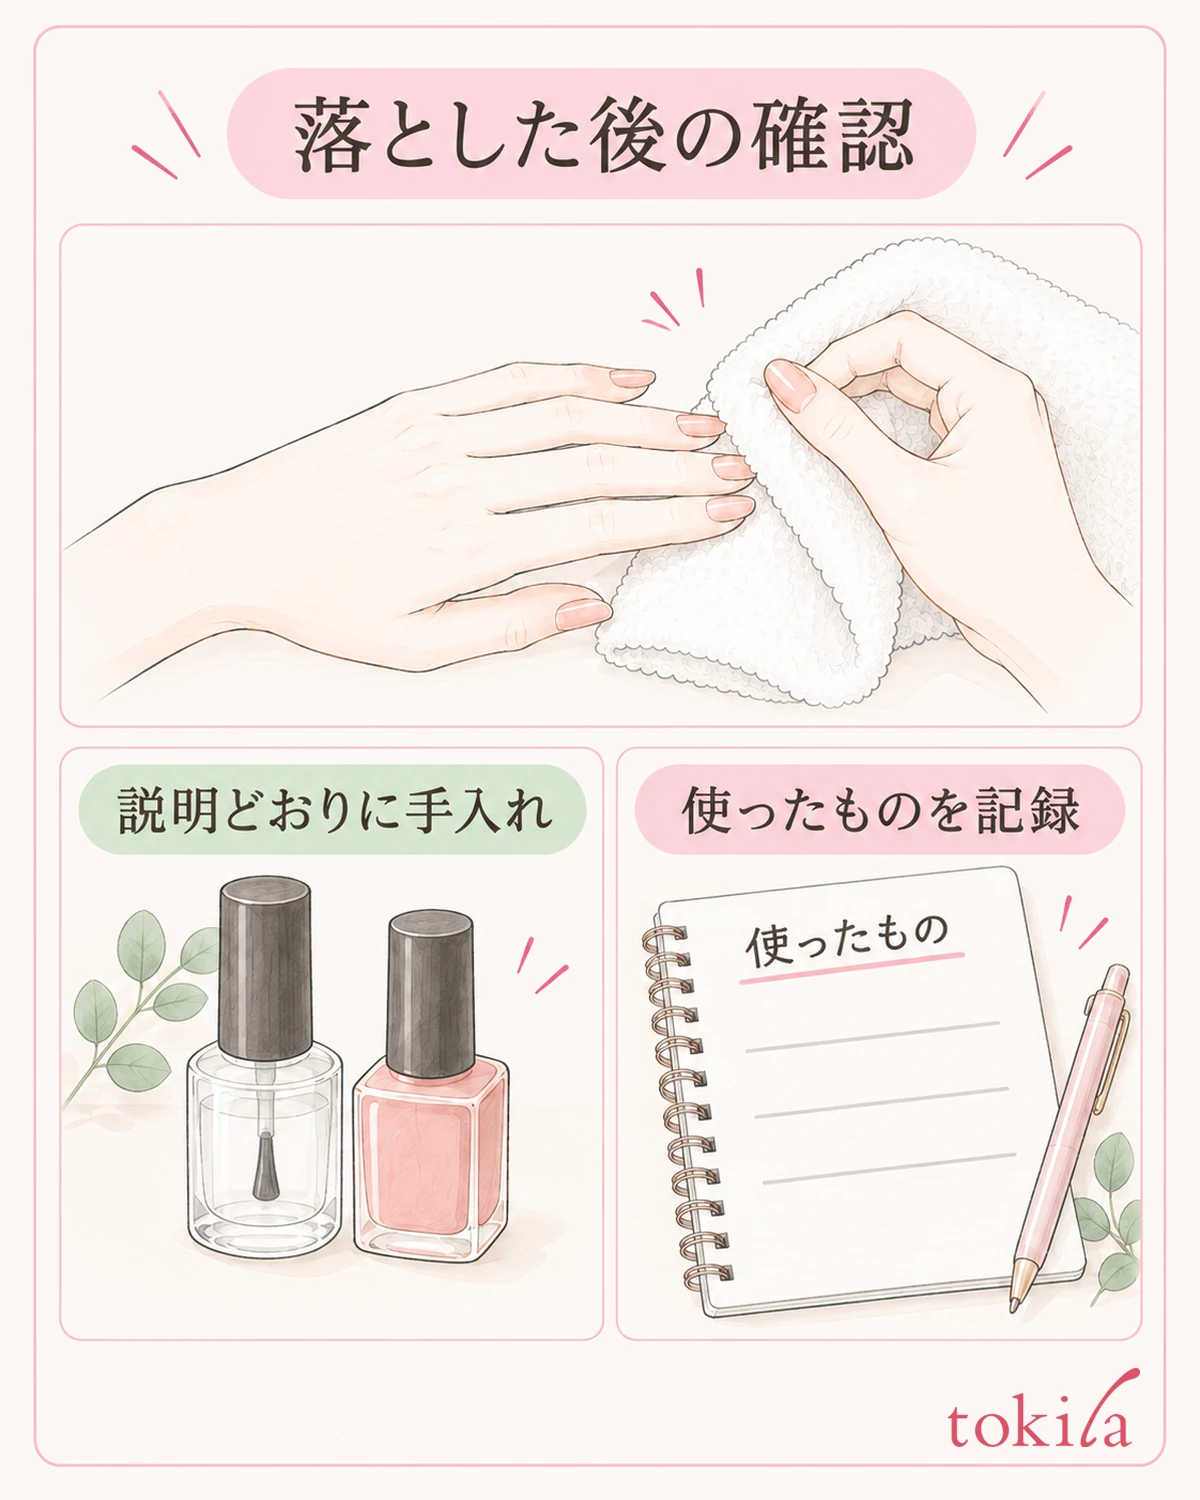
Rinsing or wiping after removal should follow the instructions for the remover and polish you used. Don't decide that everything is washed the same way at the end; finish the specified steps. There is no need to repeatedly buff nails that have nothing left on them just to see whether any remains.
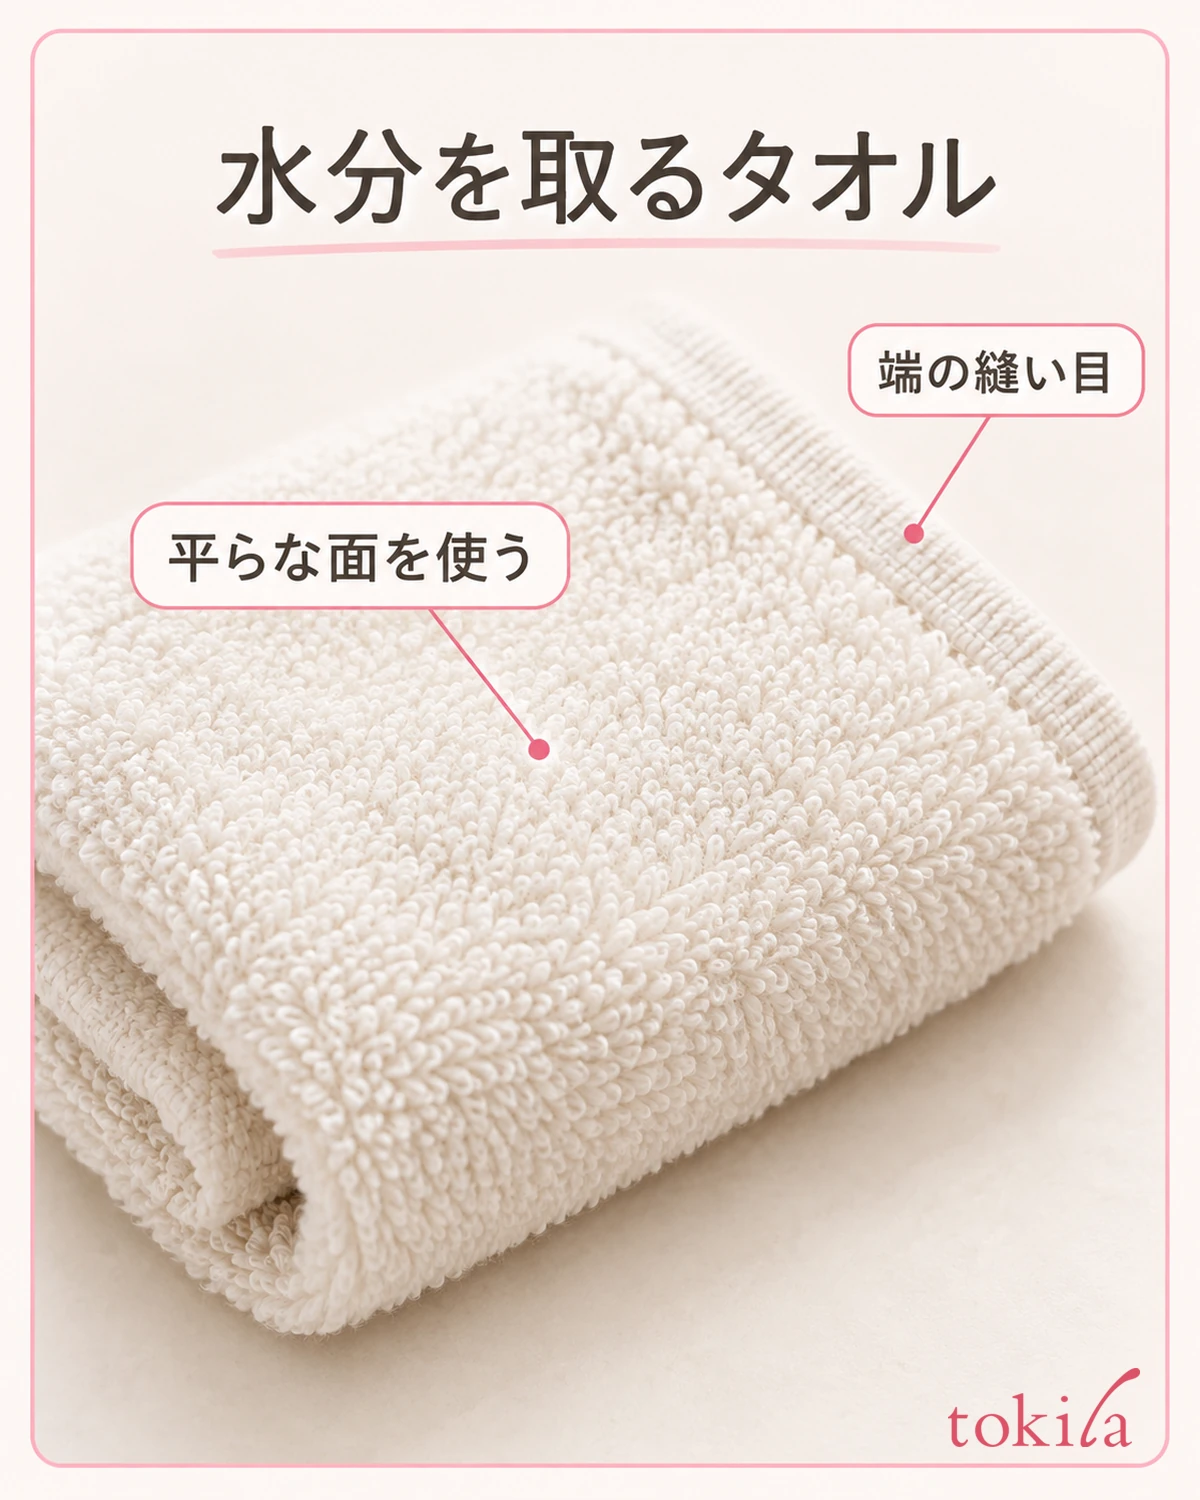
When drying, lightly touch a clean surface of the towel to your fingertips and lift it off. Avoid wiping washed hands with work paper that has color or liquid on it. Don't rub hard around the nails with the folds or seams of the towel, and gently dry between your fingers so no moisture remains.
If you moisturize, follow the instructions for the hand cream or nail-area product you have. Don't decide that, because you moisturized, you can repaint right away without worrying about scraped or painful nails. When you apply your next color, check the nail surface preparation that product indicates.
Close the lid of the liquid you finished using and return it to a place suited to its labeling. Disposal of colored cotton and used items should follow the product's precautions and local waste sorting rules. Tidy the work surface and your hands, and also make sure that no color or liquid has transferred to unused cotton.
What to keep for next time is "the color and top coat I used," "the removal method that worked" and "the points that needed checking." It is not a record to judge whether the experience was good or bad, but a note so you don't confuse it with the method for a different bottle. On the day you change bottles, reread the labeling instead of carrying over a method that worked before.
When removing water-based nail polish: confirm the type, gather tools that match the method, and watch for changes using the specified method. If it won't come off, don't push with force; go back to the conditions and check, and match even the final care to the product. In this order, review whether you can handle your own bottle without strain.



