
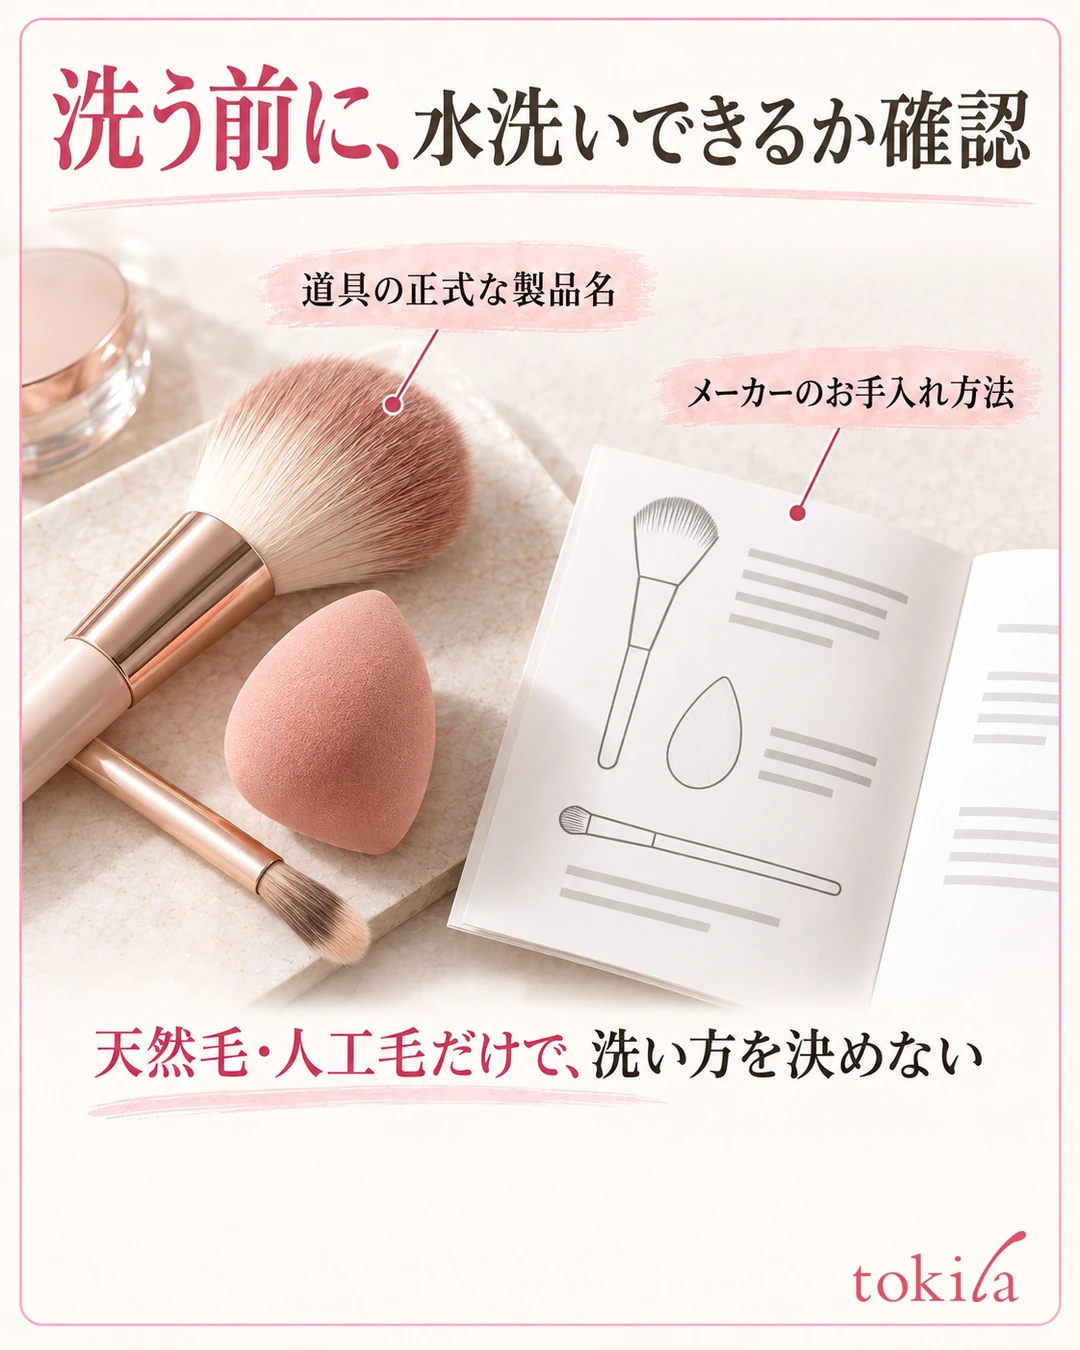
Caring for makeup brushes and sponges starts with checking the product's instructions. Think of wiping after use, washing when needed, and thorough drying as one set. Some tools cannot be washed with water, and some cleaners are the wipe-off type, so first check "Is this method suitable for this tool?" Once washed, dry the tool completely before using or storing it.
This article separates everyday care from washing and explains how to judge the condition of your tools and consider replacing them. For how to use the tools you apply makeup with, see Base makeup basics. Before you wash, prepare a place to dry them and the tools you will use next, so you won't get stuck partway through.
1. First, check whether the tool can be washed with water
Check the product names of your brushes and sponges, and read the care instructions on the packaging or in the product information. Do not judge that you can wash your tool just by whether it is natural or synthetic hair. Follow the product's instructions, which cover the bristles, handle, glued parts, and so on, first.
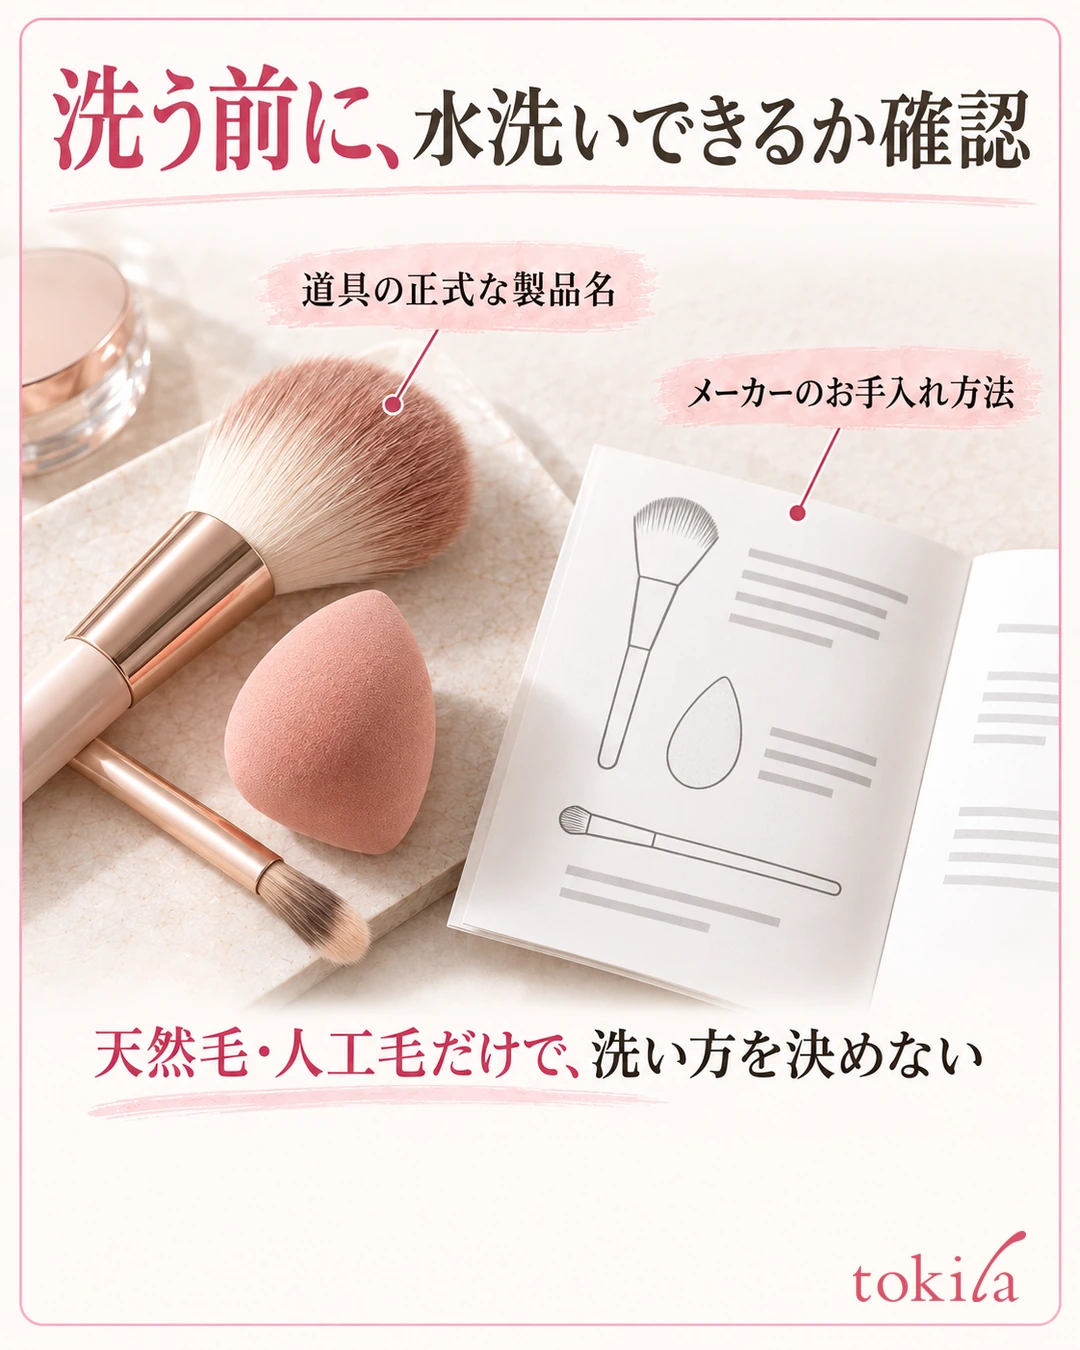
If the way to wipe after use and the way to wash when dirty are written separately, check both.
If you buy a dedicated cleaner, too, check what it can be used on. A cleaner for brushes and one for sponges are not necessarily the same, and the way to use one that is rinsed off with water differs from one that is wiped off. If the container has no directions, look up the manufacturer's explanation from the official product name.
When you buy a tool, note down the care instructions together
Before throwing away the packaging, keep the care instructions as a photo or a note, so you don't have to look them up again each time you wash. In the note, record the product name, the cleansers you can use, how to wash, and cautions for drying and storage. If you have several brushes, adding their visual features makes them harder to mix up.
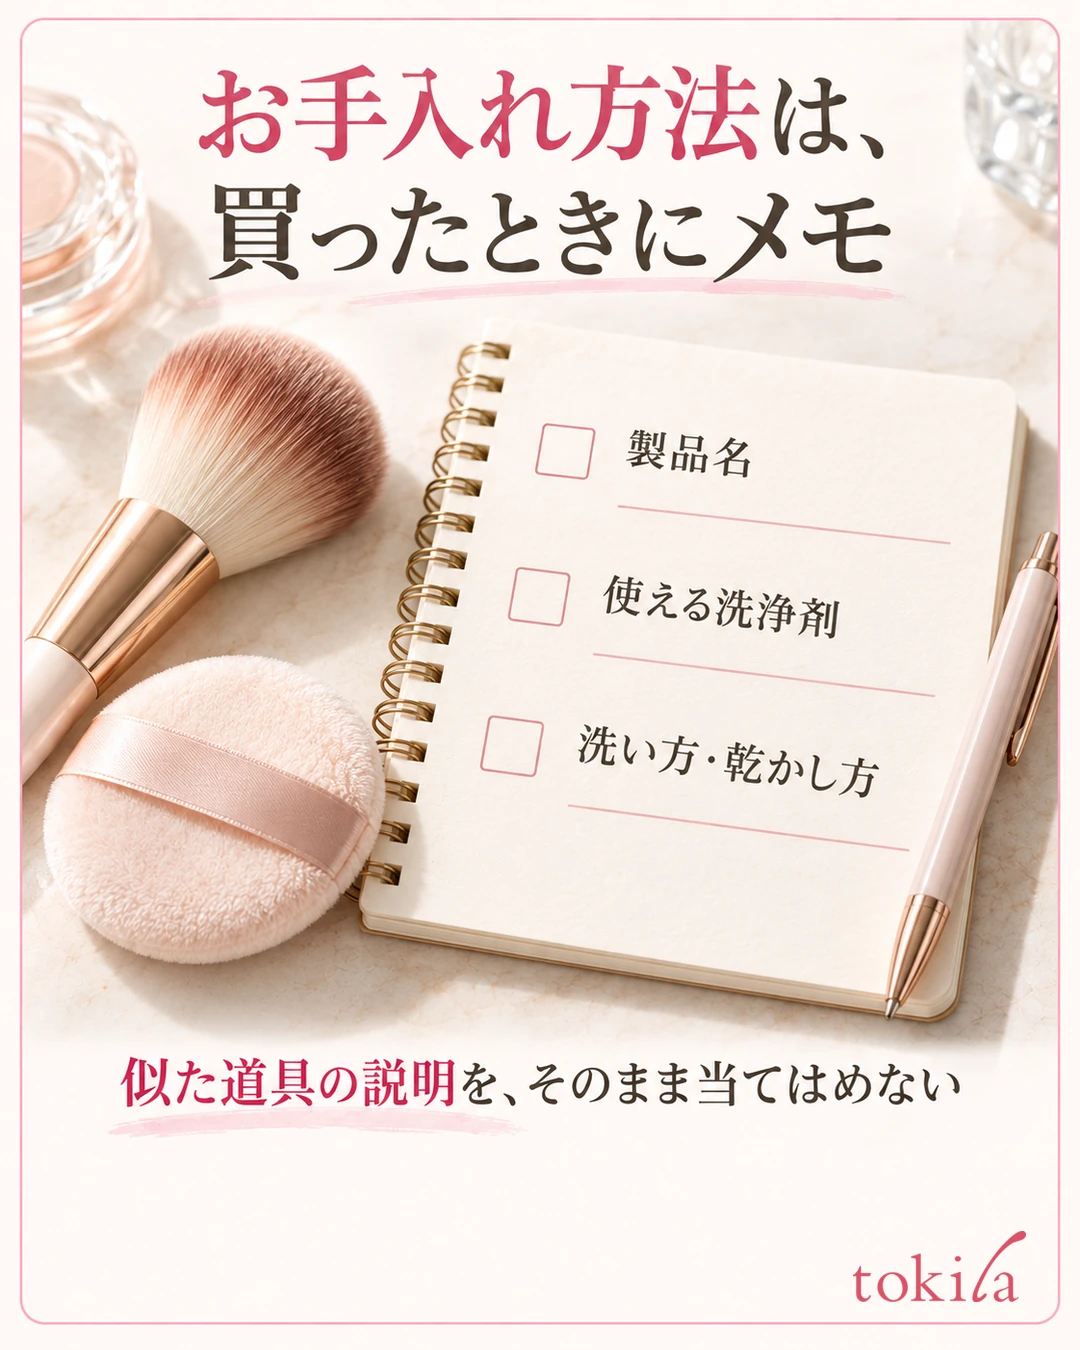
For a tool whose care method you don't know, do not apply the instructions of a similar tool as they are. Check the method by contacting the manufacturer, for example. Also grasp conditions such as peeling paint on the handle or loose metal parts before washing.
For tools that are described as disposable, do not switch on your own to washing and using them for a long time. Check the instructions of the product you own, too, and do not put them back in the case while still wet. It is handy to keep each tool's purpose and washing method in the same record so you can look back at them.
2. After use, lightly wipe off leftover color and dirt
For a brush after use, follow the product's instructions and lightly run the bristle tips along a tissue or similar to remove leftover color. Be careful not to pull the bristles or bend the base hard. Look at the shape of the whole brush, not just the tip, and proceed without applying force.
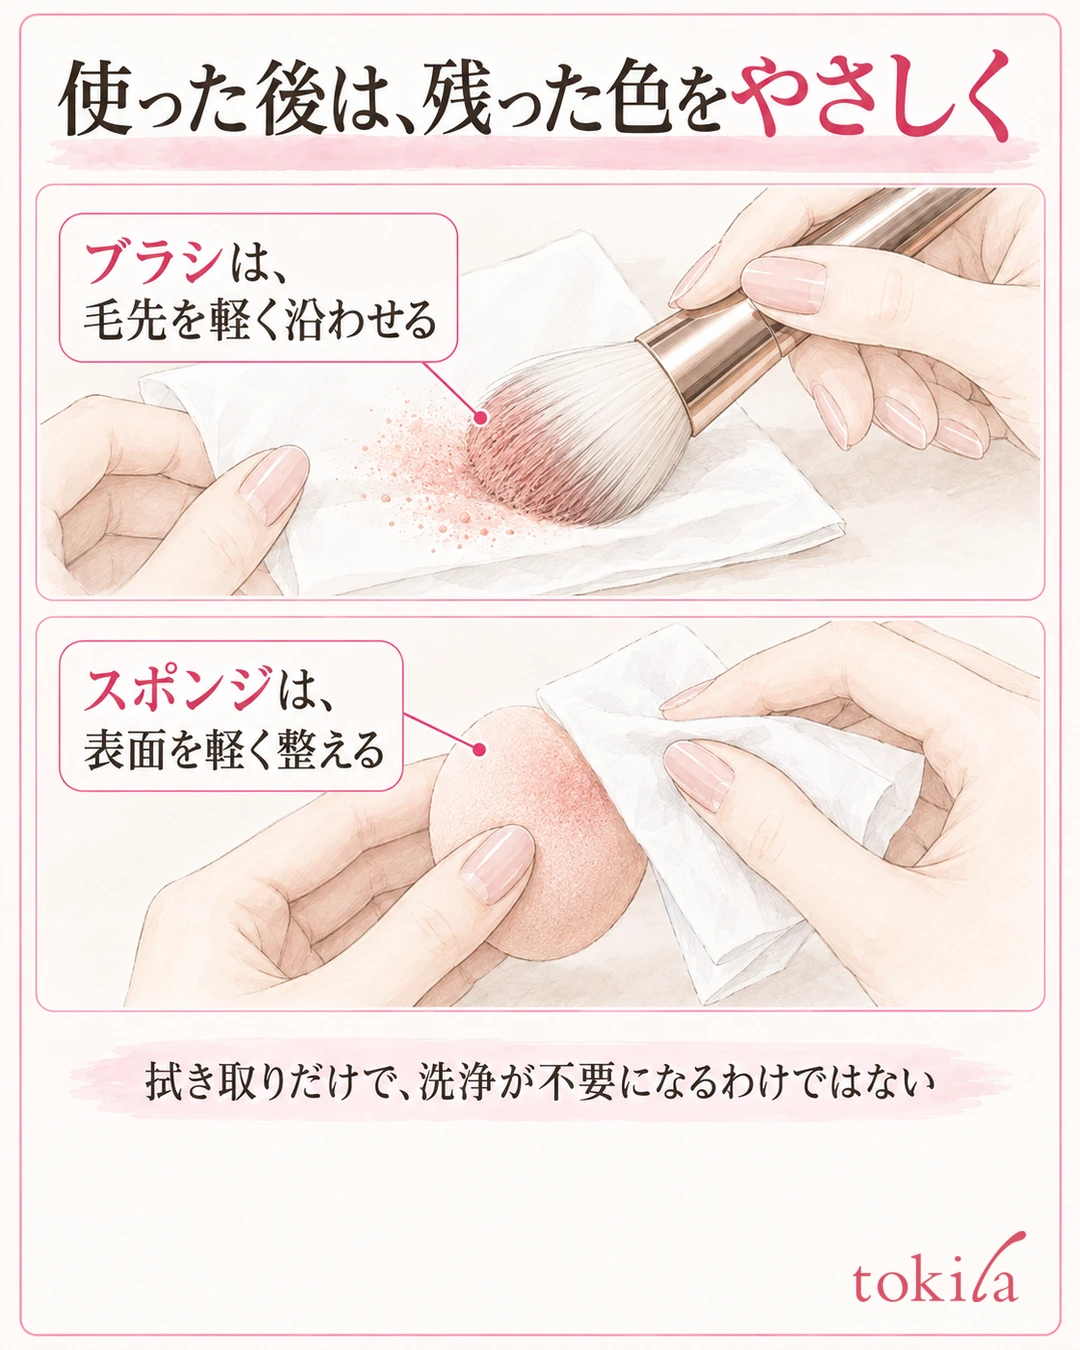
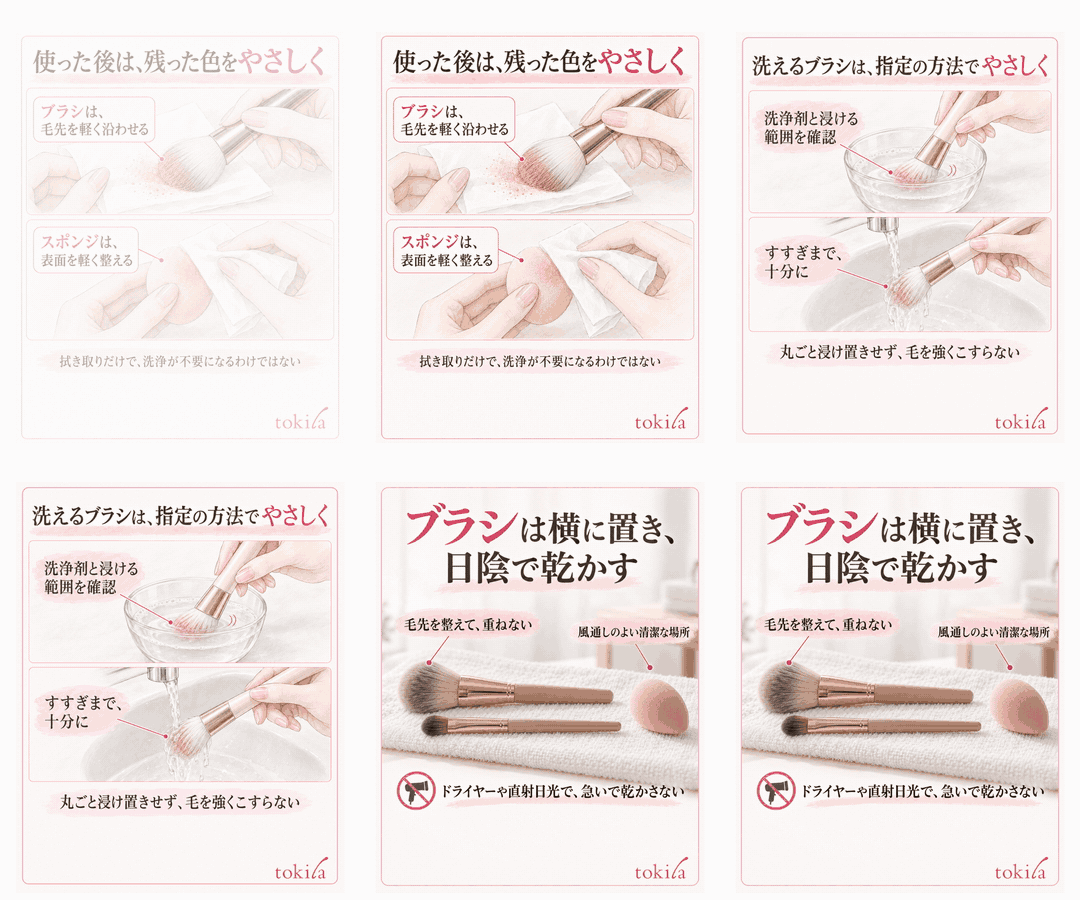
For sponges and puffs, too, lightly tidy up what remains on the surface with a clean tissue or similar. Wiping is not the same as washing, so even if the color looks lighter, do not assume the washing step is no longer needed.
Also sort out uses where mixed colors would be a problem, such as dark and light eyeshadows, or blush and face powder. If you use a tool with the previous color still on it, even if you thought you chose a cosmetic color, it may end up showing a different one. In addition to wiping every day, prepare separate tools for different uses if necessary.
Review when to wash by clean surfaces and how it feels to use
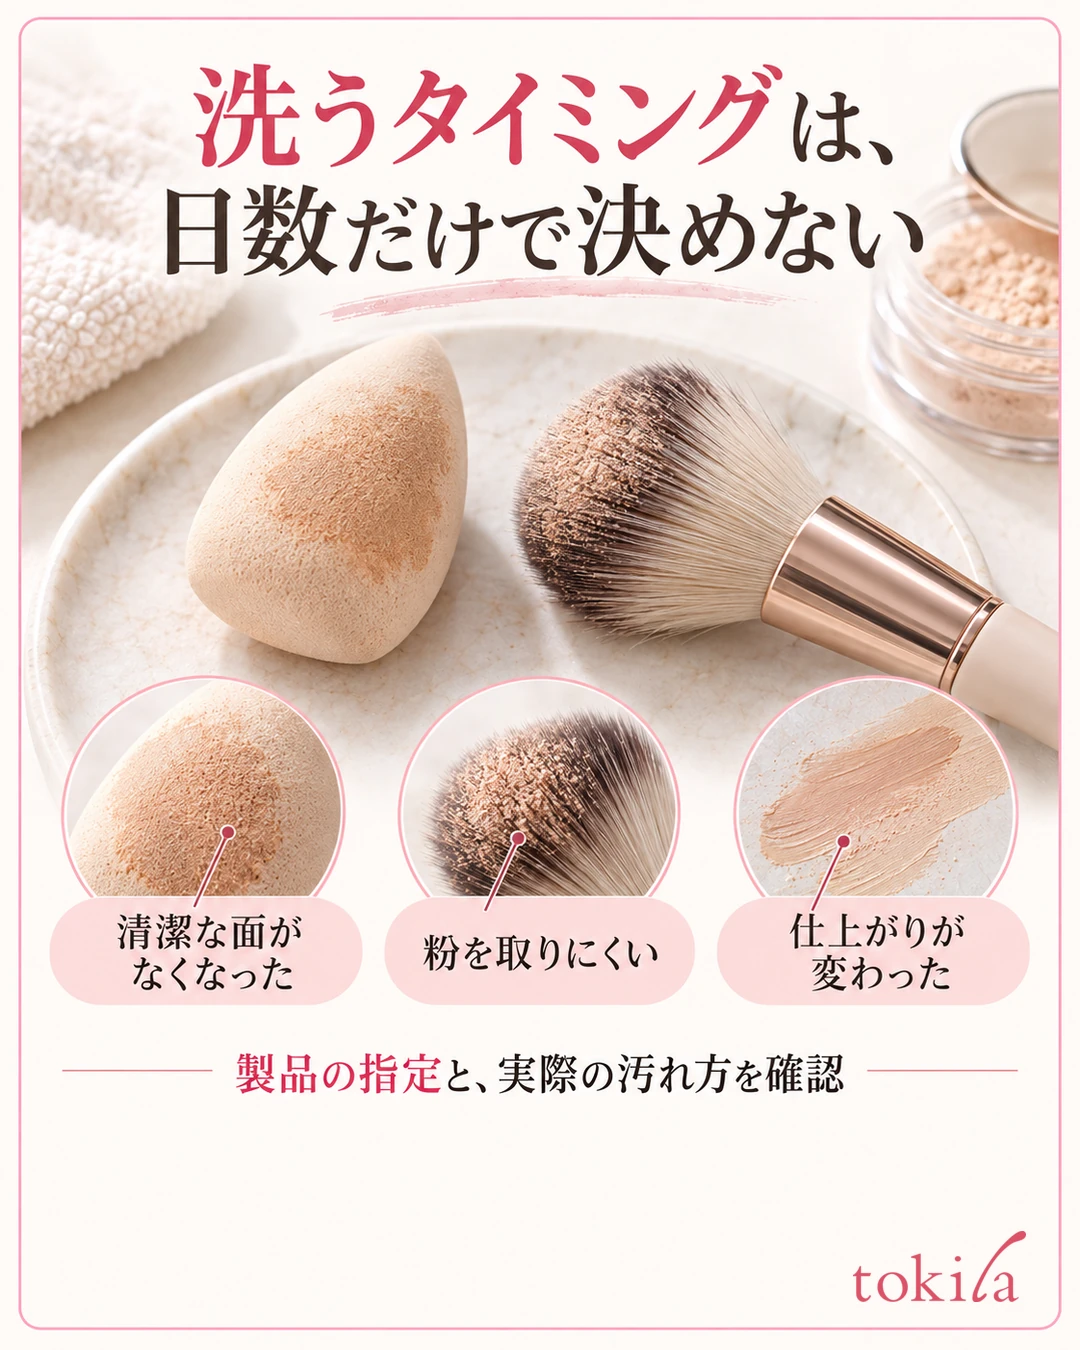
How often to wash should be adjusted after checking the instructions for the tool and how you use it, while also looking at how dirty it gets. Do not overlook changes such as no clean surface being left, powder being hard to pick up, or the finish being rougher than before. The key is not to keep using a dirty surface just because "it hasn't been a week yet."
Do not mask a tool whose smell bothers you with a scented product and keep using it.
If you wash the one you use every day, having a spare you can use while it dries reduces the temptation to put it back before it is fully dry. If you wash everything together on the weekend, plan backward from your next use so that you aren't left without tools the next morning.
3. Gently wash washable tools with the specified cleanser
For washable brushes, use the cleanser indicated and water or lukewarm water. Follow the instructions of the product you own for the concentration of the cleanser and how far to immerse the tool.
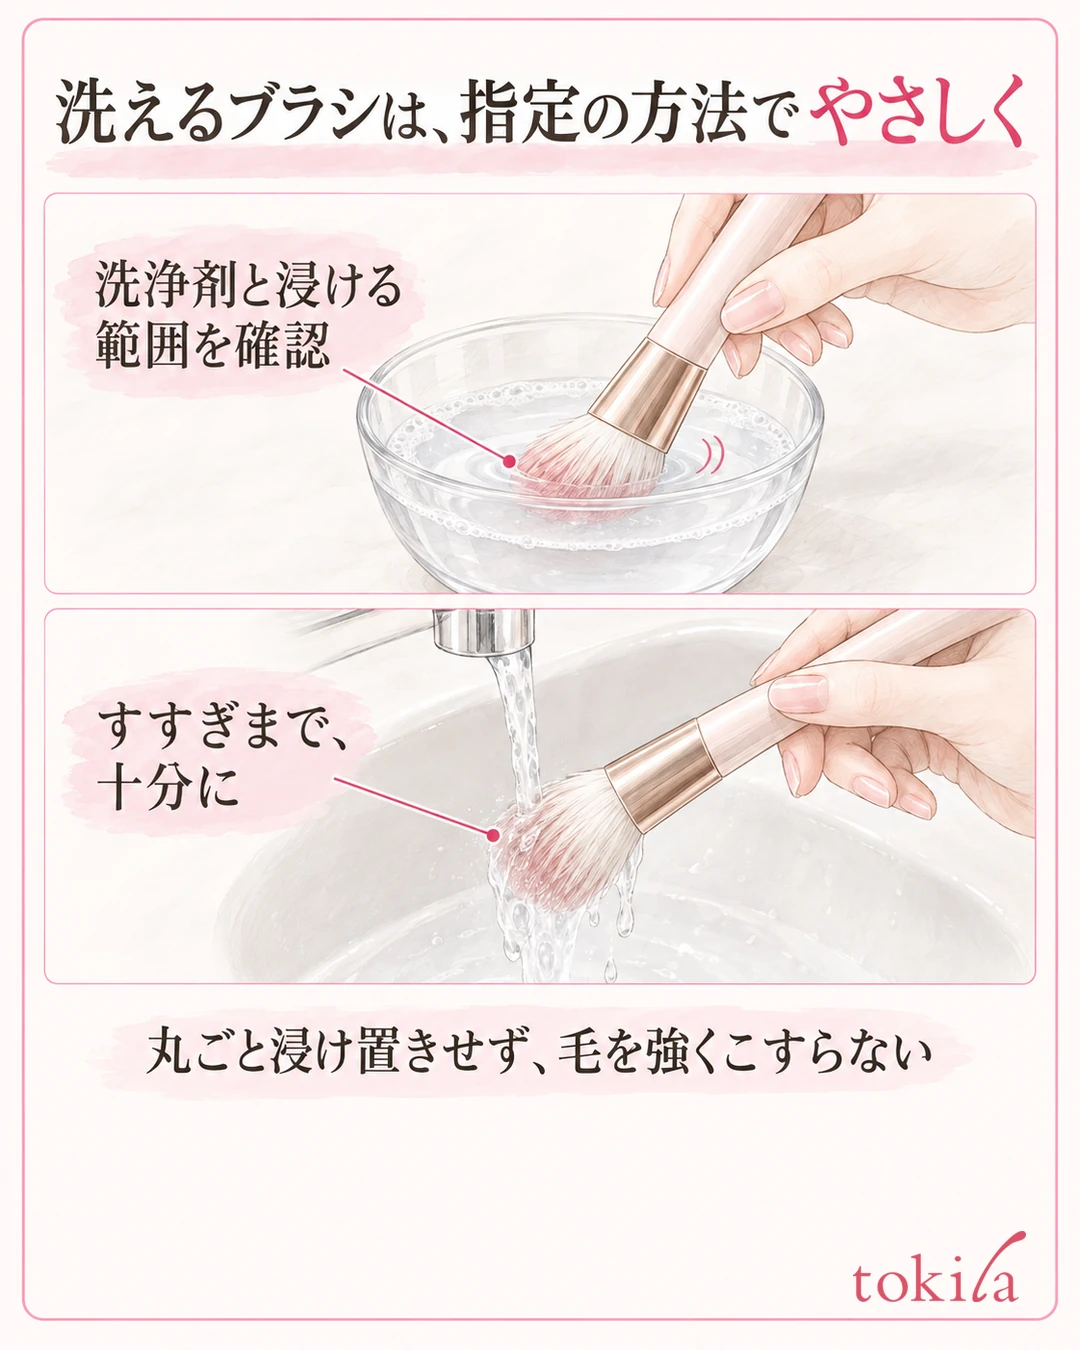
Soaking the whole tool for a long time does not necessarily make it clean faster. Do not rub the bristles hard or wring them like laundry; wash while keeping the shape. There are also instructions for how to handle the handle and joints, so give the necessary care to the dirty bristle tips.
After rinsing so that no cleanser remains, check the shape of the bristle tips and any remaining dirt. Do not keep trying one strong cleanser after another because some dirt won't come out. If the feel or the smell does not improve even after washing as directed, consider replacing it or asking for advice before continuing to use it.
Press-wash sponges, and do not twist them hard
For a washable sponge, work the dirt in following the procedure of the cleaner you use, and gently press-wash it. The preparation differs between applying the cleaner directly and using a diluted cleaning solution. Check the product's explanation for whether to wet it first, too.
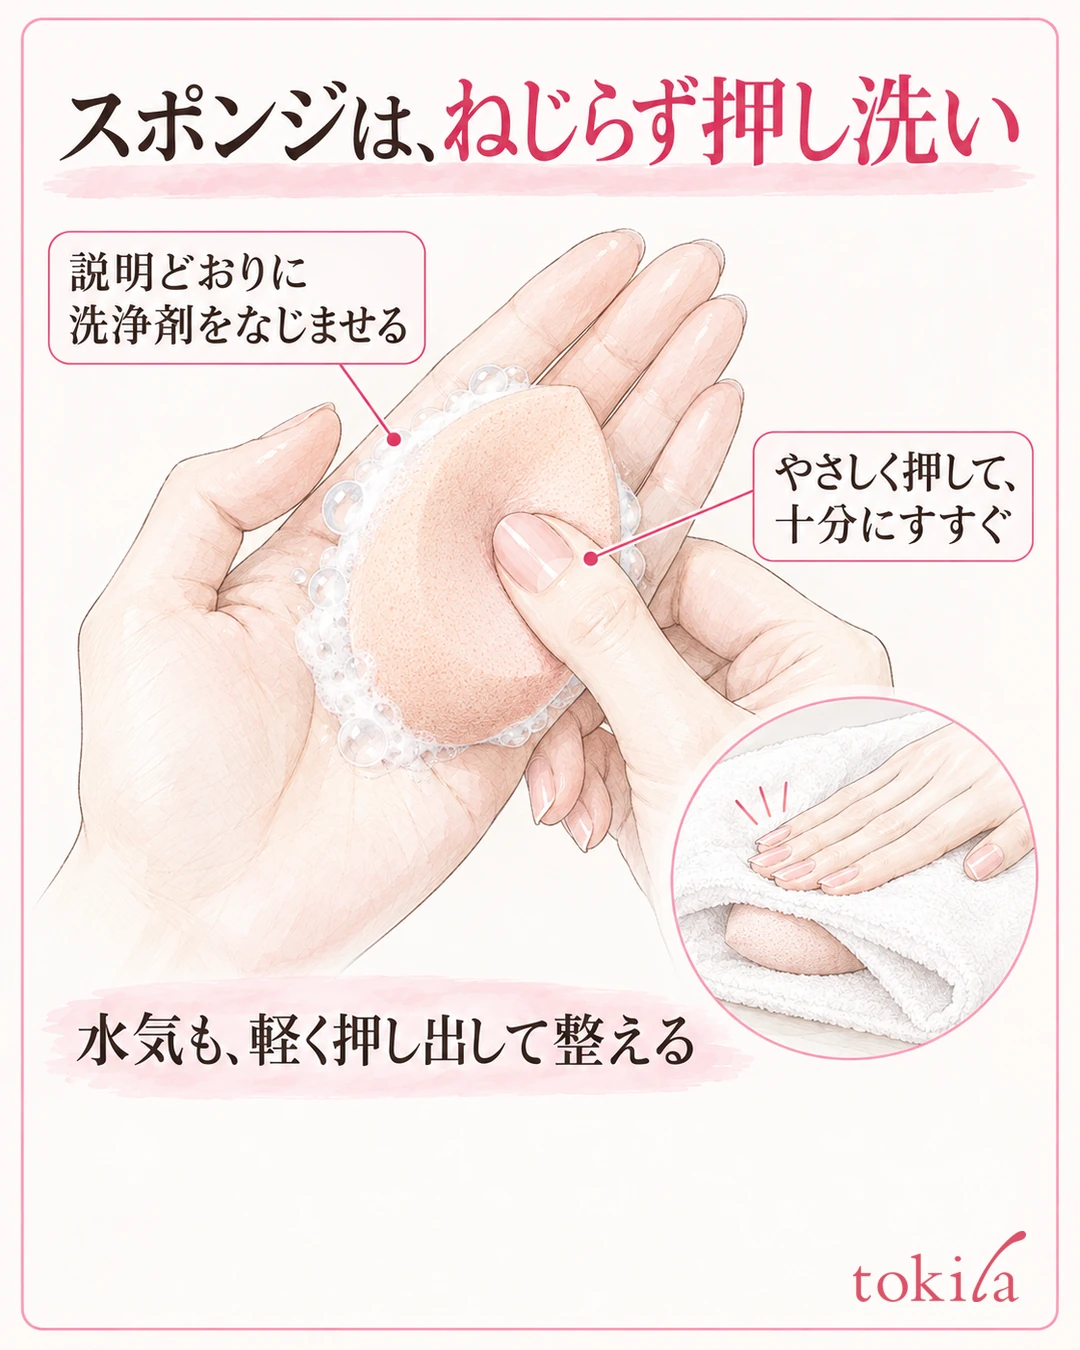
Here, do not use a fixed amount; follow the cleanser's instructions. When rinsing, too, be careful not to pull and tear it.
Lightly press out the water and tidy it by pressing it in a clean towel or similar. Twisting hard makes it hard to keep the shape, so be mindful not to apply too much force. If a puff has a ribbon or seams, check those parts for damage before and after washing.
4. Lay brushes on their side and dry the tools thoroughly
For a washed brush, press out the water with a clean towel or tissue, shape the bristle tips, and lay it on its side. Do not put it straight back into a sealed case; make sure to allow time for drying.
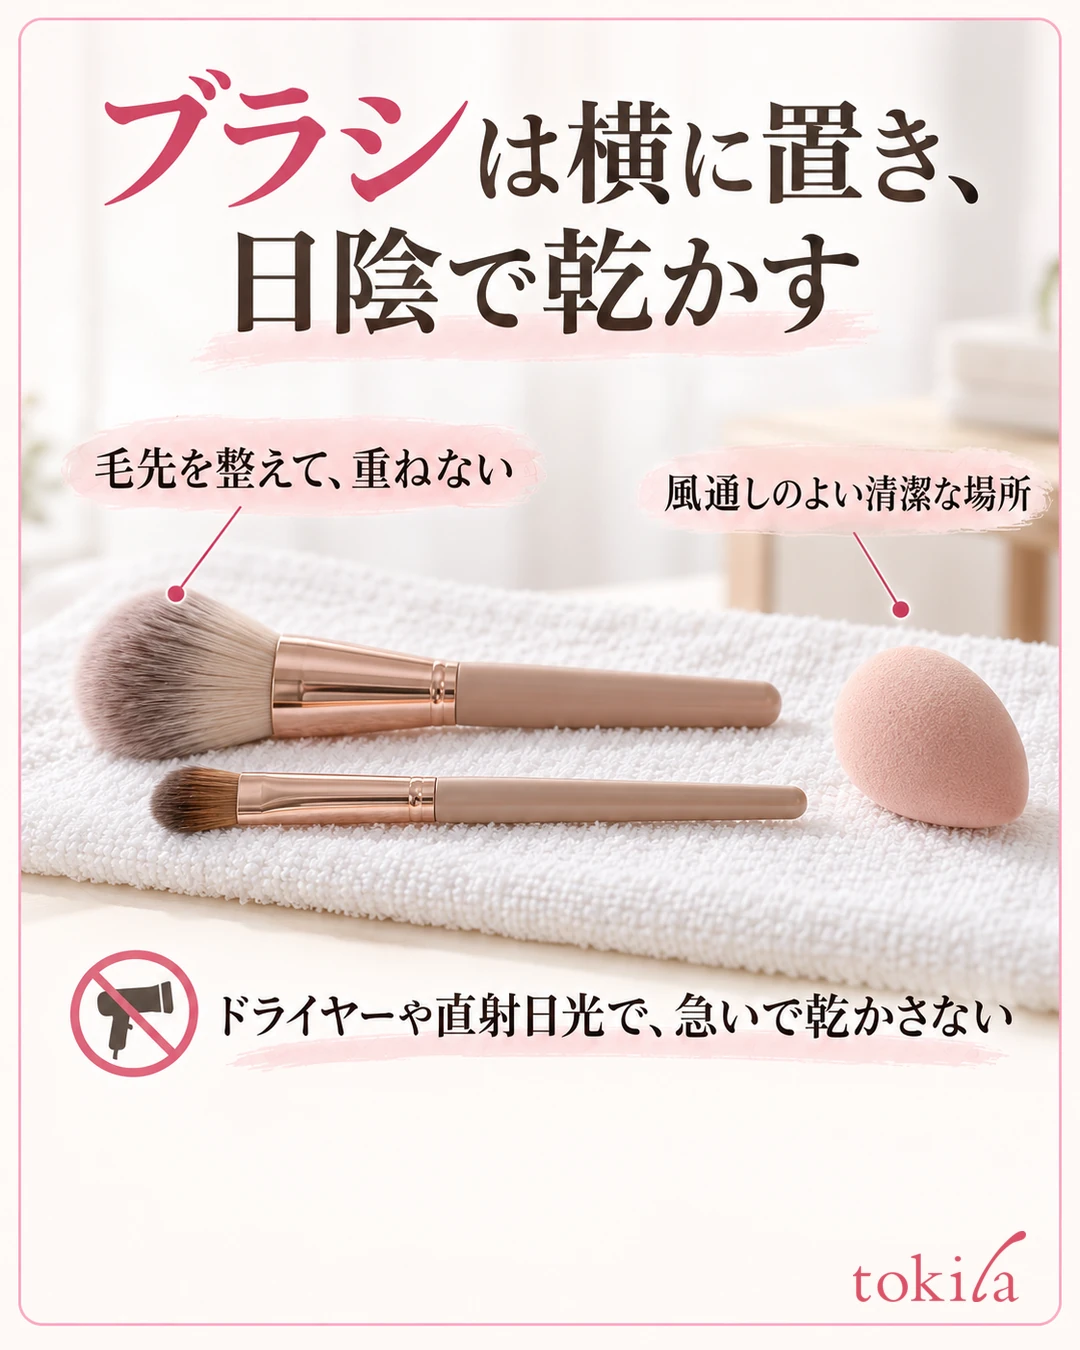
If you stack brushes, it becomes hard to check the bristles underneath and the base. Place them with enough space so the bristle tips do not get squashed against each other, and choose a clean place where they won't get dirty while drying. Shaping the bristle tips before laying them down also makes it easier to compare their condition after drying.
For sponges and puffs, too, tidy up the water and air-dry them in the shade following the product's instructions. Do not switch to your own methods of drying them quickly with heat or direct sunlight; allow airflow and time. Rather than starting to wash right before going out, choosing a time when they can dry fully, such as after you have finished using them, is not unreasonable.
Do not decide by the surface alone; check that it is dry before putting it back
Drying time varies with the thickness of the tool and the environment, so do not assume that "it sat overnight, so it must be fine." Check the condition with clean hands, and if any dampness remains, do not rush to store or reuse it; dry it further. Keep damp tools and dry spares separate.
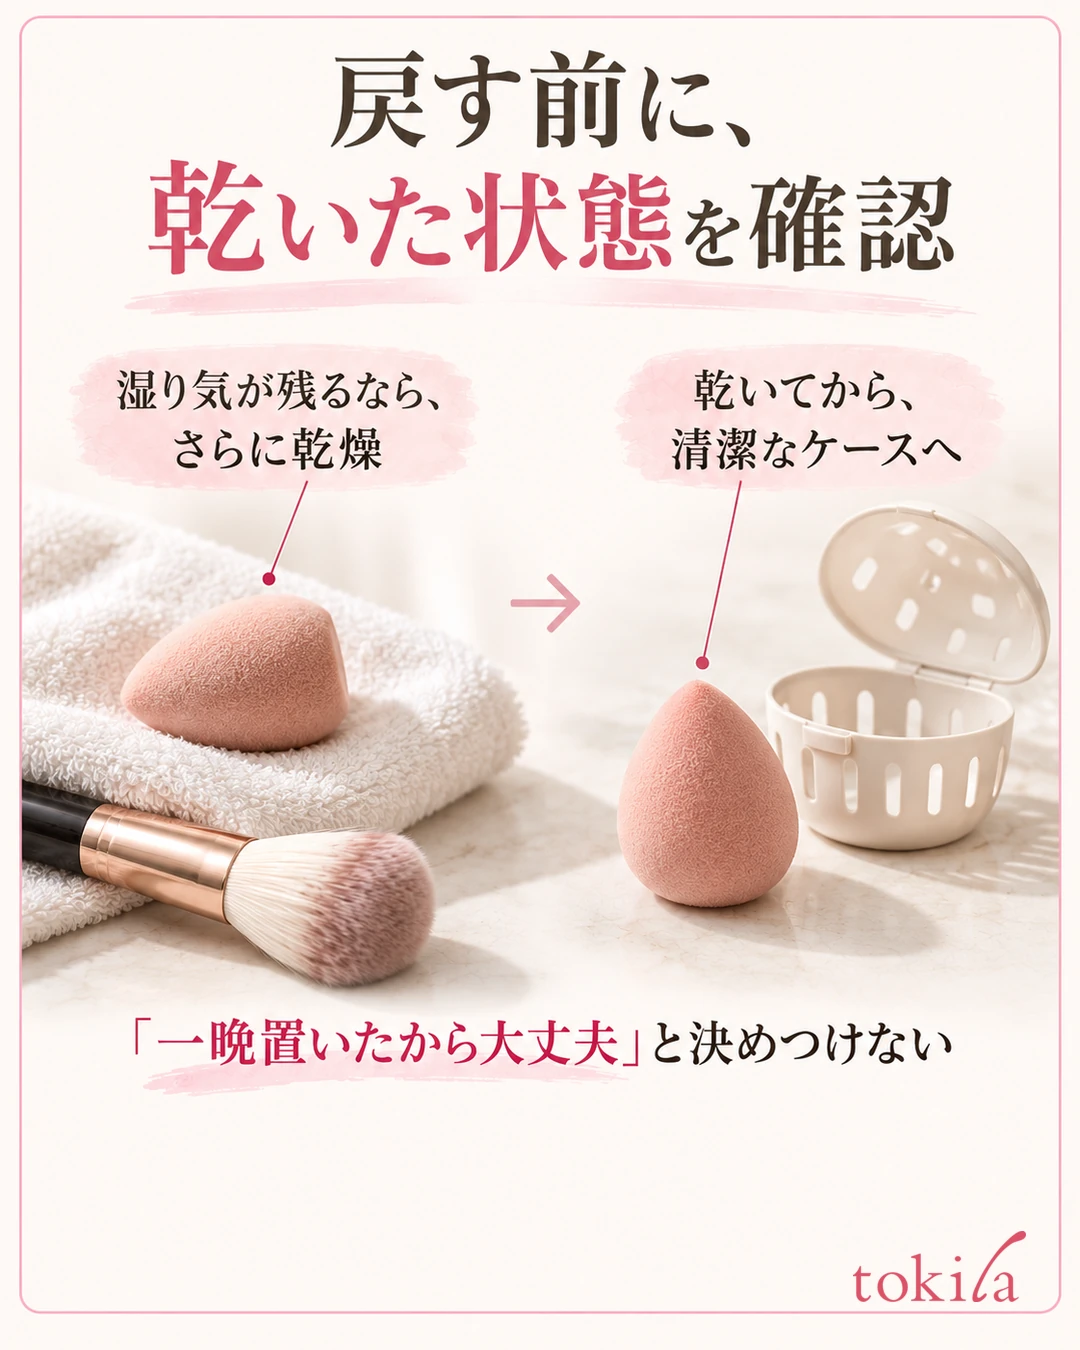
After they are dry, check for remaining dirt, loss of shape, smell, and feel. Put only the ones that have returned to a clean state into a clean case. If powder or cream is left inside the case, the tools will get dirty just by being put back, so also check how to care for the storage side.
Store the tools you carry so that they do not touch leaked cosmetics or lipsticks with the cap off. For touching up makeup, it is important to be able to use a clean surface. Build your carrying routine so that it includes the time to check the tools you used after you get home.
5. Consider replacement when hardness, damage or the feel of use changes
Signs to consider replacement include hard spots or tears in a sponge that remain even after washing, a brush shedding bristles, and bristle tips that have spread out a lot.
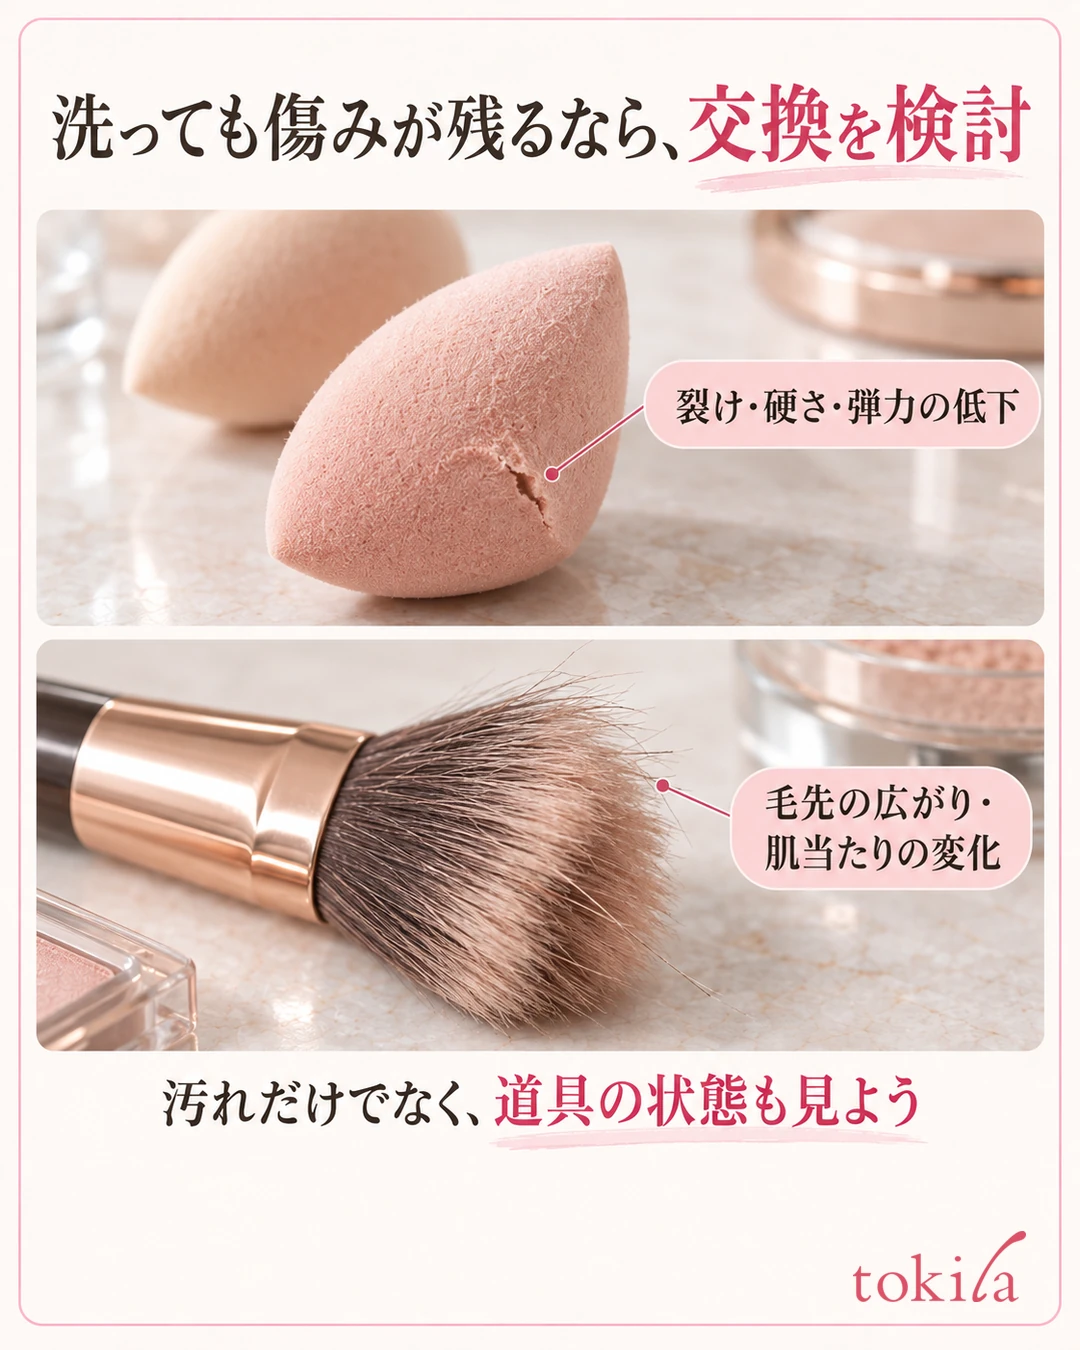
Rather than thinking that you can keep using it forever as long as you avoid the damaged part, look at the whole surface that touches the skin. Also check the condition of the parts you hold, such as loose metal parts or handles on a brush, or frayed seams on a puff. Before using something on your face while forcing a repair, reconsider its use as a product.
If streaks continue even after you change the amount of cosmetic, also compare using a different tool. If the finish looks even with a clean spare, the condition of the previous tool may have been involved. Before buying foundation again, try checking the dirt on your tools and how you use them.
Choose cleaners and replacements by matching the name and the use
When you buy more, check the official product name of the tool you use now and the range the cleaner supports. Do not assume that the word "dedicated" alone means it can be used on every tool.
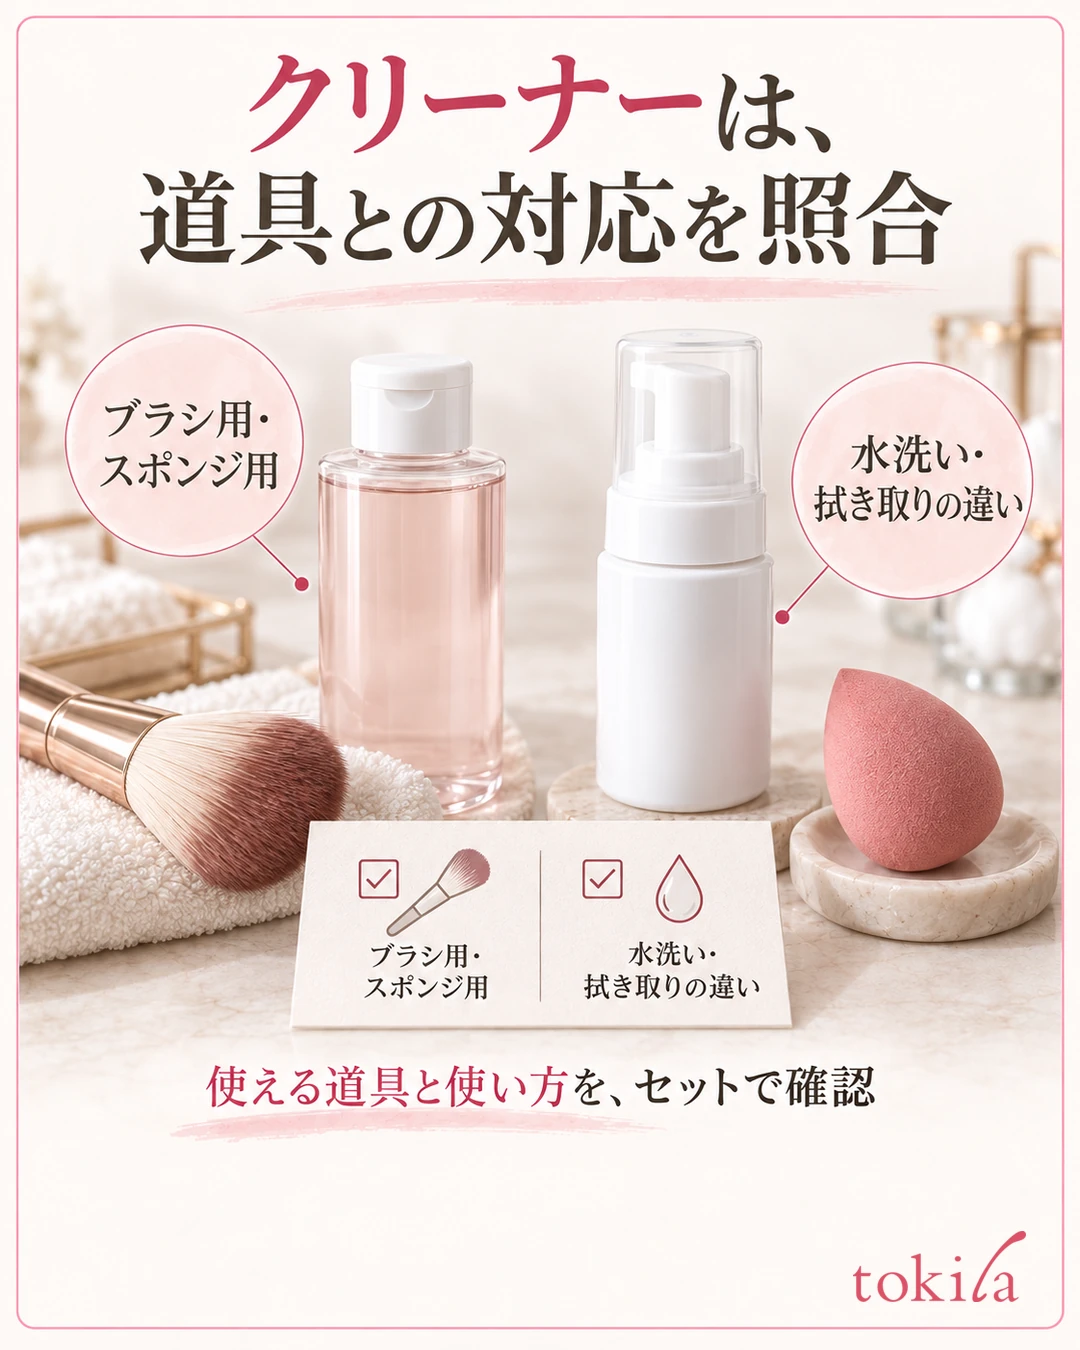
Do not add care that the product's instructions do not mention, such as soaking in absolute ethanol or bleach on your own judgment. If you aren't sure what is compatible, make an inquiry before choosing a cleanser.
The care routine is this: tidy up after use, check whether it can be washed and then wash it, dry it before putting it back, and replace it according to its condition. Rather than making everything the same frequency and method, try building a routine that is easy to keep, following each tool's instructions and how dirty it actually gets.
Written by the tokila editorial team. The editorial team organized adjustment steps you can try with the tools you already have.



