
When you put a lip brush away, the bristles may catch on the rim of the cap, the cap may stop partway, or the bristle tips may spread out every time you close it. In that case, don't push harder. Check the condition of the bristles and the storage mechanism separately. The part you move first differs between a brush where the cap simply goes over the bristles and one where the bristles are retracted into the body before it is closed.
This article focuses on putting away a portable lip brush, and covers everything from preparation before closing to how to back off when you feel resistance. It is not an article that explains one way to wash a brush or repair the bristle tips. The aim is to check the markings and structure of the brush you own, and to store it with the bristles protected.
1. Before moving the cap, check how the brush is stored
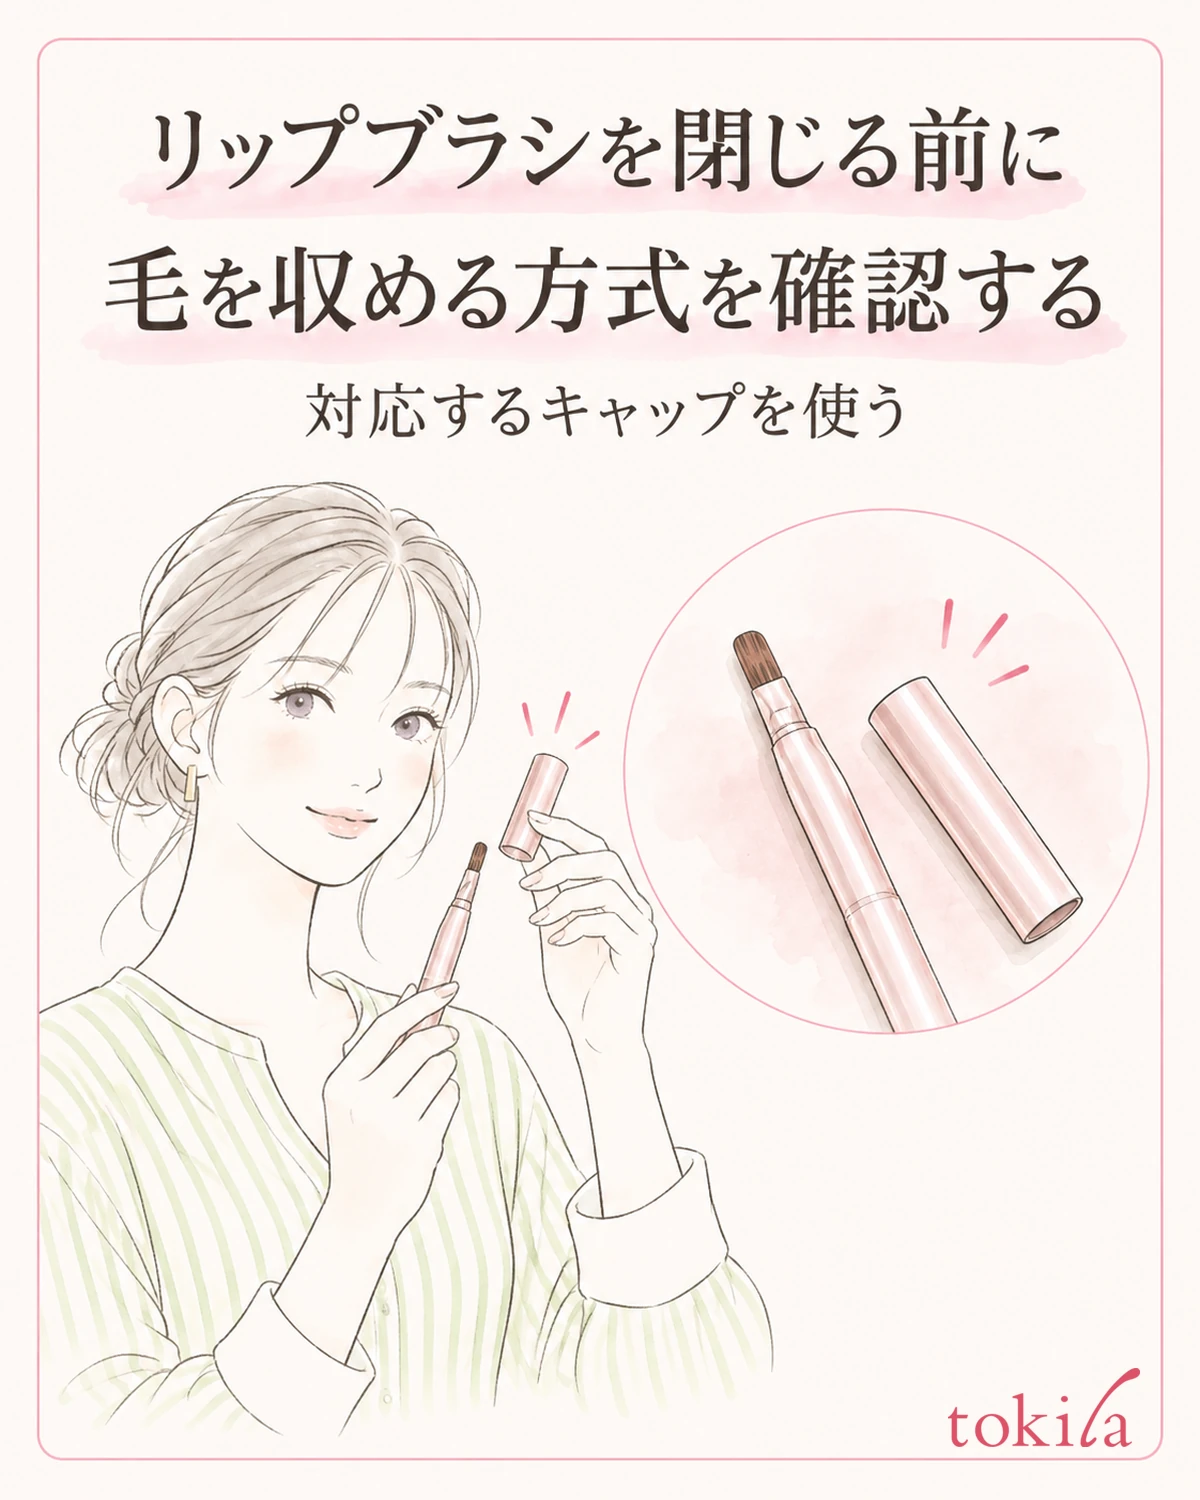
First, compare the body and the removed cap on a bright desk. Check the instructions from when you bought it or the markings on the body to see whether it is a type where the cap goes over the bristles while they stay out, or one with a mechanism that draws the bristles inside. Even if the tube looks double-layered, you cannot tell from appearance alone which part is meant to move.
Some products have the cap pushed onto the back of the handle when the bristles are extended, but don't treat that as the way every lip brush is stored. It is important not to borrow a push, pull, or twist action from another brush that looks similar. There is no need to force parts apart to find out how it works.
Also check that the cap is the matching one. If there are several similar tubes in your pouch, don't assume one will fit just because the length or color is close; confirm the original pair. The cap of another brush may touch the bristles at a different position or have a different depth.
If you no longer have the instructions, check by comparing the body with the product name, if you know it. Even two brushes bought around the same time do not necessarily use the same storage mechanism. Once you have confirmed the correct pair, put them away one brush at a time, without mixing in the caps of other tools.
Until you have checked the instructions, don't push the bristle tips in with your hand or smooth them with the cap. A snag partway through storing is not necessarily caused by too little closing force. Return the brush to the open state and look at where the bristles are meant to go.
On the desk, also prepare wiping supplies that suit the tool, such as a clean tissue. Don't set the bristle tips down on a wet sink or on paper with lipstick on it, and arrange things so the body and cap can't get mixed up. This makes the following checks easier to carry on with.
2. Look separately at leftover lipstick and bristles that have spread outward
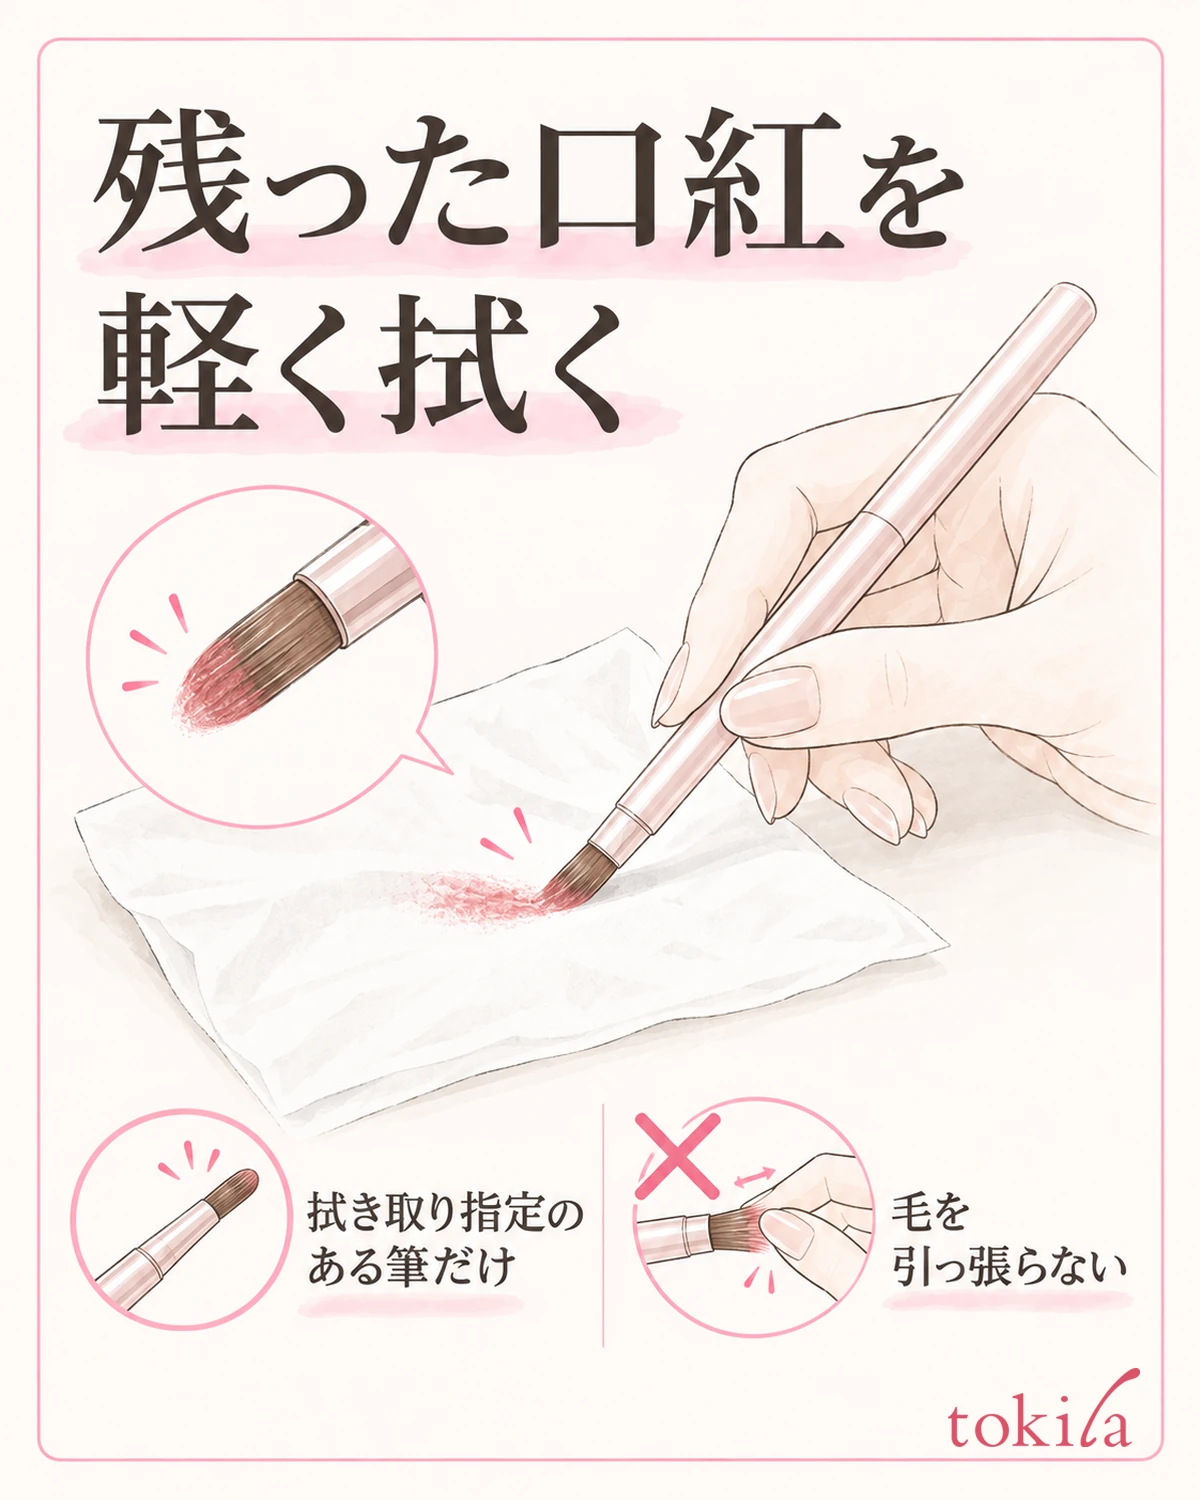
Right after you finish using the brush, look separately at whether color remains on the surface of the bristles and whether the shape of the bristles has spread. Don't decide it is broken just because you see red color, and conversely, don't accept bristles being caught as unavoidable just because lipstick remains.
If the brush is one for which wiping with a tissue after use is specified, lightly lay the bristles against it to tidy up excess lipstick. Don't pinch the bristle bundle hard in the tissue and pull it out. Work without bending the base, watching the width of the whole bundle and not just the tip.
After wiping lightly, check that the bristles are not sticking out widely beyond the metal ferrule and that no single bristle is bent to the side. There is no need to gather the soft bristles into a needle-thin point. Use the shape from when you bought it, or the specified way of shaping it, as your guide, and don't pull on the bristles with your fingers to even out the length.
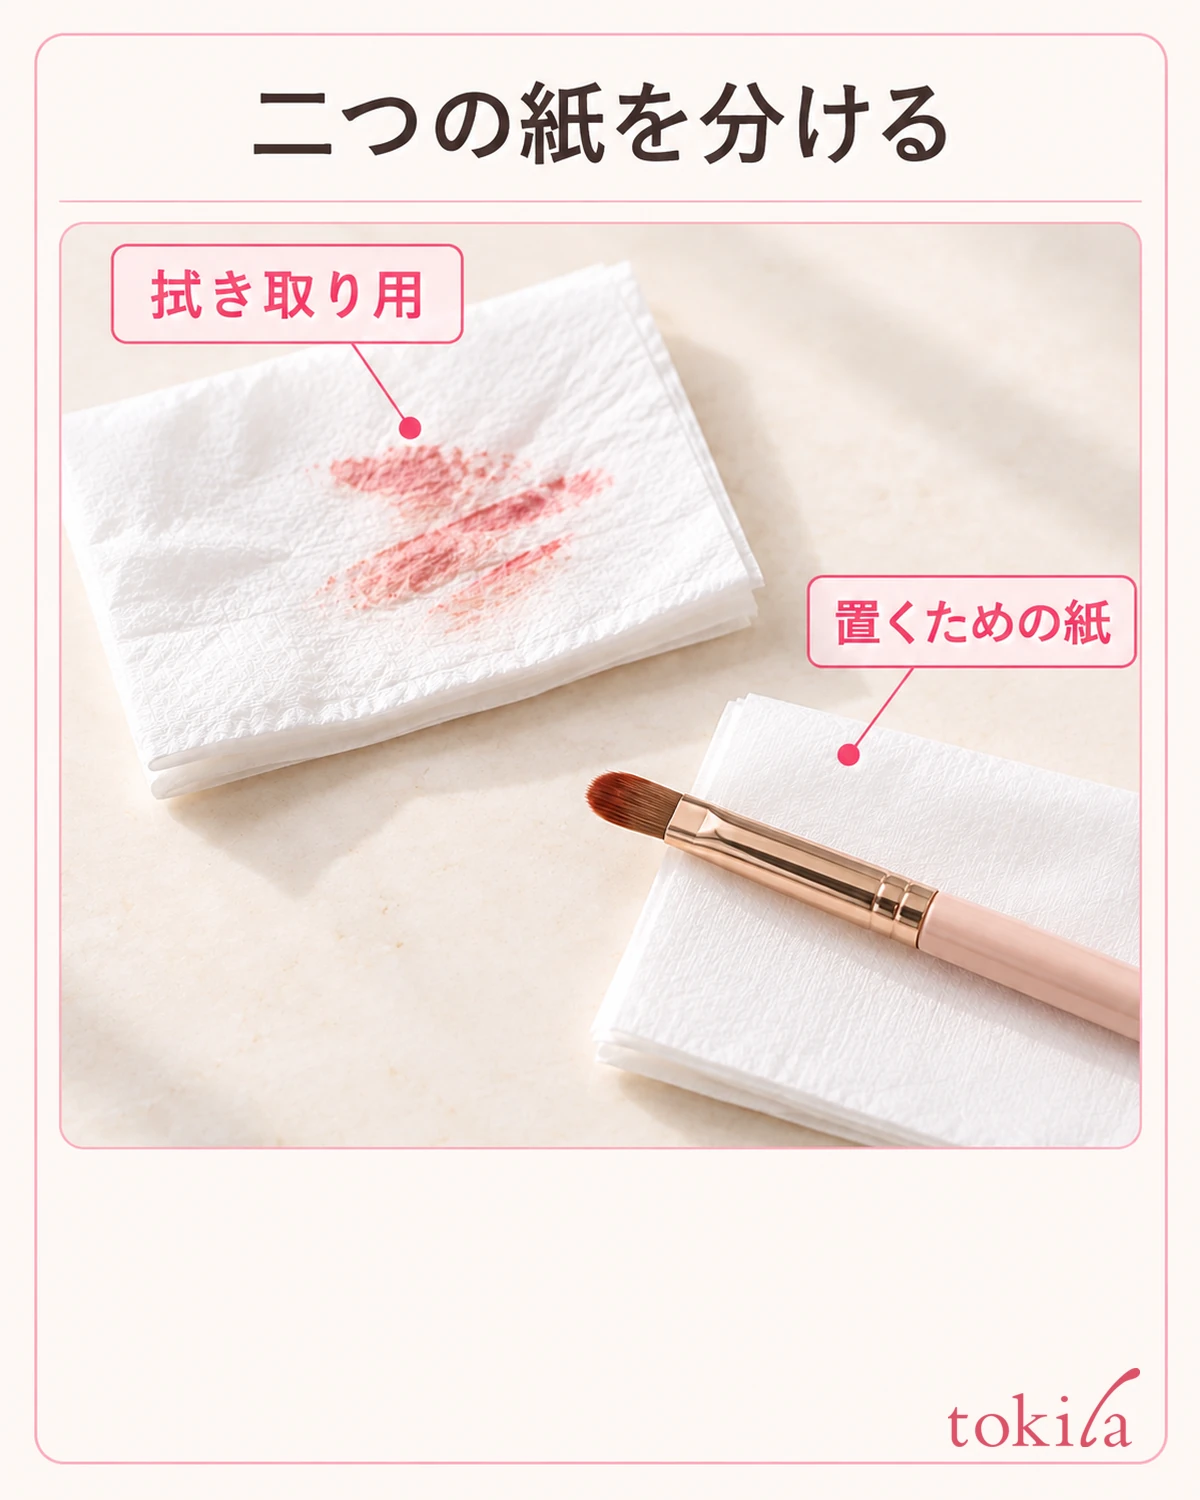
Keep separate the paper you use to wipe off lipstick and the paper you rest the dry brush on. If you put the brush back onto soiled paper, color gets on it again and it becomes hard to judge its condition when you want to see its shape. Before repeating the wiping again and again, make a pause by moving the brush away and looking at its shape afresh.
Avoid scraping off hardened residue against the rim of the cap or scratching it off with a fingernail. If everyday wiping doesn't get it tidy, check which cleaning methods the brush can take and move on to a separate step. Don't pour strong solvents on the body just because you used a deep-colored lipstick.
Whether it can be washed with water, how much of it can be washed, and what to dry it with are conditions that depend on each product. For care overall, also see Cleaning makeup brushes and sponges, and recheck that both the bristles and the cap are in a condition suitable for storage.
3. Follow the storage order and close while watching the bristles and the rim of the tube
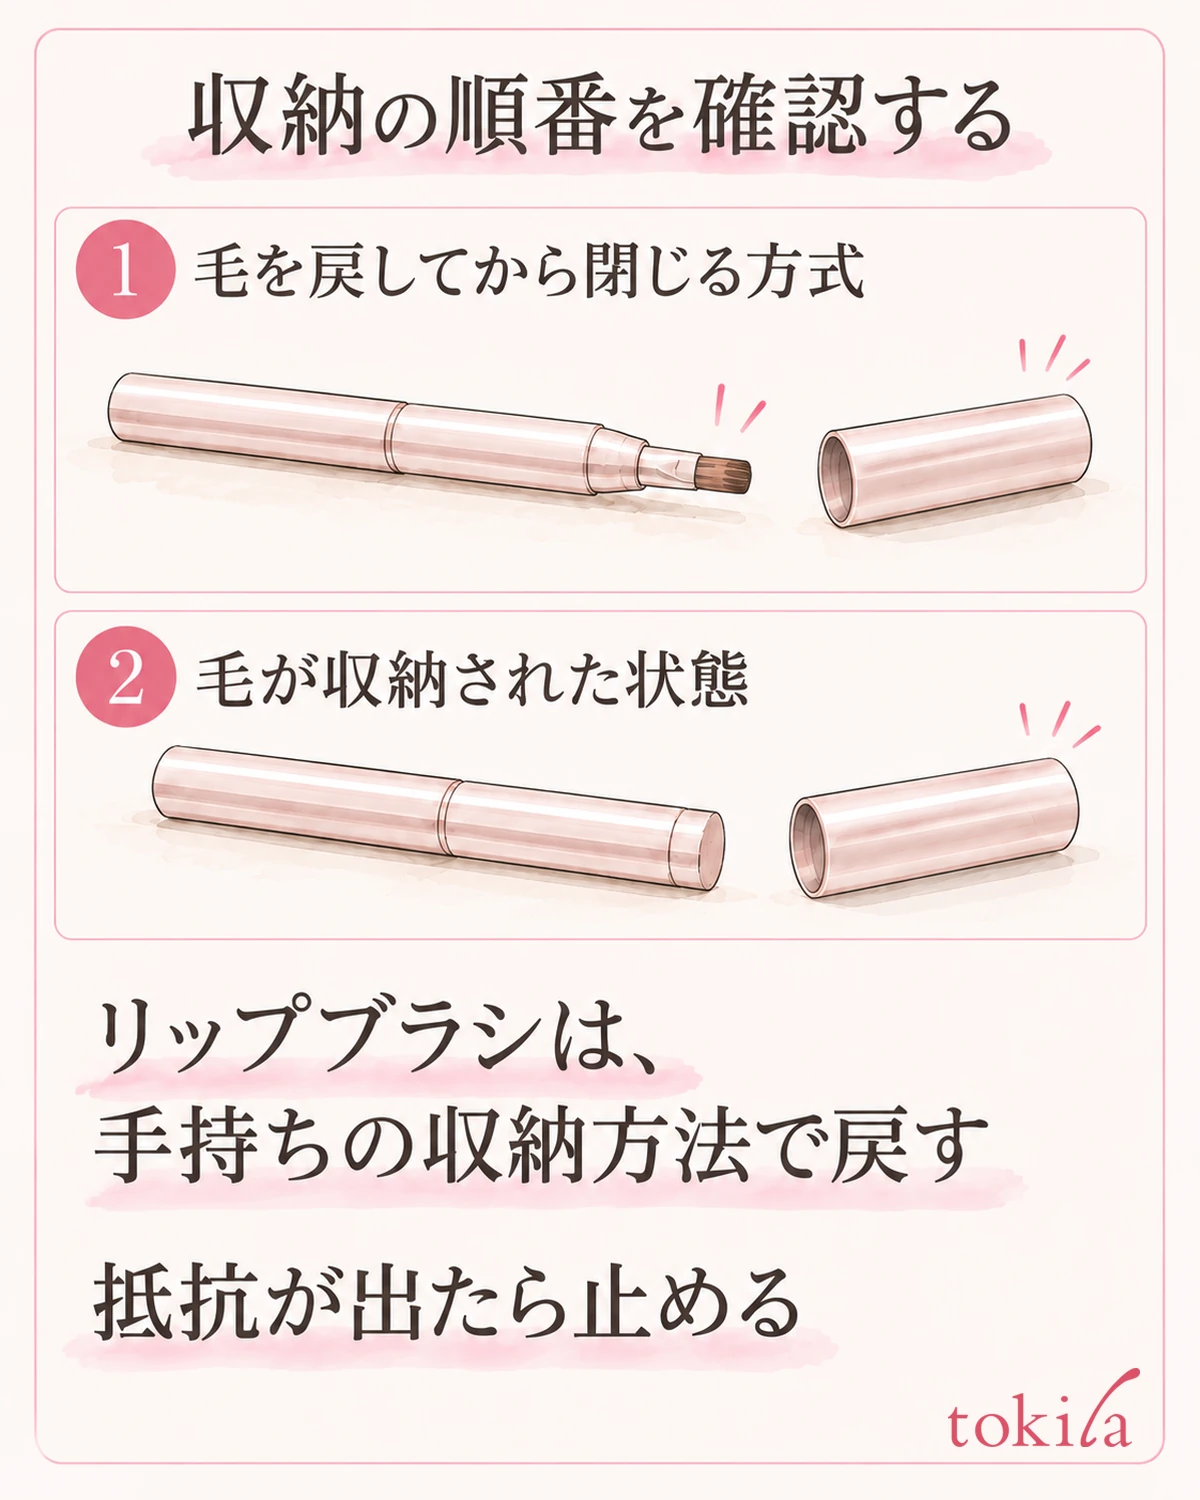
If the brush has a mechanism that draws the bristles into the body, first return the bristles with the operation described in the instructions. Keep this separate from using it by pushing the cap on to shorten the bristles while they are still out. Even with a type where the tube covering the bristles moves, follow the instructions for your own brush as to which part moves and how far.
With a cap-type brush that covers the bristles directly, check that the bristle bundle has not slipped out past the rim, then line up the matching cap with the axis of the body. Don't bring it in at an angle and gather the bristles with the rim; the point is to align the opening and the body. Don't put your face too close to the bristle tips, and keep a distance on the desk where you can see the whole thing.
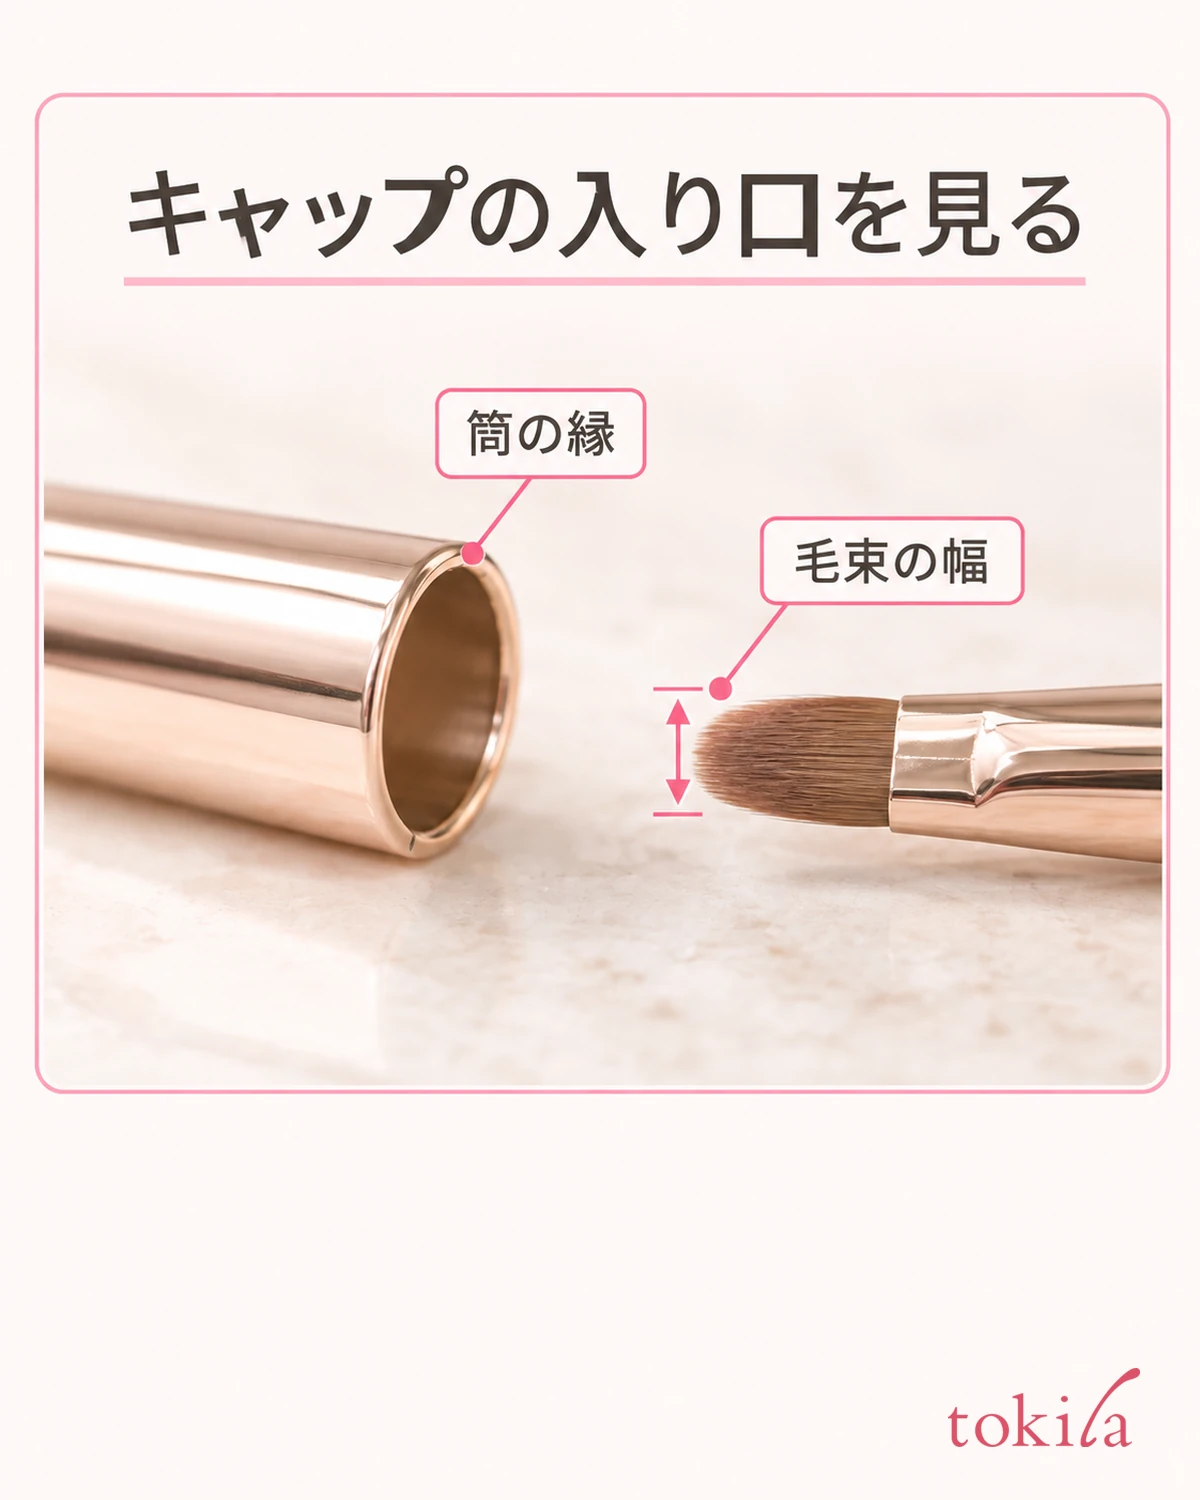
While closing, advance a little at a time and check that the bristles don't catch. If you try to close it in one go with momentum, it becomes hard to tell where the bristles got caught. If you feel a snag, stop there and don't keep making the closing motion.
Even if you hold the body in one hand and the cap in the other, don't grab and support the bristle bundle itself with either hand. Hold the handle or the specified part of the tube. If it is hard to see with one hand, turn it on the desk to look at it, and don't push it forward by fingertip feel alone without seeing.
If you find you have to close it while pushing the bristles against the edge of the tube with your fingers, let go once. Don't make it part of your daily routine to advance the cap along with the finger that holds the bristles, or to cut off a single stray bristle with scissors.
Check whether it is fully closed by the position or state the product indicates. Not every product has the same click sound or a fixed gap. If you hear no sound, don't push harder; check that the parts you can see match the instructions.
4. If it catches, open it once and inspect the bristle tips and the cap
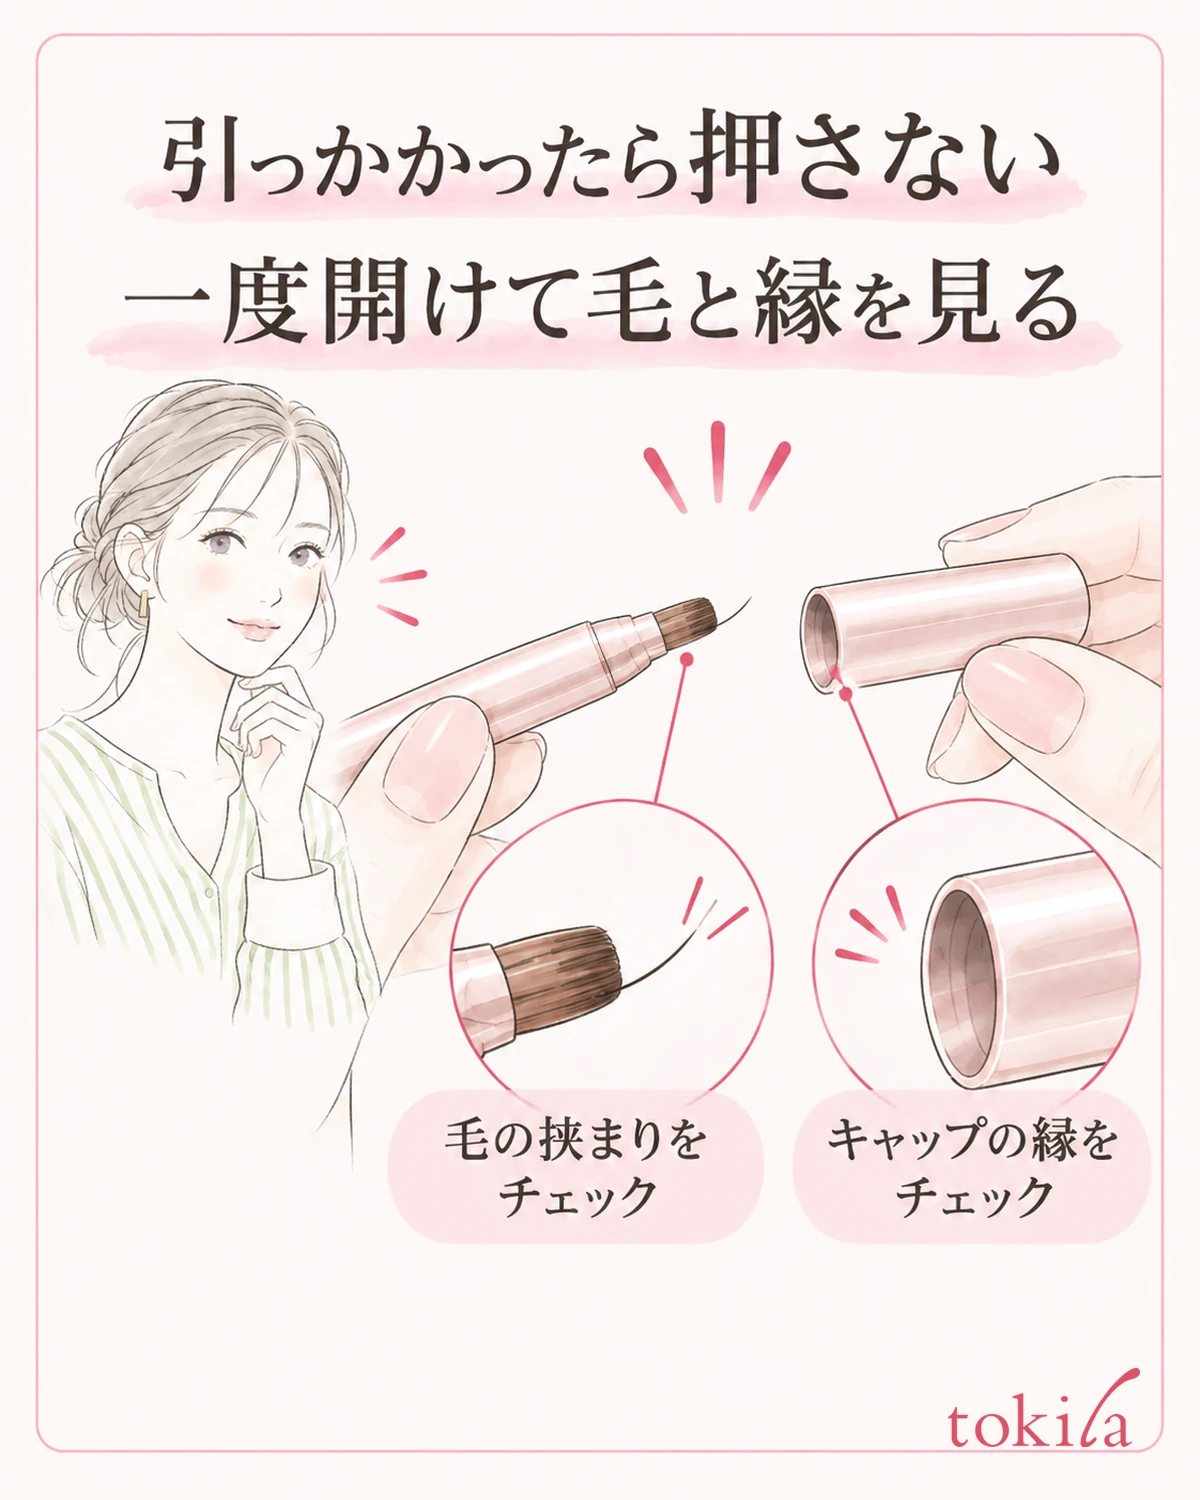
If you feel resistance partway, steady the body and return it once in the normal opening direction. If the bristles are caught, don't twist hard from side to side or knock the cap against the desk. If it can't be removed, don't pry it open with a tool; stop using it.
Once you have it open, look at where the bristles were touching the opening. If some of them are bent sideways, check the shape of the bristle tips before closing it again. If you see a lump of lipstick on the inside of the cap, look up the care method approved for that part, and first sort out whether it is a part that can get wet.
Look at problems with the bristles and problems with the cap separately. If the rim of the cap is deformed or cracked, if it tilts partway even though it is the original pair, or if the tube of the body doesn't move smoothly, repeatedly tidying only the bristle tips may not solve the storage problem.
When inspecting, look one at a time in this order: the bristle tips, the opening of the tube, and the movement of the body. This helps you sort out at which part the resistance appears, compared with moving everything at once. There is no need to catch the bristles over and over just to check, and if you see visible damage, stop and don't keep trying to close it.
To check the inside, don't insert a finger or a needle into the narrow tube. Also avoid taking it apart to remove dirt in places you can't see, and if work not covered in the instructions becomes necessary, stop there. Check the instructions for your own brush on whether parts can be replaced or whether it can continue to be used.
If the bristles still spread or catch even after care, don't try to just carry it around once anyway. Also avoid pressing a brush with damaged bristle tips against your lips to restore its shape; move on to using another clean tool or to considering a replacement.
5. Check that it is dry and closed properly, then return it to the pouch
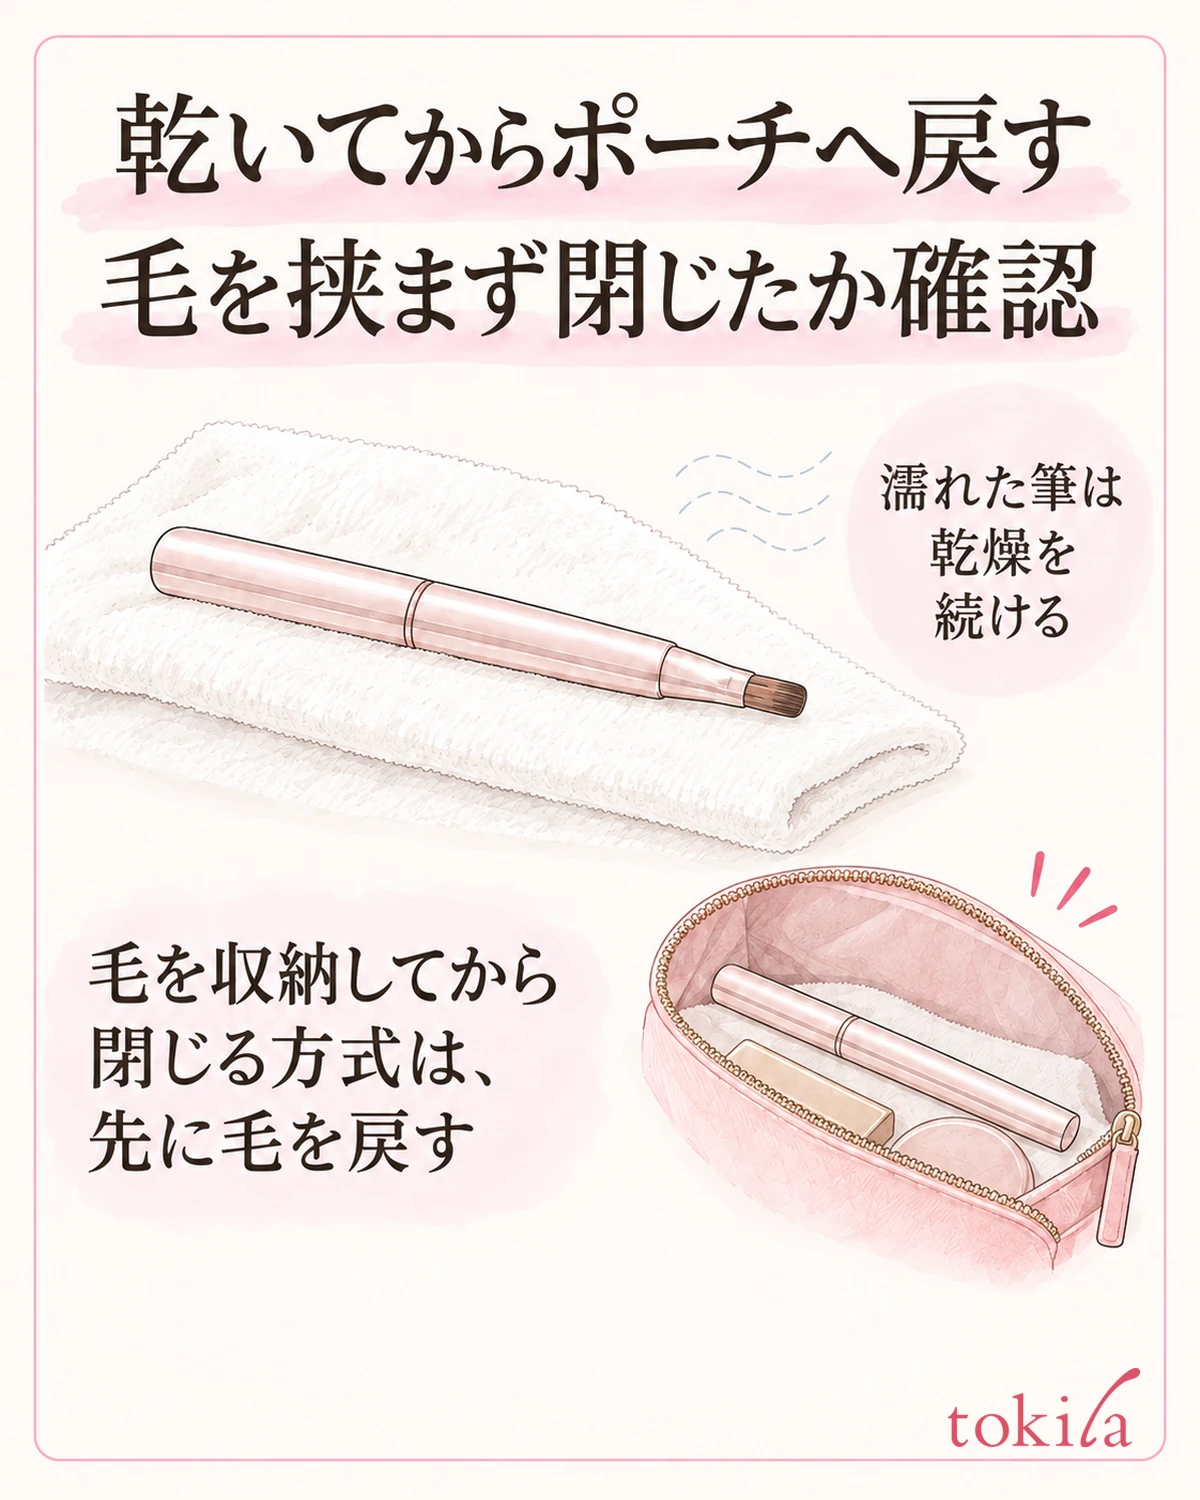
Dry a washed brush thoroughly in the specified way before storing it. Even if only the surface of the bristle tips looks dry, don't put it back into a narrow cap while it is still damp. Don't fix a single drying time; allow enough leeway to check the condition of the bristles and the body.
Even when you want to carry it in a hurry, don't switch to fixing the bristle shape with a hair dryer or boiling water. If necessary, use a dry spare, and let the washed one continue through the drying process. To shorten the time until storage, don't skip the conditions for the cleaning products and drying methods that can be used.
Before returning it to the pouch, check that the cap is closed as the matching pair, that no bristles are caught outside, and that there is no wide smear of lipstick on the outside of the body. Checking not only the closed brush but also the cap of the lipstick next to it and any leakage makes it easier to know the condition when you take things out.
After closing, also check that the brush isn't placed so that other tools press on it and put sideways force on the cap. Rather than pushing it into an overstuffed pouch, make sure there is room for it. Don't replace a loose storage mechanism with a method of holding it in place by squeezing it between other tools.
Don't make a habit of fixing a cap that comes off easily with strong tape and peeling it off each time you use it. If the way it closes is still not stable even with the correct parts and the correct storage operation, consider a replacement or ask for advice before you keep carrying it as it is.
Next time you use it, also take a look at the bristle tips the moment you open it. If you see changes, such as the bristles spreading sideways more than last time or color repeatedly getting on the inside of the cap, check at which stage of storage it happens. What you check at each putting away is not whether you closed it firmly, but whether you stored it as specified without catching the bristles.
To put away a lip brush, check the mechanism, tidy the remaining color and the shape of the bristles, and if you feel resistance, go back through the steps in order. If you want to review the amount and outline when applying, see Lip makeup basics. Keep storing and applying separate, and choose the handling that suits the tools you own.



