
You want to draw a thin line in nail art, but it gets round and thick only at the start, widens partway, or turns into a band the more you go over it to fix it. In that case, rather than redrawing right away on your nail, try comparing the brush tip, the amount of paint and how it touches on a practice tip. Even when the result is the same, a thick line, the place to review is not always one.
Here we introduce the preparation and adjustments for drawing fine lines on a practice tip fixed to a stand. Gel, polish and acrylic paint dry differently and call for different brushes, so we do not treat them as the same thing. Check that the paint and brush you have can be used together, and follow the instructions for each for curing, drying and care.
1. Look at where it gets thick, and check the paint and brush you use

First, place the tip you drew on in a bright spot and look in turn at the start, middle and end of the line. Separate whether only the start is round, the whole line is thick, or it widens from partway. Before matching the thinness of a finished sample, finding where it changes lets you narrow down what to check with the next stroke.
If a round blob formed at the start, look at how the paint pooled at the moment the brush touched down. If it is thick from the middle, look back at whether the bristles had spread, or whether you traced over the same place repeatedly. It is important not to settle on a cause from the shape of the line alone, but to check it together with the movement of your hand.
Next, check the type of paint from the label on the container. Fine-line gel, ordinary color polish and nail paint differ in the suitable brush, base and finishing steps. Do not judge by appearance alone, thinking "it's thick, so it's for fine lines" or "it's black, so it's easy to draw lines."
Also check that the brush can be used for fine lines and detailed art. A brush for broad coverage and a liner brush differ in bristle width, length and flex. Not every thin brush is the same, and ease of use also changes between short lines and long lines. After checking what your brush is for, start by comparing short lines.
When you change paint, also check whether that brush may be shared with another material. Do not layer a new material onto a brush that still has the previous one on it; keep compatible tools separate. If there is any condition you do not understand here, sort out the packaging and the accompanying instructions before practicing drawing.
If dust or previous paint remains on the surface of the tip, first check the preparation step. This is so that differences in line width caused by unevenness of the base are not mixed up with those caused by brush movement. Look at whether there is an instruction to prepare the surface, and whether the layer you applied has finished drying or curing, before you start drawing. There is no need to add any preparation that your products do not call for.
2. Adjust the amount on a palette so no blob remains on the brush tip

On your work surface, prepare a palette that suits the paint you use, and a place to rest the brush. Fix the practice tip to the stand first, and avoid drawing while holding the container. Clear unneeded tools from the area where your hand moves, so you do not have to look for somewhere to put the brush after picking it up.
If it is a product that can be dispensed onto a palette, put out only what you need and close the container. Do not decide the amount for fine lines by a fixed number of drops; follow how your material is meant to be handled. If you are working with gel, also check the instructions on light during work and storage, and do not leave an open container or the brush near the lamp.
Once you have picked paint up on the brush, look at the bristle tip from the side and check that no large blob is attached. On the compatible palette, align the direction of the bristles and tidy any excess paint before moving to the tip. Do not squash the brush hard, or repeatedly pull the bristles through a sharp edge of the container, to force it thinner.
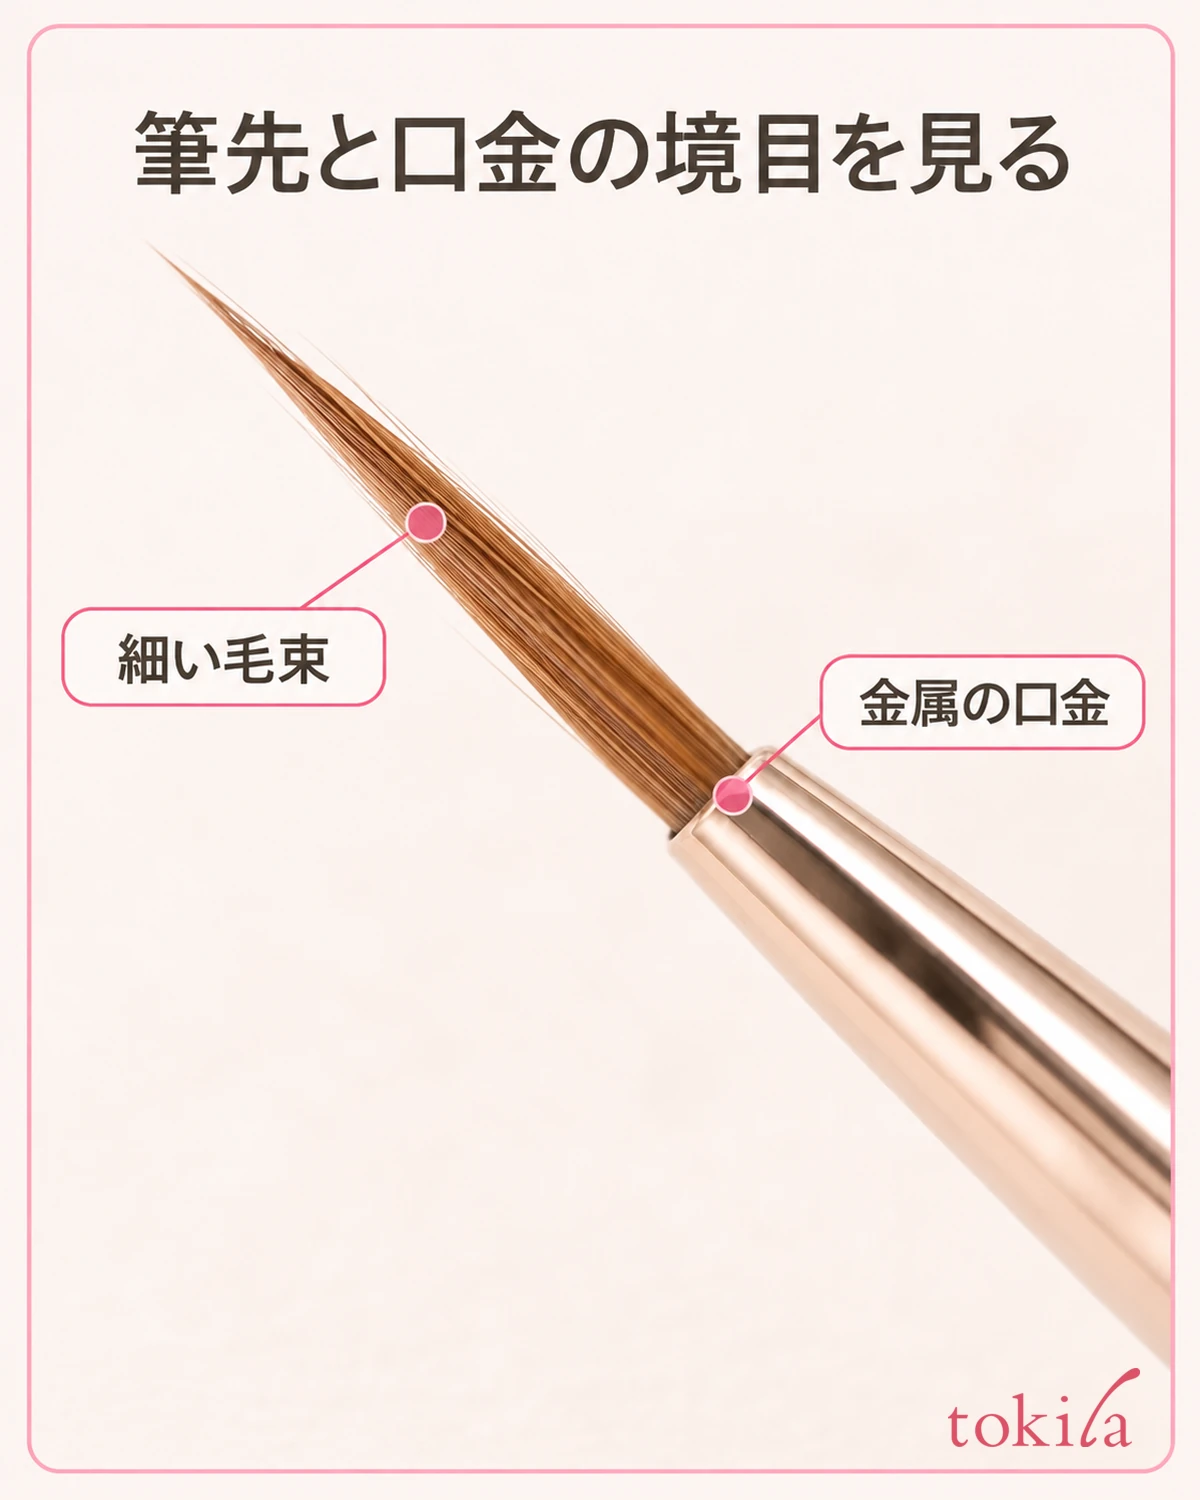
If you reduce the amount too much, the line may also break partway. In that case, do not go back to thinking "more is better"; pick up a little again and try a short stroke in another place. If you add to a thick line as it is, the relationship between the amount you picked up and the line width becomes unclear, so use a new place for test strokes.
Do not mix in water, nail polish remover, cleaner or another gel by your own methods to change the state of the paint. Even for a product where adjusting thickness is allowed, check what to use and in what proportion from its instructions. Think of tidying the brush tip and changing the properties of the material as separate things.
3. Fix the tip, and draw one stroke without pressing the bristles apart

Check that the tip stand does not wobble and that the surface you draw on is in a direction you can see. Support your drawing hand's wrist or little-finger side in a comfortable position, and place it at a distance where you can move the brush without hunching your shoulders. Deciding where to support first, rather than continuing to pinch the tip with your hand, makes it easier to review your movements.
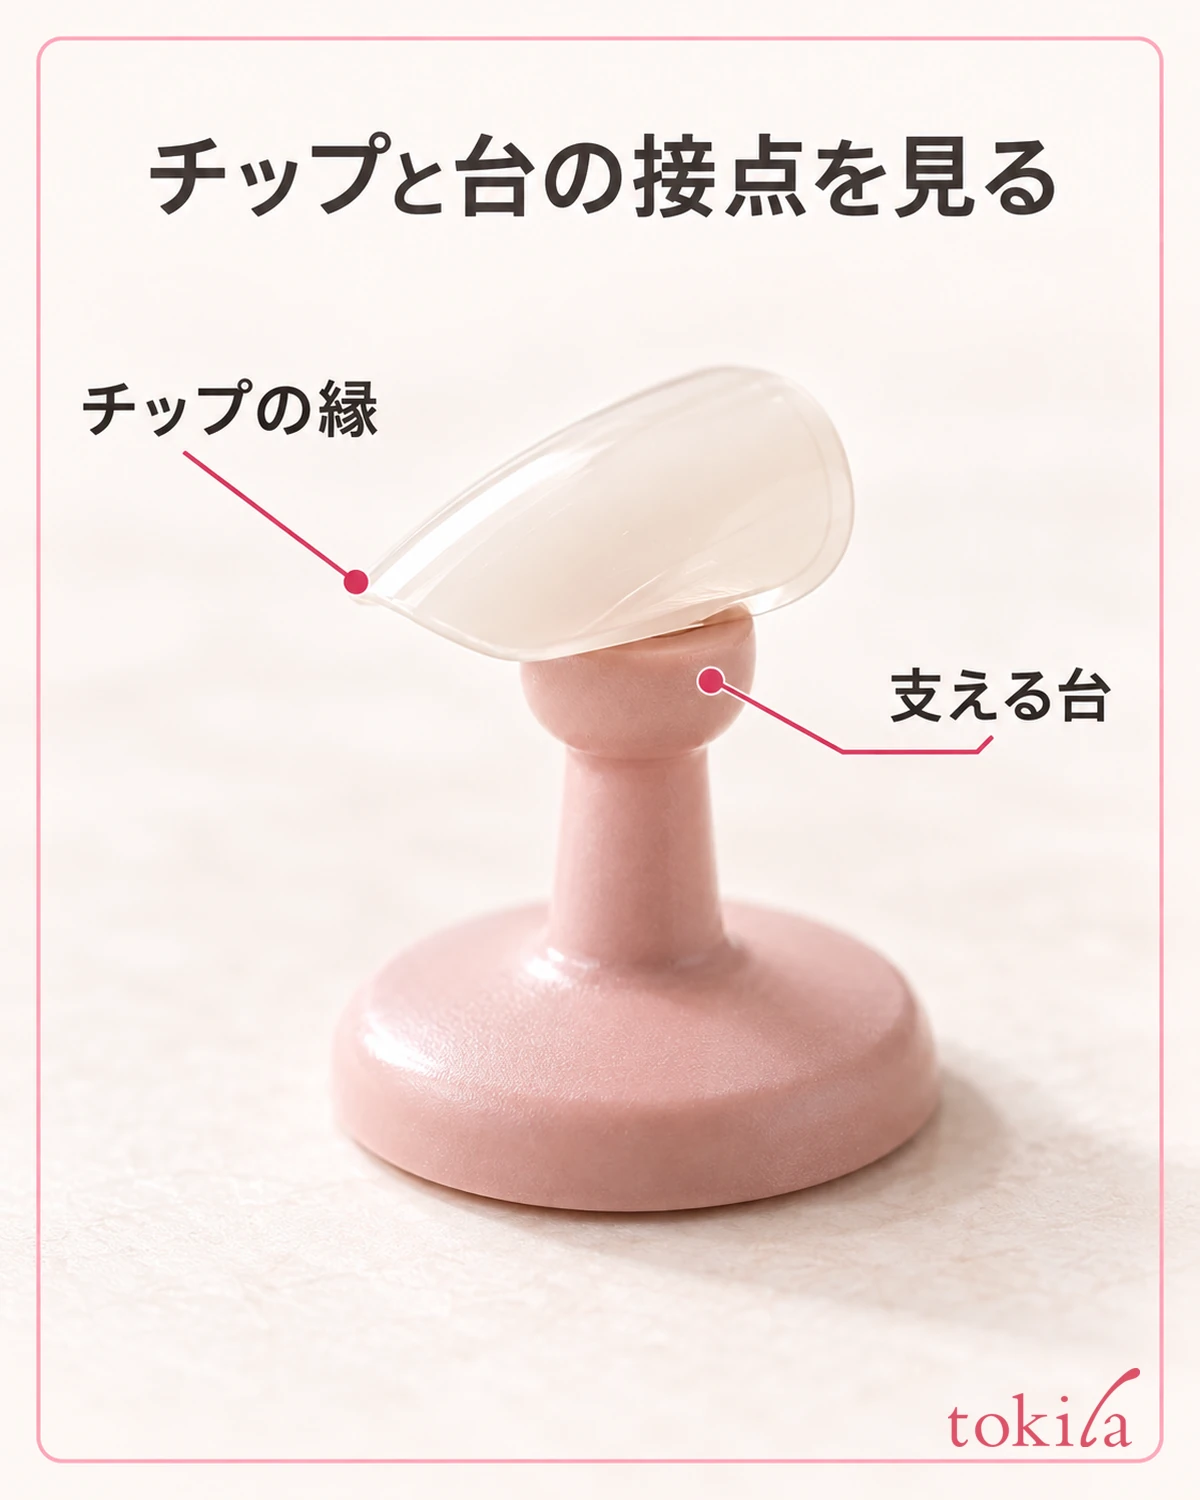
At first, limit yourself to one short straight line. After seeing where the brush tip touches and which way it moves, pull with a pressure at which the bristles do not spread widely sideways. The contact width differs between pressing the belly of the bristles broadly and lightly touching with the tip. Rather than suddenly easing off to get thinness, observe the shape of the contact.
Do not fix the angle at which you hold the brush uniformly. Handling changes with bristle length and the line you draw, so rather than matching only the angle of the handle to a sample, look at whether the bristles are bent too much and whether the paint is pooling in one place. If you cannot see the brush tip, change the direction of the tip stand first.
After drawing the line, lift the brush and look at the start and end of that one line. Going back and forth many times to hide a wobble increases the width, so leave the first line for comparison. Changing how you move on the next line makes it easier to check at which stage it gets thick.
Try long lines and curves once you understand the contact of a short stroke. Even with a brush suited to thin, long lines, you cannot count on keeping the same width if you apply force and spread the bristles. Rather than swinging your hand widely, adjust the position of the stand and how the bristle tip looks, and start from a length you can move comfortably.
It is easier to look back if you also record the drawing direction. Note the actions you performed yourself, such as "pulled from top to bottom" or "rotated the stand and pulled sideways." When comparing with another direction, first check whether you can see the brush just by rotating the tip, and do not bend your wrist hard to keep the same direction.
4. Do not layer onto a thick line; compare amount and pressure in another place

Even if the first line is thick, do not hurry toward a finished look by scraping the area right next to it or outlining it thinly in another color. Because this is practice to check thinness, leave that one line and draw the next on another tip or in a sufficiently empty spot. Match the base, paint, brush and line length of the two lines you compare as closely as possible.
If there is a blob at the start, slightly review the amount you pick up on the brush for the next line. At that time, do not change how you support your hand or how fast you move at the same time. If the bristles spread partway, keep the amount and ease off the pressure, then look at the contact width of the bristle tip. This is not a test to determine the cause, but a way of comparing to organize what your hand is doing.
If the line gets thinner but breaks partway, do not conclude that it became cleanly thin; recheck the amount and contact at which the line stays connected. Conversely, a line that looks dark is not necessarily thick. It is also a key point to look at outline width and color depth separately, and not to compare two lines on bases of different colors as if one were better.
When fixing uncured gel, check the stage at which you may touch it and which tools you can use. Avoid transferring it to the skin, and do not wipe and tidy it with your fingers. Do not go on to filing your natural nail to thin a cured line, and follow the product's instructions for handling the practice tip too. Avoid shortening the curing time by your own methods to make corrections easier.
With polish and paint too, the result of adding more differs between when it is dry and while it is drying. If the surface drags, do not force layering; check the necessary drying step. Rather than continuing to add actions to one line that is not going well, make a break by moving to a new comparison spot.
5. Check line width and continuity, then finish and clean up

After drawing a few lines, put the brush down and look at the tip from a little farther away. Separate the check of looking at the outline of one line up close from the check of viewing it as the pattern of the whole nail. If you view in a photo, shoot the two lines at the same distance and under the same light, and do not enlarge only one of them to compare.
The guide for choosing is not only that a line is thin, but whether it is a line that connects where you intended. Look in turn at pooling at the start, a sudden widening in the middle, and dragging at the end. You do not have to fix everything at once; jot down briefly what you actually noticed, such as "adjusting the amount made the start smaller" or "changing where I supported my hand made the width in the middle easier to see."
For finishing, check the instructions for each material. For gel, read the compatible light, the curing conditions and whether a top coat is needed as a set, and do not judge that a short time is fine because it is a fine line. For polish and paint too, check the conditions for applying the next layer and the finishing method. If you will attach the practiced tip to your finger, check separately whether it can be used for wearing.
Care for the brush you have finished with in a way that suits that brush and material. Do not apply the way you wash a paint brush to a gel brush, or pull on the bristle tip to return it to a fine point. If clumps or bends remain in the bristles, do not use it as is as a fine-line brush next time; check the specified care and whether it can continue to be used.
Next time, look at the two lines you kept and your notes, and restart from one condition. Before buying many new brushes, deciding which of the use, the amount at the brush tip and the contact width you will review makes choosing easier. For the types of nails and preparation before applying, please also refer to nail basics and check against the steps for the products you have.



