
Your foundation is running low, and you want to buy a refill and swap it into the case. But you can't tell where to take out the pan or where to press the new contents. In that case, first check the combination of case and contents and the unit of the part you will replace. Even if they look similar, a powder inner pan and a container with an inner lid are handled differently.
Here we sort out what to check before and after putting a foundation refill sold as a replacement into the compatible compact. We do not cover crushing powder to transfer it, or modifying a container to put in different contents. The places to remove, the tools to use, and the paper to peel are chosen by matching the instructions for what you own with the actual item.
1. Check that the case and refill are compatible, by product name
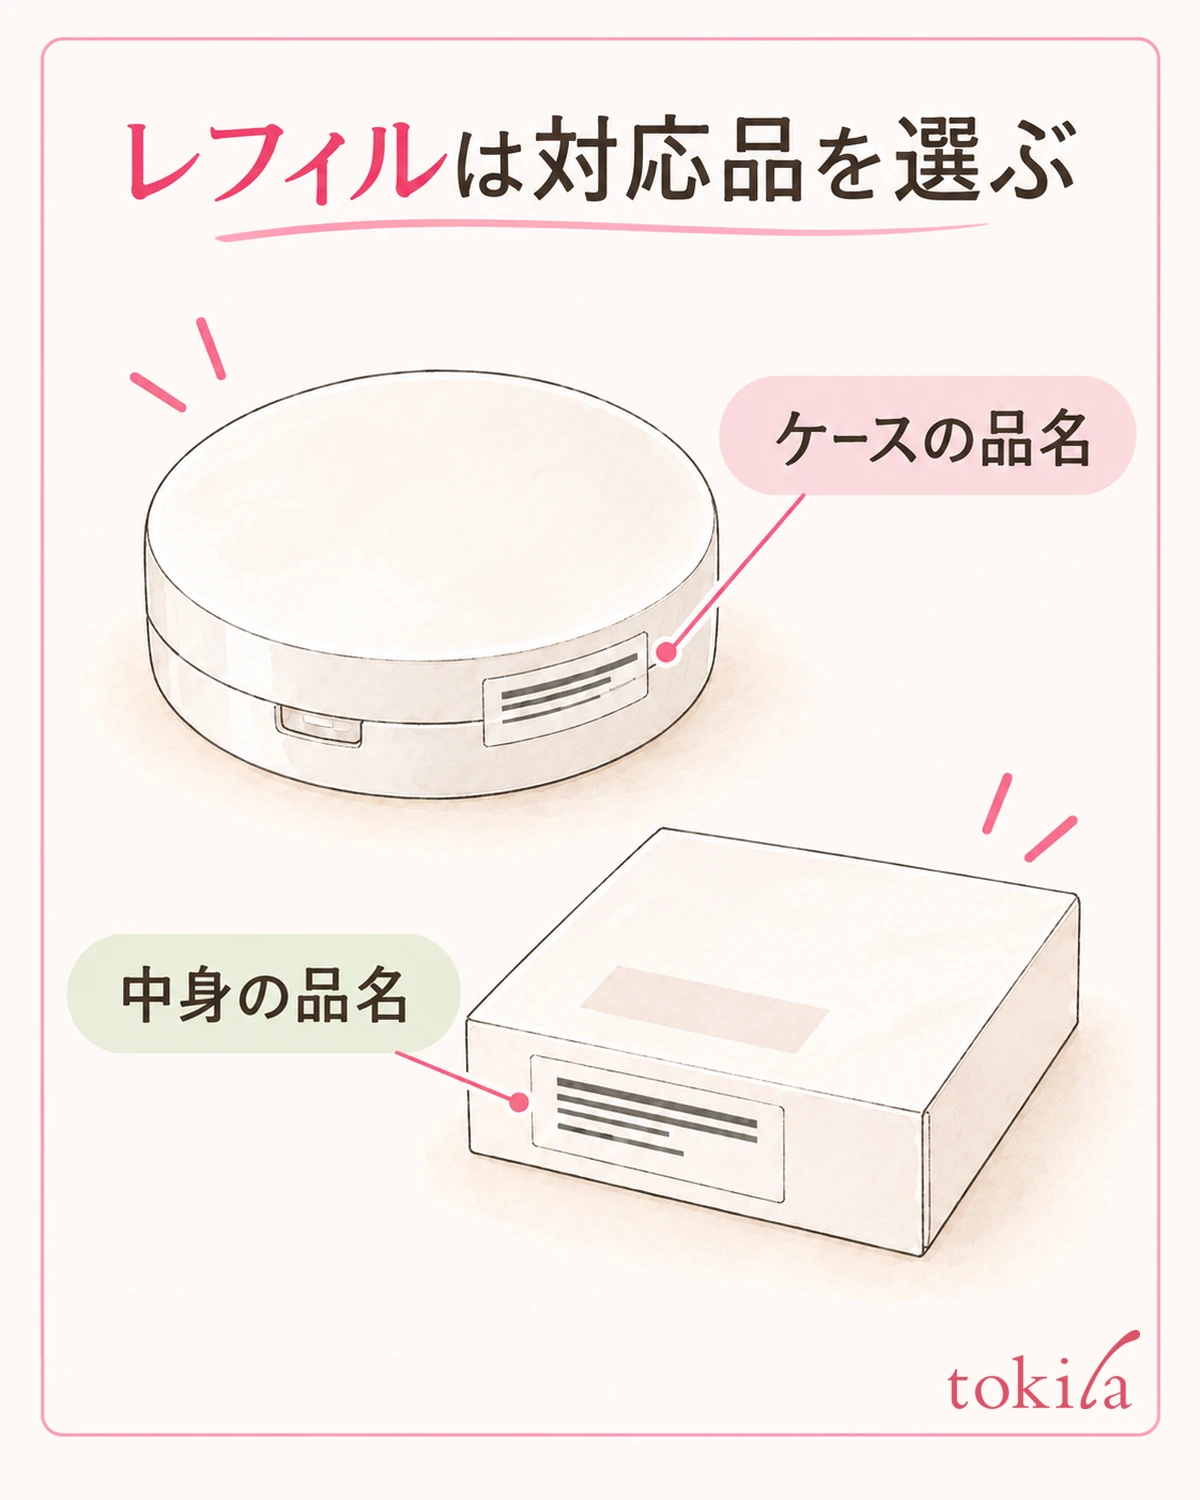
At first, without opening the new package, line up the case and the refill on your desk. Look at the product name, series, and compatible-case notes on the outer box and the bottom, and check whether the combination is specified. Having the same shade number and being able to fit into the case are separate things.
Even within the same brand, shape and fastening method may differ among powder, balm, cushion, and so on. Do not choose just by whether the case is round or square; look for contents that match the model you have. Even if the name is similar to an earlier product, do not skip over differences before and after a renewal or in size.
If you don't know the name of the case, look at the markings left on the bottom in a bright place. Rather than noting only the shade number of the refill, recording the case's product name separately makes clear what to look up next. You do not need to peel off the mirror or the bottom parts in order to read the text.
Even if the outer shape seems to fit, the height of the container, the fasteners, and even the place where the puff is stored do not necessarily match. Instead of testing compatibility by forcing it in, put in a step of checking the combination before opening. Whether the puff you have suits how the new contents are used should also be looked at separately from case compatibility.
If you are checking before buying more, keep the markings on your current case and the outer box together so you can use them for matching. A photo showing only the color or ornament of the case may not let you tell similar models apart. Keep the product name in a readable orientation, and do not record the parts you can't make out by filling them in yourself.
While compatibility can't be confirmed, you can hold off with the new refill's package still closed. Organize the product name of the case you have and the name of the contents you want to buy as a pair. Adjustments such as shaving the contents down or removing a divider are not a way to confirm compatibility.
2. Distinguish a powder inner pan from a container with an inner lid
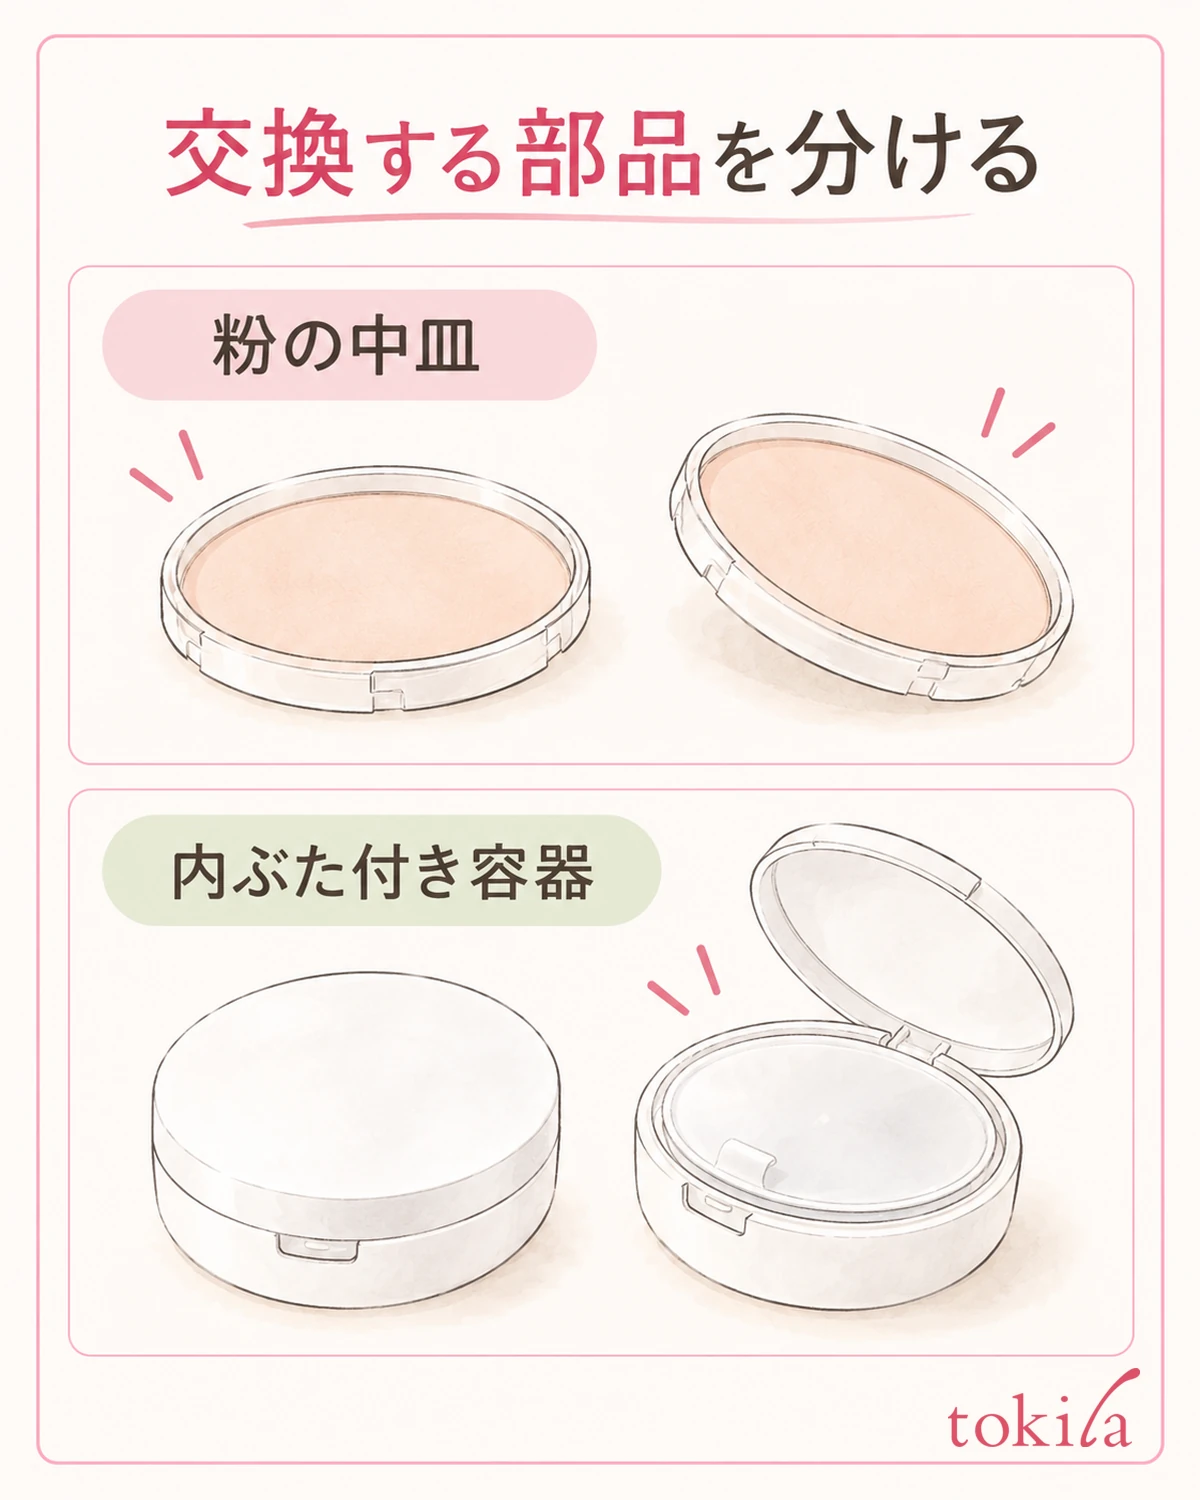
Next, look at how much of what you replace is a single unit. The place you hold and the marks for lining up the orientation both differ between something where only the shallow inner pan holding the powder is replaced and something where the container including the inner lid and frame is replaced. Compare the outline drawn in the instructions for what you own with the actual item.
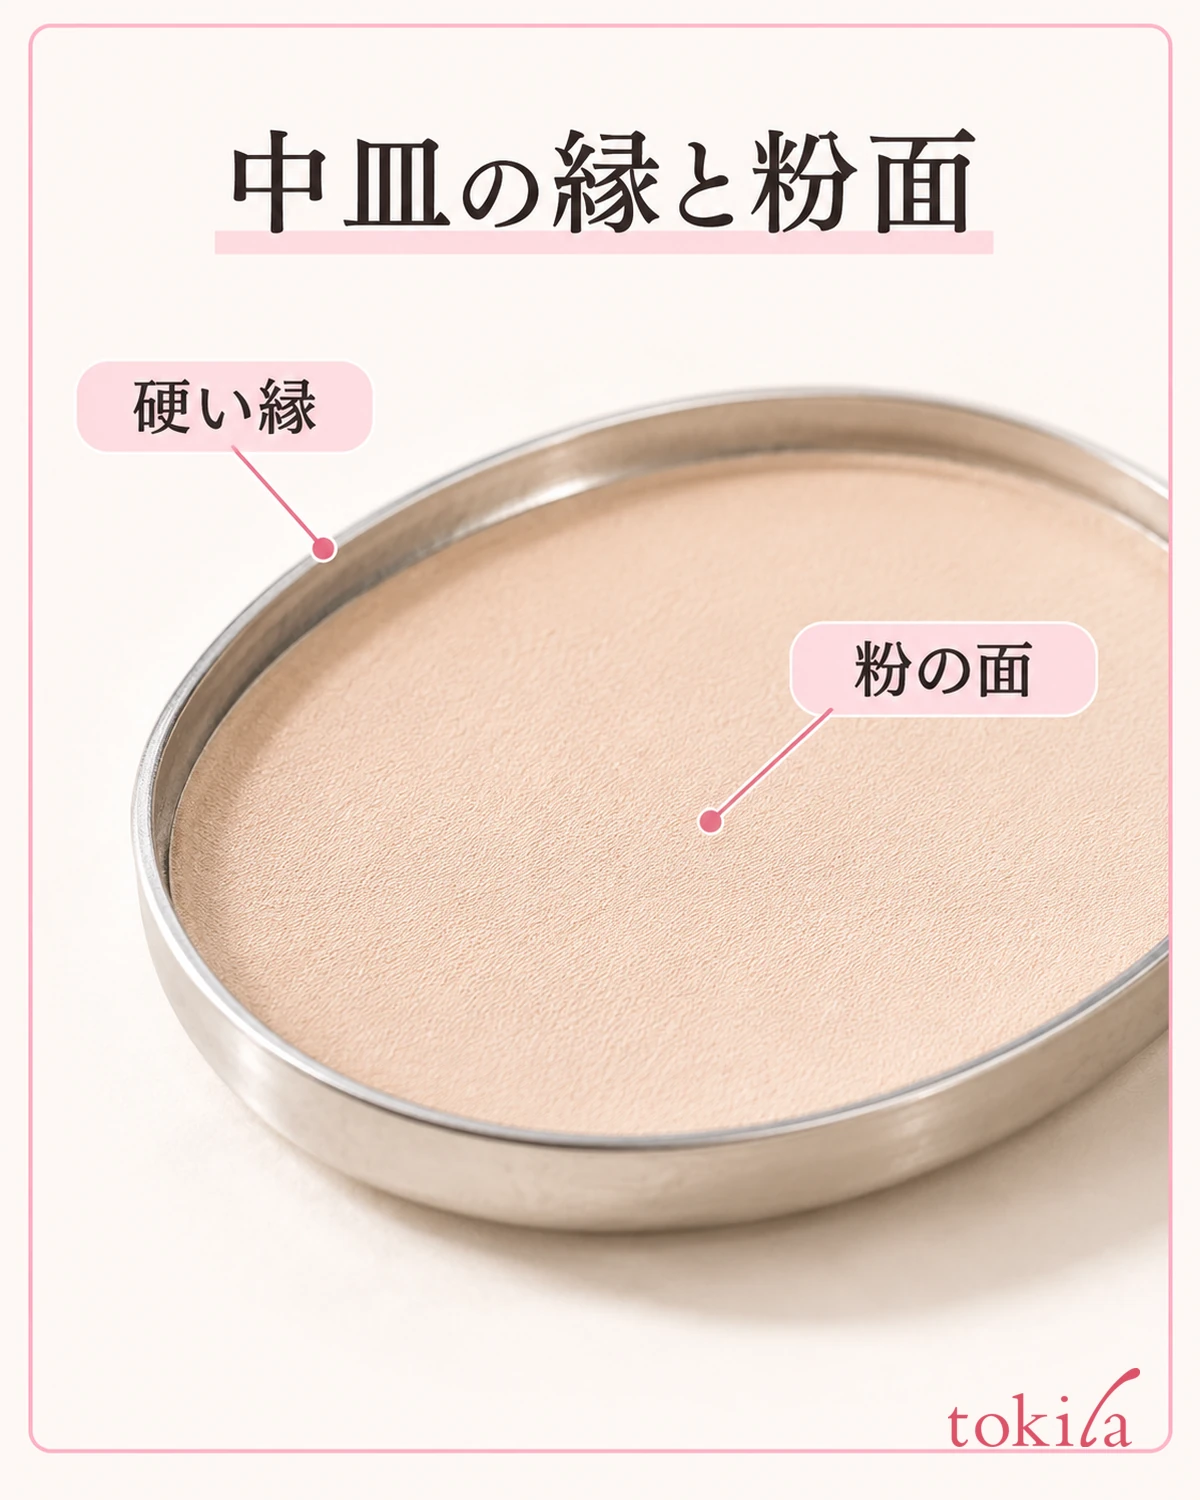
For a powder inner pan, distinguish the powder surface from the hard rim around it. Do not press the powder with your finger to check how loose it is, or press it down hard with a puff. Where to press when installing is specified separately. Do not decide that you can press anywhere just because there is a hard rim.
For a refill with an inner lid, think of the outer case and the container inside separately. If the instructions specify handling it with the inner lid closed during replacement, or lining up the hinge with the recess, keep that state and position. Do not change it into a procedure of taking out only the sponge inside and swapping it.
The hinge of the inner lid is the part that connects the lid. It can also look as if it overlaps with the hinge of the outer case, so first sort out what stays and what is replaced. There is no need to take it apart by force before removing it just to check its structure.
When removing packaging, it is also important not to regard the refill's frame or bottom as all disposable packaging. Handle only the parts that the instructions say to remove. In a format where a part that goes into the case remains, removing it may mean it no longer fits correctly.
A problem with the inner lid not closing can also occur separately from the replacement work. If you continue to use your current container as it is, you can also refer to checking the inner lid and puff of a cushion foundation and review separately what closes and what is stored.
3. Read how to remove it and how to secure it separately, before you start
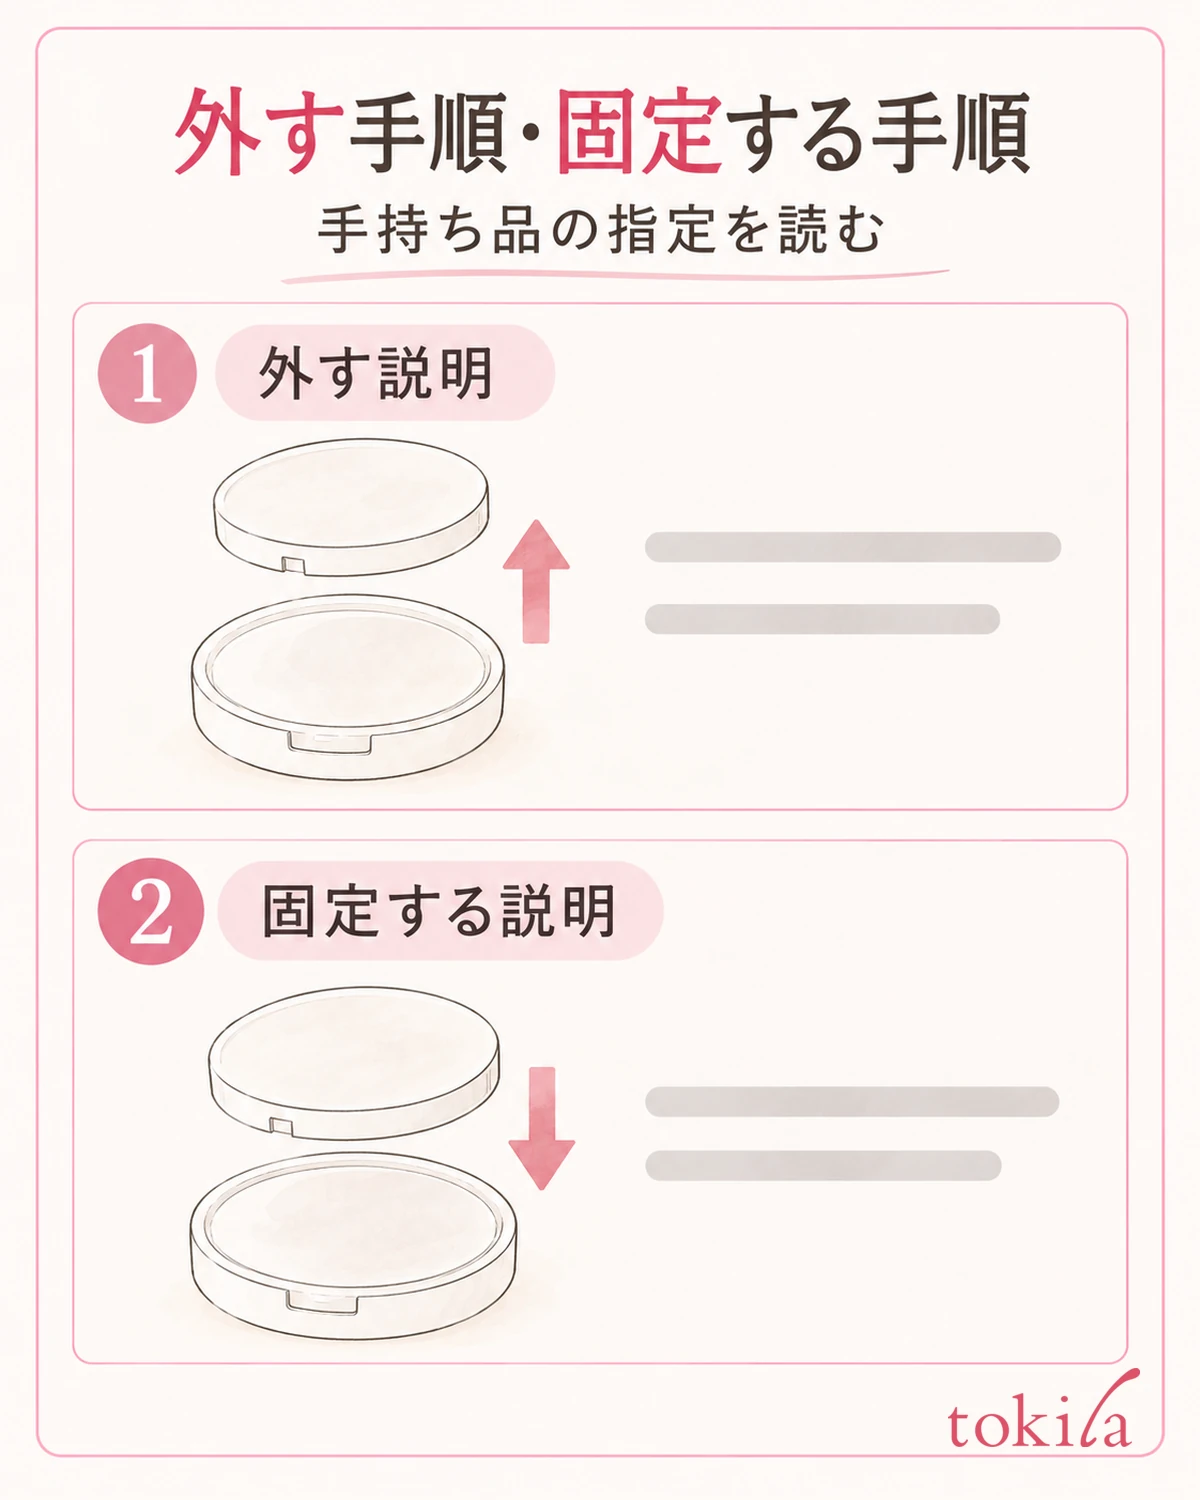
In the replacement instructions, read the steps for removing the used contents and the steps for securing the new refill separately. The places to check differ by product, such as pressing from the back, handling a specified position on the rim, or peeling a protective paper. Do not apply a method you learned with another case as it is.
Even if there is a small hole in the bottom, it is not necessarily for replacement. Operate it only when the instructions for what you own indicate that you use the specified tool through that hole. Do not substitute a method of pushing a thin-tipped object in from above the powder, or prying between the mirror and the case.
For adhesive types, see whether the instructions specify removing a protective paper on the back. The sticker with the product name or shade number and the paper covering the adhesive surface have different roles. Do not peel off every visible sticker; go ahead after checking that it is the same place as the paper shown in the diagram.
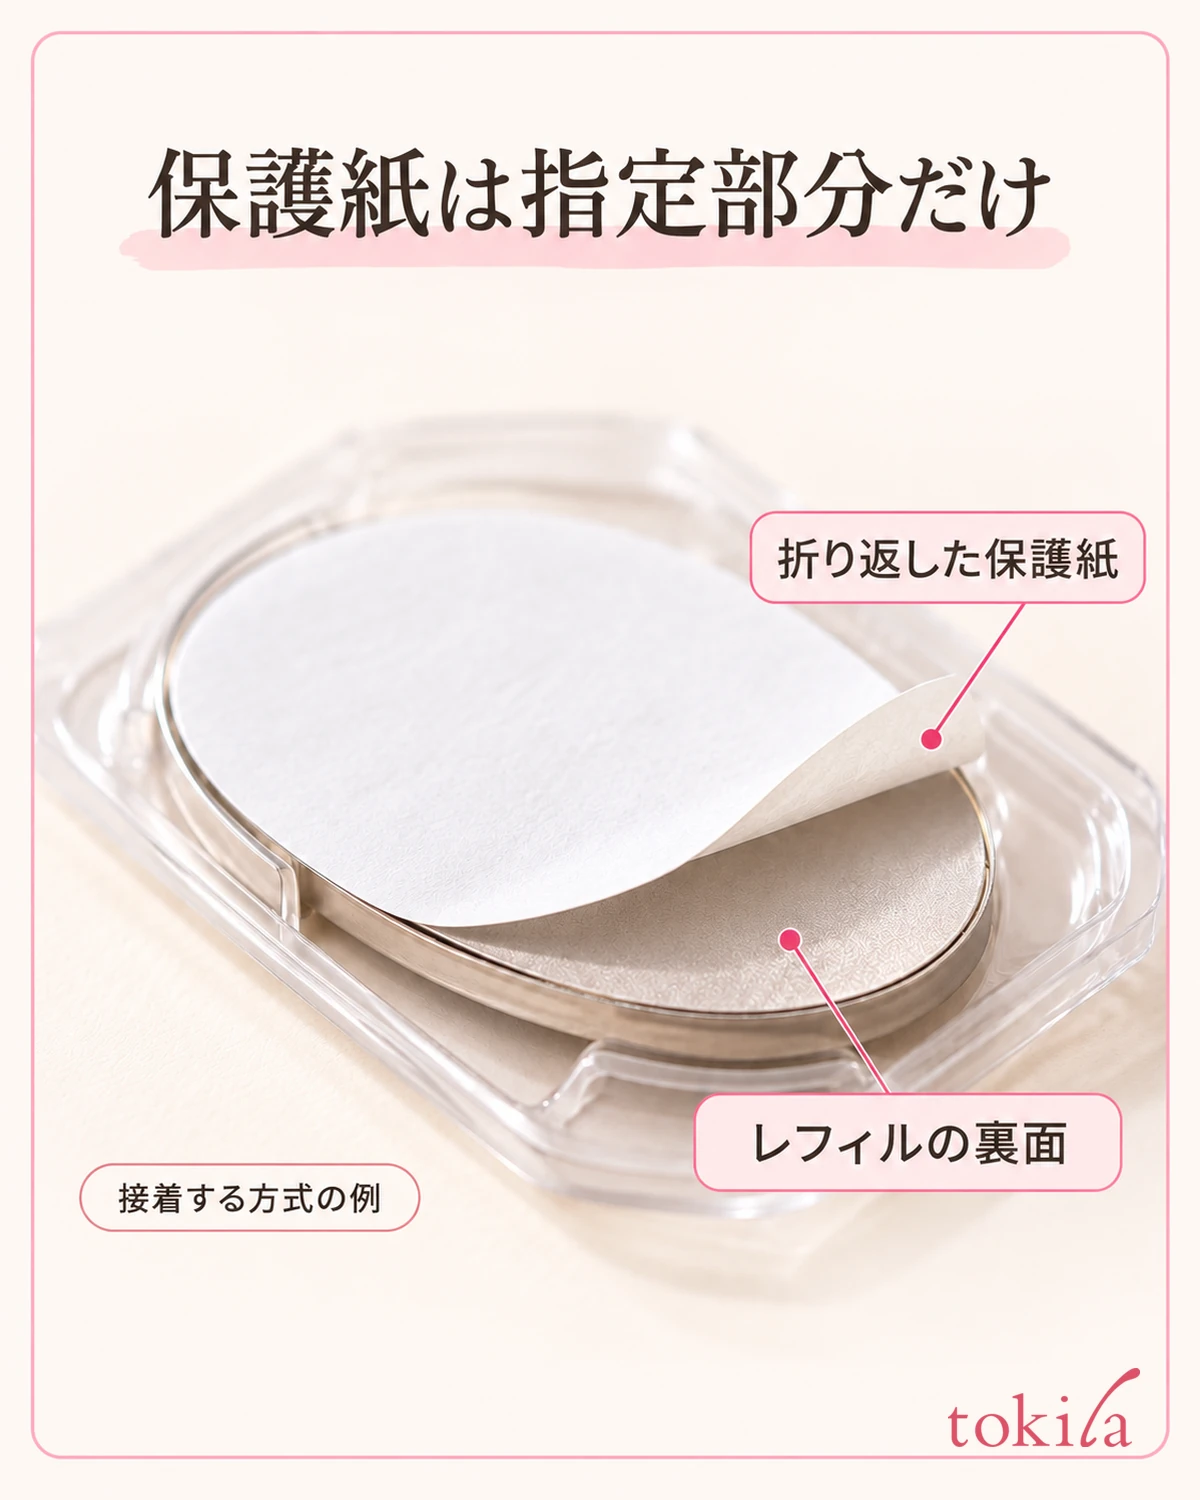
For snap-in types, check the places to line up the orientation and the position to press. Some products use a sound as a guide, but that does not mean you may press hard on one that makes no sound. Do not lump an adhesive type together with a type you press in until it sounds.
If the diagram in the instructions is small, check it in a readable state before you begin. Rather than looking for the new instructions while holding the old contents in one hand, looking at the steps you need first also lets you decide where to put parts along the way. It is fine to leave an operation you don't understand blank as it is.
Even when the hold looks weak, stop before adding household glue or double-sided tape. First check whether there is a mix-up of the original fastening method or compatible product. Do not add any disassembly that the container does not specify, such as loosening the adhesion with heat or solvent.
4. Replace it on a desk, and check the specified position and fit
On the workbench, place the case, the new refill, and the instructions, and make a spot slightly apart for the removed contents and packaging. Do not replace it on your lap where the case tilts, or inside a pouch; choose a bright, flat place. Start after washing your hands and wiping off the moisture.
When removing the old contents, use the specified way of holding and the tool. If it does not move even as the instructions say, the tool slips, or the container flexes, stop before using more force. Do not try to remove it by pressing on the part where powder remains; match again what is to be removed with the place to press.
Even if powder remains in the case, you do not need to wash it with water right away. Because it is a container that includes a mirror and fastening parts, care should follow that case's specifications. Keep the new contents away from dirt, and set it in after finishing the care that is permitted.
Hold the new refill by the part specified in the instructions, and line up the orientation and marks first. Instead of pressing on the powder surface or the sponge inside, secure it at the position on the container that is specified. Do not push in a refill that is sitting slanted and raised by the force of closing the lid.
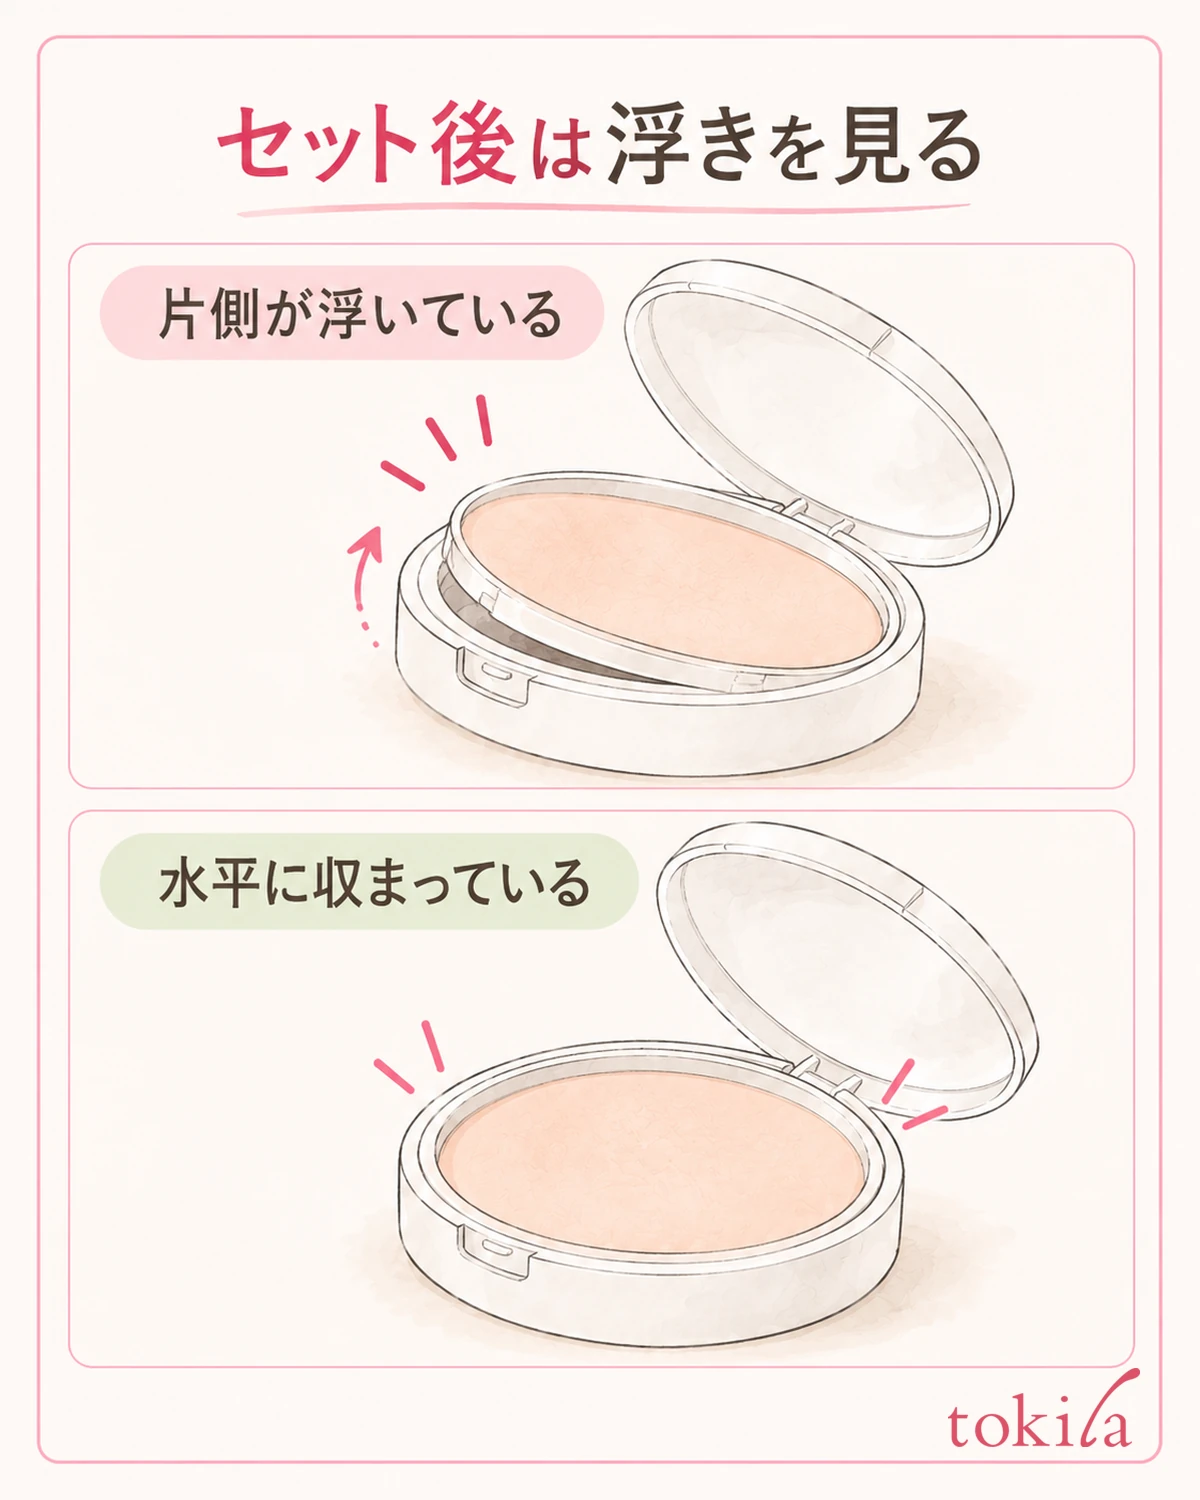
After setting it, check the fit with the case placed on the desk. Check that there is no state in which one side is higher, it is riding up on the rim, or the hinge part is out of line. There is no need to turn it upside down and shake it, or drop it, to test the hold.
If powder spills around, move the new contents away from the dirt first and separate the work. Dealing with powder dirt in a makeup pouch and separating tools also sorts out the idea of keeping the container and clean tools apart. Do not gather the spilled powder and return it to the inner pan.
5. Put back the lid and puff, and keep the markings you need for the next purchase
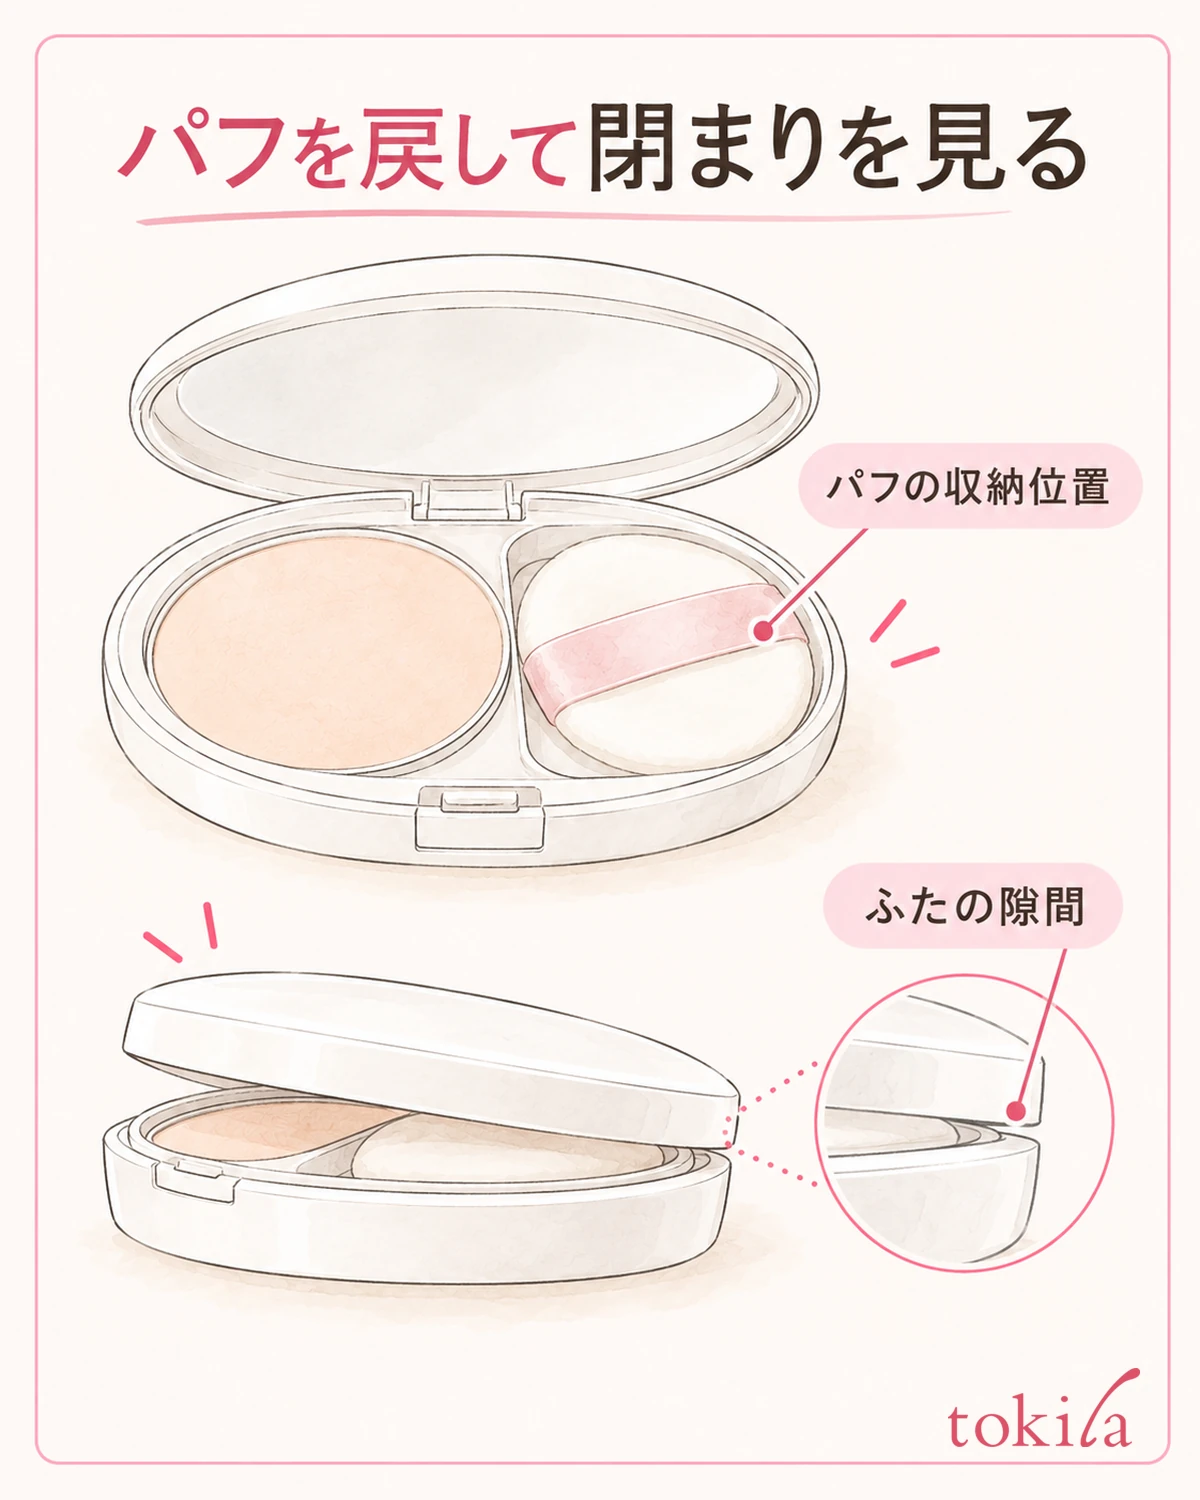
Finally, return the included puff and any parts that are specified to be kept to their designated storage positions. If the thickness or placement of the puff changes, the lid may seem hard to close even though the refill is seated. Check the securing of the contents and the storage of the tools separately.
If there is an inner lid, follow that product's order of closing. Even if only the outer lid looks closed, check that the inner lid is not lifted. If the closing is different from before, do not squeeze hard with one hand to force it shut; open it once and review the cause.
If there is a gap at the rim, a fastener does not engage, or the contents move, do not take it out as it is. Also check for damage to the case and a mix-up of compatible products. If the container is chipped or the powder is cracked, do not go on to glue it and keep using it; refrain from using it.
To buy the same contents next time, keep the case's product name, the refill's product name, and the shade number separately. A marking from which the compatibility can be understood is more useful than a photo of the shade number alone. Even if you record the date of replacement, do not use it as grounds to set the same expiry for every product.
Keep the instructions so that you can tell which edition corresponds to the case. When old instructions and new packaging get mixed, do not treat them as the same procedure just because the names are similar; check the combination you have. Rather than keeping all the paper, there is also a way to keep the necessary markings and operations in a readable state.
Choose a compatible item, separate the part to be replaced, and check how it closes after securing it in the specified position. This order is the preparation for using a case you like with the next refill too. If you can't tell why it won't fit, don't force a finish; sort out the product names you were able to confirm and the position that is giving you trouble, and take a break there.



