
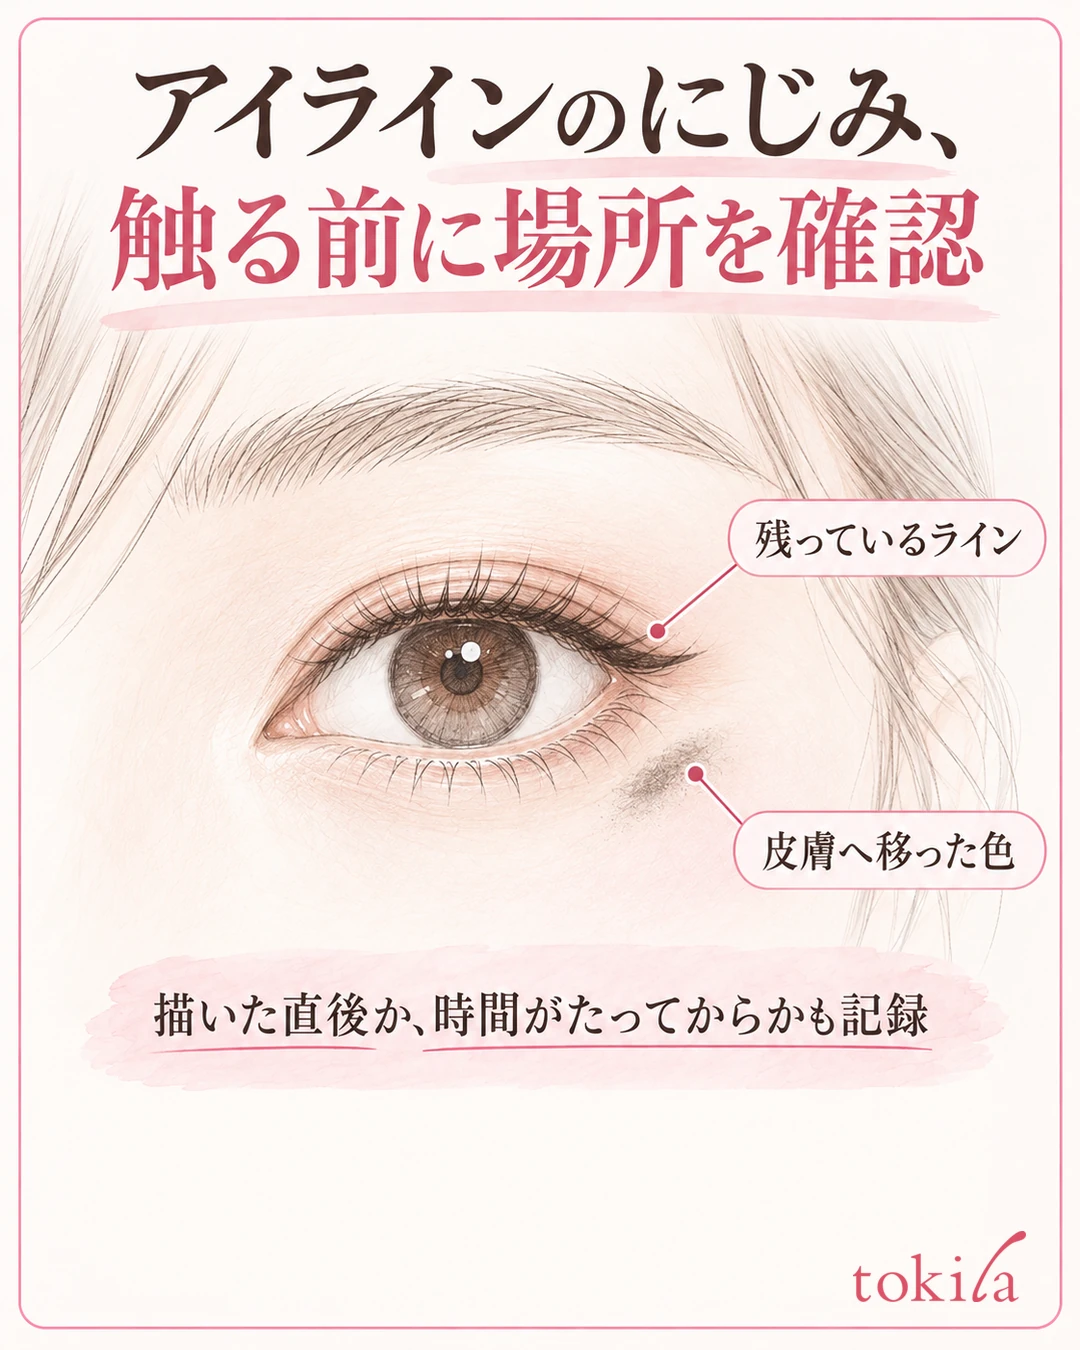
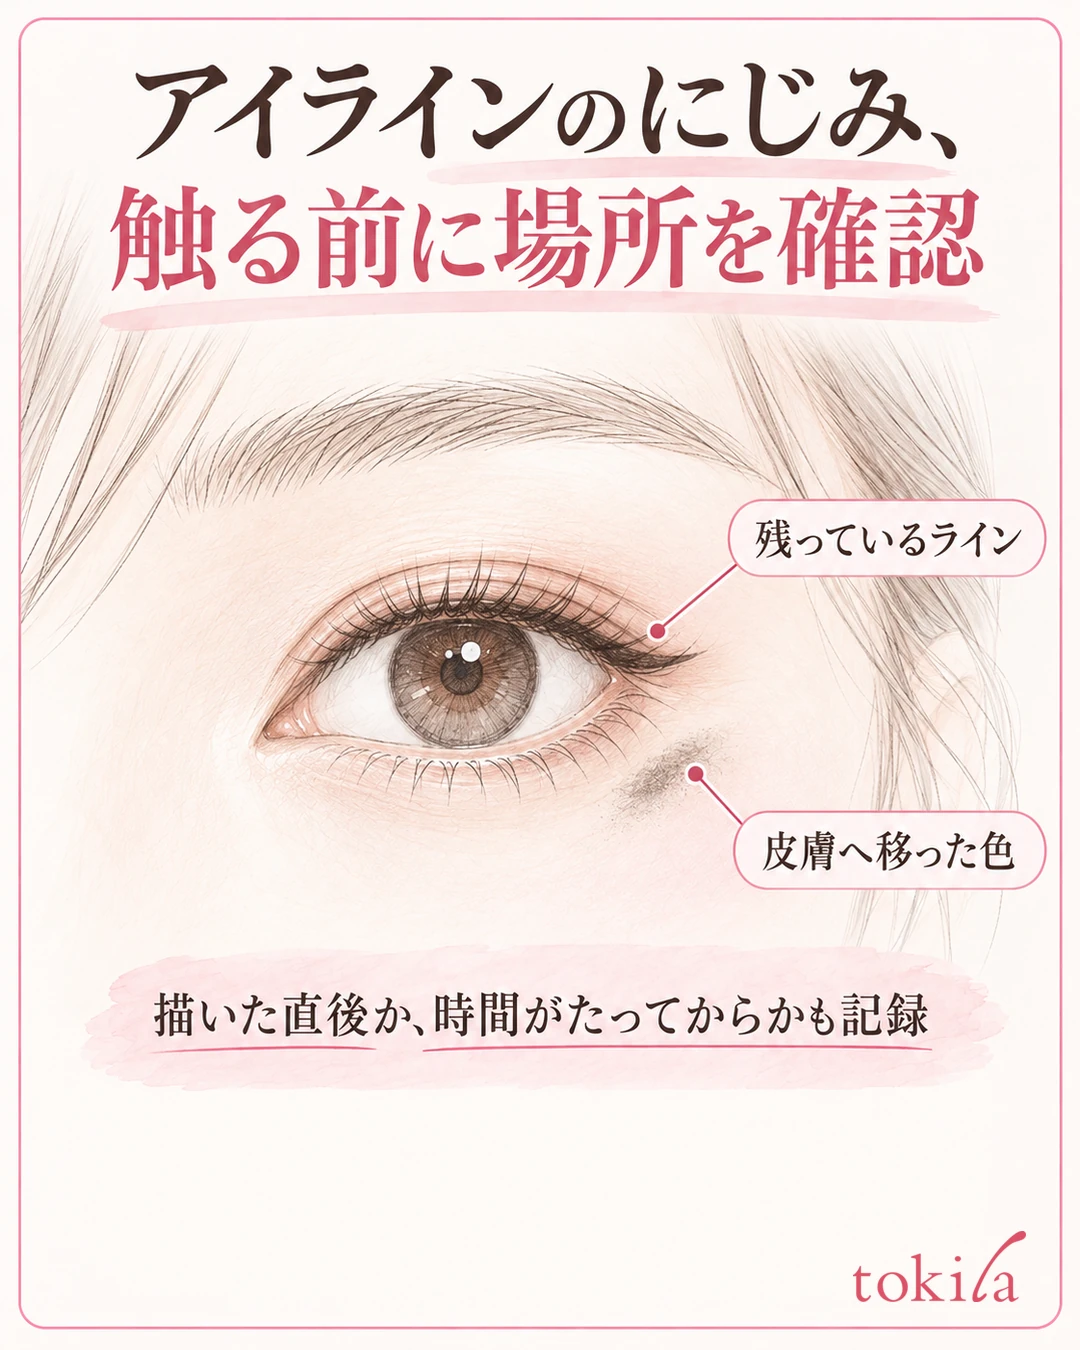
When your eyeliner smudges, before making the line any thicker, check where the color has transferred and the condition of your eyelids. Is the color only at the outer corner, does it spread widely onto the lower lid, and does it happen right after you apply it? When you are out, work in this order: remove the transferred color, tidy up the leftover liquid and oil, and add back only the line that has disappeared. To prevent it, start by reviewing how sticky the area is before you draw and the range your line tends to touch.
Even waterproof products do not necessarily stay put under every condition. This article illustrates the preparation to do before moving on to choosing a different product, reviewing the amount and range of liner, and touch-ups on the go. For the types of eyeliner and the basics, please also refer to the basics article on eyeliner and mascara.
1. Check where it smudged and when it happened
First, look in a mirror at the line that remains and the color that has transferred onto your skin. Is it only at the tip of the outer corner, the outer side of the lower lid, or the area your lashes touch? When you find a smear of color, note where it is before you touch it. If you rub it with a finger it spreads, and you lose track of how it looked at first.
The steps to review differ between color that moves upward when you close your eyes right after drawing and color that appears on the lower lid in the afternoon. Try separating the candidates: if it happens right away, look at how you handle it until it dries; if it happens after some time, check the oil and the places where it makes contact. However, you cannot determine the cause from timing or position alone. Next time, change just one condition and compare.
Black color is not always eyeliner. Crumbs of mascara that have flaked off, or powder from dark eyeshadow, can also look like a shadow. Checking whether the line remains and whether there are clumps on your lashes makes it easier to decide which tool to fix it with. Rather than concluding that there is a single cause, start by observing.
For next time, record the place and the time, one at a time
Make a short note of the place and the timing, such as "color got under the outer corner in the afternoon" or "it transferred to the upper lid right after I drew it." If there were any unusual conditions that day, such as a day you cried, a day you were in a hot place, or a day you touched your eyes a lot, noting them too lets you compare.
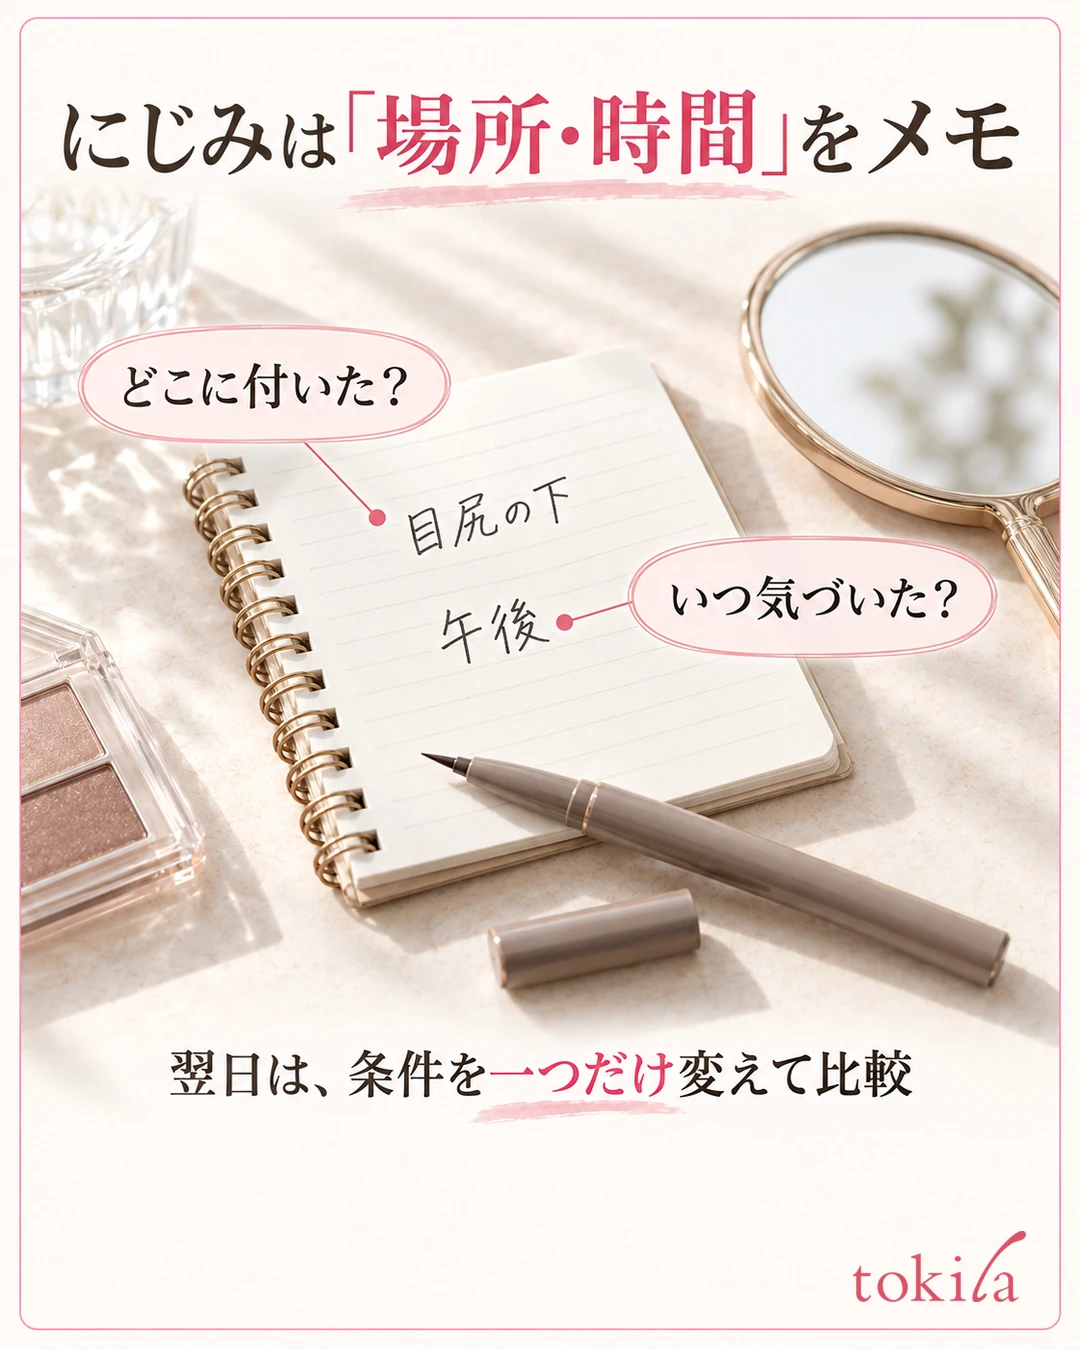
The next day, change one of these and check: the amount, the length of the line, or the condition before you apply. If you change every product and primer at once, it becomes hard to tell what worked. If you observe with the same mirror and the same brightness, it is easier to see whether the smudge has spread or gotten smaller.
If it smudges in the same place every time, also check whether that spot is easily touched. Rather than trying to force a change in the shape of your eyes, try adjusting where you place the line and how wide it is. If it happens differently on the left and right, you do not need to make the same fix on both sides. Adjust only the side that bothers you first.
2. Before drawing, lightly press away excess oil around your eyes
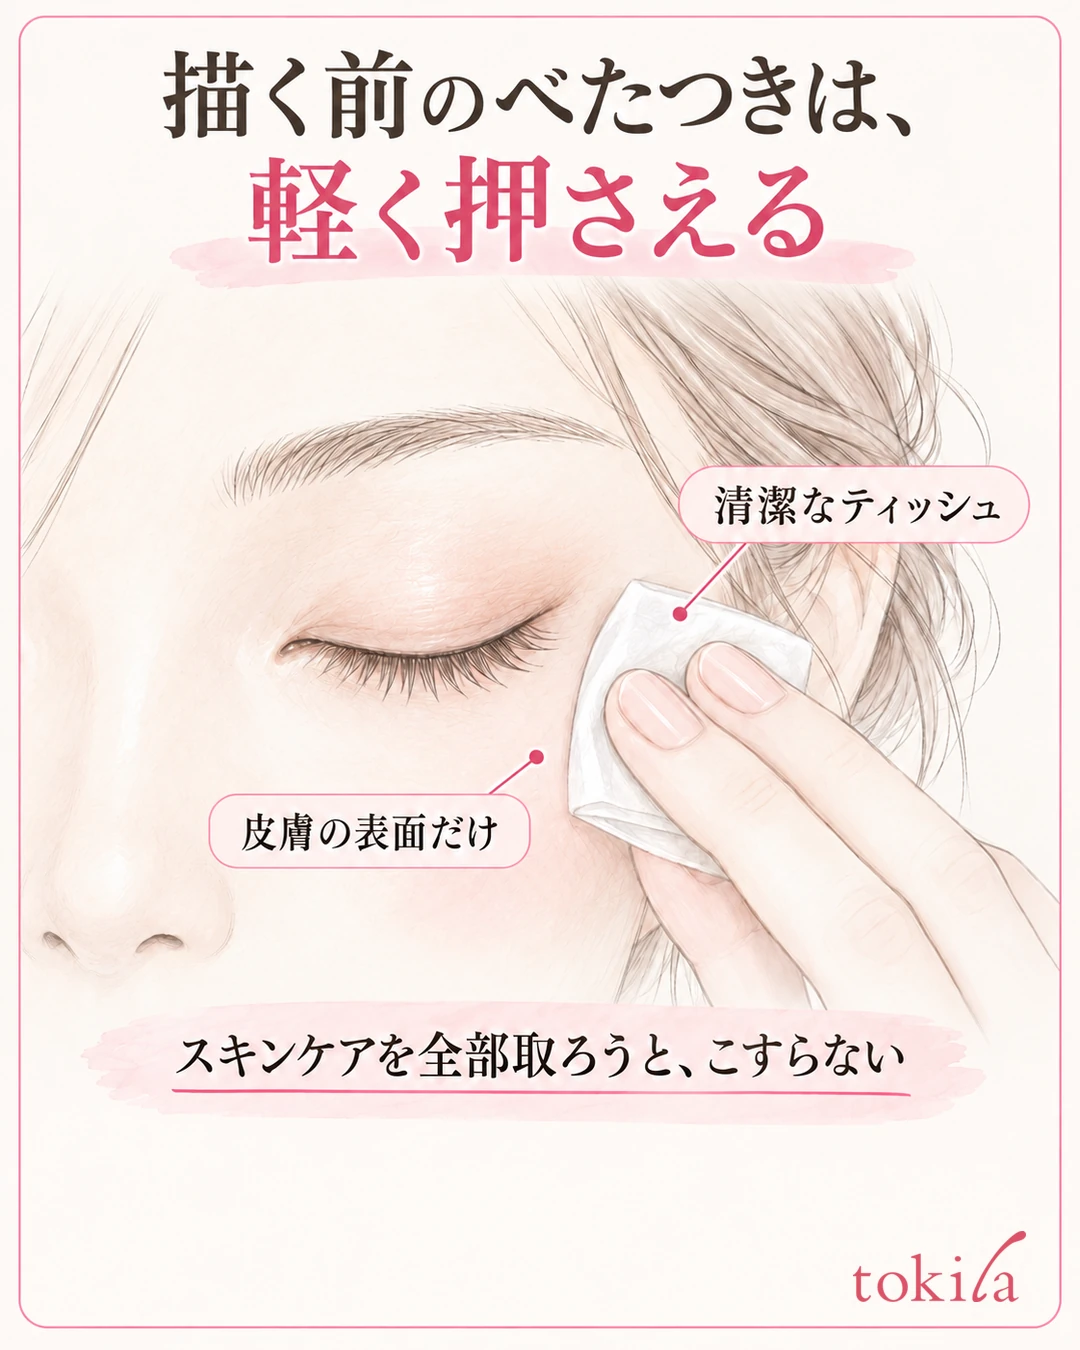
If the area around your eyes feels sticky, lightly press the skin with a clean tissue or oil-blotting paper. Do not rub in an attempt to remove all of your skincare; tidy up only the excess left on the surface. This is not a step for wiping inside the eye or the mucous membrane.
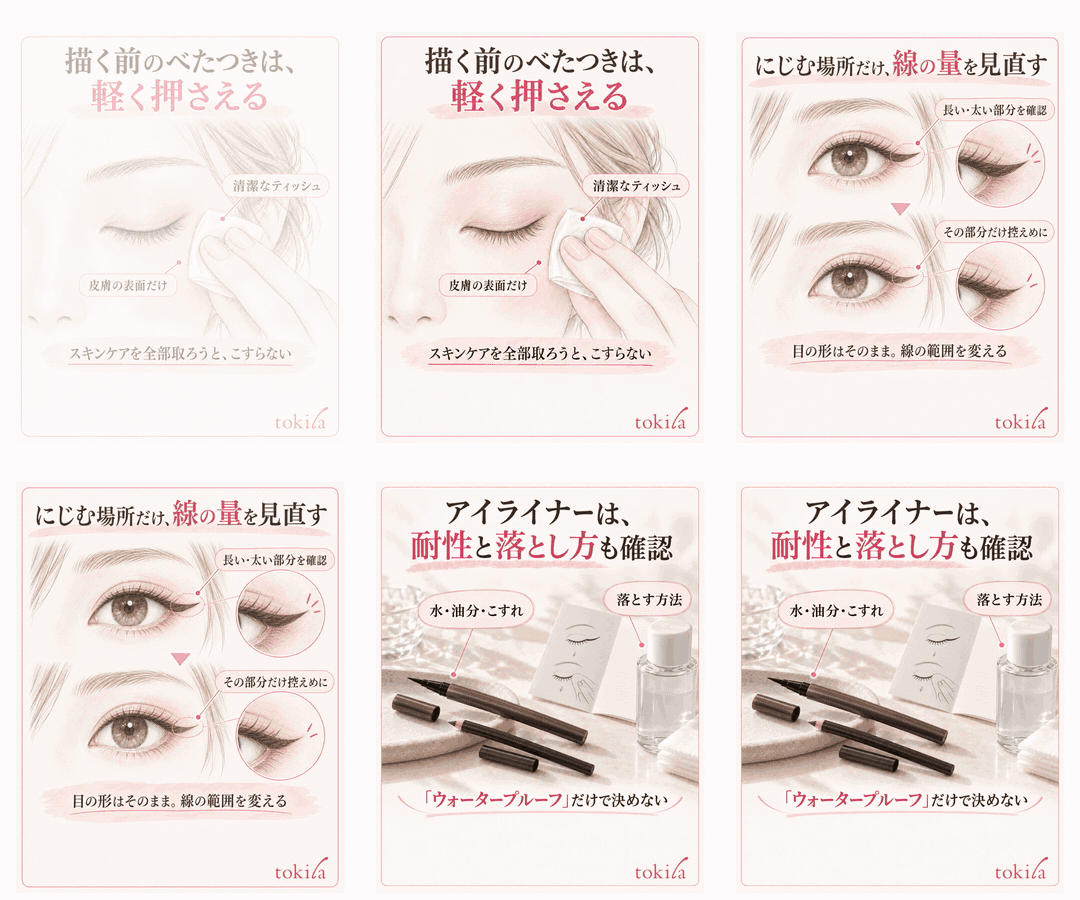
Do not judge by the label "water-resistant" alone; also check what you layered under the liner and how much.
If you have been layering primer or foundation thickly around your eyes, next time follow the directions for use and blend a thin layer into only the areas you need. You do not need to dry your eye area out excessively just to avoid smudging. The key is to separate dry, powdery areas from sticky ones and not to spread the same treatment across your whole face.
Use powder thinly on the skin that needs it, and keep it out of your eyes
If stickiness remains on the skin of the lower lid, one method is to blend in a small amount of powder that can be used around the eyes. Do not pick up much on the tool, and do not place it on the mucous membrane or inside the lashes.
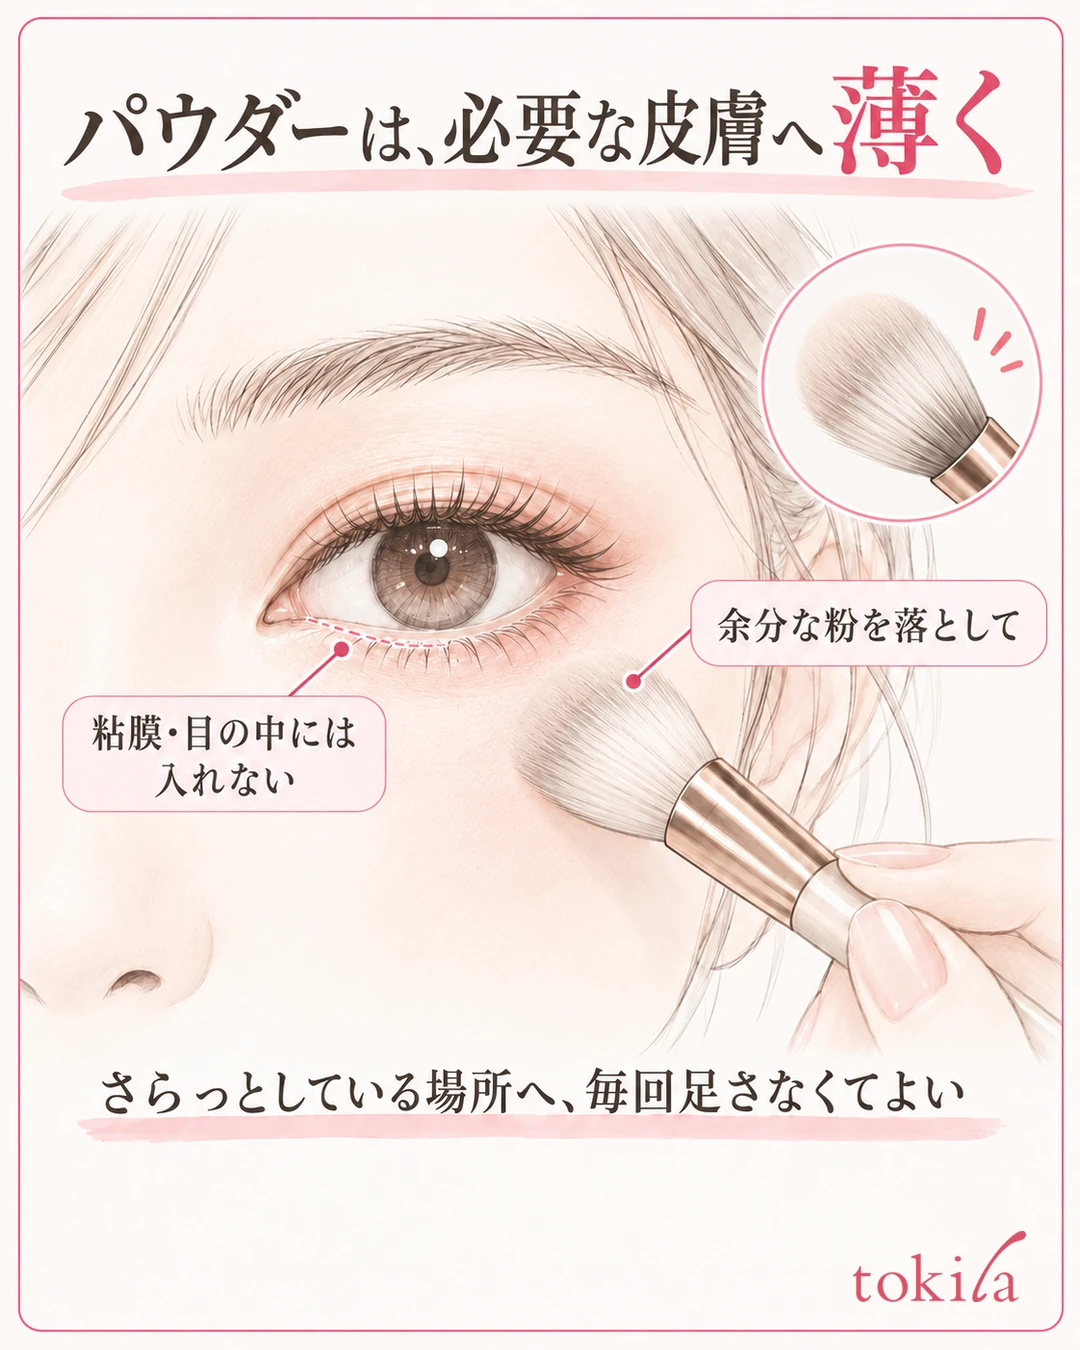
Adding more powder does not always mean it will no longer smudge. If you layer it thickly, powder can collect in the lines around your eyes, or a dry-looking finish can become stronger. After you have tidied up the stickiness, use it thinly on only the skin that needs it, and check that no excess powder remains.
If your lower lid is already smooth, you do not need to add the same amount every time. Check not only whether you use powder but also whether the line touches that skin. After you finish preparing, open and close your eyes naturally and check in the mirror where you will place the line at the outer corner.
3. Review the amount of line and the range the eyelid touches
Check whether a thickly drawn part or an outer corner extended long touches other skin when you close your eyes. If it transfers to the same place every time, try changing one thing at a time, such as making the line thinner or shortening the outer corner only there. You do not need to change the overall impression of your face dramatically.
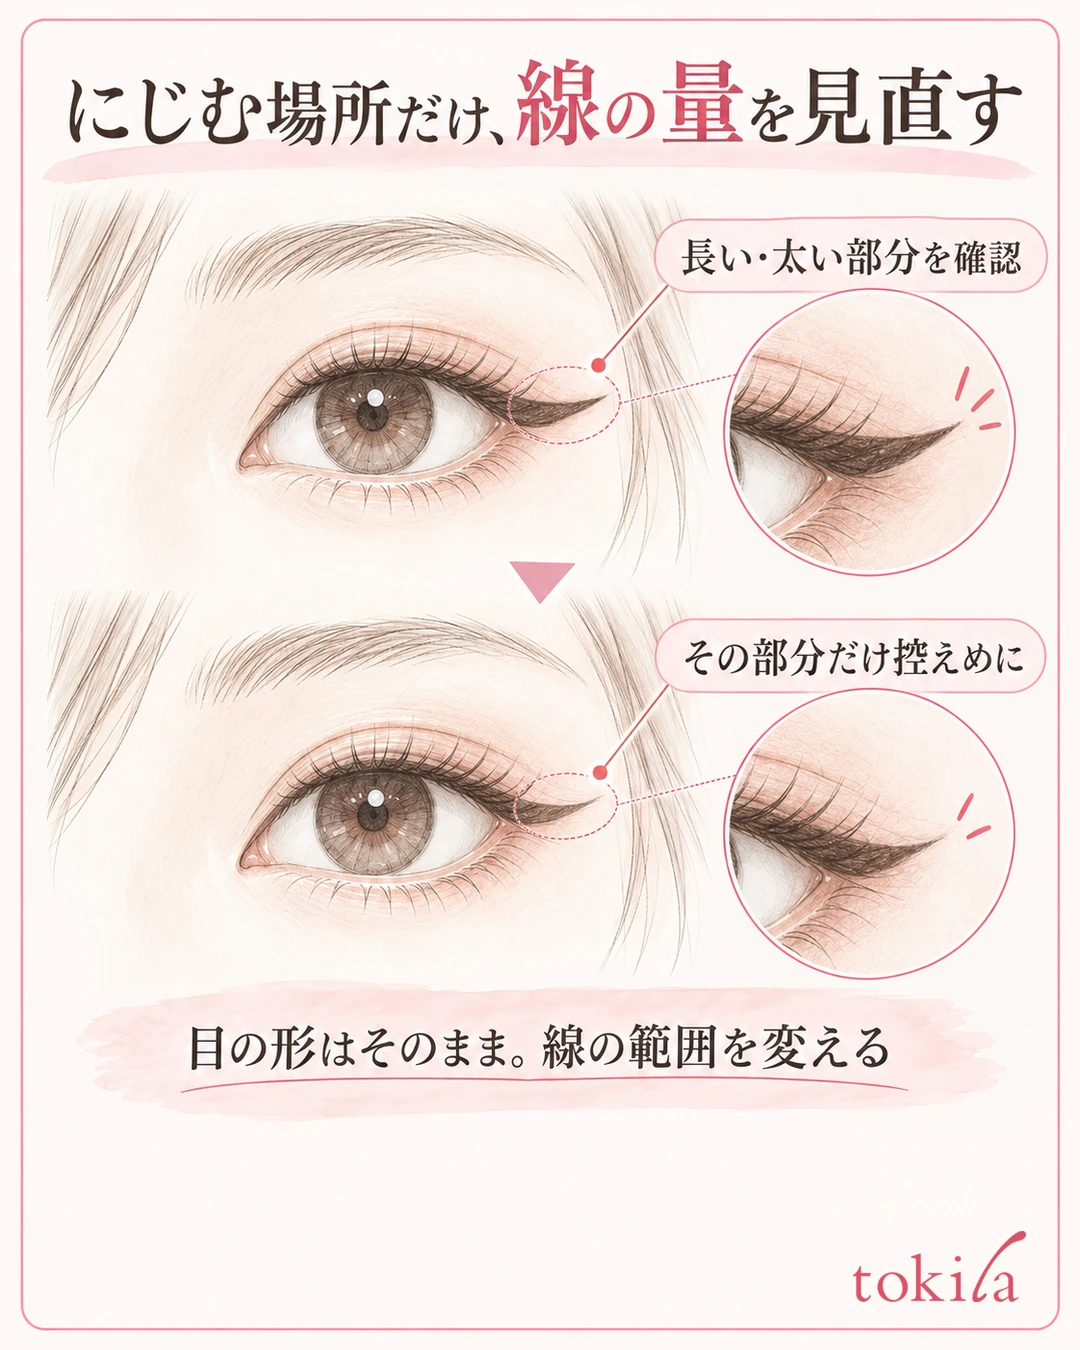
For areas where you have layered liquid liner several times, also check the thickness and how it dries. Even if you want the color darker, do not keep going back and forth over the same spot; take the tool away for a moment and see how it looks. The time it takes to dry differs depending on the product and the amount, so rather than fixing it at a set number of seconds, follow the product's instructions.
For the lower lid line as well, the more widely you enclose the eye, the larger the area it can transfer to. On days when your upper lid is fine and only the lower side bothers you, start by trying the length and amount of the lower side. Instead of adding strength by drawing on the inner rim or the mucous membrane, proceed with the idea of adjusting the line on the skin to the range you need.
Reduce rubbing before it dries and the habit of touching your eyes
If you touch the outer corner with a finger right after drawing, or rub it to check the color, the shape of the line can break down. First check without touching, and look at the condition when you move your eyes naturally. Do not use methods such as blowing a hair dryer at your eyes to dry it quickly.
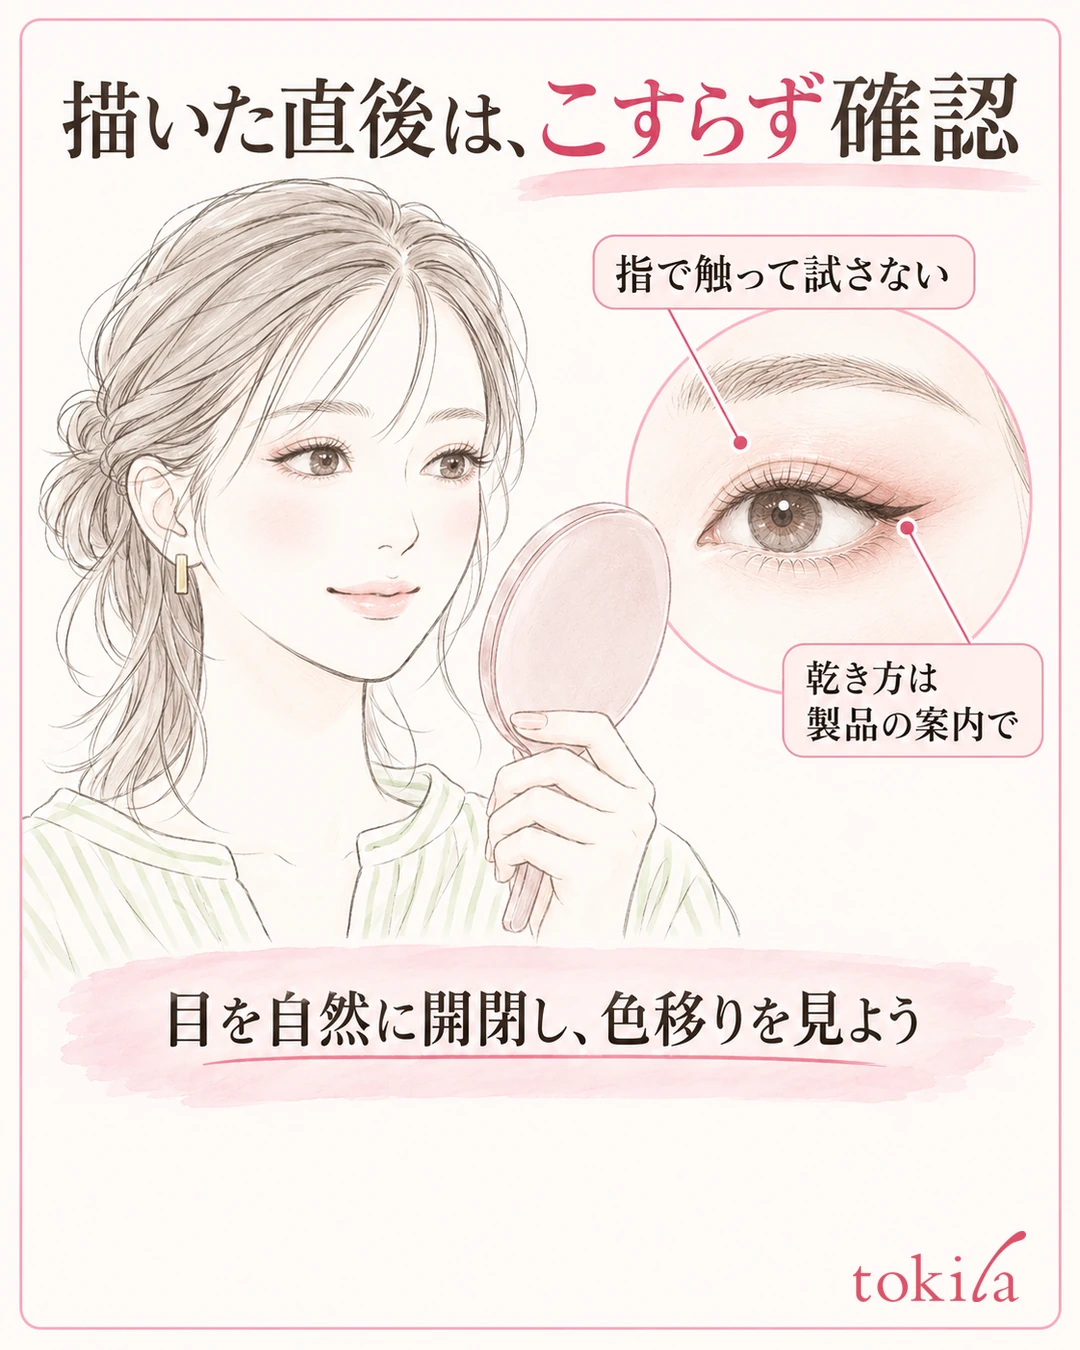
Color that got on your skin before it dried can spread further if you wipe it widely in a hurry. Look at where the color is and handle only the range you need.
On days when you touch your eyes often, try becoming aware of that habit before fixing your finish. If you feel the urge to touch because of itching or irritation, do not prioritize continuing with makeup to cover it. If you notice anything unusual during use, stop using it and follow the product's precautions for use.
4. Do not choose by type name alone; check resistance and how to remove it
Look closely at the product's instructions, such as waterproof, removable with warm water, or resistant to rubbing. Resistance to water and resistance to oil are not the same, and you cannot decide by shape alone, such as "liquid never smudges" or "pencil always comes off."
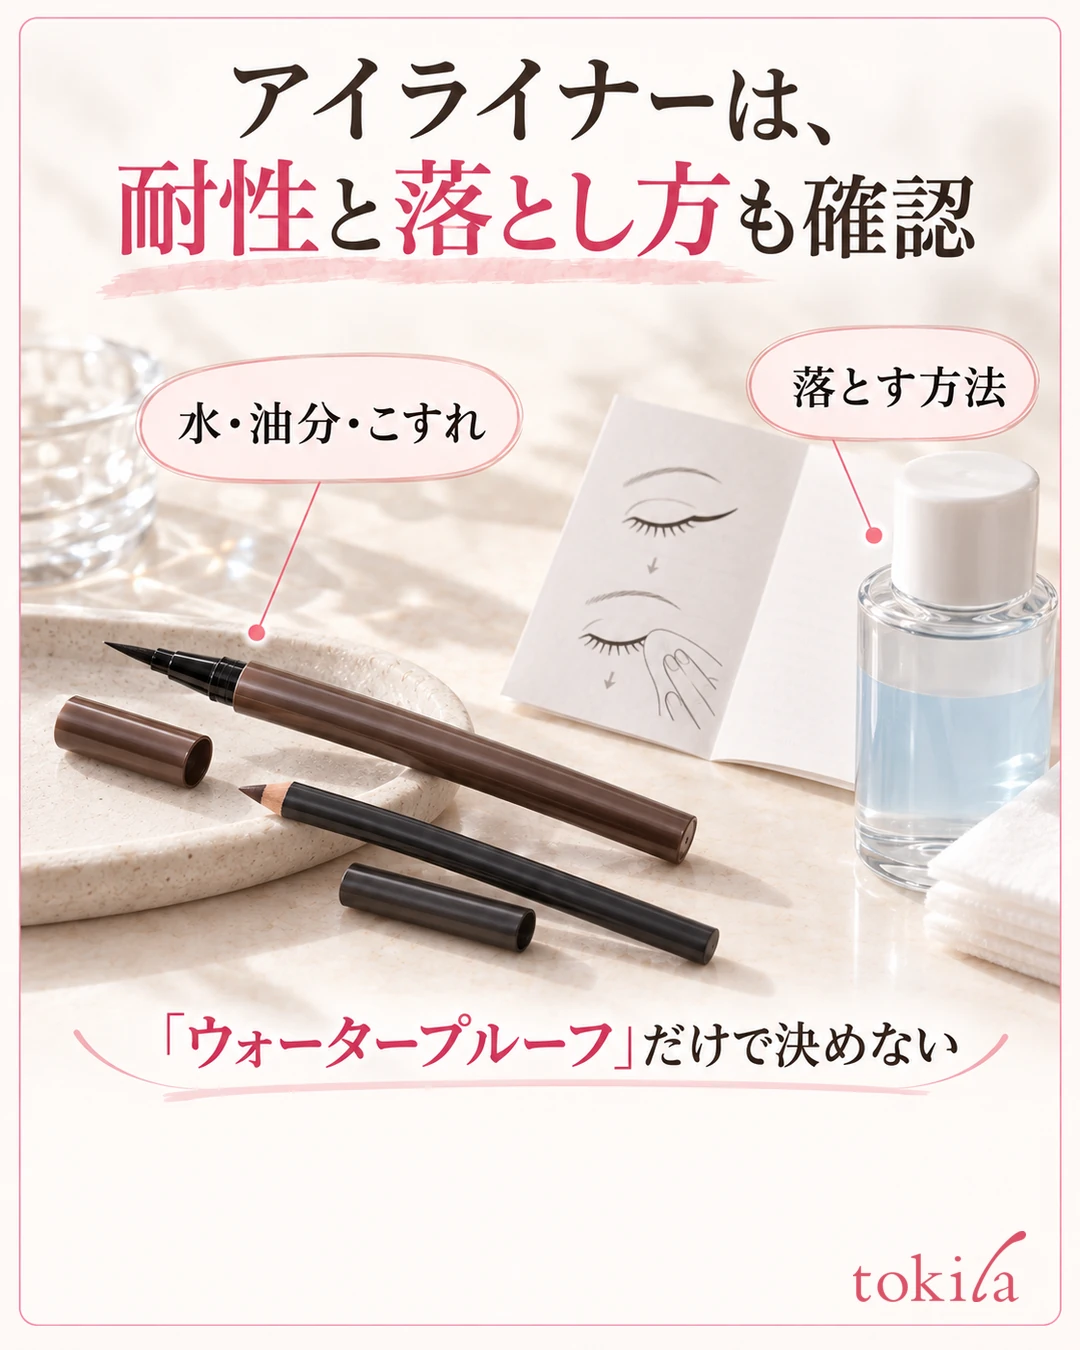
When you choose again, check it against your record of how it smudges. Does it bother you on days with a lot of sweat or tears, does it transfer when you use an oily base, or does the part your hand touched become faint? If you confirm the instructions that match your conditions before choosing, you can avoid replacing a product with a similar one based on its name alone.
Check how easily it comes off as well. Even if you choose for staying power, if you have to rub hard to remove it when you get home, caring for your eye area becomes difficult. See whether it can be removed with the designated remover or cleanser, and choose touch-up items for use on the go that you can comfortably carry.
Handle a dirty or dried-out brush tip following the product's instructions
If the line from a brush-pen type goes faint, check the brush tip before layering over the same spot again. Follow the product's method for care.
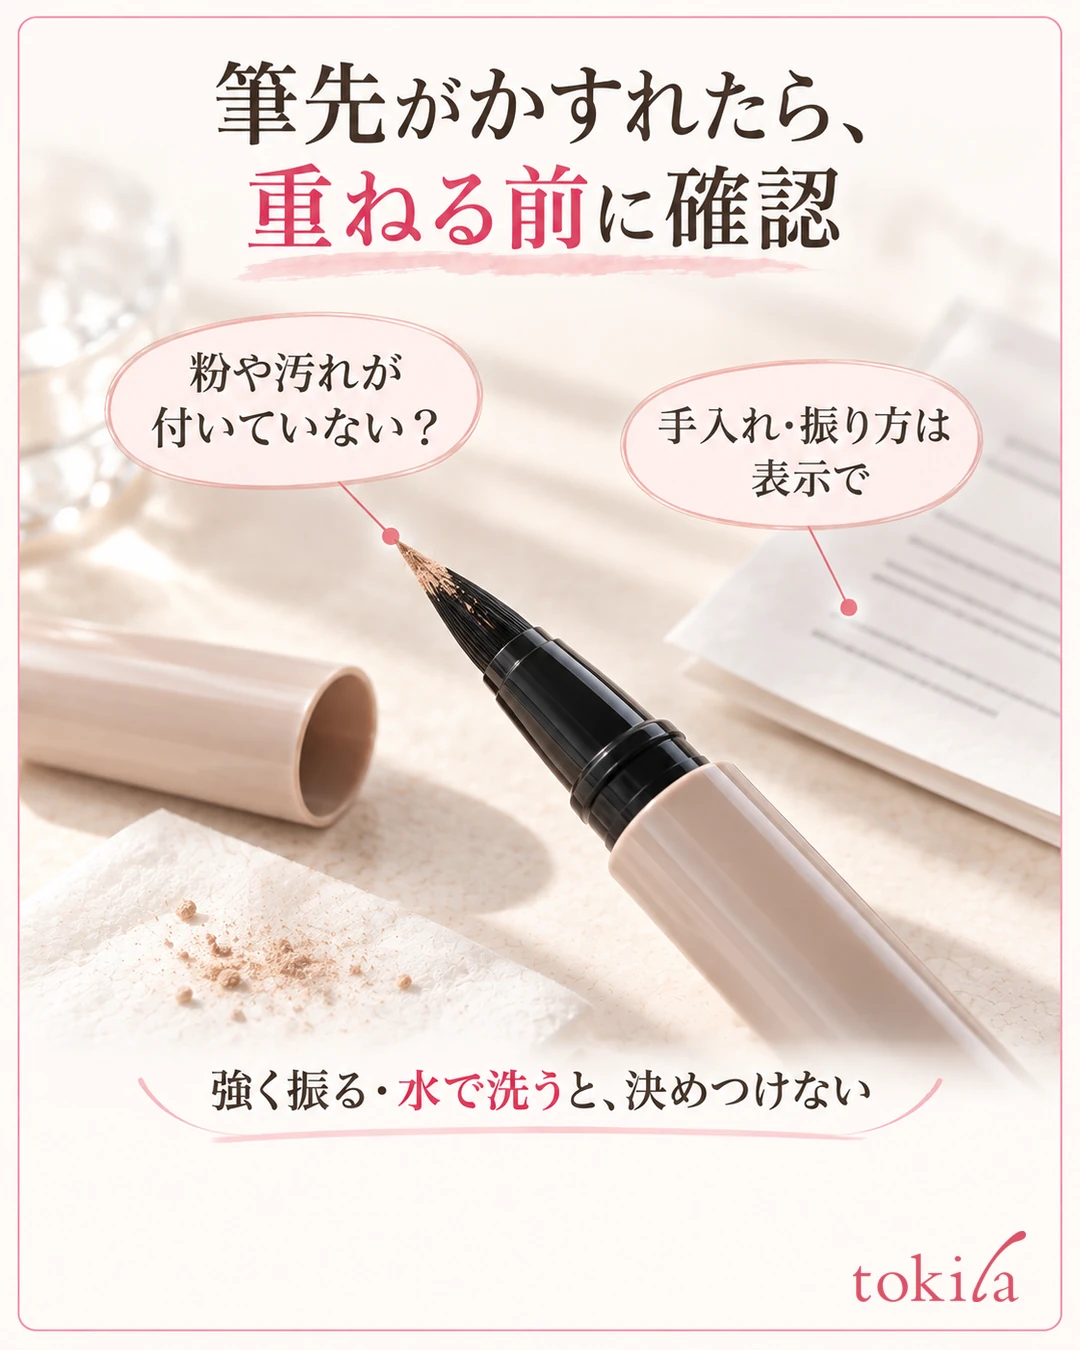
"Shake before use" is not a step common to all brush pens. Before shaking one hard because it is not coming out, or washing the tip with water, check the label on the container.
After use, close the cap and follow the storage instructions. A habit of briefly checking the condition of your tools each time also helps keep the amount stable.
5. On the go, remove the transferred color first, and then redraw only part of it
Avoid layering concealer or powder thickly right on top of the smudged color. First, with a clean cotton swab or similar and a suitable remover that can be used around the eyes, remove only the color that has transferred to your skin. For smears that are not yet dry right after drawing, do not wipe them out widely; check how to handle them for the product you are using before proceeding. Follow the product's directions, do not let liquid get into your eyes, and do not rub a dirty surface around the area and spread it.
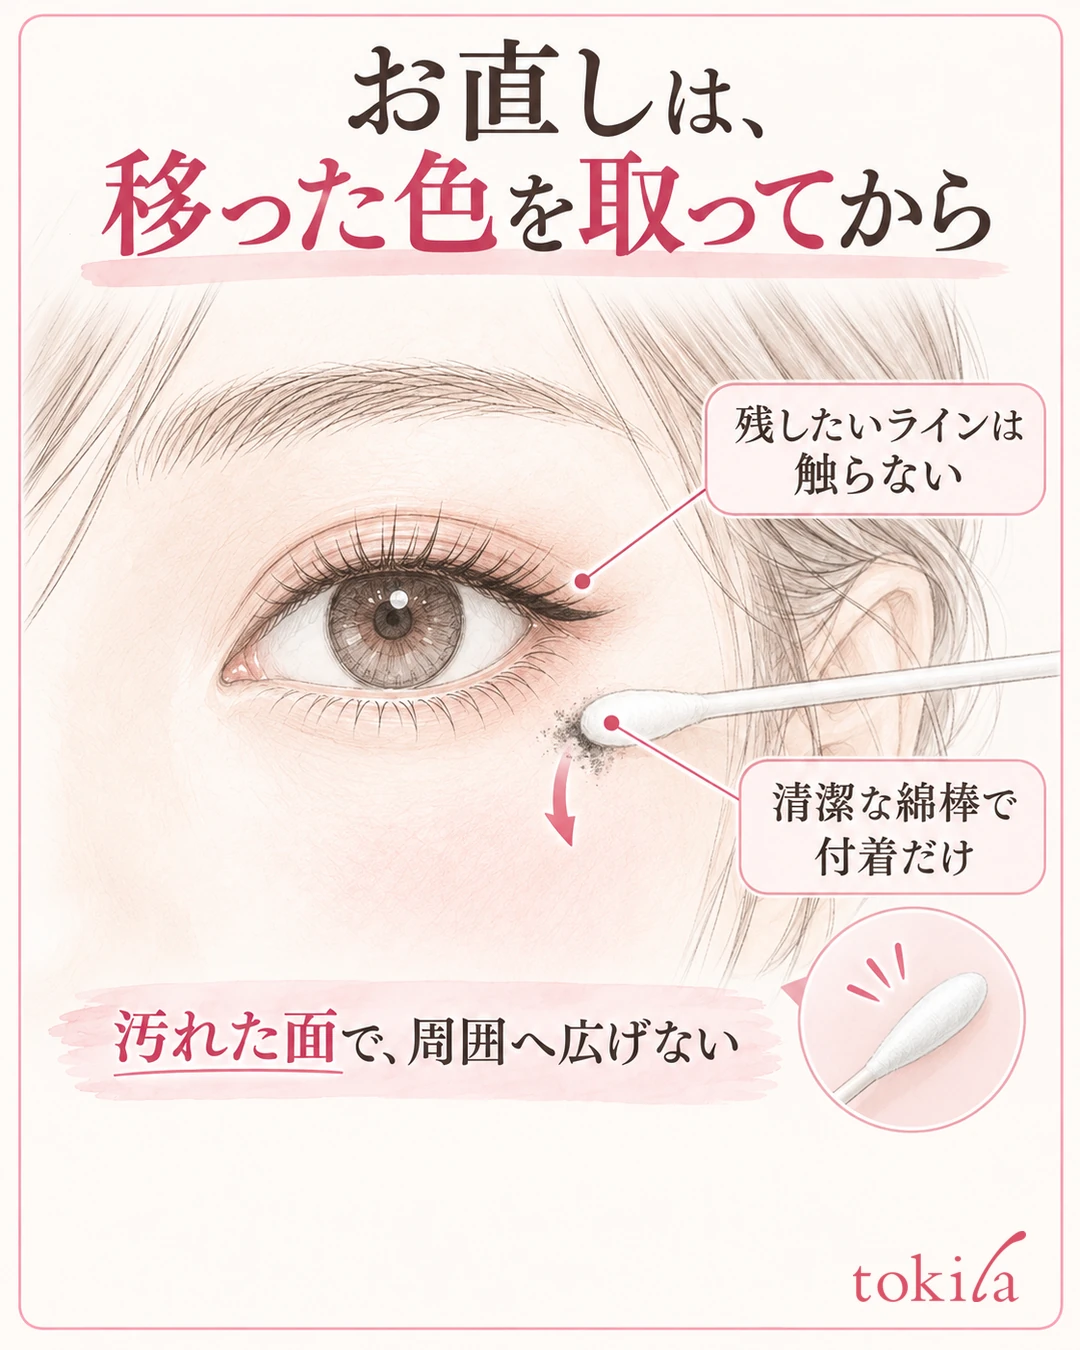
The key is to look separately at the line you want to keep and the smear you want to remove. If the color is only under the outer corner, start by tidying the color on that skin. If the dirt is widespread, hard to remove, or irritating, do not rub repeatedly, and do not try to force a finish over a small area.
Once the smear is removed, tidy up the remaining liquid and excess oil following the product's method. Do not redraw right away on damp skin; add only what you need after the condition settles. Do not add brows or mascara at the same time; first check the shape of the line and the color of the lower lid.
Only add back the part that disappeared. Do a final check from the front
Using the line that remains as a guide, connect only the short part that has disappeared. If you redraw the whole line thickly, your eyes can look stronger than in the morning, or the color can transfer to the same place again. If it is only at the outer corner, try holding back the amount and length used there.
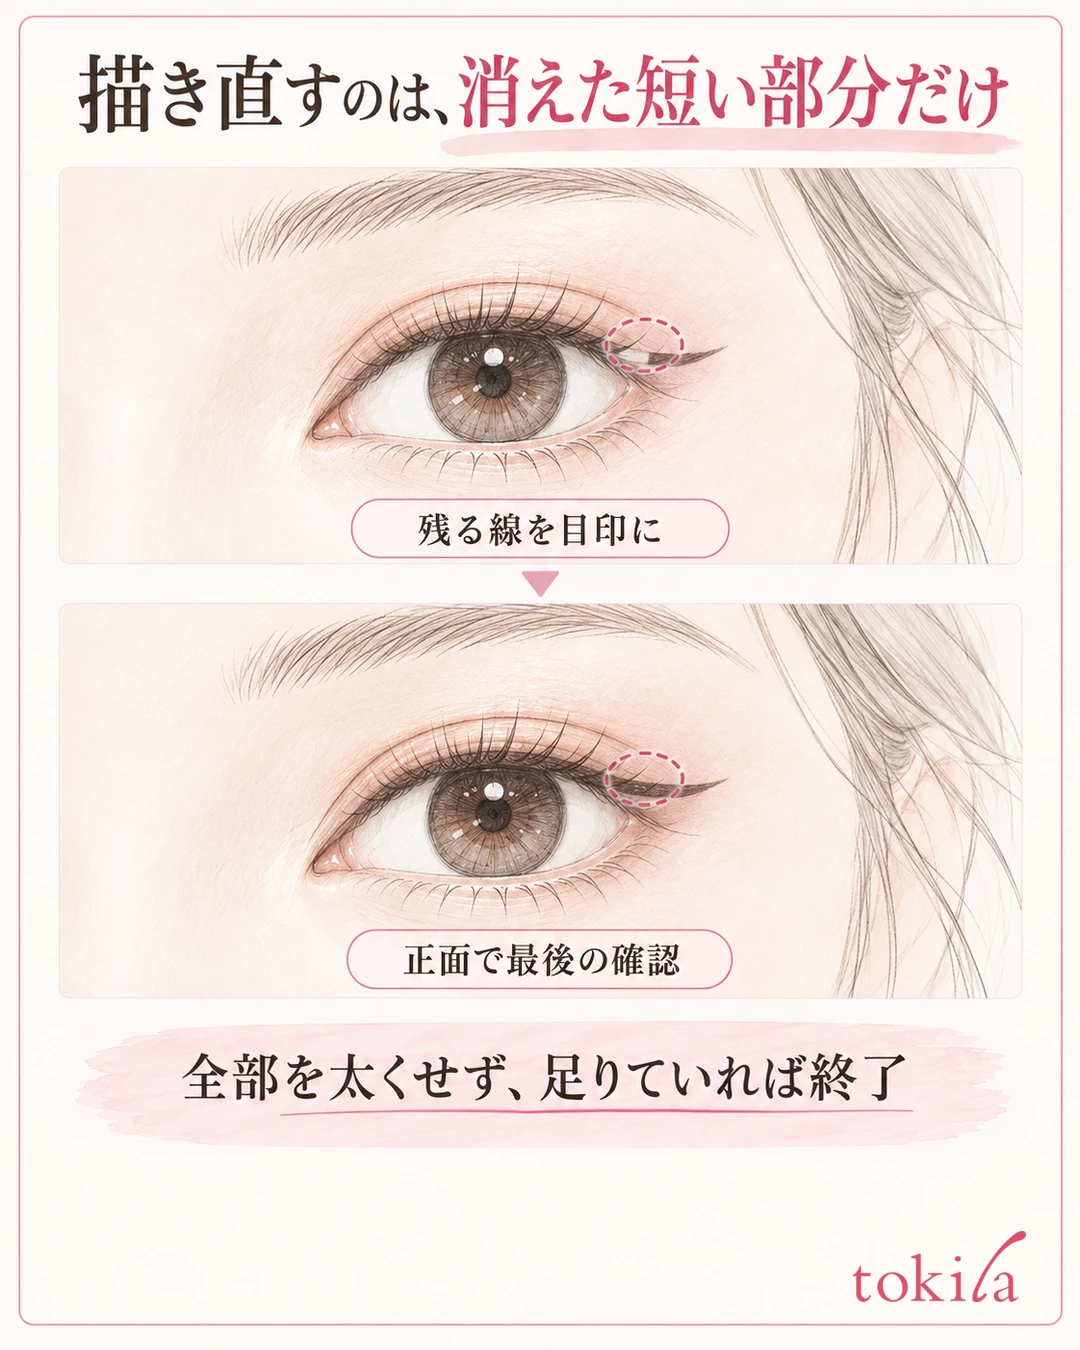
Finally, check with your face from the front with your eyes naturally open. Look at whether any shadow-like color remains on the lower lid and whether the lines on the left and right are thicker than necessary, and if it is enough, you are done. On days when mascara clumps also bother you, see How to Fix Mascara Clumps. Fixing by separating the causes lets you tidy up without layering too much.
Written by the tokila editorial team. The editorial team organized adjustment steps you can try with the tools you already have.
If you also want to fix creasing in your base, see this too. Touch-Ups for Shine, Creasing, and Dryness



