
After applying a color corrector, the whitish patches stand out more than the redness you wanted to hide. The center of your face looks brighter, but the line where it meets your neck bothers you. When that happens, before adding another color or foundation, try checking at which step and what looked floaty.
This article covers the white cast right after applying a color corrector, and finishes in which too much of the corrective color remains. It is not a way to make the skin itself brighter. Putting the instructions of the products you own first, it is organized in this order: tell the issues apart, define the area, test thinly, redo it if needed, and check the whole face.
1. Tell White Patches, Corrective Color, and Powderiness Apart
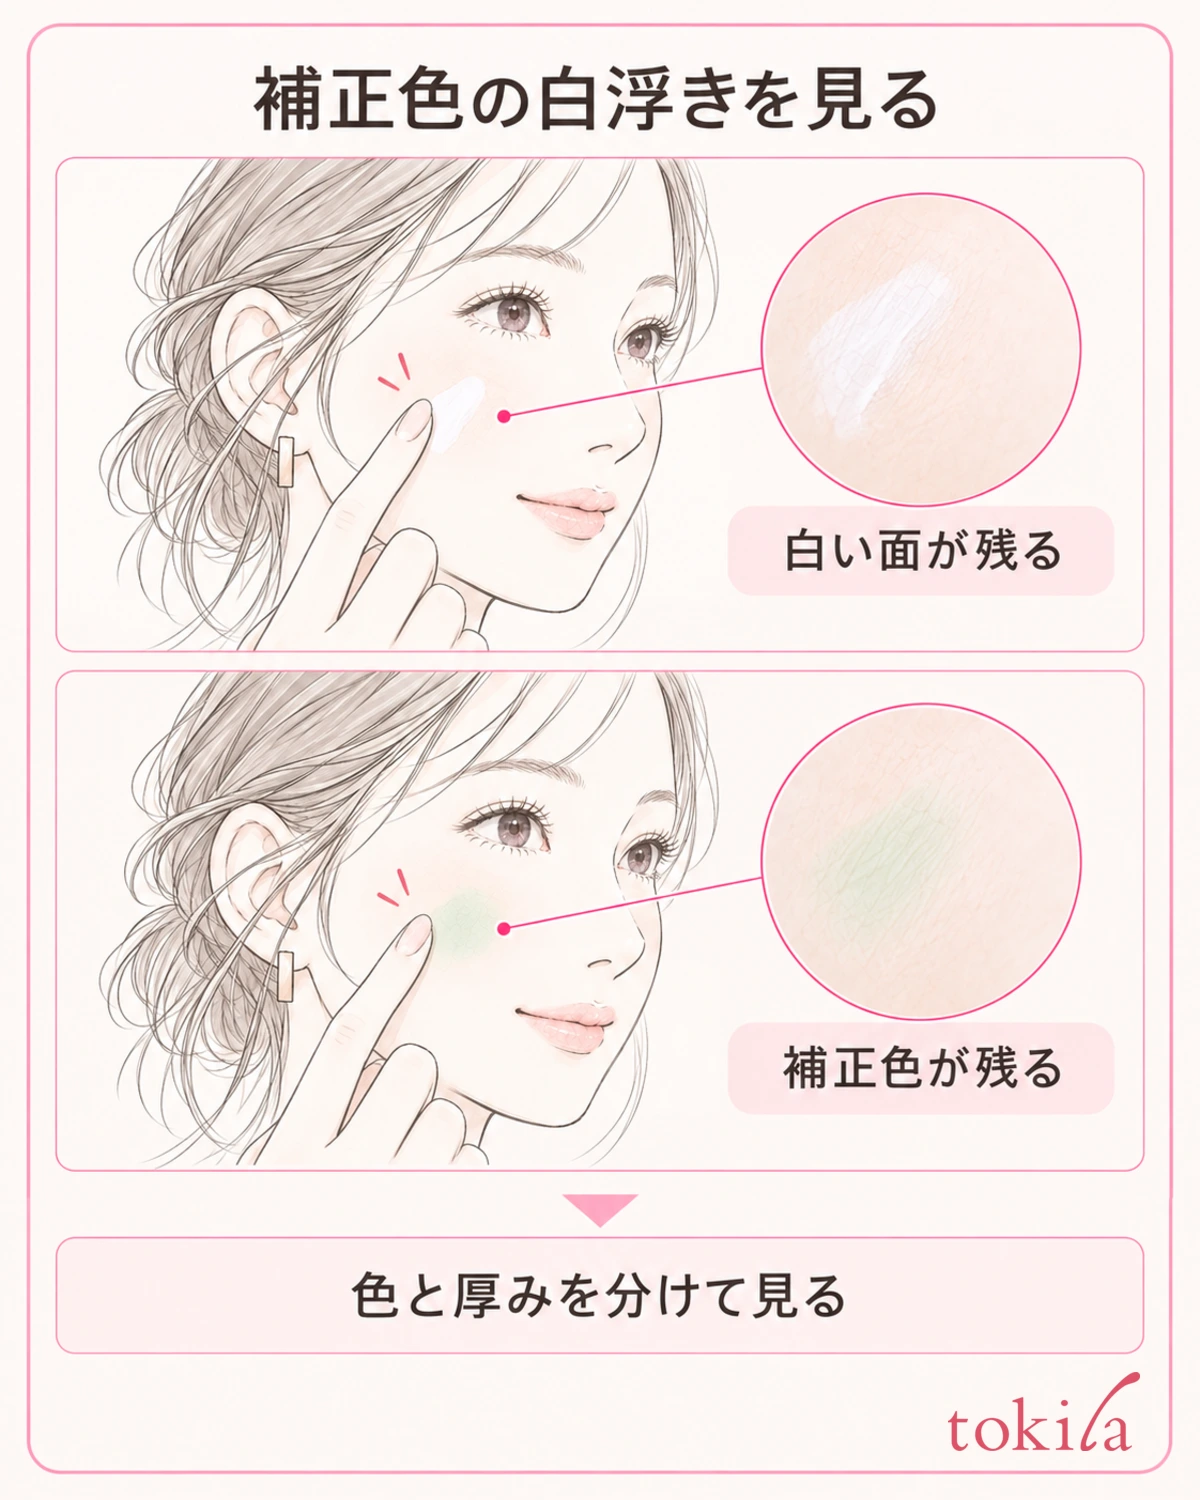
First, face the mirror and look at your face and neck together with your usual expression. Rather than alternating between window light and ceiling lights, checking under the same light makes it easier to follow the changes. Do not decide the finish only from the brightness in a photo or a magnifying mirror held too close; also check your whole face as it looks when you normally talk with people.
If it looks like a white patch, separate whether the outer edge of the applied area stands out or the whole face looks brighter than your neck. If a color tone such as green or lavender remains, it is a time to review the amount of corrective color and where it is needed, rather than "making it whiter." If powder is visible on the surface, do not treat a color problem and a thick-layer problem as the same.
Also recall how far you have layered. Was it only at the color corrector stage, after foundation, or after adding a finishing powder? If you get in the habit of looking once partway through, it becomes clearer which step to change next time. You do not need to blame the base alone based only on how things look after everything is applied.
If the color does not match even when you try the foundation on its own, review how to check foundation color separately. If it looks powdery only after adding finishing powder, narrow it down to the amount and area of face powder.
Eliminating every unevenness in your natural skin tone is not the goal. A part of the cheek looking bright from light reflection is also different from the outer edge of the applied area standing out sharply. Decide on one place you want to refine today, and do not layer several new colors just to check.
When checking, if your hair casts a shadow on your cheeks, move it aside so you can see the outline of your face. Comparing with your face tilted up and tilted down changes the light you see, even with the same cosmetics. When you want to compare before and after, keep your face direction the same, look at where the white patches remain, and then move your hands.
2. Read Whether It Is for the Whole Face or for Spots, and Define Where to Apply
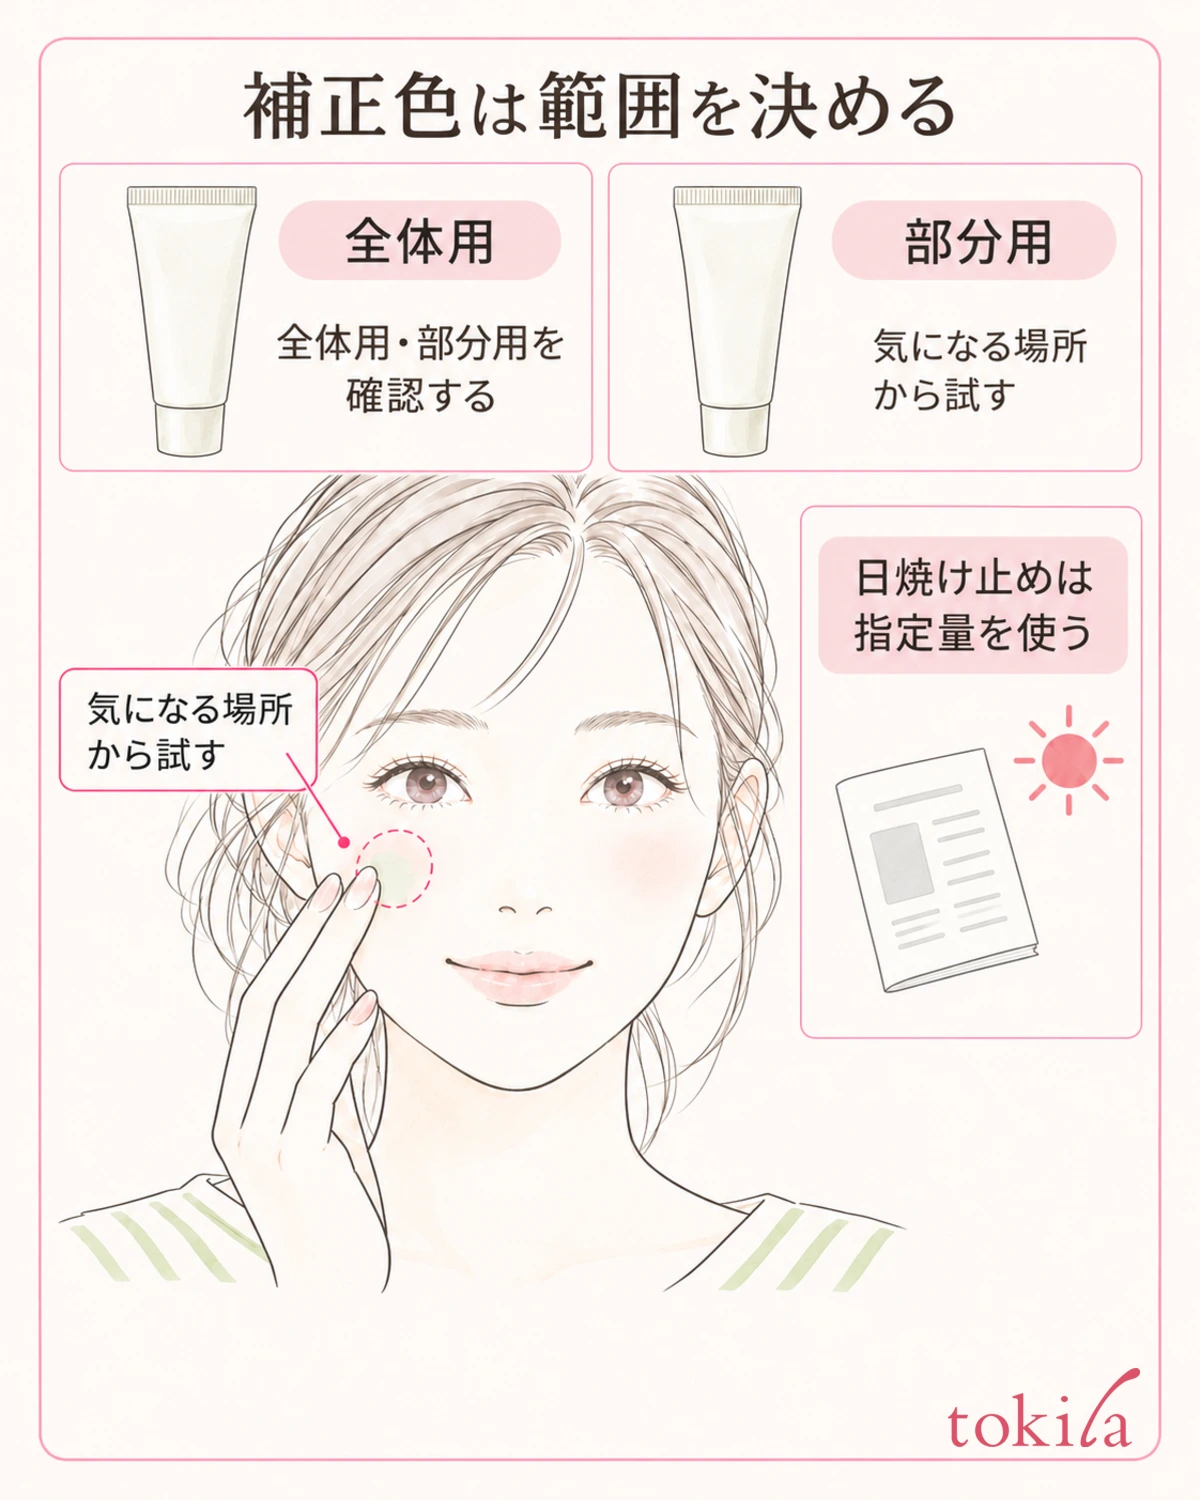
Check the product itself, its outer box, and its labeling to see whether it also serves as a makeup base or is for partial color correction. Even with the same color, the area of use and the order of application are not the same. Do not rely on a rule like "it is green, so the same amount for every product"; first read the labeling of the product you own.
It is a clue that you do not necessarily have to spread the color evenly all the way to the outer cheeks away from the spot you want to correct. It is not used for guidance that diagnoses skin type by color name alone.
For example, if only the color around the sides of your nose bothers you, do not make it a step that covers both whole cheeks from the start. Look in the mirror at the spot that bothers you and decide whether to use it on that narrow area. For the cheeks, separate the area you want to correct from the outer area that already looks the way you like. There is no need to match a triangle or a measurement in centimeters that is common to everyone.
If you keep widening the area outward to thin out the white patch, you create a color difference near your neck, so check the amount before widening.
Keep this review of the area separate from instructions to reduce the amount or the area of sunscreen. Using a base with UV protection thinly on only some spots is not treated as meeting the UV protection you need. Secure UV protection according to that product's amount and directions, and think only about the degree of color correction.
3. Test Thinly on a Small Area and Check the Order of Layering
Next time you apply it, prepare your skin with your usual skincare and use the products in the order they specify. If previous cosmetics have built up on the surface and are shifting, do not keep layering color right away. Rather than inventing a fixed number of minutes to wait, start by reading the instructions you have and checking the surface you are applying to.
Here, instead of rubbing hard to remove the color, we move on to the decision of testing thinly on a small area. It is not introduced as a way to treat the cause of redness in the skin.
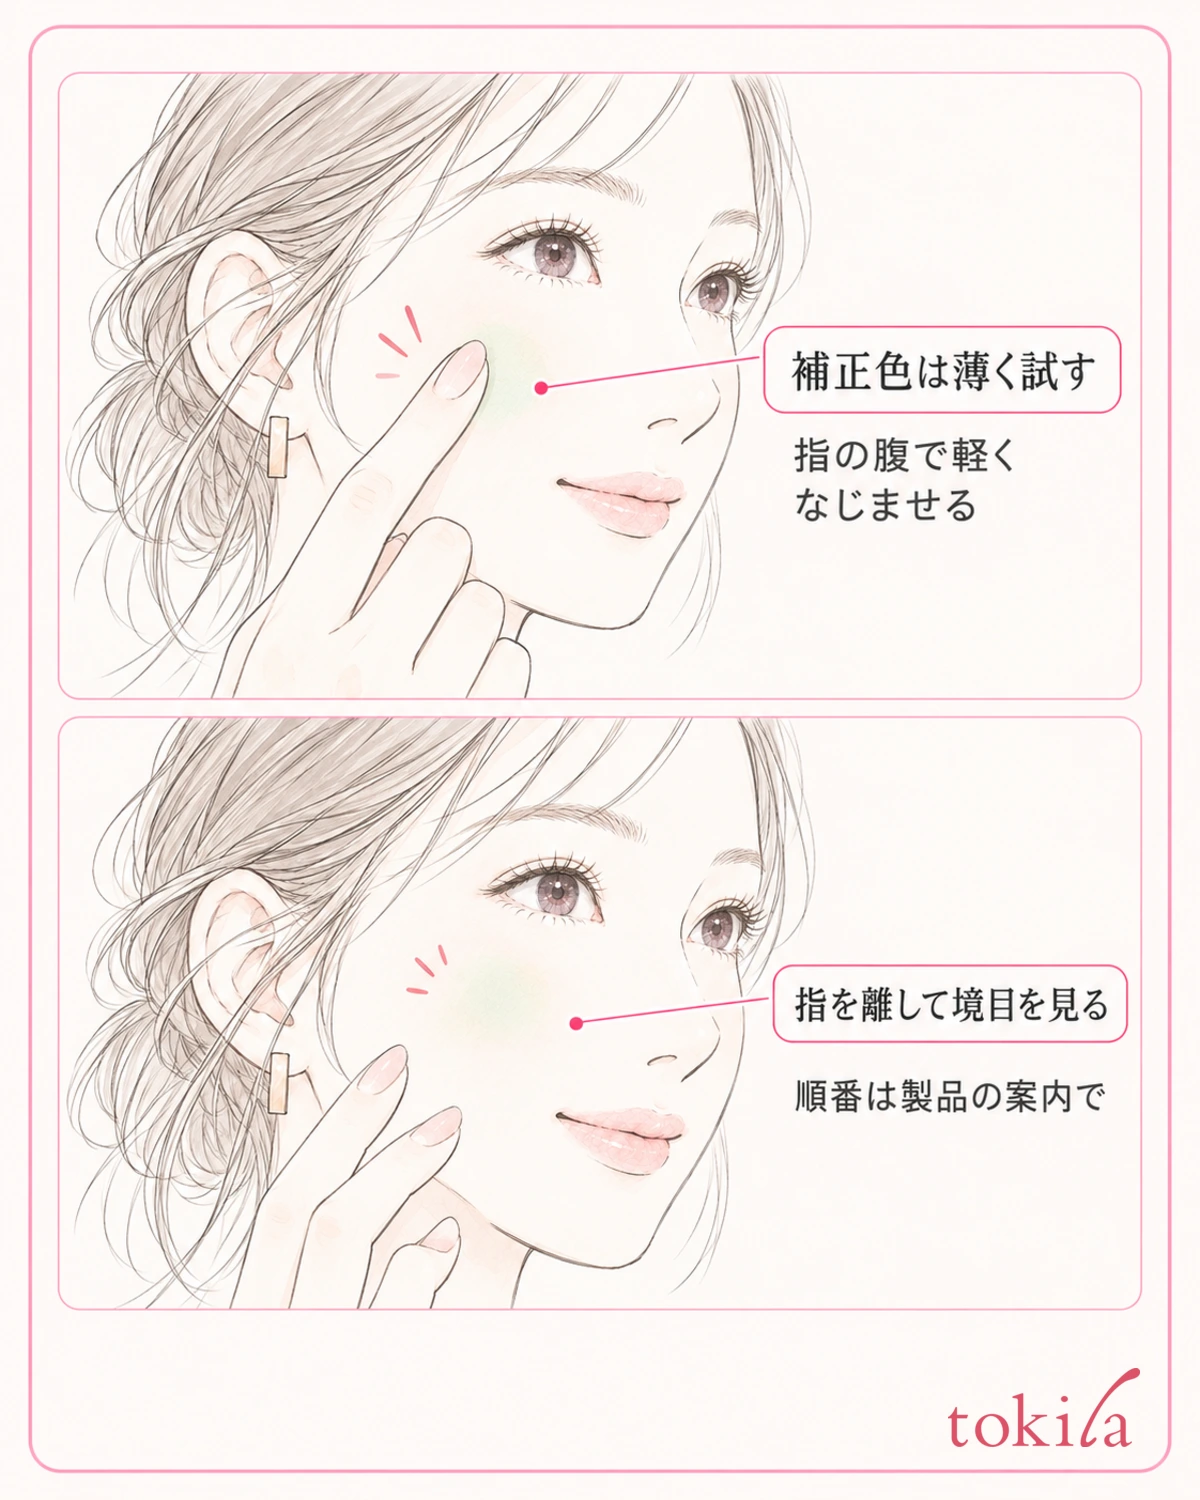
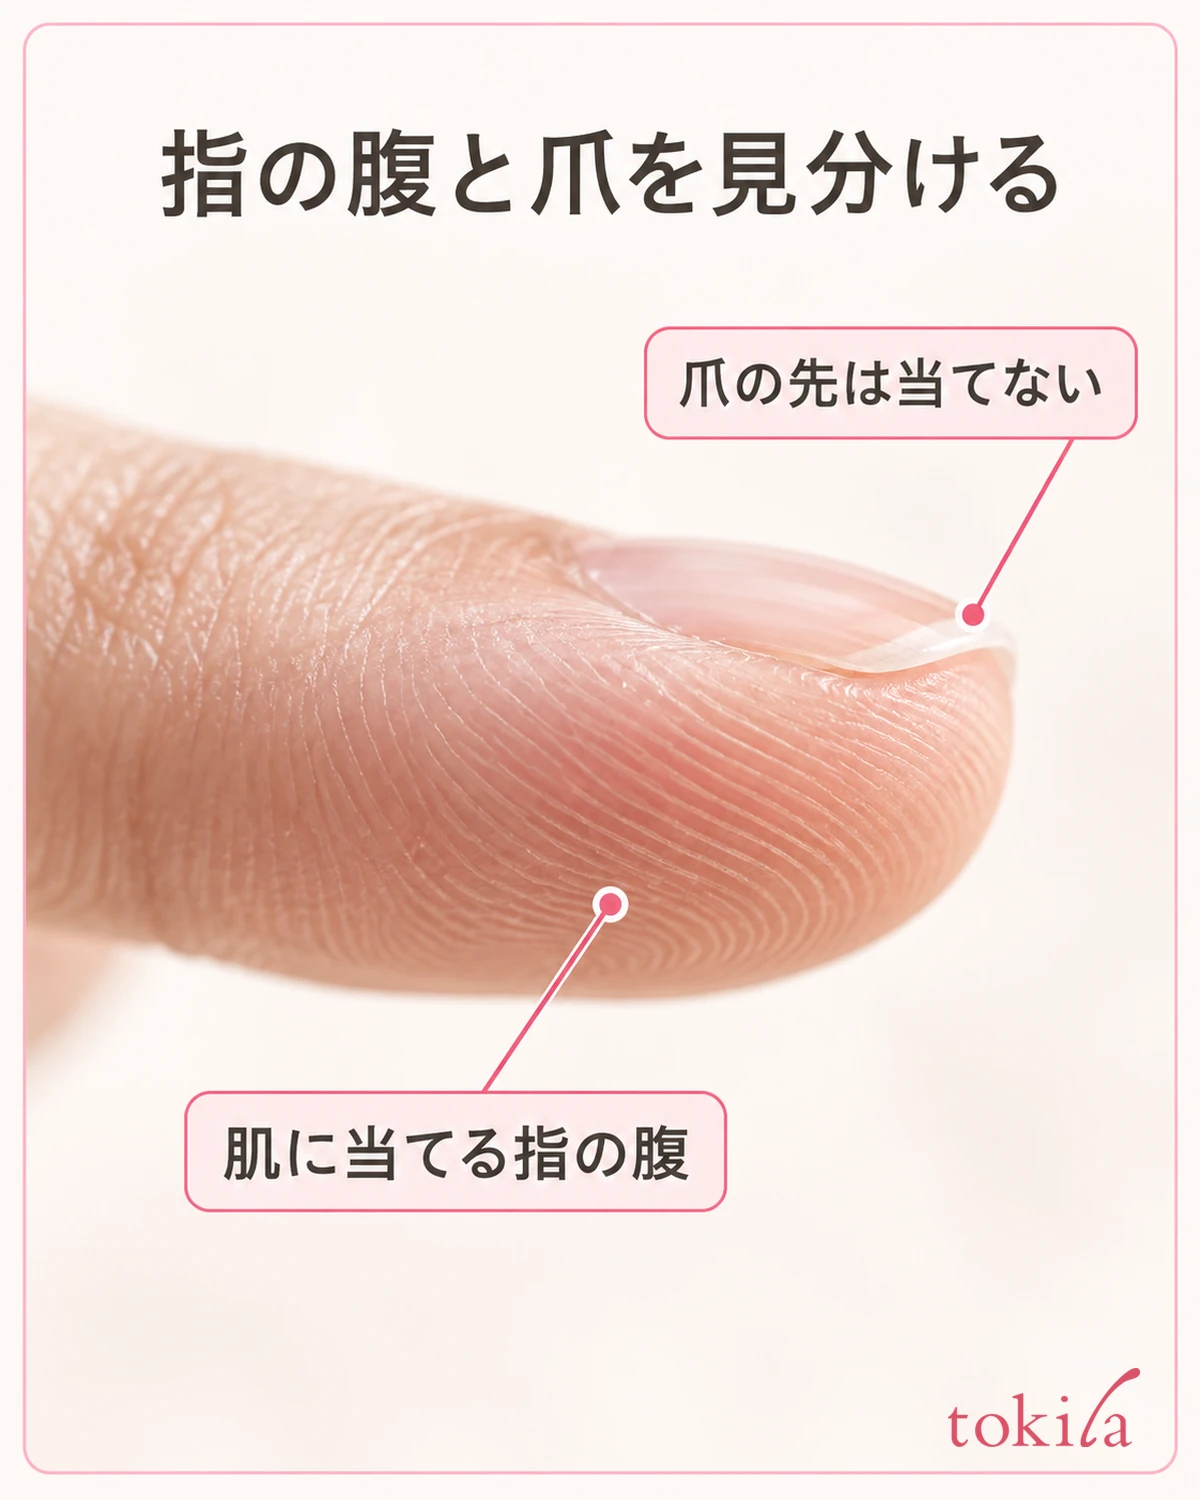
For a product used with the fingers, do not place everything you pick up across the whole cheek at once; use a small amount following the instructions. Lightly touch the pad of your finger to the spot you want to correct, blend it in thinly, and lift your finger away. Do not keep adding fresh product to the outer edge of the area you applied; if the product allows you to refine the boundary with a clean finger holding nothing, use that method as well, in line with its labeling.
We also do not insist that "the corrective color must always come before foundation." Do not apply the same order to a different base; put the way of using the product in your hands first.
Partway through, step back from the mirror once and check whether a white outer edge or the corrective color remains too strongly. If you use foundation over it, refine it thinly at the specified step and check the completed look as well. You do not need to keep rubbing until the corrective color on its own matches your neck exactly.
When you transfer the color left on your finger to the opposite cheek, look first at where you want to apply. Avoid widening the area just to use up the leftover product. If the thin test gives a look you like, you can move on to the next step without adding more from the container. Only when it feels insufficient, decide whether there is still a small area you want to correct.
4. Do Not Add to Areas That Have Become White and Thick; Redo If Necessary
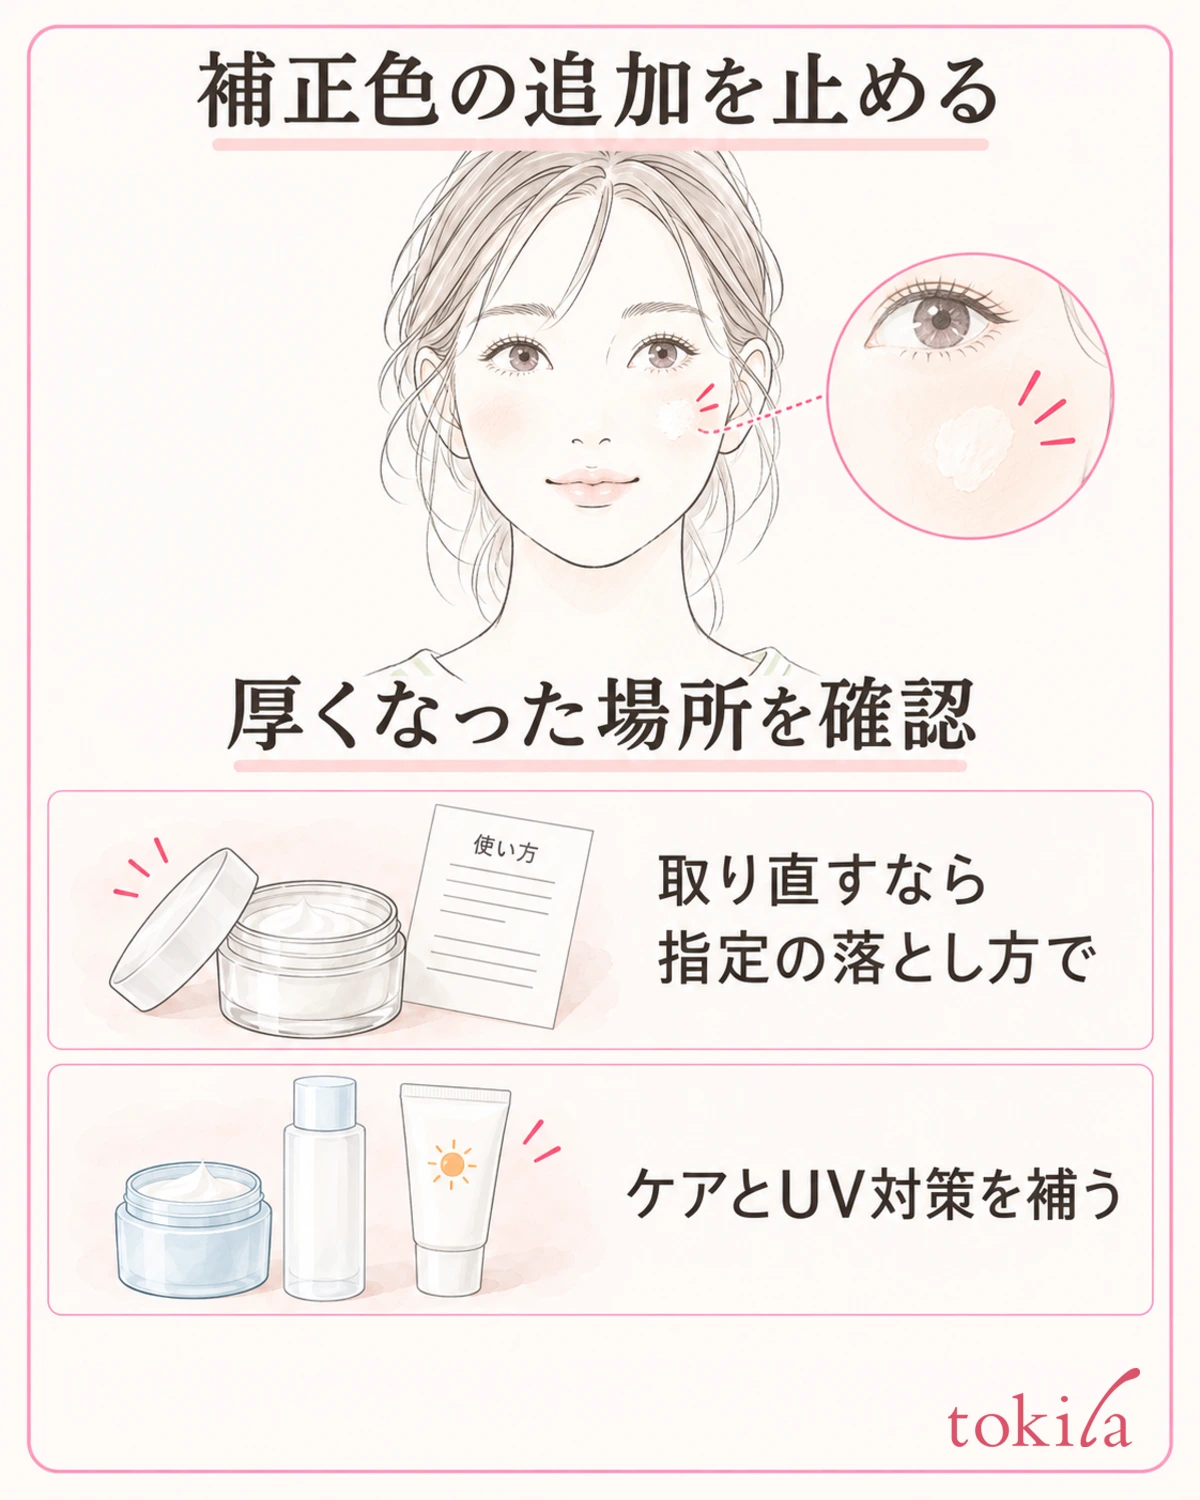
When a white patch has already formed, stop adding foundation, another corrective color, or face powder for now. Look at whether only a little color remains or the surface is thick and creasing. If you start by hiding a light color with a darker one, the layers increase and the conditions for checking become more complicated.
If it is still thin enough to move and you can blend it following the product's instructions, see whether the boundary evens out with few motions. Do not switch to forcing a dried film to stretch or going back and forth over the same spot many times. If the color spreads to the surrounding area, your skin is pulled, or even the base layer moves, you need to decide to stop there.
If the thickness remains and it does not even out, you can choose to define that spot and redo it. Check the cleansing method that suits the cosmetic you are removing, and handle only the necessary area with clean tools. Do not assume that water or tissue alone will remove it; follow the product's removal instructions. For areas near the eyes or mouth, also check whether the method can be used on that spot.
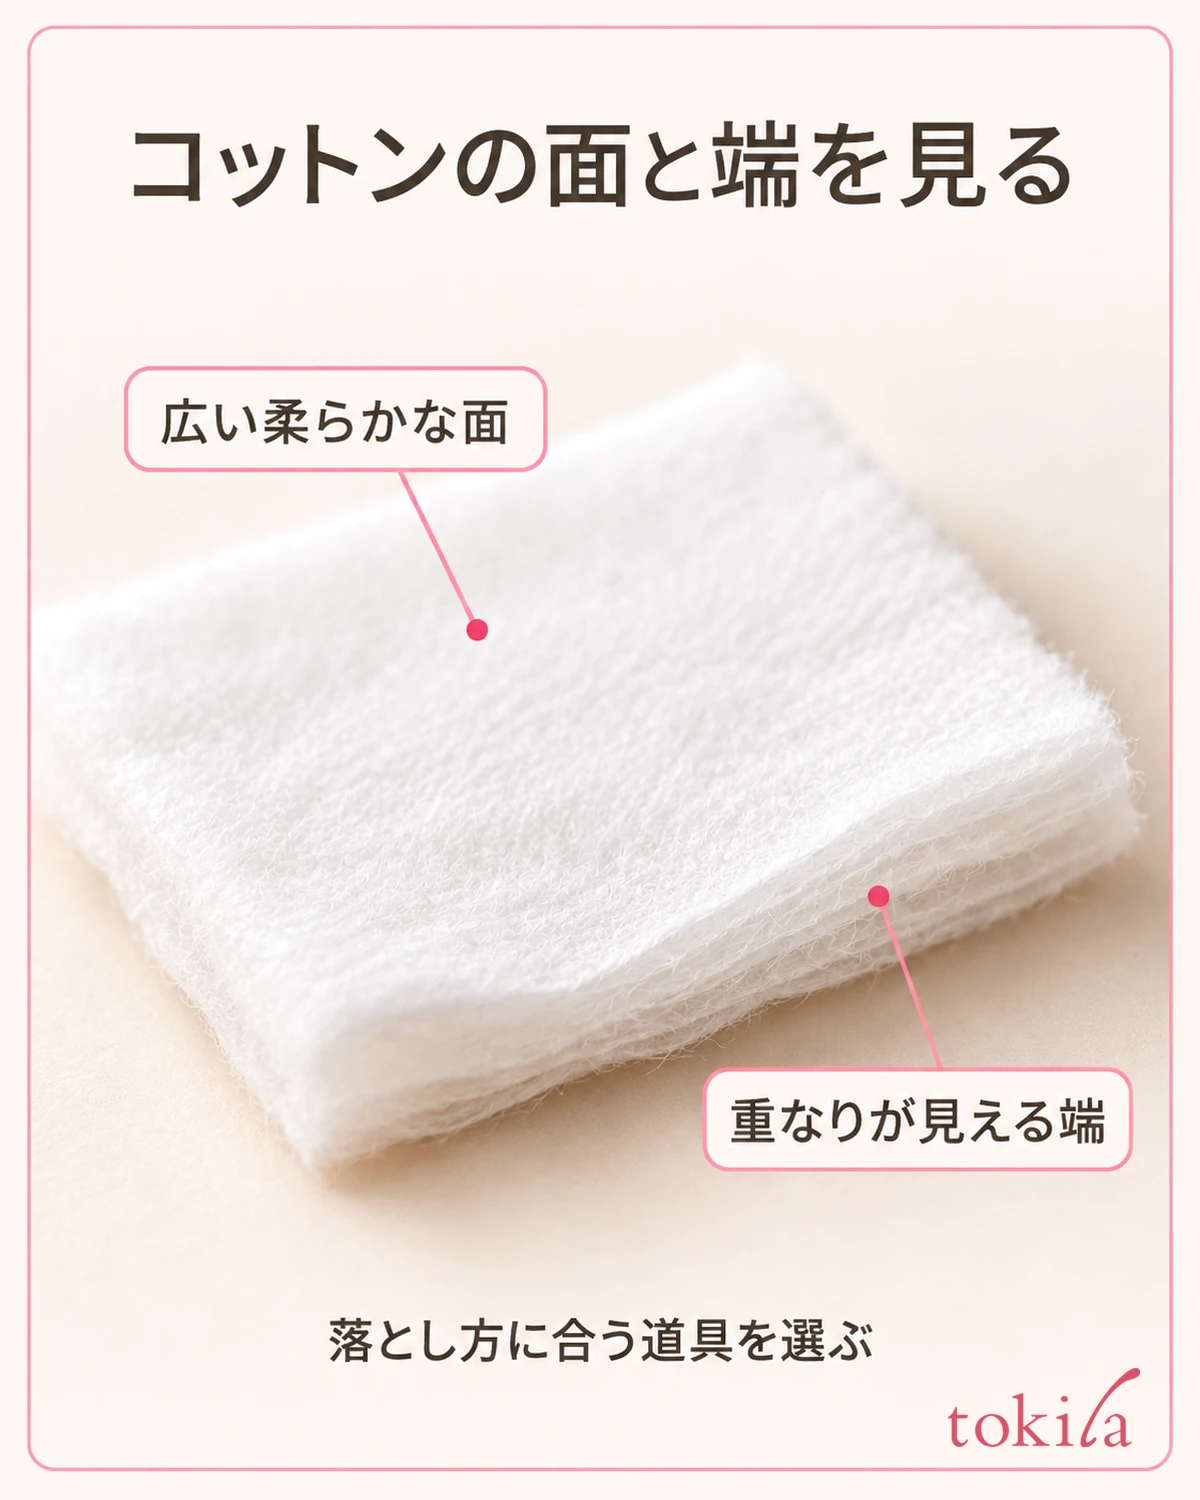
After removing it, prepare the care and base you need. If you took off even the sunscreen layer, add the UV protection you need as well. Then decide again on the narrow area that needs corrective color, and test it in a smaller amount than the first time. You do not need to reapply the same number of times even to places that already look the way you like.
If crumbly bits are coming off, separate that from the problem of toning down white color, and review the layers and friction in pilling of sunscreen and primer. If your skin feels uncomfortable, do not keep applying just to even out the color. You do not need to put up with irritation to finish a look just for how it appears.
Decide the area to redo using the white outer edge you saw in the mirror as a guide. If you only need to fix the thickness on part of a cheek, do not widen the process to removing it from your forehead or the other cheek. Conversely, when a wide layer has shifted and is hard to fix, you can decide to redo the finish in sections rather than treating the issue as solved by only adding to a narrow spot.
5. See Face and Neck in the Same Light and Decide the Next Step to Change
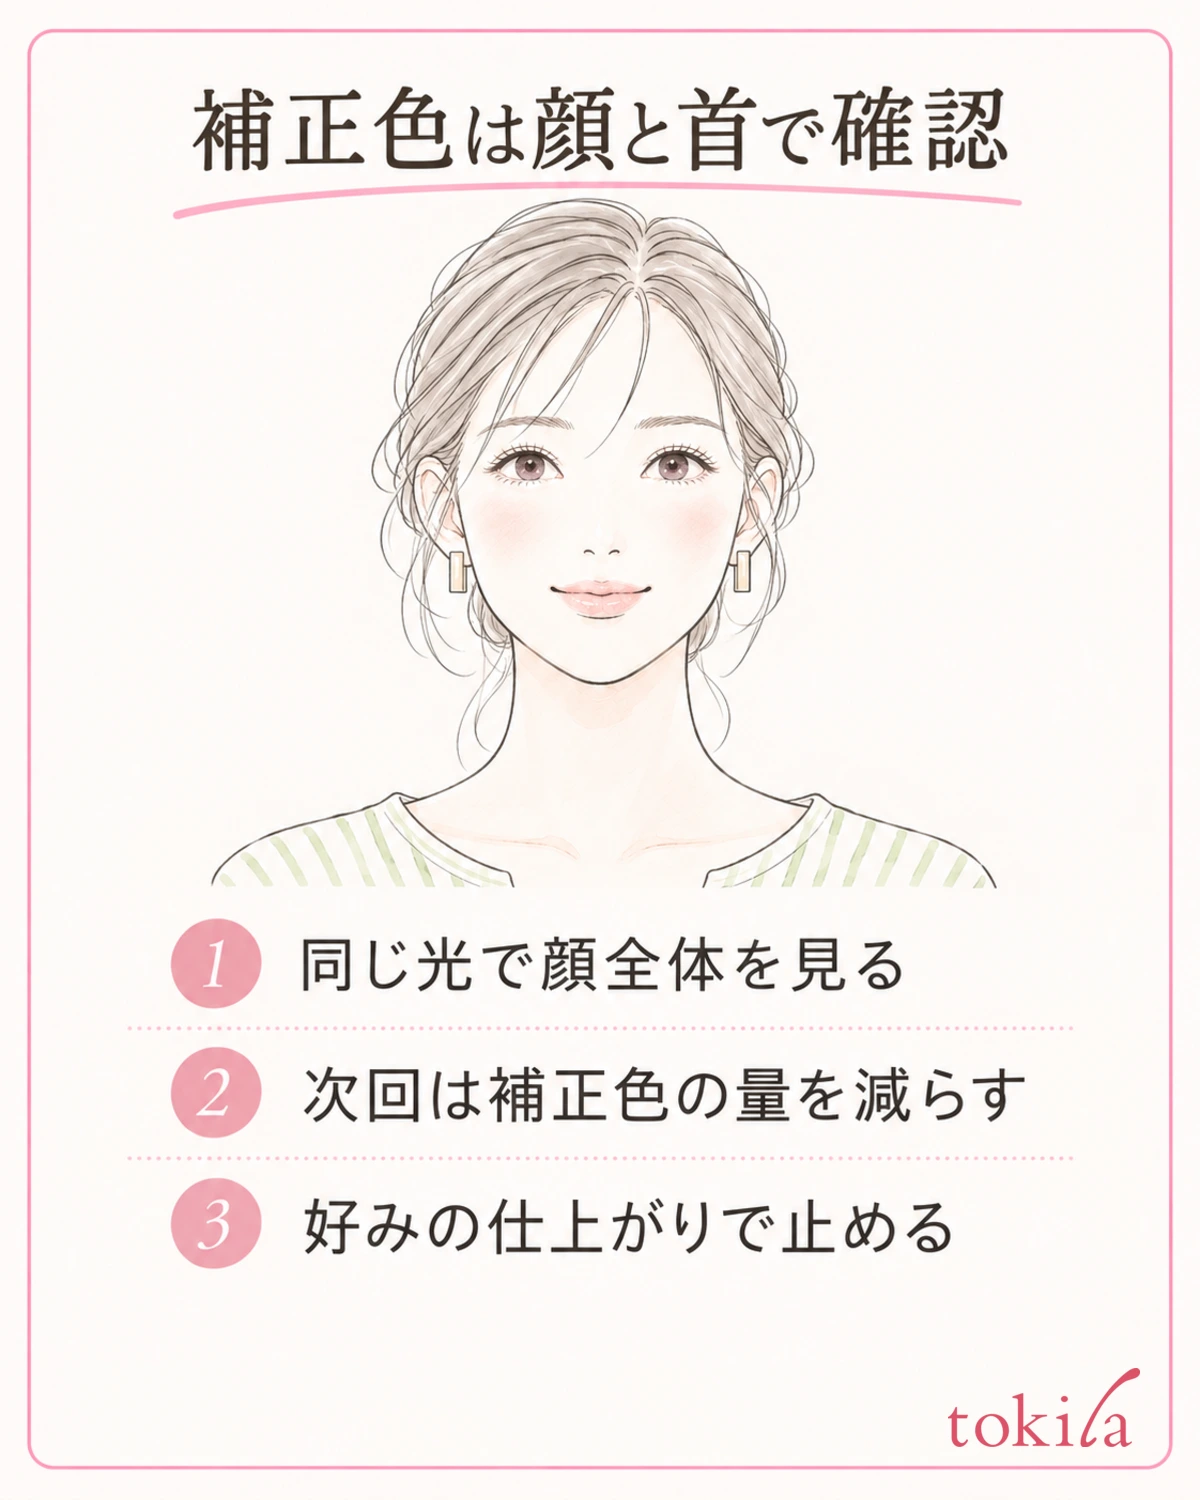
Check the finish both in a close mirror and in a mirror that shows your whole face. Up close, look at the outer edge of the applied area and any creasing; from a distance, look at how your face and neck connect and whether any corrective color remains. This is not about making your face and neck exactly one color, but a step for checking whether it looks the way you like today.
If the color of the corrected spot has blended in a little and no thick outer edge remains, that is a good point to stop. You do not need to keep adding more to completely hide uneven color. Rather than applying the same amount to the other side, decide whether that spot needs more right now.
If you note something for next time, choose one specific item such as "do not spread to the outer cheeks," "reduce the corrective color I take first," or "step away from the mirror once before foundation." Changing color, amount, base, and tools all at once makes it harder to remember what you changed. It is not a record for pinning down a single cause each time.
If, even after testing a small amount as directed, it does not suit your taste, consider not only the color but also whether the intensity of color payoff and the texture match your finish. When you can try it before buying, test a small amount using the labeled method, and also check it with your usual foundation layered on top. When you want to sort out the roles of colors, you can go back to the basics article on color correctors to look at your options.
When you get a white cast, before adding another color, look at the layers, the amount, the area, and the order of the products. Keeping the UV protection you need, testing thinly, and checking partway through are the starting point for reviewing the products you already have.
Written by the tokila editorial team.



