
Have you ever picked up a nail file and wondered which side to put against your nail? Two sides in different colors, numbers or small marks, a side with nothing written on it. They may look alike, but a tool for shaping length and form and a tool for buffing the surface of the nail are used on different places.
What to decide first is not "which side is the front" but "which side is for shaping what." This article covers the tools you already own for caring for your natural nails, and goes in order through checking the purpose, matching the labels to the sides, stopping when you cannot tell, and putting things away after use. It does not apply to filing down and removing gel or artificial nails.
1. Separate whether you want to shape the nail tip or buff the surface
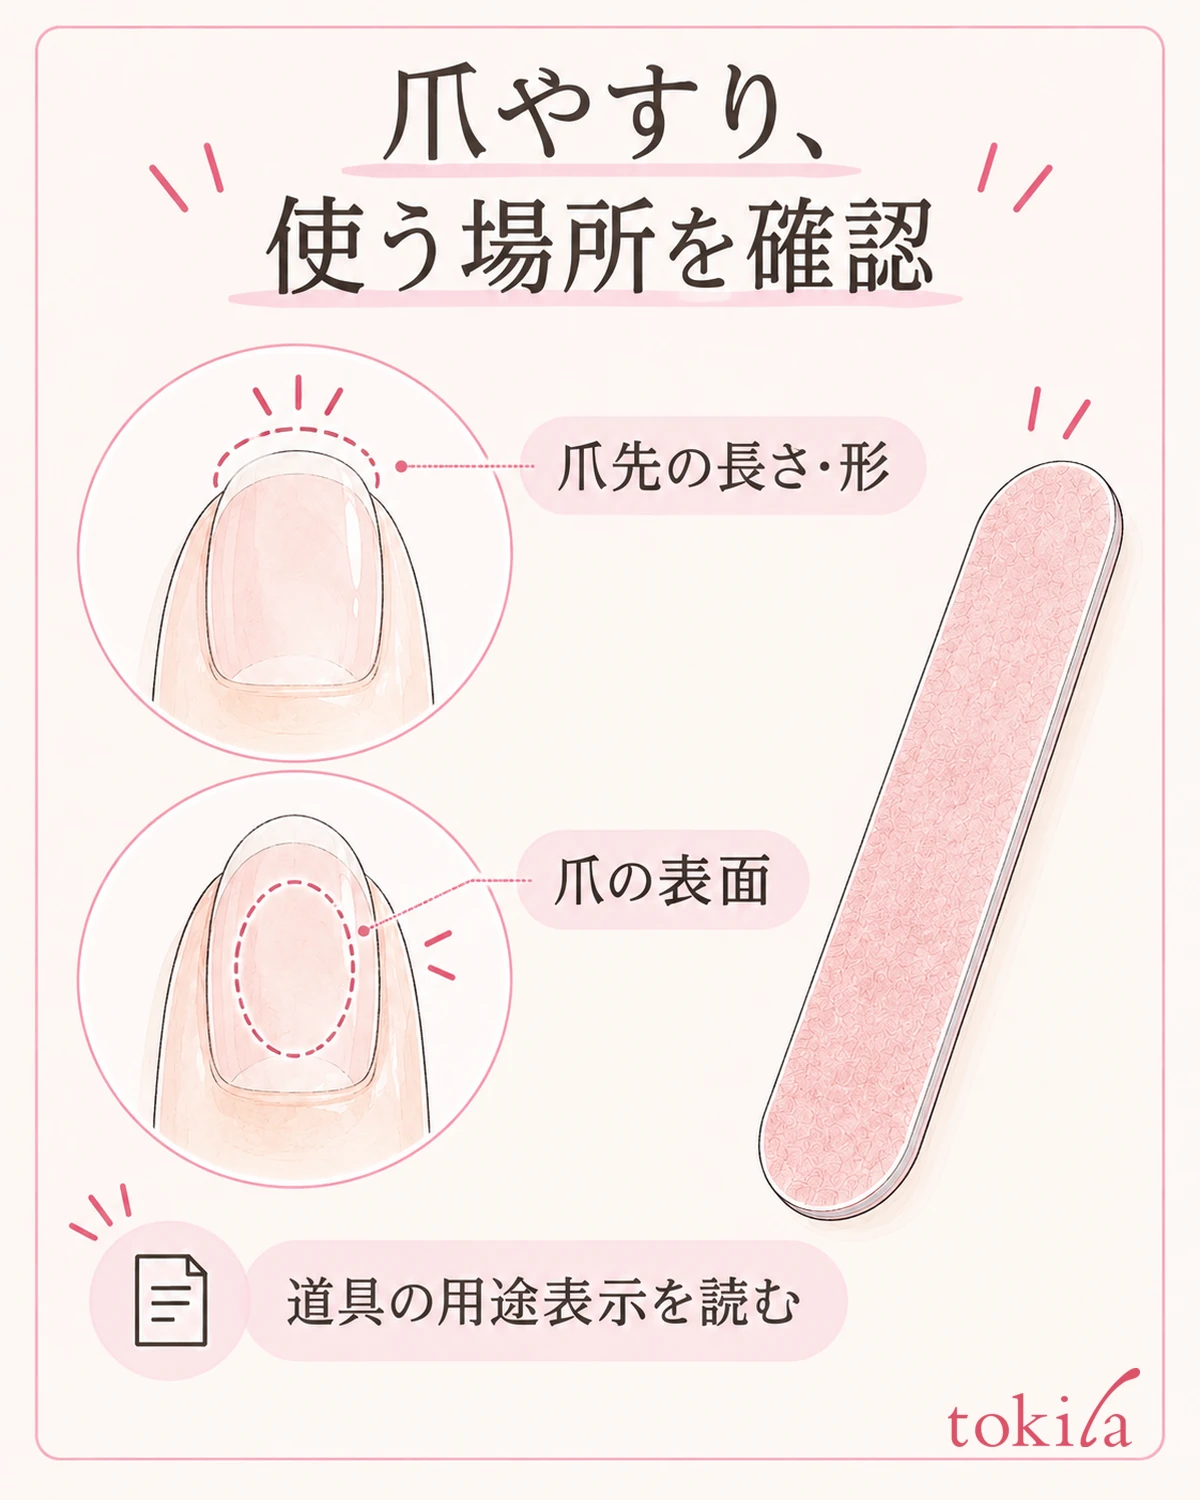
First, look at the place you want to work on this time. Are you shaping the length and outline of the nail tip extending from your finger, or smoothing the unevenness and shine on the top surface of the nail? Both may use file-like tools, but they are not the same task. Even if the package says "nail file," "nail buffer" or "buffer," do not decide which side to use by the name alone; check which area it is meant for.
Take out the package, backing card or case of the item you own, and look for explanations such as "shaping length and form," "for nail tips," "for surface" and "finishing." If it says only "finishing," check from the surrounding text whether it means smoothing the nail tip or adding shine to the top of the nail. A side that shapes length cannot always be used for buffing the surface as well.
It is also important not to infer the purpose from the tool's appearance alone. Materials and shapes vary, from thin boards like paper to thick sponge, metal and glass. You cannot say "it is fluffy, so it is for the surface" or "it is metal, so both sides are for the nail tip." Rules such as the darker side being coarser, or the patterned side being the front, are not common to all products either.
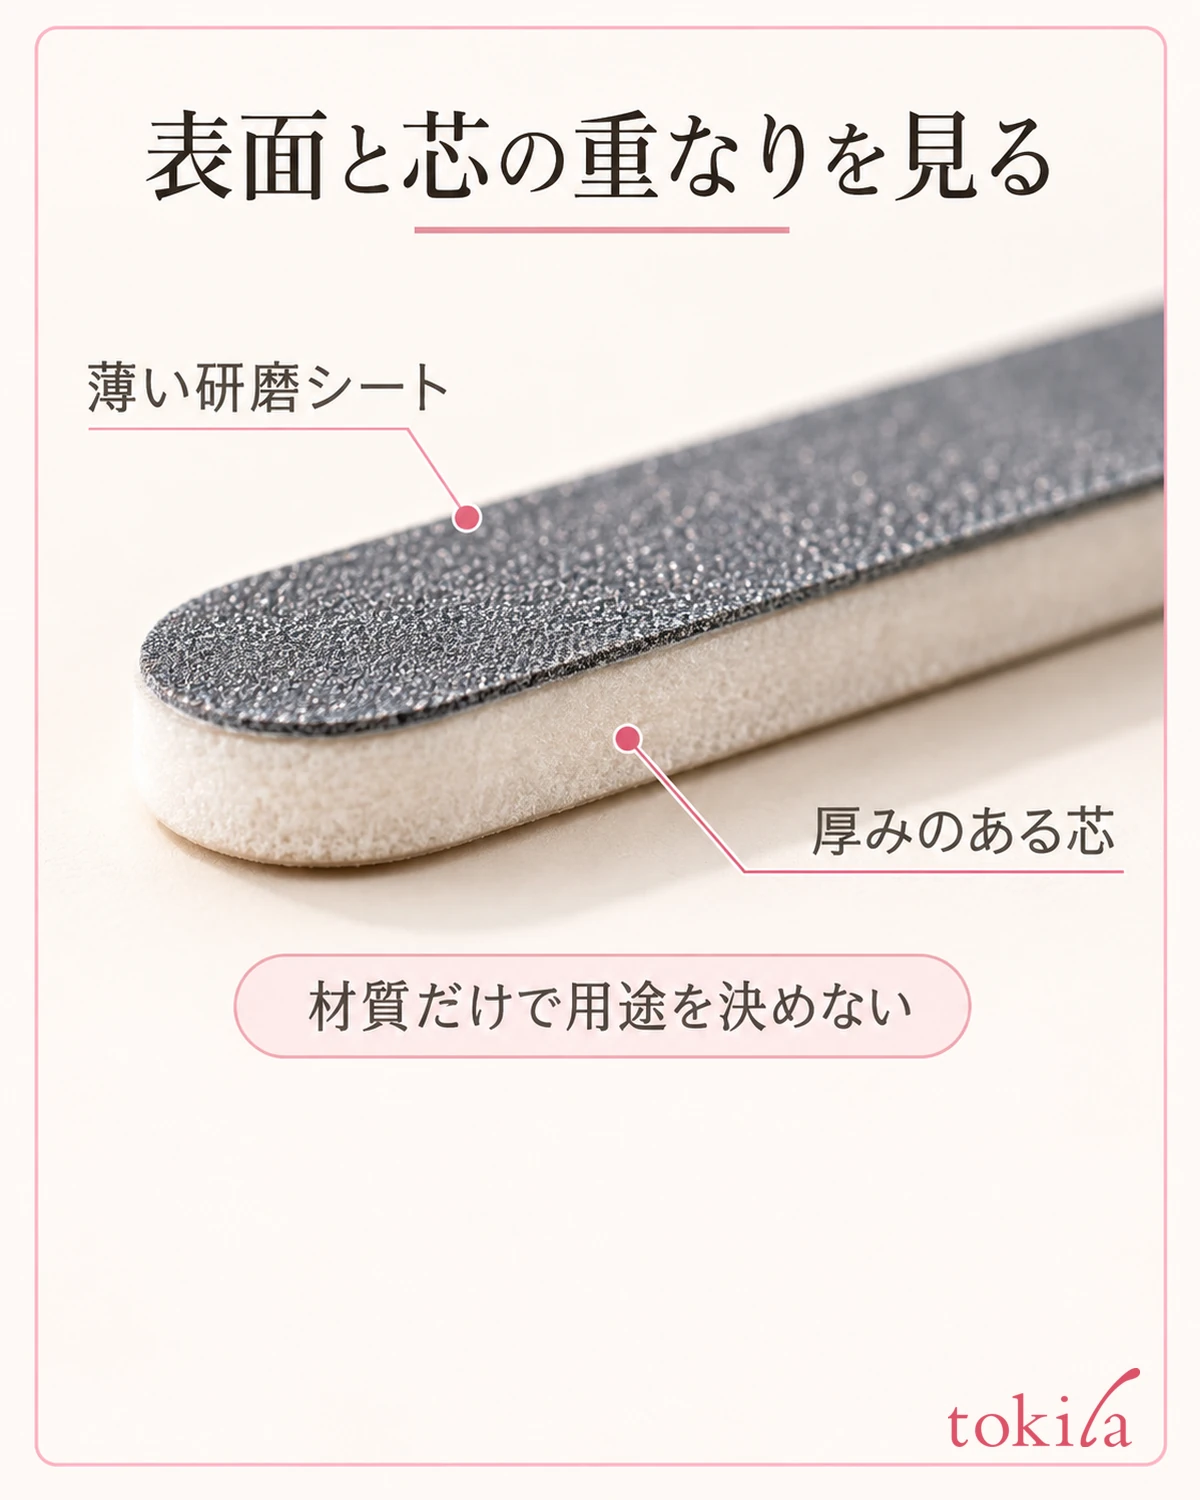
While checking, do not put it against your nail; turn each one over on the desk and look. If other files are mixed in, set them apart side by side for now so you do not mix up which package goes with which. If you keep only the tools whose purpose you have identified in the place where you will use them, you will be less likely to hesitate over picking up a different side partway through.
If your nail is split, painful or red, do not file it to test which side is which. There are conditions that choosing a different tool will not solve. If an unusual change continues, do not keep doing nail care; consult a medical institution. If you want to know about the kinds of shapes, an article summarizing nail basics may also help.
2. Match the numbers, letters and marks with the package explanation
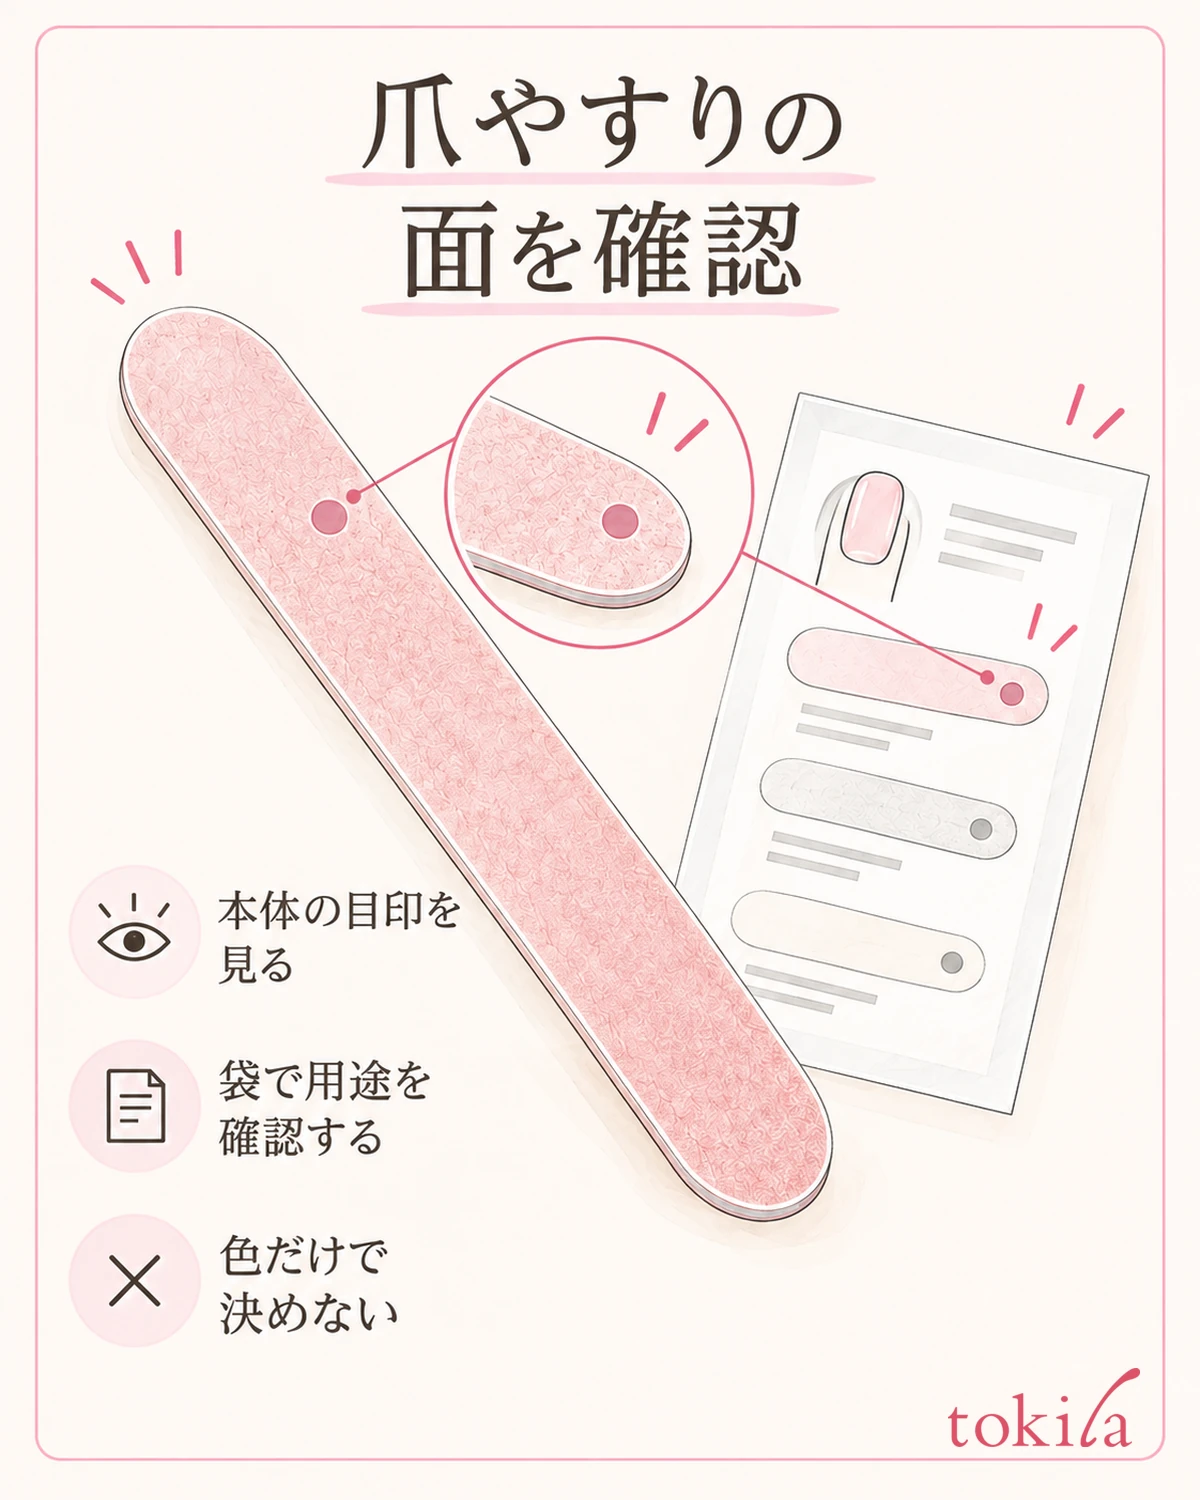
Once you know the purpose, look for the numbers, letters and marks on the body. The positions of the labels are not fixed either: some have numbers on both sides, some have a mark on only one side, and some have explanations on the edge or the handle. In a bright place, look at one side at a time, then turn it over and check in the same orientation; this makes the correspondence easier to follow.
Some products have a letter such as G after the number to indicate the coarseness of the abrasive surface. However, do not memorize only the number and decide that "this number can be used anywhere on a natural nail." The conditions of use differ depending on the material, shape and intended target. First check what the number means in that tool's explanation and which purpose it is assigned to.
Even when two numbers are listed on the package, what matters is which side of the body each corresponds to. The left and right of the numbers do not necessarily indicate front and back. Look together at the color of the side, the printing, the position of the marks and the outline in the diagram. If you can tell one side, you may be able to tell the other, but do not treat a guess without an explanation as settled.
If the tool distinguishes coarseness by letters or marks, match the size and shape of the marks in the explanation with the body. Shapes such as small flowers, dots and lines do not necessarily mean the same thing on other products. Read them as the combination written in the explanation for the tool in your hand. If you note down what you have confirmed as a pair of mark and purpose, such as "side with the round mark = finishing the nail tip," you will be less likely to hesitate next time.
Before you throw away the package, it is also a good idea to keep a photo of the label that identifies the product and the directions for use. Photograph the body and the explanation together, and if you have several, separate the cases. Keeping a record of the correspondence between the explanation and the tool, rather than trying numbers directly on your nail to remember them, lets you check while avoiding filing too much.
3. Do not test a side you cannot identify on your nail
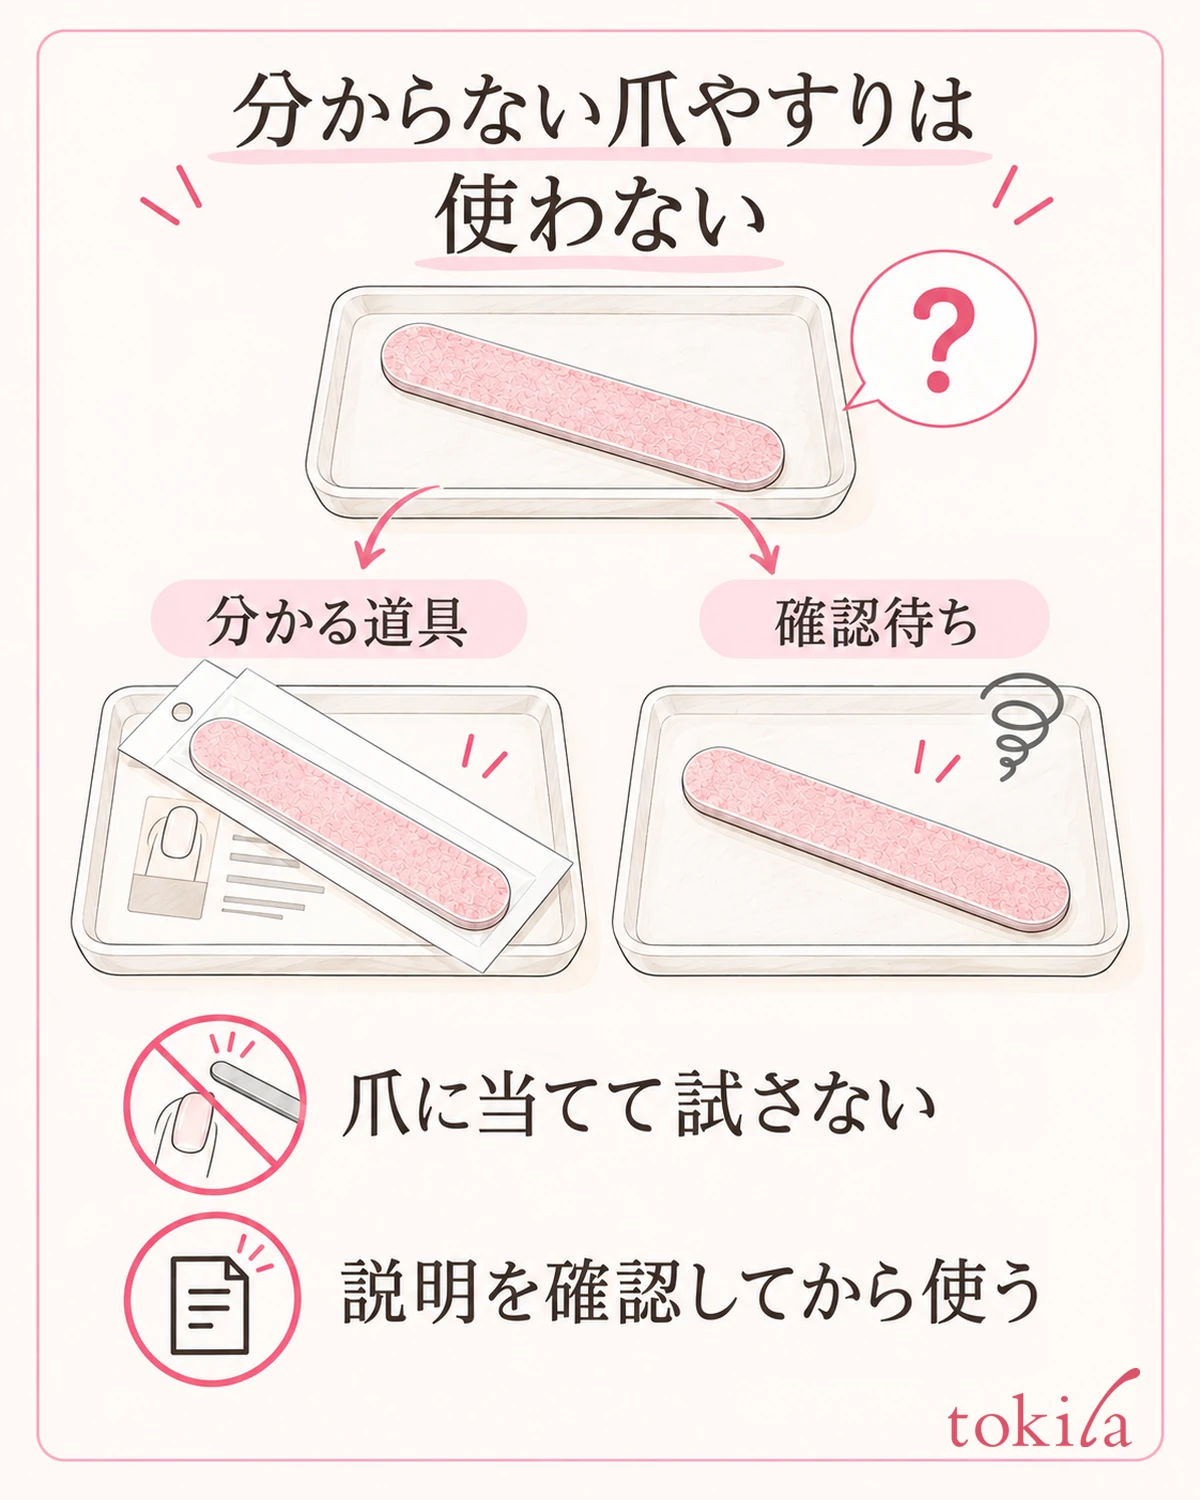
The labels have faded, the body and the package have become separated, or the explanations on the left and right cannot be read. In that case, do not start with the idea that "I'll know after filing a little"; put the tool down. The roughness you feel with your finger may be a reference, but it cannot settle whether the target is the natural nail, the nail tip or the surface. Avoid automatically using the side that felt coarse for the first step either.
First, look again at the whole body, the handle and the printing on the sides. If the package you bought it in or the storage case remains, check whether the shape and labels match. Even if you have the explanation for a similar tool at hand, do not borrow its steps unless you can confirm it is the same item. When you look at an explanation you kept as a photo, also check that the body has not been swapped.
Also separate whether only identifying the side is hard or whether the purpose itself is unknown. Being able to confirm from the explanation that "both sides can be used on the nail tip" but not knowing only the difference in coarseness is different from not knowing where to use it. In either case, if you cannot confirm a side suited to the work you intend, you can choose not to use it that day.
Store tools you cannot identify apart from those you have confirmed. If you put one back into a shared case with the explanation lost, the same confusion will arise next time. If necessary, prepare a tool whose purpose and sides you can confirm before resuming your care. Making up for the coarseness of an old tool by pressing harder or rubbing longer is also not recommended.
If you add your own marks, do not put stickers or ink on the abrasive surface or on any part that touches the nail; record them on the outer bag or case. Just "front" and "back" become ambiguous when you turn the bag over. If you write down the shape of the original mark and its purpose, it is easier to check even when the orientation changes.
4. Once you know which side to use, keep to the designated place and way of moving it
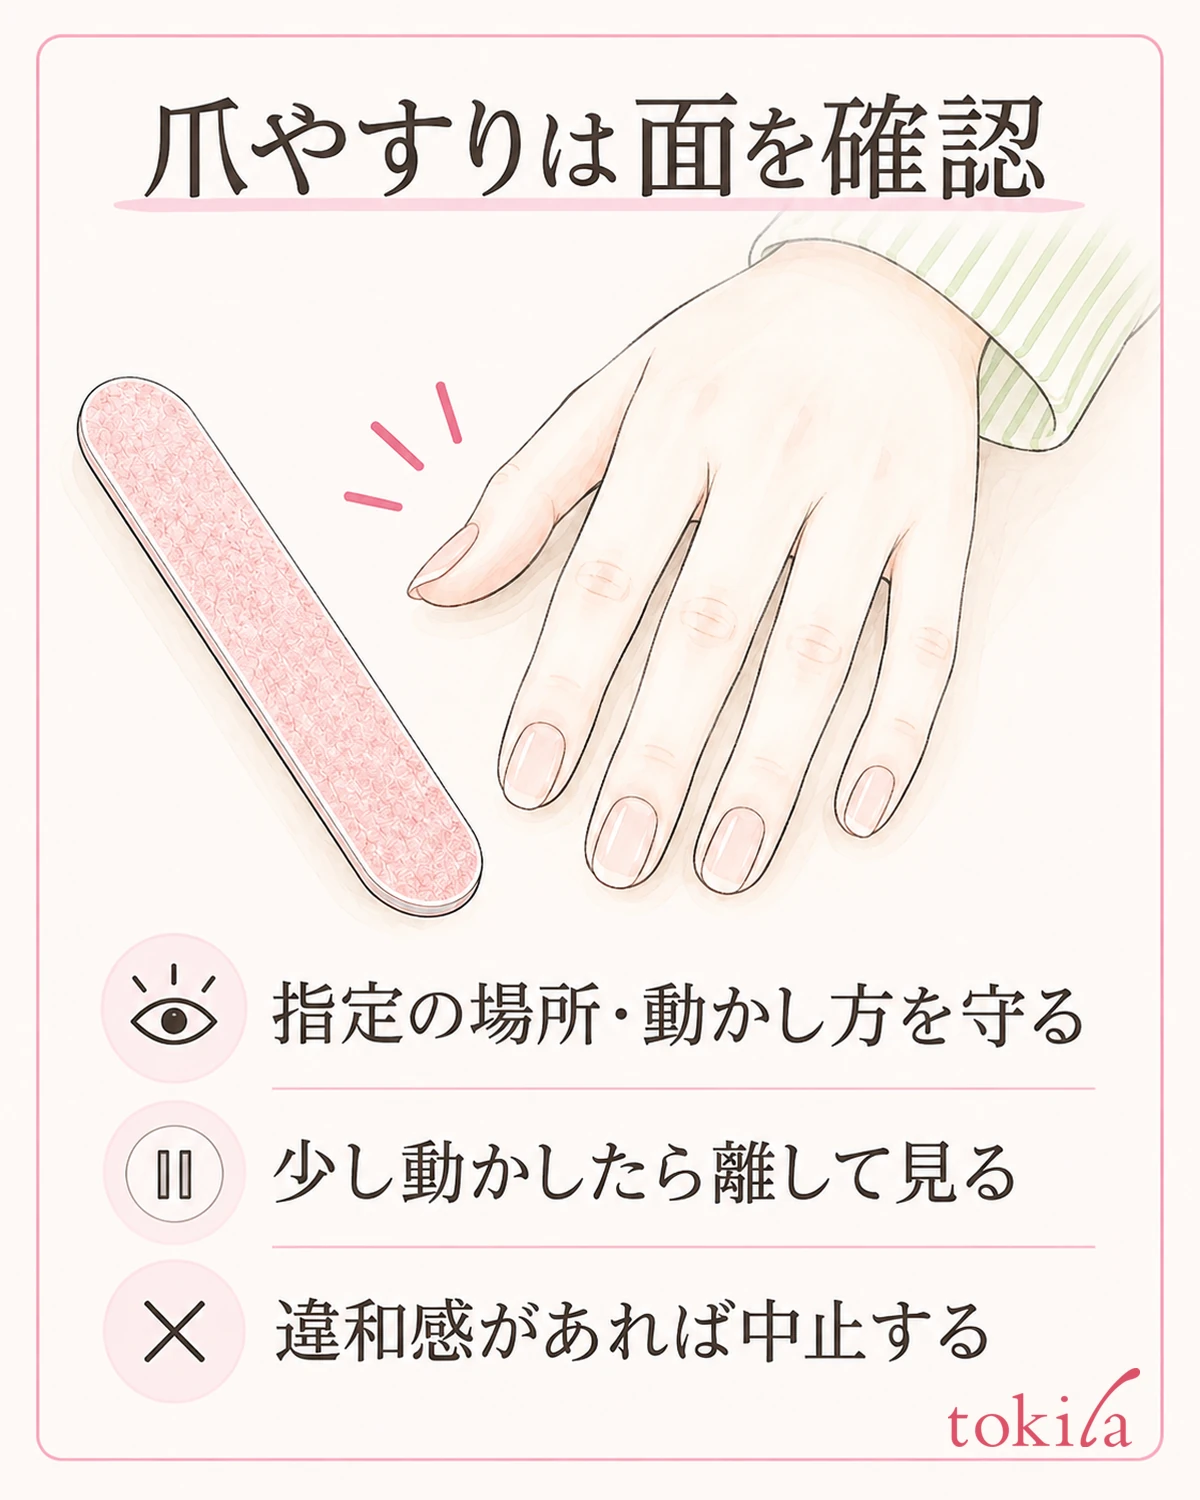
Once you have confirmed the purpose of a side, check once more just before use whether it is for the nail tip or the surface. Only then do you put it against your nail. When you switch it between your left and right fingers, also check that the same side is facing the way it was before. If the two sides look alike, it is fine to look at the mark every time you change your grip.
Follow the tool's instructions for the angle, the direction of movement, and the order in which to use the coarse and fine sides. Structures differ, such as tools you move in one direction and tools where you place the nail tip in a dedicated groove, so it is important not to carry over the motions you learned with another tool across the board. If the length is already enough, also check whether you really need to start with the coarse side, and do not add steps you do not need.
When shaping the nail tip, move the tool a little, lift it away, and check the outline from the front. If you judge the finish while continuing to file, the nail may become shorter before you notice. Support your fingertip comfortably on a desk or with your other hand, and work where you can see. Do not rush and file hard back and forth, or push the nail into the tool.
For a tool for the surface, also check the instructions on the order of use and the number of times. Avoid deciding on your own, such as filing again and again because the shine looks insufficient, and do not switch to the side for the nail tip and buff hard. Also refrain from widening the area or increasing the number of passes in an attempt to erase the color or ridges on the surface of the nail.
If you feel catching, pain, heat or discomfort, stop. Before you continue with a different side, check that the tool is not damaged and that you have not used it in the wrong place. If you suspect an abnormality in your nail, do not aim to file it smooth; stop the care. Since the aim this time is to tell the sides apart, we do not extend the process to removing gel or artificial nails.
5. Care for the side you used, and put it away together with its explanation
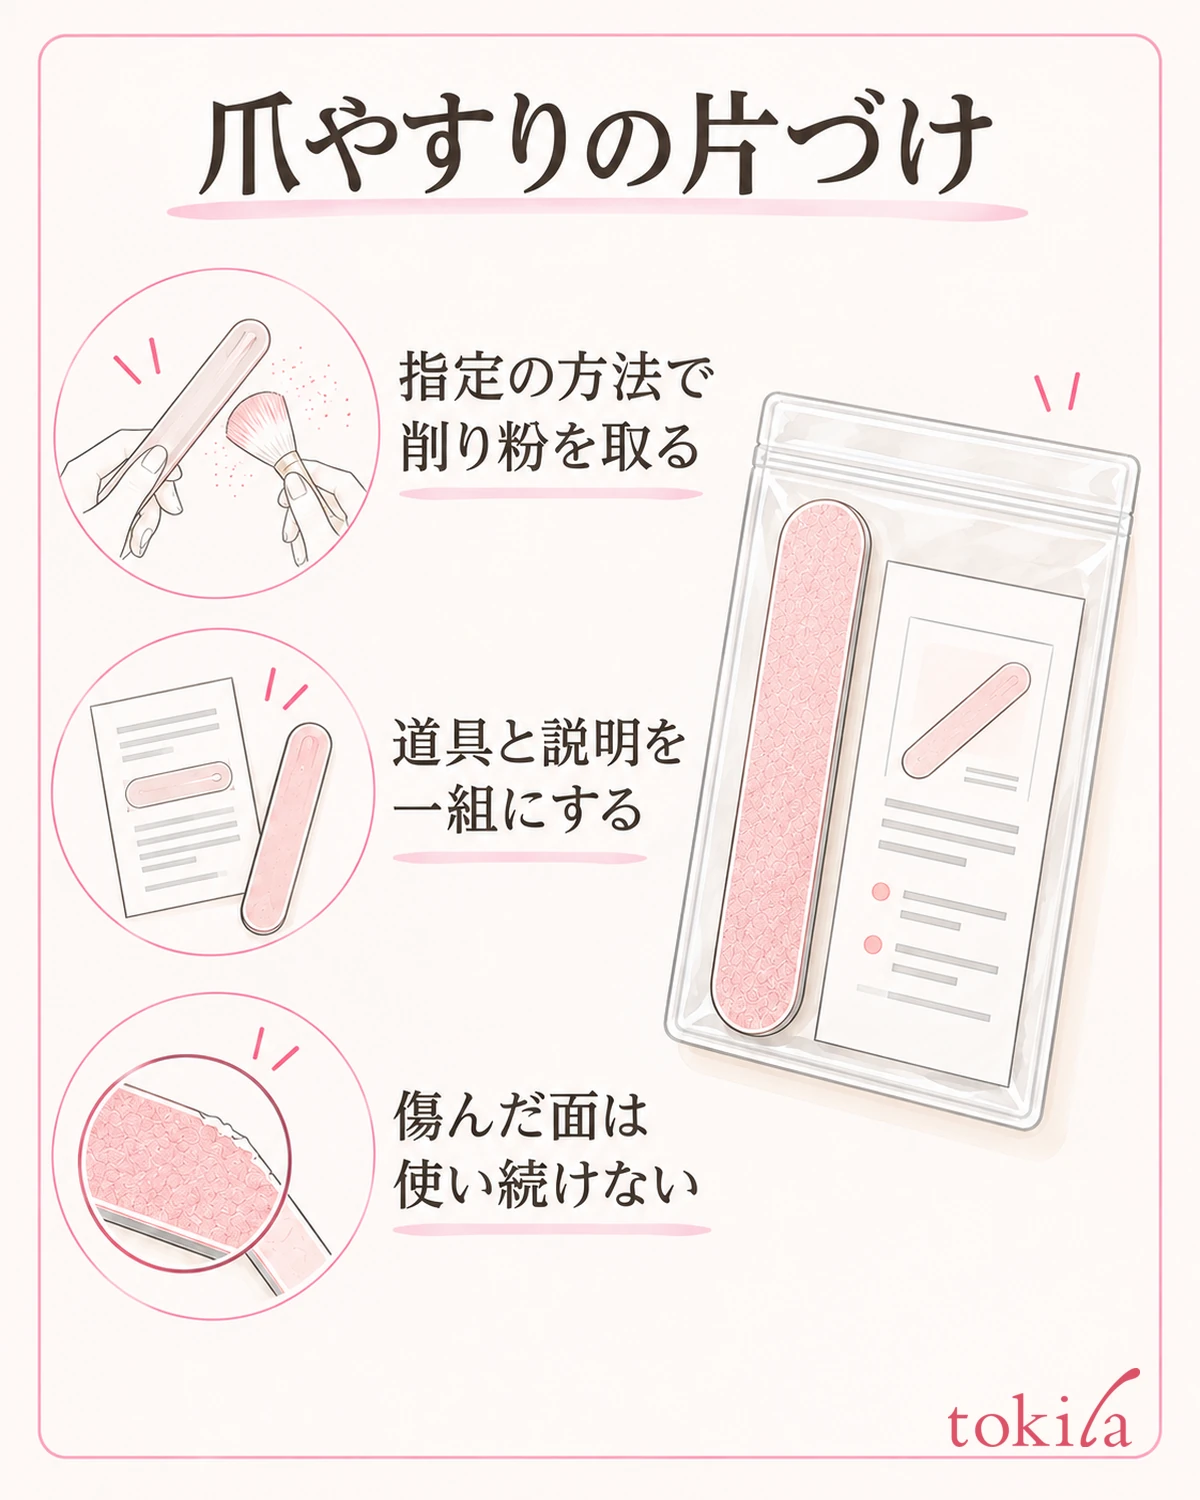
After use, check which side you used and remove the filing dust by the method specified for the tool. Whether it can be washed with water, brushed off, or is disposable depends on the material and structure. Do not decide by appearance alone, such as that metal can be washed or that paper must be disposable; look again at the explanation you kept.
Avoid washing a tool that cannot be washed with water or soaking it in disinfectant. Even when dirt does not come off easily, do not try to restore the abrasive surface with another solvent or with heat. If the surface peels, chips or the handle wobbles, give priority to the decision to refrain from using it rather than keep using it by looking for a sound side.
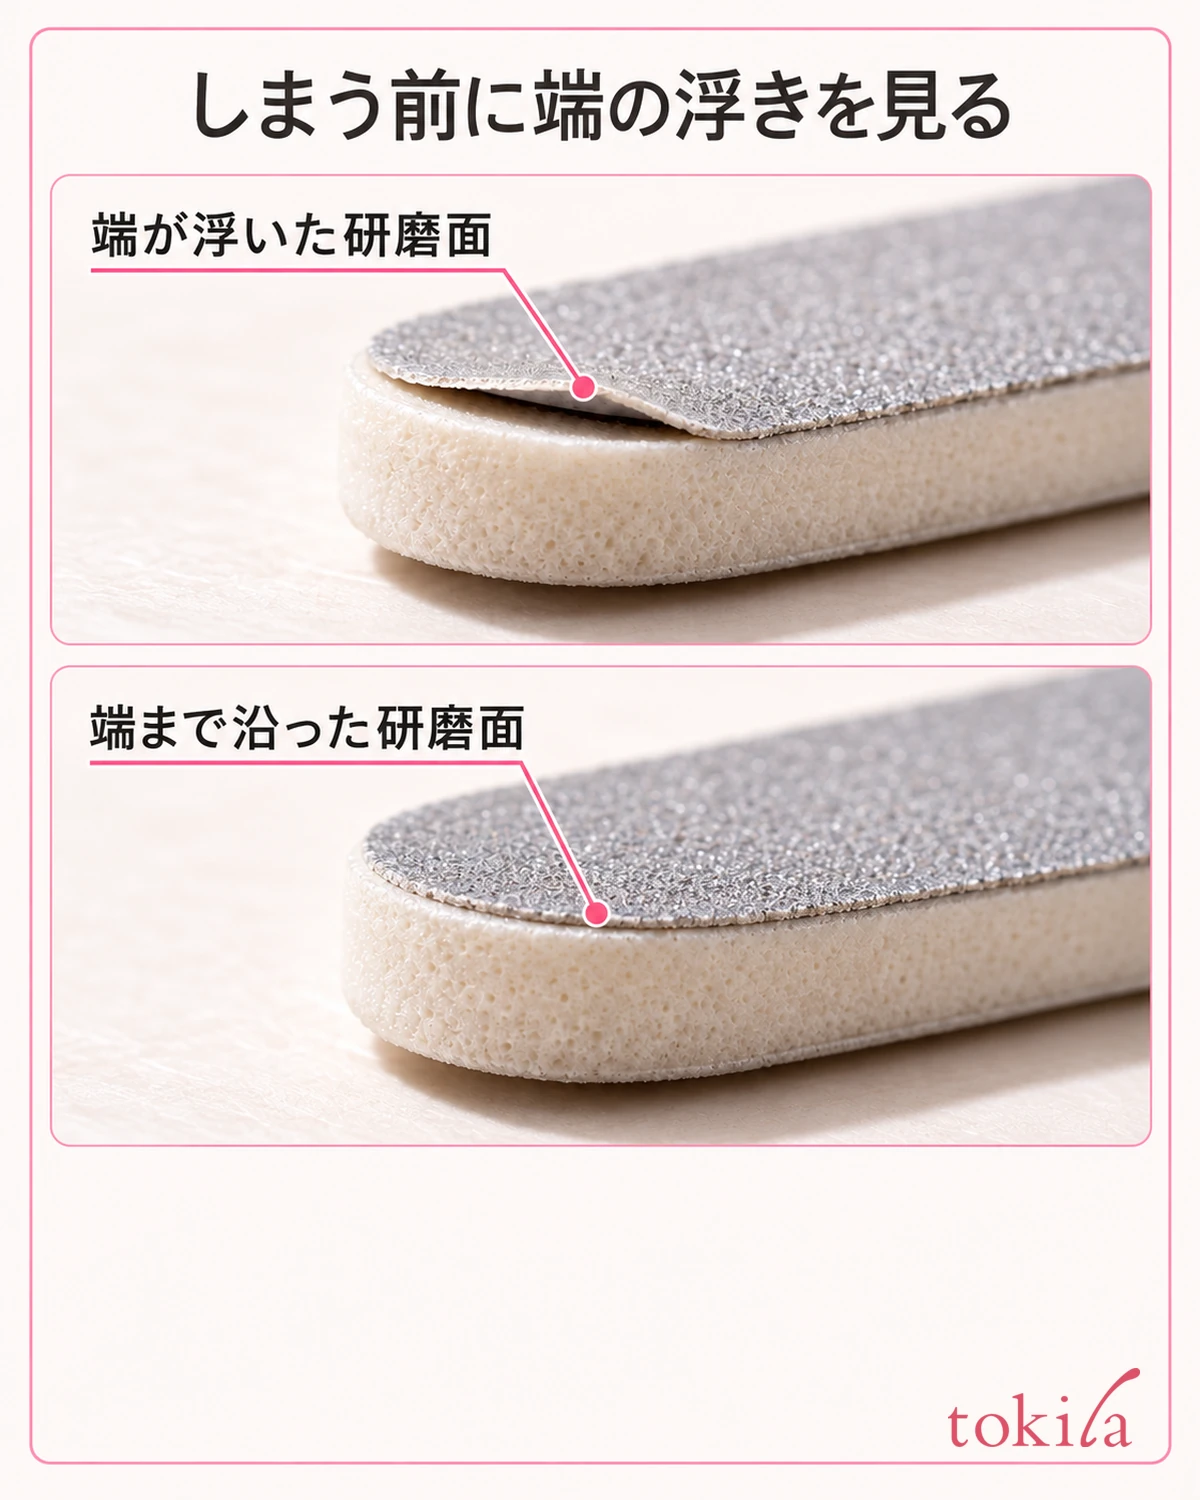
Before putting it away, also check whether the marks remain. If the correspondence between the side you recorded and the body is no longer clear, do not treat it as ready to use as it is. When you put it in the case, keep it from mixing with other files, and keep the photos of the original package and explanation traceable. If there is a specified step such as drying, finish that before storing it.
The notes you keep for next time do not have to be long. Write three things to suit the explanation of the item you own: the label that identifies the tool, the mark and where to use it, and how to put it away. If you have a photo of the body in which the marks and numbers can be confirmed, you can take it out without relying on memory alone. Do not forget not to reuse your notes for another file.
When you are unsure about the front and back of a nail file, going back through purpose, labels and the correspondence of the sides is the starting point. Rather than trying a side you cannot identify, do only the work you need with the tools you have confirmed. When you move on to the step of applying color, you can also check how to support your hand when painting the nails on your dominant hand as a separate procedure.



