One shade in your concealer palette looks too light, while the next looks too dark. If the product is intended for mixing, you can adjust the color by blending a little at a time. Instead of taking equal amounts of every shade at the outset, start with one close to the area where you will use it and add only the colors you need. Keeping the mixing surface, amount added, and place for checking the color on your skin separate makes it easier to avoid accumulating more product as you search for a shade.
This article covers concealers whose shades can be mixed within the same palette. Mixing products from different brands or adding foundation is a separate topic. The photos explain where to portion out product and where a brush makes contact; they do not compare the color payoff or coverage of specific products.
1. Read whether the palette allows mixing, the role of each shade, and the application order
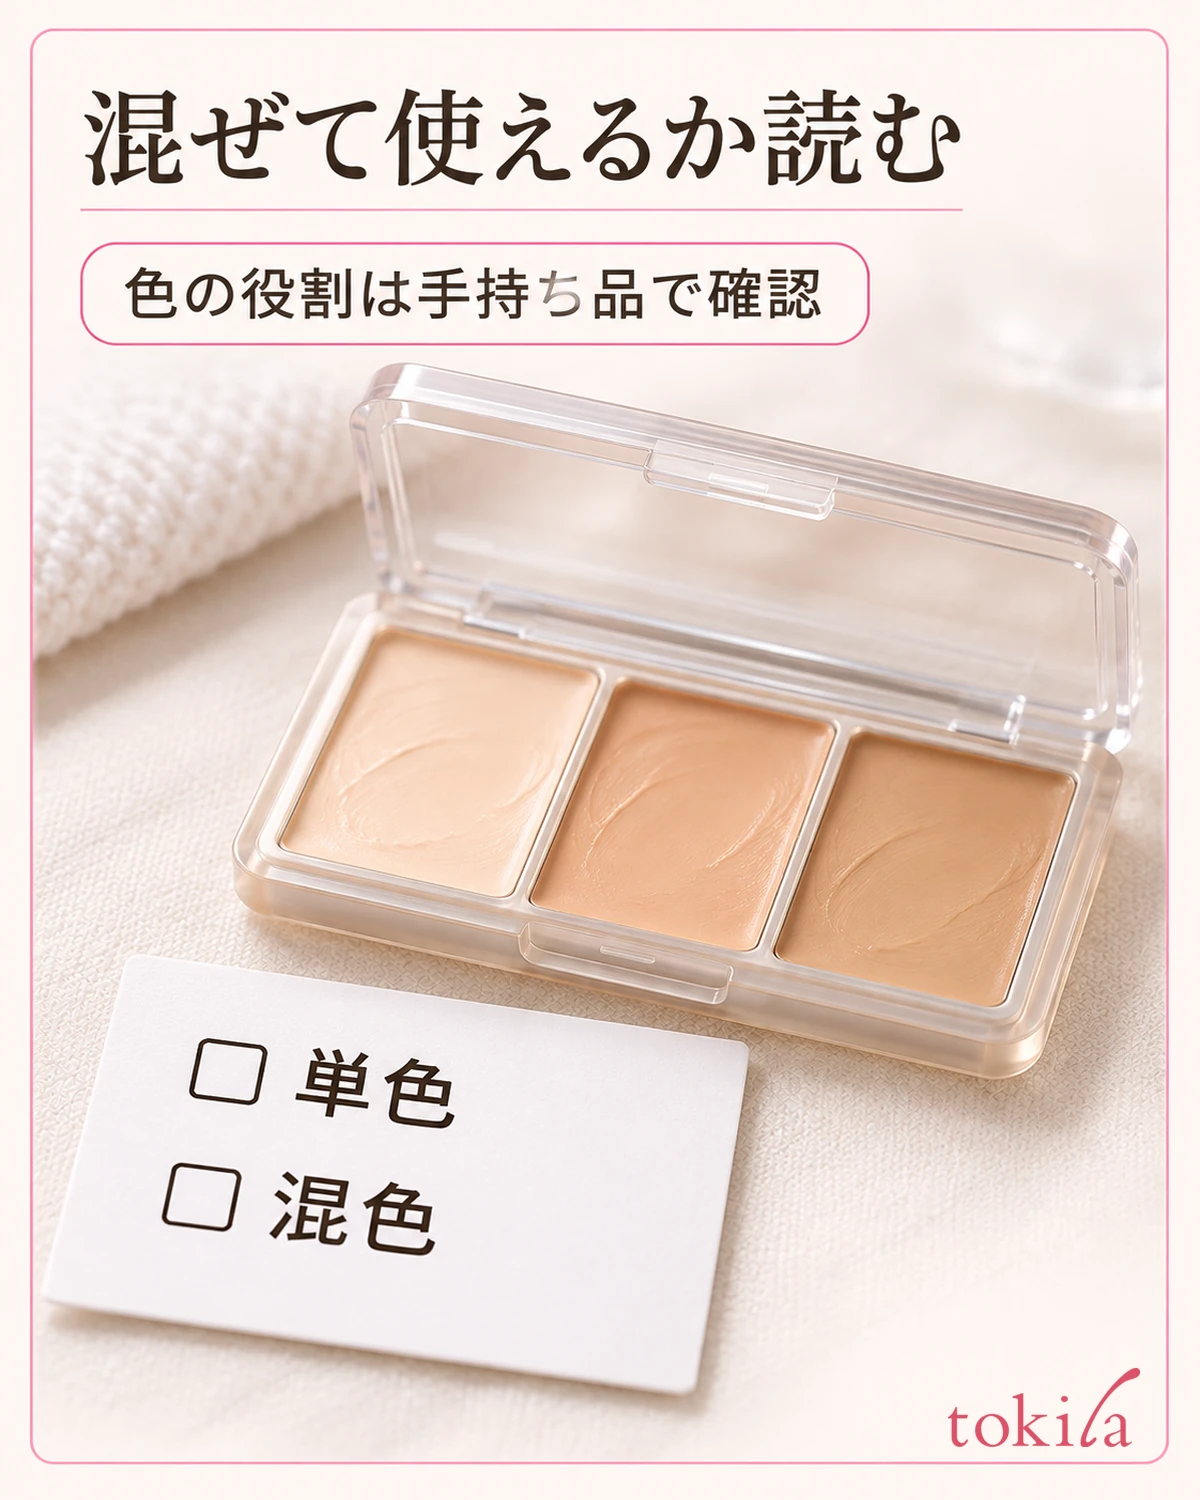
First, check the directions on the box or container for wording such as “mix” or “blend.” Not every multicolor palette is designed for mixing. Some sets combine primers or powders, and some have a specified application order, so avoid blending everything together based on appearance alone.
Next, check the role of each shade. Skin-toned beige, shades for adjusting brightness, and colors for layering over uneven skin tone vary in both placement and purpose by product. Rather than remembering positions such as “the center is the base” or “the left is the light shade,” match them to your palette’s instructions. Even in similar beiges, brightness and yellow or red undertones are separate factors.
Check the application order together with the foundation you will use. Instructions to apply before powder foundation or after liquid foundation apply to that particular product. Being suitable for mixing and working the same way over every base makeup product are separate matters.
Prepare a clean brush or fingers as directed, a mirror, and a surface for portioning out color. If the product can be used on the back of your hand, wash your hands and remove any other cosmetics. Use a designated mixing surface or tool if specified, rather than improvising with the compact mirror or the inside of its lid.
Color adjustment here changes appearance through makeup. It does not change the color of your skin itself or dark spots. Do not keep testing on areas with pain, wounds, or skin abnormalities; first check that the skin is suitable for use and that the product is intended for that area.
2. Choose where to apply it and check a single shade first

Choose one application area. Decide whether you are addressing part of a cheek, uneven tone around the mouth, or another area, then select one shade that appears close to the surrounding skin. Start with the understanding that appearance varies by area, rather than assuming you will cover the entire face with the same mixture.
Checking a small amount of a single shade before mixing makes it easier to decide how to adjust it. Use the back of your hand to assess amount and texture, without assuming that a shade blending well there will look identical on your face. Ultimately, compare the actual application area with the surrounding skin under the same light.
Distinguish whether it is too light, looks noticeably yellow or red, or appears as a thick patch of color. If it is applied thickly, reassess the amount before changing the shade. Simply looking pale does not mean you need to begin by adding a large amount of the darkest color.
Pay attention to lighting too. Strong light from only one side or a position directly beneath colored lighting makes it harder to judge differences between your cheeks or between your face and hand. Adjust the mirror and your face, and check without substantially changing the light or viewing angle along the way, so you can follow what you have adjusted.
If one shade blends into the surrounding skin, you can finish with that shade alone. Using every color in the palette each time is not the goal. Reserving mixing for when you have checked a single shade and identified a direction for adjustment helps limit the amount you use.
3. Portion out the shades and mix in added color a little at a time
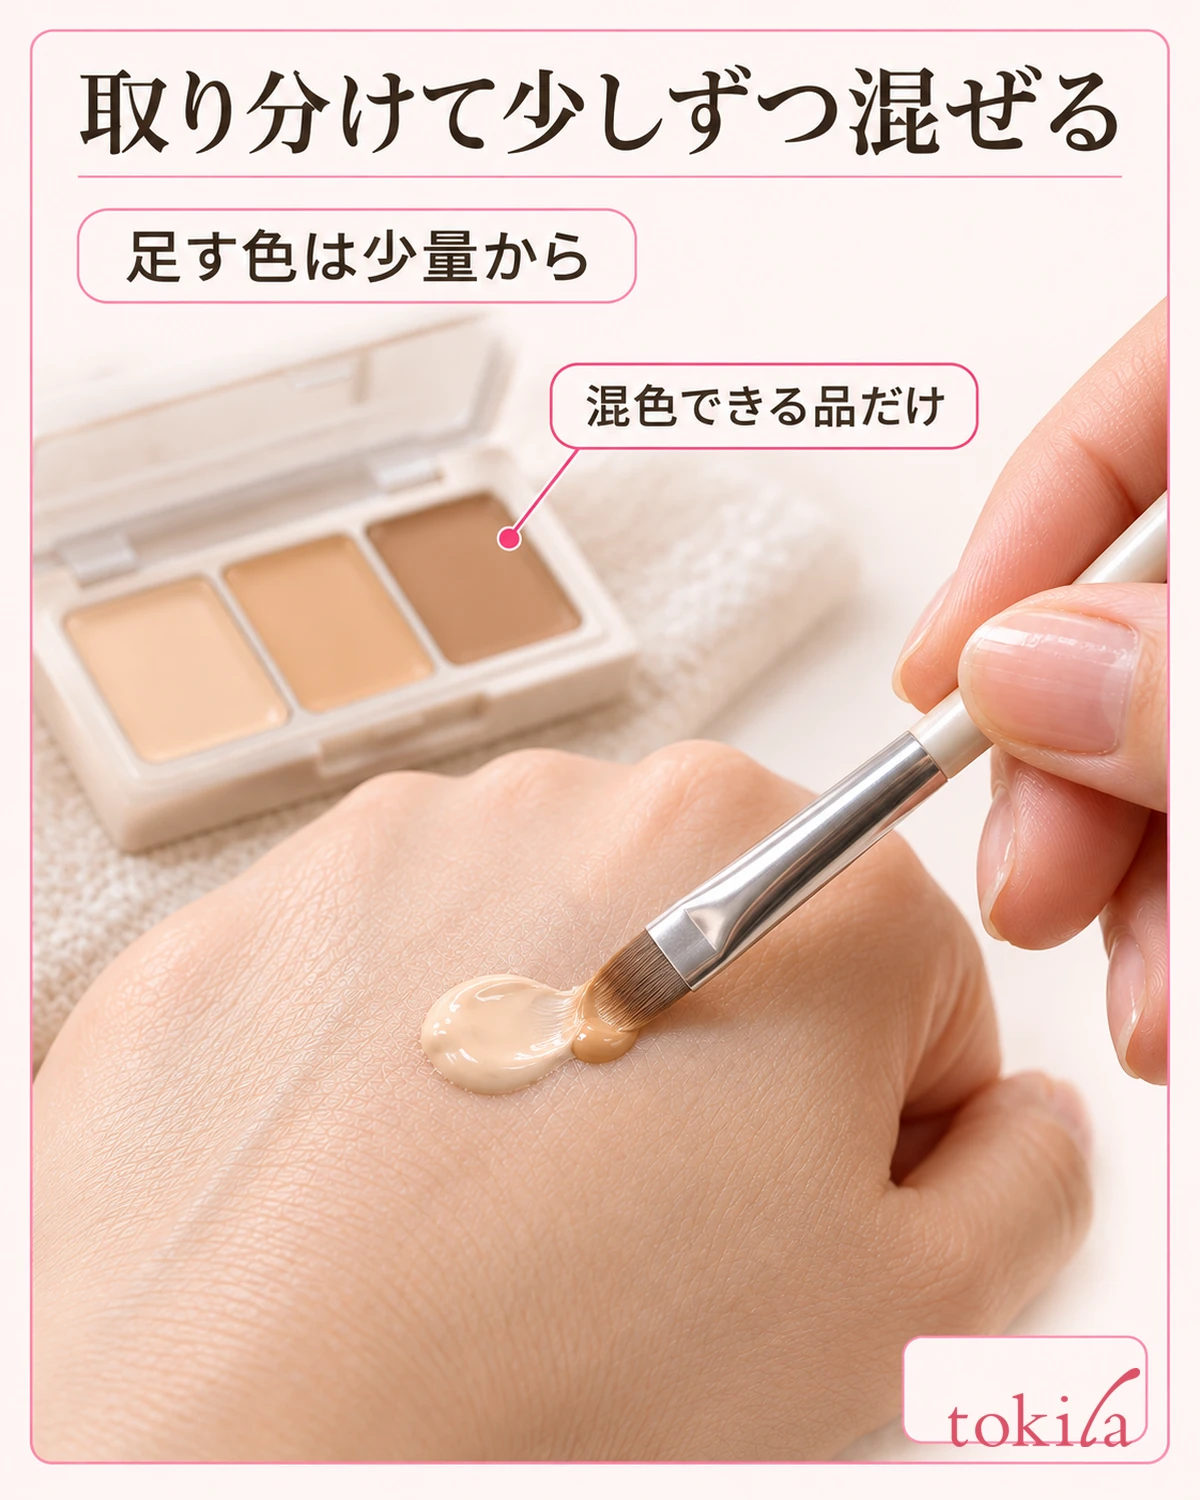
Once you have chosen the shades, portion a small amount of your starting color onto a clean surface. Place an even smaller amount of the color to add beside it, then mix with a brush or another tool suitable for the instructions. Setting aside only what you will use lets you compare it with the original color, rather than moving a brush back and forth between pans and mixing all their contents.
Do not fix the initial ratio at “half light and half dark.” The amount needed varies with each shade’s color payoff and firmness, and with the application area. Add color in small increments, check the mixture, and then decide whether to add more. If the color changes considerably in the wrong direction, starting again with a small fresh portion is another option instead of adding more and more shades to reverse it.
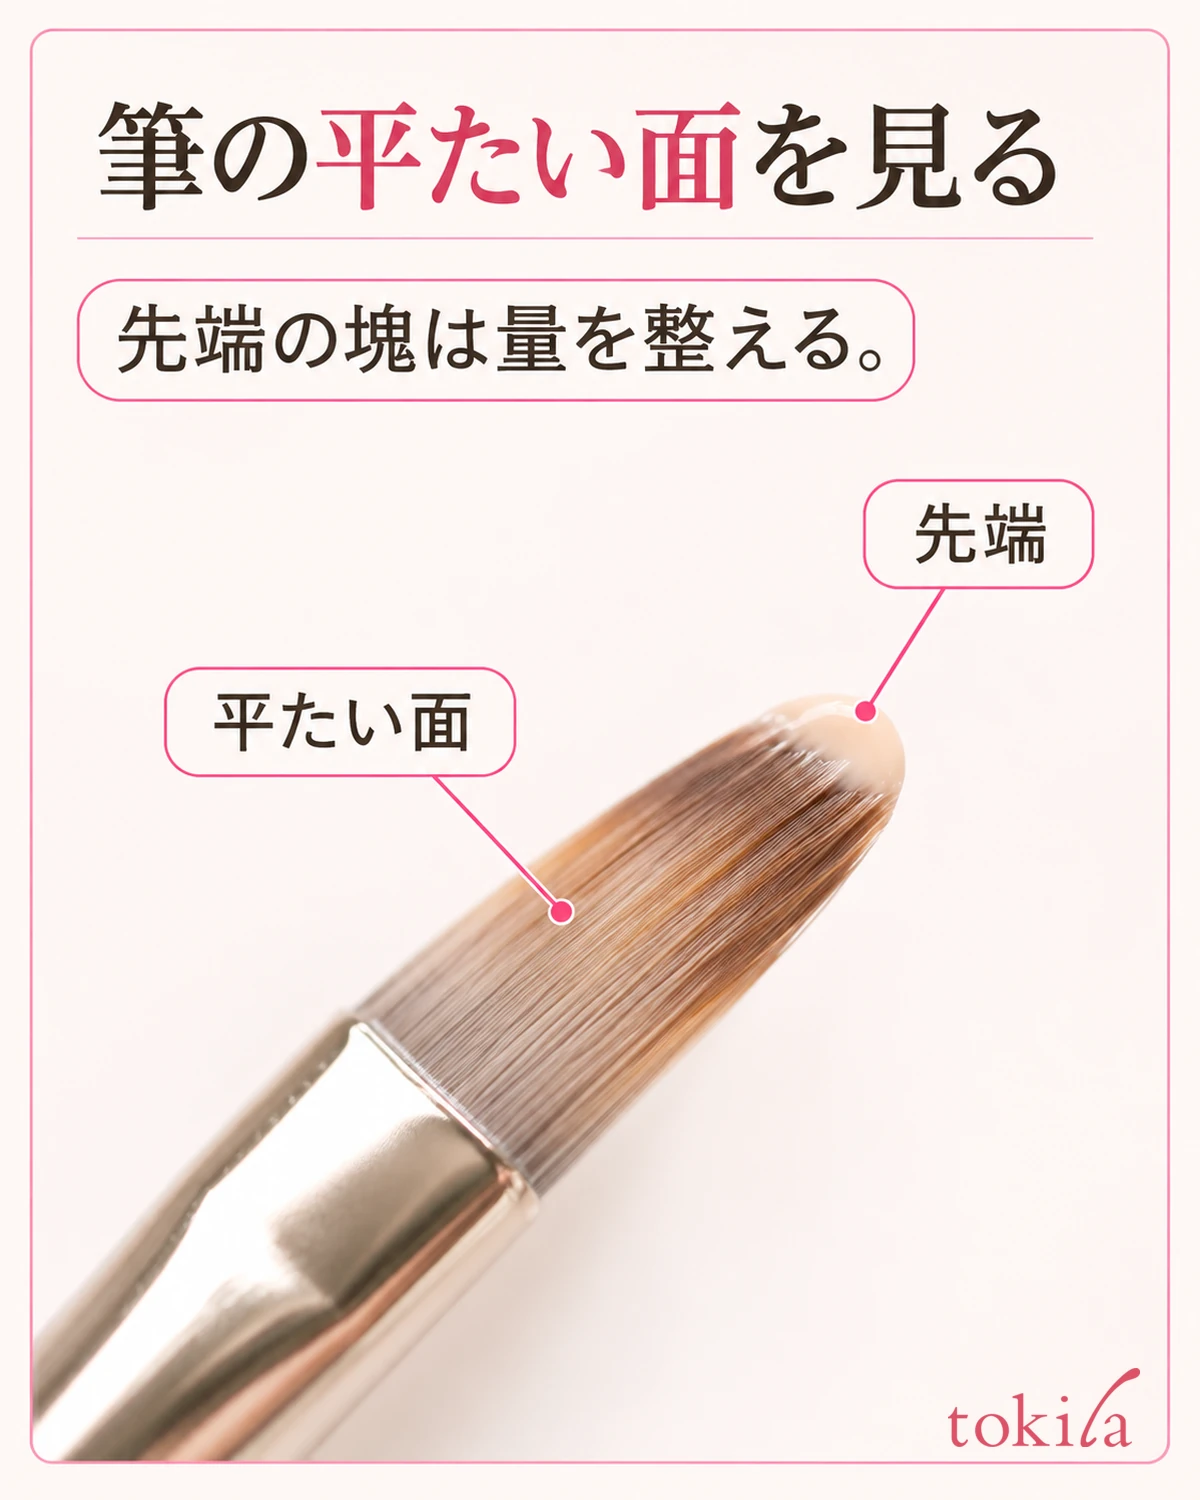
On a flat brush, product sits differently on the sides of the bristles and at the tip. If a large lump is on the tip, adjust the amount on the mixing surface before taking it to your face. You do not need a thick coating across the brush’s full width. Distinguish between visible bristle surfaces and tips hidden beneath a mound of cream.
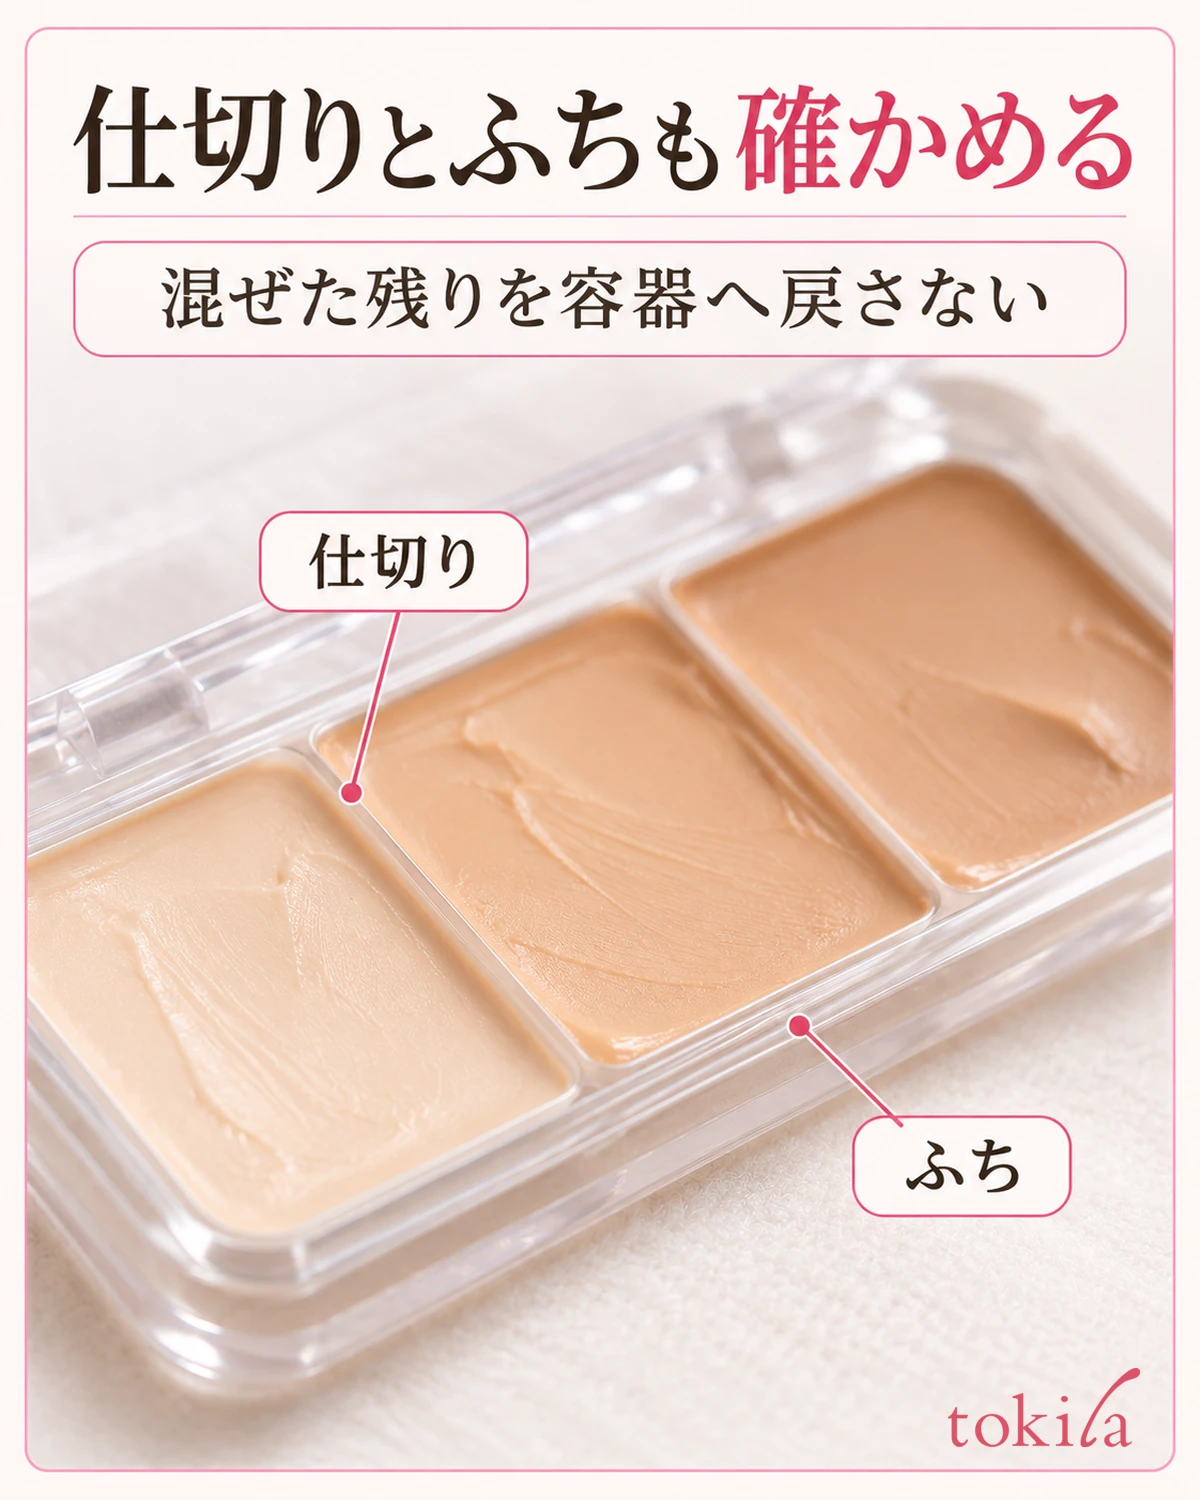
Returning mixed color to its original pan also changes how it will look the next time you choose a single shade. Keep leftovers out of the container and follow the product’s directions for handling after use. Collecting mixed leftovers in another container for storage is separate from adjusting a single application.
Do not improvise by adding water, toner, or oil because the product is firm and difficult to mix. Heating is not a universally recommended method either. Reread the directions for taking out the product; if its smell or condition differs from usual, pause use rather than disguising the change by mixing.
4. Check the color where you will apply it and adjust only what you need
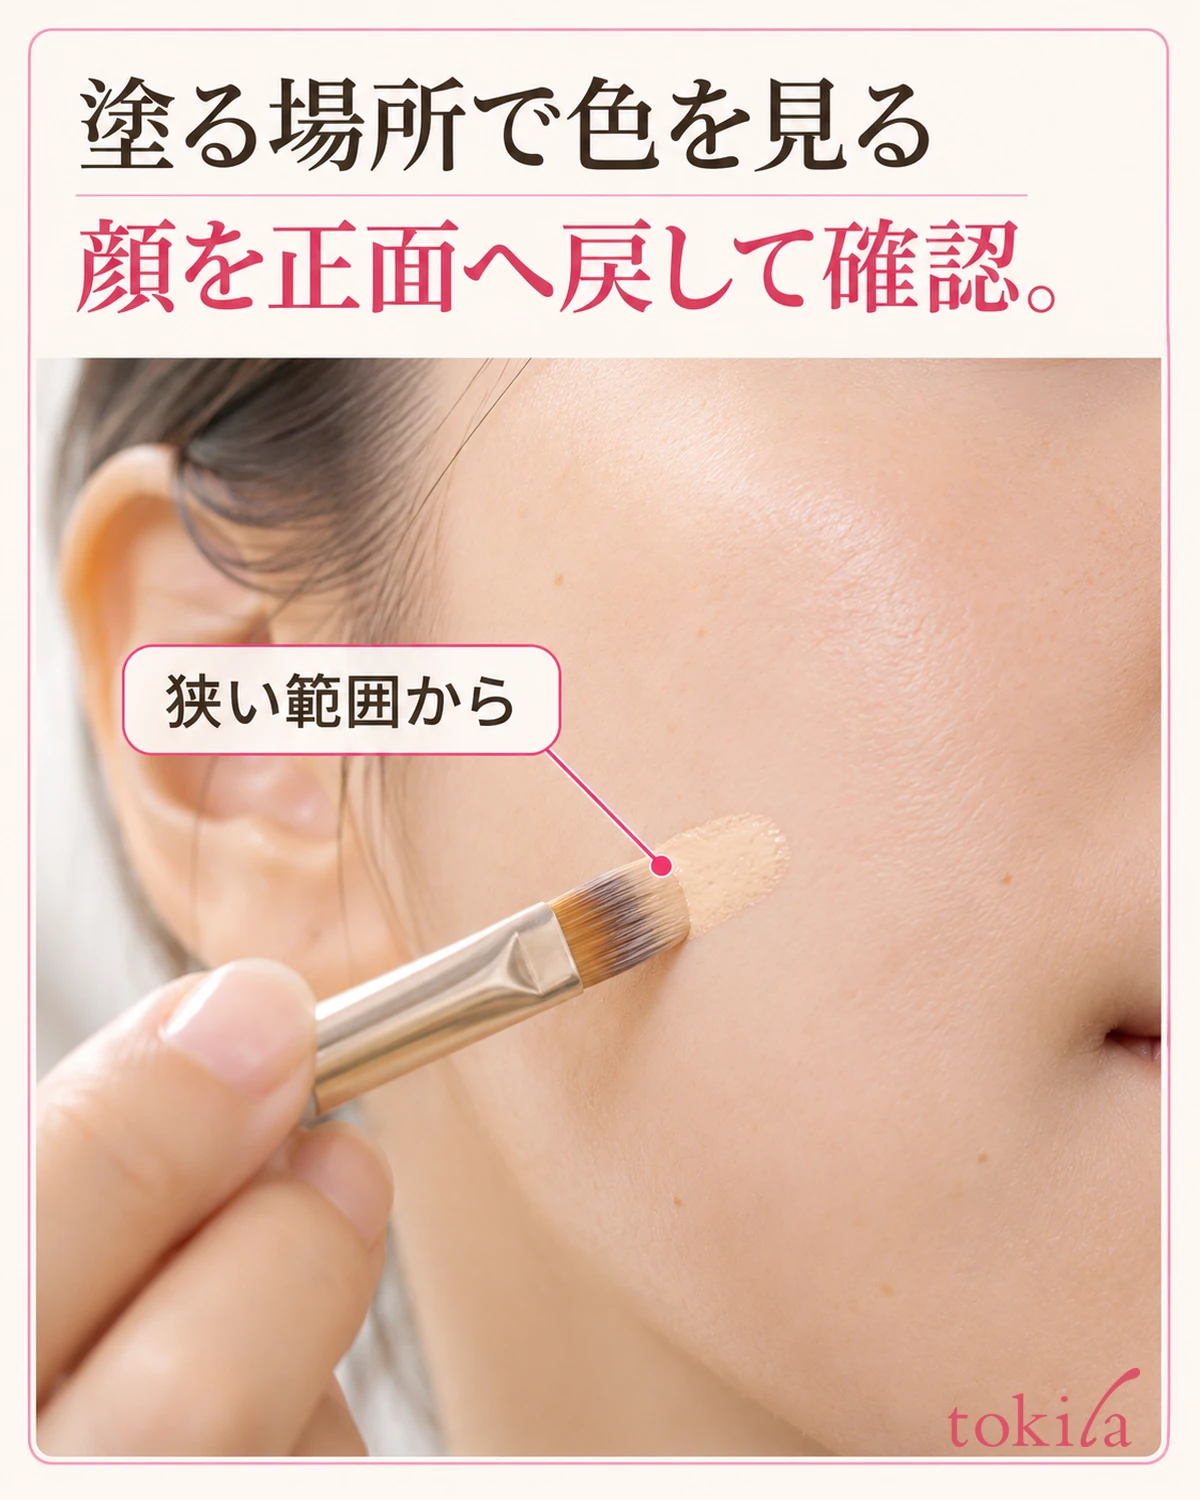
Check the mixed shade on a small part of the intended area first. If too much seems to remain on the brush, adjust it on the portioning surface before touching your skin. Covering a large part of your cheek all at once also increases the area you would need to redo if it does not match, so keep track of the area you want to refine today.
After application, move the brush away and face forward again. Look closely at edge lines and thickness, then step back a little to check how the color connects with the surrounding skin. Avoid keeping your face close to the mirror and layering repeatedly to make only the applied spot disappear completely. If the difference from the surrounding skin does not bother you, you can stop there.
To make the shade a little darker or lighter, return to the small portion left on your mixing surface. Adjusting that portion before applying it where needed helps you consider color and thickness separately, instead of searching for a mixture by layering several colors on your face. Use color-correcting shades within the roles described for that palette.
If the color matches but a distinct outline remains, check how you blend the edges before remixing. Moving the center substantially and softening the outer boundary are different actions. For details, see thesteps for reassessing concealer edgeswhere they suit your product.
If it is not coming together, pause and identify whether the color, amount, or base underneath is bothering you. Rather than expecting extra powder to fix both color and thickness, decide on a small area to redo. Returning to the initial small amount makes the conditions easier to follow than adding one product after another to conceal a mismatched shade.
5. Check thickness and edges, and record the shades you used
Finish in the order specified for your product, including powder where directed. Before layering the same amount everywhere, check whether concealer has already accumulated thickly. If product collecting in lines under the eyes is your main concern, you can reassess it separately from color matching withconcealer amounts and layering under the eyes.
Before closing the palette, check the dividers between the pans and the rim. If mixed color is spread over the dividers, it becomes harder to identify the original shades the next time you take them out. Keep water and cleansers out of the contents, and follow the separate care instructions for the container and brush.
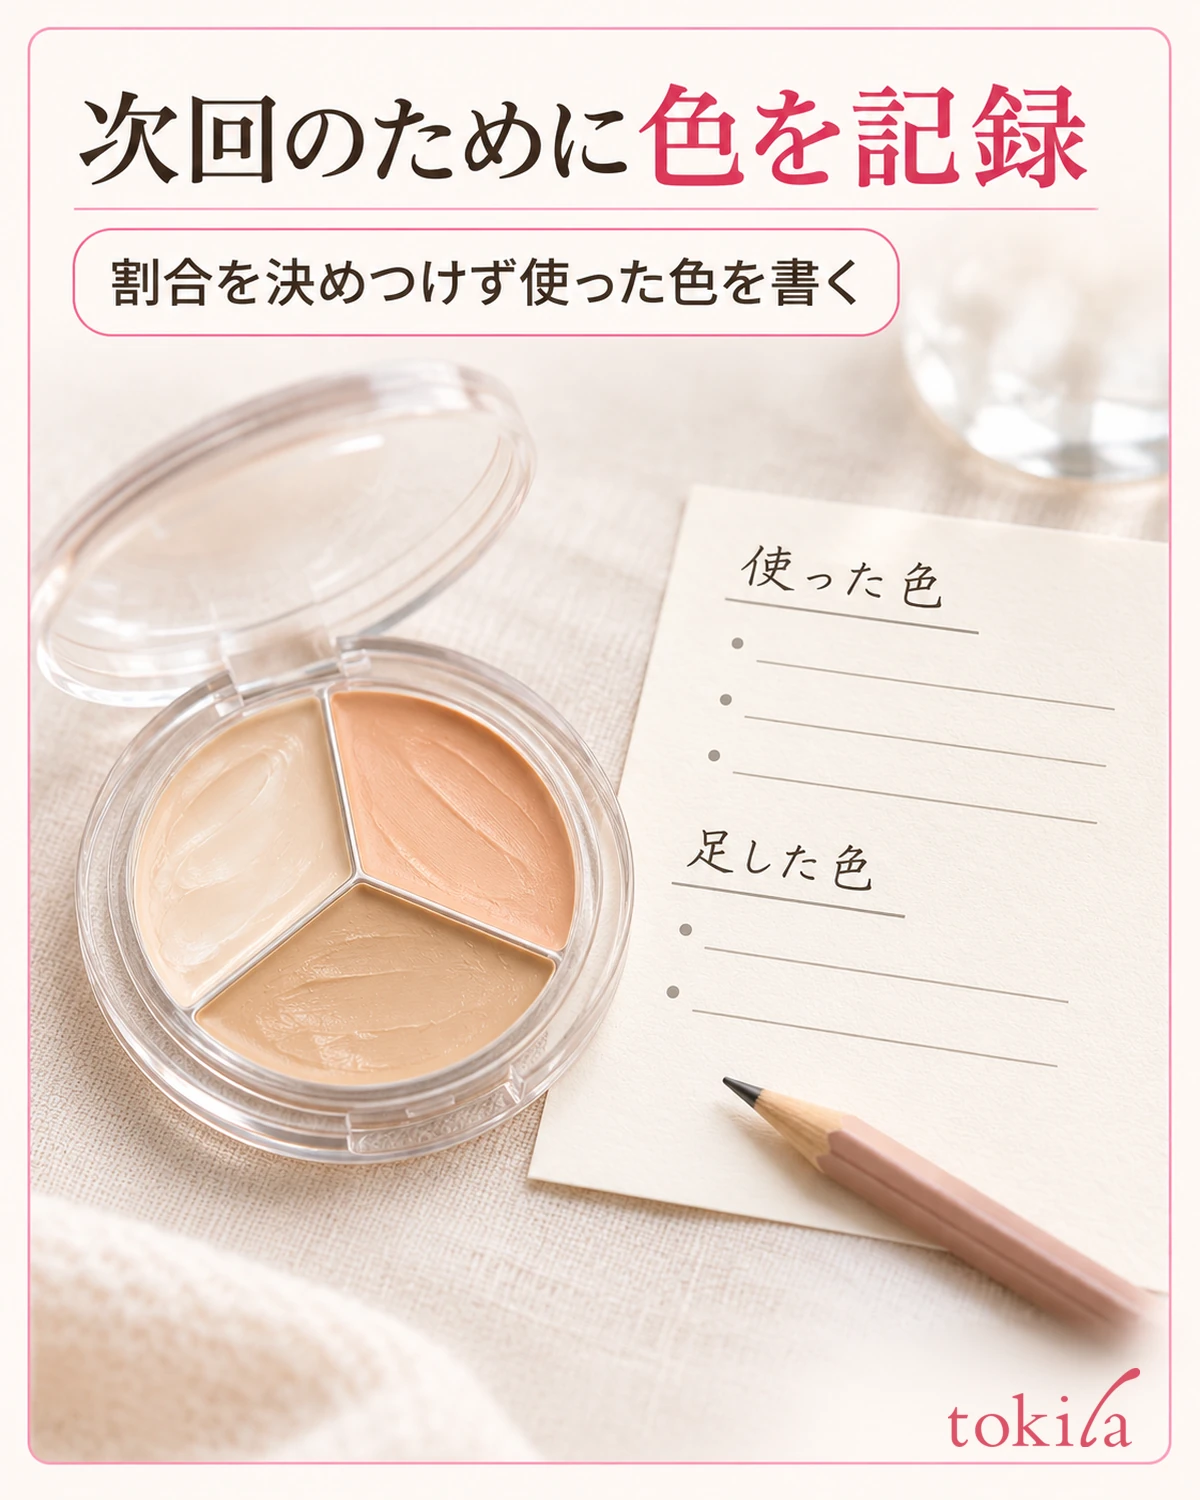
For next time, start by briefly recording “application area,” “base shade,” “shade added in a small amount,” and “appearance,” rather than trying to reproduce an exact detailed ratio. Write shade numbers or names as they appear on the product, so you are less likely to confuse them when switching to a palette with a different arrangement.
Limit the next change to one thing too. Match it to the problem: the amount of added color if it was too dark, the amount transferred to your face if the shade matched but looked thick, or how you touch the edges if a line remained around it. Changing lighting, product, and mixture all at once makes it harder to know which adjustment suited you.
A concealer palette is not necessarily something you must mix; some products let you choose between individual shades and blends. Read whether mixing is allowed, check a single shade, portion out only what you will use, and assess it on the intended area. Follow that order to work your existing colors into your makeup.