
You like the color of the lipstick, but when you close your mouth, only the corners look dark and caked. Thinking you had missed a spot, you added more, and the red spread beyond the corners. In that case, before adding more lipstick, tell apart the color left at the corners of your lips from the shadow that appears when your mouth is closed. The smaller the area, the more the starting point of adjustment is to keep the surface you apply to and the amount small each time.
This article is about how to review lipstick that builds up thickly at the left and right corners of the mouth. Separate from uneven color across the whole lips, vertical lines and gloss that bleeds outside the lips, it explains the viewing angle, the tip of the tool, the shape of the mouth and partial touch-ups in order. The goal is not to erase even the faint shadow or to change the shape of your lips.
1. Lightly open and close your mouth to tell shadow apart from buildup
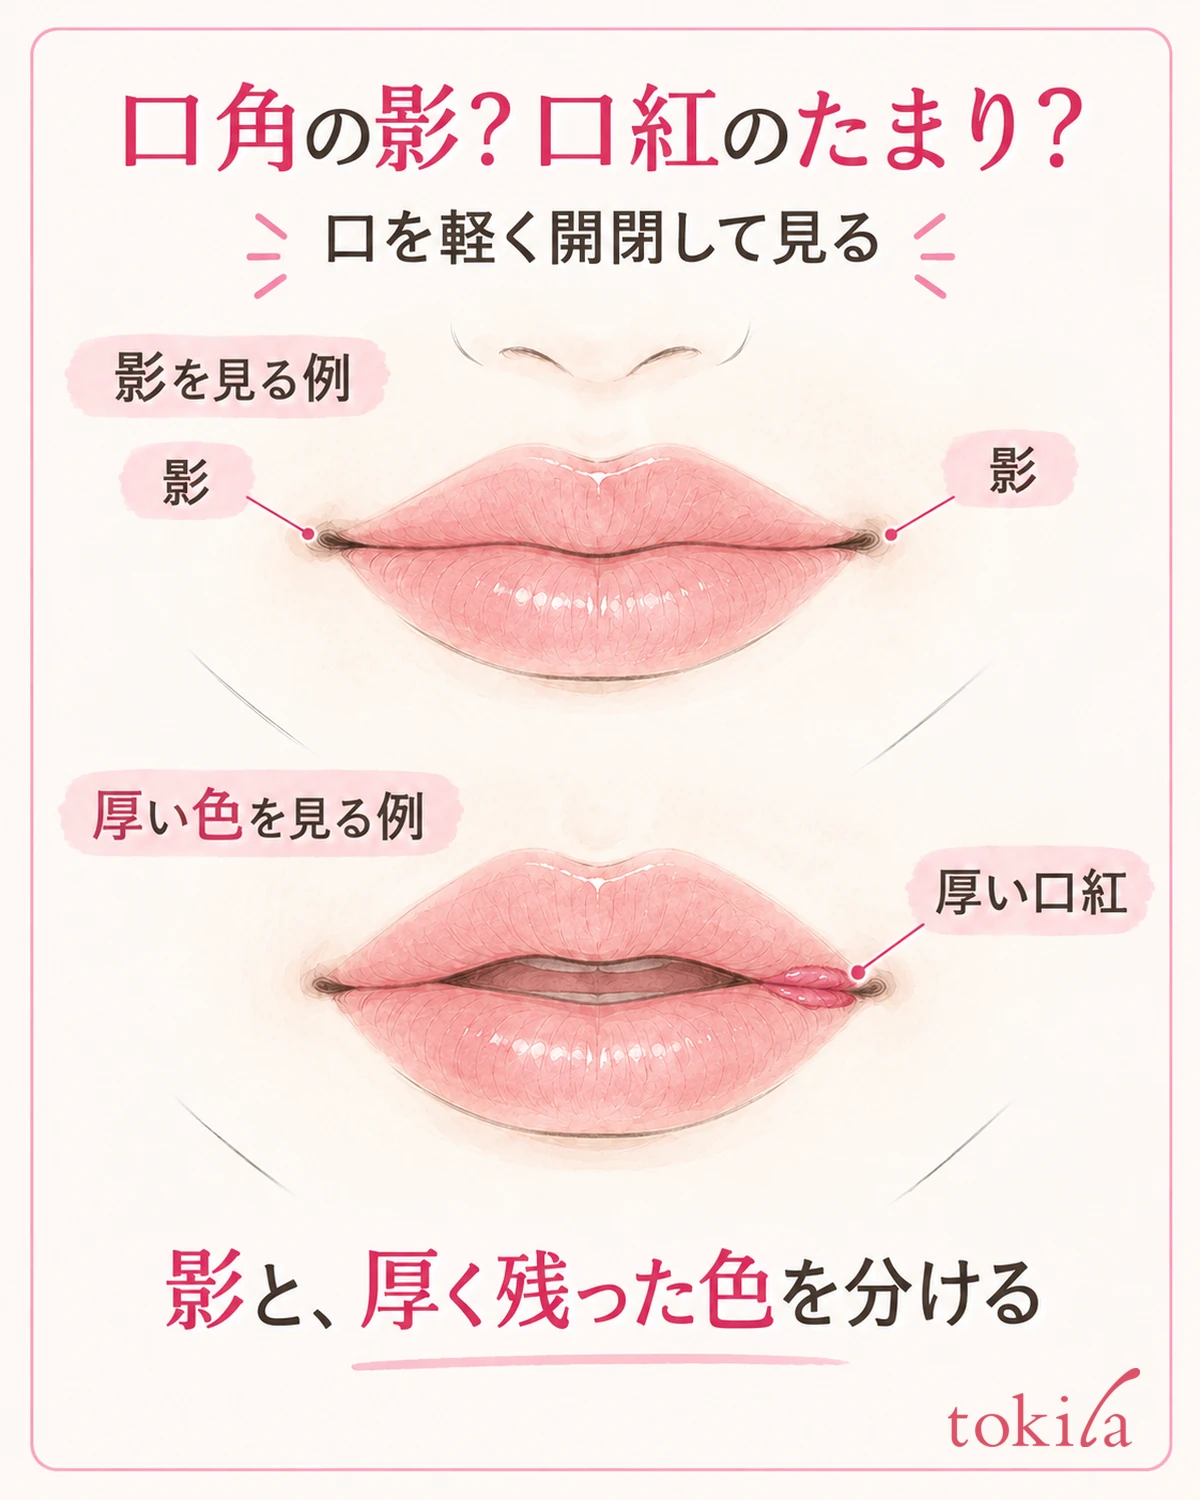
First, move the stick or tip away and look in a mirror in front of you. From a relaxed closed mouth, open it slightly, then let it return naturally, and check the left and right corners one at a time. Do not judge only from a broad smile; look for where dark color remains in your usual expression.
The corners of the mouth are where the upper and lower lips meet, so some parts look dark when closed. Do not assume a dark spot is simply an unpainted area and pack color into it. Change the direction of your face slightly and see whether it looks lighter as the light changes, or whether red or brown product is really left thickly in the same spot.
If color is layered on the surface of the lips, check the amount and the area you painted. If color has gone onto the skin outside the lips, that is where to tidy up first. On the other hand, you do not need to fill in everything visible only when the mouth is open to the same depth as at the front. It is important not to widen what you are fixing too much.
Instead of trying to even out both sides at once, decide on a spot, such as "thick color at the right corner" or "a small bleed on the outer left." Both sides may not be exactly the same shape. Avoid treating the left-right difference as a color mistake and adding more and more to the lighter side.
After looking closely at your mouth, step back to a distance where your whole face fits. If you try to fill in even small shadows, only the corners may end up darker on the whole face. What you want to check is not a mouth without shadows, but whether thick product is left only at the edges.
If the main problem is mottled color across the whole lips, go to how to even out lip color and the lip outline. Separating whether it is only the corners or the whole lip lets you keep the area you touch small.
2. Shape the tip of the lip brush and check the amount you carry to the corners
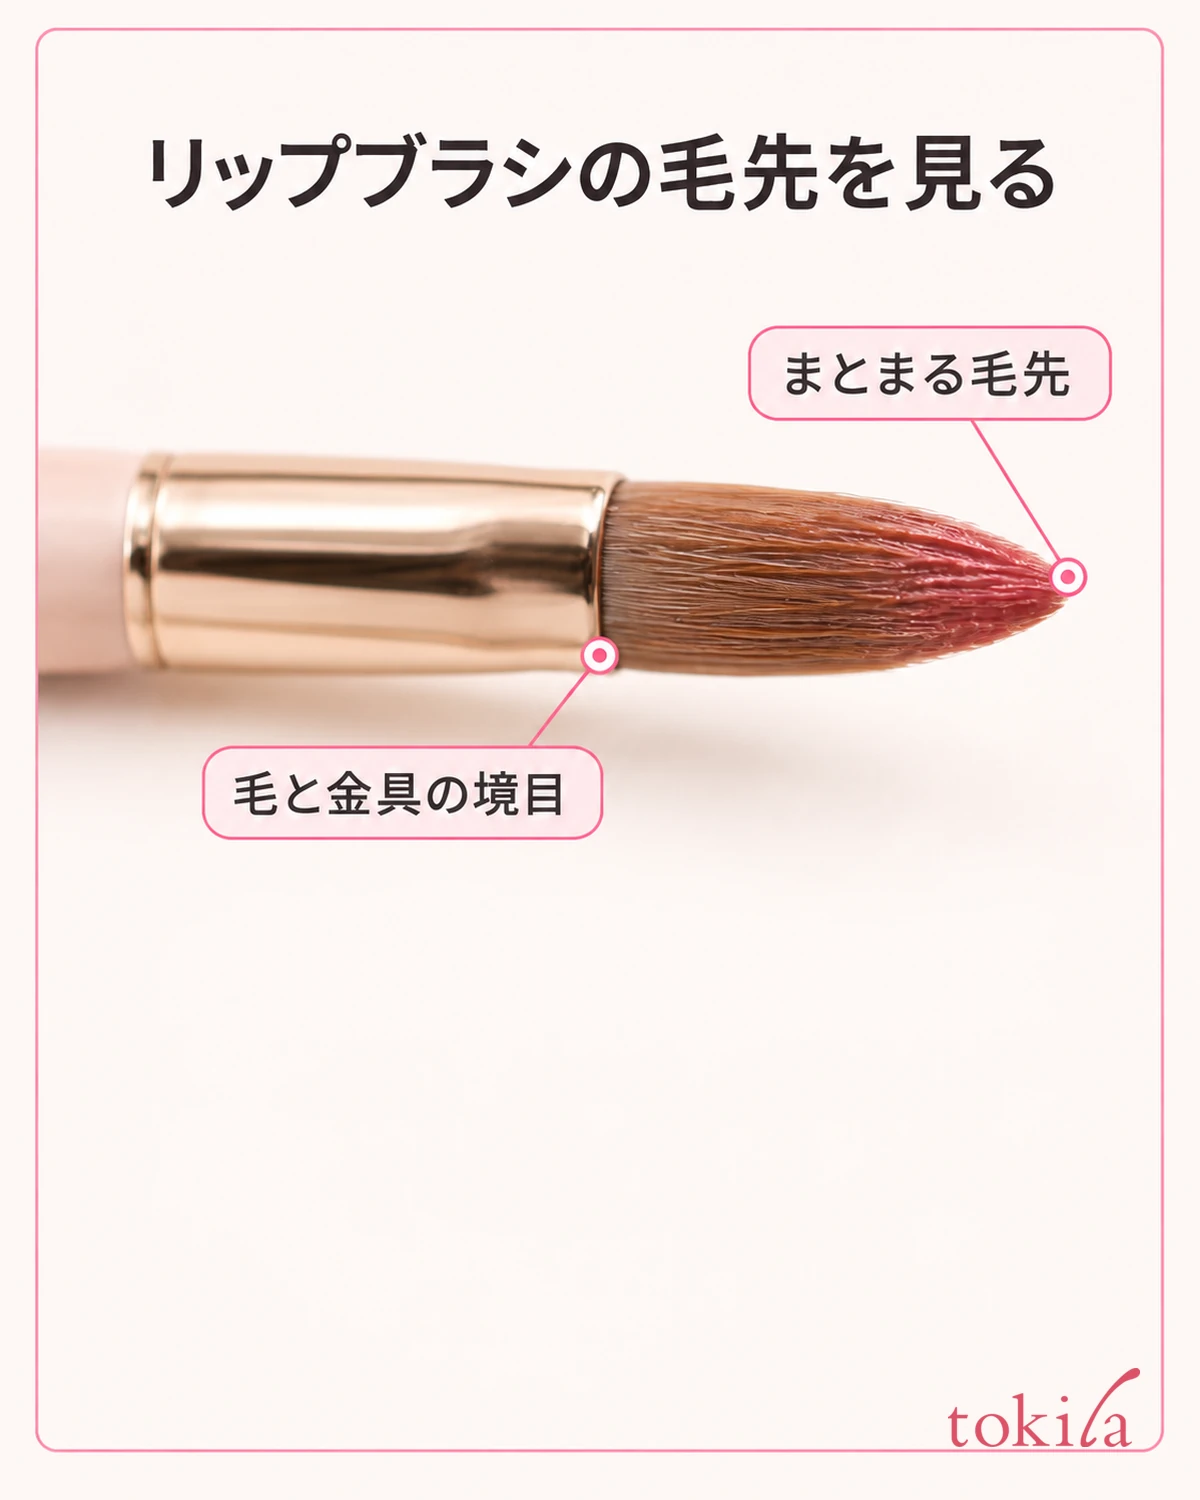
If it is hard to place the broad face of a stick on the narrow corners, you can choose a lip brush that suits the directions of your lipstick. This does not mean a brush is required. If you can check the position with the tip of the stick or tip you already have, start by handling a small amount with that tool.
Before using a brush, check that the bristles are not splayed wide and that no earlier color or dried product remains. Care for the brush as its label directs. Do not put force on a tool whose bristles will not come together in order to draw a fine line.
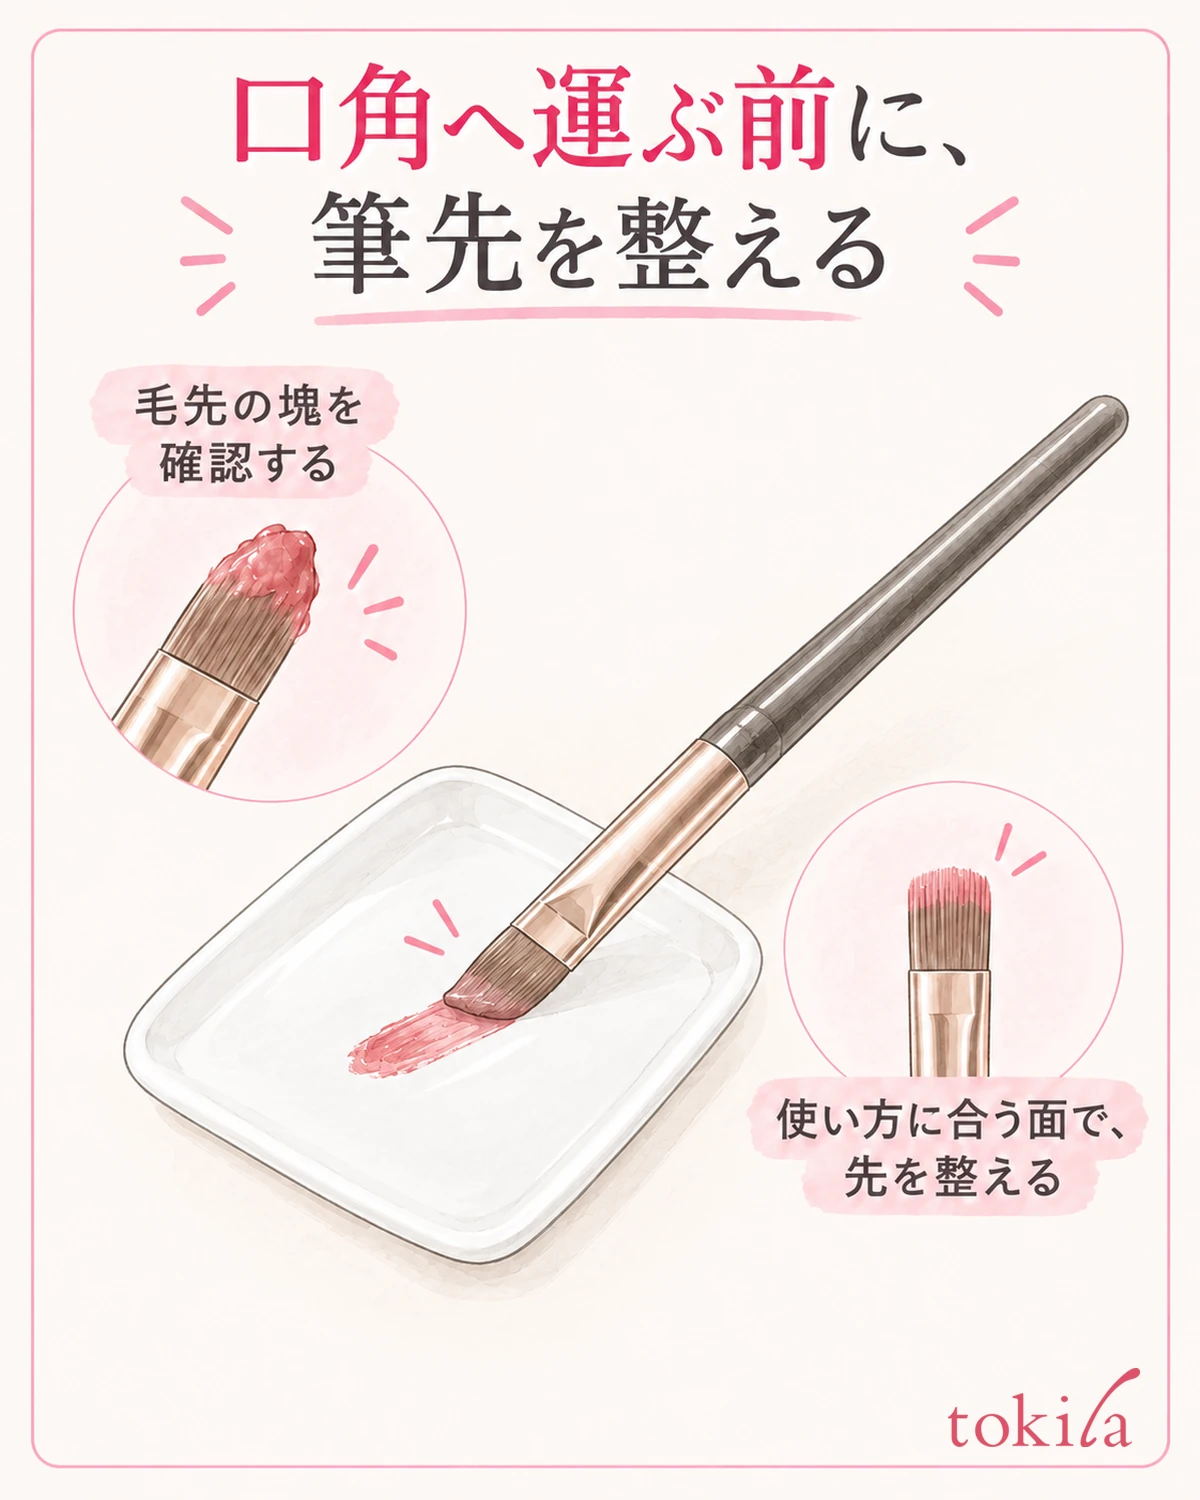
After picking up the lipstick, shape the tip on a surface that suits how the lipstick and tool are used, such as a clean palette. If a clump sits on the bristles, do not push it into the corners as it is; adjust it to an amount you can handle. How much color to load and how to shape the tip differ by tool, so you do not need to rub every product the same number of times to reduce it.
Think of using different faces when painting the center of the lips with the broad side of the brush and when drawing fine detail at the corners. Approach the corners so that you can see the thin tip. The more you press so that the bristles fan out, the easier it is to lose track of how far you have touched.
If you pick up liquid with the applicator tip that comes with a liquid lipstick, check whether you may wipe it on the rim of the container. Pressing hard many times or returning the liquid to the container is not a common step. The key is to look at which part of the tip still holds liquid before touching the corners.
After switching tools, do not finish both sides right away; check the amount over a short stretch on one side. Before picking up more again and again because the color seems insufficient, check that the brush tip has not become thick.
3. Draw a short stretch in a posture where the corner is visible, then lift away
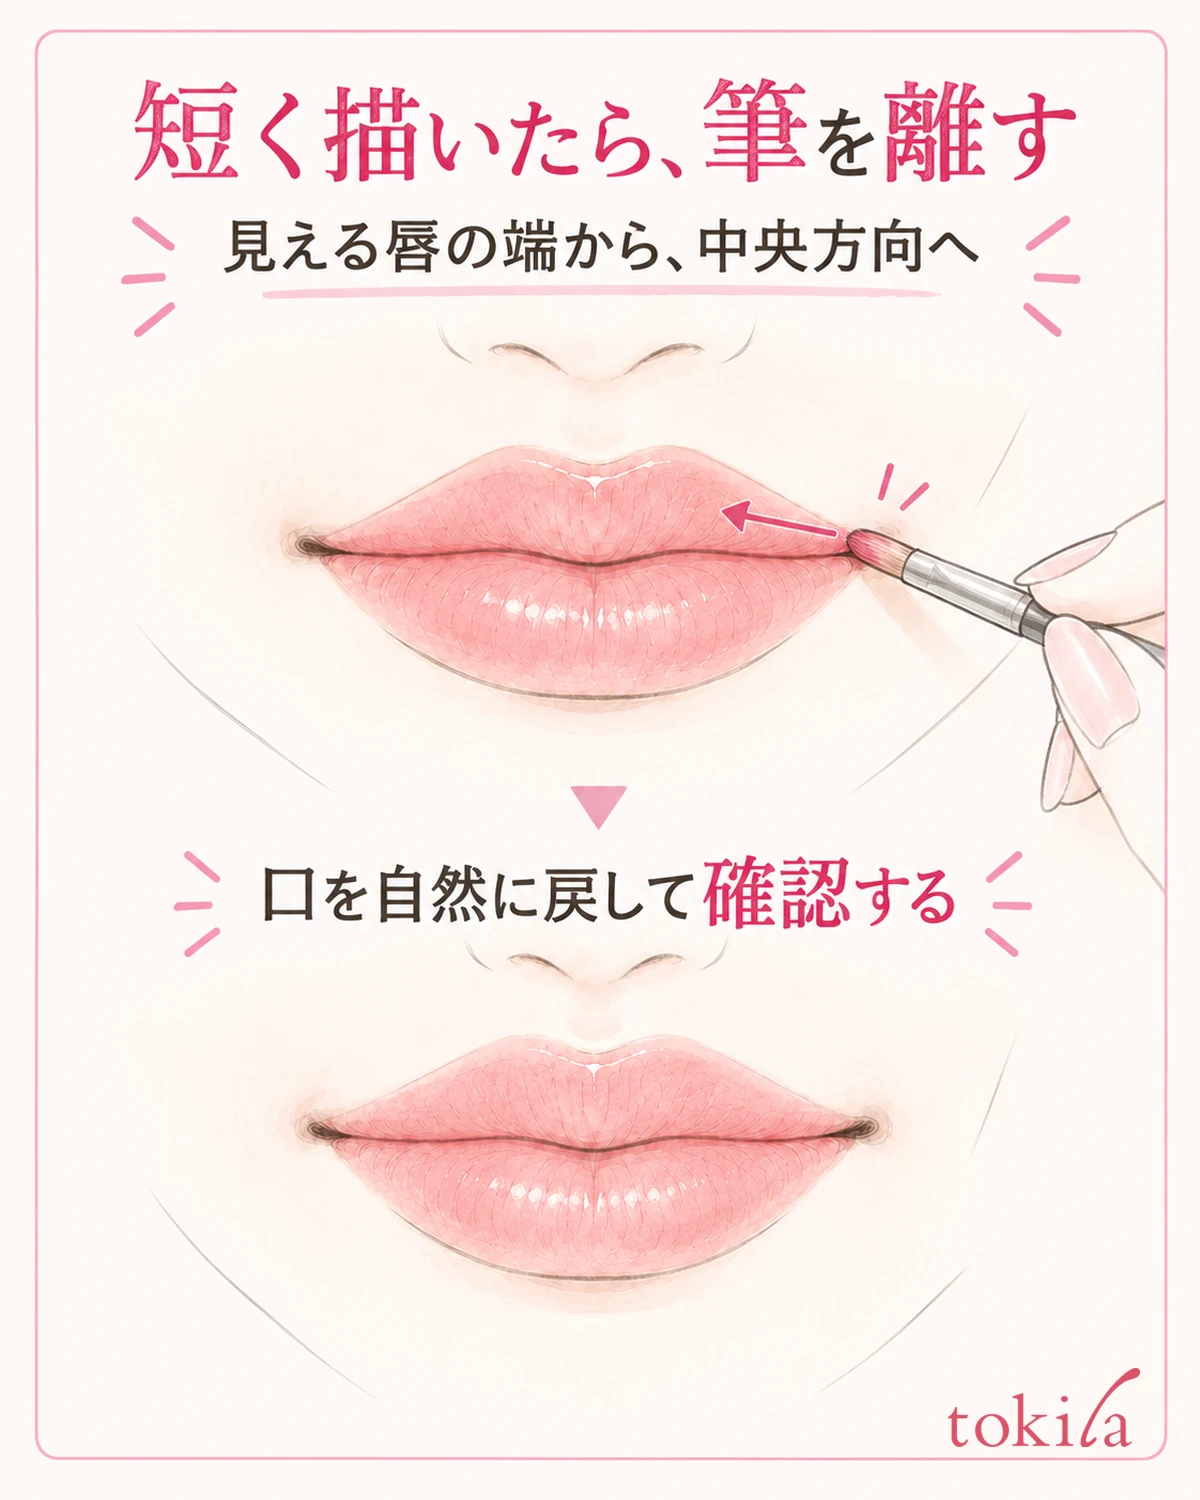
When applying, place the mirror in front of you and take a posture in which you can see the boundary between the tip of the tool and the corner of the mouth. Relax your mouth, in a lightly closed or slightly open shape that matches the directions of the product and tool. Stretching widely is not always easier, so do not force your mouth sideways or pull hard with your fingers.
With a brush, one method is to lightly touch the fine tip to the visible edge of the lips and move a short way toward the center along the inside of the outline. Do not draw a line from end to end in one go; draw a short stretch and then lift away. This is not an operation of pushing the brush in as if probing deep into the corner or applying color all the way onto the mucous membrane.
After lifting the tool, return your mouth to a natural shape and look to see whether the corners have become thick. If it looks fine when open but the color looks bunched up when closed, do not keep adding in that shape. Add a small amount only where it is lacking, and stop there if it is enough.
When applying directly from the stick, set how far you twist it up according to the product's directions, and turn it so you can use the small face at the tip. Rather than covering the area right out to the outside of the corner with the broad face in one go, work while watching the position of the edge. Do not twist it up long and apply strong force just because it is hard to apply.
Whether to close your mouth to blend the color or to wait without touching after applying also depends on how the lipstick is used. Avoid rubbing your lips together hard many times to move the color, and follow the specified finish. For a product that is meant to be left to set, do not simply add another product's tissue-off step.
Starting from the corner is not the only correct way for every lipstick and tool. If the product you have gives a different order of application, give priority to that, and review the amount when you reach the edge and the step of lifting the tool away to check.
4. Do not layer over the buildup; take it off according to the removal method and start again
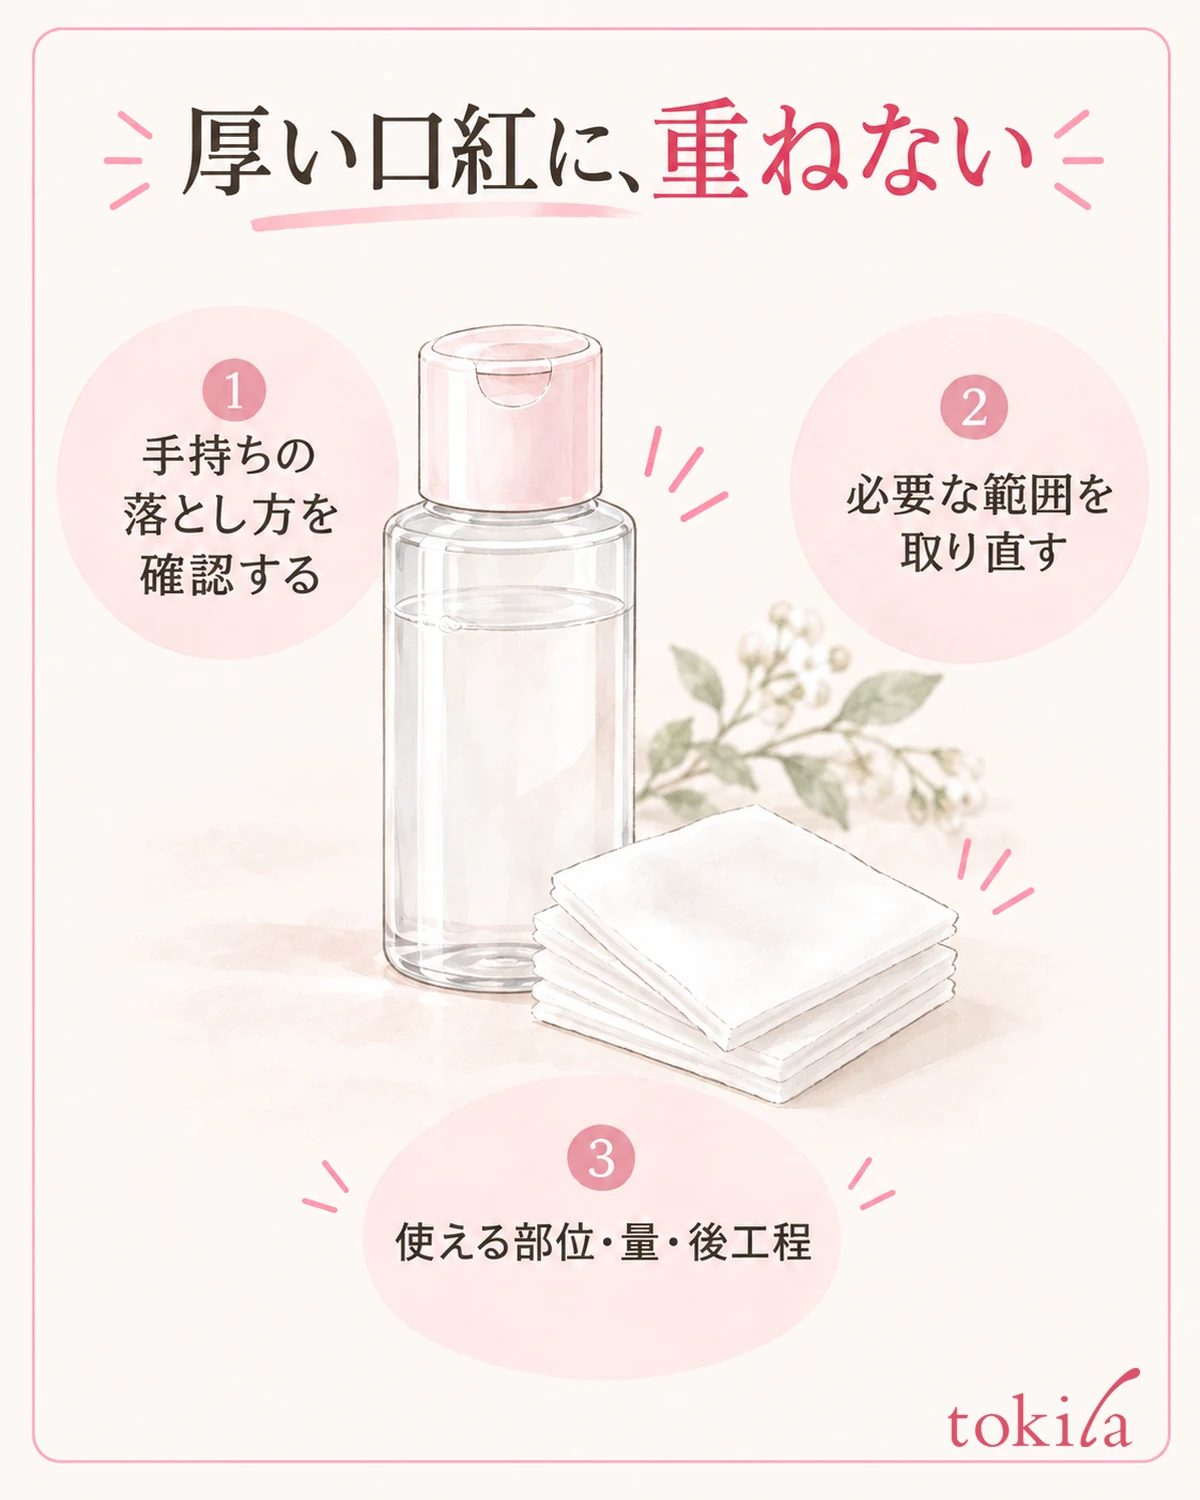
If thick color is already at the corners, do not layer new lipstick over it to hide it. First judge whether you can lightly tidy only the excess color on the surface or whether you need to take it off with the specified removal method. Do not push the corner of a dry piece of paper into the corners of your mouth to scrape off the dark part.
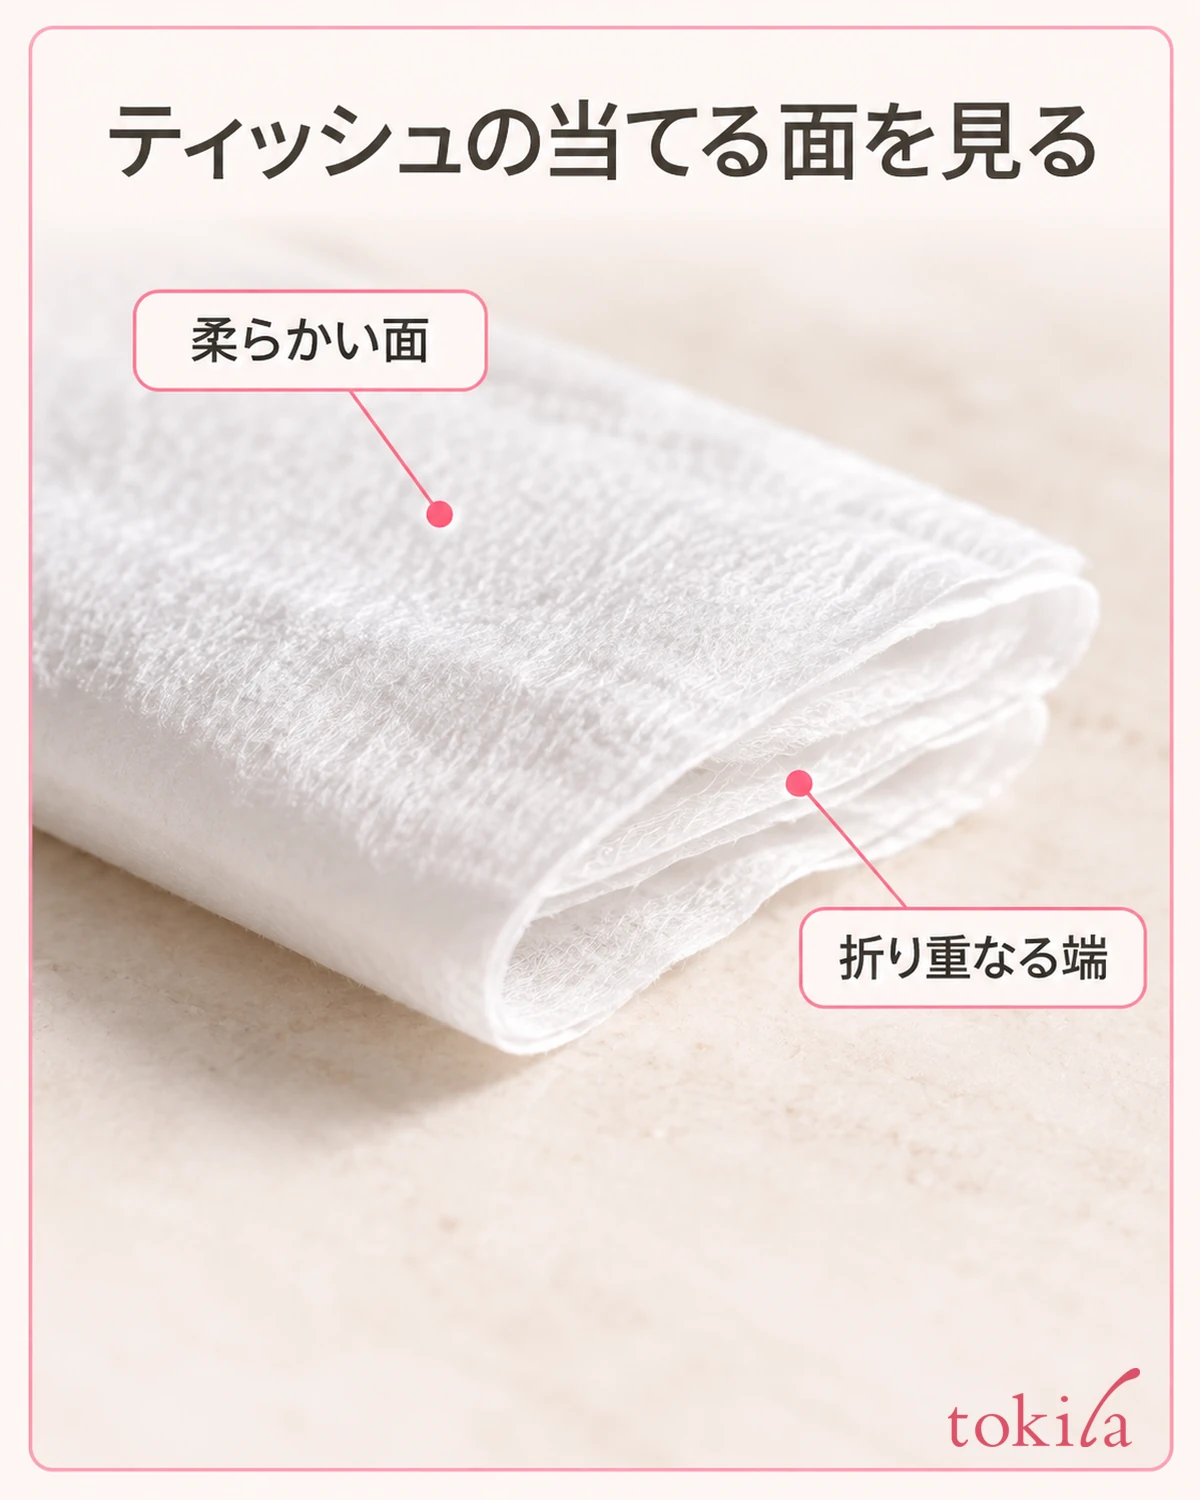
If a light tissue-off suits the product's use, gently press a clean, soft part against it, lift it away and look at the color. This is pressing and lifting, not pulling to the left and right. If the color spreads to the outside of the corners or your skin is being pulled, do not continue that movement.
If set color remains and is hard to tidy, use a remover that can be used on the lips, following the product's directions. First check which areas it can be used on, the amount, how long to let it work in, and whether to rinse after use. Do not use repeated rubbing with a dry cotton swab or tissue in place of a remover.
Decide the area to remove by looking at whether tidying only the thick edge is enough or whether the boundary with the surroundings remains. Even if you mean to fix a small area, stop once if dragging the color is widening the area. It can be better to start again in a place where you have the tools you need, and you do not have to try to fix it perfectly when you are out.
After taking it off, finish the steps that follow the remover and any needed moisturizing, and then check the surface. Do not apply over wet areas or places where a lot of product remains; get the lips into a state that suits the lipstick's conditions of use. The amount you apply again goes back to the small amount you started with, not a thickness that makes up for what you removed.
If there is a cut, pain or irritation at the corners of your mouth, stop the steps meant to even out the finish. Do not cover it with color or peel the skin; treat touching up makeup and skin trouble separately.
5. Check both corners in your usual expression, and change just one step next time
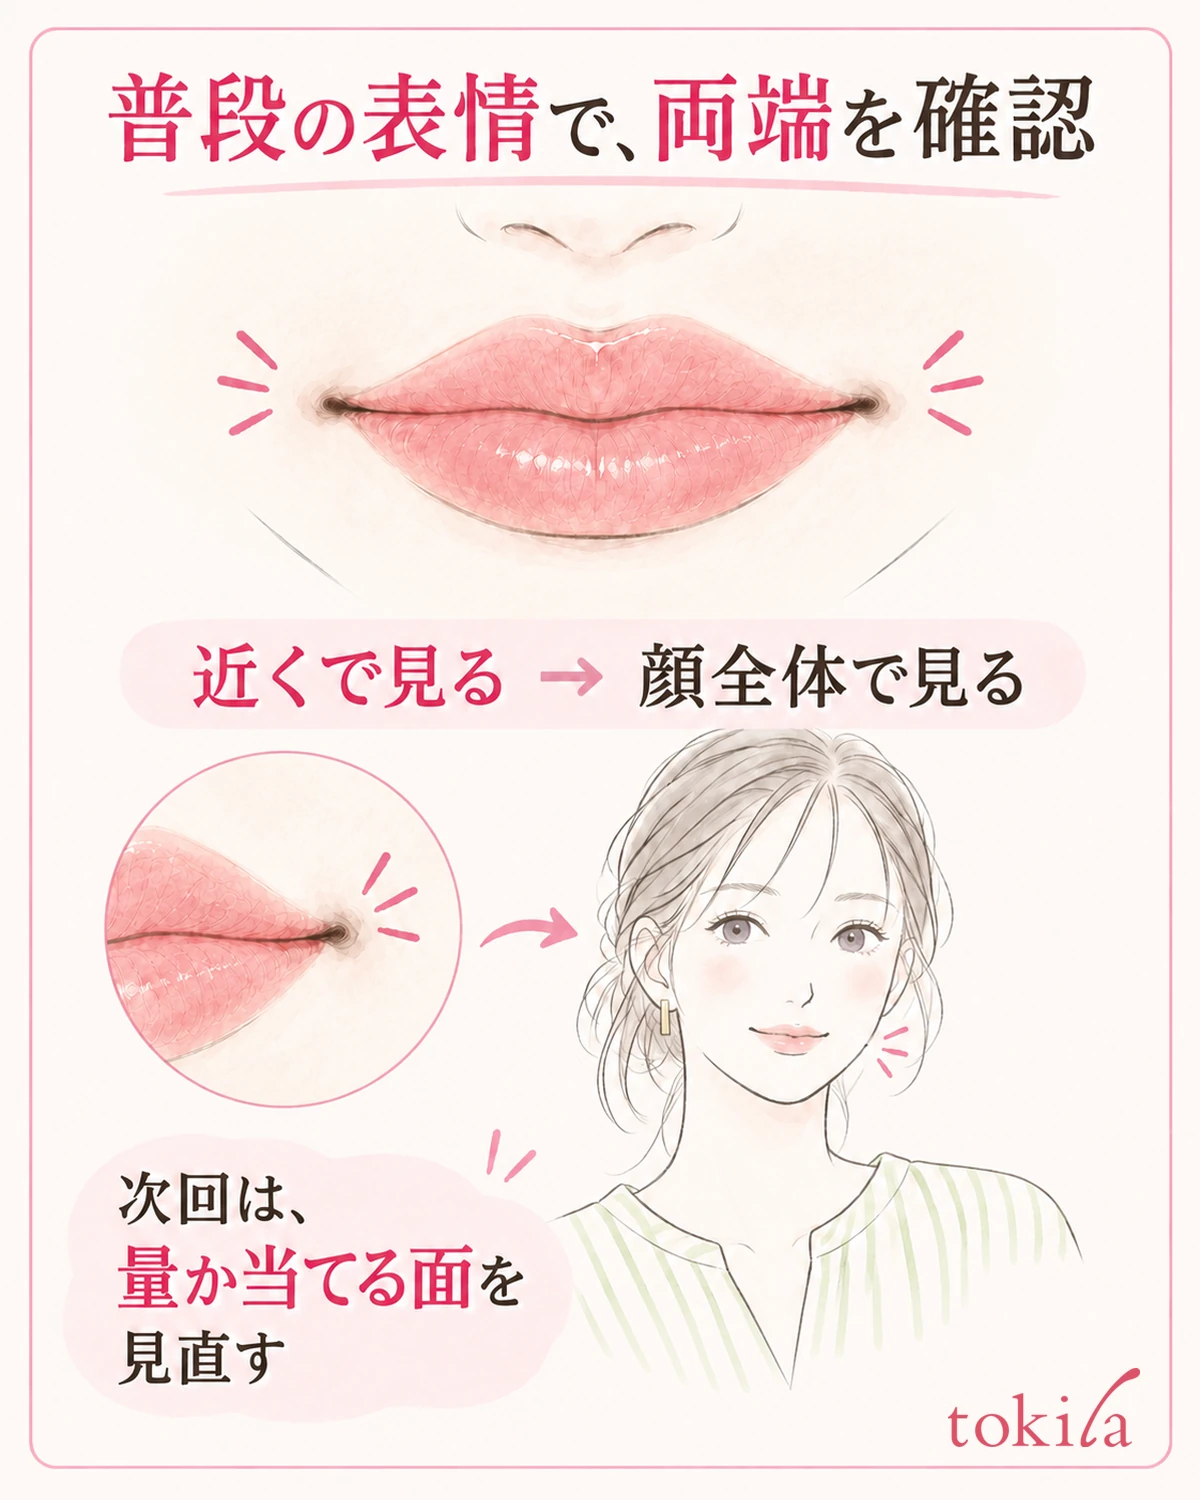
Do the finishing check after you put the tools down. Look at the left and right corners as you close your mouth easily, open it slightly and let it return naturally. If the lipstick is not thick only at the corners and there is no unwanted color outside the outline, stop adding more to erase every dark shadow.
Next, look at your whole face in the mirror and see whether only the mouth area has become dark. A small difference that bothered you up close may not stand out at your usual distance. Conversely, if a part you added to even out the two sides stands out, review that area before adding more color.
You do not need to laugh broadly many times or repeatedly press lipstick onto paper to check. Checking how things look in daily life is a different step from testing how long the color lasts. Nor can we guarantee that following these steps will absolutely prevent buildup at the corners.
Choose just one condition to change next. If there was a clump on the brush tip, review the amount you pick up; if it became thick only when closed, the step of returning your mouth midway; if it bled outward, the face of the tool you touch down. Linking it to the movement that gave you trouble makes it easier to choose a step than changing the primer, lipstick and brush all at once.
In a short note, write the next action you can take, such as "draw once on the right corner, then lift away" or "shape the brush tip before going to the edge." You do not need to record the shape of your mouth itself as a flaw. Finish caring for your tools and have them ready so that you can handle a small amount under the same conditions next time.
When fixing buildup at the corners of the mouth, separate shadow from color and check the amount you carry to the edge. After drawing a short stretch, lift the tool away and look at your natural mouth. Do not layer over thick color; take it off according to how the product is used. Try bringing these small steps into your usual lipstick routine.



