
You have lined up your nail tips on the desk, but you cannot tell which end goes toward the cuticle, or which finger the number on the back refers to. In that case, before gluing anything, check separately the direction of the product, the size marks, and where each finger's tip will be placed on the left and right. Do not decide by the top and bottom of the design or by the number alone; compare with the instructions of the item you own and with how the tip actually fits your nail.
Here we explain the preparation for assigning molded nail tips, not yet applied, to your ten fingers. Thin nail stickers, treatments that build length with gel, and removing tips that are already on are separate processes. For products with adhesive, do not peel off the protective film first; check in the instructions at which stage a trial fit is possible before going on.
1. Decide the cuticle end and the tip end by the instruction diagram, not by the design or the numbers
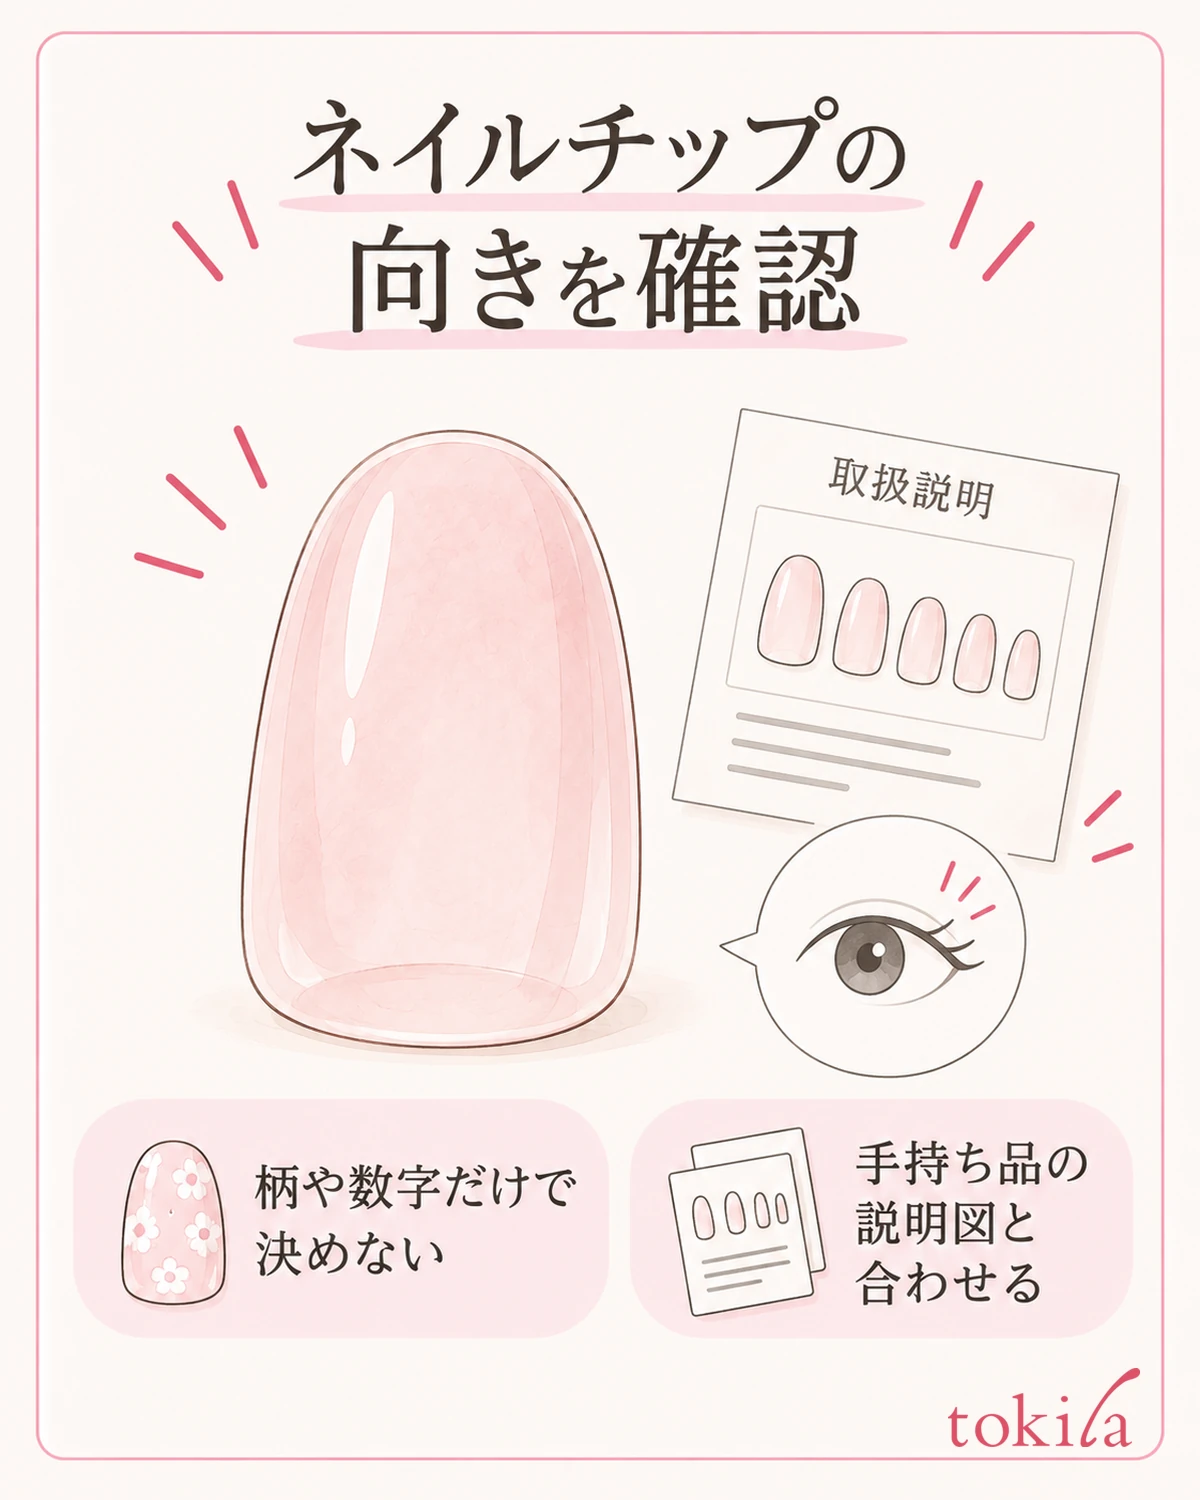
First, check the application diagram printed on the box or the card. Look at how it shows the side that faces the base of the nail, the side that extends past the fingertip, and the front and back, and place one tip in the same orientation. Do not use a shared rule such as "the end with the number is always the tip, and the rounded end is always the cuticle"; use the structure of the product you have as the basis.
How the pattern looks is a clue for thinking about orientation, but it does not guarantee the application direction. A flower or ribbon facing you straight on is a different matter from the curve of the tip fitting your nail. Check the direction of the structure first, and look at the arrangement of the design while keeping that direction. Before turning a tip around to make the pattern look neat, go back to the instruction diagram once.
When comparing the front and back, do it in a clean, dry place, holding the edges that are fine to touch. You do not need to touch the adhesive surface or adhesive again and again, or scratch the back with a nail to look for marks. Rather than trying to find the direction for the first time after peeling off the film, first look into what you can tell from the packaged state and from the enlarged diagrams in the instructions.
If tips of different shapes or lengths are mixed in the same bag, check for each whether they can be handled in the same direction. It is also important not to apply the instructions of another set you bought before straight to a new set that looks similar. If the product names or the type markings differ, set them apart so that each corresponds to the instructions for the set you are using.
If you still cannot tell the direction, put that one tip on hold without gluing it. Do not try pressing it on either way by force. Make a note of which diagram in the instructions it differs from, and return it separately so it is not mixed with other tips whose direction has been confirmed. Until it is confirmed, do not go on to modifications such as filing down the end that looks like the cuticle side.
2. Do not treat numbers as the names of fingers; check them against the size chart of the same set
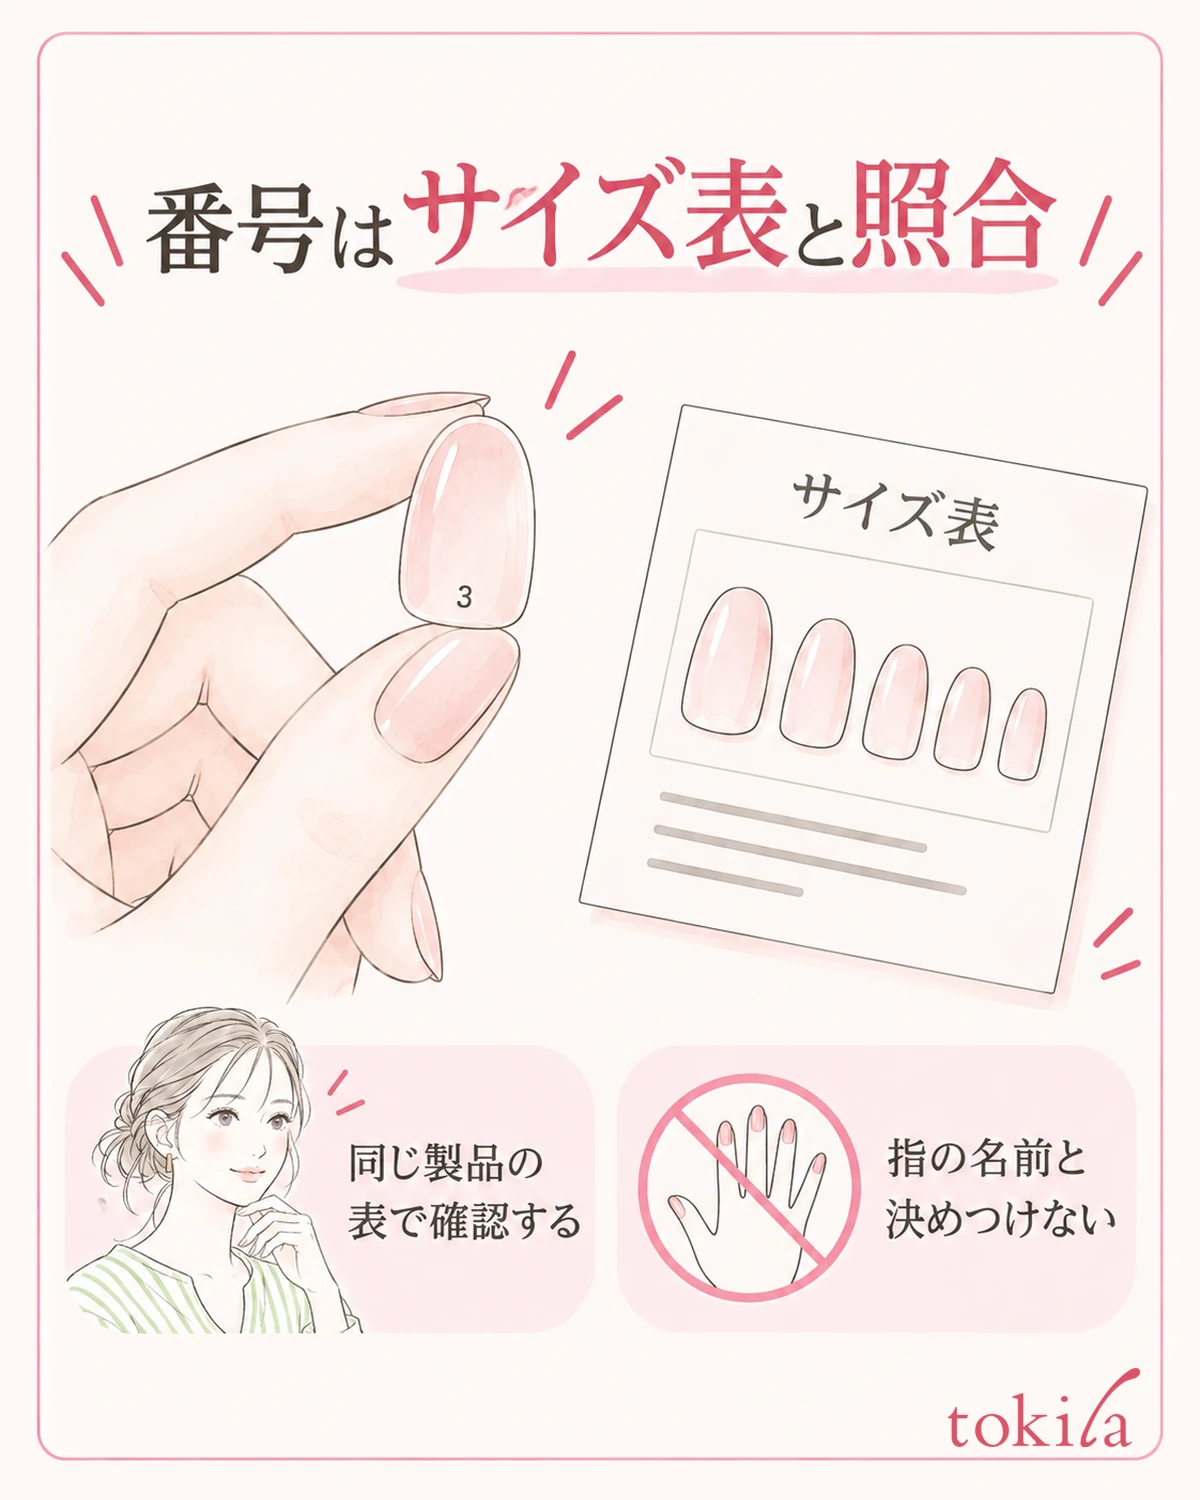
First compare the numbers on the back or the card with the size chart of the item you own. Do not assume the numbers run in order from the thumb to the little finger, or guess that they are marks indicating left and right. Reading a number and having decided which of your nails it fits are different things, so do not go on to gluing on the strength of checking the number alone.
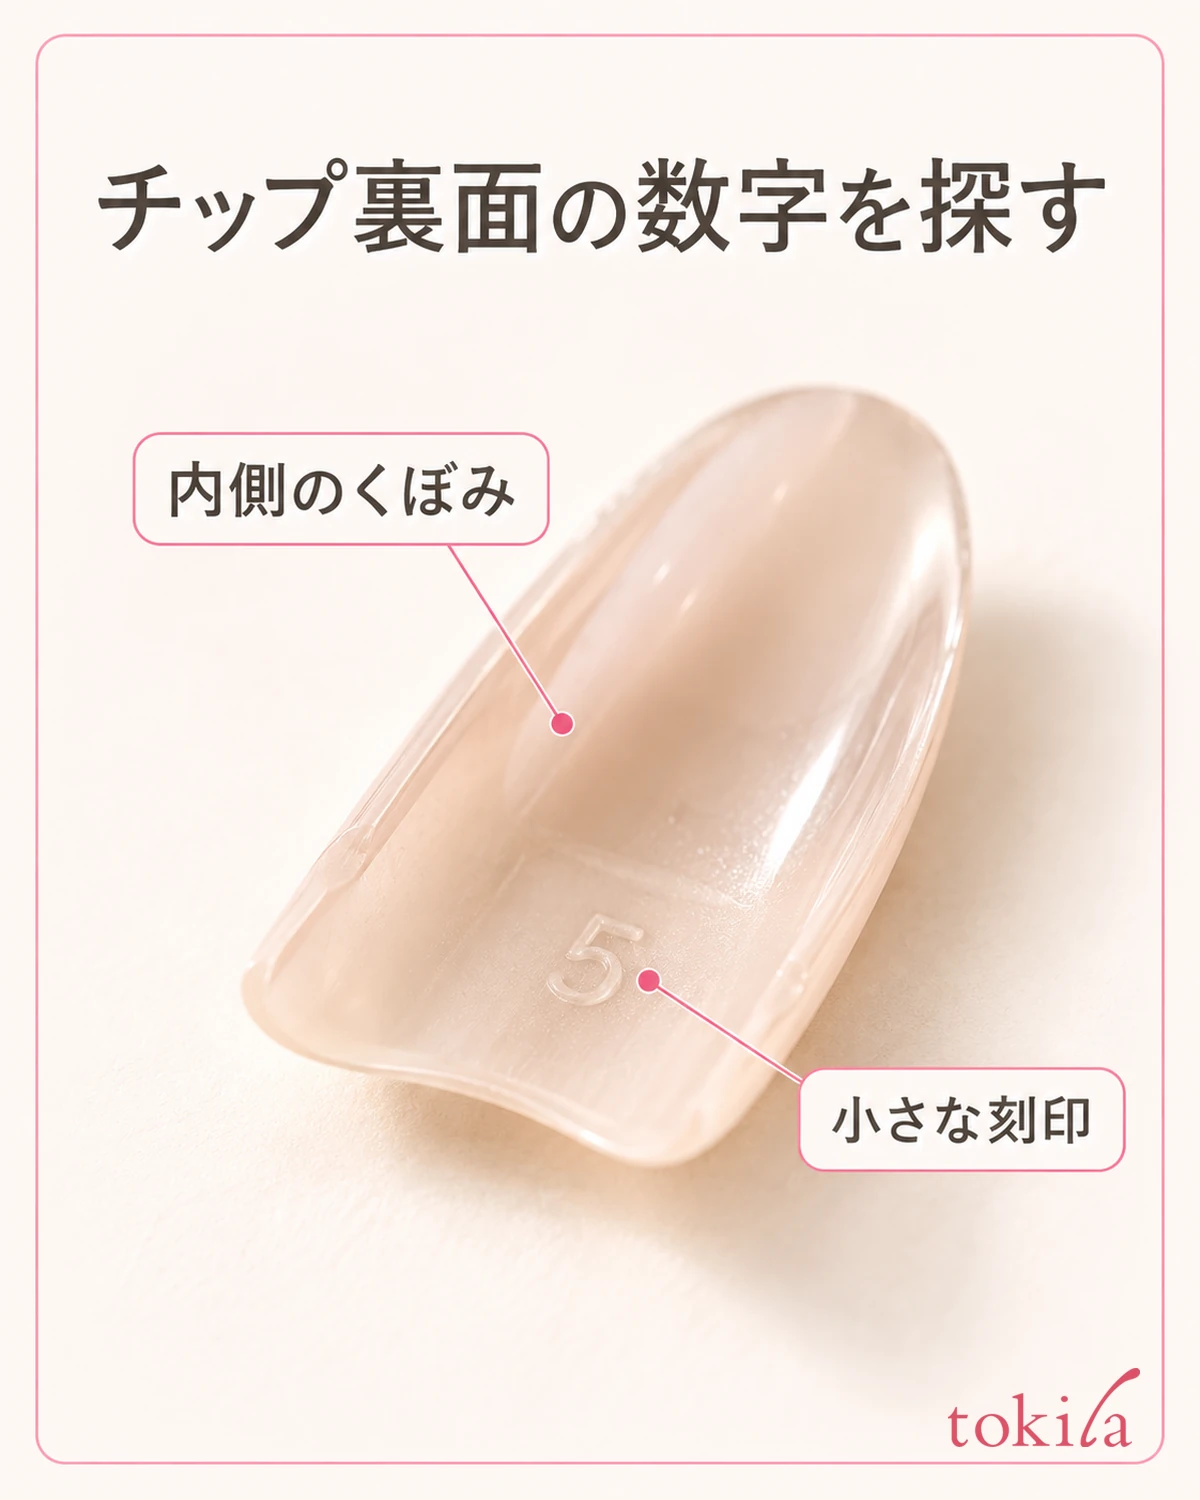
Even with the same number, the width and length are not necessarily the same if the product or shape is different. Even when you use a memory such as "this number was my index finger" from another set, fit it again with the new tips. Keeping notes paired with the name and shape of the product, not just the numbers, lets you tell which size chart to use when you take them out next time.
If the print is small, change the angle of the tips or card in a bright place and look again. If it is unreadable because of reflections, do not add methods such as tracing the numbers with a pen or wiping the surface with nail polish remover to make them easier to see. Separate the ones you could read from the ones you could not, and do not rewrite a number just because it looks the same size.
Whether you can use the same number on the left and right is judged after fitting each one to your actual nail. A number decided for the left index finger does not have to be assigned as it is to the same finger on the right hand. So as not to confuse the left and right of your hands with the left and right edges of a tip, write both the hand and the finger in your notes, like "right hand, index finger."
Even for a type without numbers, you can check one tip at a time following the usage guide. Do not force it to correspond to the number chart of another product; manage it by its original storage position or by a place of your own. Rather than writing down a guess for a number you could not read, leaving it as "unconfirmed" and checking it in the next trial fit makes it clear where to go back to if you mix them up later.
3. Before gluing, hold up one tip at a time and look at the width and curve without squashing it
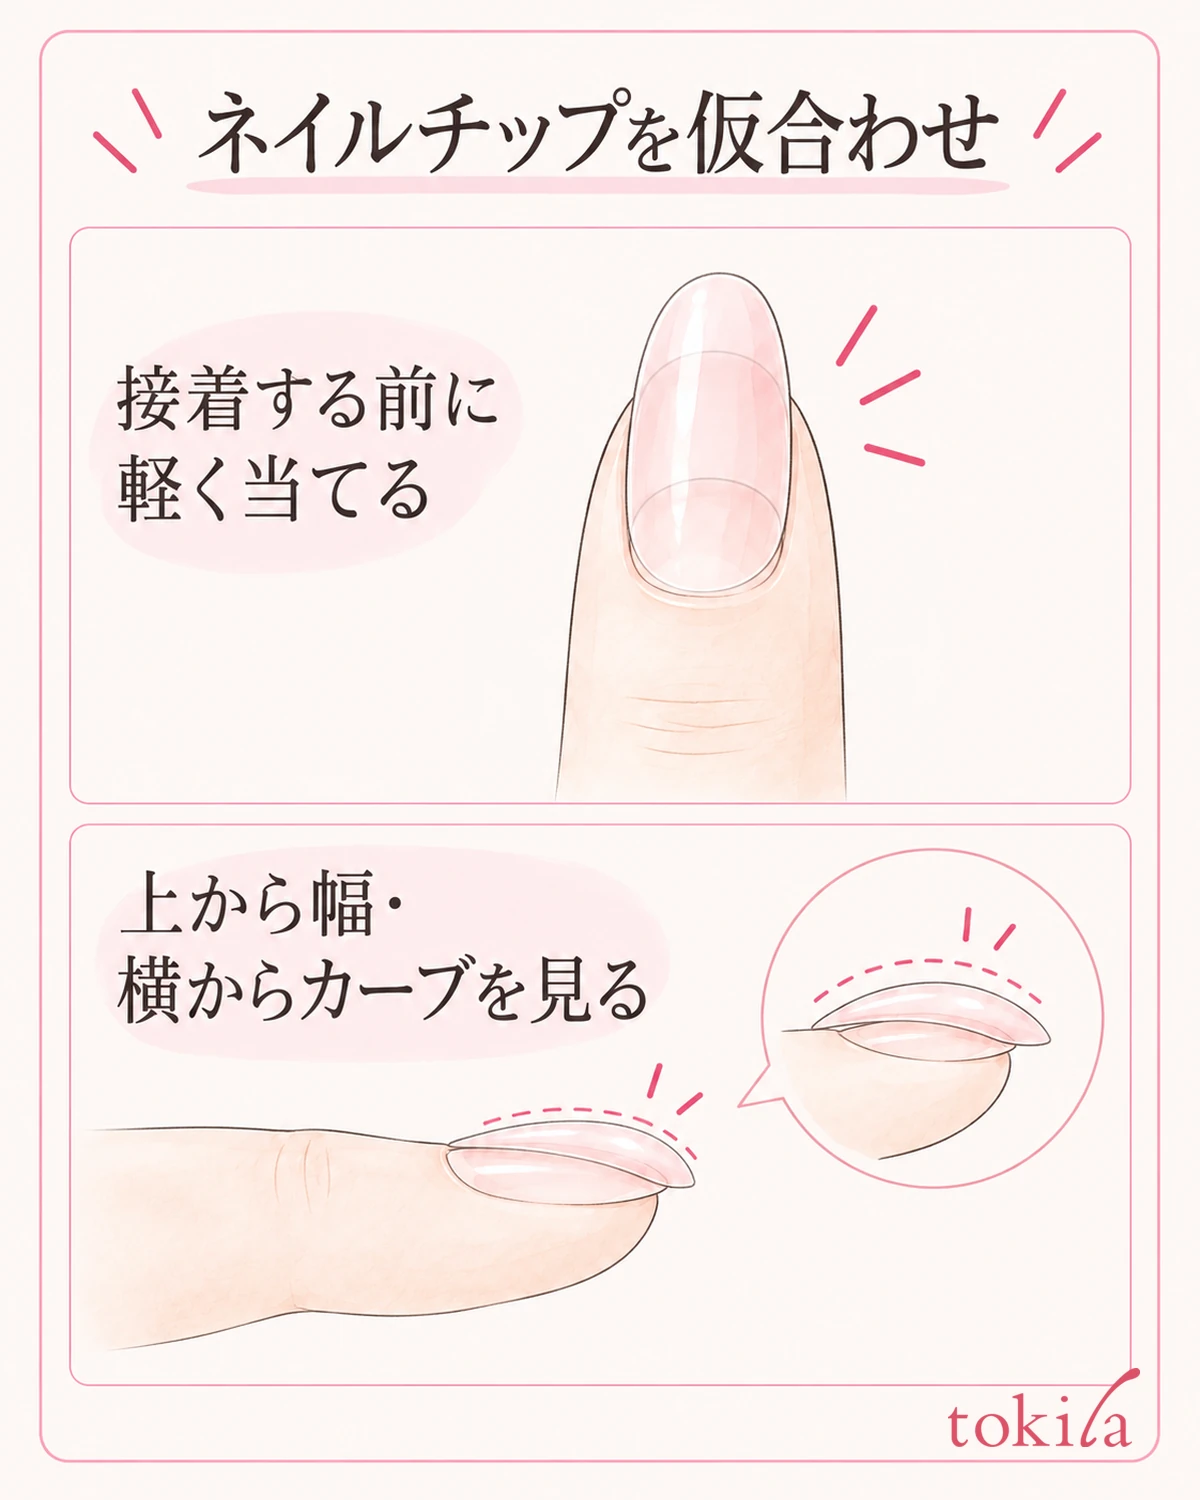
Do the trial fit with the preparation and order that the product describes. For products with adhesive, first check whether you can confirm the size while leaving the protective film on. For types that use separate glue, too, finish the necessary checks before applying the glue. Do not use rearranging left and right after sticking them on as a substitute for checking the size.
Lightly hold the tip whose direction you have decided against the nail, starting from the specified cuticle side. After checking the width on both sides from above, tilt the finger slightly and also look at how the curve fits from the side. Look separately at where it does not fit: only the center of the nail touches and the edges lift, or it sits far over to one side. Do not flatten it by force and treat it as if it were not lifting.
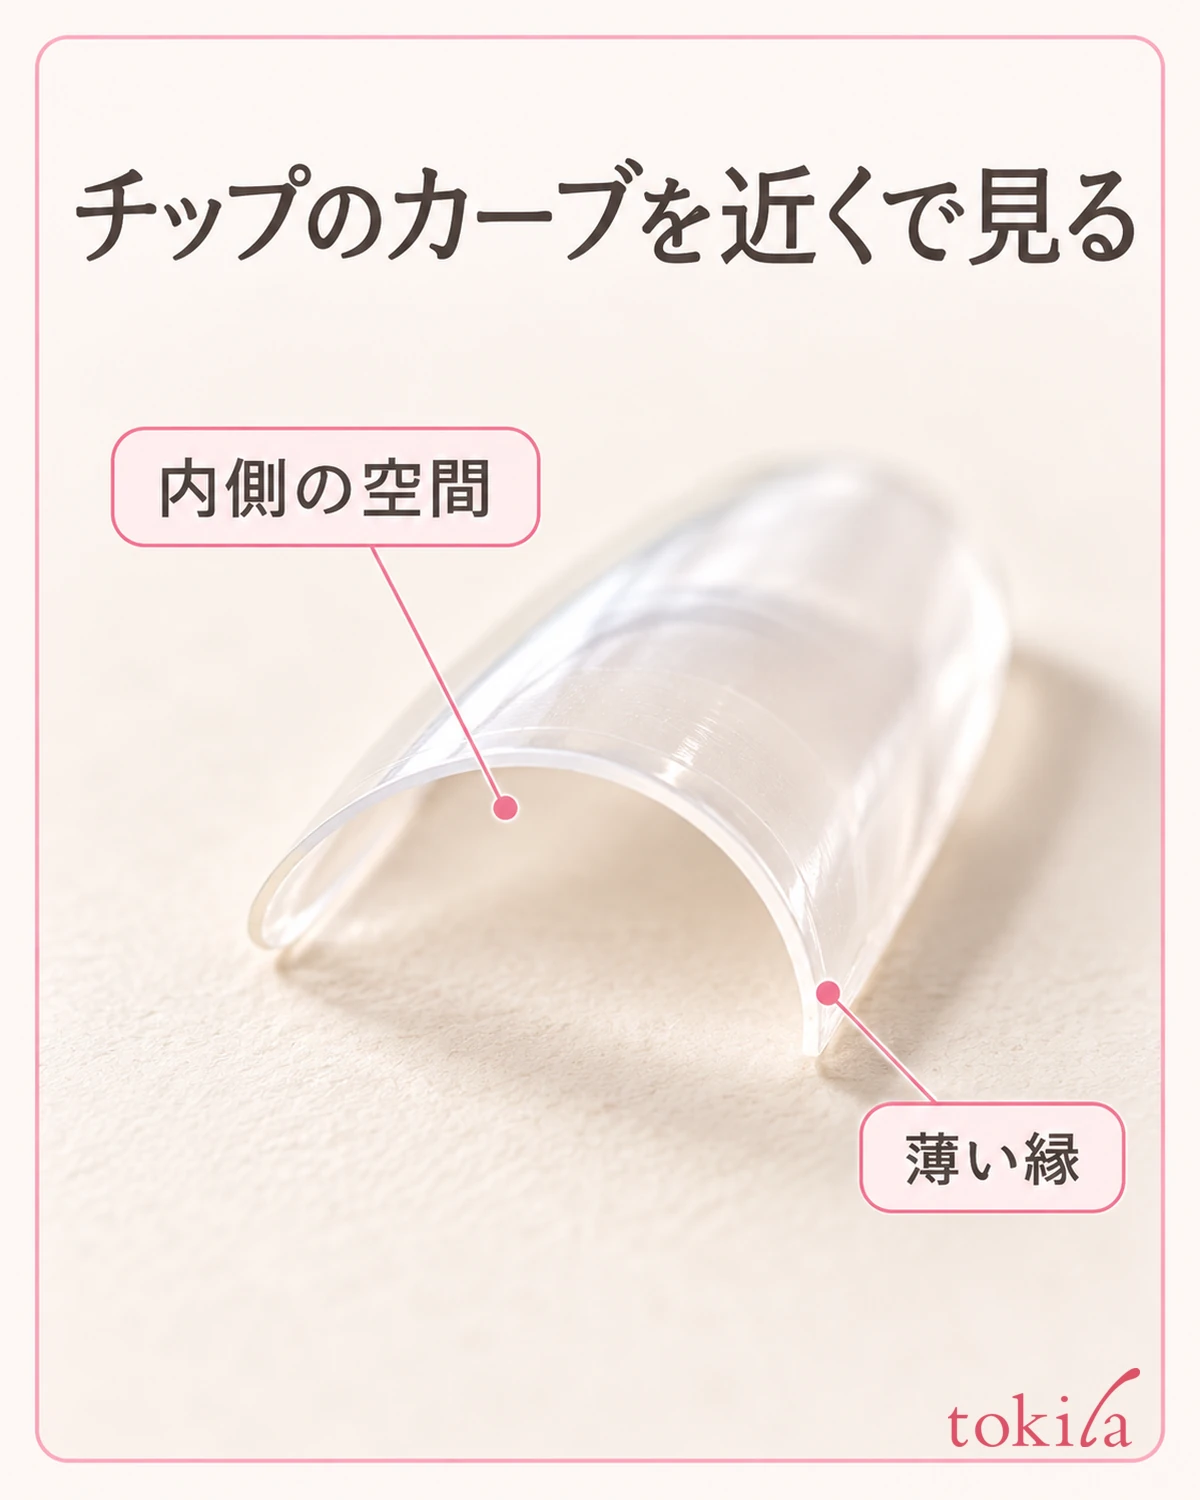
Whether to choose a larger or smaller size differs in the guidance depending on the material and the application method. When unsure, do not decide uniformly to always go larger or always go smaller. When comparing candidates for the same finger, too, match the orientation of the tip and the position where you hold it, and check that it meets the size-selection conditions for your item. The point is not to choose the next tip just because the numbers are close.
If an edge touches the skin, if the shape does not fit unless you press hard, or if there is pain, do not apply it as it is. Also hold off on using it if there is any problem with your natural nail or the surrounding skin. Do not add your own adjustments, such as using plenty of glue to fill the gaps or warming the tip to bend it; look again in the instructions to see whether another size or shape can be used.
Even for a product you can file down to adjust, separate the stage of sorting out the numbers from the stage of processing. First check where it does not fit in the unprocessed state, and find out whether processing is allowed and which tools to use. If you are not sure about the sides of a tool, the article on the uses of a nail file and checking which side to use can also help, but do not assume that the side for natural nails can be used as it is on artificial nails.
4. Keep the left and right placement separate, and return each confirmed tip to its original position
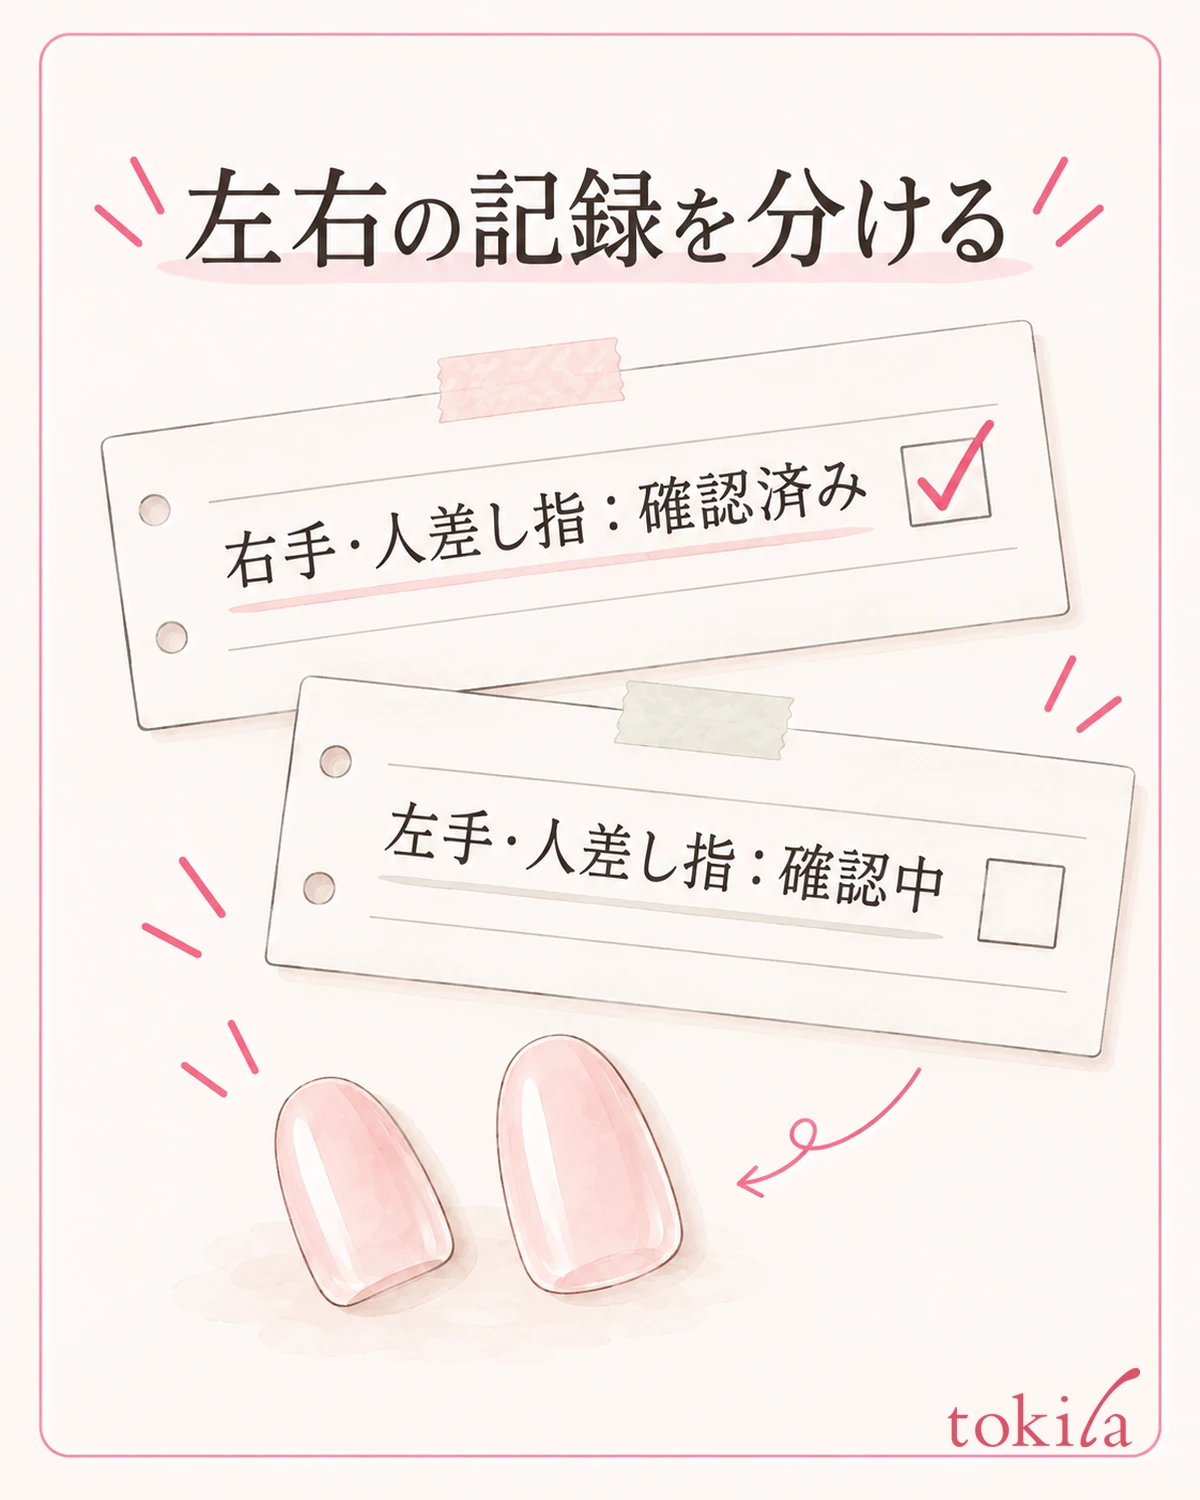
Before picking up the next tip, return the one you tried to a position where you can tell which finger it is a candidate for. Prefer the temporary placement methods the instructions allow, and ways of placing that do not touch the adhesive surface. For a type managed on its original card or case, keep it in that position and write the correspondence on a separate sheet of paper. You do not need to scatter everything across the desk.
When you use a separate sheet for notes, clearly separate left and right, for example the right hand on the top row and the left hand on the bottom row. Writing the names of the fingers from thumb to little finger for each lets you recheck for mix-ups in orientation even if you turn the paper partway. Instead of a mere row of numbers, try leaving a record in words of which finger of which hand it is.
For example, write "right hand, index finger: confirmed number" and "left hand, index finger: still checking," to distinguish the confirmed candidates from the unconfirmed ones. Do not write finger names on the tips themselves or on the adhesive surface; record them on the box or a separate sheet. This is a memo for organizing, and it is not a size chart showing that the same number fits the same finger on other people.
If one gets mixed up partway, do not put it back into an empty spot by its design alone; recheck the orientation, the number and how it fits the corresponding finger. Before redoing all ten from the beginning, return to your notes and sort out which candidates have become unconfirmed. Even when you are in a hurry, it is important not to switch to a method of checking the differences after gluing.
When you interrupt the work, put things away while keeping the correspondence between the tips and the instructions. Do not leave them out on the desk; return them to the packaging specified by the product and keep the records together with them. Keep dust from sticking to the remaining adhesive, and do not make up methods not in the original guidance, such as whether you may put back on, at your own discretion, a film you took off for the trial fit.
5. Review all ten fingers before applying, and store the rest by product
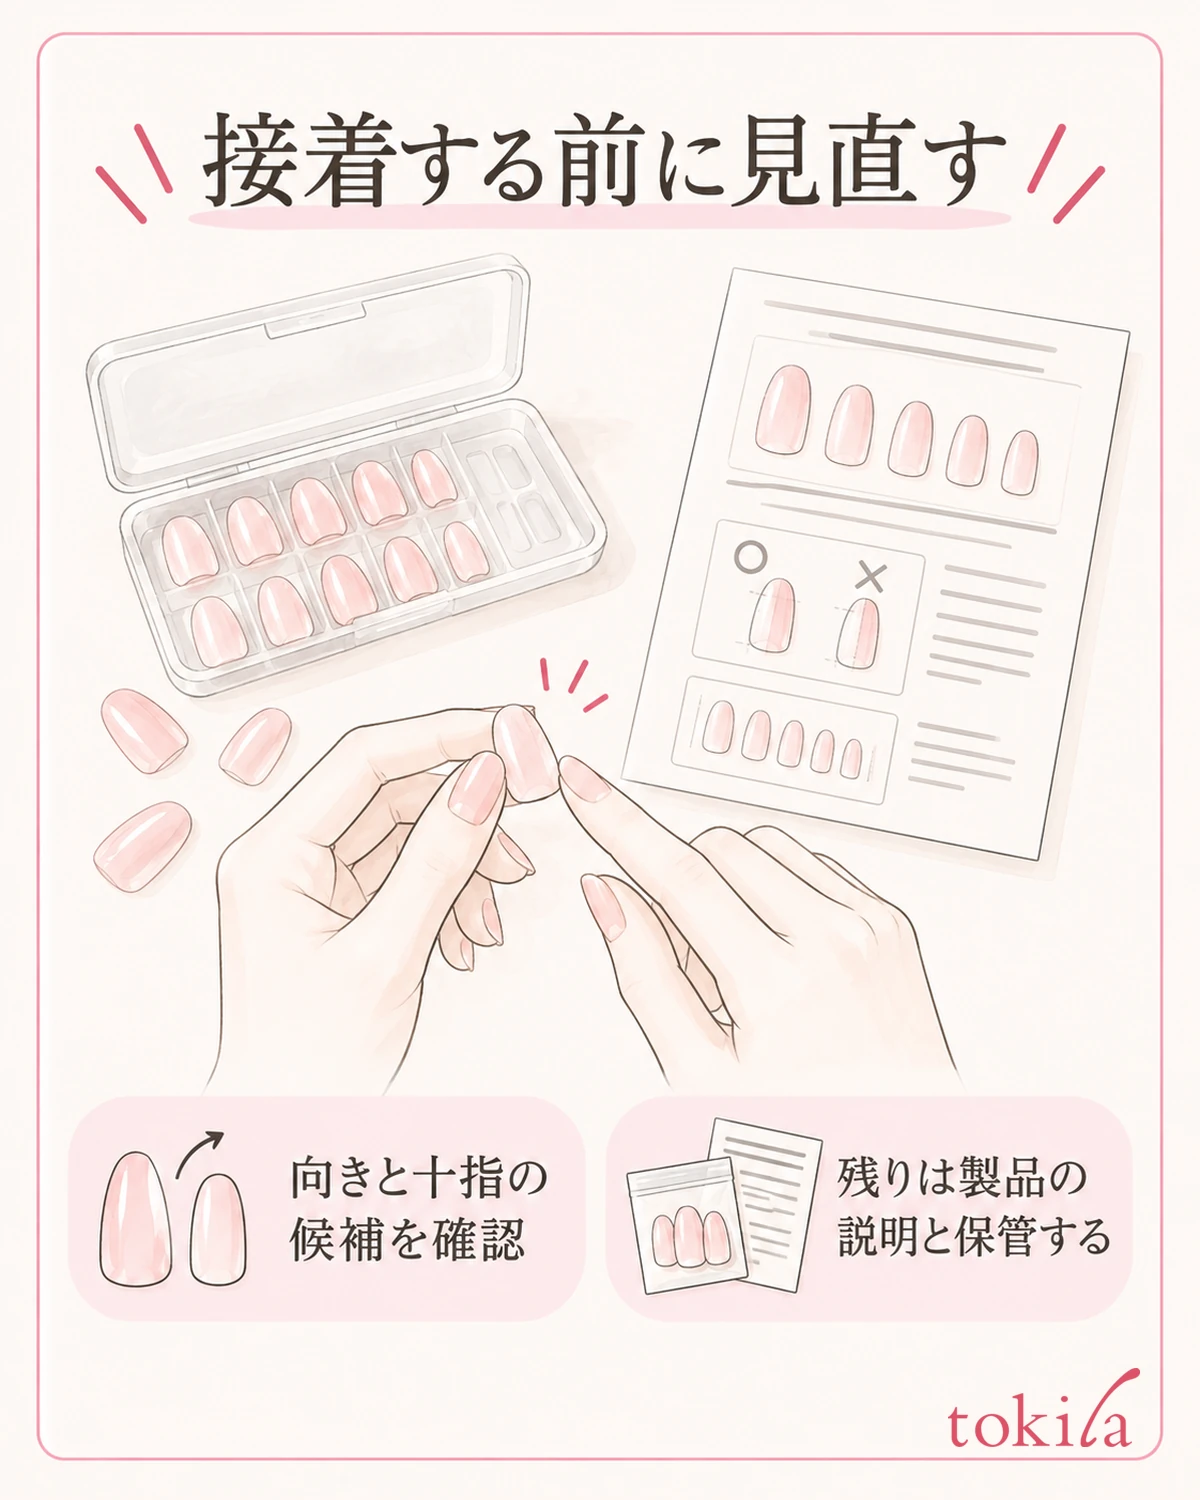
Before moving on to application, review whether the candidates for the fingers of both hands are complete, whether the cuticle-and-tip orientation has been confirmed, and whether any unconfirmed tip is mixed in. What you review is not only the order of the numbers but the correspondence between the actual tips and your hands. For a finger where something felt off during the trial fit, do not treat it as settled on the strength of the notes alone; check that tip once more.
The gluing and pressing time after deciding the orientation and size follow the steps of the product you use. Types with adhesive and types that use separate tape or glue have different processes, so do not infer the application conditions from an article about choosing. Being able to do a trial fit does not mean it can be used for any number of days, or with any adhesive.
Separate the remaining tips by product and keep the box, card and instructions. If you mix them with another set of a similar color in one bag, it becomes hard to trace which numbers or storage conditions to use next time. When you need to change containers, too, check the storage guidance for your item and choose a method that does not separate the product from its instructions.
Whether a tip that has been applied once can be reused is also a condition for each product. Before putting unused leftovers and used tips back in the same place, check whether they can be reused and what care is needed. Do not judge that a removed tip can be reused just because you managed to make it look as it did before. For ones specified as single-use, follow that specification.
If you use thin stickers, do not treat them with the same numbering as molded tips; switch to the steps for checking the width of nail stickers. For nail tips, the core of the preparation is to confirm the orientation, fit them one at a time and keep a record of the left and right correspondence. Do not force a tip you do not understand to fit; create a state in which you can still go back before gluing.



