You have cleansing cream in your hand but wonder how far to spread it and when to rinse it off. The key is not to use every product the same way merely because it is a cream. We will work through choosing your product's removal method, taking the specified amount, and gently working it into makeup.
1. Confirm that it removes makeup and choose the removal method first
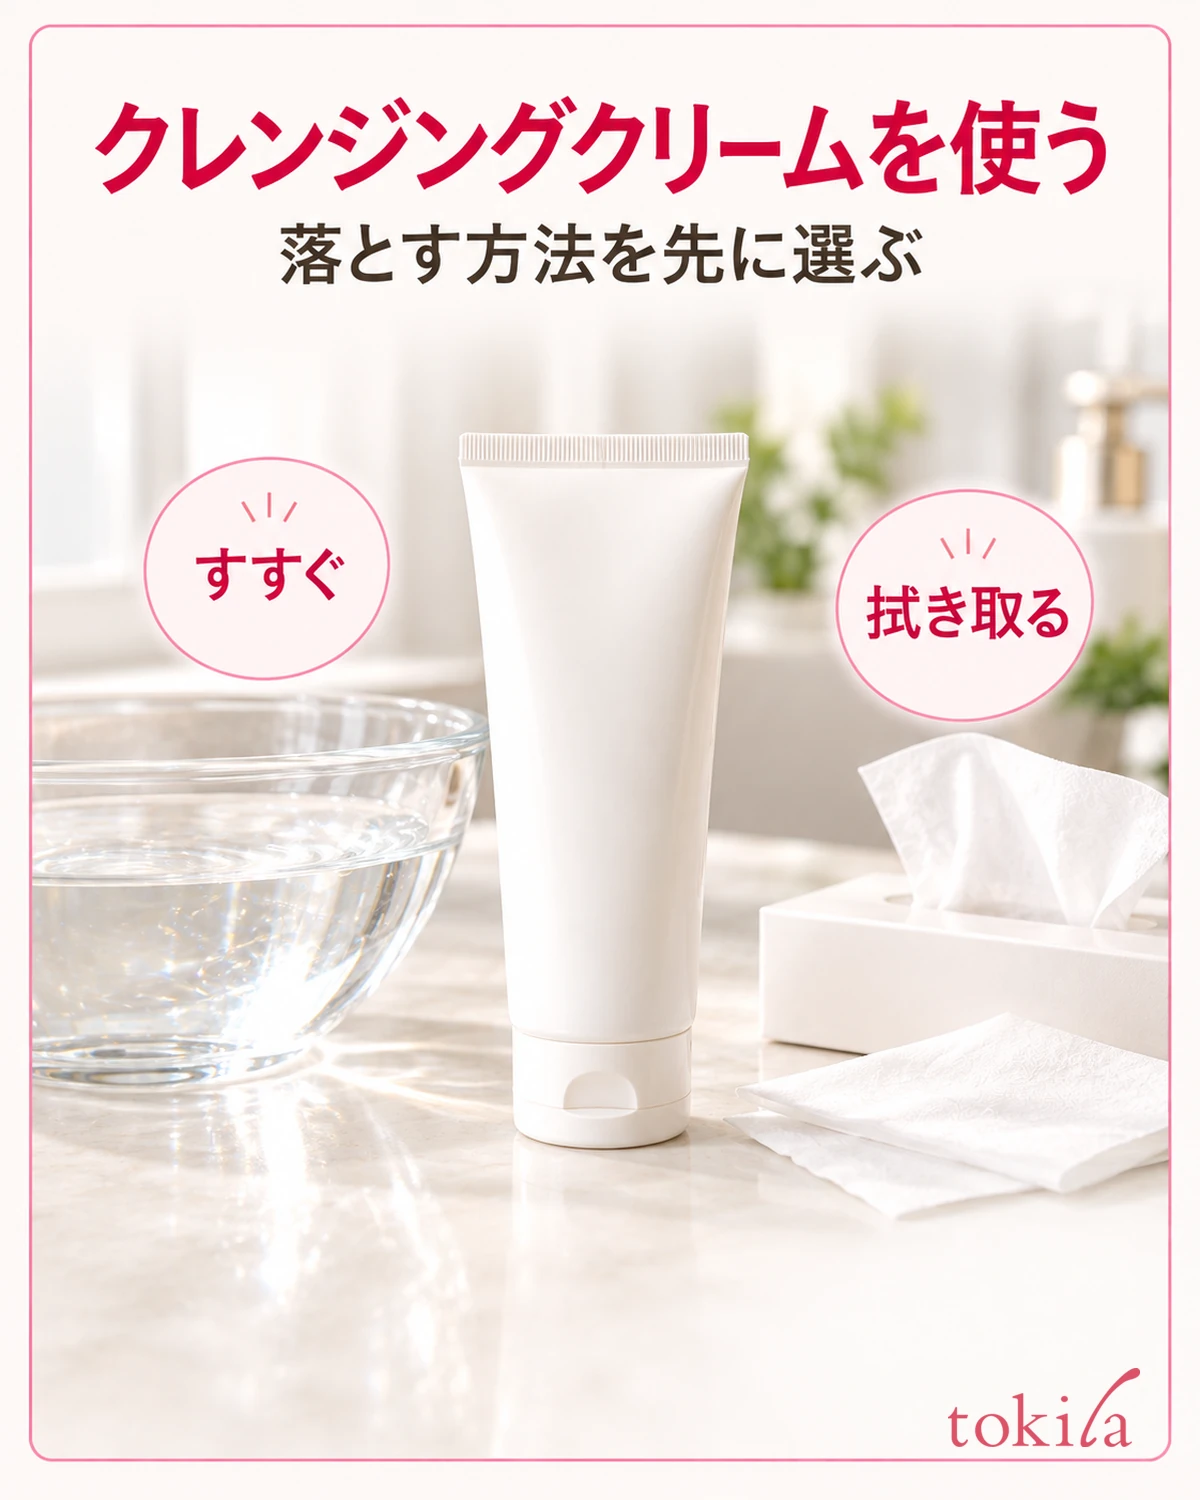
Cleansing cream is a cream-form makeup remover. A moisturizing cream that looks similar is not used in the same way to remove makeup. If the name on the container leaves you unsure, look for its stated purpose, such as makeup removal or cleansing. Begin by distinguishing a facial cleanser from a makeup remover.
Next, check how to remove it after working it into makeup. Some formulas rinse off with water or lukewarm water, some wipe off with tissue or a similar material, and some offer both choices. The same cream texture does not guarantee the same removal method. Do not finish a rinse-off-only product by wiping alone or substitute a method absent from the directions.
Deciding where to use it at this stage also helps organize the sequence. For rinsing, keep hair out of the way at the sink; for wiping, put the specified tissues or cotton pads within reach. Searching for tools after spreading cream on your face means touching containers and shelves with dirty hands. Prepare through the final removal step before taking out the cream.
Also check whether stubborn mascara or lipstick requires a separate remover first. Do not assume every kind of makeup can be removed equally by working the cream in longer. Match the makeup's removal instructions to the cleanser's supported uses, choosing methods suitable for the eye and lip areas.
Once you distinguish moisturizing from cleansing products, think through the makeup you wore that evening. A foundation-only day and a day with long-wearing eye makeup call for different preparations. Before unnecessarily increasing the cream amount, deciding whether a separate remover is needed can help avoid repeatedly touching only the eye area.
2. Check moisture on your hands and face and set aside the specified amount
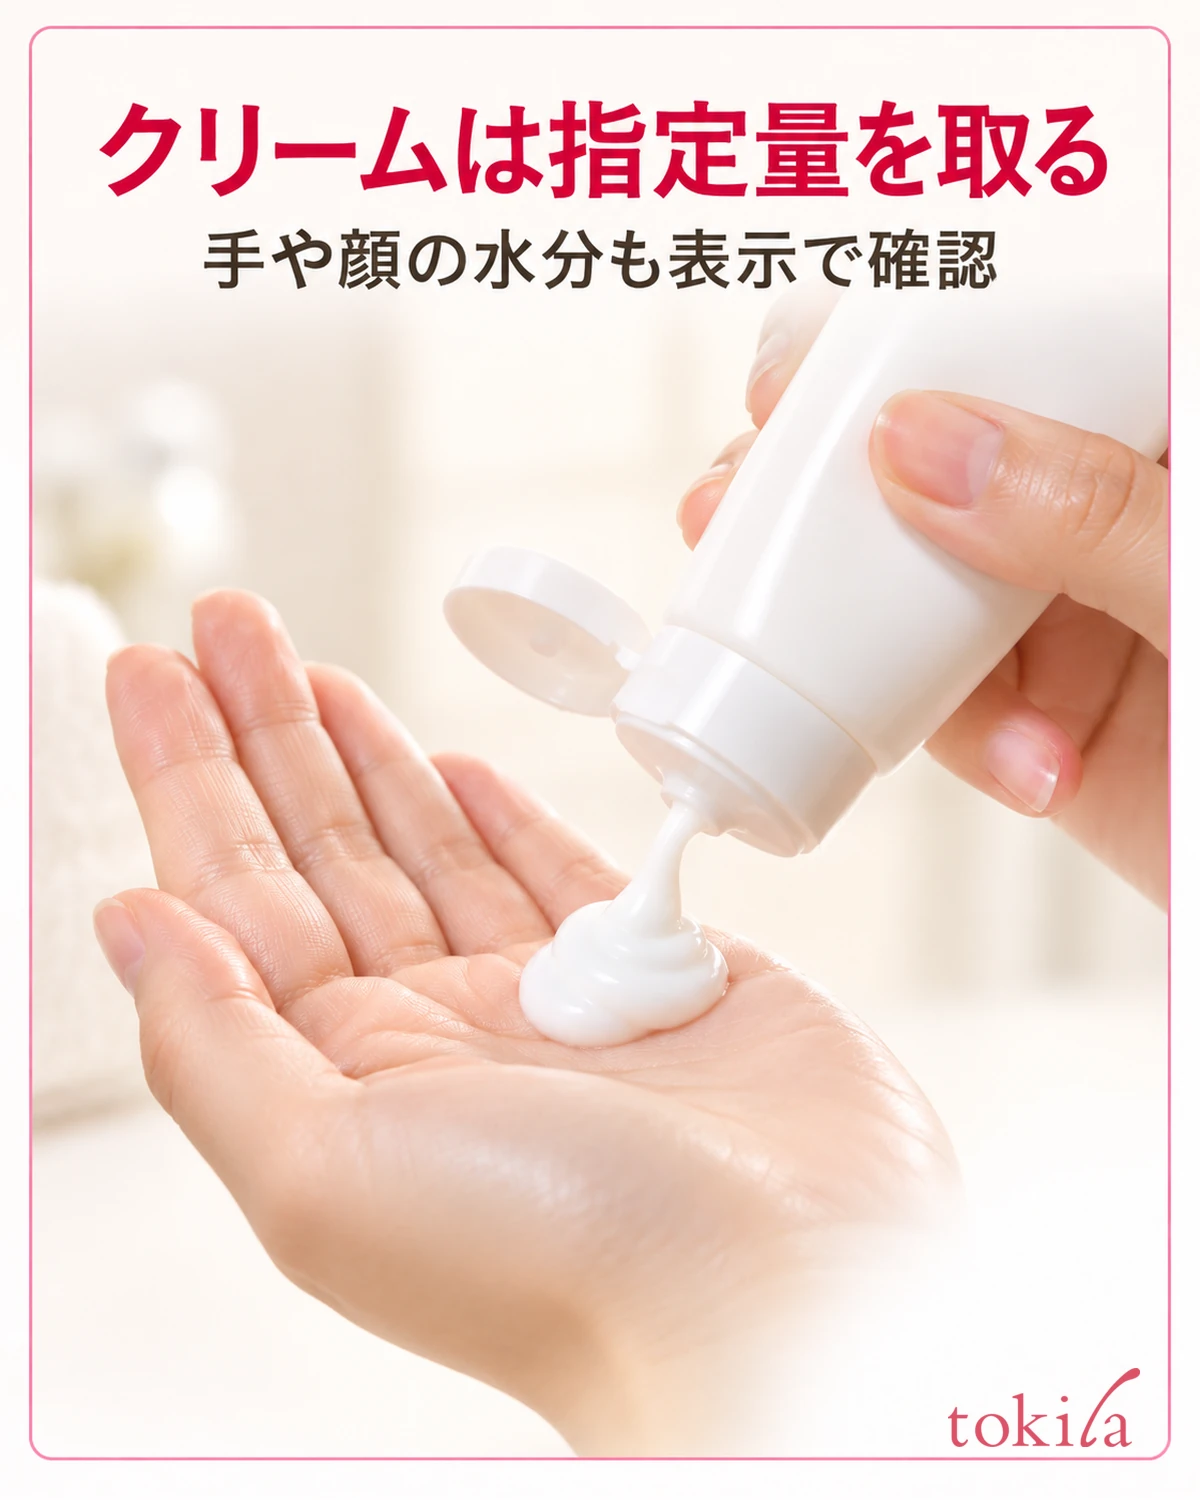
Clean your hands and check the instructions to see whether your hands and face may be wet. A container suitable for the bathroom does not necessarily mean the product works with wet hands. If dry use is specified, dry your hands after washing and prepare your face so no water remains. Match any specified conditions before beginning.
The amount per application shown on the container or instructions is the starting point. If a guide such as cherry-sized is given, take the amount indicated by your own product. Do not use the amount from another cream or the mound shown in a photo as a universal standard. Preparing the specified amount correctly comes before taking too little and spreading it with force.
For a jar, follow the specified method, such as using the supplied spatula. Check the scooping surface for dirt and moisture, and keep dirty tools out of the jar. For a tube, keep the opening clean and close the cap after dispensing. In either case, setting the portion aside first helps organize the process and avoids continuing to touch the contents with wet hands.
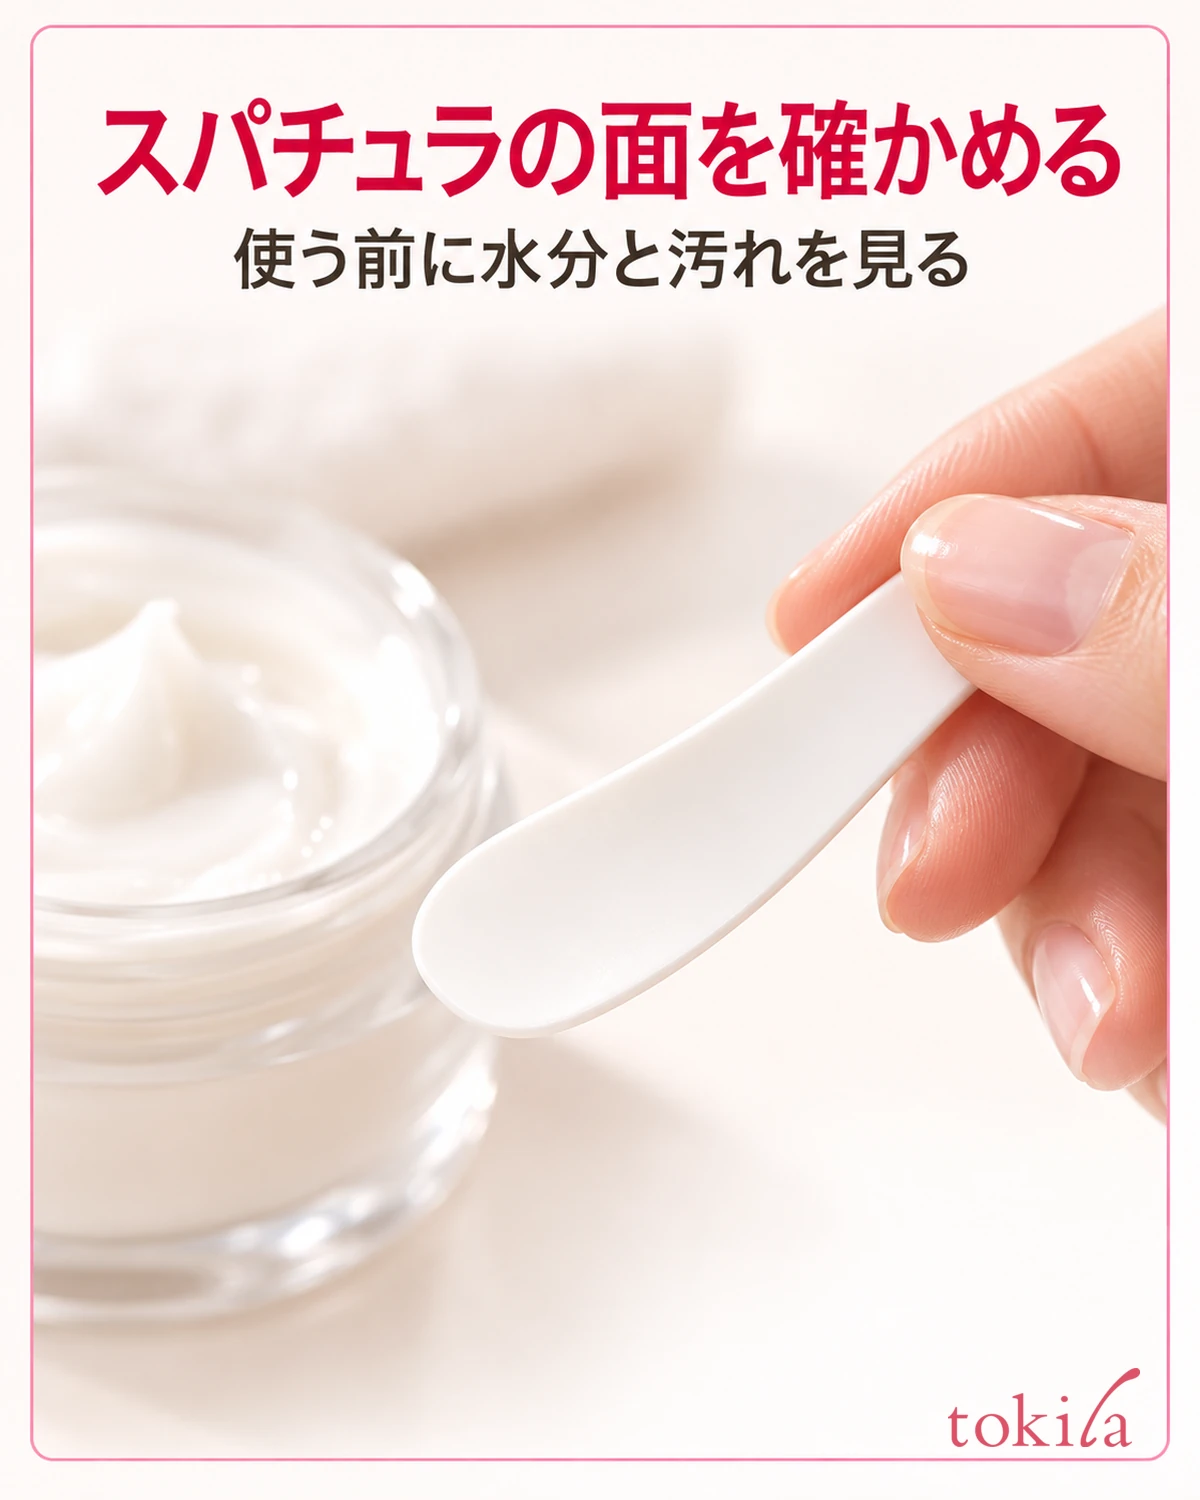
If unsure about the amount, check the stated portion again before adjusting by adding more to your face. Creams vary in firmness and spreadability. Instead of mixing in water or toner because a product seems difficult to handle, or heating the container to warm it, return to the directions for your own product.
Check the portion immediately after taking it out of the container. Once you begin putting it on your face, the remaining amount becomes harder to judge. If the supplied tool has a portion mark, use it; you do not need to invent a measuring line where none exists. If it always seems insufficient, first review the relationship between the conditions of use and the stated amount.
3. Spread the cream and gently work it into makeup
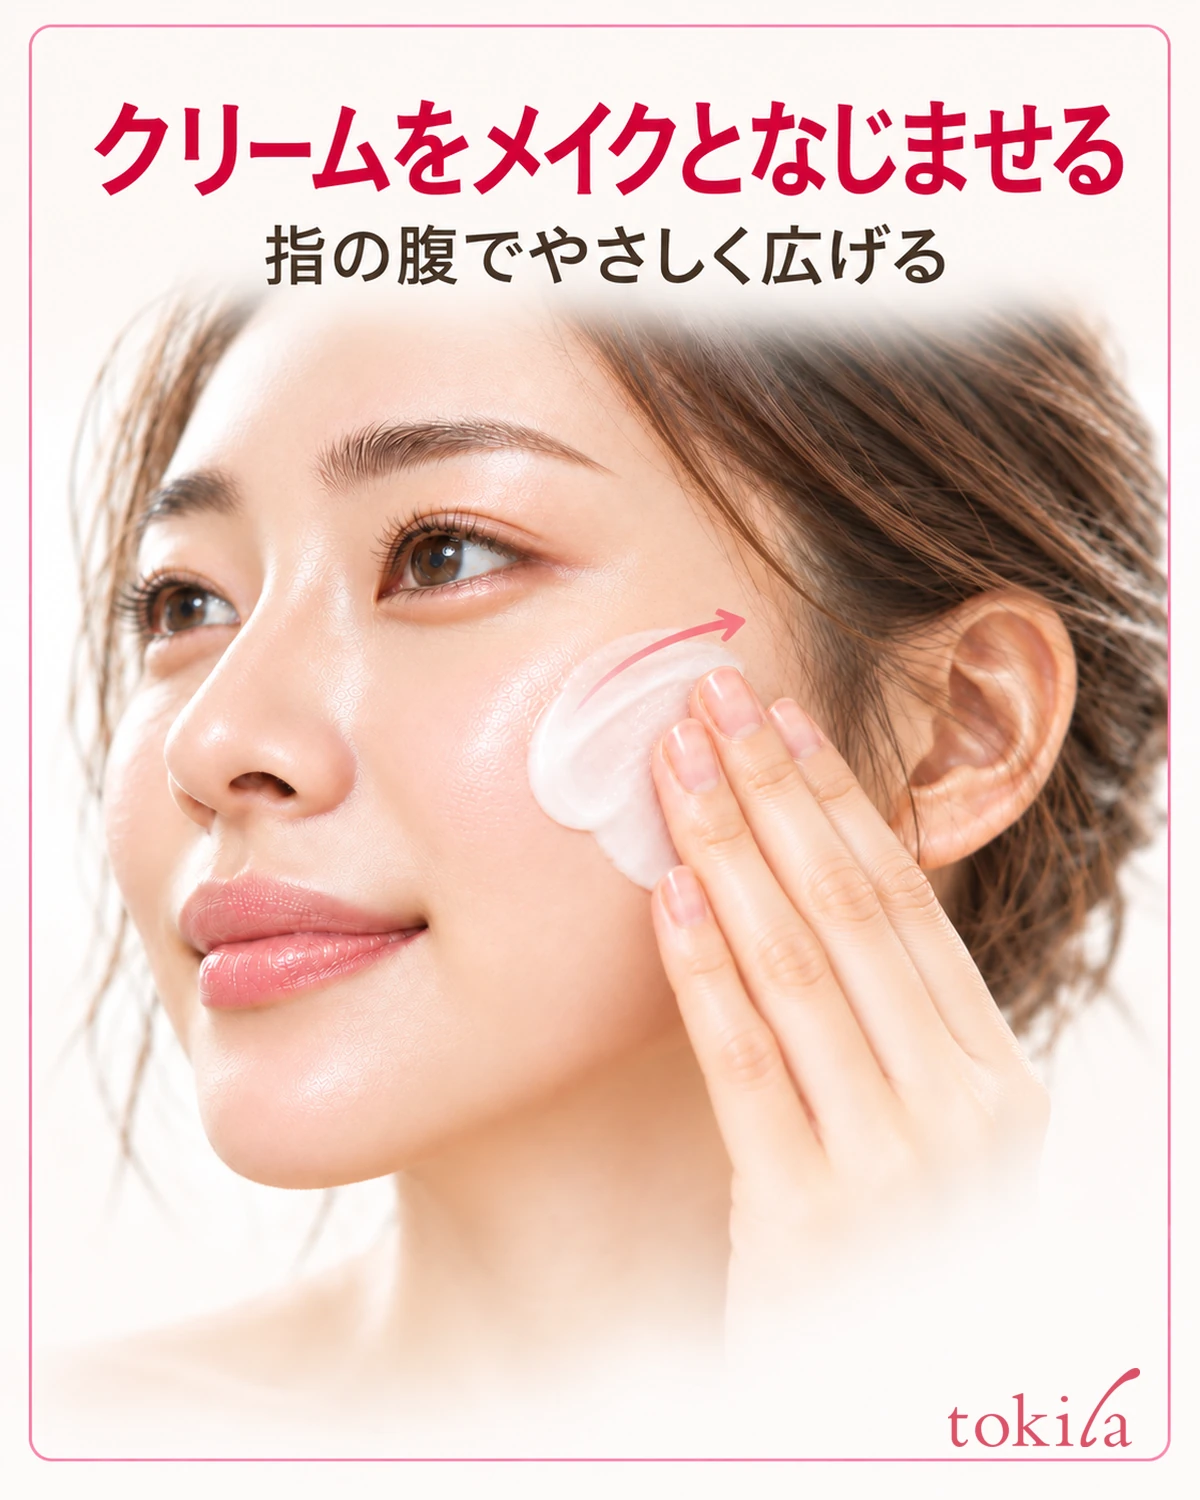
Spread the portion over your face according to the indicated order and placement. If directions say to place it on the cheeks, forehead, nose, and chin, distribute it rather than trying to spread all of it from one starting point. Focus separately on reaching the areas with makeup and on avoiding strong finger pressure.
Use the pads of your fingers rather than your nails, moving gently. For narrow areas such as around the nostrils, make the contact area smaller instead of continuing with broad motions. Avoid movements that pull the skin or repeatedly scrub one spot where makeup seems to remain. Do not compensate for removal by applying more force.
Some products become oily during use or begin to feel easier to move under the fingers. These changes do not happen with every cream. Follow any endpoint described for your product, and do not keep working it for a long time waiting for a change that the instructions do not mention.
It is also important not to judge every formula by appearance alone, assuming that white cream has not removed makeup or that you must continue until it becomes clear. A cleansing product is not necessarily suitable for massage. Even if massage use is allowed, follow its method and timing. Stop using it if redness, irritation, or other abnormalities occur, and follow the precautions.
If your fingers feel difficult to move, pause instead of pressing harder. Check whether the portion matches the directions and whether you are using a dry-use product with wet hands. Rather than mixing in another cosmetic to make it glide, review whether you are following the specified conditions.
4. Remove according to the rinsing or wiping instructions
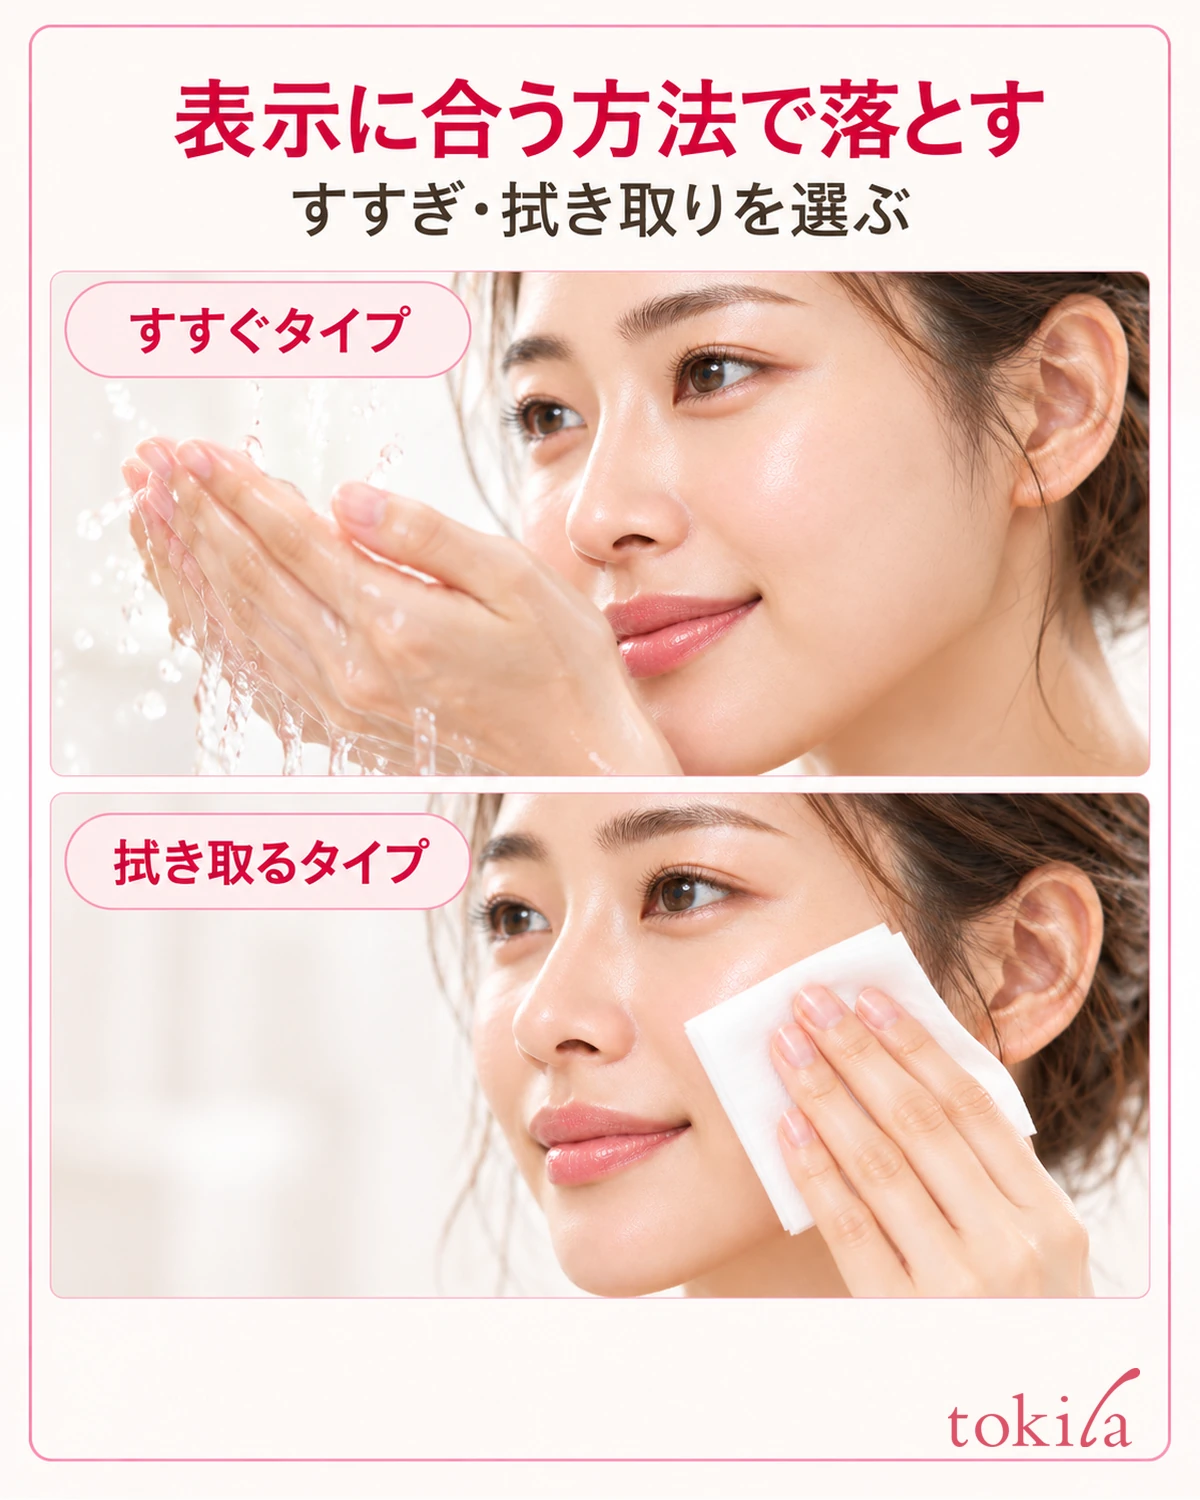
Once the cream has worked into the makeup, proceed with the removal method chosen at the start. For a rinse-off formula, rinse your face with water or lukewarm water as specified. Cup water in your hands and bring it to your face rather than trying to remove everything at once with hot water. Do not substitute a strong shower stream directly on your face for rinsing by hand.
Do not stop at the cheeks: check beside the nostrils, the hairline, in front of the ears, and beneath the chin in sequence. Bring water to places where cream remains, keeping it out of your eyes and mouth. Rather than fixing a universal number of rinses, follow your product's guidance and inspect boundaries where residue tends to remain, so you do not focus on one area alone.
For a wipe-off formula, prepare the specified material, such as tissue or cotton pads, and lightly place it against the skin to remove cream. Switch to a clean surface rather than continuing across your whole face with a dirty one. Follow the product's method for whether cotton should be wet or dry. Do not omit the material and moisture conditions or assume anything can be used identically.
Even when both wiping and rinsing are available, that does not necessarily mean performing both in succession. Distinguish directions to lightly tissue off and then rinse from directions offering either method. Rather than assuming extra steps make you cleaner, complete the single sequence described by the product.
Folding tissues beforehand helps separate a used surface from the next clean one. If wiping cotton is specified, do not independently replace it with thin tissue. Choosing what touches your skin is part of the removal method. If you run out of prepared pieces, get fresh ones rather than continuing to scrub with the same surface.
5. Check for residue and move on to washing and moisturizing
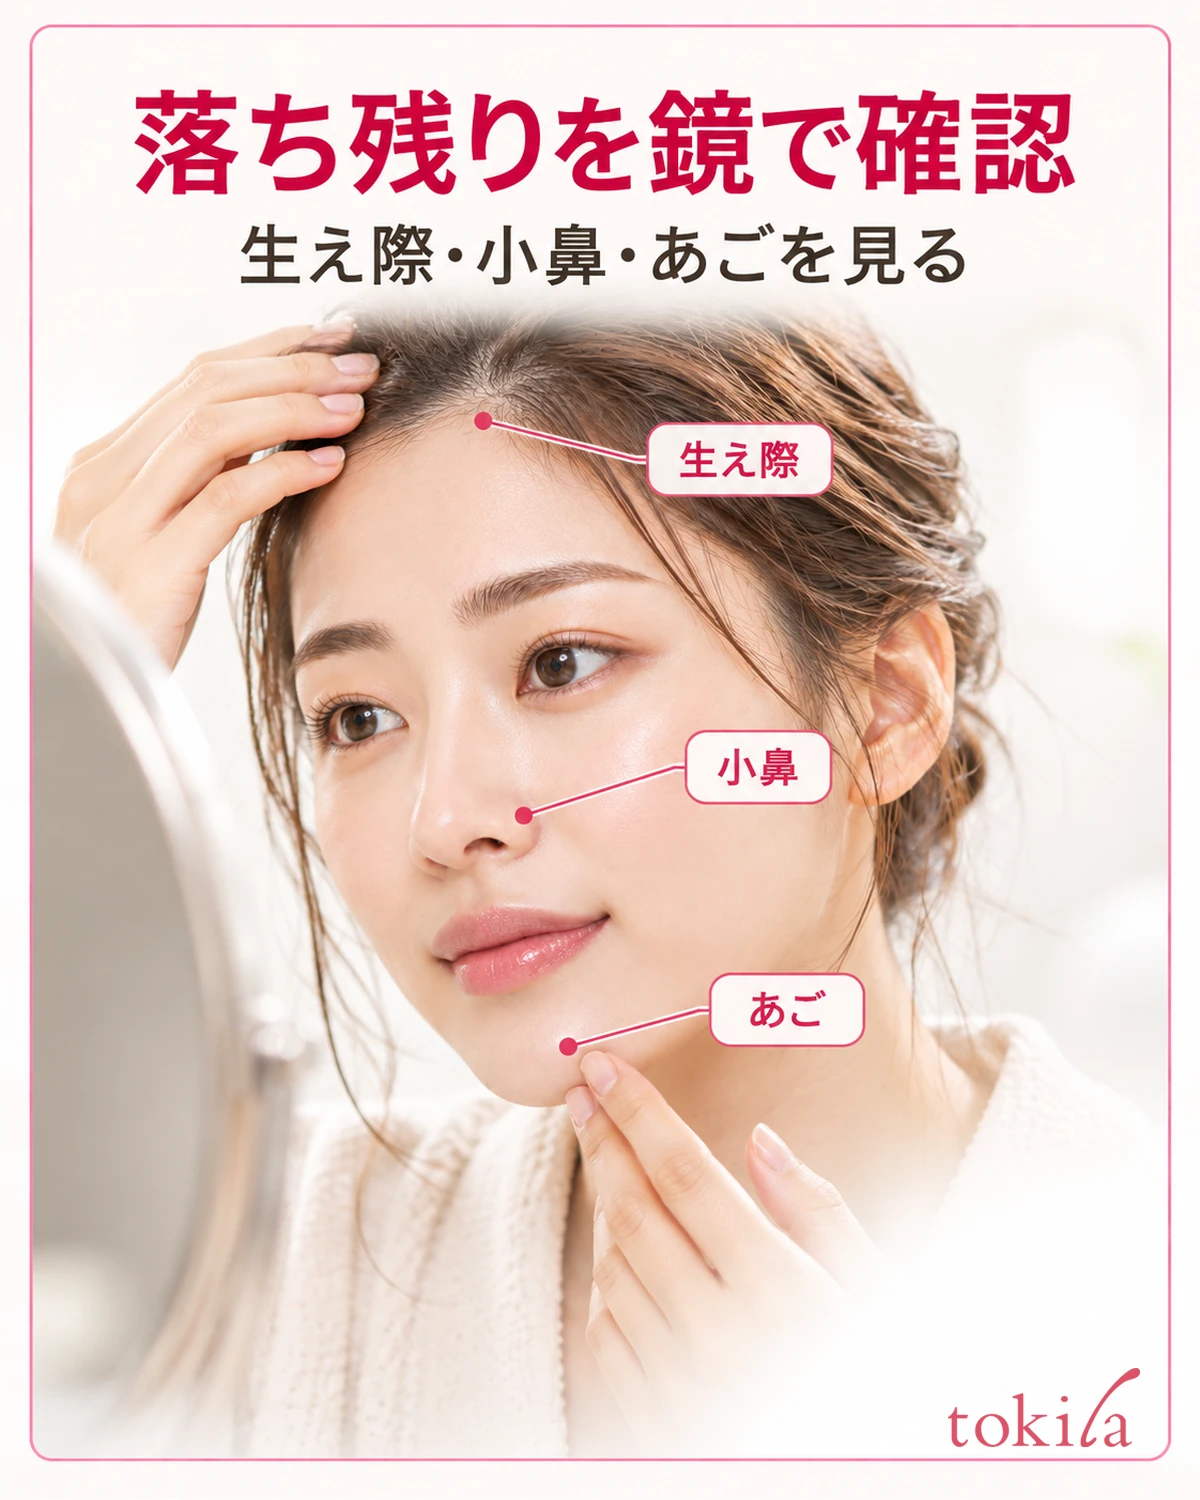
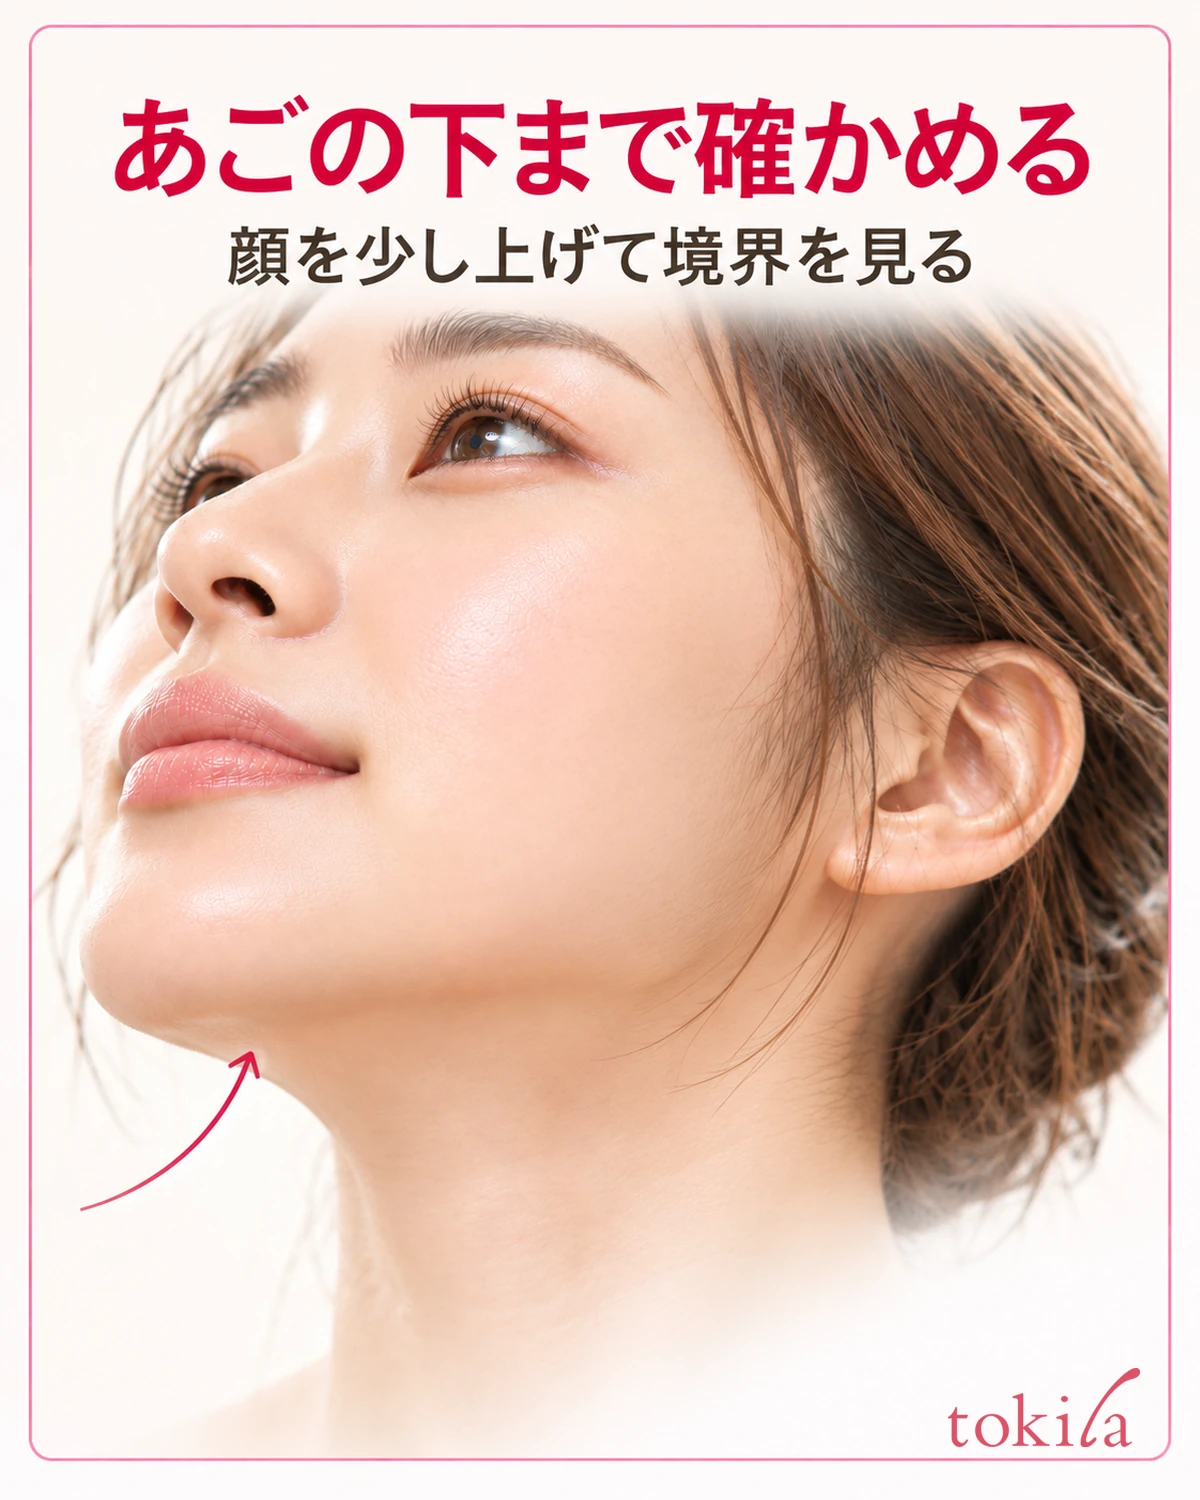
After removal, inspect the boundaries of your face in a mirror. In addition to the cheeks visible from the front, turn slightly to check in front of your ears and lift your face a little to see beneath the chin. Also look for visible cream at the hairline or nostrils. Observe visible residue separately from remaining makeup rather than testing by rubbing your skin firmly.
If some makeup, such as lipstick or mascara, remains, check the requirements for a suitable remover before repeatedly washing that area with cream. Do not scrape color at the eye edge with a nail or tissue corner. Identifying what remains and where helps narrow down how to revise your removal method next time.
Whether to use a facial cleanser afterward depends on the cleansing cream's directions. Some products say no additional washing is needed; others specify a separate wash. Do not identify a moisturized feel alone as remaining dirt or repeatedly wash until the skin feels squeaky clean. Complete the intended steps and proceed to your usual moisturizing care.
For next time, review just one uncertain point: amount, moisture on your hands or face, or removal method. Correcting one mismatch with the instructions at a time is easier to learn than changing everything each use. Keep time spent enjoying the cream's texture separate from the actions needed to remove makeup, and develop a sequence suited to your own product.
Clean used tools by the specified method and organize where you store the container. If product remains inside the cap or around a tube opening, keep it clean according to the directions. Do not return cream removed from your face to the container; remembering to separate it from the next portion is also useful in your daily routine.
If you want to understand differences in removal methods,cleansing milk removal methodscan also help when reading the instructions on your own product.