You bought a lip oil, but wonder whether to wear it alone or before or after lipstick. Start with the role you want it to play today: adding shine or preparing your lips for lipstick. Even products called oils may differ in color payoff, application order, and conditions for nighttime use.
This guide covers liquid lip oil taken from a container with an applicator. It does not replace the instructions for solid oil balms or beauty oils used on areas other than the lips. Check the label on your own product, then begin by applying a thin layer and assessing the color and shine.
1. Choose today's role: alone, before lipstick, or after lipstick
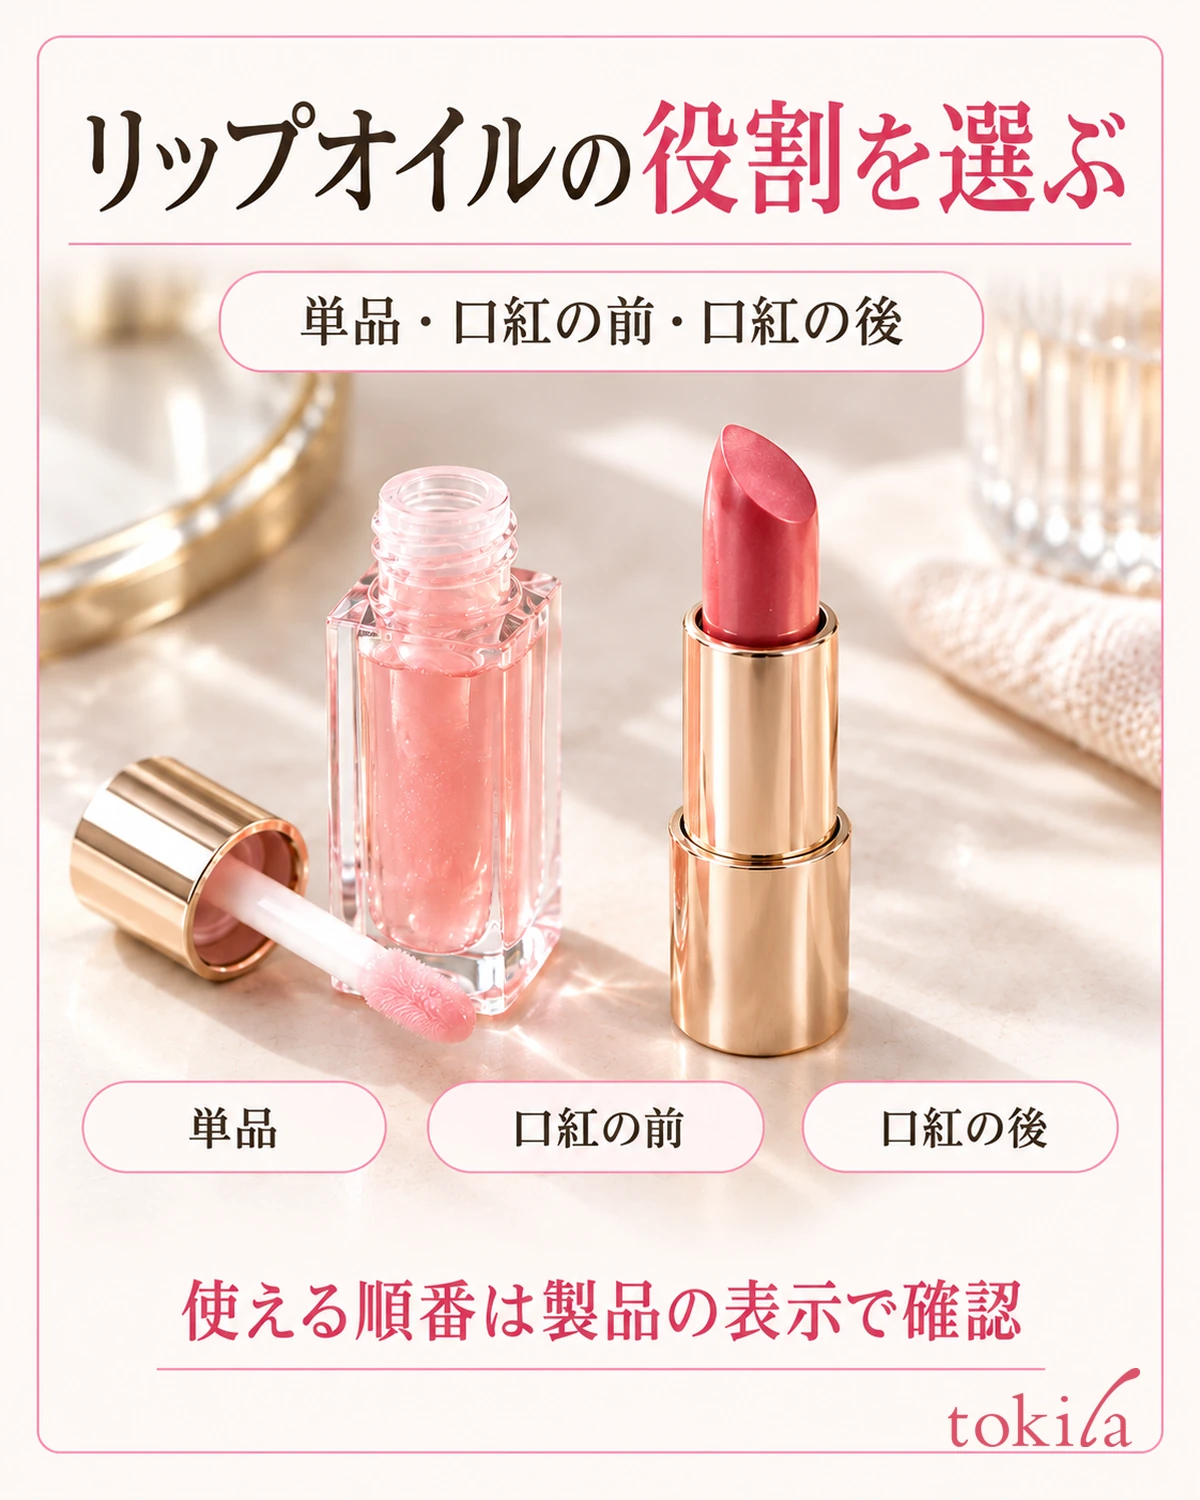
First, decide whether to finish with the oil alone or combine it with lipstick. Used alone, it lets you enjoy its own color and shine. Even nearly clear oils show your natural lip color through them, so assess the result on your lips rather than judging only by the liquid in the container. A tinted oil may not provide the same intensity as lipstick.
Before using it under lipstick, check whether it is described as suitable for use as a base. Adding oil to your lips and being able to layer every lipstick over it are separate matters. Lipsticks and tints that form a setting film may have specific conditions for applying anything first. Read both sets of instructions and choose a compatible combination.
After lipstick, the oil adds finishing shine. Your choice depends on whether you want to show the color underneath or add the oil's color as well. Layering a tinted oil may make the lipstick look different. Do not assume a clear oil leaves the color entirely unchanged; check the brightness and reflections after layering too.
Consider daytime makeup and nighttime care separately. Even when nighttime use is described, it may apply only to certain shades in the same range. Check your shade number against its directions rather than extending the guidance to every shade because the range name or container looks similar. A product suitable for the morning is not automatically suitable for bedtime.
Once you choose its role, you can narrow down what to use. If the oil alone gives you enough color and shine, you do not have to add lipstick or gloss. If lipstick color is the focus, consider where you want extra shine. Start with a combination that suits today's finish and the labels, rather than simply adding more steps.
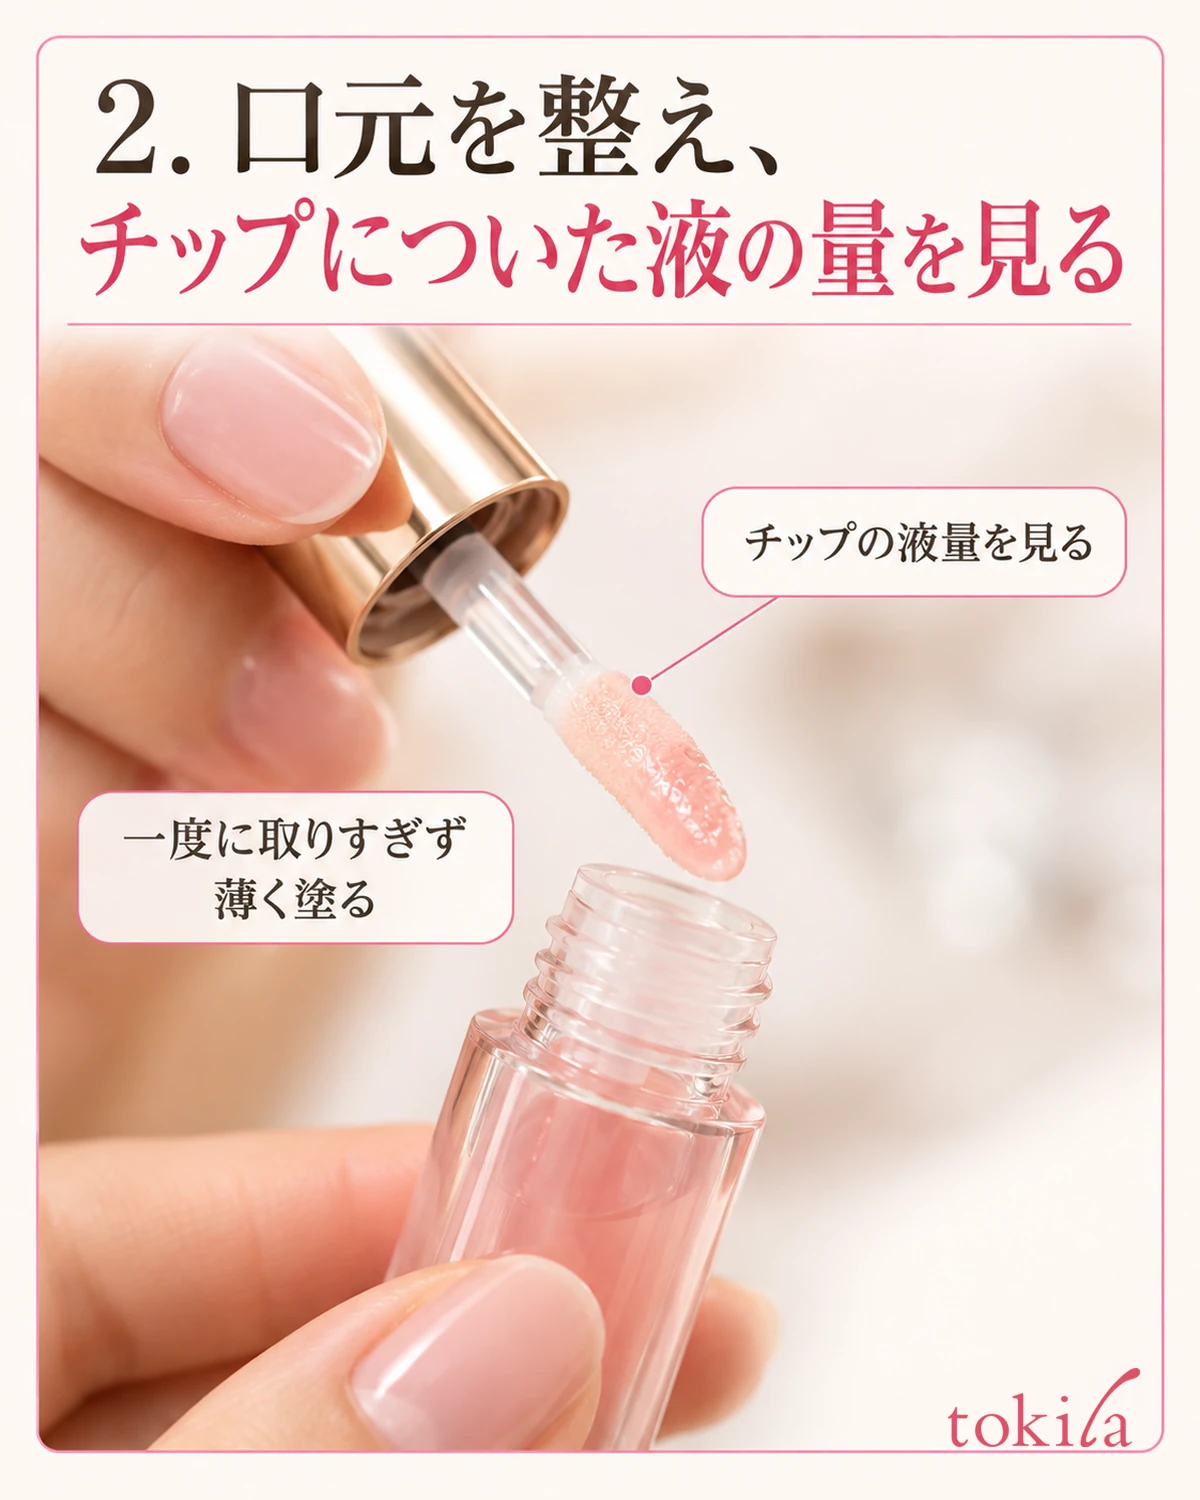
2. Prepare your lips and check the amount on the applicator
Clean your hands and look at your lips in a mirror. If food, drink, or previous lipstick remains, decide whether to layer over that state or tidy it first. Bare lips in the morning and lips with color remaining after a meal require different preparation. Do not begin by rubbing off what remains forcefully.
If flakes of lip skin are lifting, do not flatten them with the applicator or pull them off. If you have redness, pain, strong irritation, or another abnormality, avoid use rather than trying to conceal it with shine, and follow the product's precautions. Do not increase the amount on the assumption that lip oil will heal chapped lips.
Gently withdraw the applicator and look at how much liquid is on its broad surface and tip. If a large drop seems likely to drip, adjust the excess as directed for that container. Rather than fixing a number of wipes or assuming one application is the same for every product, use your own applicator's shape and directions as the guide.
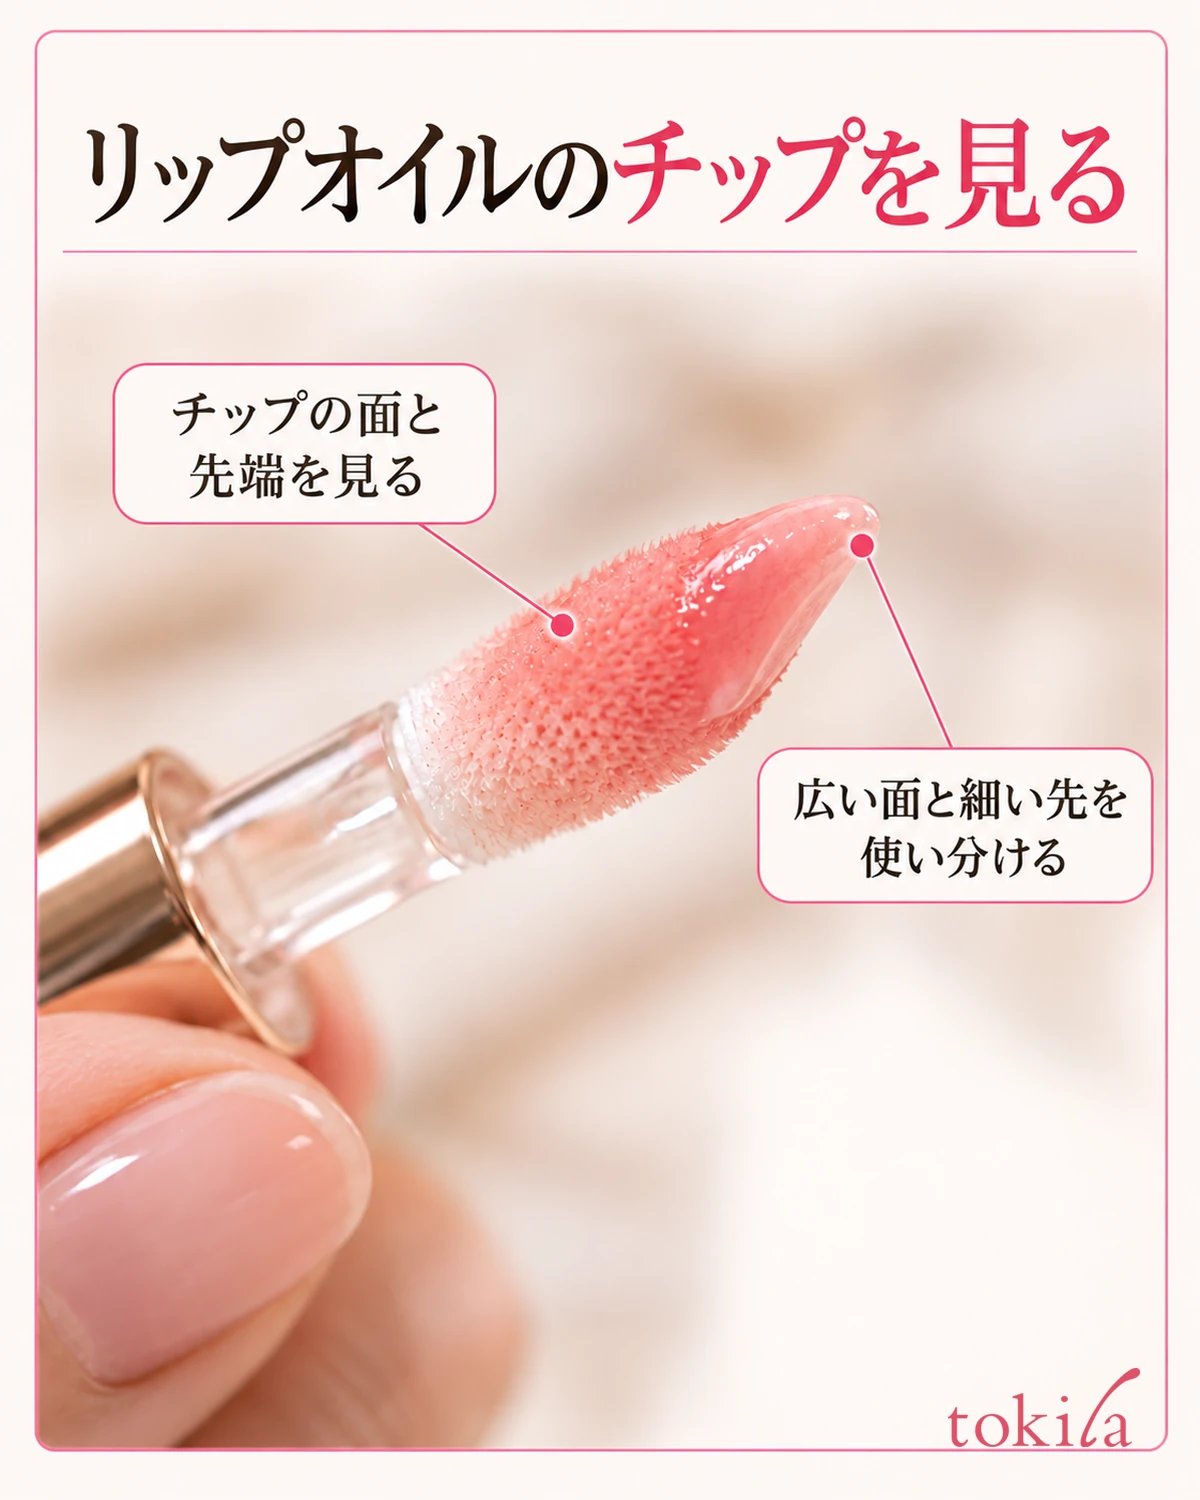
The supplemental photo shows the shape of the applicator's broad surface and narrow tip. The broad surface is an example of a shape that makes contact with the lip surface easy to see, while the narrow tip can be directed toward a small area. Not all products have this shape. Rather than bending yours to match the photo, look at which surface of the fibers or sponge makes contact.
Place the bottle somewhere stable and position yourself so you can see the mirror and applicator tip. Watch the contact point for the first stroke instead of bringing it to your lips while doing something else with one hand. When applying over lipstick, check beforehand how to care for the applicator if color transfers onto it, and do not introduce your own cleaning method during use.
3. Spread a thin layer from the inner part of the lips, stopping before the outline
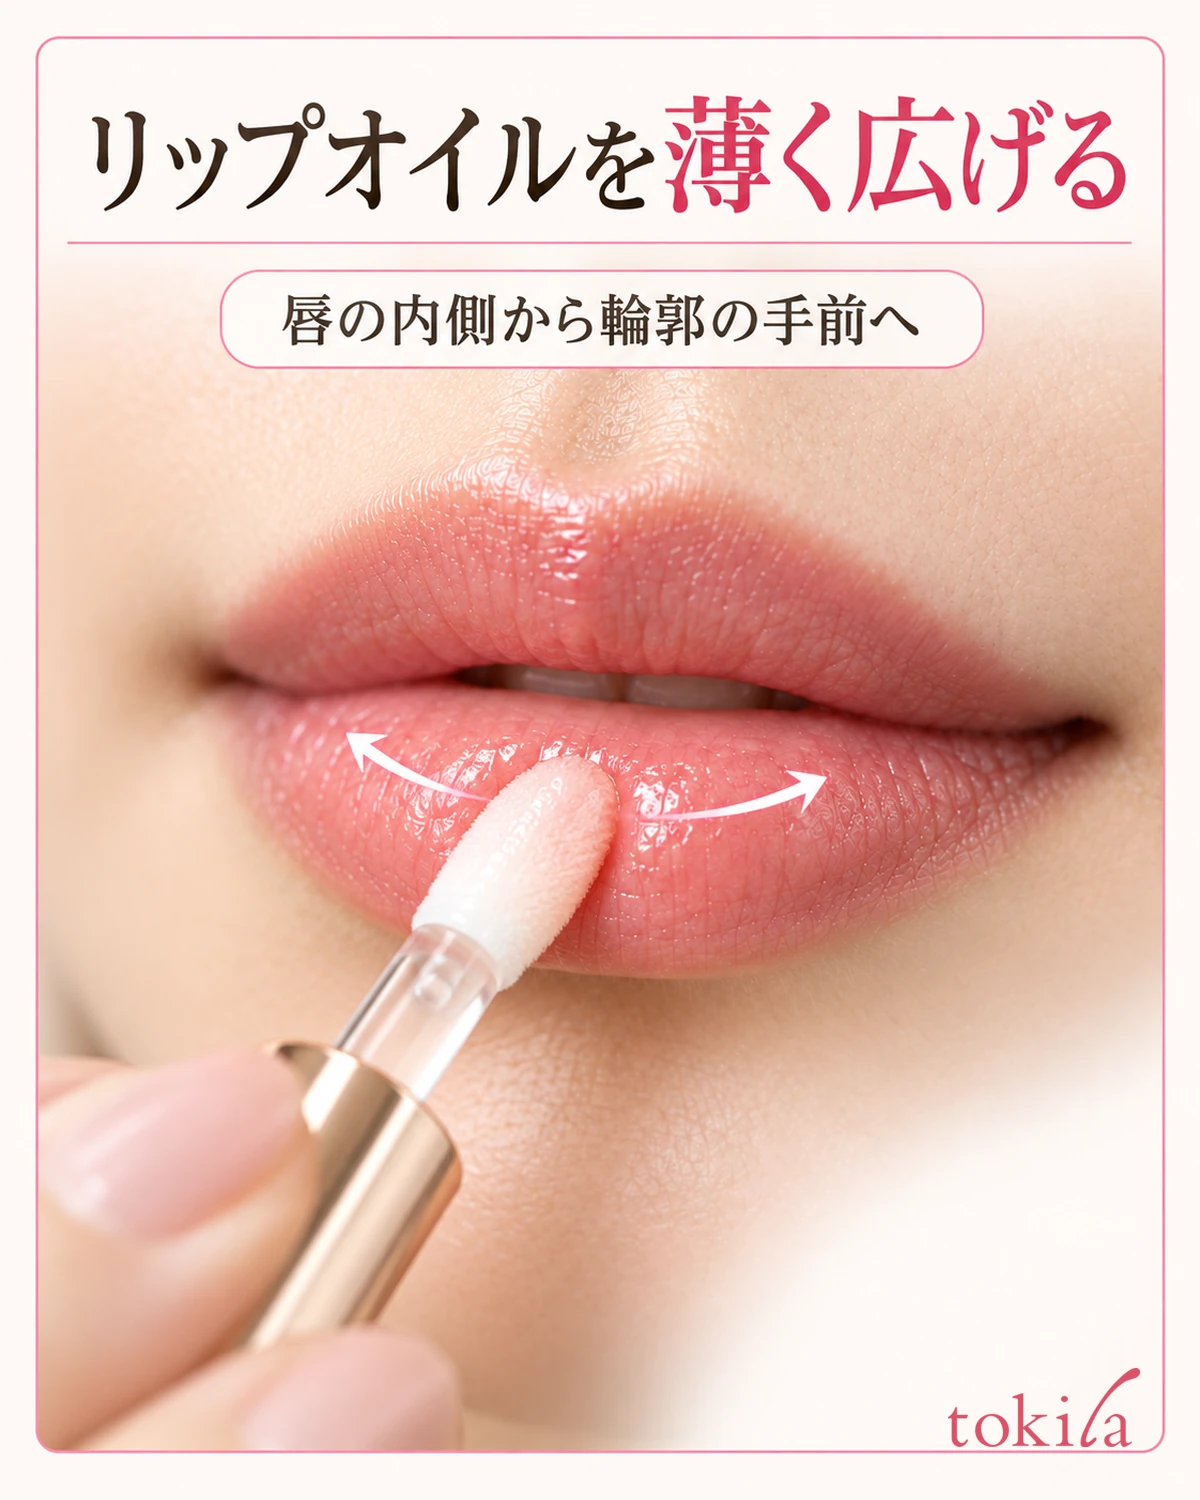
For an applicator intended for direct use on the lips, lightly touch its liquid-coated surface near the center of the lower lip. Rather than placing liquid right into the corners at the start, spread left and right in short movements that let you see the contact point. Here, inner means toward the center of the lip surface. It does not mean inserting the applicator into the mouth or onto mucous membranes.
Pause just before the edge of the lips instead of spreading shine onto the surrounding skin. Lip fullness and applicator size affect the area you can handle, so there is no single back-and-forth stroke along the same line for everyone. When changing the tip's direction, lift it away and reassess the position rather than pulling on the lips with pressure.
For the upper lip, work separately to either side from the center, spreading thinly while checking the cupid's bow in the mirror. Break the application into small movements suited to the applicator rather than pressing a broad surface into fine areas. While enough liquid remains, do not keep reloading; first look for thin areas. A less reflective spot does not always mean too little liquid.
Rubbing your lips together forcefully makes it harder to tell where you applied the oil. Follow any instructions for blending it, and do not increase pressure to spread the film. What to do after application also varies by product. There is no universal waiting time requiring every oil to dry or allowing immediate repeated layering.
Lift the applicator away and look for heavy pools on the lip surface. Treat shine and a thick application as separate things, and check whether the current amount serves its purpose. If it goes beyond the outline, choose the area to correct and a method suited to the product before wiping broadly across all your lips.
4. When layering with lipstick, check color and shine separately
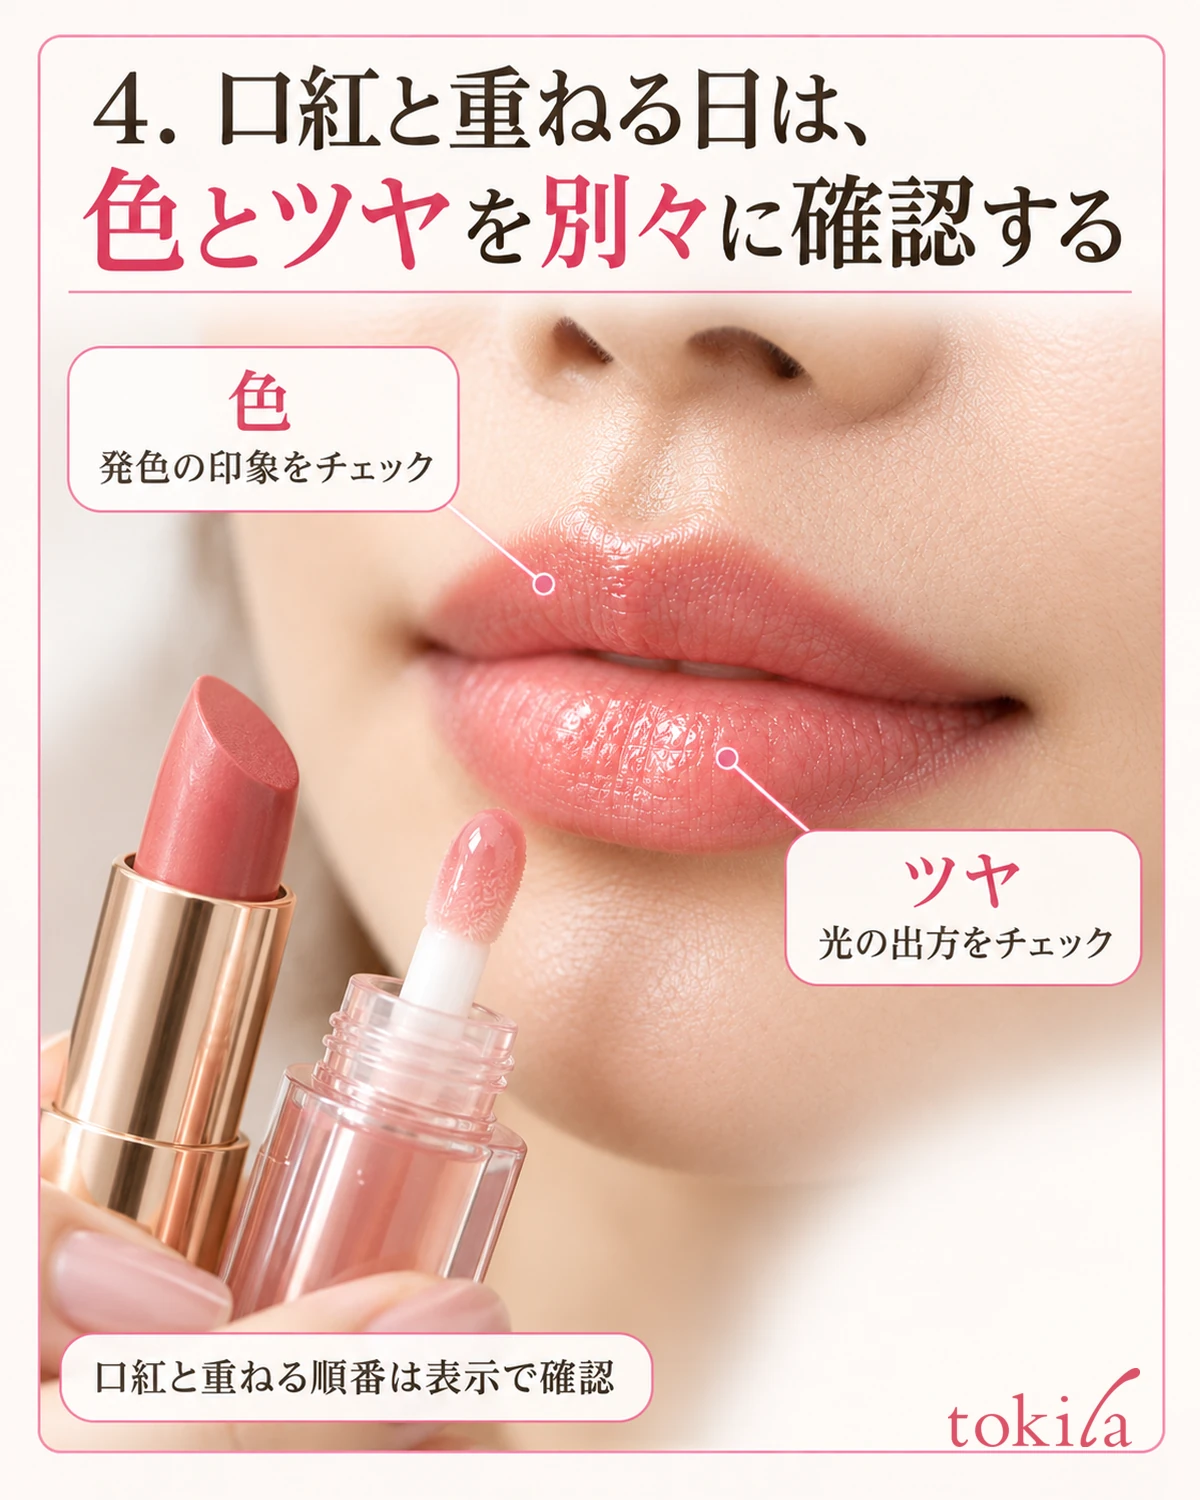
For an oil suitable for use before lipstick, follow its instructions on blending and when to move to the next step. Do not universally add steps such as waiting a fixed number of minutes or wiping everything off with tissue. Layer a small amount of lipstick, and if the color becomes streaky, check the amount and compatibility conditions. Avoid trying to solve this by repeatedly adding thick oily layers.
When adding shine after lipstick, first check the existing color boundaries. If lipstick has collected in the corners, tidy the necessary area before adding more liquid on top. Instead of moving the oil applicator firmly back and forth, use small movements that do not disturb the lipstick excessively. Follow any specific layering instructions provided.
Check color and shine separately. Look at the color area straight on, then change your angle slightly to inspect the position and thickness of reflections. Do not mistake a bright reflection for missing lipstick and add more color. Step back to see your whole face and decide when to stop, including how the lips relate to the eyes and cheeks.
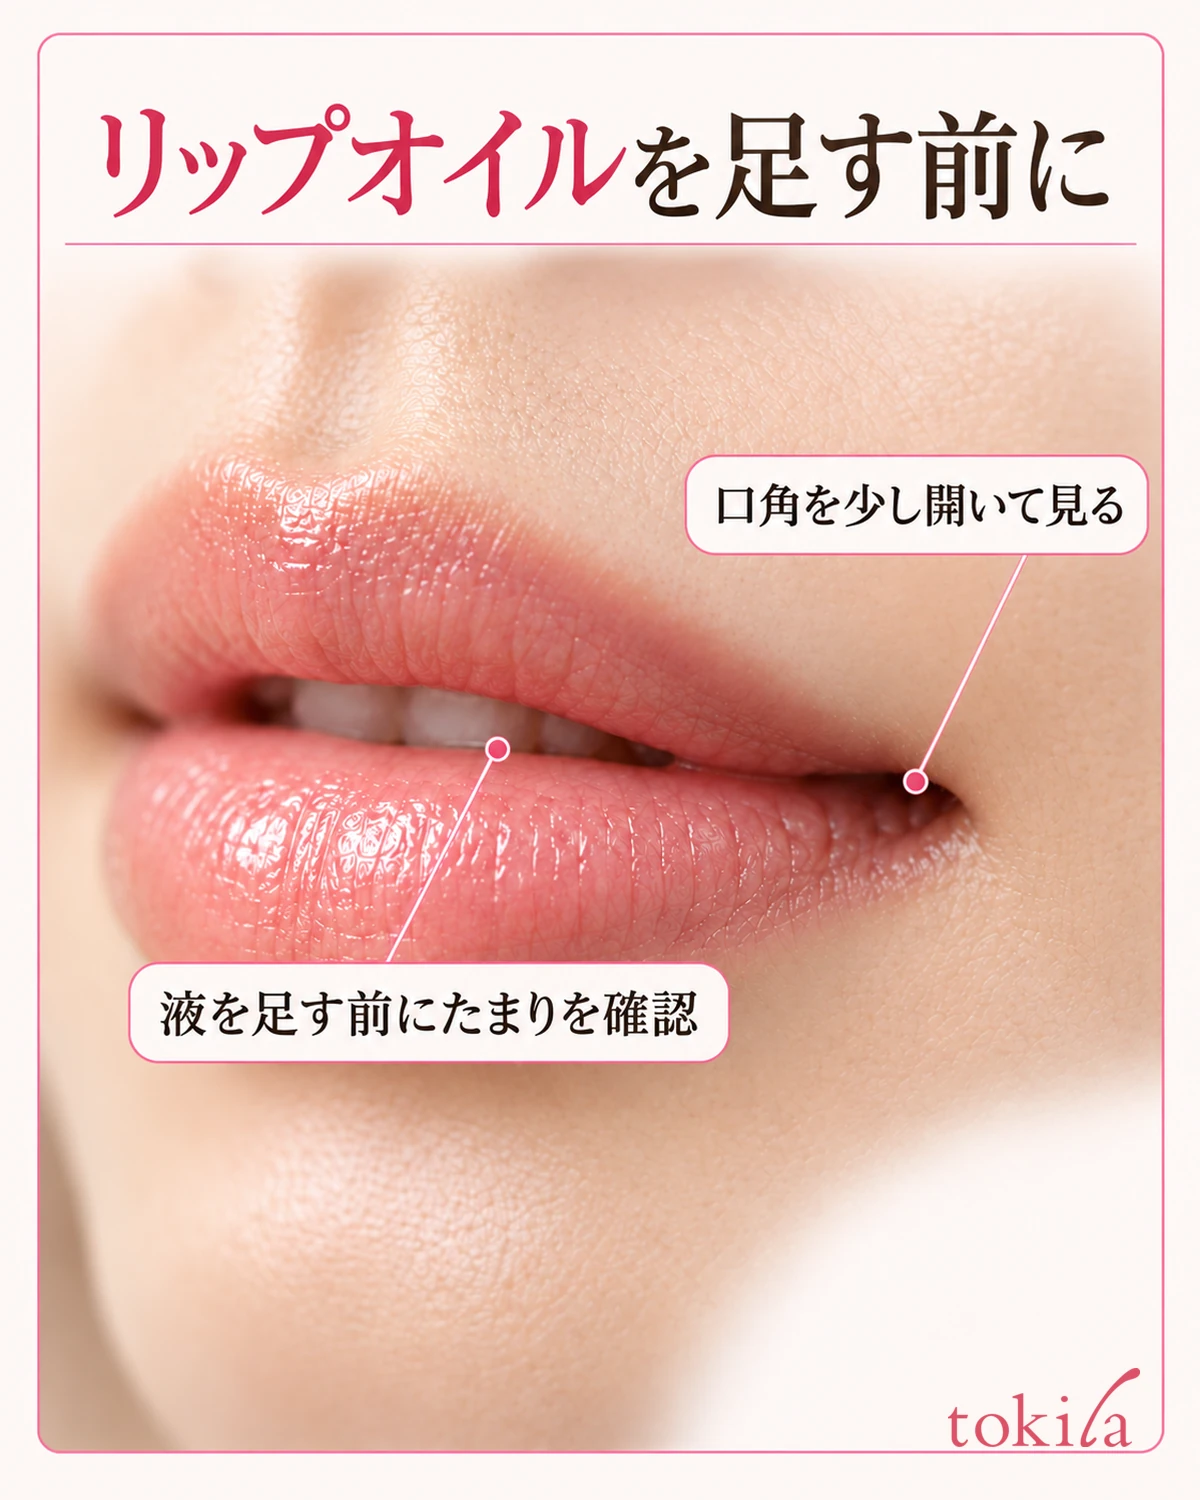
Open your mouth slightly and inspect the corners and the boundary where the upper and lower lips meet. The supplemental close-up helps you locate this narrow boundary. If liquid has collected there, check that area before thickening the whole layer. The photo's shine and lip shape are neither a guarantee of a real product's finish nor evidence that the lips themselves have changed.
If lipstick color transfers to the applicator, follow the product's care instructions. Do not independently add methods such as washing it with water, applying alcohol, or returning another liquid to the bottle. If color transfer concerns you, check the layering directions and whether another tool is allowed, and handle the product within its permitted uses.
5. Base reapplication and nighttime use on the remaining film and label
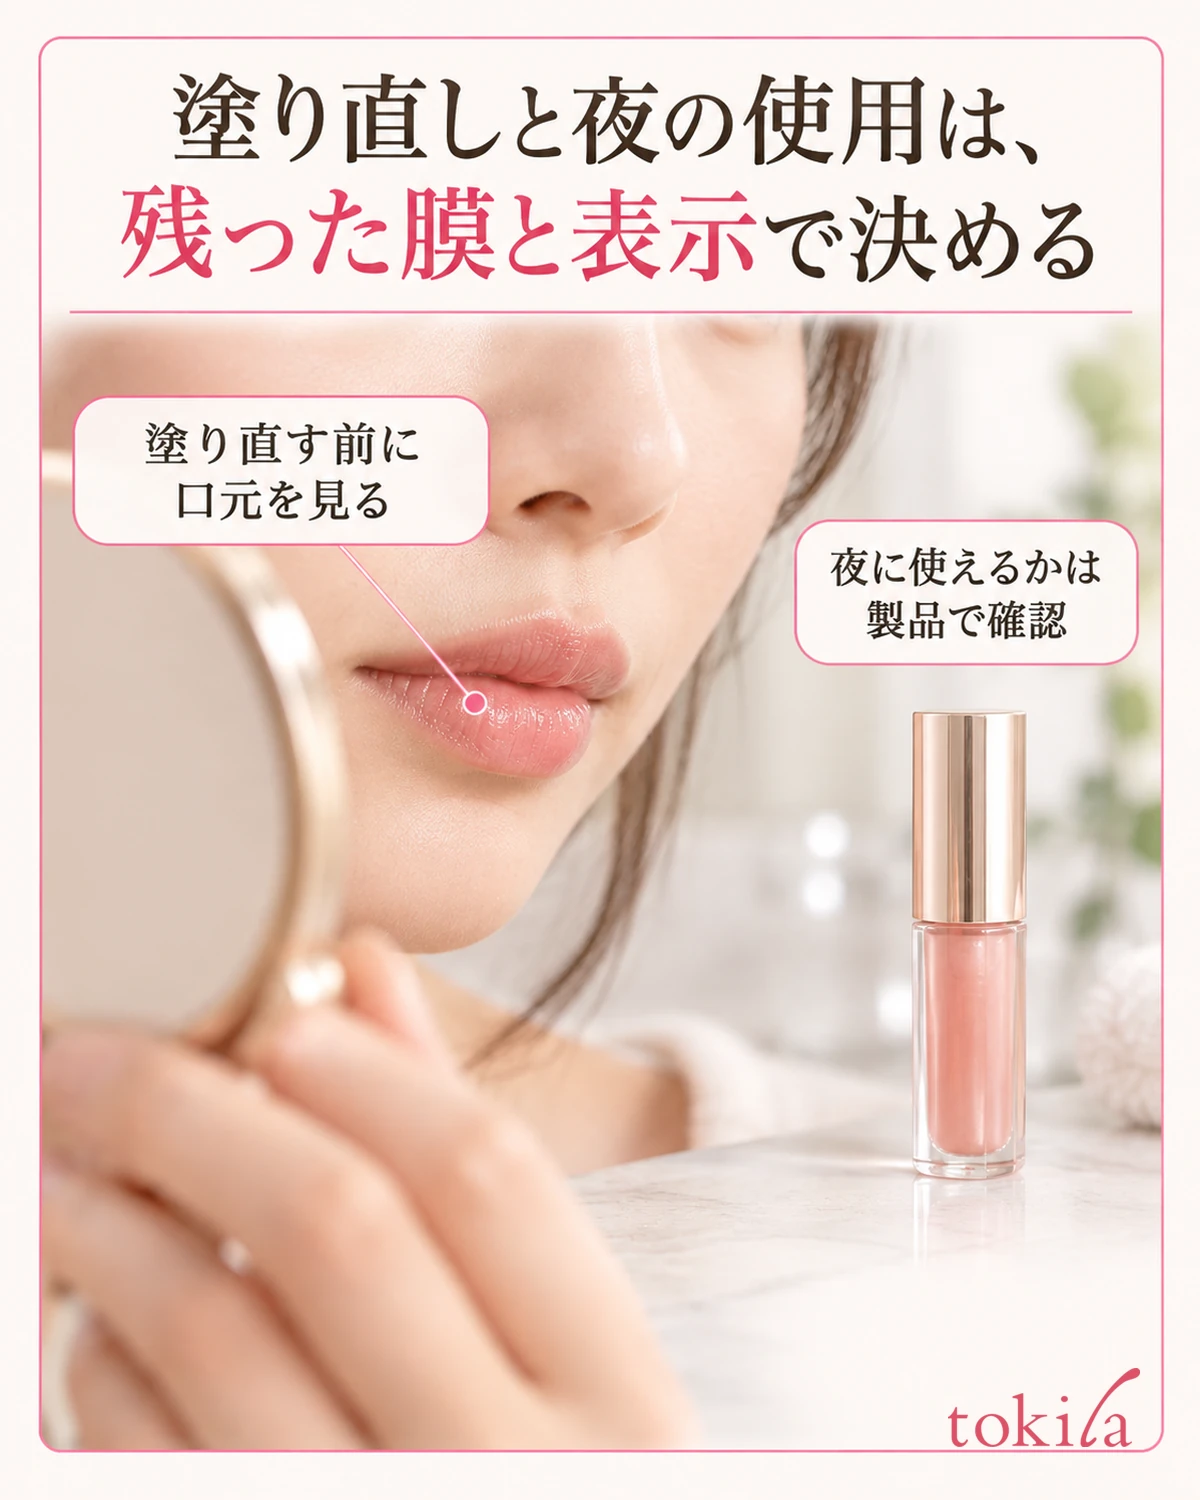
When reapplying, check where the color has faded and where a liquid film remains. After eating, also look for food residue and pooling at the corners, and gently tidy these first. Do not assume all the oil has disappeared because the color appears to have worn off; look at the state before adding more.
Choose the steps according to whether you want only more shine or need to restore the lipstick color too. If thick layers or major unevenness remain, another option is to remove the necessary area using a suitable method and start again from preparation. For small areas beyond the outline, you can also refer toreviewing lip gloss amount and outlinewhile prioritizing the oil's own directions.
For nighttime use, check whether bedtime application is described for your specific product and shade. Do not confuse removing daytime tinted makeup with nighttime use. Remove lipstick, sunscreen, and other products used that day according to their respective directions, and use only an oil suitable for nighttime in its specified order and amount.
After use, inspect the container rim and cap and close it securely. Handle any areas with liquid on them according to the label, and put it away in the specified storage conditions, such as away from direct sunlight and high temperatures. Before placing it in a pouch to carry, check that the cap is closed.
For the next adjustment, choose one factor: using it alone or with lipstick, the amount on the applicator, or the area where you add shine. Returning to the step that was difficult is easier to assess than changing color, order, and amount at once. Choose a role, spread thinly, and assess color and shine separately. Try making this your routine for incorporating your own oil into everyday lip makeup.