You want to try cleansing water but are unsure how it differs from toner or whether you should wash your face afterward. Start by reading three things together rather than judging the liquid's appearance: whether it is intended to remove makeup, which makeup it can remove, and what to do after wiping.
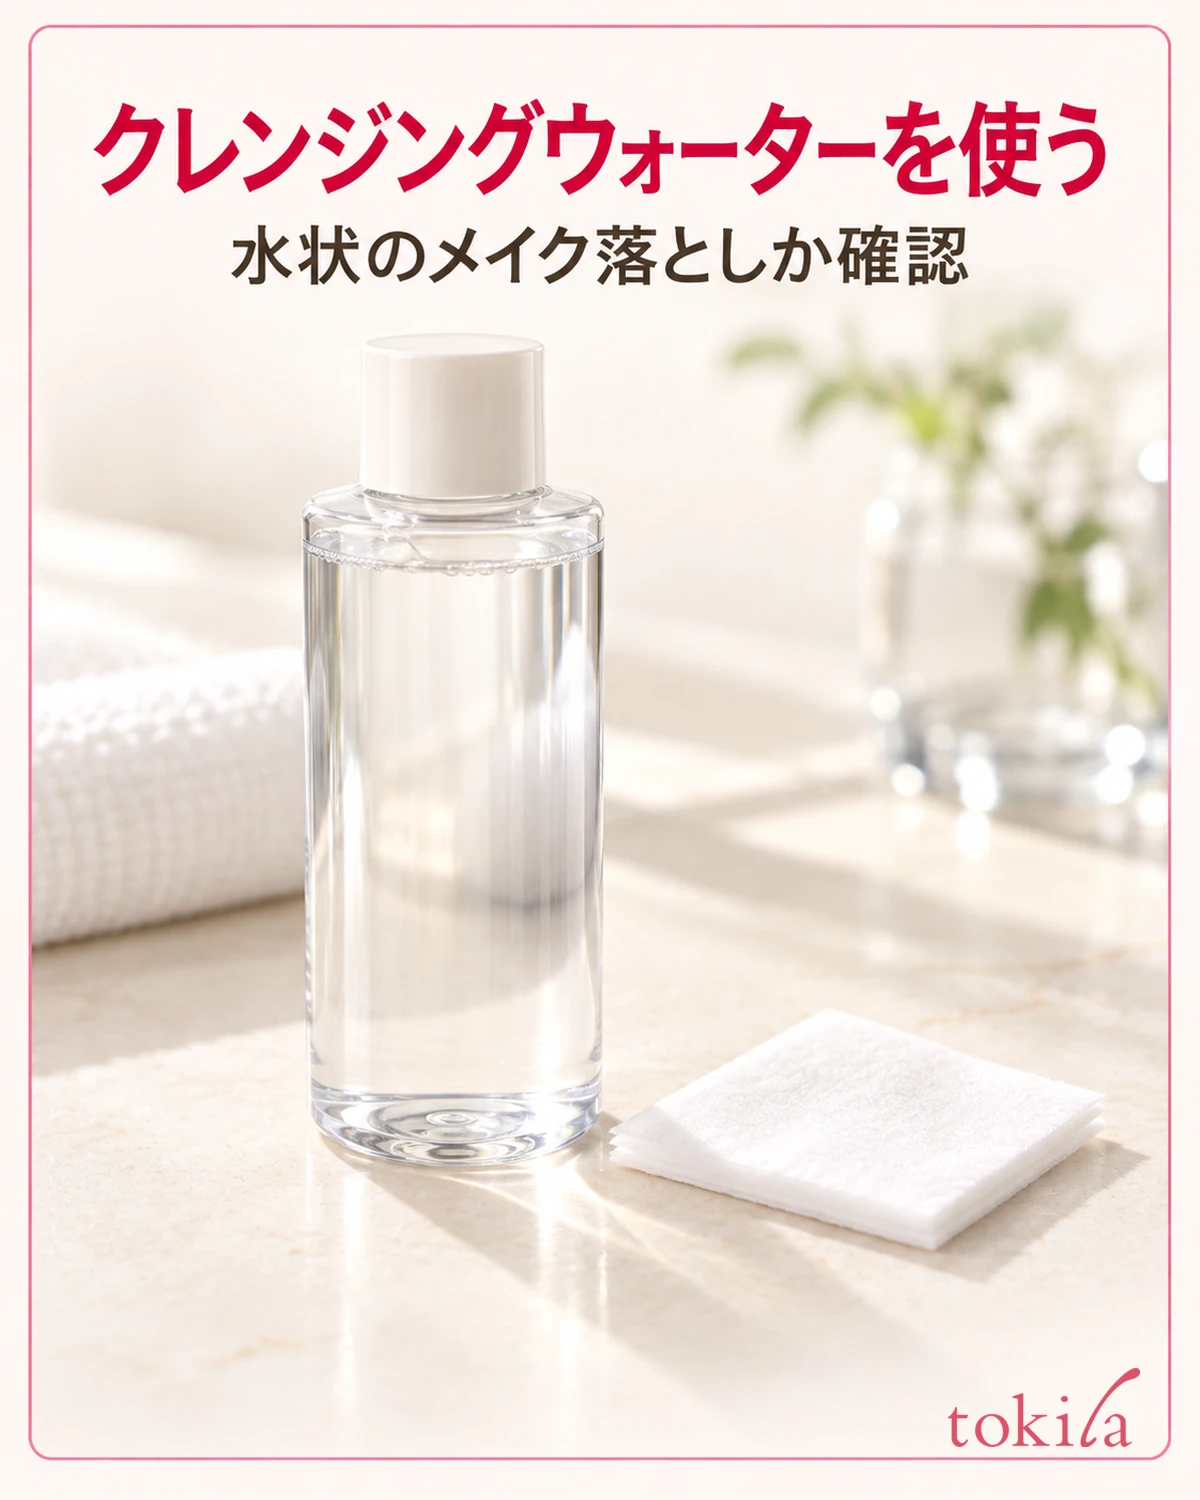
This guide explains how to use bottled, water-based makeup remover applied to a cotton pad. Preparation differs from premoistened wipes and exfoliating lotions used after face washing. Read your product's label and adjust the surface touching your skin and the pressure you use.
1. Check that it is a water-based makeup remover and decide where to use it
First read the intended use on the container and check that the product is meant to remove makeup, with wording such as makeup remover or cleansing. A clear liquid or a name containing water or lotion does not distinguish it from moisturizing toner. Before putting it on your face, make sure the product name and instructions refer to the same bottle.
Wipe-off toners may be designed to wipe away surface impurities after face washing and do not all double as makeup removers. Conversely, some makeup removers have instructions for morning cleansing too. If several uses are listed, choose the instructions for what you are doing now.
Also check beforehand whether it is intended for dry skin or can be used on wet skin. Do not decide from its appearance whether it can be applied to a wet face. If a product, such as a two-phase formula, requires shaking, do this before dispensing. There is no need to add another product's shaking step to a bottle without that instruction.
Next, check the removal instructions for the foundation, sunscreen, lipstick, and mascara you wore that day. Do not assume from the format alone that water-based removers only work on light makeup or that an oil-free product cannot remove any of it. Match what you want to remove with the makeup the cleanser is designed for.
Highly water-resistant mascara in particular may be difficult to remove with a facial cleanser alone. If a separate eye makeup remover is recommended, use that step first. During preparation, also check whether the product can be used near the eyes and mouth and whether conditions apply to contact lenses or eyelash extensions.
When choosing your first product, compare the finishing steps as well as where you want to use it. Will you use it at the sink when you get home, or remove makeup before taking a bath? If rinsing or face washing is required, preparing for that location too will help you avoid uncertainty once you start.
2. Apply the specified amount to a cotton pad and support its surface
Clean your hands and prepare a fresh cotton pad and a mirror. If a size or type of pad is specified, use that combination as your starting point. The amount delivered by a pump also varies by product, so do not automatically use the number of pumps you learned with another bottle.
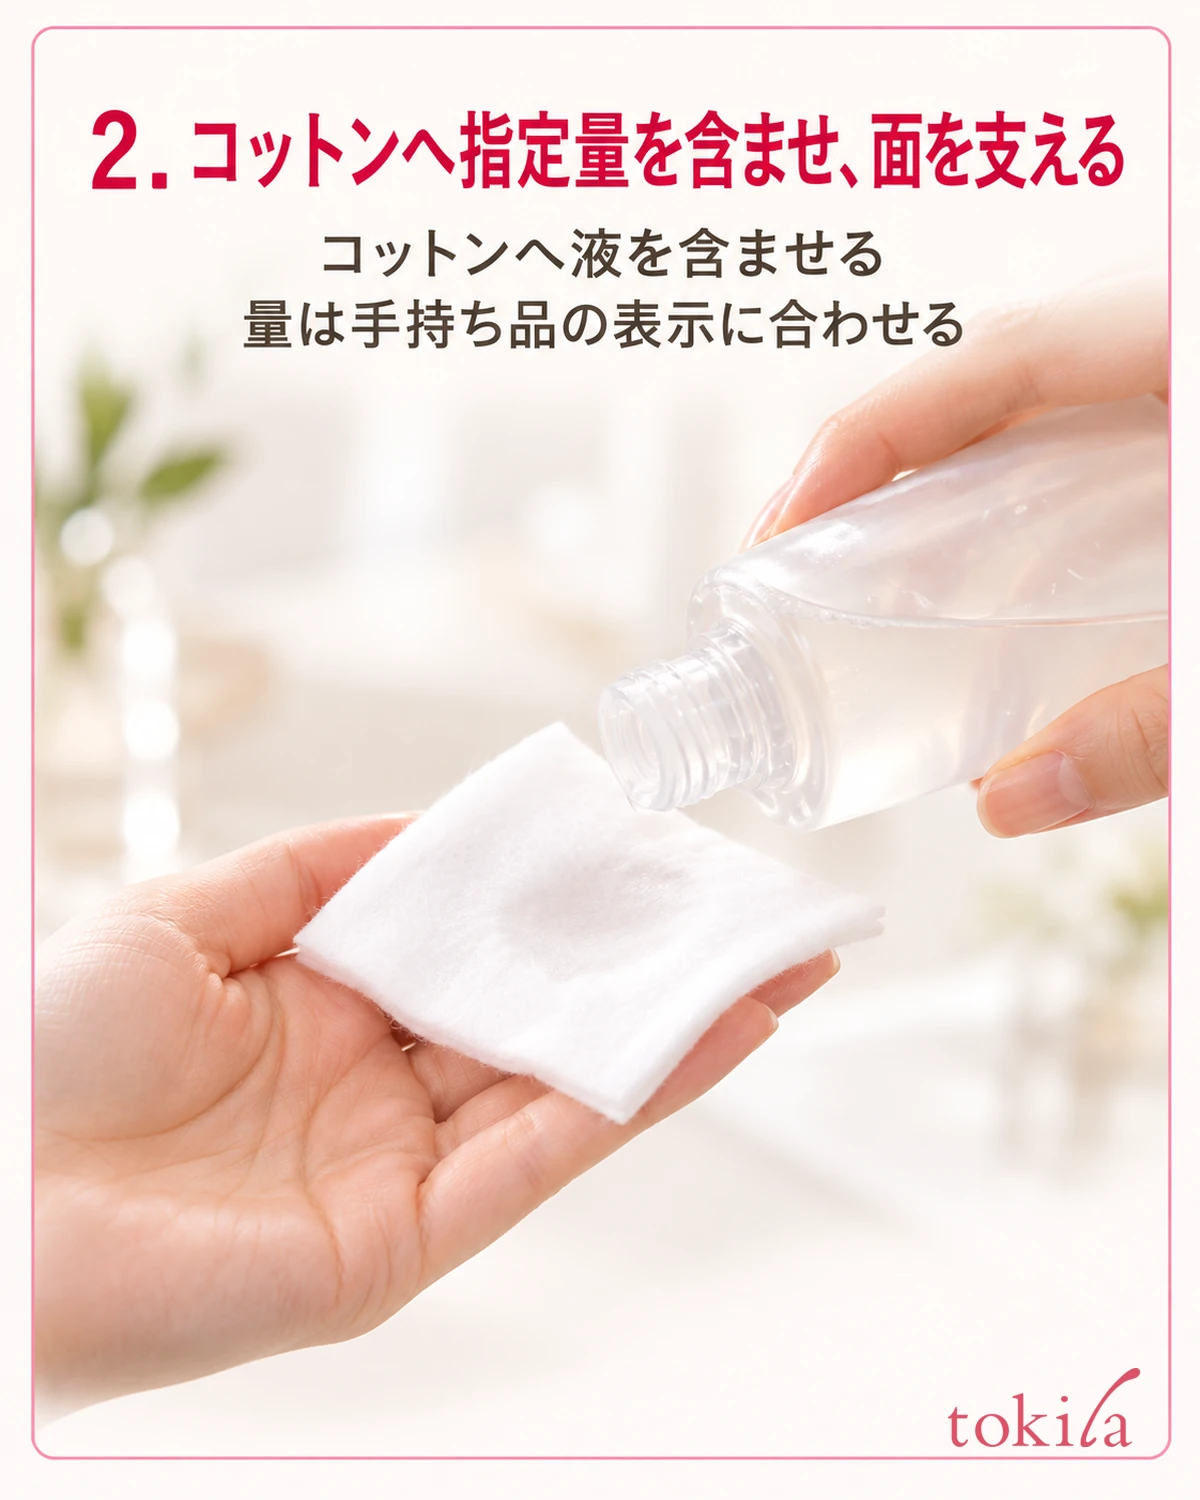
Apply the amount shown on the label to the pad. Do not try to use less by dragging a dry surface forcefully over your skin. Nor is adding liquid until it keeps dripping a universal goal: check both the instructed amount and the area that will actually touch your skin. Avoid diluting it with water or toner to make up the amount.
Support the pad from behind with the pads of your fingers, keeping fingernails away from the skin-facing side. Aim to keep a broad surface following your skin rather than wiping with a small rolled corner. If the pad has holding instructions, adjust your support points to suit its shape.
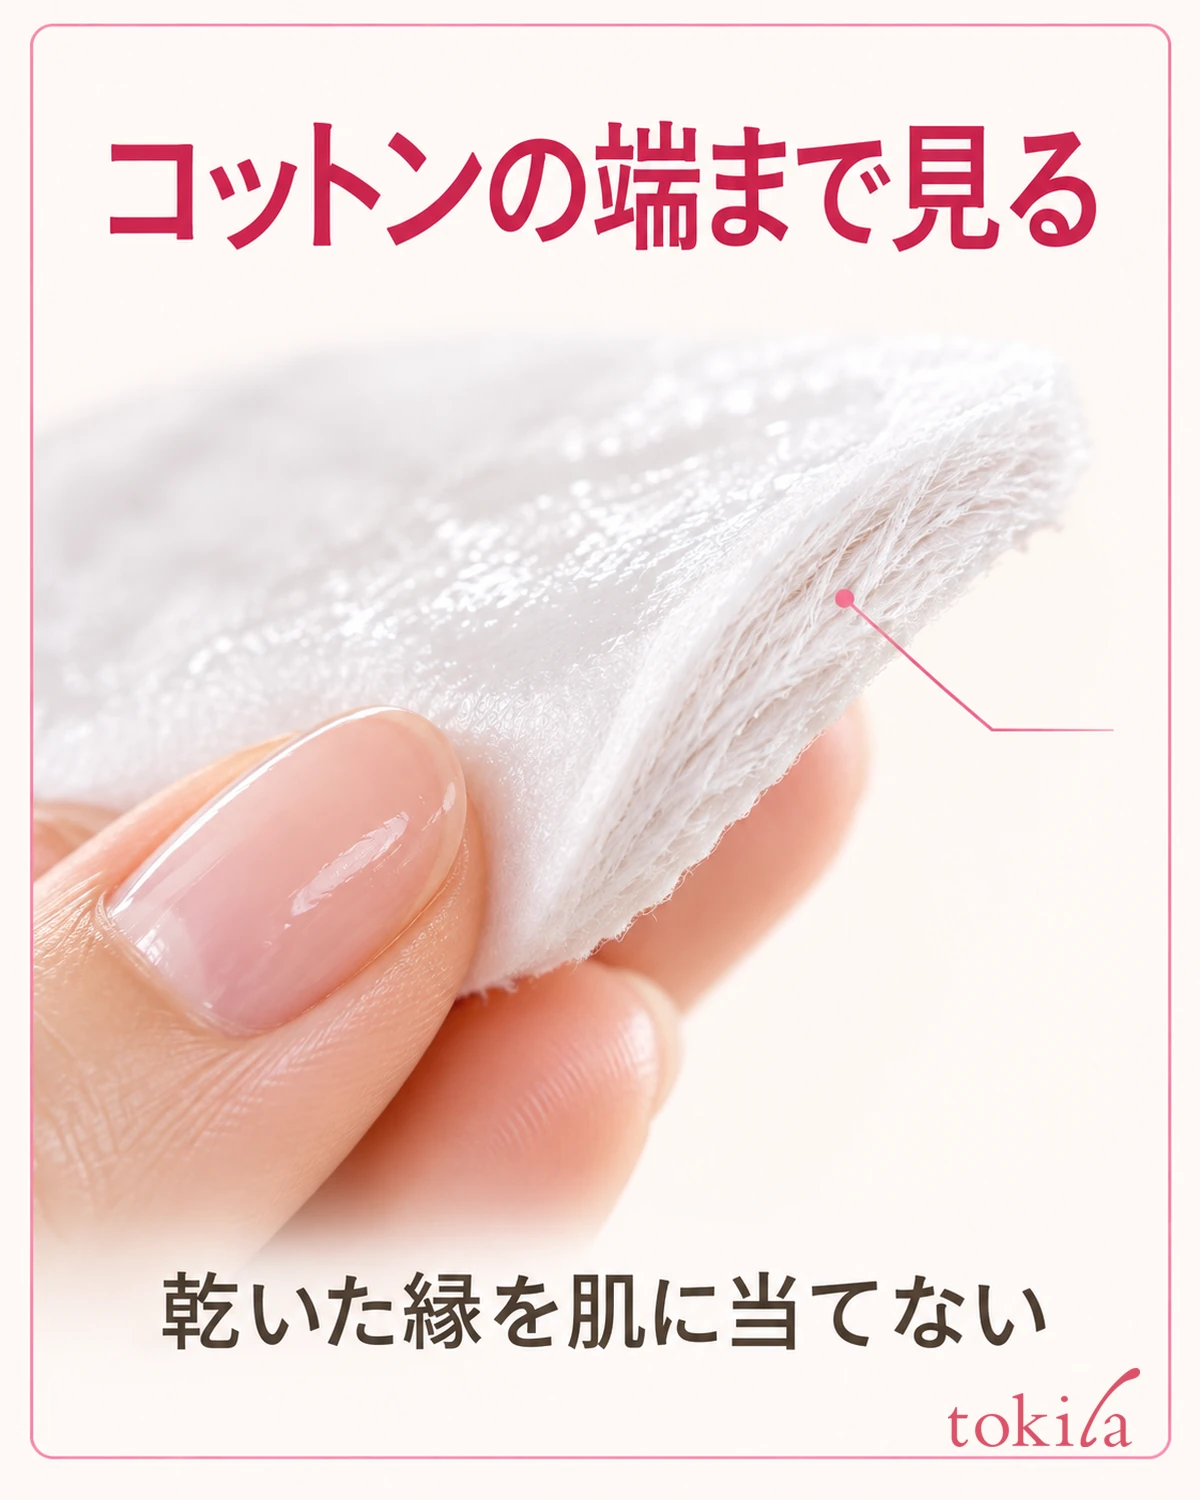
The supplementary photo provides a close view of the thickness at the pad's edge and its surface fibers. Applying liquid only to the center does not necessarily wet the edges equally. Look at the skin-contact surface in your hand so you can avoid pressing dry edges against your skin. Do not treat the photographed saturation as the correct amount for every product.
Keep fresh pads away from the place where you put used ones. Arrange them so you can change surfaces without spreading a soiled area elsewhere, rather than trying to use one pad to the very end. Keeping used surfaces away from the bottle opening and not returning dispensed liquid to the bottle are also part of preparation.
3. Let it work on eye and lip makeup before wiping the whole face
For products that direct you to remove eye and lip makeup first, lightly hold a saturated pad against the permitted areas, allow it to work as instructed, and wipe gently. Do not immediately rub back and forth repeatedly or hold every product in place for the same number of seconds. Follow that product's directions for the area and any waiting step.
When using it around the eyes, close your eyes and do not insert the pad into the eye or under the eyelid. If mascara is difficult to remove, check whether the remover is suitable instead of pinching and pulling your lashes. Do not try to solve everything with facial cleansing instructions alone; also check how to remove any mascara primer or topcoat you applied.
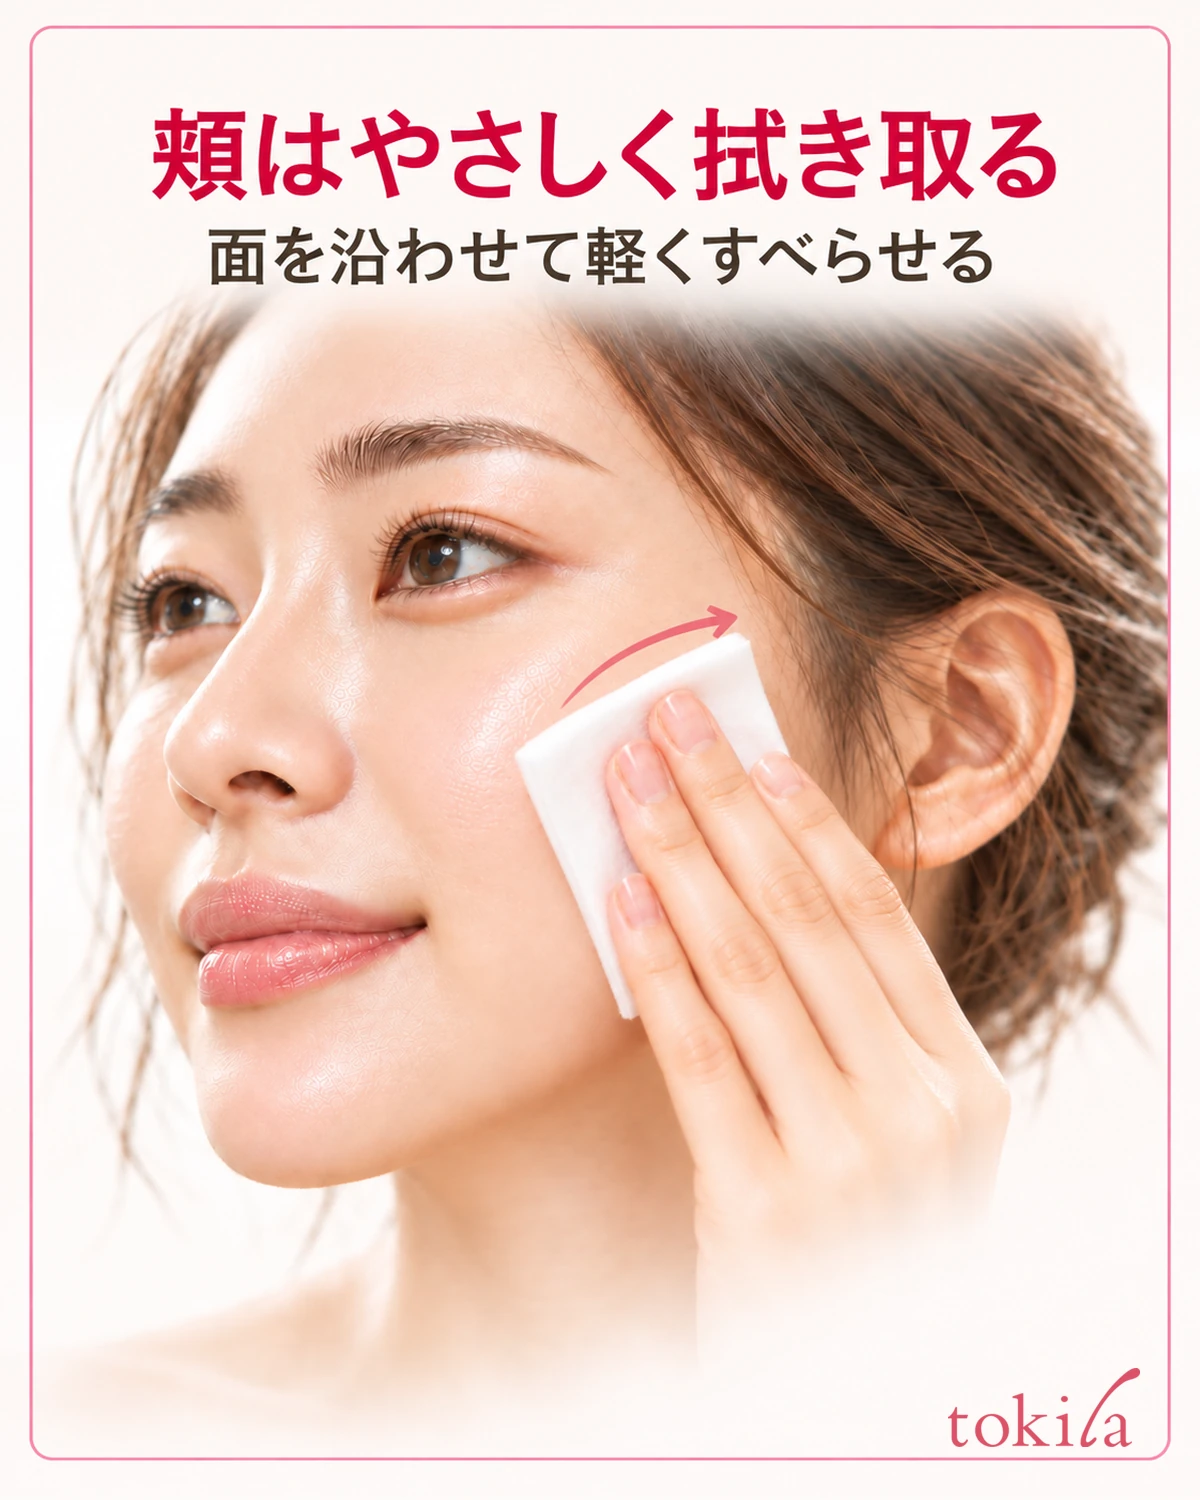
For the whole face, glide the pad lightly along the skin. On the cheeks, use movements short enough to keep track of the area you are wiping. The arrow in the image is one example of a cheek movement. Follow any product-specific direction instructions, rather than treating the same number of back-and-forth strokes as a rule for everyone.
If your skin is being pulled noticeably, the pad's edge catches, or it feels dry, lift it away and review the amount and surface. There is no need to compensate for poor glide with speed or strong pressure. When switching to another surface, check that it contains liquid before touching it to the skin.
Around the mouth too, lightly follow the areas where use is permitted. Do not extend the action to peeling lip skin or wiping inside the mouth, and avoid spreading removed color back onto surrounding skin. Focus on the remaining color and do not repeatedly scrub makeup the product is not designed to remove.
4. Change soiled surfaces and check technique rather than increasing pressure
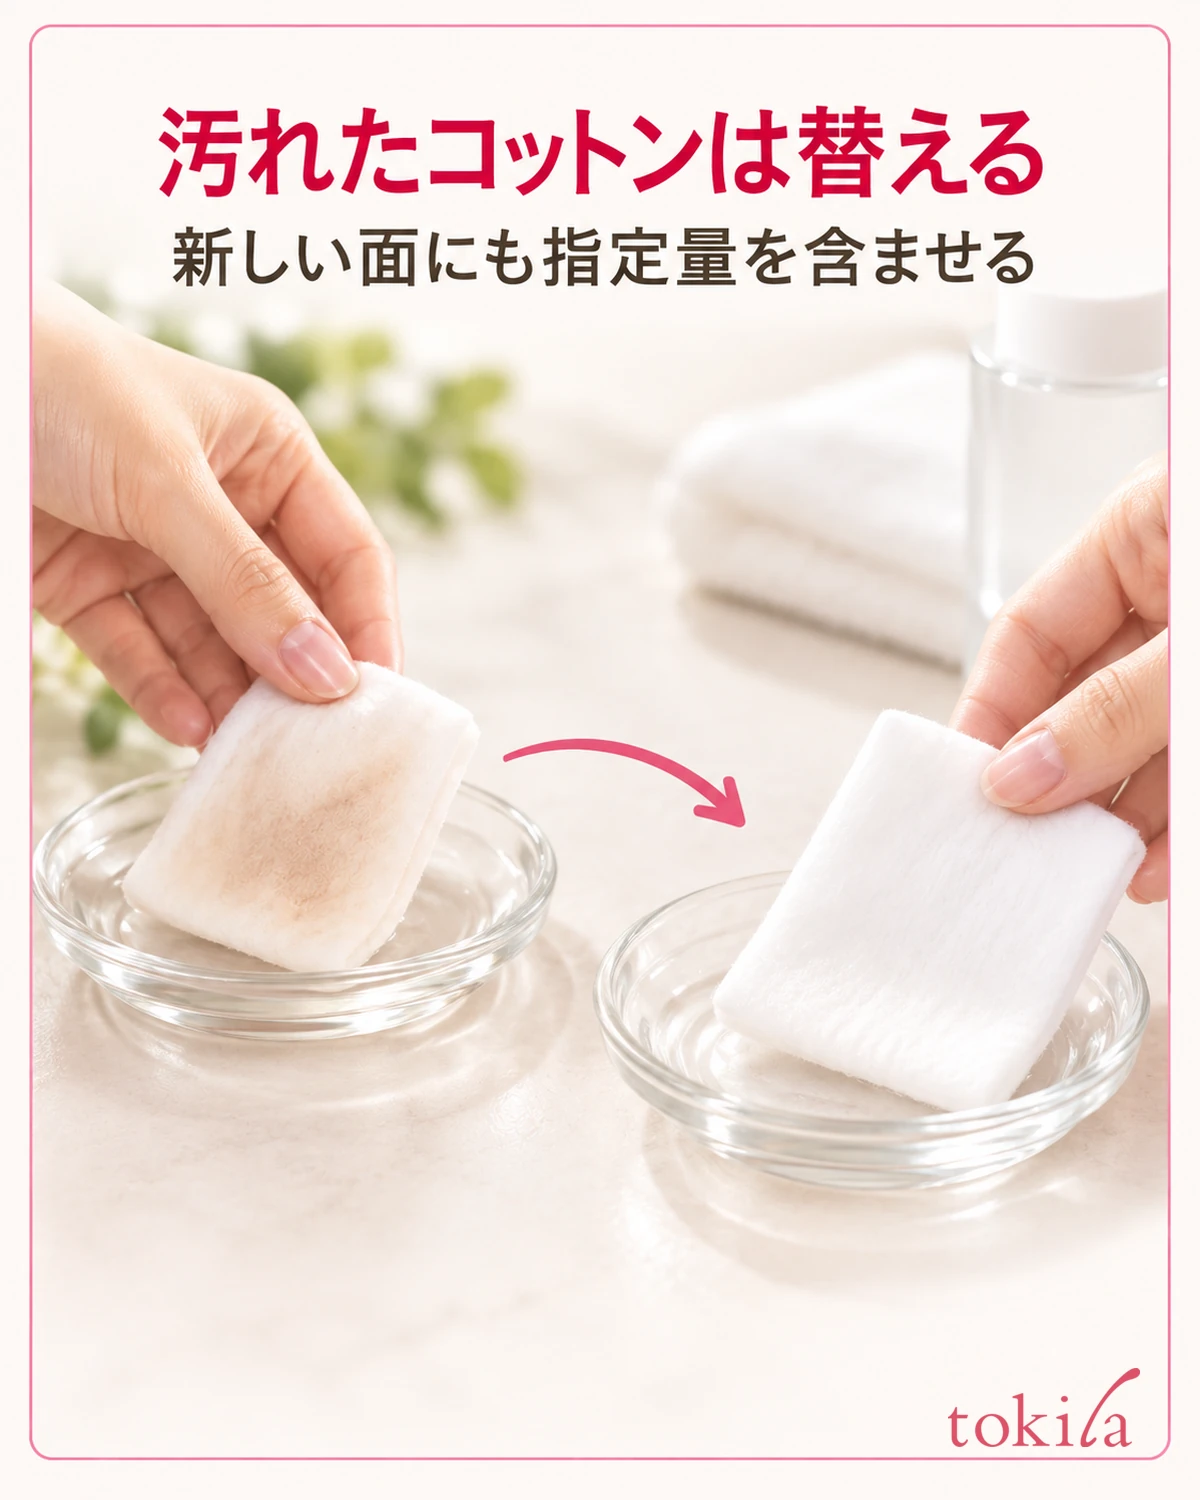
When makeup color transfers to the pad, switch to a clean surface or a new pad without spreading the soiled area elsewhere. Turning it over does not always reveal a clean surface: if liquid or color has reached the back, choose a new one. Apply the amount suitable for your product to the fresh surface too.
In narrow areas such as beside the nostrils, change the angle of the finger-supported surface and follow the area you can reach comfortably. Do not push fingernails or a tightly rolled corner into creases, or turn the action into cleaning inside the nostrils. Rather than pressing harder on small areas, use the mirror to adjust the contact point.
The supplementary photo shows where the cotton pad touches the outer side of the nostril. Unlike the broad cheek-wiping image, this close-up helps you change the surface angle in a narrow area. It does not show that makeup removal can change the shape of the nose or the appearance of pores.
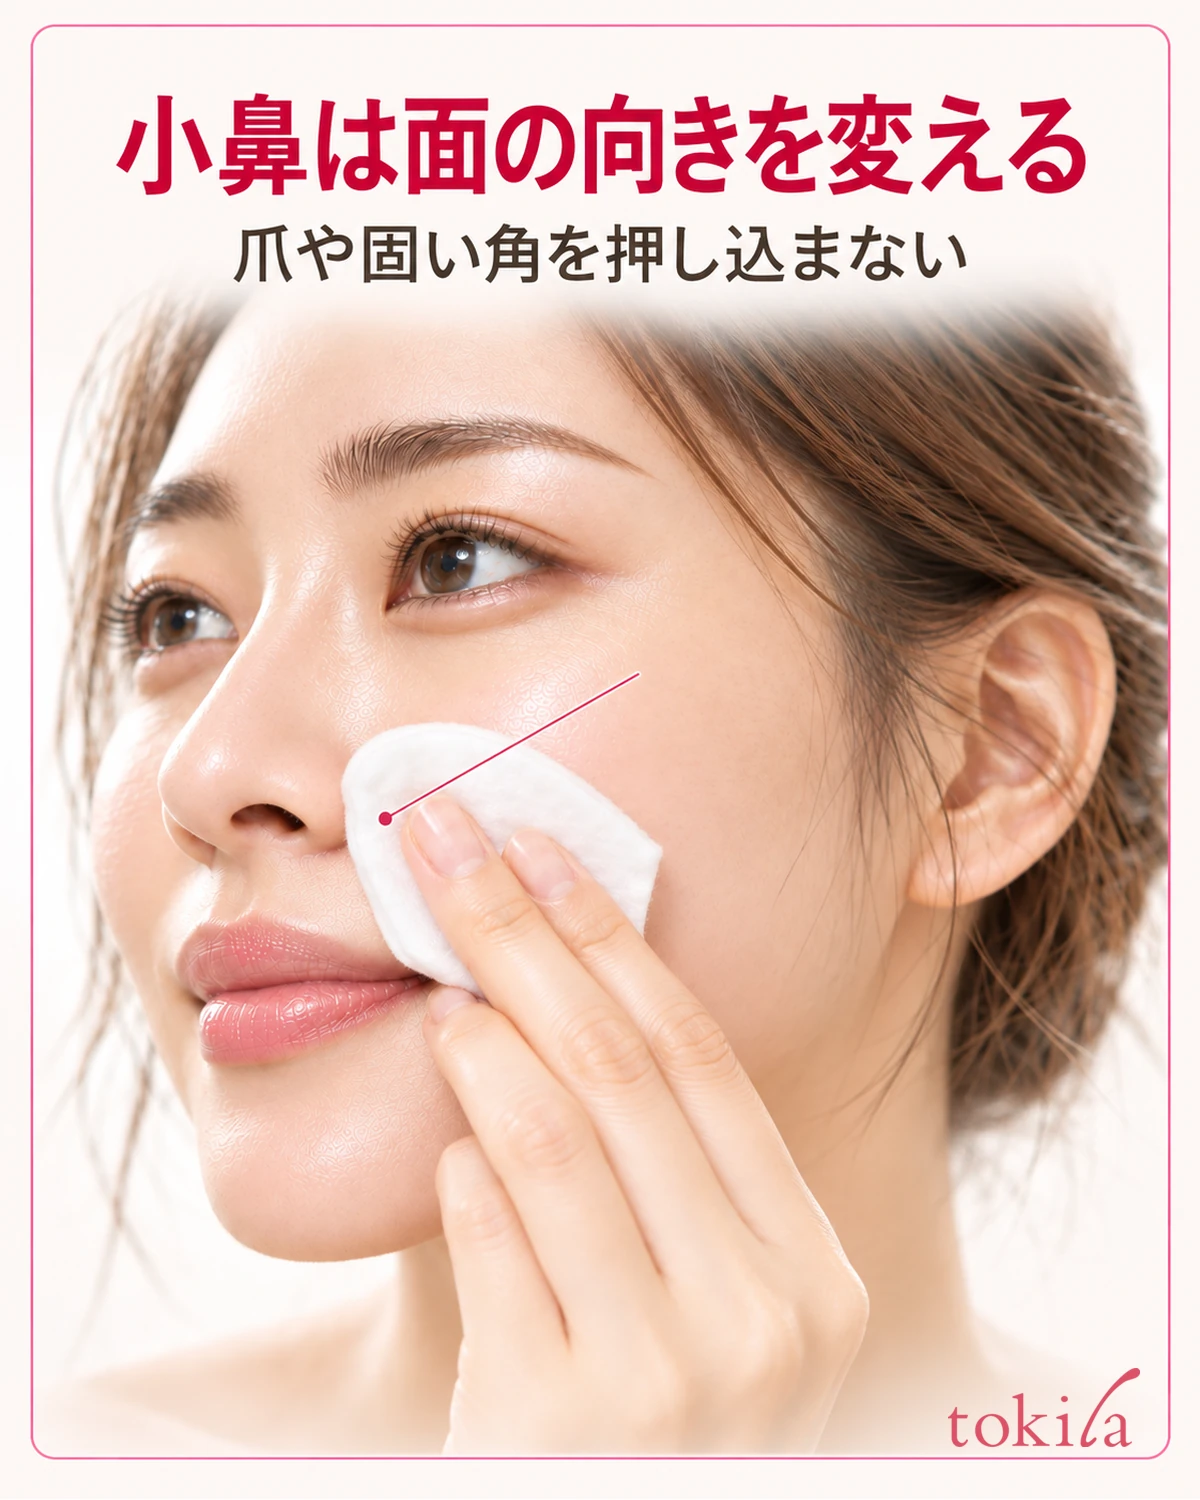
If you are concerned about residue, review, in order, whether the product suits the makeup, whether you used the specified amount, and whether you allowed it to work as instructed. Do not judge skin cleanliness or the amount of dead skin by the pad's color alone, or try to erase natural skin tones and shadows. Avoid increasing pad count and pressure without knowing what remains and where.
Stop use if redness, itching, pain, stinging, or another abnormality occurs, and follow the precautions. If the product gets into your eyes, do not rub; rinse as directed. Consult a doctor if symptoms continue, and avoid repeatedly testing changes in grip or amount while abnormalities recur.
5. Follow the product's instructions for rinsing, washing, and moisturizing
After wiping, read whether you need to rinse, use a facial cleanser, and which moisturizing step to follow. Do not decide everything from one characteristic, such as assuming a water-based formula must be rinsed off or that every wipe-off product completes both cleansing and moisturizing. Connect the intended use on the container with the makeup conditions through to the final step.
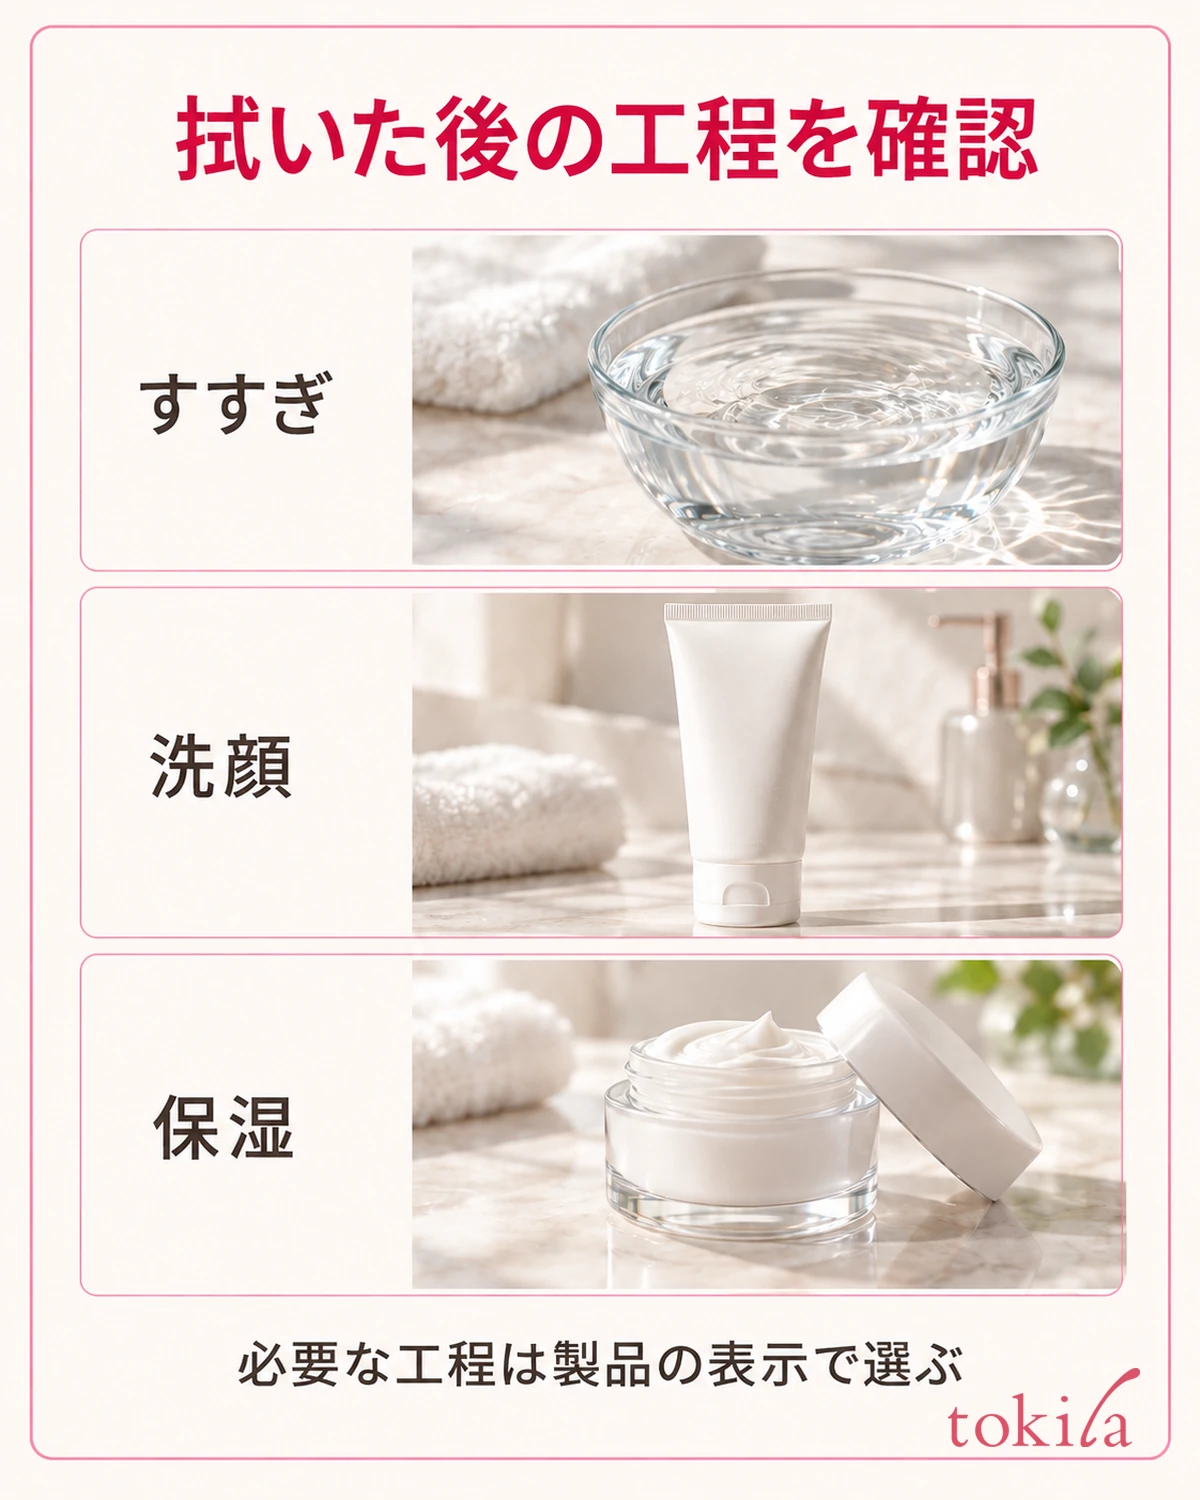
If the product lets you proceed to the next skincare step without rinsing, follow that guidance. Also read any other conditions, such as whether washing is optional if the feel bothers you. If rinsing is specified, complete that step; if face washing is required afterward, switch to the instructions for your facial cleanser.
Even if moisturizing is among the stated uses, separately check whether to apply emulsion or cream afterward. The presence of moisturizing ingredients alone does not mean one product completes your entire routine. Follow the order and amount for the next product, and avoid continually adding different liquids to a used cotton pad.
If you use a product that is also suitable for morning wipe-off cleansing, reread the amount and steps for that purpose. Do not automatically repeat the same areas and number of passes as nighttime makeup removal. Check any conditions for using it instead of morning face washing. When the purpose changes, plan through to the sunscreen and makeup afterward.
When finished, close the cap and put away the used pads. To avoid uncertainty next time, start your notes with three things: the bottle's intended use, the amount to apply to a pad, and the finishing steps. Read its role, prepare the pad surface, wipe gently, and move on to the next step in a way suited to your own cleansing water.