When you open your mascara, you may see that the bristles form a bow shape. Even if the directions say to use the inner curve, changing your grip can make it hard to tell which surface should face your lashes. Start by looking at the brush from the side while holding it away from your eyes.
Curved brushes work differently depending on the product. Some are designed for application with the inner curve and others with the side. Check the brush orientation separately from how you move your hand from the roots to the tips. That makes it easier to follow the steps with a new mascara.
1. Look at the brush from the side to find the inner and outer curves
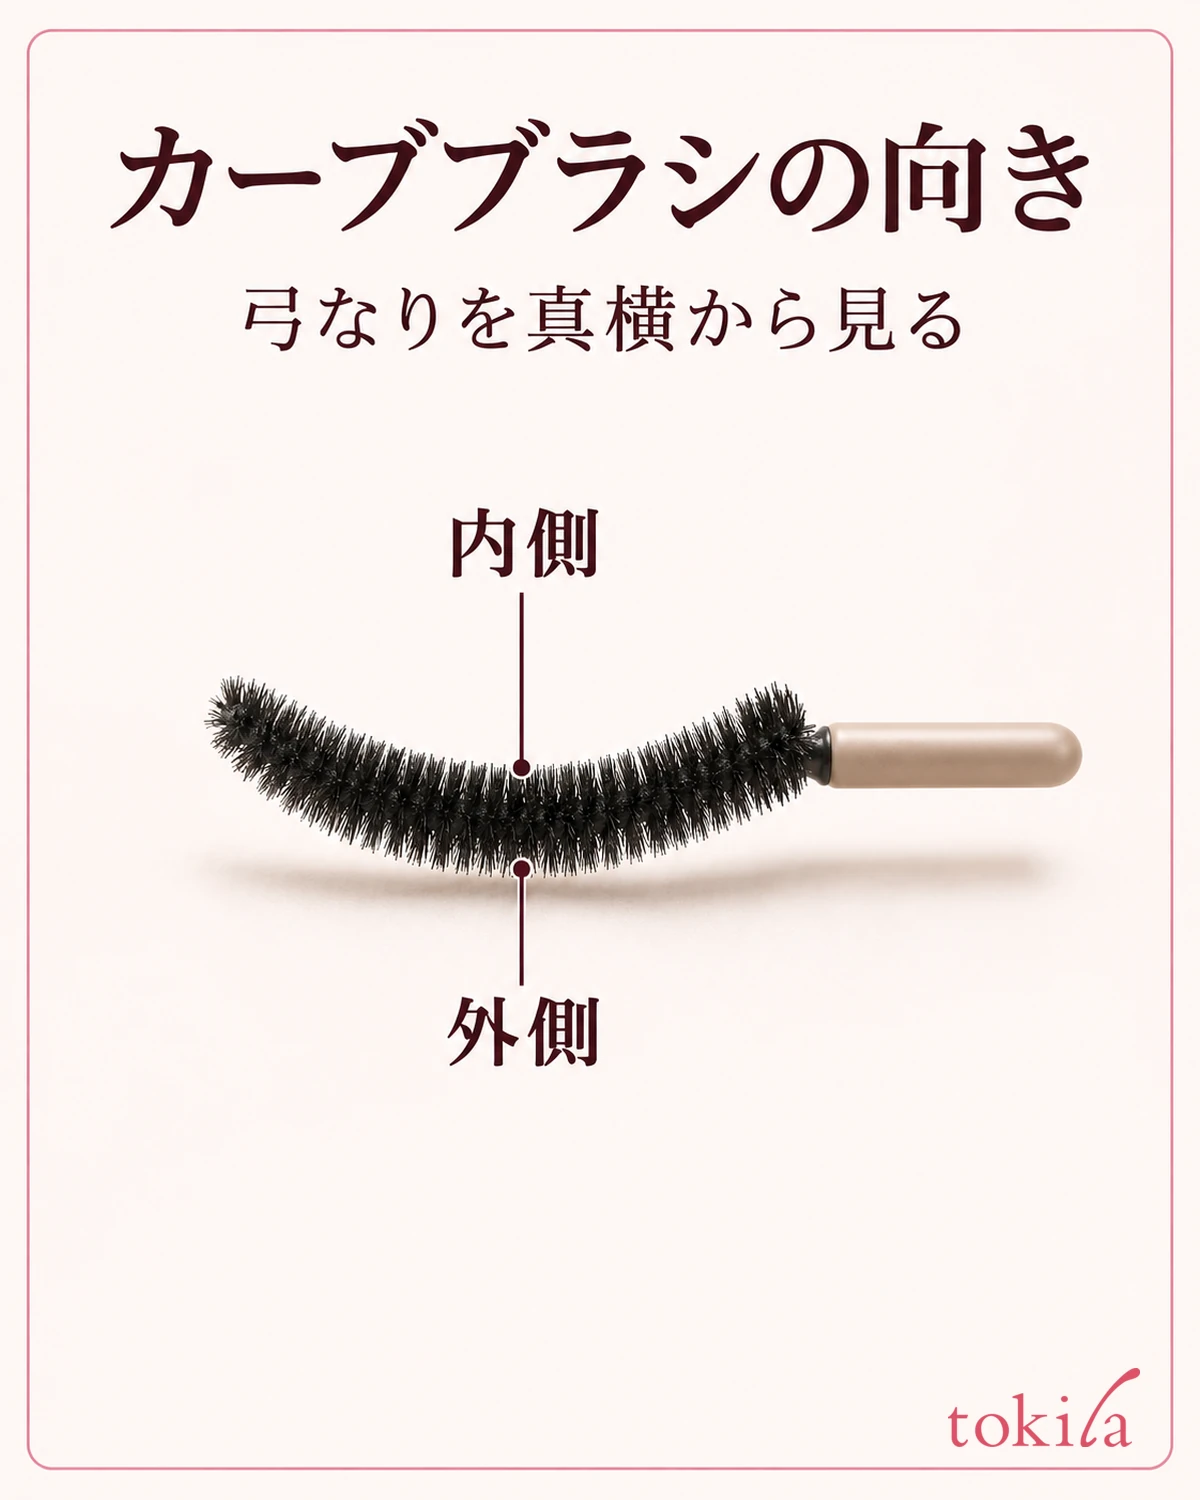
Hold the wand horizontally and turn the cap slowly until you can see the brush core bend like a bow. When the middle looks lower and both ends rise, the concave side of the bow is the inner curve. The bulging side opposite it is the outer curve. What appears up or down changes with how you hold the brush, but the relationship between the concave and convex sides stays the same.
If the bristles are shorter on one side, it is tempting to call that side the inner curve. First check the bend of the core that joins the bases of the bristles, rather than their length. If the tips coated with mascara make the outline hard to follow, trace the center of the bristle rows from the wand to the tip.
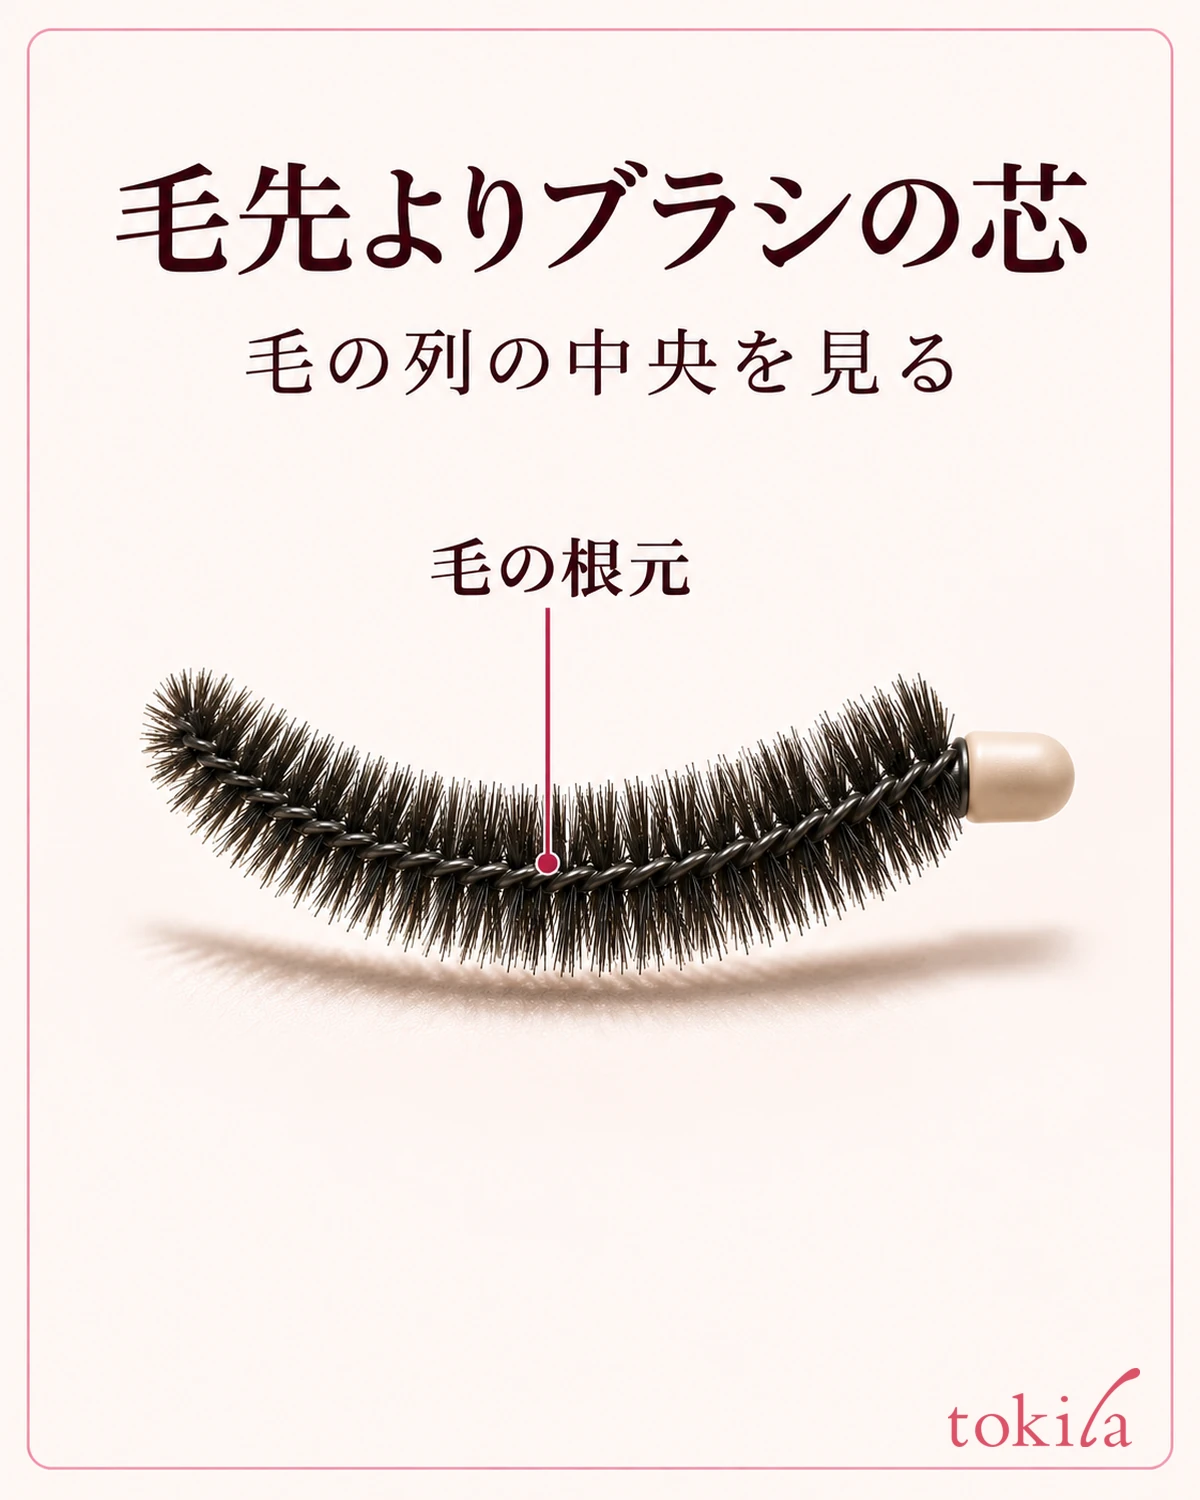
From the side you may also see a surface facing you between the inner and outer curves. If the product specifies the side, check the picture or application instructions on the carton for the part that should touch the lashes instead of assuming it means either curve.
The surface you just identified can be easy to lose track of after changing your grip. Before moving the brush toward your eye, hold it once with the specified surface facing the right way. Changing hands changes what you see, so check which surface faces the upper lashes before applying mascara to the other eye too.
A brush may look straight from the front and bow-shaped when you turn it slightly. If uneven bristle tips appear to create the bow, look at the rows of bristles from another angle. If the core has no obvious bend, use the product's diagram to find the indicated surface instead of trying to assign an inner and outer curve.
2. Follow the product directions to orient the brush
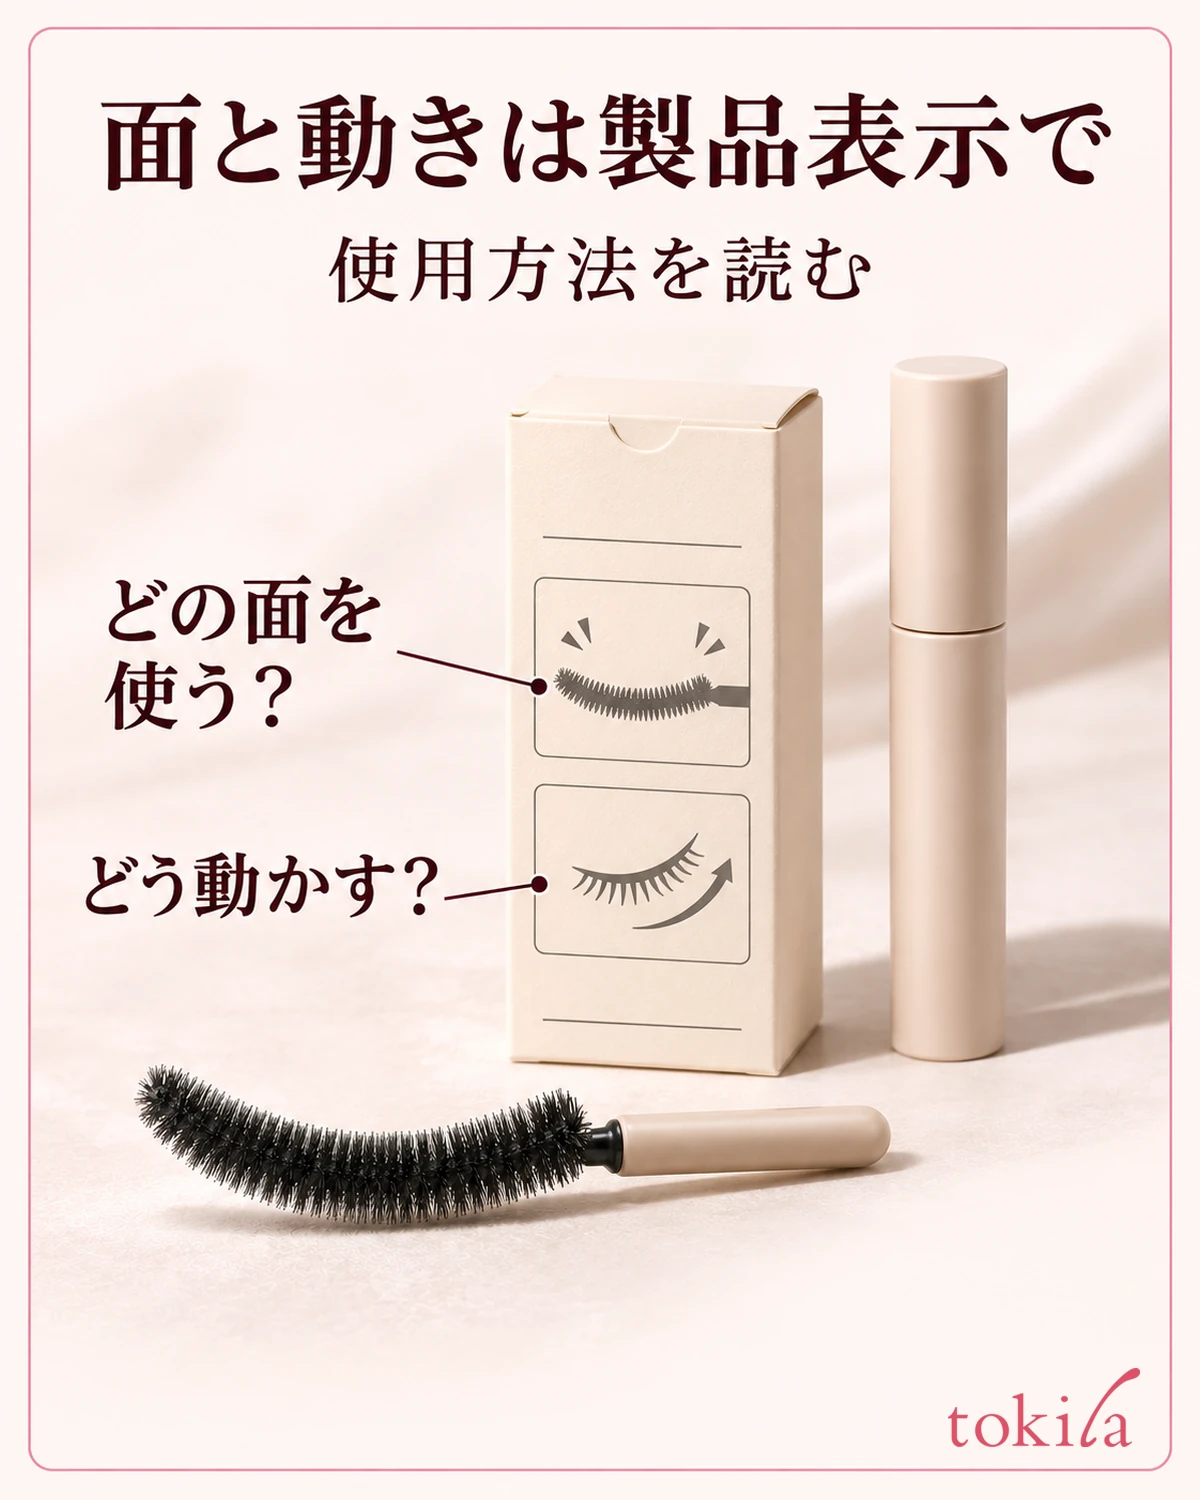
When reading your mascara's directions, check first which surface to use and then how to move it. Some products call for touching the inner curve to the lashes, while others use the side of a curved brush. If you cannot find an instruction to use the inner curve, that does not mean you should use the outer curve.
Even among products that use the inner curve, some direct you to wiggle the brush slightly near the roots and then pull it straight through to the tips, while others direct you to lift from root to tip. Some specify using the side and moving from the roots to the tips without wiggling. Learn the surface and motion together from the directions for the mascara you have.
Even if you pick a different finish in the same line, you do not have to apply it the way you applied the previous one. Before discarding the carton, reread at least which surface to use and how to move your hand near the roots so you can find your bearings with the new brush.
If the directions do not specify a surface but include an illustration, check where the wand sits relative to the lashes. If you still cannot tell which surface to use, position your mirror so you can see the lashes and apply a little at a time using the illustrated movement. Avoid making a large turn to try every surface.
Read the directions for the roots and tips separately. The roots indicate the end where the hairs grow, so there is no need to press the skin. A direction to move toward the tips means pulling the brush along the length of the lashes. It does not mean keeping the same pressure you used for a short motion near the roots all the way across the eyelid or to the tips.
3. If the directions specify the inner curve, start at the center of the upper lashes
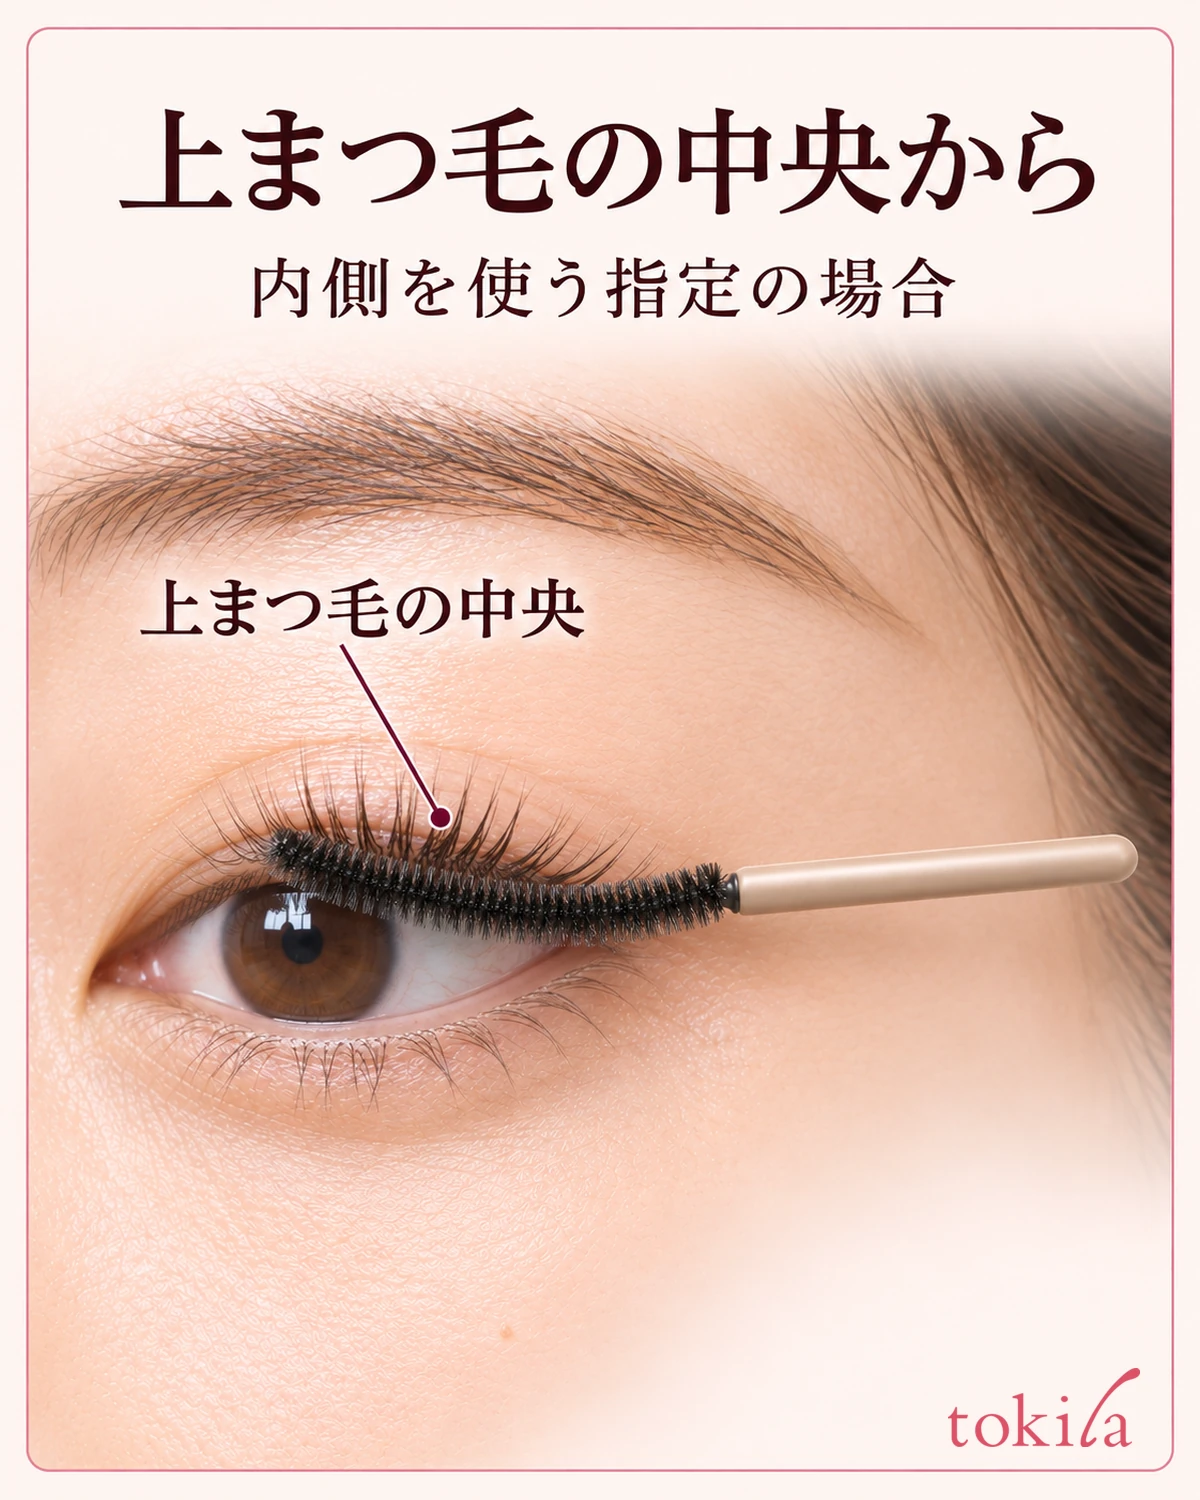
If your mascara uses the inner curve, point that surface toward the upper lashes. Set your mirror where you can see both the upper lash line and the brush tip. Use the area above the iris as a starting point and bring the horizontal brush up from beneath the lashes without pressing it against the skin.
Once you touch the center lashes, move from the roots toward the tips. If the directions call for wiggling near the roots, switch motions as directed instead of wiggling all the way to the tips. If the directions say not to wiggle, avoid moving the brush side to side from the moment it touches the root area until you pull it through the tips.
Gripping the handle tightly can make you want to rotate the wand while applying mascara. If you need to change its orientation, move it away from the lashes first and turn it in your hand. Checking the inner curve before you approach the eye can save you from changing your grip repeatedly near the lashes.
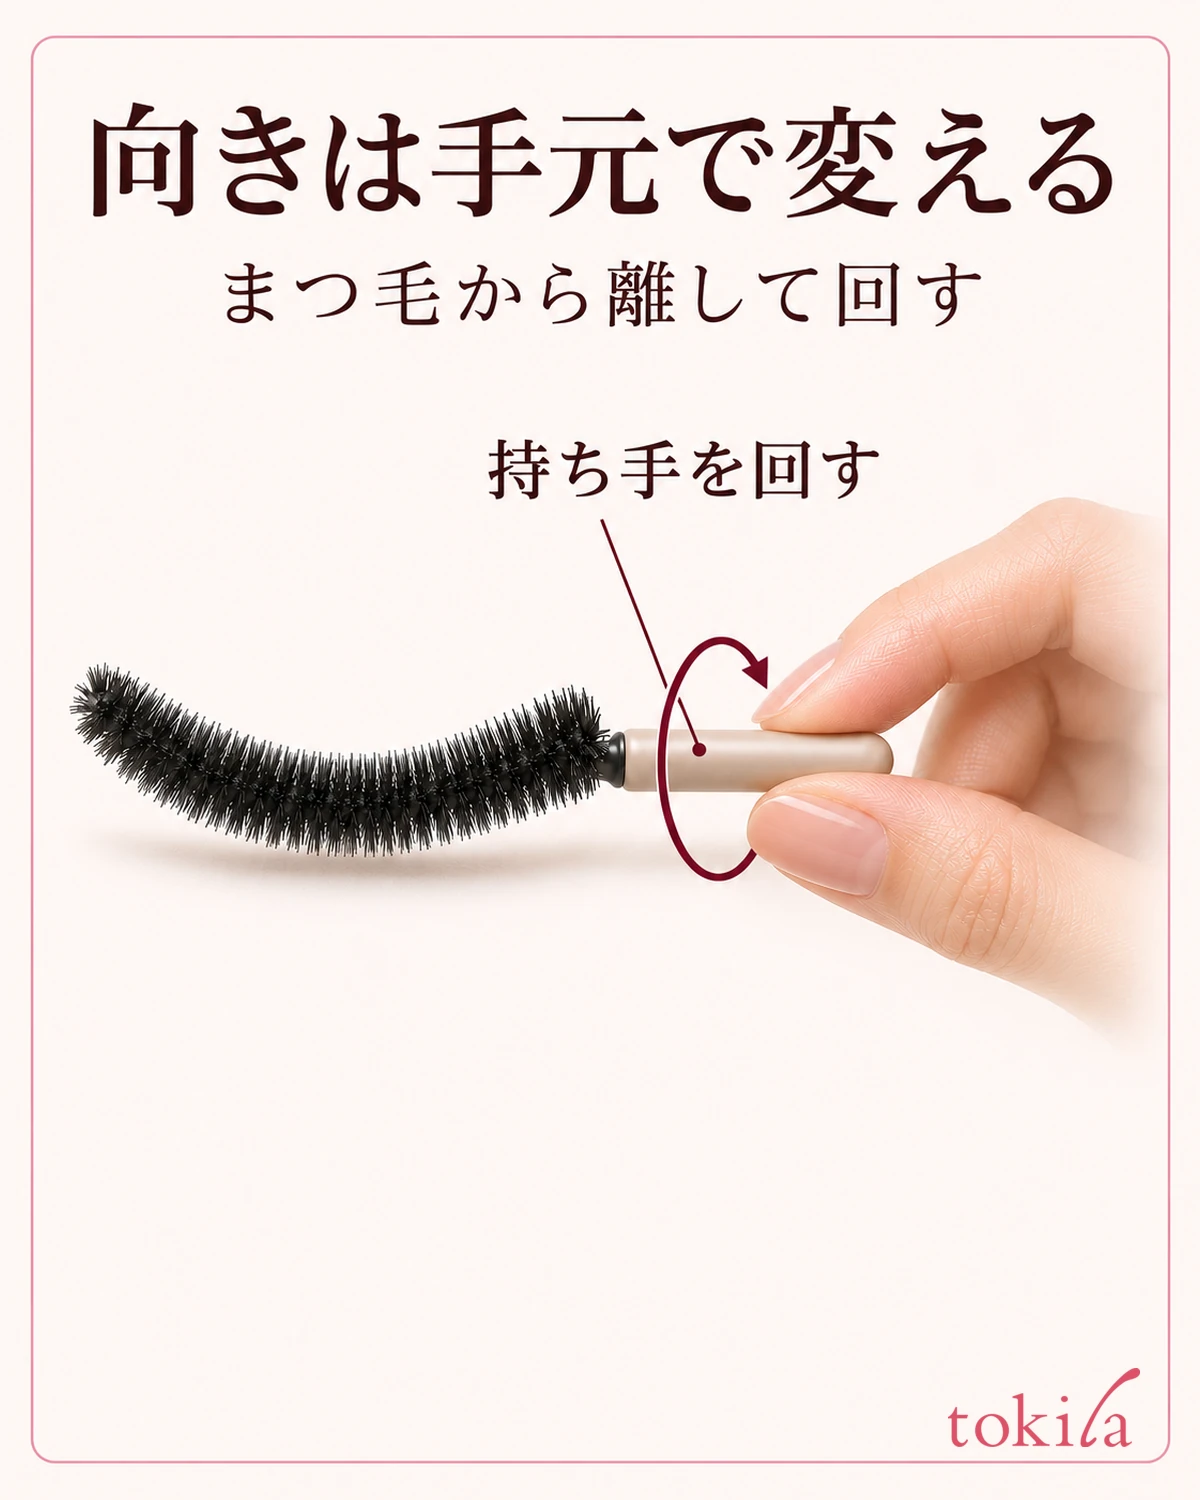
Even if the curve looks like a good fit in the middle, it does not need to follow the lashes from inner to outer corner in one pass. Start in the middle and check that the specified surface touches the lashes and that the tip is not too close to your skin. To review mirror angle or the amount of formula, see how to apply mascara when it gets on your eyelids.
Changing the hand you use or the angle of the mirror between eyes also changes how the brush approaches the underside of the upper lashes. The handle may extend away from your face on one side but come close to your nose if you grip it the same way on the other. Move the brush away and adjust your grip instead of rotating it near the lashes.
4. Check the inner and outer corners before applying with the full curve
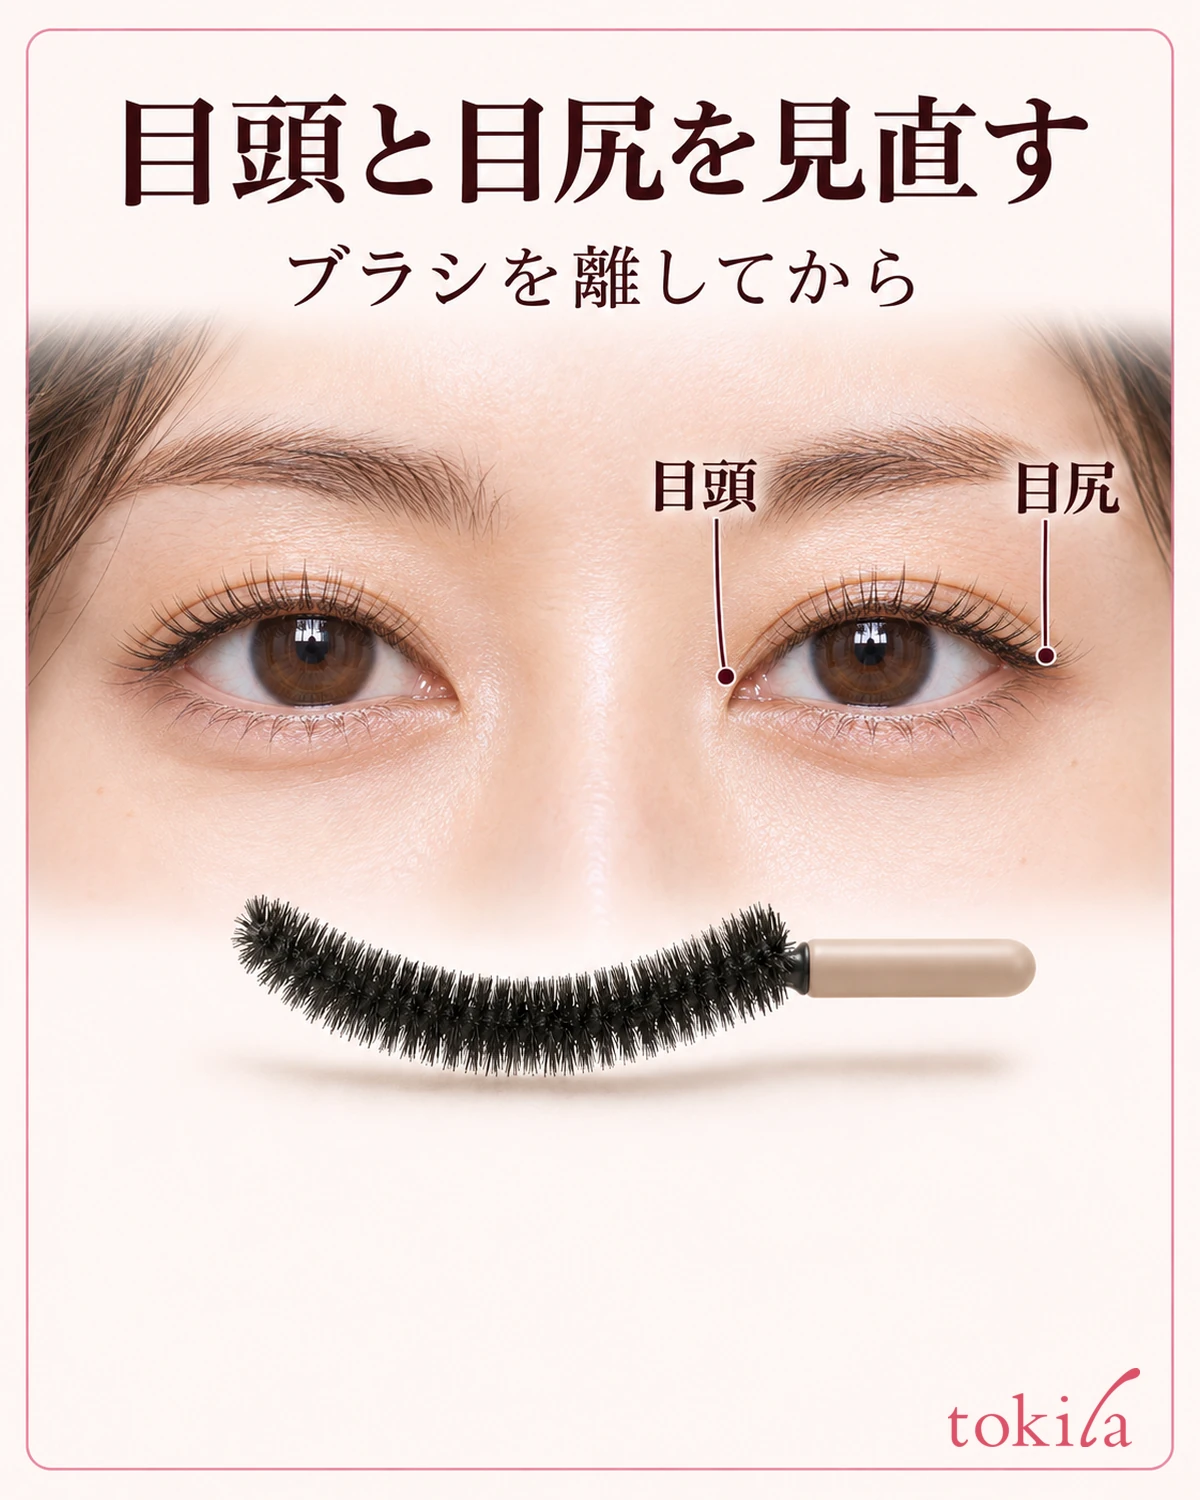
After applying mascara to the center, move the brush away from your face and look at the upper lashes. If an area looks lighter, first check whether you missed those lashes or whether they look different because they are shorter. Once you identify any lashes you missed, choose the exact area you want to touch next.
For example, trying to wrap the whole curve around to the outer corner to add mascara there can deposit another coat in the center too. If your product calls for using the tip for small areas, adjust your grip so you can see the bristles near the tip. Stop where you can see both the lashes you want to touch and the tip itself, without pointing the tip at your eye.
When you are trying to touch only a few short lashes, the opposite end of the brush may come close to your eyelid. Instead of pushing your hand forward, move the brush away and adjust your mirror and face slightly. If the directions specify a surface or lash area, stick to those directions instead of switching to a different surface or the lower lashes because the area is narrow.
If you still cannot see the end lashes, there is no need to finish them at the same angle you used in the middle. Make any grip changes for the inner or outer lashes while the brush is away from the eye. Check in the mirror to see where you have applied mascara before deciding whether to add more.
To compare both sides, move the mirror a little farther away and look at both eyes before examining one eye closely and adding mascara. Light hitting one side can change how dark the tips look. Look from the same position and in the same light, then decide what to add after seeing whether the ends bother you when you look at the eyes as a whole.
5. If the brush does not make good contact, check the surface, position, and amount
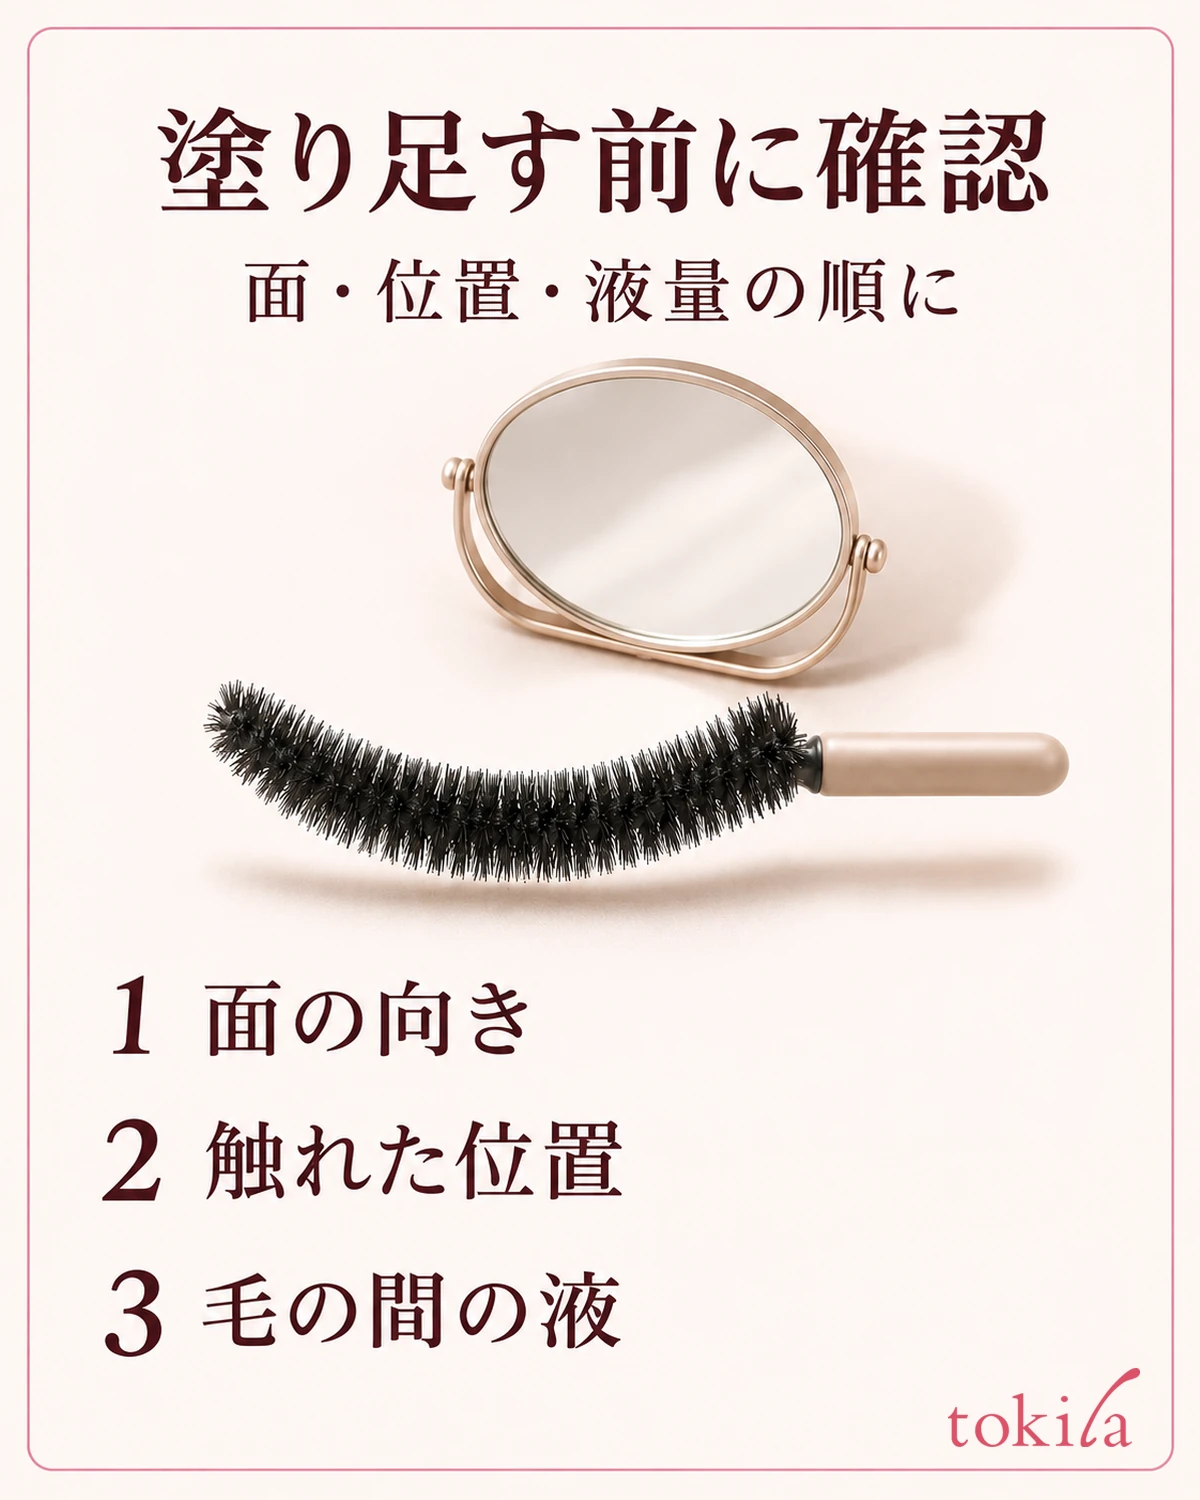
The brush slips, the ends look too dark, or it touches your eyelid. Loading the brush again right away makes it harder to spot the cause. First hold the brush sideways in your hand and see whether you had the specified surface facing the lashes. Then use the mirror to check whether you touched the center or the ends and whether you recoated nearby lashes.
If the direction and position were right but the result was still too dark, check whether too much formula remained between the bristles. Follow the product directions to adjust the amount, and avoid picking dried formula off with your nails or combing through the same spot repeatedly. If the issue is the amount of formula or how the lashes group together, consult how to prevent and fix mascara clumps and address it separately from brush orientation.
Next time, start by changing just one thing. For instance, still start at the center of the lashes, but check the brush surface right after adjusting your grip. If it makes contact more easily, you can keep the number of passes and the amount of formula the same. With a new mascara, start by looking at the bow from the side and checking the product's specified surface and motion together.