Cream eyeshadow in a small pot is eye color you pick up with a finger and spread over your eyelid. If you are unsure how much to touch the surface or how far to blend the edges, start with a small amount at a time and check the area visible with your eyes open. Separating picking up, placing, and blending the edges also makes it easier to choose where to add more.
This article covers potted cream eyeshadows whose directions allow finger application. Follow the respective directions for liquids with applicators and sticks applied directly. The colors and amounts in the photographs do not represent a particular product's color payoff or recommended amount; they illustrate the relationship between your hand and eyelid.
1. Check that it is cream eye color, along with the order of use and tools
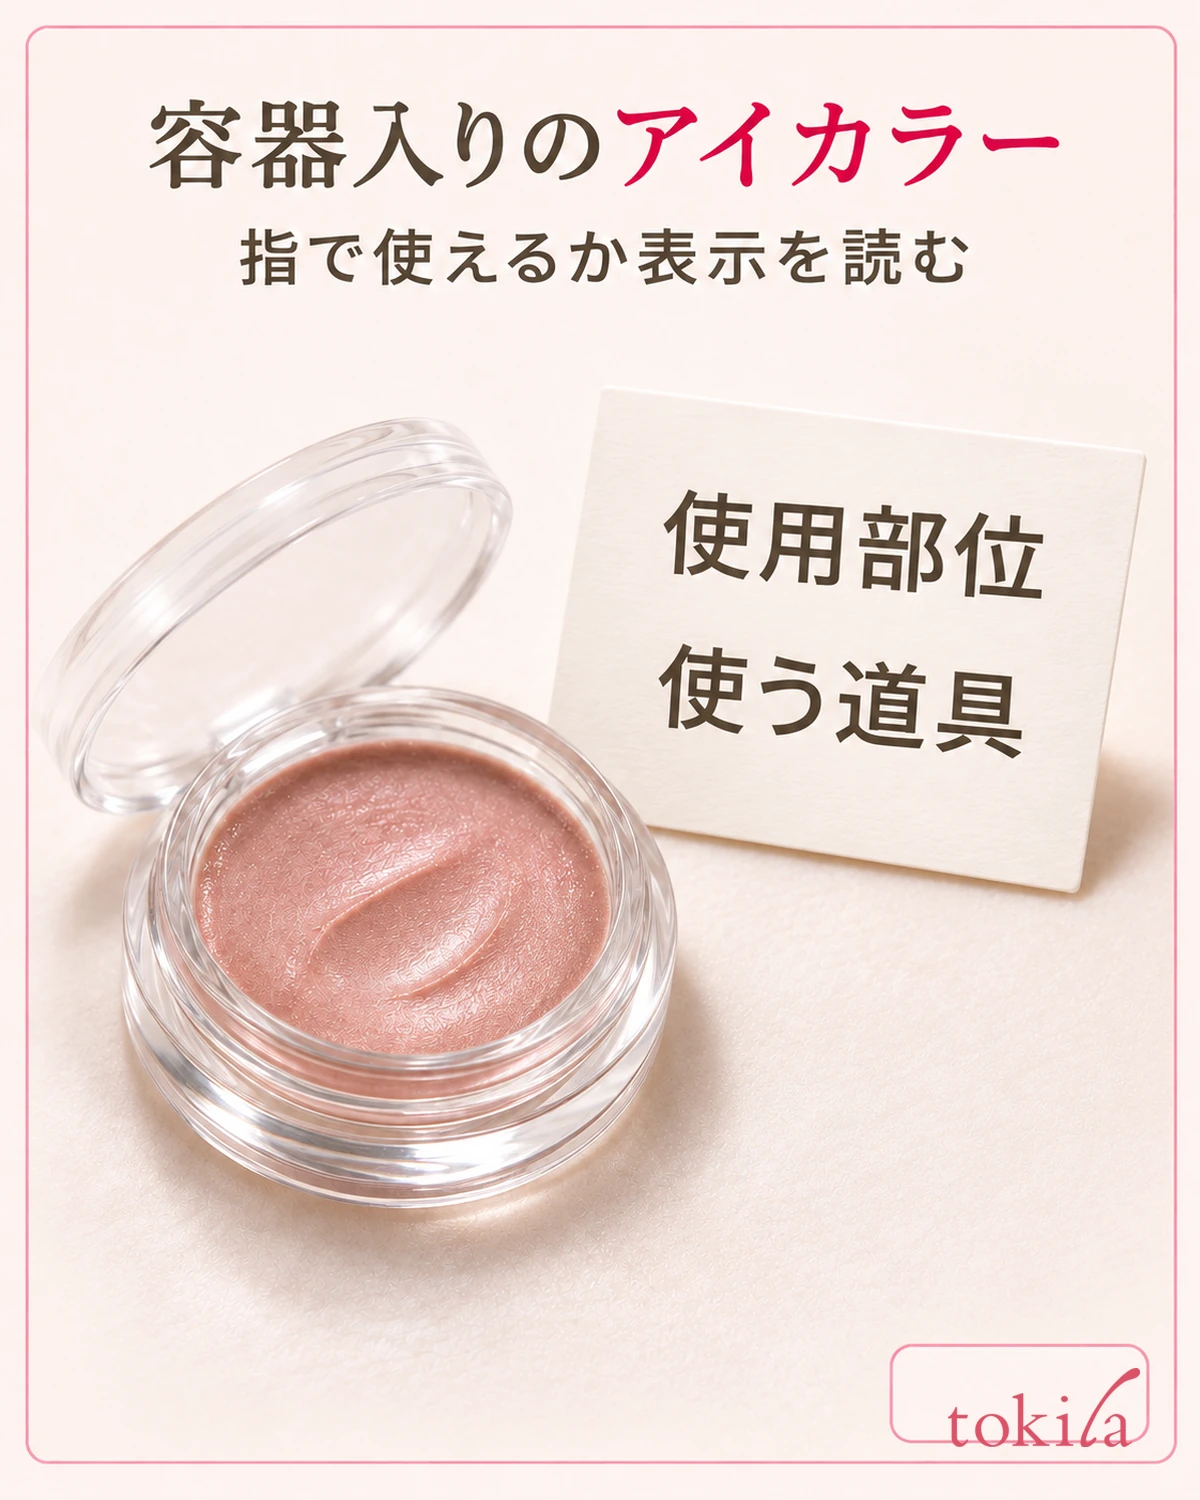
First, read the application areas and directions on the box or container. Even similar-looking small pots serve different purposes: eye color, eyeshadow primer, or eye-area moisturizer. Rather than treating them alike because they are creamy, check whether the cosmetic adds color and where it can be used. If you also want to use it on cheeks or lips, choose a product indicated for those areas.
Next, check whether to pick it up with a finger, brush, or applicator. For finger-friendly products, use a clean finger pad; if a specific tool is required, prepare that tool. If the opening is so small that your nail touches it when inserting your finger, do not force it in; check the permitted tools again. You do not need to begin by scraping a hard surface with your nail.
Match the order of use to your eye color, too. Decide first whether to finish with one shade or layer another eyeshadow, and follow any directions about primer combinations or layering. Not every cream eyeshadow can serve as a primer or be layered over every powder in the same way.
After preparing your eye area, ensure enough light at the mirror to see your upper eyelids. If excess skincare remains on the surface and your finger slips widely, let your usual skincare settle before starting makeup. Review the initial amount of moisturizer and when you start makeup, rather than wiping repeatedly and firmly to finish faster.
You can also start with one shade to check the application area and edges. Keeping multiple colors and tools unchanged at once makes it easier to decide whether to adjust the amount or blending width next time. Set the pot and lid on a stable surface and arrange what you need within easy reach before beginning.
2. Take a little on your finger pad and limit the amount carried to your eyelid
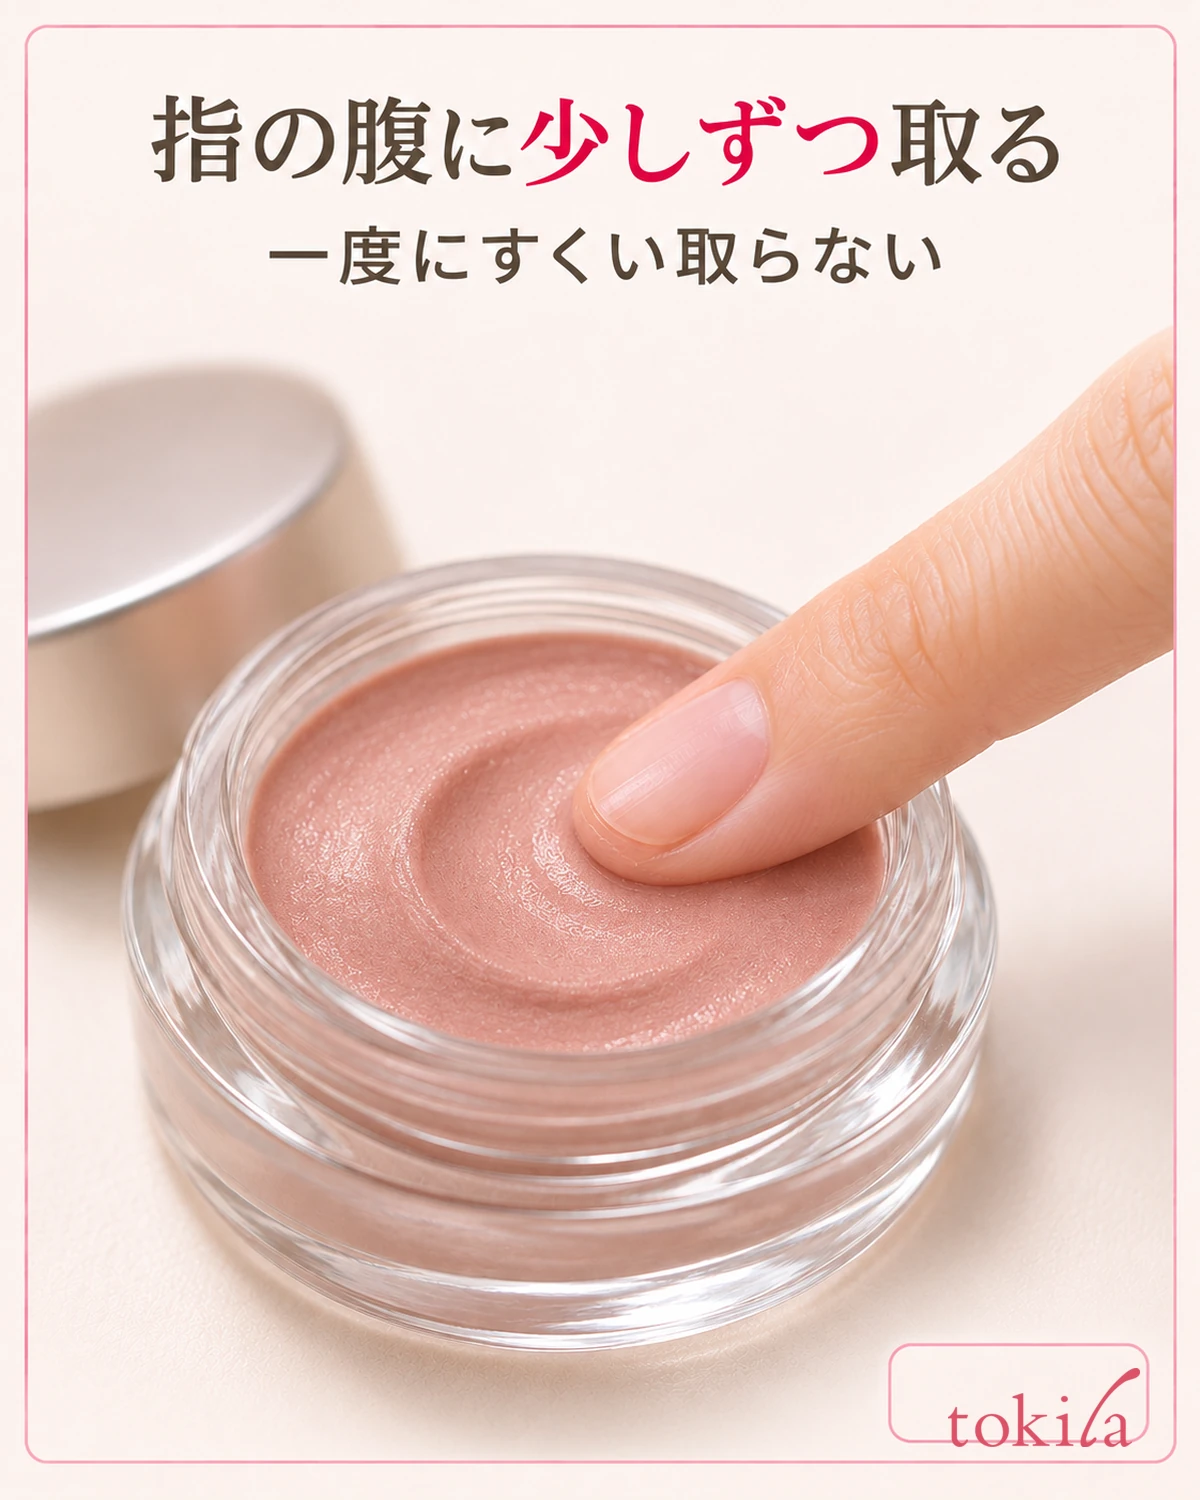
For products that allow finger application, use a clean, dry finger pad. Instead of scooping up a fingertip full at the outset, lightly touch the surface and look at how much adheres. Do not set a universal pressure or number of passes for every product; portion the amount according to its pickup directions and surface condition.
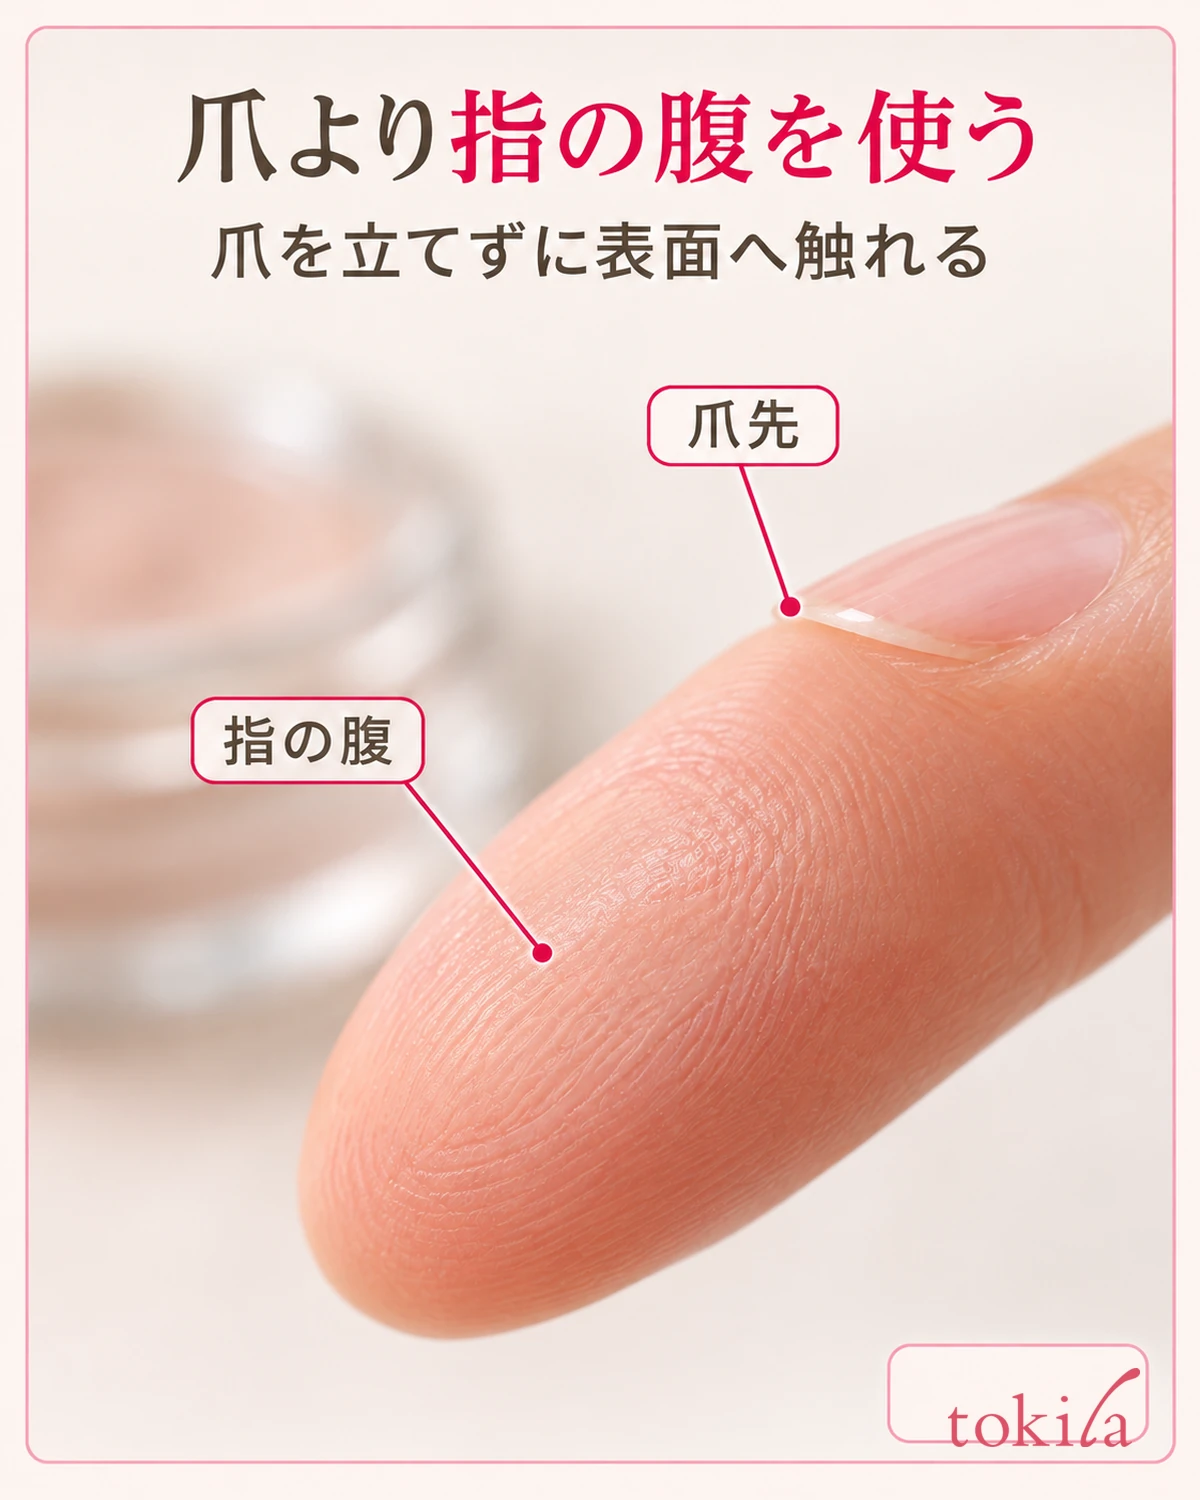
Aim to carry the thin layer on your finger pad to your eyelid, rather than a lump collected at the tip or under the nail. If your nails are long, or tilting your finger might bring the nail against your skin, do not insist on fingers alone; check how to switch to a suitable brush or other tool. Recheck the amount when changing the application surface.
You do not need to take too much to secure identical amounts for both eyelids at once. Apply a thin layer to one side, then work in small amounts on the other, matching them with your eyes open. If much color remains on your finger, pause and reassess how you pick it up instead of pressing it onto both eyes, leaving the decision to add color for later.
Even if a finger mark appears on the surface, do not treat it as a measure of a fixed dose. Softness and pot depth differ between products, so the same indentation may yield different amounts. Rather than matching the photographed finger size, check the area coated on your finger together with the area covered by one application to your eyelid.
When using tools, also take a little on the bristle tips or one side of the applicator first. Check what remains on the tool before adding color, and separate taking more from spreading it. Do not add water or toner to soften the contents; if their condition differs from usual, check storage directions and precautions.
3. Apply thinly to the upper eyelid and gently blend the edges
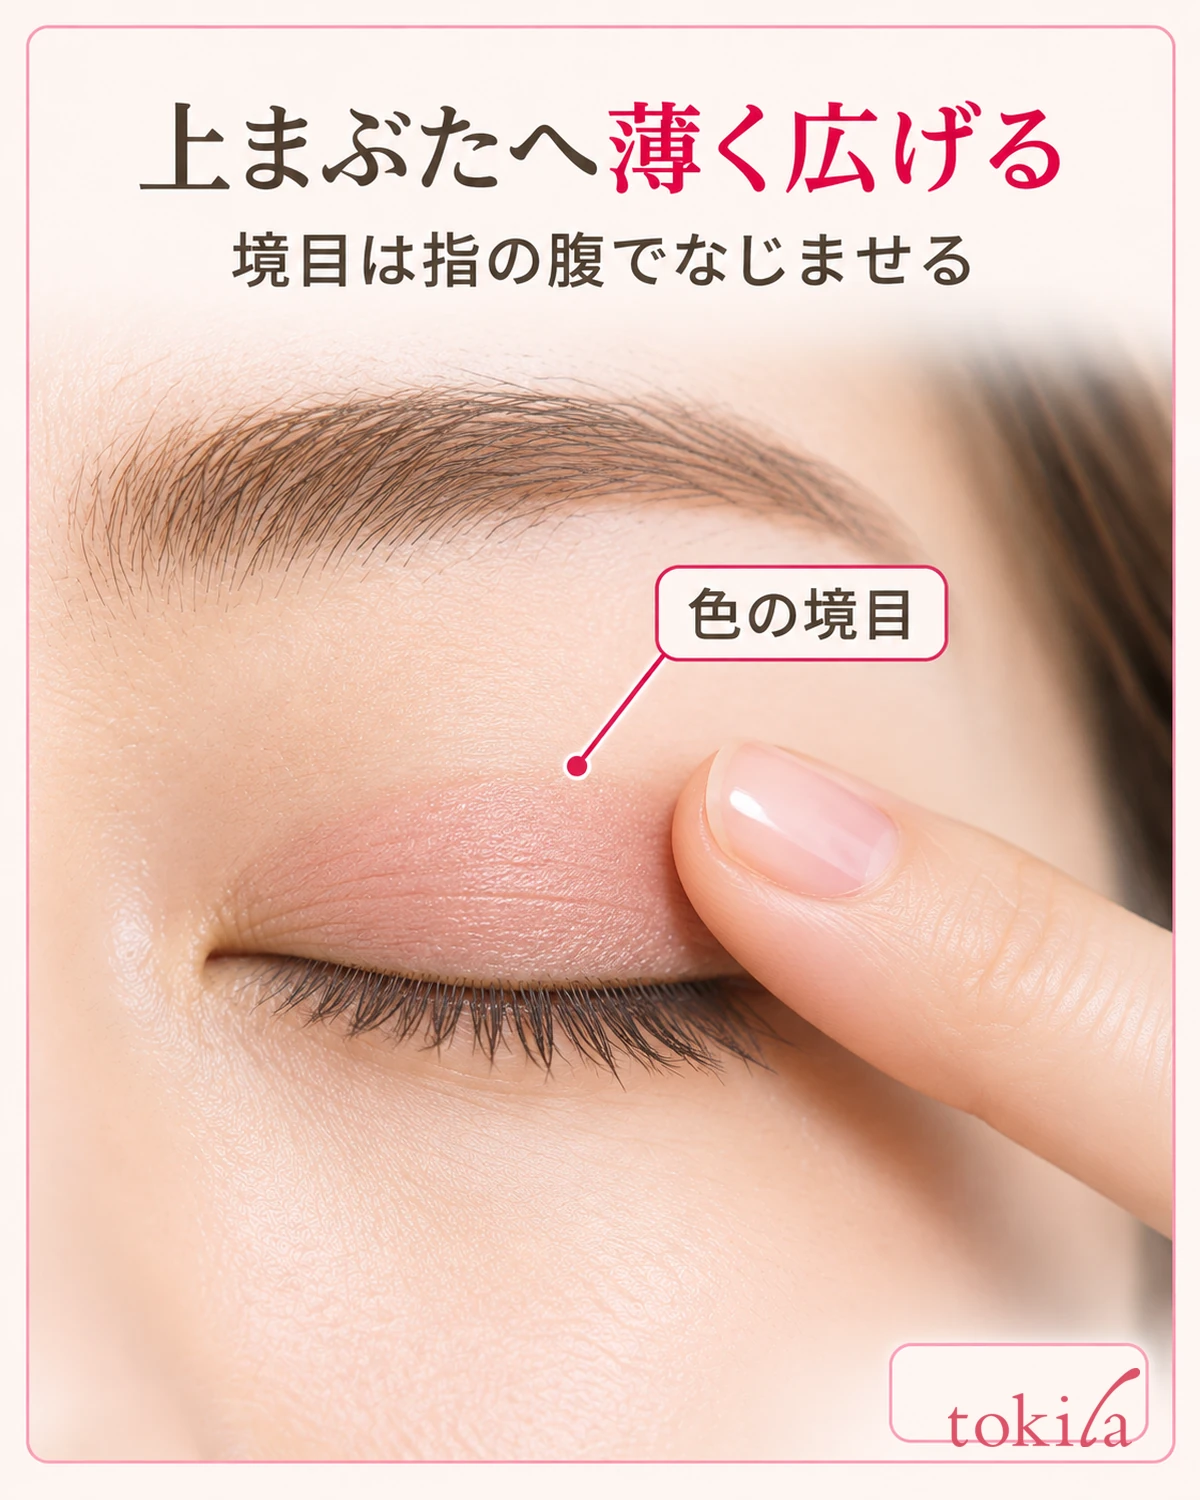
To transfer the color, lightly close your eye and gently place your finger pad where you want color on the upper eyelid. Avoid angles that could put your finger in your eye, and proceed without pressing into the skin or pulling it firmly sideways. Choosing the initial placement and gradually blending around it helps you keep track of the edges more easily than covering a wide area at once.
Once the color is on, blend the edges with small movements while checking what remains on your finger. Returning repeatedly to the pot while blending adds intensity as the border expands. Separate the color you place from the movement used to refine its edges, and check the existing edge before adding more.
You do not need to spread every shade right up beneath the brow. Decide based on the width you want visible with eyes open, the space beneath the brow, and the shade's intensity. Avoid the inner corners and mucous membranes; if using it on lower lids, check permitted areas and adjust the amount separately rather than transferring the upper-lid amount unchanged.
If only the color edge remains distinct, stop taking more from the pot first. Wipe color off your finger or otherwise choose a surface that adds no extra color to blend the edge gently. However, if the product directs you not to touch it after drying, prioritize those instructions and avoid repeatedly rubbing the set surface.
If one area becomes dark, continually darkening the lighter side to match can take you away from your intended finish. Before spreading the dark area to even things out, decide whether to reduce the color or remove that section and start again. Make corrections gently using a directed method, such as a suitable eye makeup remover.
4. Open your eyes, check the area, and layer only where needed
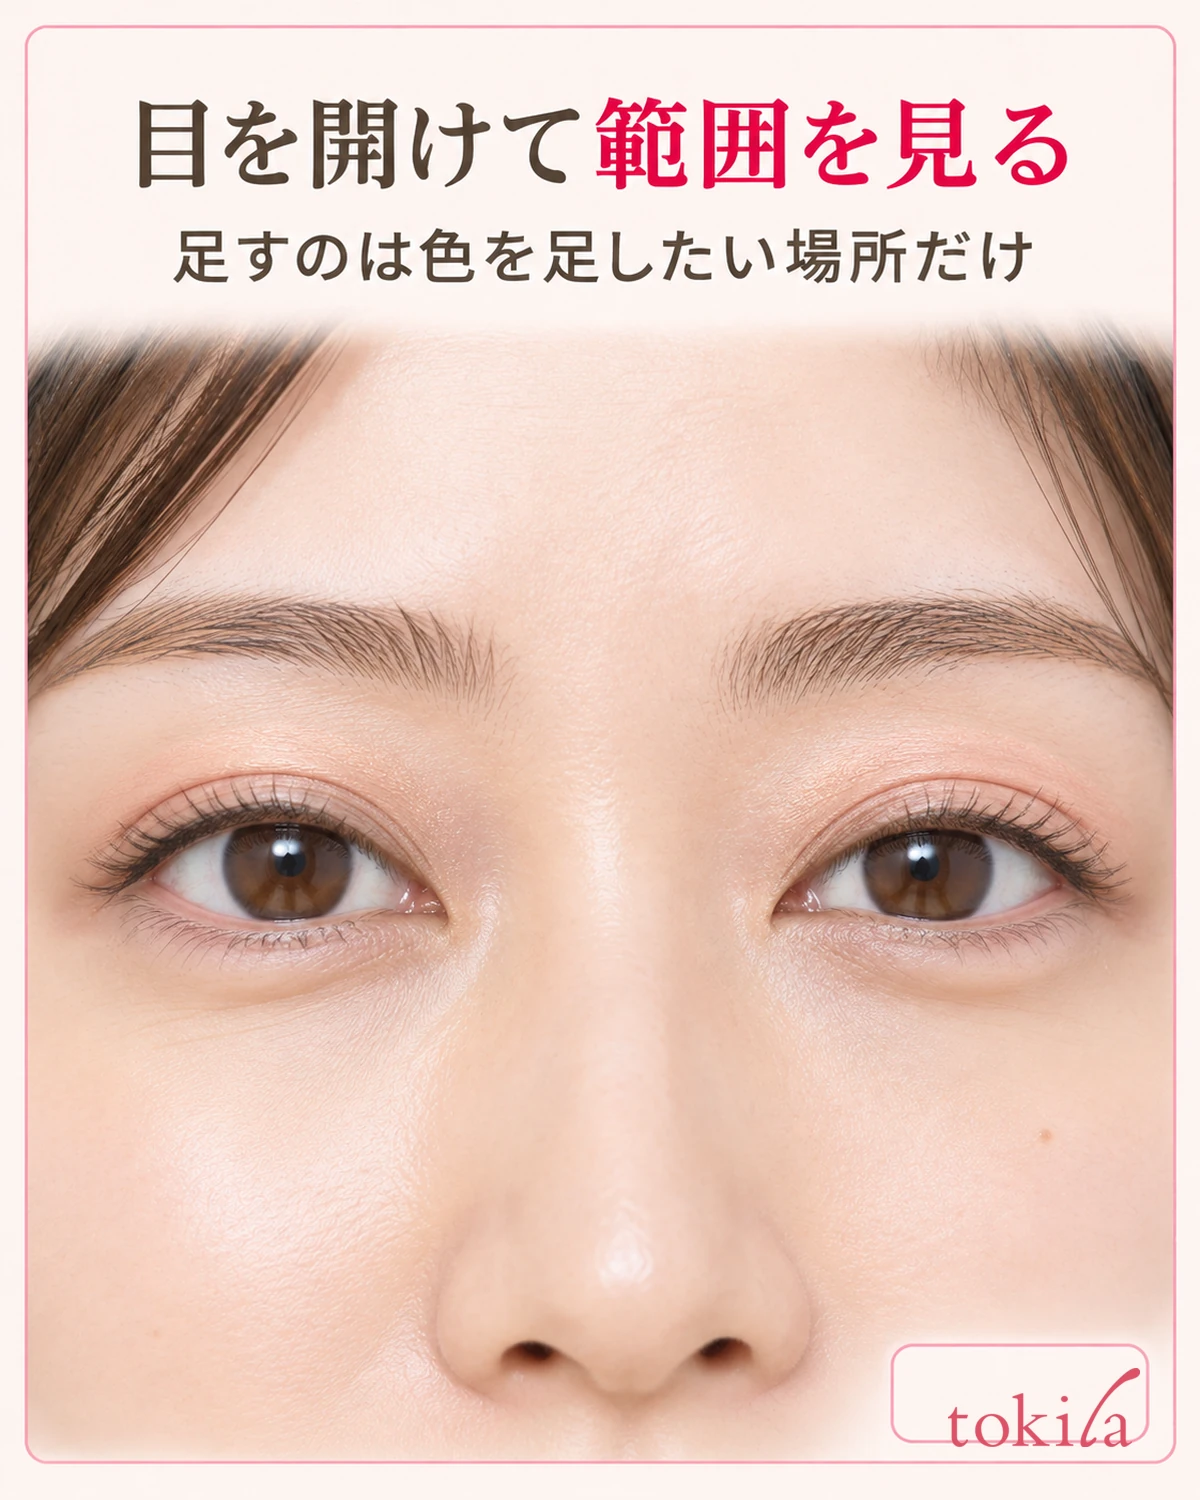
After spreading a thin layer, open your eyes and look straight into the mirror. Color that appears broad on a closed lid may show in different places when the eye opens. Do not judge only with your face strongly tilted; return to your usual expression and check the visible width and edge position on each side.
If your eyes differ in shape, applying at the same height does not necessarily produce the same visible width. Use the balance with both eyes open as your guide rather than continuing to add with only one closed. Adjust where the existing color works instead of expanding the area to force your eye shapes to look identical.
To add color, check the product's layering directions and apply a little where needed. Distinguishing between an overall light appearance and wanting depth in one spot, such as an outer corner, helps avoid thickening the original borders. Do not use the same procedure for products blended immediately after application and those requiring a waiting period.
Another approach is to assess color intensity and shine separately. If you interpret a light-catching area as lacking color and keep layering, the amount can build up. Move your face slightly and check under your usual lighting before deciding whether to add color or stop there.
If lines or creasing bother you during reapplication, inspect that area before increasing the amount. If color collecting in the crease is your main concern, use How to Adjust Eyeshadow That Collects in the Eyelid Creaseto review preparation and local corrections separately. Here, make it a habit to open your eyes and check once before adding more.
5. Decide on layering colors and removal, then close the pot
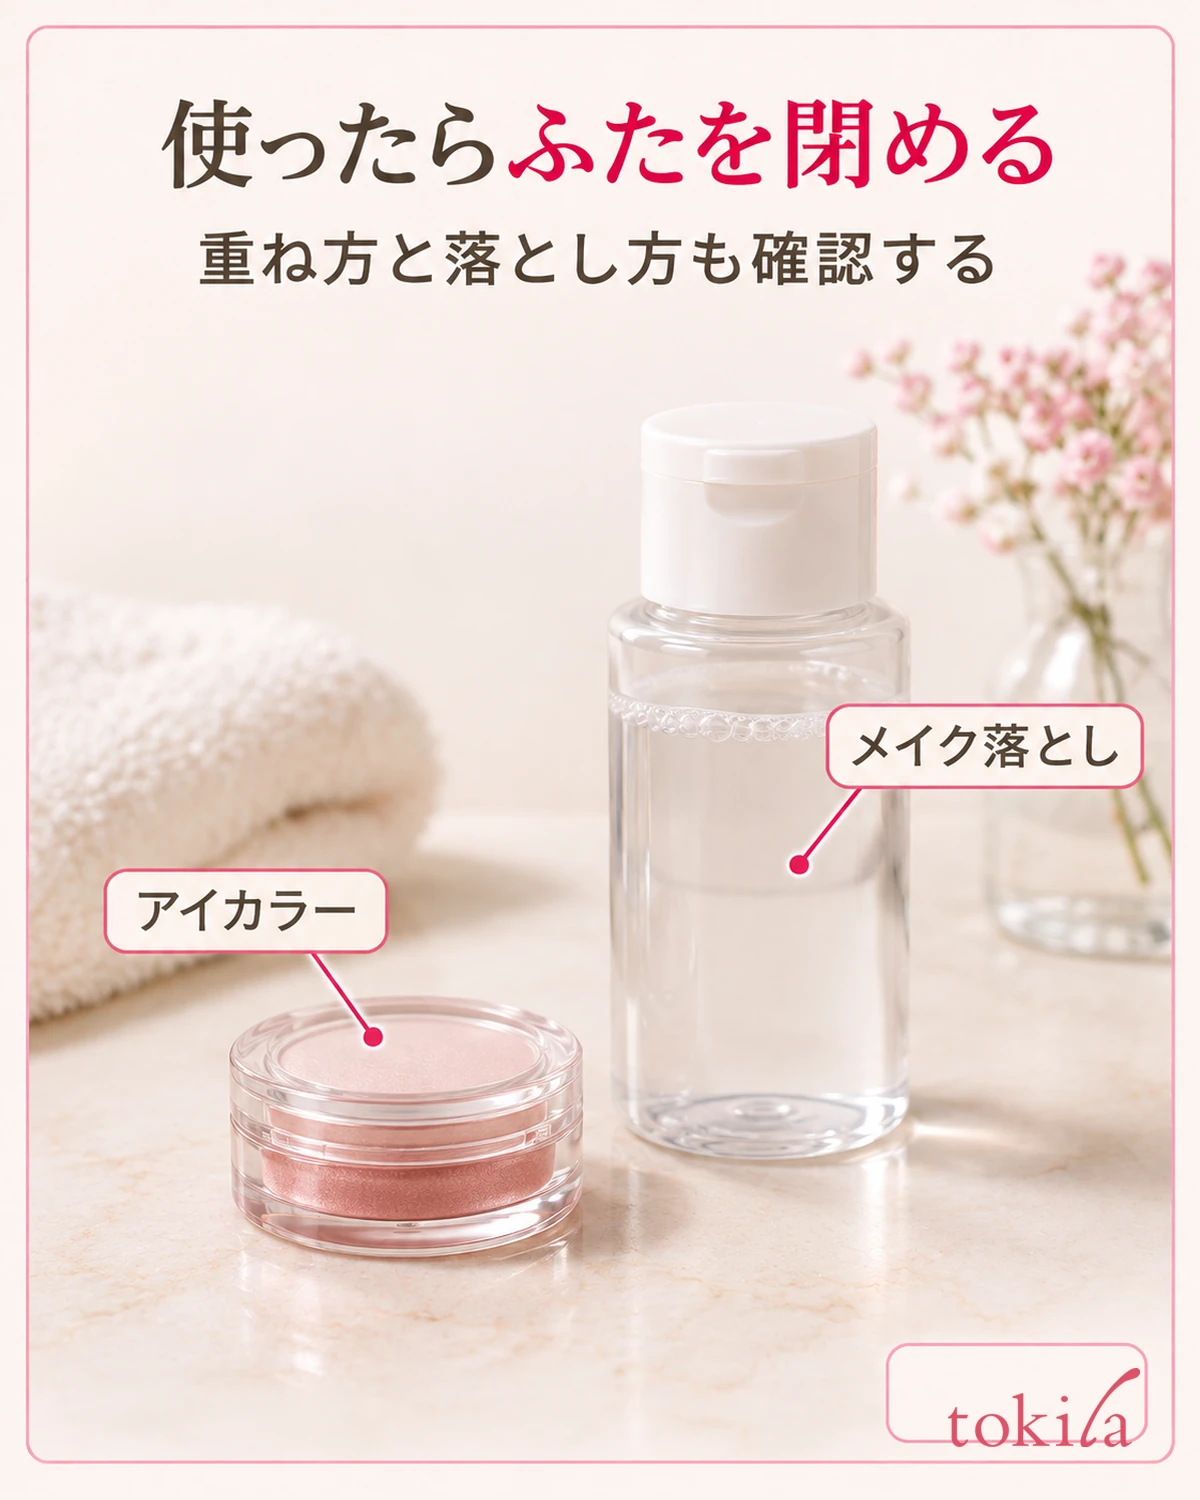
On days you combine another eye color, check the product's directions to see whether the cream goes first or last and whether layering is allowed. Keep a single-shade finish as an option; rather than assuming more products are better, plan which color you want to add where. Start new combinations in small amounts and adjust while watching the finish.
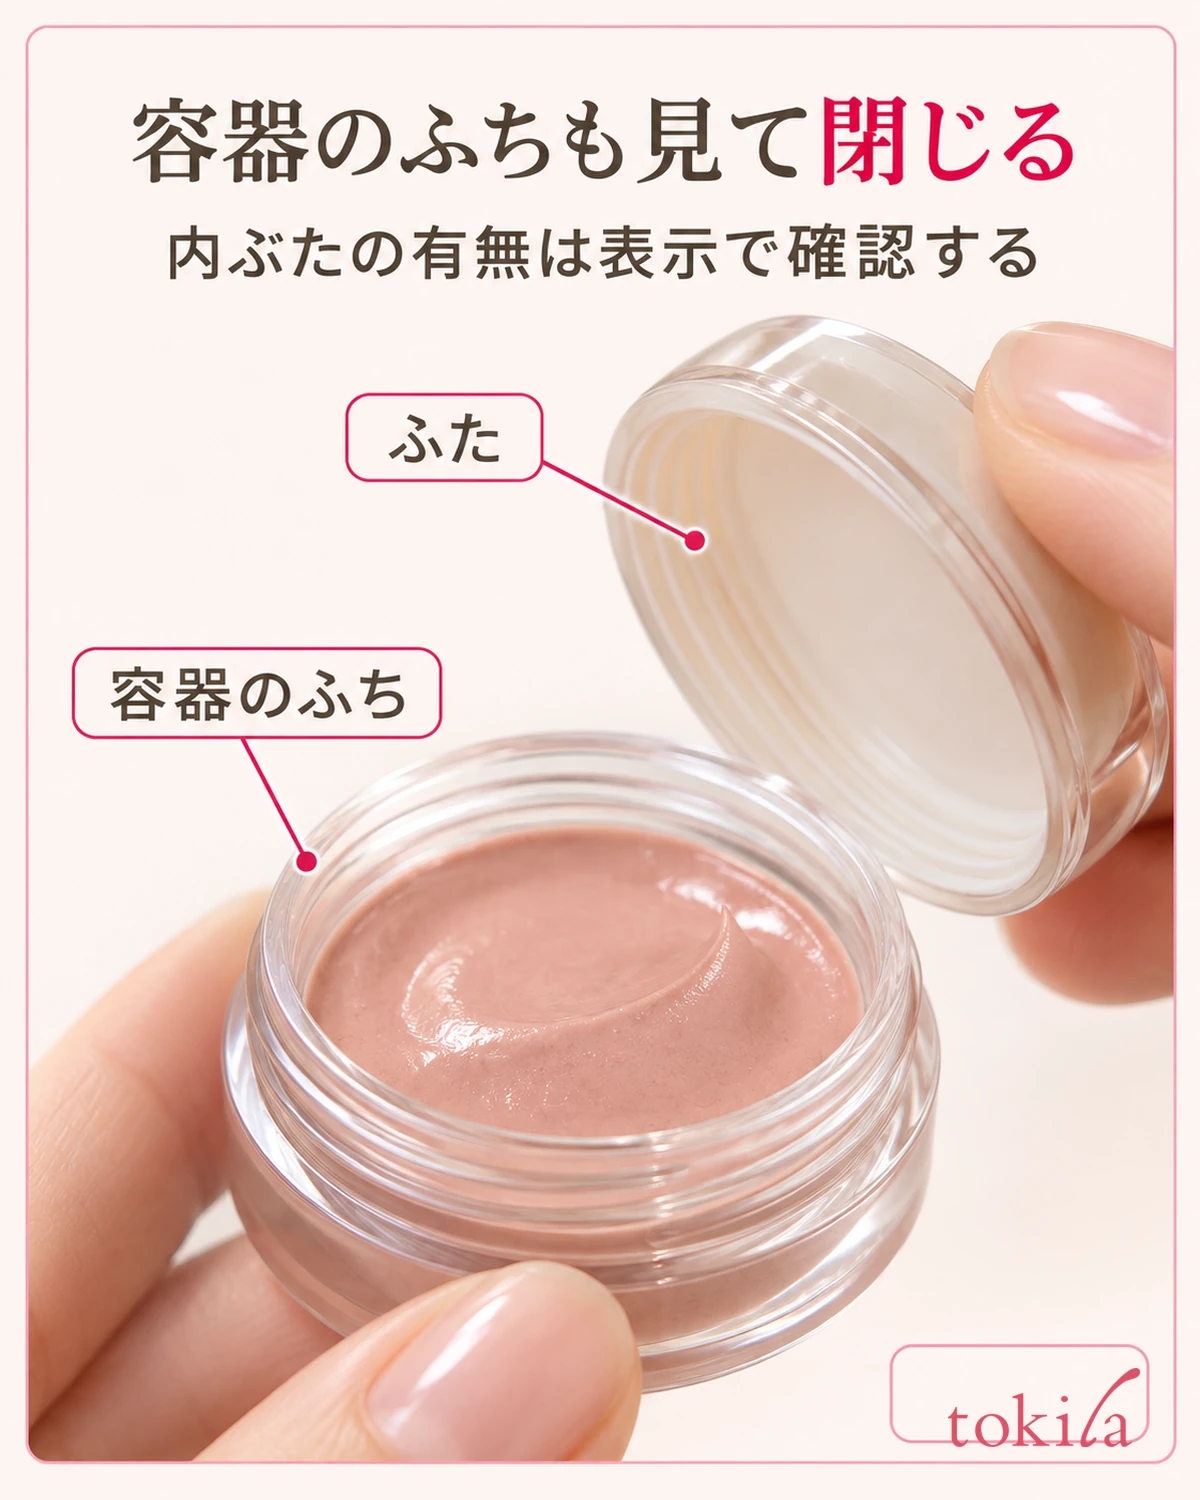
After use, check the rim and inside of the lid, and follow care directions to address any overflow. If the product has an inner lid, check the order for replacing it, and close the lid from its aligned position rather than forcing it on at an angle. Put the pot away at a natural stopping point instead of leaving it open through the rest of your makeup.
Remove remaining color from tools according to their care directions as well. Check whether they can be washed with water or cleansers, and follow the instructions through drying and storage. The pot contents and tools require different care, so avoid pouring tool cleanser onto the eye color surface.
When removing makeup, also choose the method directed for the product. Products described as long-wearing or the makeup layered with them may call for an eye-area remover. Instead of rubbing stubborn areas with your nails, consult How to Use Eye Makeup Removerand proceed calmly from the step of letting the remover work into the makeup.
For next time, remember whether you took too much on your finger, how far you blended the edges, and where you added after opening your eyes. Even with the same shade, reviewing the initial amount and border width one at a time can help organize a procedure suited to your eyelids. Apply thinly, then open your eyes and check. Use that pause as you try a shade you already own.