
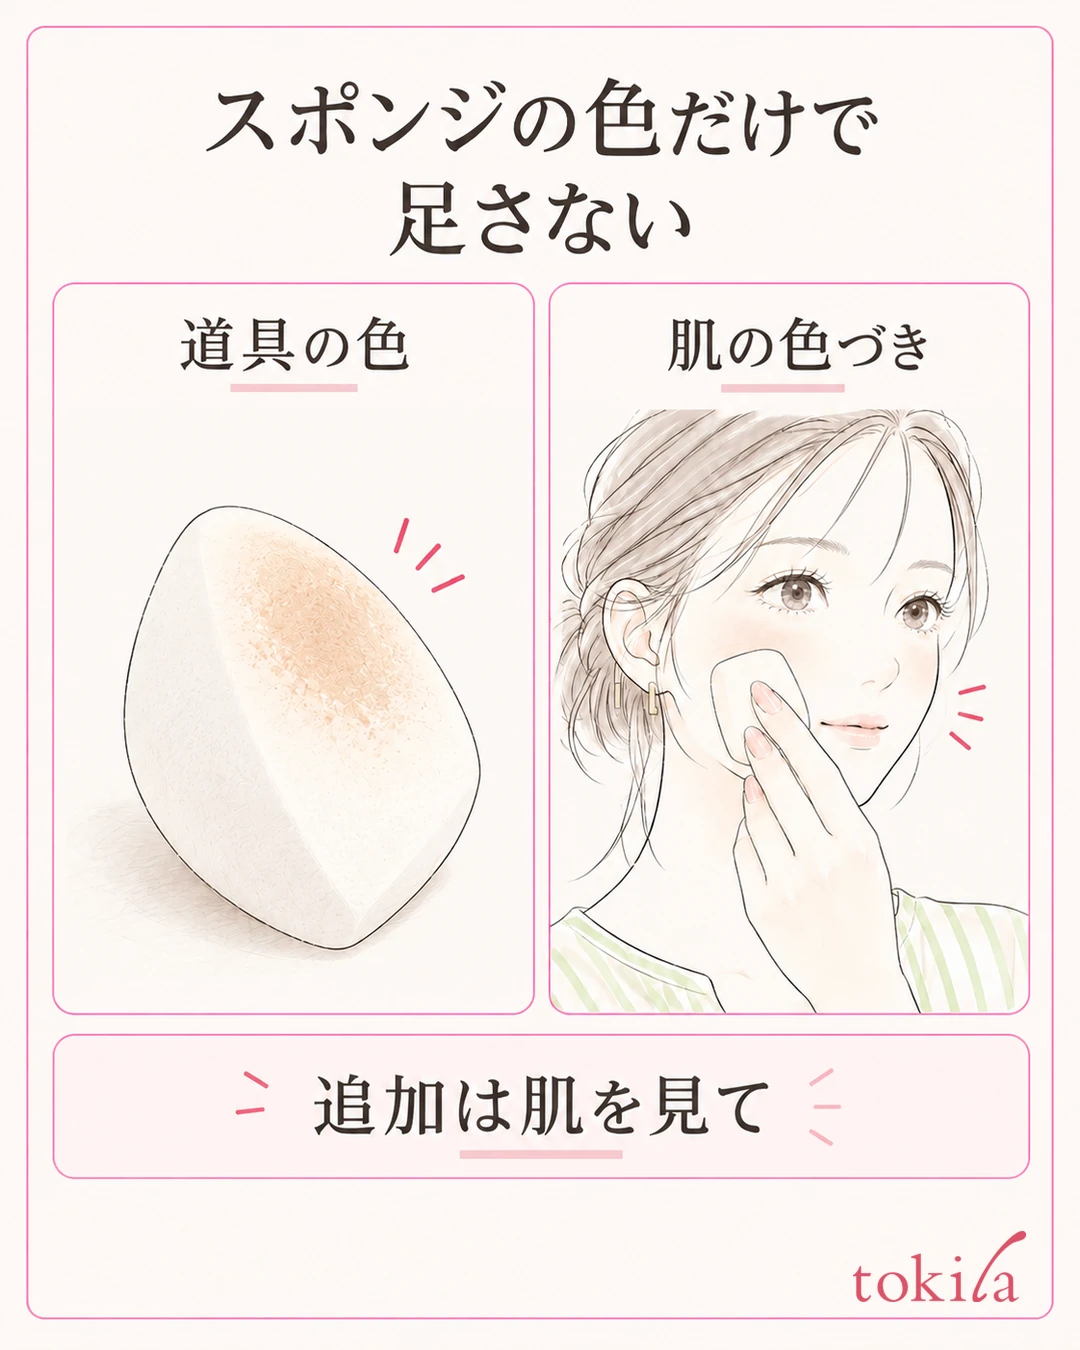
You put liquid foundation on a sponge, but it soaks in and the color barely shows up on your cheeks. Before you add more product, check three things: "Can the liquid go straight onto this sponge?", "Can the sponge be used damp?", and "In what order should it go on the skin?" Color left on the tool is not the same as too little product on your skin.
This article looks at the moments when liquid seems to be absorbed by the sponge, sorted into tools, moisture and application. It is limited to the morning application of liquid foundation, and does not cover powder foundation that will not pick up or makeup that breaks down by evening.
1. Look at the color on the sponge and the finish on your skin separately
First, stop squeezing new product out of the bottle and look at the sponge and your cheek separately. A sponge that has turned a little beige does not mean all the product you dispensed was wasted. You also cannot gauge how much was absorbed from the color on its surface, so the starting point is not to decide "the sponge is dirty, so I'll add the same amount again."
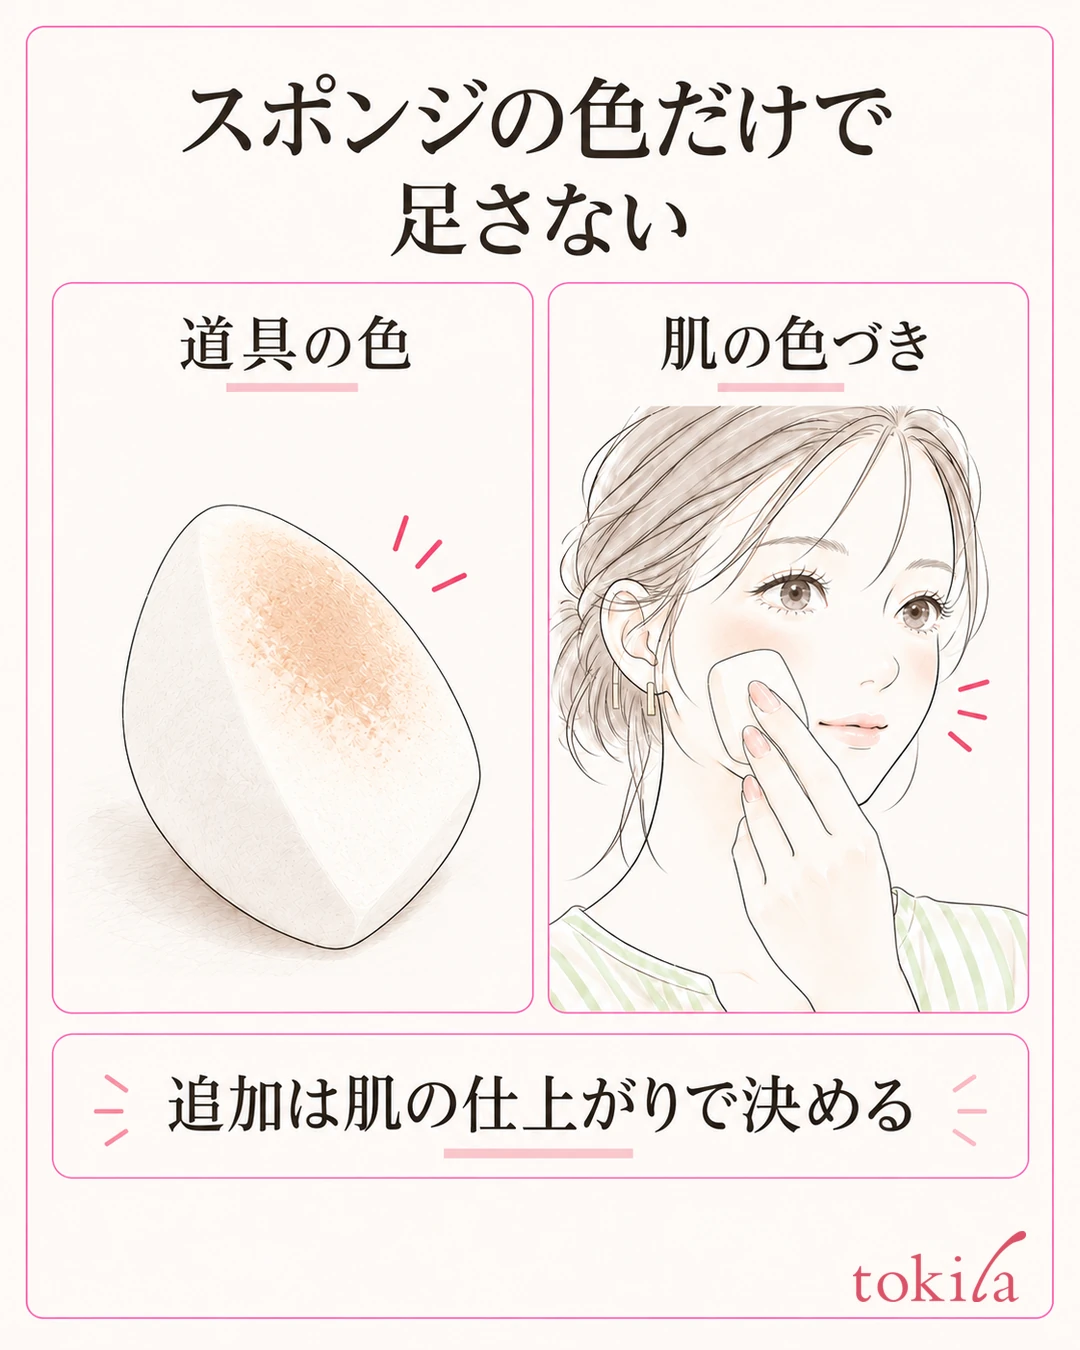
Next, check the state of your cheek in a mirror with the same lighting you always use. Is the color light but even? Are there spots you have not covered yet? Has color dropped out only where the sponge touched? Compare it with the coverage you want. On days when you prefer a finish that lets a little of your natural skin tone show through, you do not need full, opaque coverage.
If you squeeze the liquid straight onto the sponge before applying and it disappears on the spot, it is time to reconsider where you place the liquid. On the other hand, if the color fades because you keep pressing it after applying it to your skin, check how many times you finish and how you press. Even if they look similar, treat the way you handle the liquid at the start and the action of moving the layer you have applied as separate things.
Some products are made of materials that absorb easily. However, do not apply this to every sponge; check it against the instructions for the products you own.
If the same spot drops out even when you add more, or the base moves and turns patchy, do not try to explain it by absorption alone. Check one by one whether the amount is too little, whether you moved it too much mid-application, and what condition the base is in. Describing in a few words what you see now and what you did just before makes it easier to choose which step to change next.
2. Check the instructions for both the foundation and the sponge
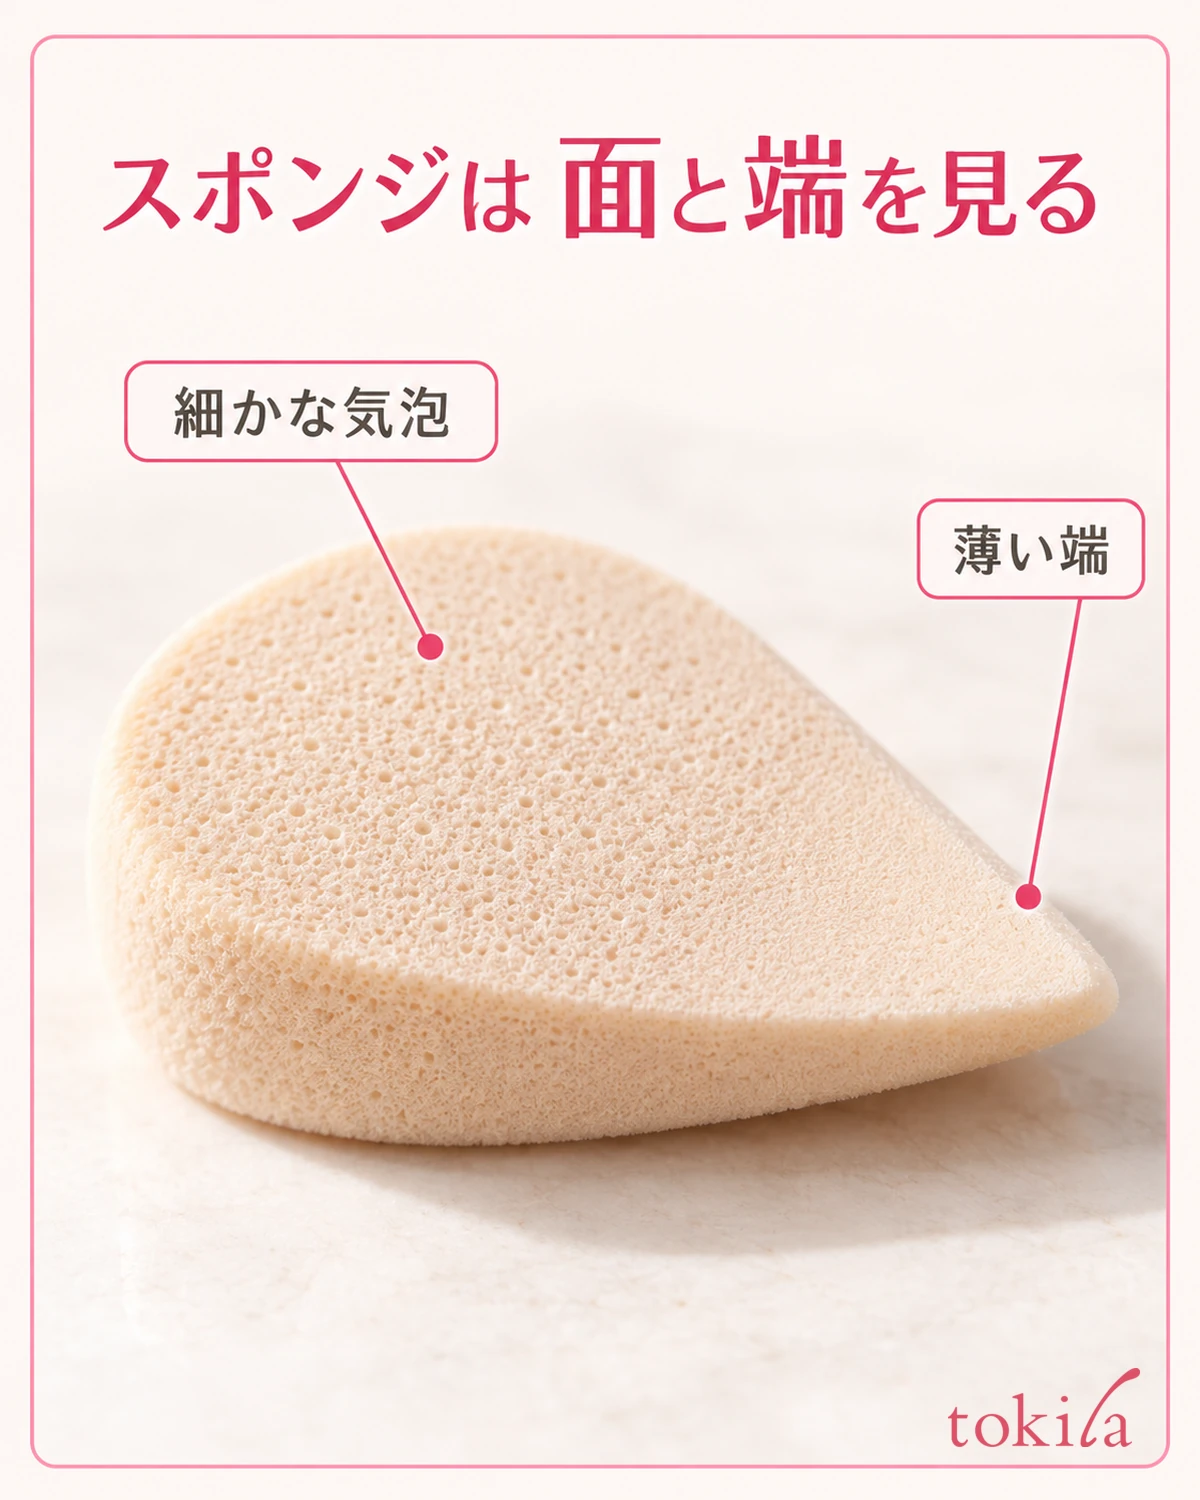
On the sponge's packaging or product label, check which types of foundation it is meant for. Even if it says "for makeup" or "puff," a tool for picking up powder and a tool for blending liquid do not necessarily work the same way. Do not choose by softness or shape alone; check whether it is intended for liquid or cream, and whether you can apply the liquid directly to it.
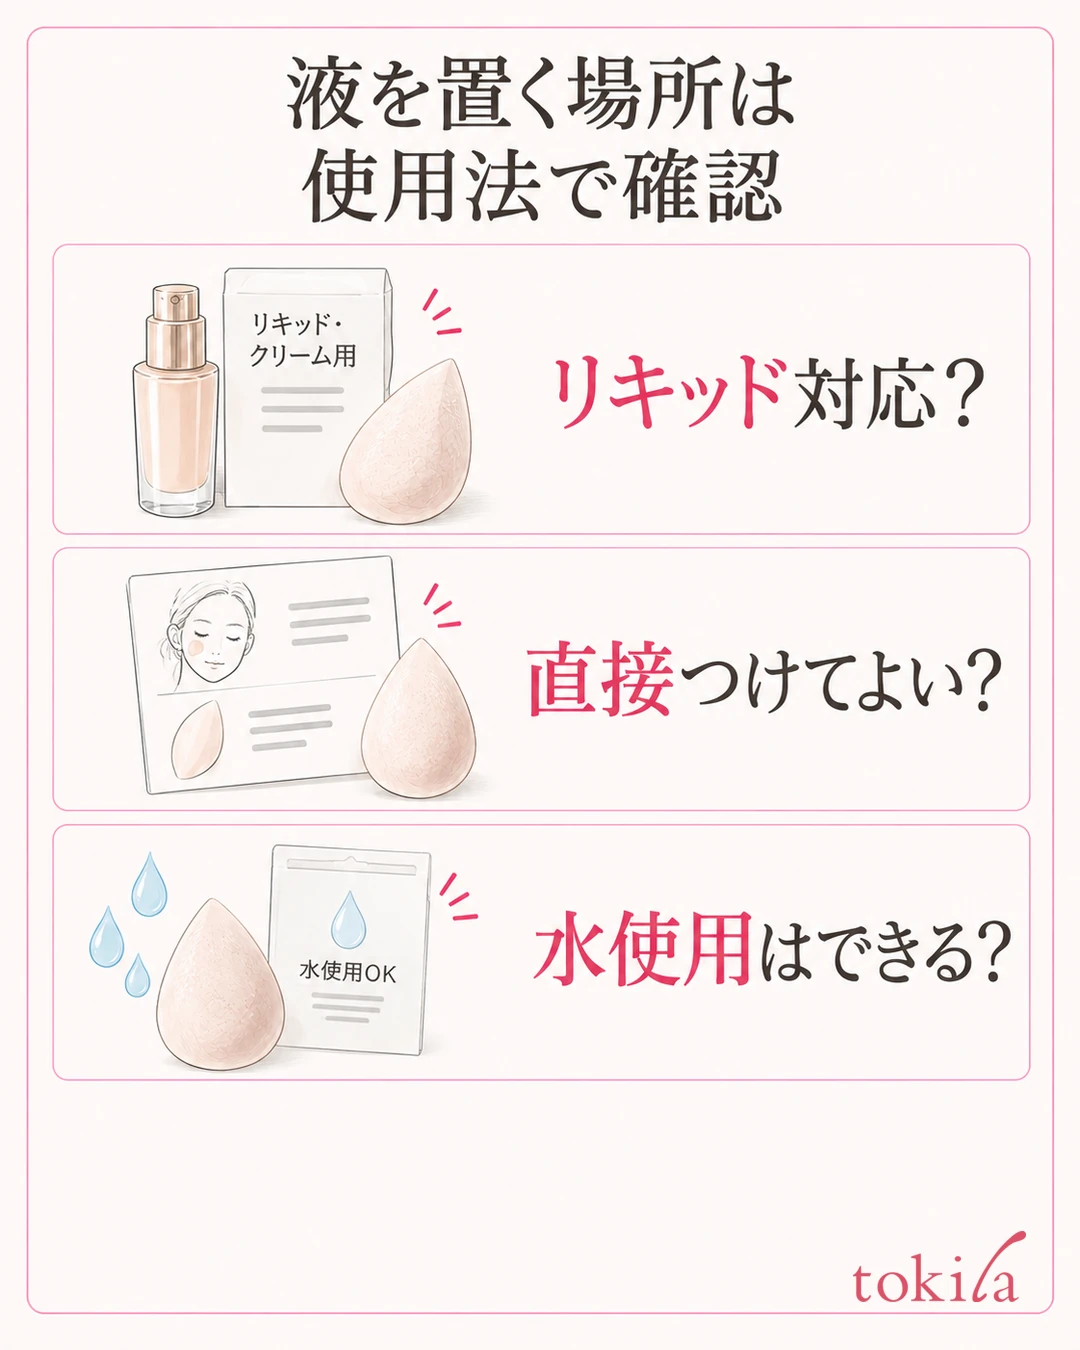
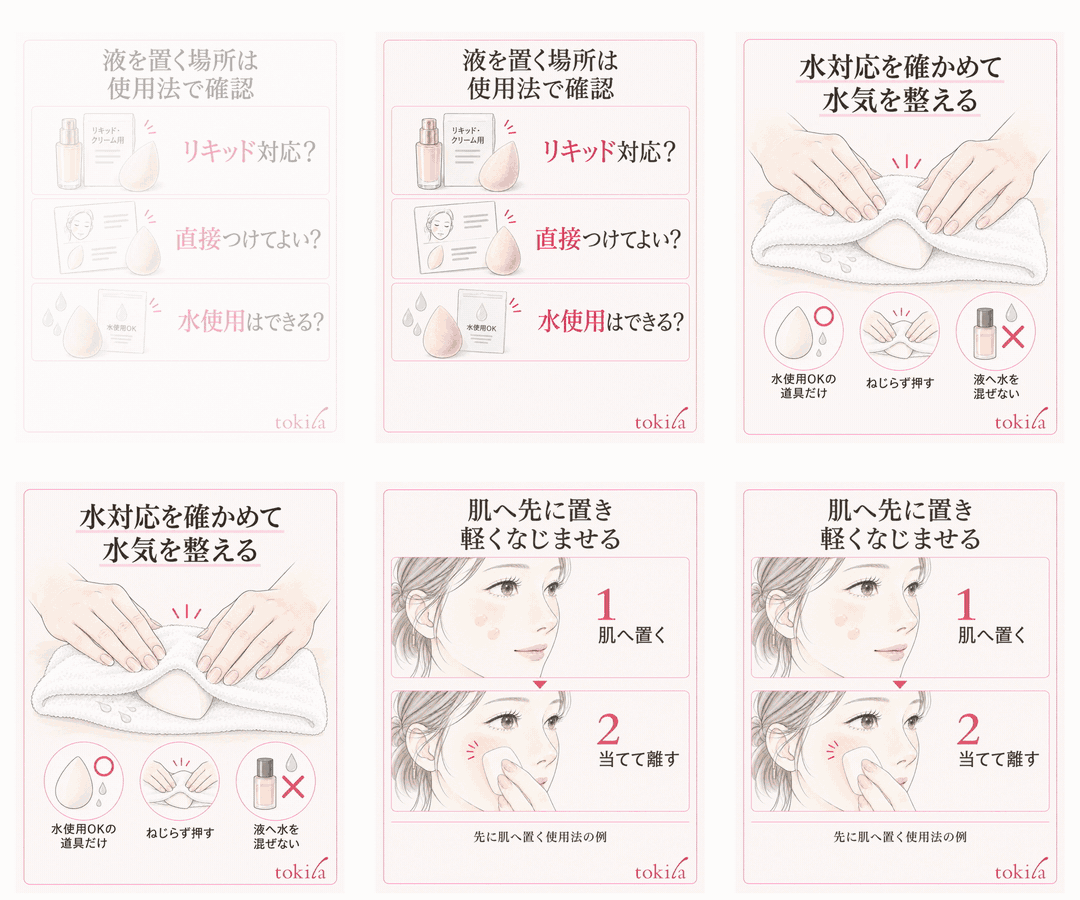
Foundation also comes with its own instructions, such as applying with fingers, using a dedicated sponge, or finishing with a brush. Even if the tool is compatible with liquid, that does not mean you can skip the foundation's recommended steps. First check whether both sets of instructions match for your current combination; if the explanations conflict, ask the manufacturer or go back to the specified tool.
Pay particular attention to three things: where you dispense the liquid, which side of the sponge you use, and whether water is allowed. If the method is to place the product on the skin first, there is no need to soak liquid into the sponge beforehand. Conversely, if the tool is meant to pick up product directly, follow its instructions on amount and which side to use. Even if a video for a different product looks great, read the instructions before transferring the same motion to your own tool.
The amount for the whole face differs by product, so do not treat the single press you saw in an article or video as a fixed amount for your own bottle. First check the product's recommended amount, then add more where needed to match your finish.
Before you start, also check that the sponge has a clean surface to use. A surface that has hardened from the previous day's liquid, a torn edge, or a shape that no longer springs back are reasons to think about cleaning or replacing it, separate from adjusting how much you use. For detailed washing instructions, see Caring for makeup brushes and sponges. Do not use a tool that has not dried as if it were ready for use with water.
3. If you use water, confirm compatibility and adjust the moisture
Do not switch straight to "if it absorbs, wet it." First check whether both the sponge and the foundation support use with water. Dampening a sponge is not a universal step that stops all liquid foundation from being absorbed. If you do not know whether it is supported, go back to the original instructions and reconsider where you place the liquid, rather than adding water, emulsion or mist on your own judgment.
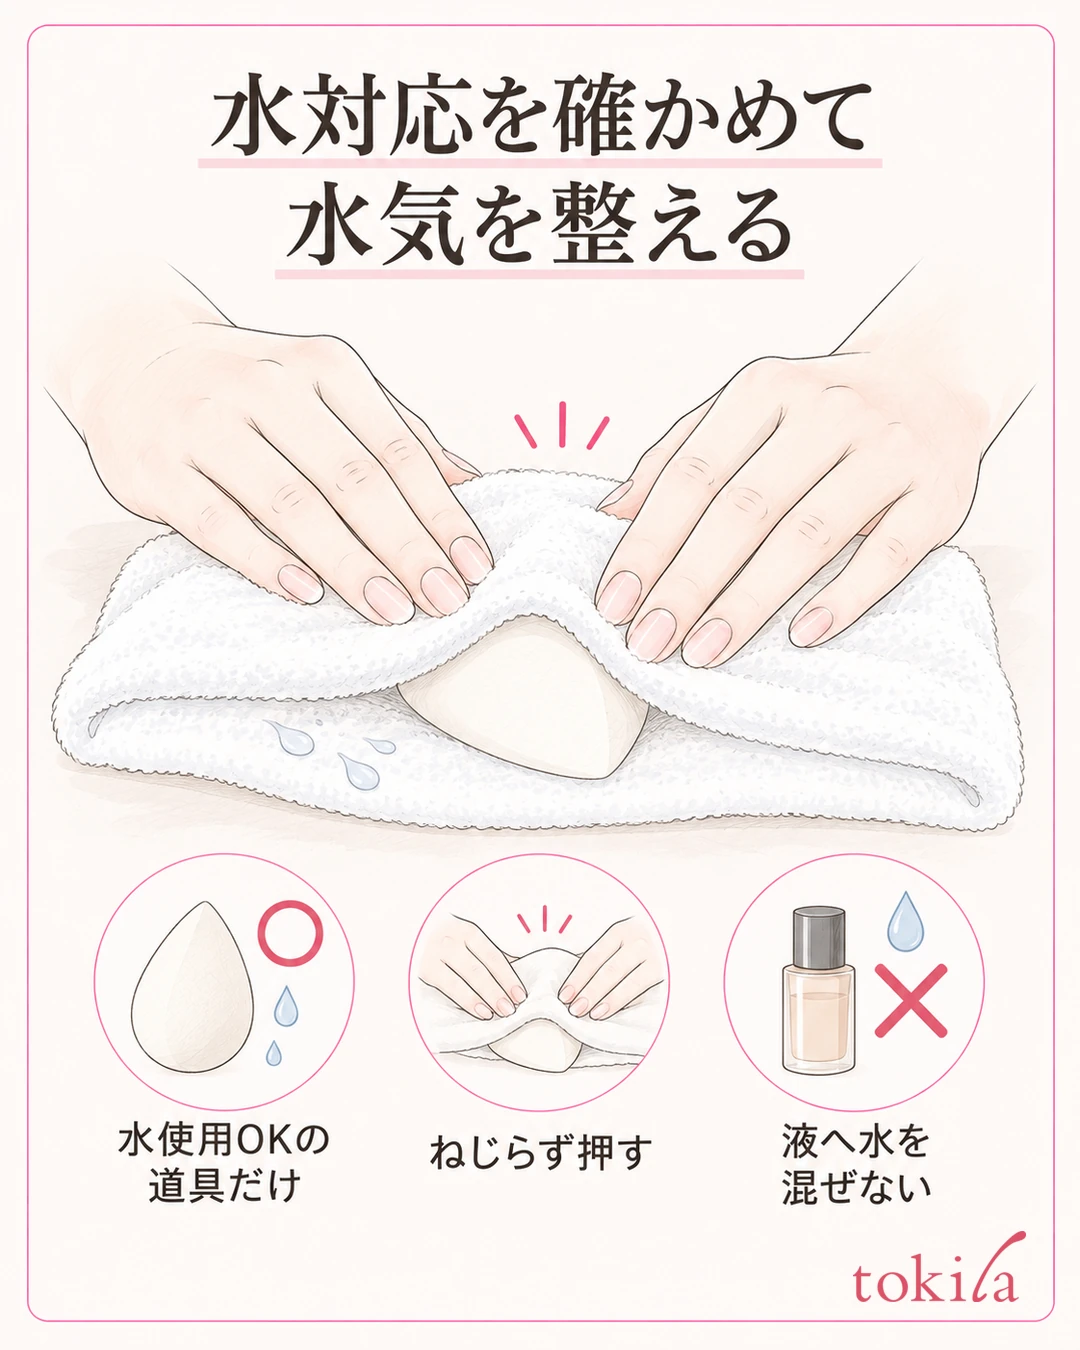
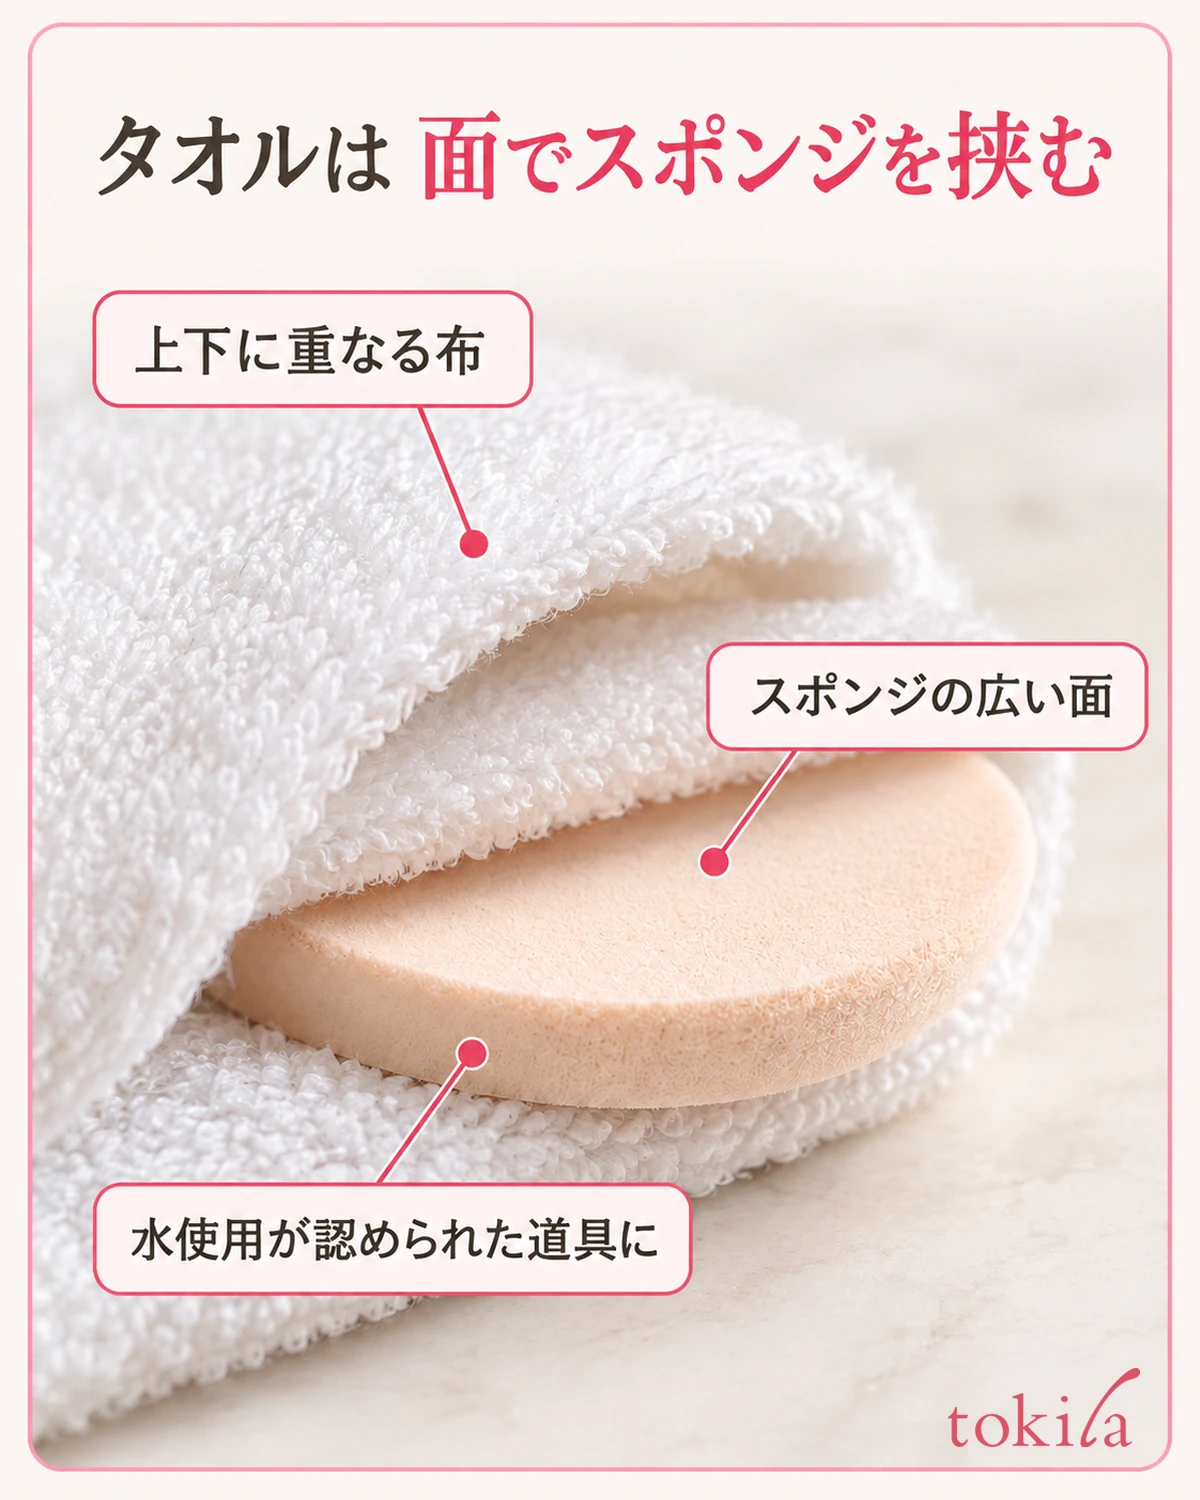
If the product can be used either damp or dry, prepare it according to the instructions. Do not press a sponge that is still dripping straight onto your cheek.
The diagram shows an example of preparing a sponge approved for use with water. Gently press it with clean hands to adjust the moisture, and if needed sandwich it in a clean towel and press. Do not wring it out like a cloth or dig your nails into it; handle it so that it keeps its shape. Do not assume that more water means higher coverage.
Here, distinguish between dampening the tool to use it and mixing water into the foundation itself. Adding water to the liquid in the bottle or in the palm of your hand is not part of this explanation. Also, even with a water-compatible sponge, some instructions say not to apply liquid directly to it. After you have adjusted the moisture, check the order in which you place the liquid as a separate step.
If you keep switching between a damp side and a dry side partway through, it becomes hard to tell under which condition the color changed. First finish one cheek with a single specified method, then go back to the mirror and check. Plan for washing and drying a damp tool after use, and do not make a habit of sealing it up while still damp to carry it around.
4. With the place-on-skin-first method, blend one cheek at a time and stop
If the combination you are using is explained as placing the product on the skin first, dispense the specified amount onto clean hands or similar, and work in small areas starting from the cheek. Do not soak the liquid into the sponge and then try to bring it back to the skin. For products placed by hand, keep your hands clean, and if another tool is specified, use that tool.
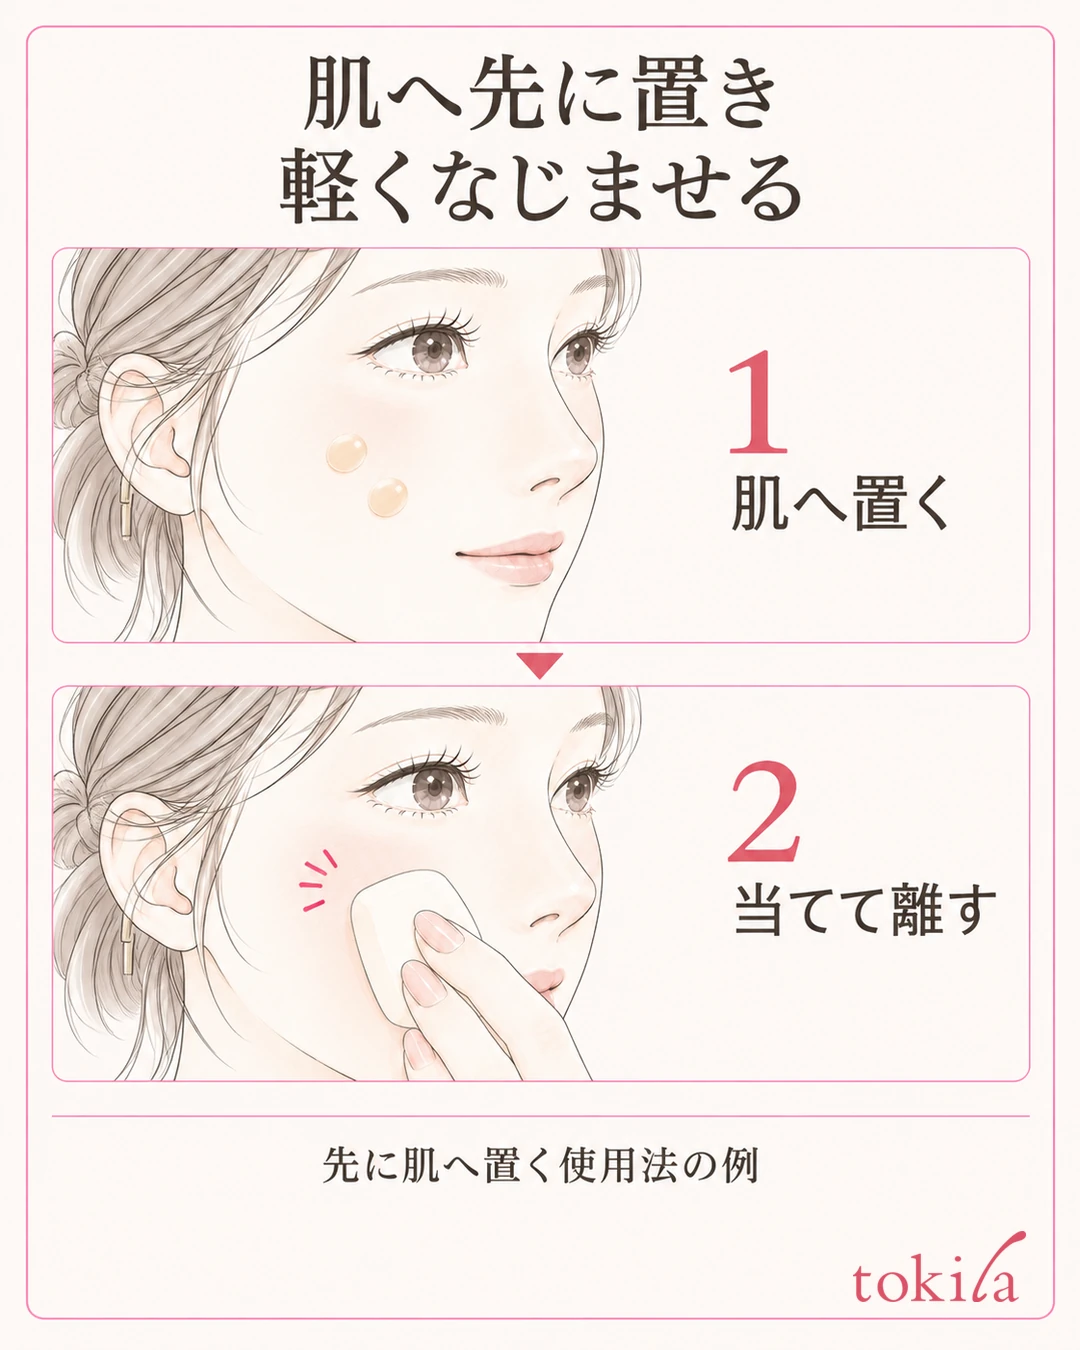
Rather than putting a large amount of liquid all over your face from the start, divide the area you blend according to the order the product indicates. Even on days when you want to finish quickly, avoid leaving liquid you have not yet spread while going back to the tool to pick up more again and again. If you confirm the amount and the way of applying on one cheek before moving to the other side, it is easier to judge how much more you need.
With the sponge, lightly touch the wide surface you use to your cheek and blend with the motion the product specifies. If the method is to dab, keep making small touch-and-release movements rather than pressing in hard. If the instructions say to glide, follow them first. Going back and forth over the same spot many times is not a required step for an even finish.
The diagram shows one example of lightly blending liquid that was placed on the cheek first. The sponge surface is touching the skin, but without pressure that would deeply dent the cheek. Before adding new liquid, lift your hand once and check the color on the skin and the edges. The point is not to treat color transferring to the sponge as a sign of failure or too little liquid.
If there is still a thin spot and the surrounding layer is holding, consider adding a small amount there. If the color drops out in holes or the base moves, stop the process before covering it with more. If necessary, remove that area and consider starting again lightly from moisturizer or primer. For what to do when makeup breaks down over time, see The order for touching up makeup.
5. Note the amount and finish, and do not add more based on the color of the tool alone
Finally, step back so the mirror shows your whole face. Look at the color on your cheeks, the thickness around the nose and mouth, and how it connects to the jawline, and finish when you reach the look you want. Do not make "using less to save product" your only goal; choose the coverage you need and an application method that is easy to handle.
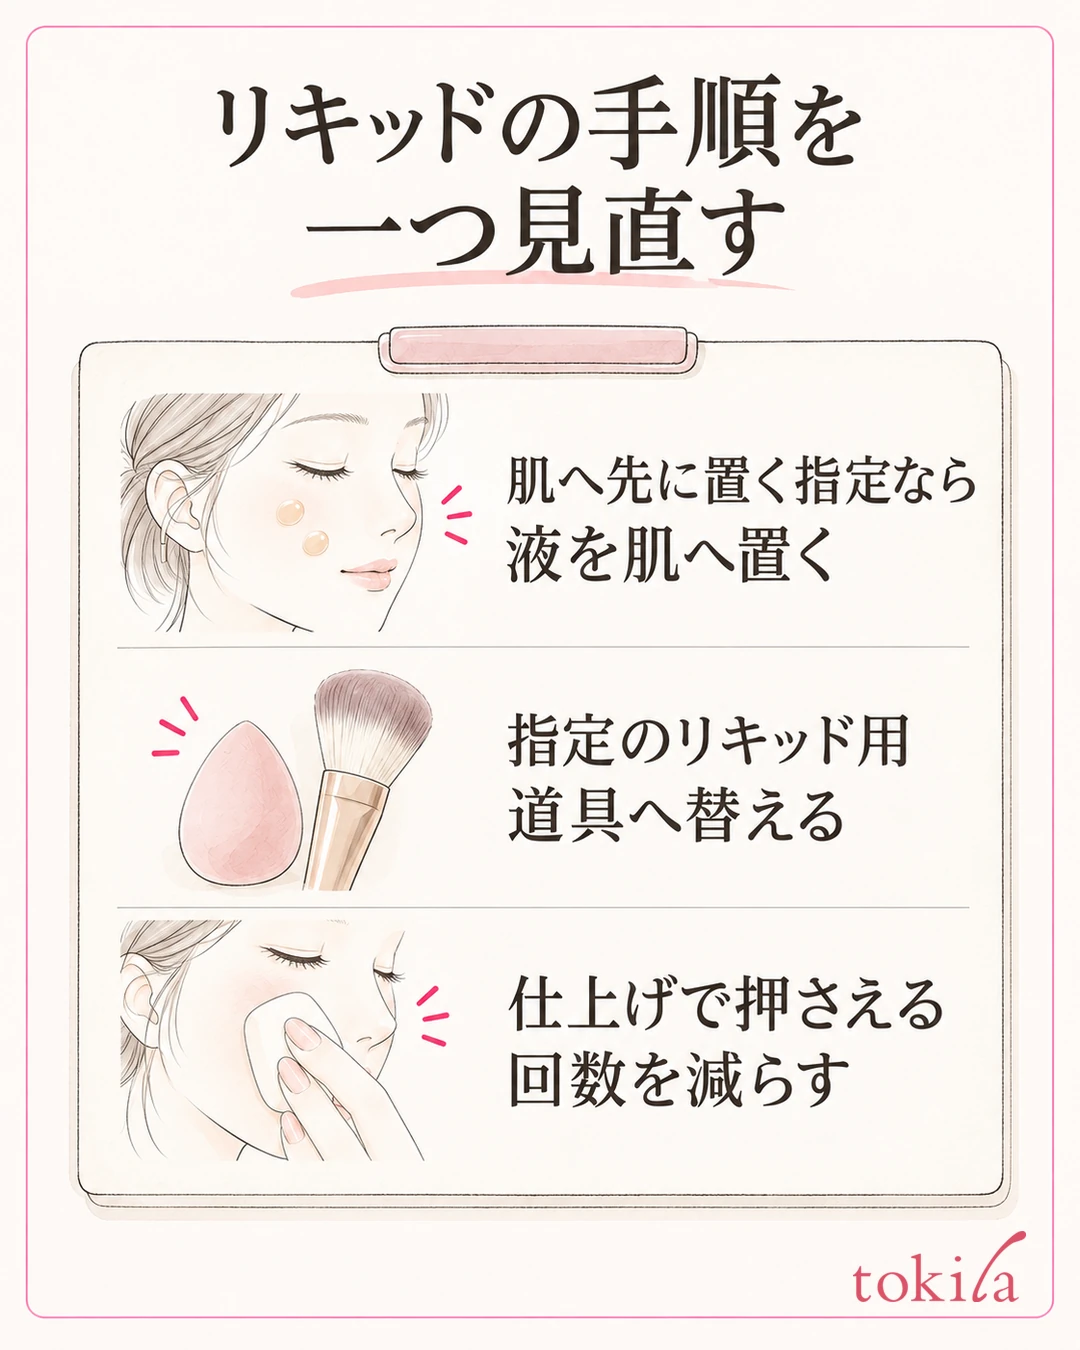
If the feeling of absorption remains, decide on one condition for next time. Examples are placing on the skin first the liquid you had been dispensing straight onto the sponge, switching to the tool specified for liquid, or pressing fewer times at the finish. Changing water, tools and amount at the same time makes it hard to judge, so review them one at a time within the conditions that match the product labeling.
Notes of just "which product and tool I used," "where I put the liquid," and "whether I needed to add more on one cheek" are enough. Even if you record the amount used, that does not mean you have measured the absorption rate or the percentage saved. Skin and base condition also change from day to day, so do not treat a single occasion that finished well with a small amount as proof of the tool's performance.
On days when the tool has become dirtier, care for it as specified and let it dry thoroughly. If hardness or damage remains after washing, or the surface becomes rough, consider replacing it rather than adding more liquid and continuing to use it. If you are unsure whether they are compatible, giving the official names of the foundation and sponge and the order in which you used them makes it easier to consult the manufacturer or a store.
If you are concerned about how the liquid is absorbed, first check the tool's compatibility, the use of water and where you place the liquid. Look at the finish that remains on your skin before adding what you need, and do not make removing the color from the sponge your goal. If you want to start from the type of foundation, see also The basics of foundation and primer.
Written by the tokila editorial team. We confirmed the official instructions for use and organized how to review tools and application steps so that you can judge them for each product.



