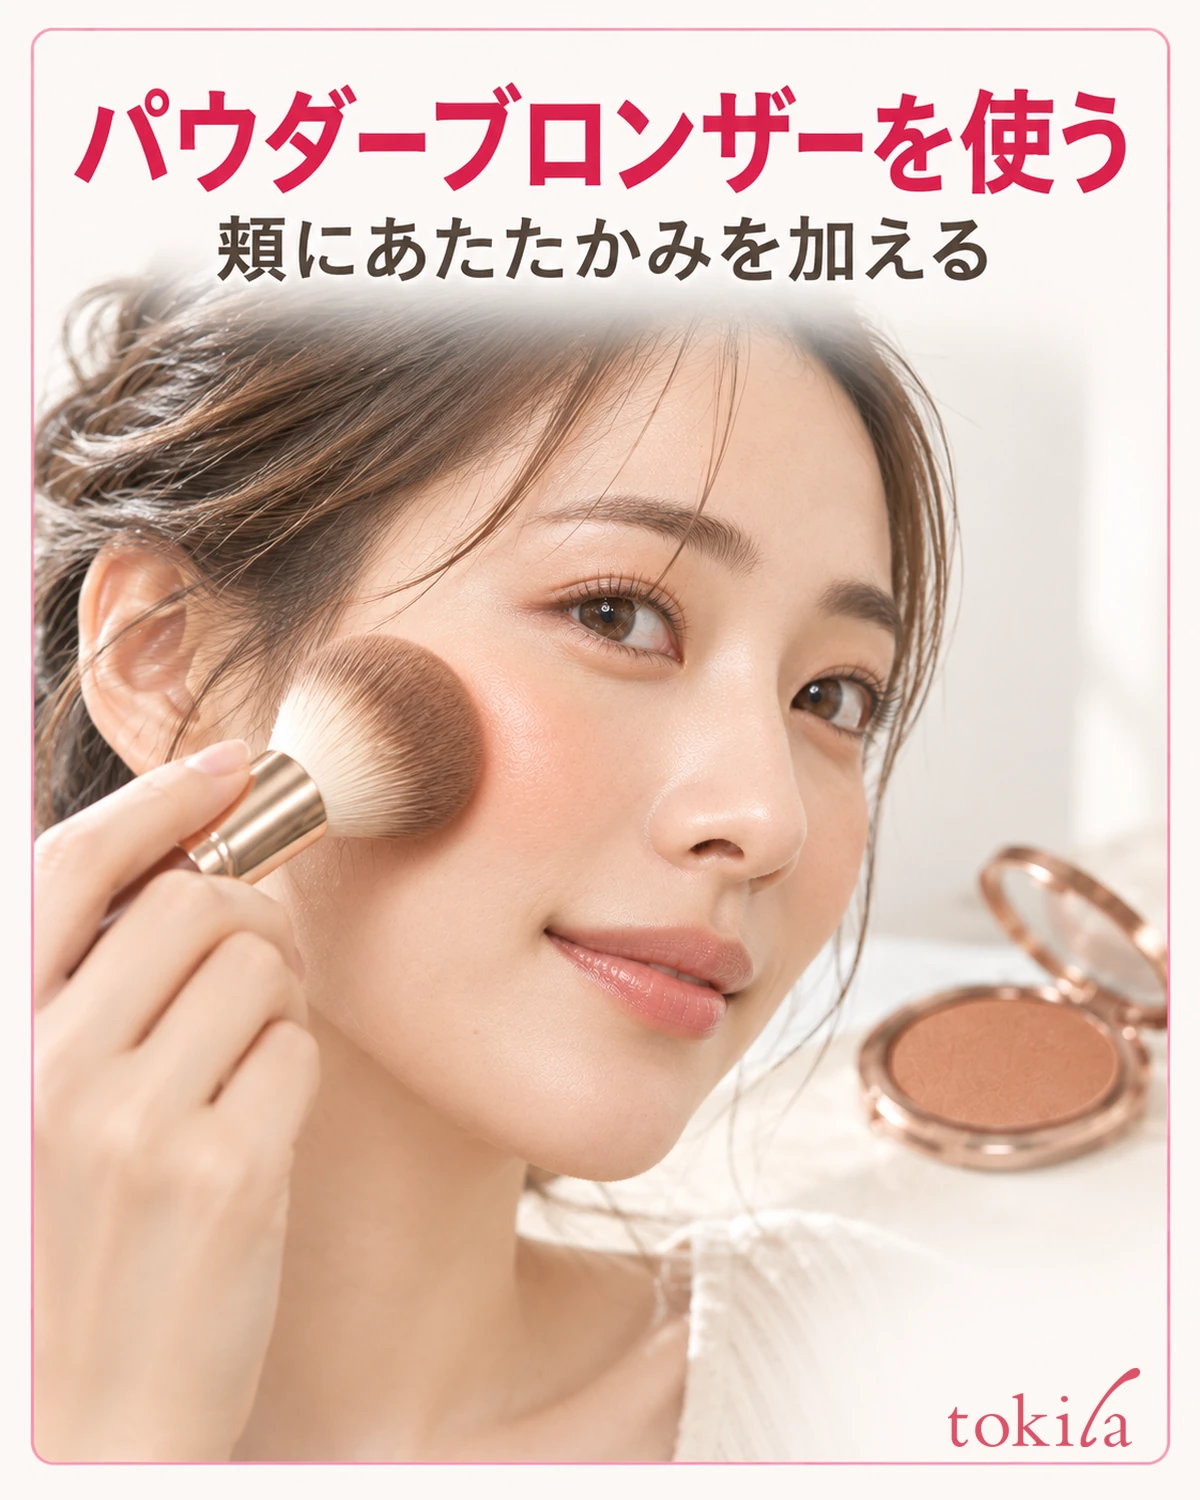
You pour a fluid water-based foundation into your palm, but only the liquid comes out first. It dries while you spread it over your face, and you lose track of where you have applied it. Before treating a two-phase water-based foundation like your usual liquid foundation, review the sequence of shaking, dispensing, and spreading it.
This article covers lotion-like foundations whose liquid and powder separate and whose directions require thorough shaking before use. Not every water-based foundation has the same formula or instructions. Here, we explain application by hand while following each product’s directions for quantity and primer.
1. Check the type of water-based foundation and the layering order
First, check whether your product needs shaking before use. Read the directions on the container or box rather than relying on the name. For a two-phase formula with powder settling at the bottom, mixing before application is part of the method. Do not switch to using only the upper liquid just because the layers are visibly separate.

Also check whether to use a primer after moisturizing or proceed directly to the foundation. Conditions differ: some allow primer, while others direct application after toner. Some recommend a low-oil primer, but that condition cannot be extended to every water-based foundation.
Follow the instructions for both products when combining it with sunscreen. The name or lightweight appearance does not establish UV protection. Check for a UV-protection claim, application order, and reapplication method, and avoid mixing the products in another container to combine steps.
Before makeup, clean your hands and prepare a mirror and a place where you can deal with spills. Reading the shaking method, quantity, and application instructions before dispensing makes it easier to move on to spreading before it dries. Keep your hair away from your face, too.
Water-based foundation is not something to make by dissolving face powder in water. Use the product as directed, without adding water or toner to dilute it or another liquid to restore hardened contents. If its condition concerns you before use, review storage conditions and precautions.
If you also want to organize the other makeup steps, seeThe Basic Order of Makeup. After reviewing the overall flow, prioritize your own product’s directions for primer and quantity.
2. Close the cap, shake thoroughly, and dispense one application into your hand
Before shaking, make sure the cap is securely closed. Shaking with the opening exposed can scatter the contents, so close it first and follow any specified shaking method. There is no need to set a universal number of shakes or seconds. Review what the instruction to mix thoroughly requires, then proceed.
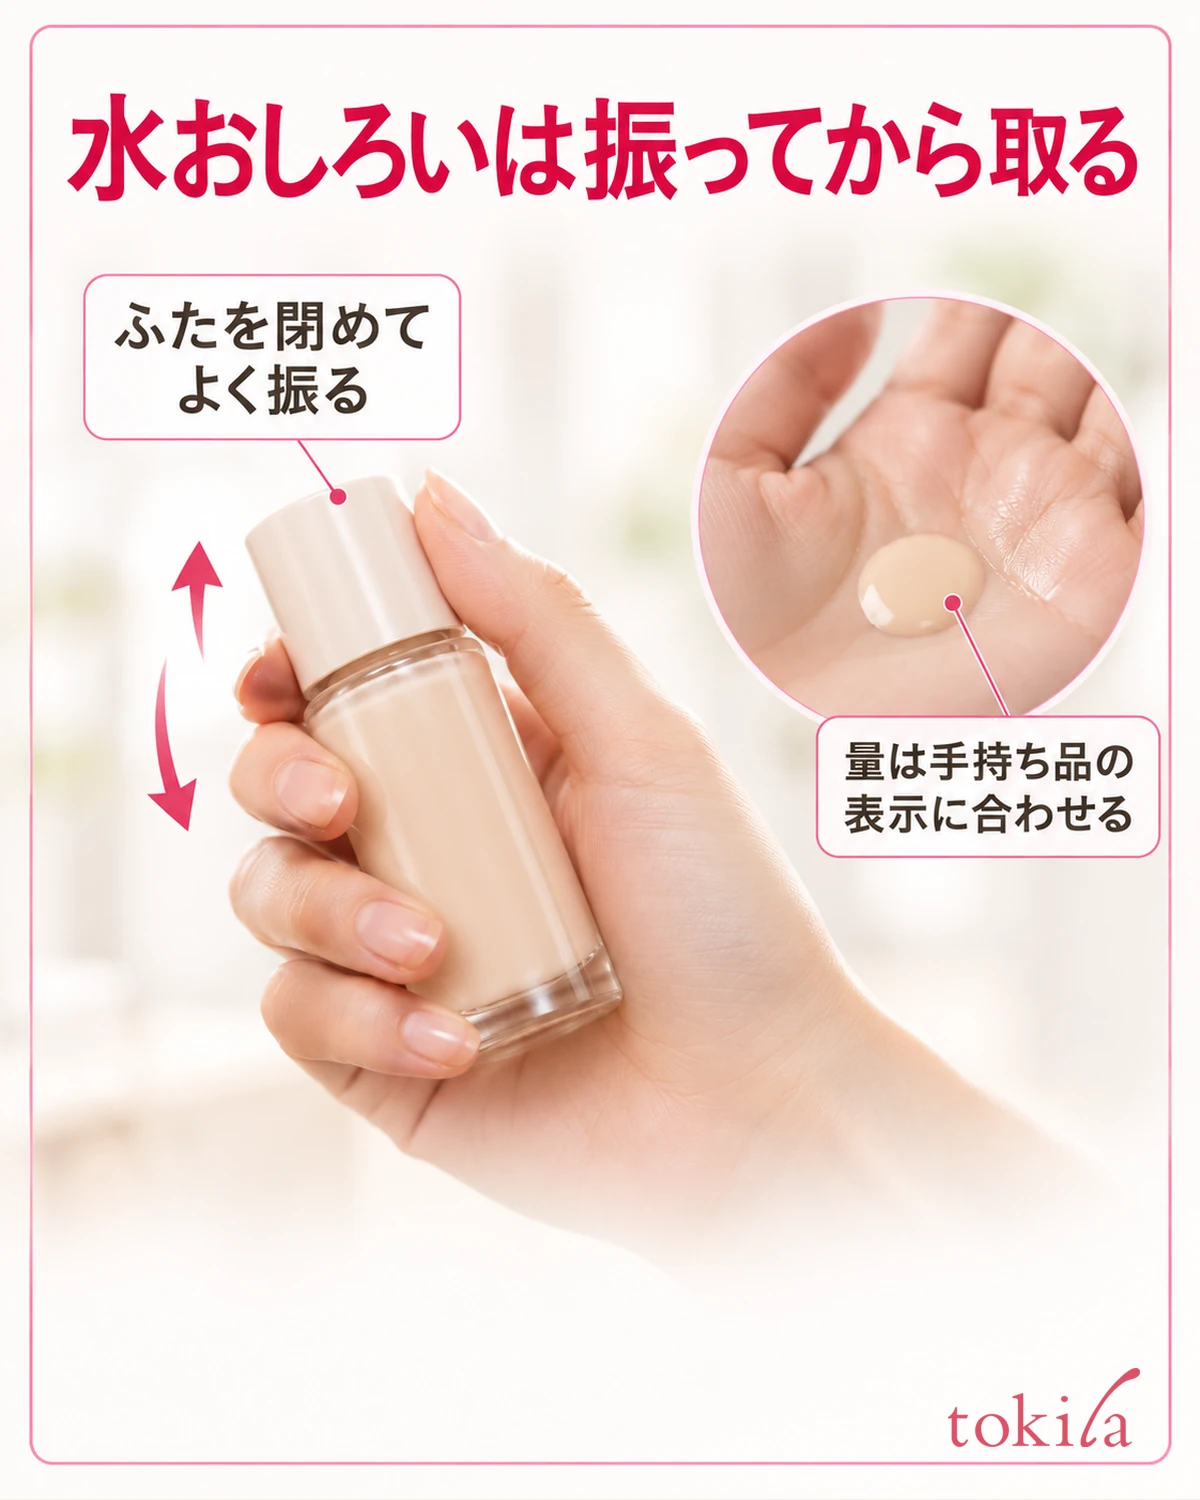
After shaking, prepare the receiving hand before opening the cap. Cup your palm shallowly so the liquid does not run between your fingers. Rather than lifting the container high and pouring at once, watch the positions of your hand and the opening as you dispense the stated amount.
Check the amount for each product. If it is shown as a coin-sized quantity, do not substitute another product’s coin or diameter. Because the liquid spreads flat, the height of a cream mound or number of pump presses is not an equivalent guide. Prioritize the quantity stated for your product rather than judging only the spread of liquid.
The photo shows a hand receiving liquid in a shallow hollow. It is an aid to checking hand position, not a comparative test against a flat palm. Do not clench your fingers tightly; watch where the liquid stays as you move on to spreading it.
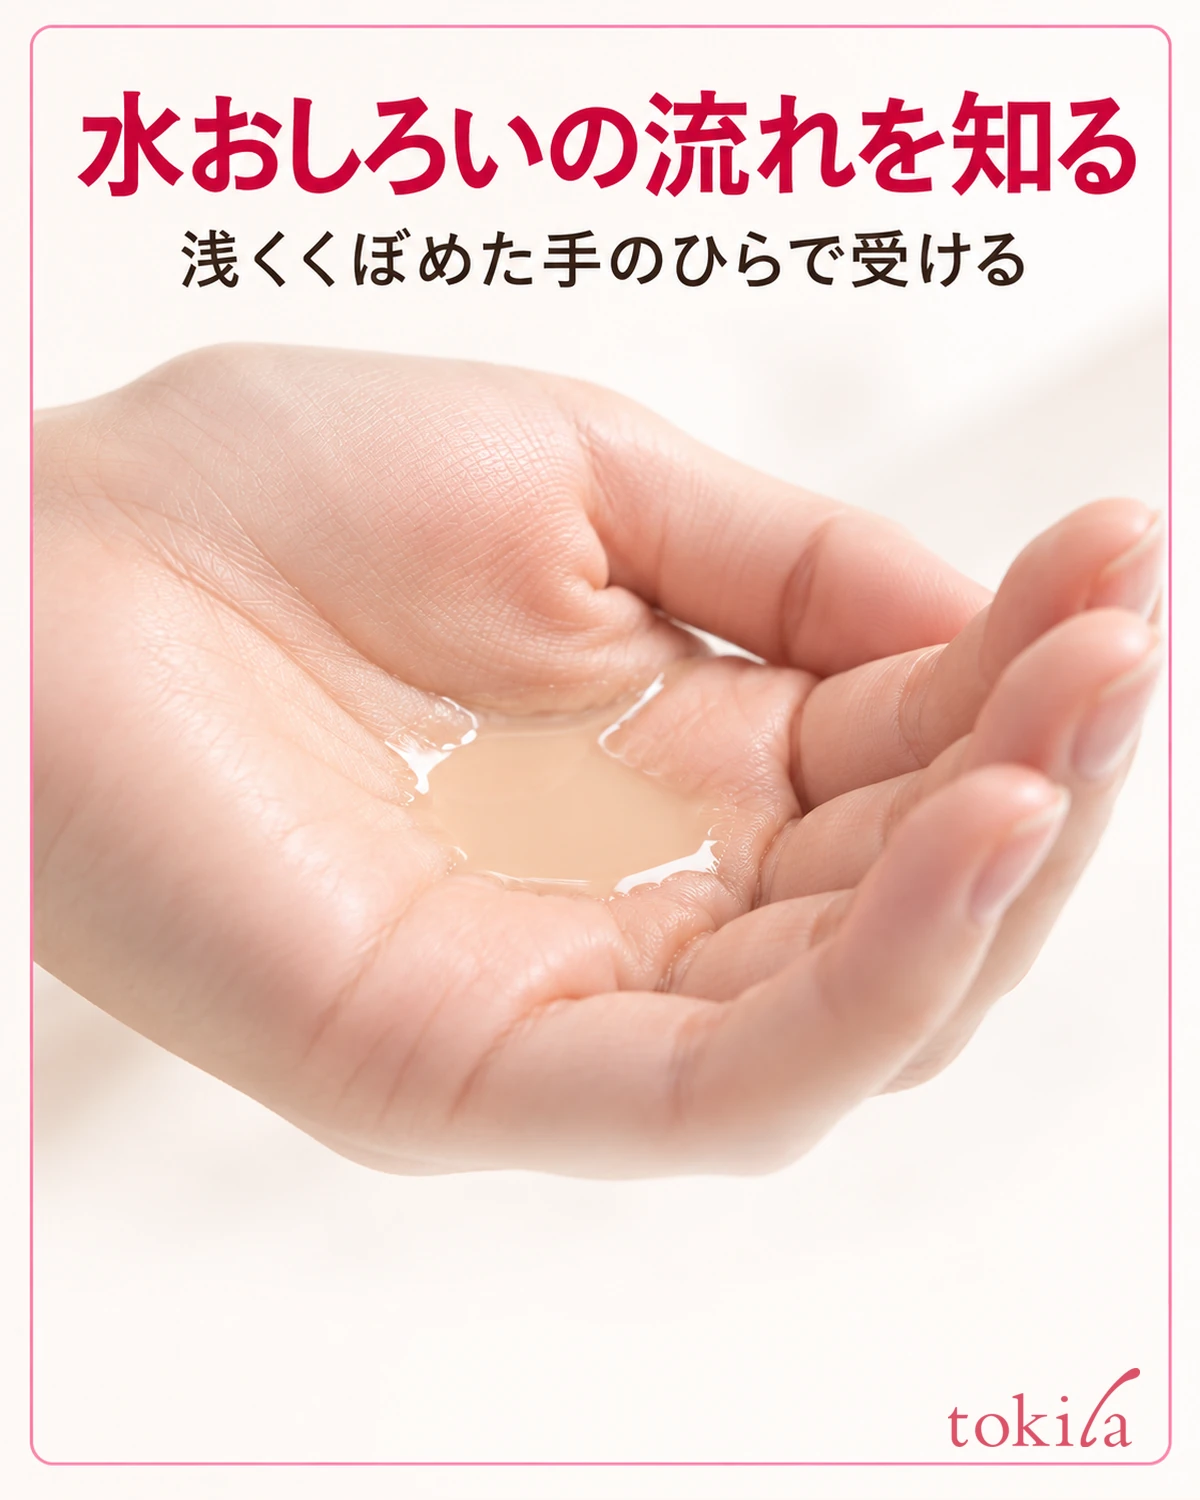
Dispensing too much does not mean you need to layer all of it on your face. Do not return dispensed product to the container or save it in another container for tomorrow; follow the directions for excess product. When adjusting quantity, do not compensate by skipping the shaking step.
3. Spread it over your hands and quickly smooth it over your face before it dries
Follow the directions for working the product in after dispensing. Some call for spreading it over both palms; others call for blending it in your hands first. Check your own product’s steps rather than applying another product’s instruction to work it until sticky to every water-based foundation.

When applying by hand, lightly place it over broad areas such as cheeks and forehead and spread it promptly. Promptly does not mean rubbing hard or pulling the skin. Move gently with few motions and do not leave the liquid in your hands for long, so you can reach the next area before it dries.
As you spread it over your cheeks, be aware of where the broad surface of your palm touches. Separating broad areas from detailed areas makes the applied region easier to track than repeatedly moving only fingertips along narrow lines. Keep it out of eyes and mouth and observe the specified application areas.
If it dries partway through and becomes difficult to move, do not add force to stretch it out. Do not add water to remix it on your skin or mix in another cosmetic you have not yet applied. Lift your hands away and inspect it. If the instructions explain how to add more, follow them for the areas that need it.
Some products allow a sponge; check the compatible type and how to handle moisture. Starting with your hands and switching midway to a wet sponge changes both quantity and moisture. On sponge days, prepare the appropriate method for that product from the beginning.
4. Check around the nose and face edges and adjust only where needed
After covering broad areas, look at your whole face in the mirror. Turn slightly as well as looking straight ahead, and check beside the nose, around brows and hairline, in front of ears, and along the jaw. Light and shadow affect color, so do not immediately add product after inspecting just one area close up.

If the directions call for finishing small areas such as the nose with fingertips, use the finger pads gently over a small area. Do not switch to scratching with nails or repeatedly rubbing partly set product. Distinguish fingertip work from broad palm application and touch only the places that need it.
The face edge is where facial skin meets the areas in front of the ears and the neck. In the photo, observe the shape of the skin in front of the ear and along the jaw to identify where to look in your mirror. Move your hair aside first so these areas are easier to inspect. This is not an instruction to apply the same quantity to your neck.
For products finished by pressing the whole face with palms, follow their instructions for that step too. Distinguish pressing from pulling and rubbing sideways. Check compatibility for layering and finishing powder rather than assuming that increasing quantity always improves the finish.

If the finish looks uneven, identify where it looks different before adding a fresh full-face amount. The step to revisit differs depending on whether you used unshaken liquid, it dried while spreading, or you layered the same spot. Do not use photographic brightness or angle as evidence of product performance.
5. Plan touch-ups and removal and put the container away
Check the directions before daytime touch-ups. Some products instruct you to gently blot excess oil with clean tissue or a sponge before application. Rather than automatically reapplying the morning amount over your entire face, consider the area to repair and its current base separately.
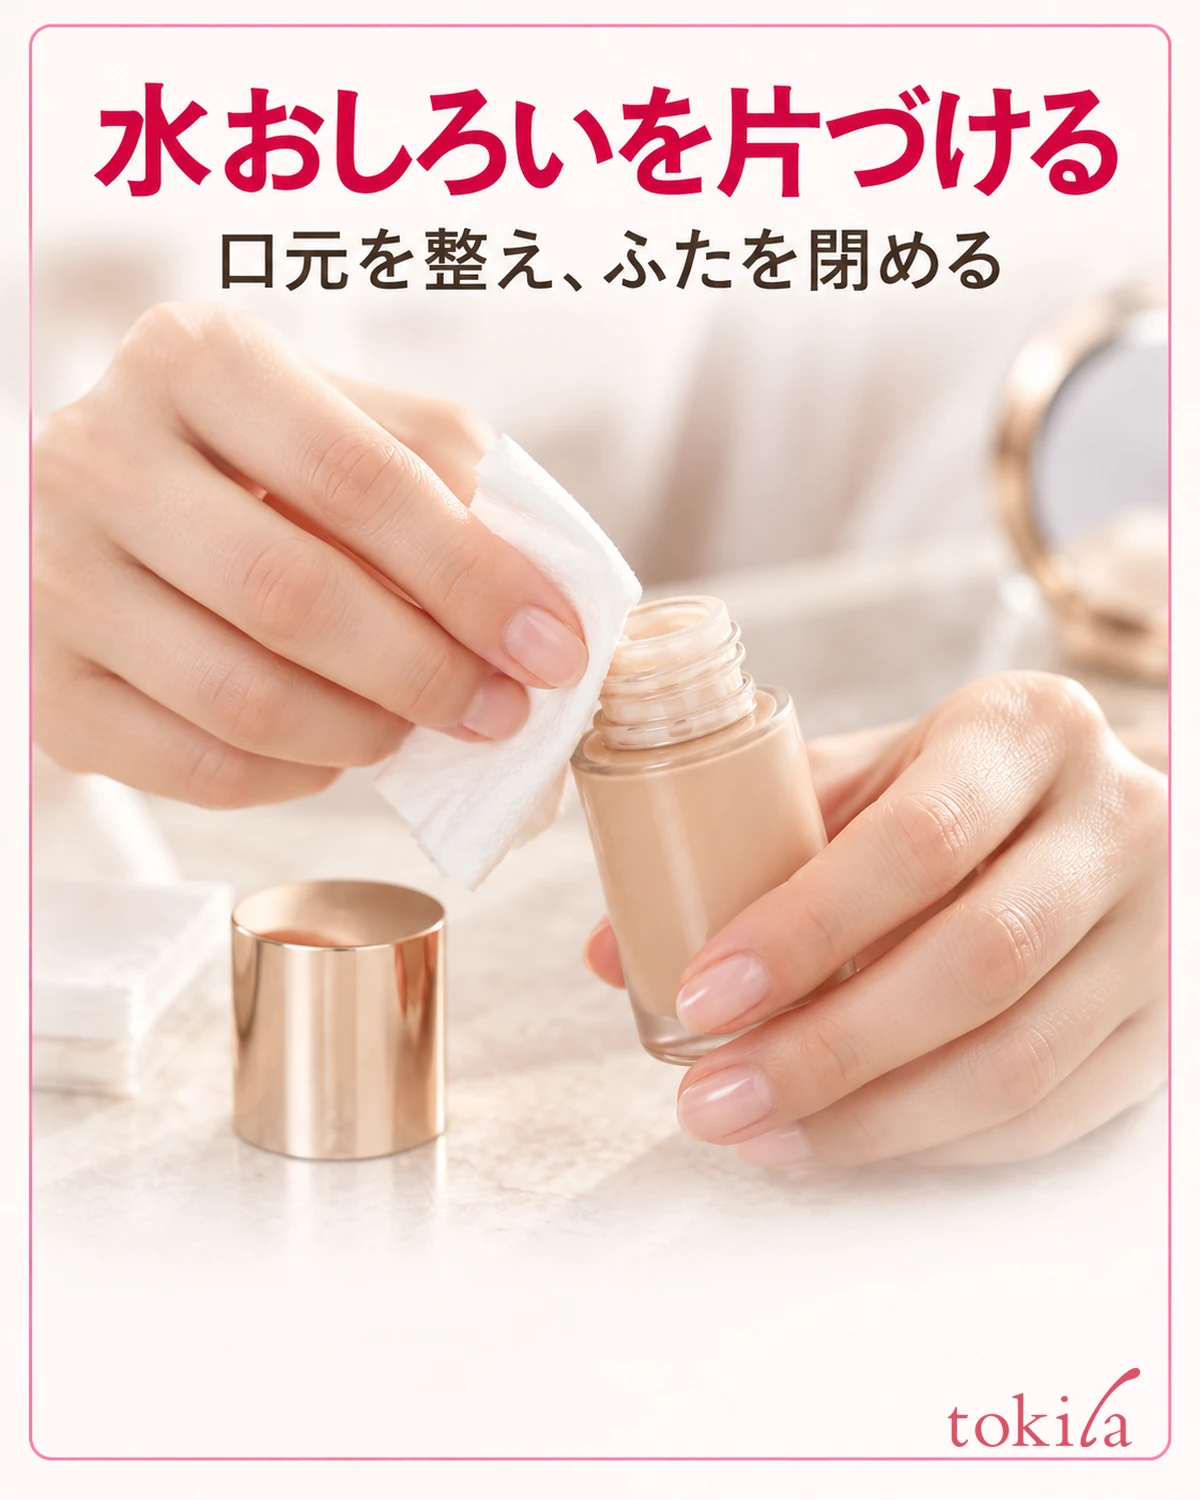
After use, inspect the opening and rim. Follow container-care directions when cleaning off product; do not push tissue deep inside or rinse the container’s interior with water. Close it with its matching cap and return it to the specified storage place.
Do not decide nighttime removal from the name “water-based foundation.” It does not mean that water alone or just face wash removes it. Include the sunscreen and primer layered that day, and follow directions for cleansing and washing that remove each product.
Next time, choose one uncertain step to review. If liquid came out first, revisit shaking; if it ran off your hand, revisit your receiving posture; if it dried before spreading, revisit the motions before it reaches your face. Do not change quantity, tools, and primer simultaneously; first decide which step to return to the directions.
Preparing shaking and dispensing together with spreading before it dries helps organize your first use of two-phase water-based foundation. Start with your product’s order and amount and connect broad-area application, details, and cleanup. If skin abnormalities occur, stop use and follow the product’s precautions.