
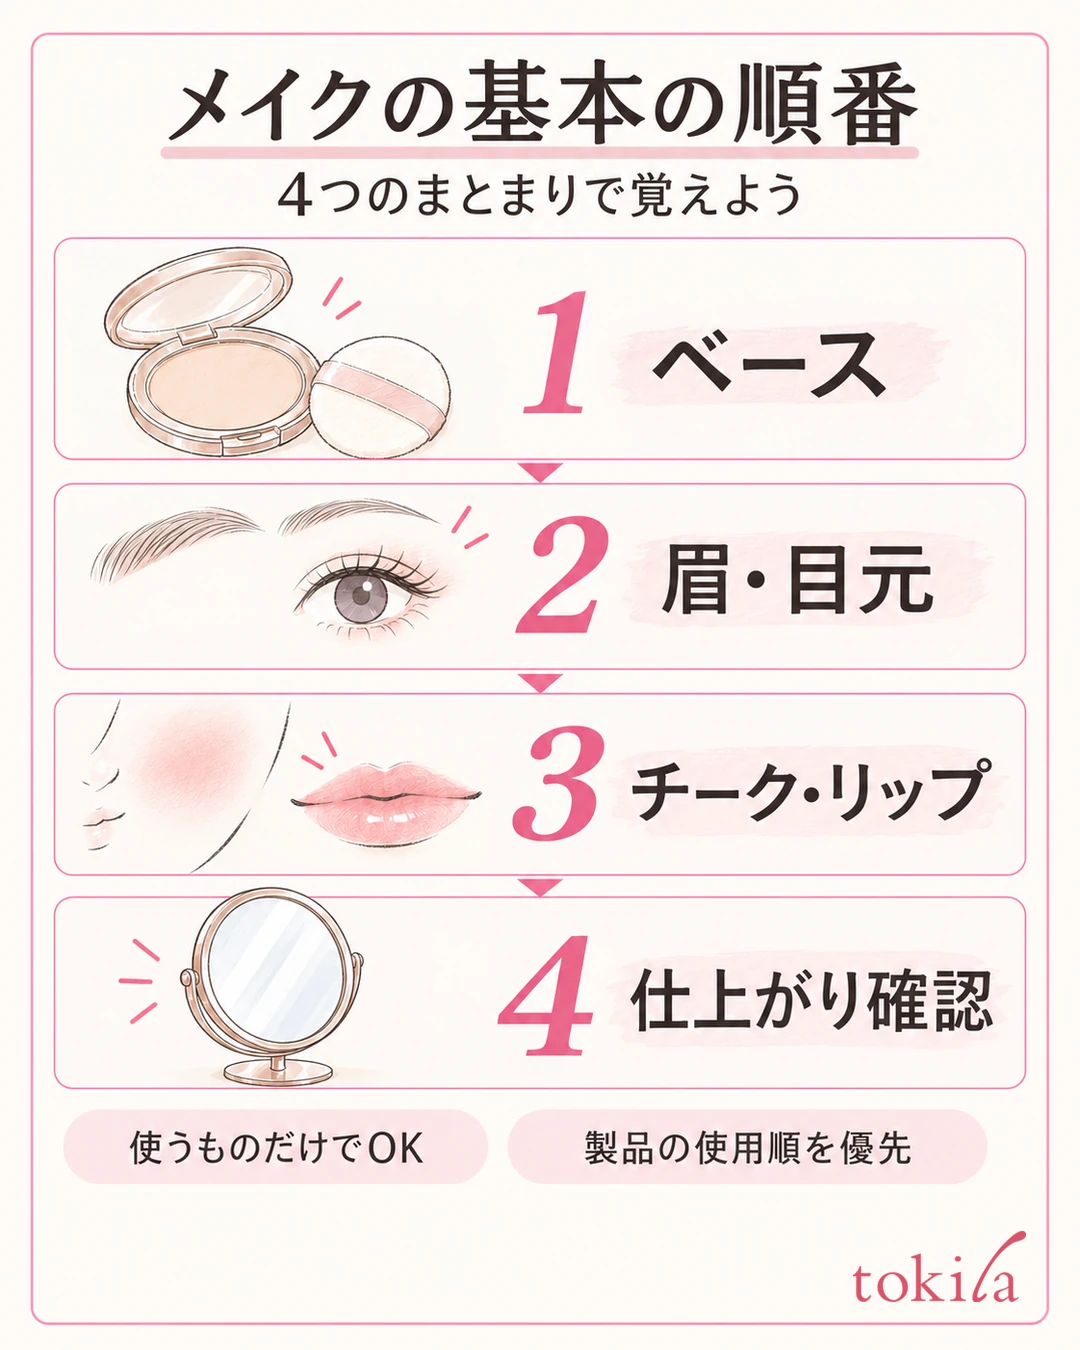
If you remember makeup as a set of stages, "prep your skin → base → brows and eyes → cheeks and lips → check the result," it becomes easier to choose what to use next. However, the order around concealer and foundation, and when to apply blush, changes with the type of product. You also don't need to do every step every time.
Here we go through the flow for completing a full morning makeup routine, and sort out the points where people often get unsure. Follow the instructions for the products you own first, and for detailed application methods and how to fix mistakes, see the related articles for each part.
1. Remember the order of makeup as a flow from building the skin to adding color
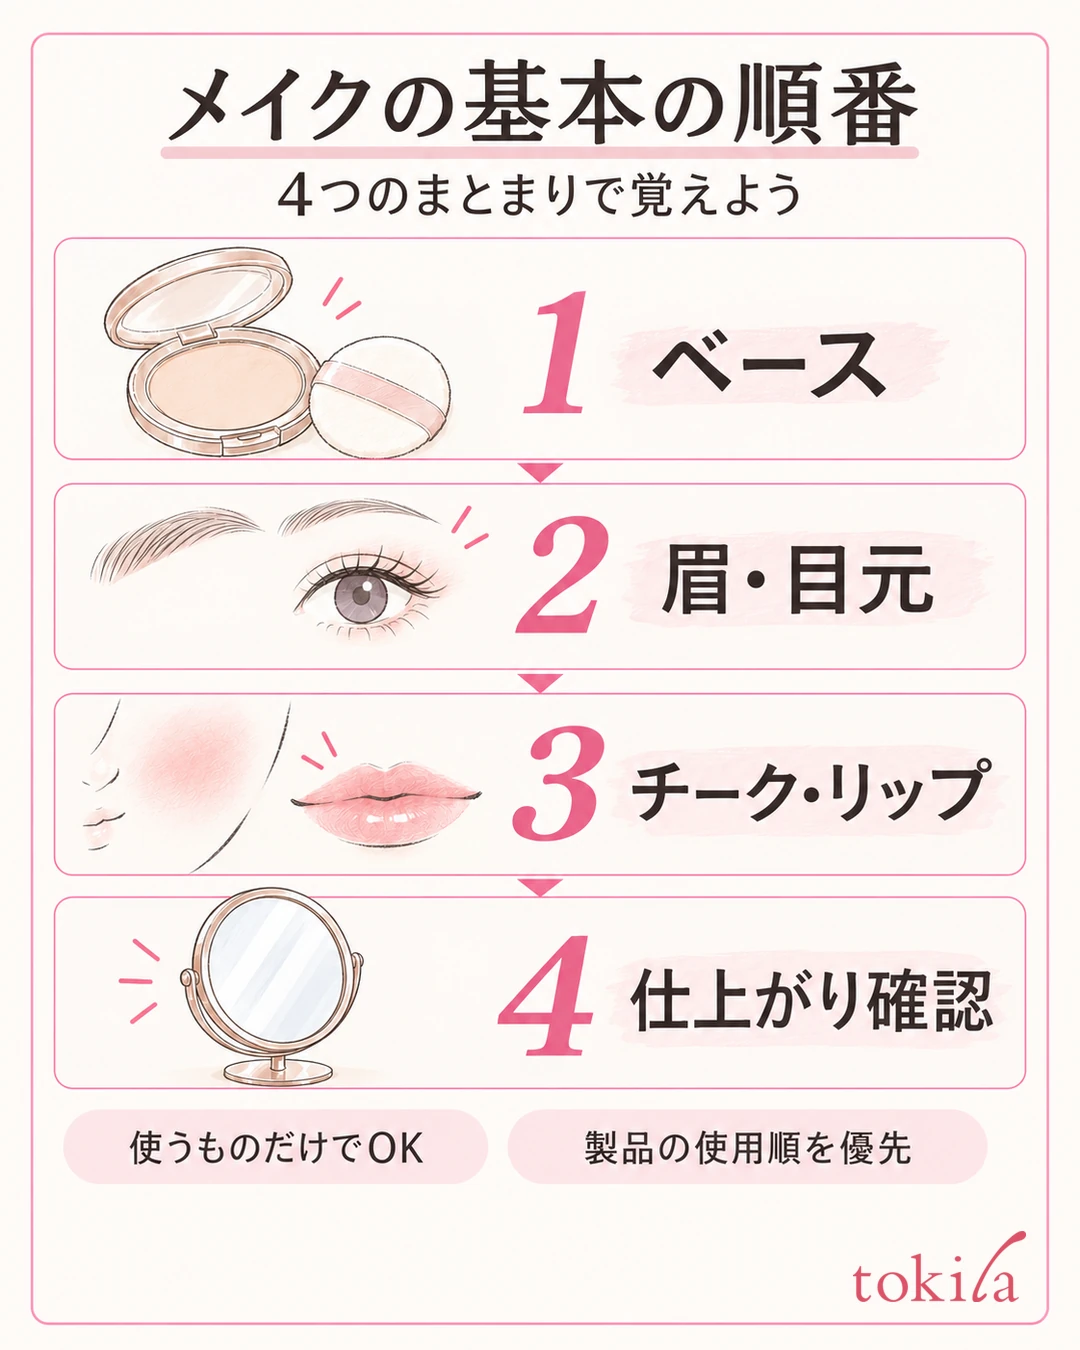
At first, rather than memorizing every product name, try sorting them by role. Prepare your skin with skincare and sunscreen, adjust how your skin looks with base makeup, shape the look with brows and eyes, add color to cheeks and lips, and finally look at your whole face and add only what is missing. With this flow as your basis, it is easier to avoid layering on the same spot again and again.
Before you start, line up the products you will use on the table in order. For the base, that is sunscreen, primer, foundation, and, if needed, concealer and face powder. Divide point makeup into four: brows, eyes, cheeks, and lips. If you take away the items you decide not to use today, you can also keep track of what you skipped.
For example, if you don't need to even out your skin tone over a wide area, you can choose not to use foundation. Conversely, if you only want to cover certain spots, use concealer following the product's instructions. With foundations that say no primer is needed, or with multi-purpose products, you may be able to cut steps. Don't mechanically layer everything just because the names differ; check each product's role on the container or label.
On days when you're short on time, decide which parts to use first rather than rushing after you start. Choose according to the impression you want, such as a day for brows and lips, or a day when the eyes take center stage. Even when you decide which steps to skip, it is important not to change the amount of sunscreen or how you apply it on your own judgment.
For a product you're using for the first time, check three things in addition to the order of use: where to apply it, the recommended amount, and the tools you can use. For example, if a foundation comes with a puff, try the method for that puff first, and you can adjust without mixing in the effect of switching to another tool. Whether you can use a dampened sponge should also be checked in the product's instructions rather than decided by how it looks.
This order is just one example to help you move smoothly. Some people find that eyeshadow powder tends to fall onto the cheeks, so it is easier to fix if they do their eye makeup first. Try the basic flow once, and remember where you had to go back; then you can adjust to an order that suits your own tools.
2. For base makeup, the order depends on the type of foundation
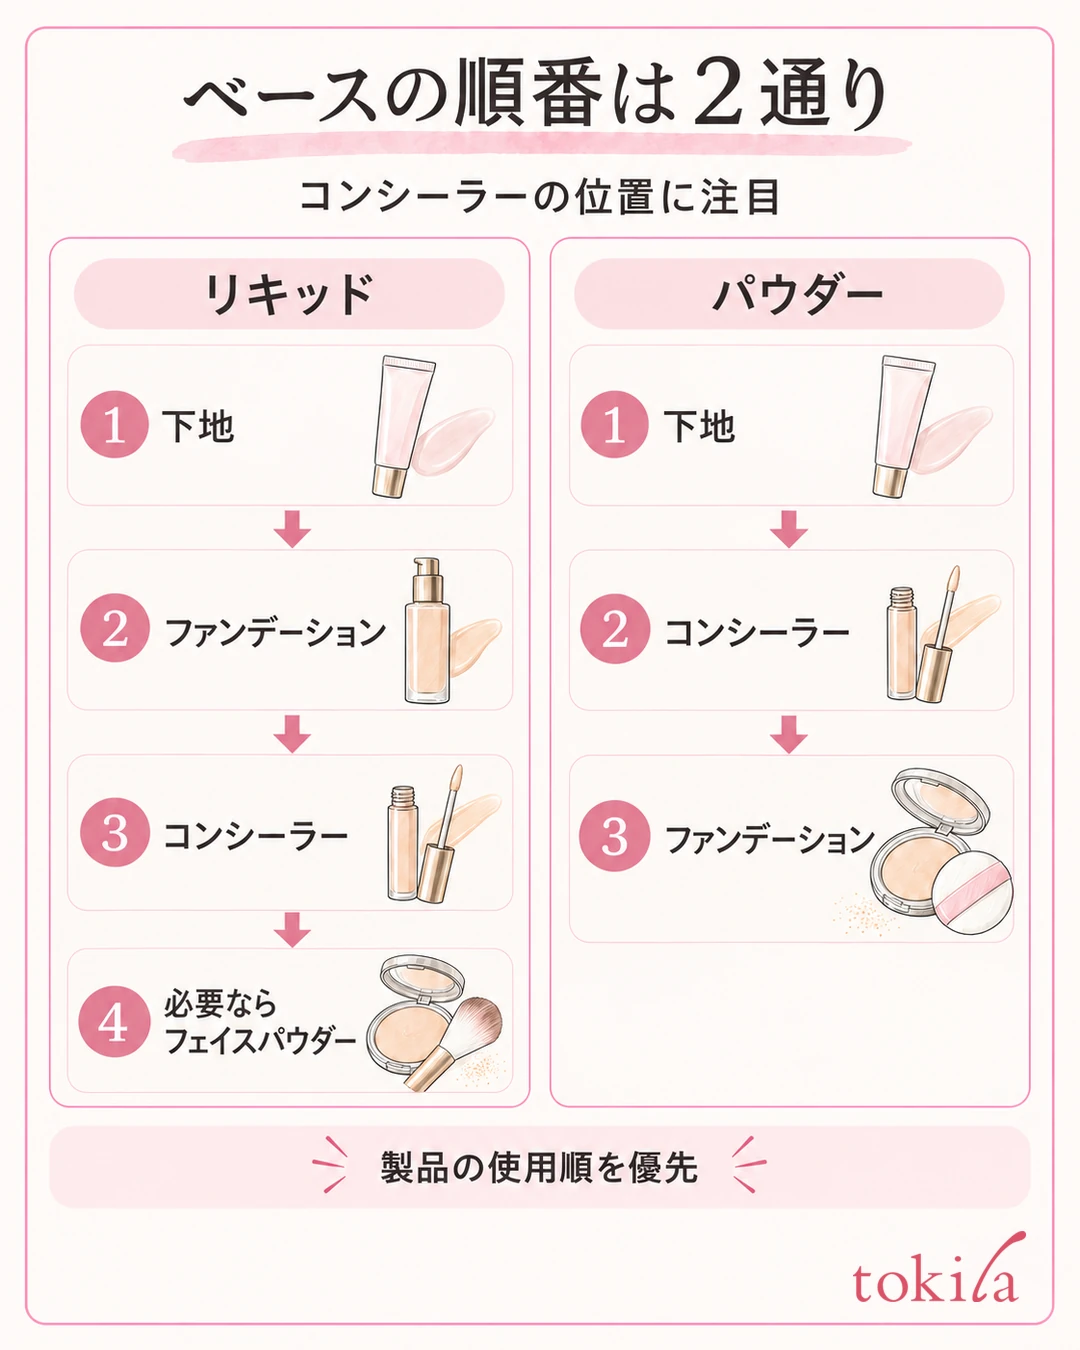
In general, you use sunscreen after skincare, followed by makeup primer. On the other hand, products such as primers that double as sunscreen have different instructions for each product. Check the order of use, the amount, and how to reapply before you proceed.
When you finish skincare, check whether any liquid remains on the skin. If the next product slides when you apply it right away, let it settle in once and then layer. There is no need to set a uniform waiting time. If you lightly blot excess oil, do it before applying sunscreen, and tidy up without rubbing.
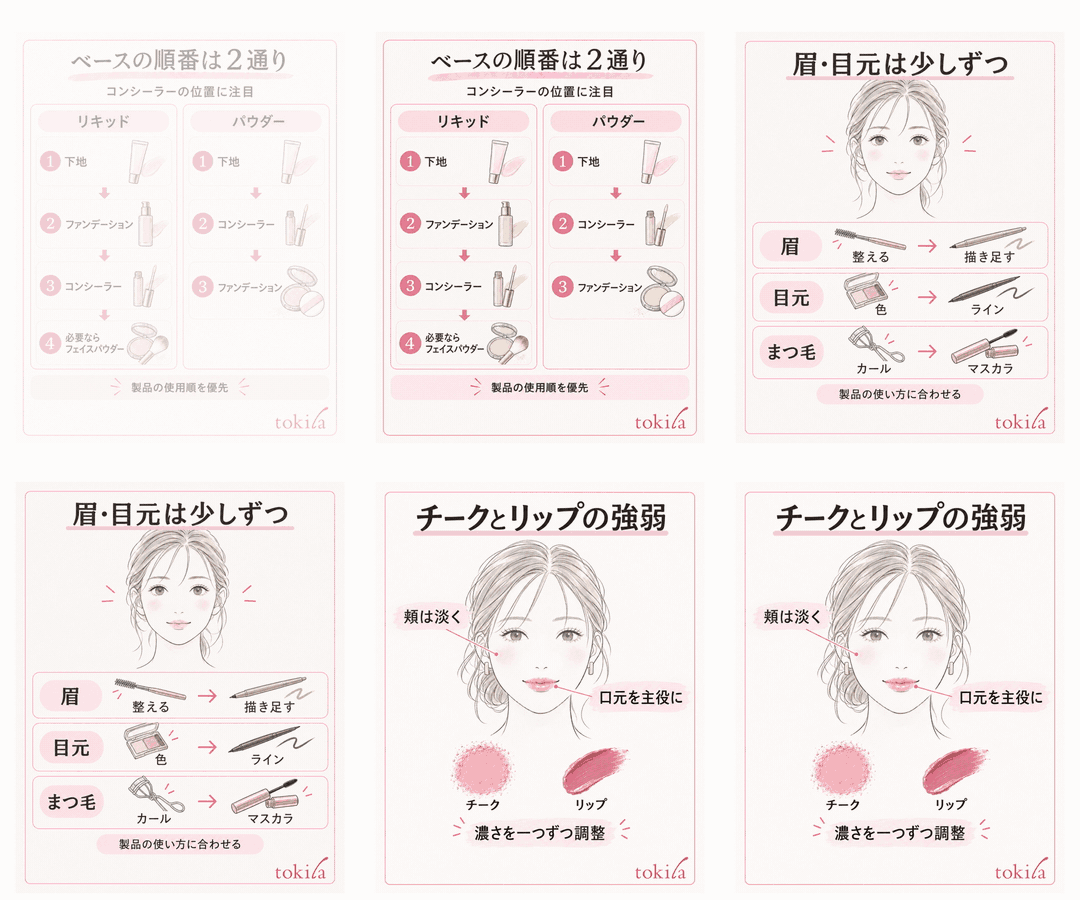
When you use liquid foundation, the general flow is primer → foundation → concealer on areas that need it → face powder if needed. If you first see how far the foundation evens things out, you can avoid applying concealer too widely.
When you use powder foundation, the general flow is primer → concealer on areas that need it → powder foundation. Moving a creamy product widely over powder can disturb the film underneath, so do the partial coverage first. Don't apply this branch uniformly to cushion, BB, stick and similar products; judge by the instructions for that product and for the concealer you combine with it.
Face powder and powder foundation have different roles. It doesn't mean you need both just because they are powders. Follow the finish you want and the product's recommendations, and avoid adding more repeatedly to areas that tend to look powdery.
If streaks or unevenness appear while layering, don't increase the amount right away; lightly blend the edges with a clean side of the sponge. Avoid going back and forth over the same spot and moving the layer you applied underneath. For how to choose a form, see the basics of foundation and primer, and if the color floats only on your face, see how to choose a foundation color.
3. For brows and eyes, look at both sides and your whole face each time you finish one part
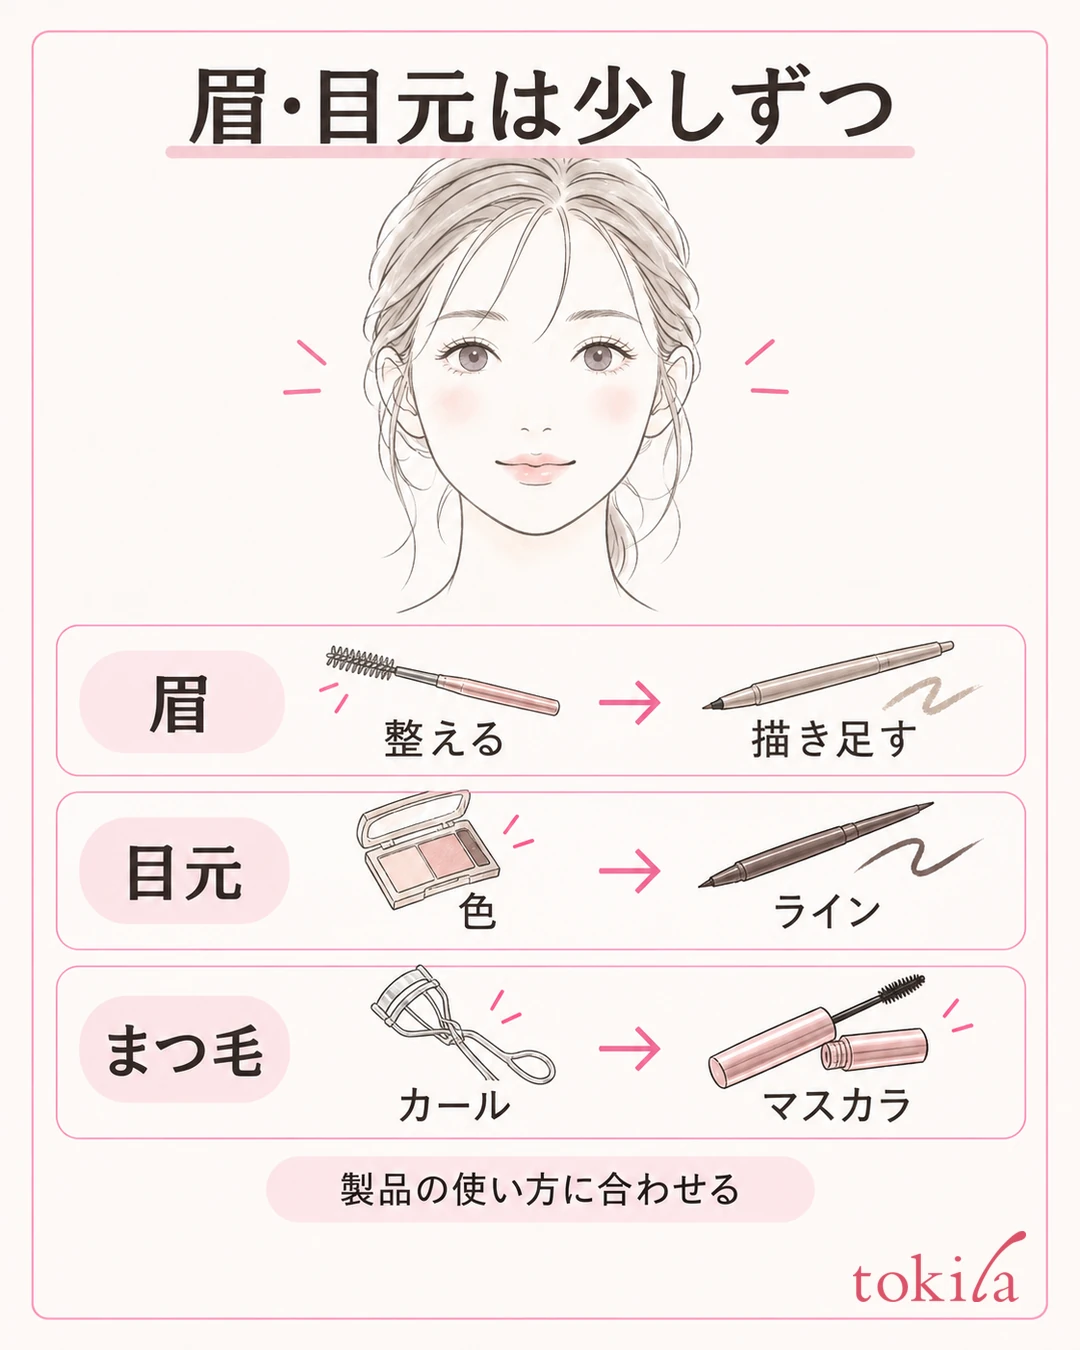
For brows, smooth the hair direction with a spoolie brush before adding color. Separate the areas where hairs overlap and look dense from the areas where hairs look sparse, and draw in only what is needed. If you fill in evenly from the inner end to the tail, you will have more work lightening it later.
Rather than finishing one side and then forcing the other side to match, you can also try adding a little to both sides. After looking at the hairs and lines with the mirror close, move it away and check with your whole face. Instead of changing the left and right to exactly the same shape, separate out which of height, length, and density bothers you, and you can narrow down where to fix. For details, see how to check and draw brows when the left and right differ.
One example for the eyes is eyeshadow → eyeliner → curl the lashes → mascara. However, there is also a way to draw the line and then layer and blend a deep eyeshadow over it. Adjust to the products you use and the impression you want, and don't decide the right answer from the order alone.
Start with a small amount of eyeshadow; placing the light color wider and the deep color narrower makes it easier to manage the area. The shape of the eyes and the range visible when they are open differ from person to person, so don't judge it finished from the closed eyelid alone. Open your eyes and look at the position of the color and the depth on the left and right. You can check the range and the edges in how to apply two eyeshadow colors.
If you use an eyelash curler, you generally do it before mascara. Check that the position doesn't pinch your eyelid, and stop if it hurts. For mascara, check that the product hasn't hardened on the brush, then apply little by little. Don't layer more while a large clump remains; refer to how to check for and fix clumps and tidy up in a way that suits the product.
4. For cheeks and lips, decide the star and adjust the intensity
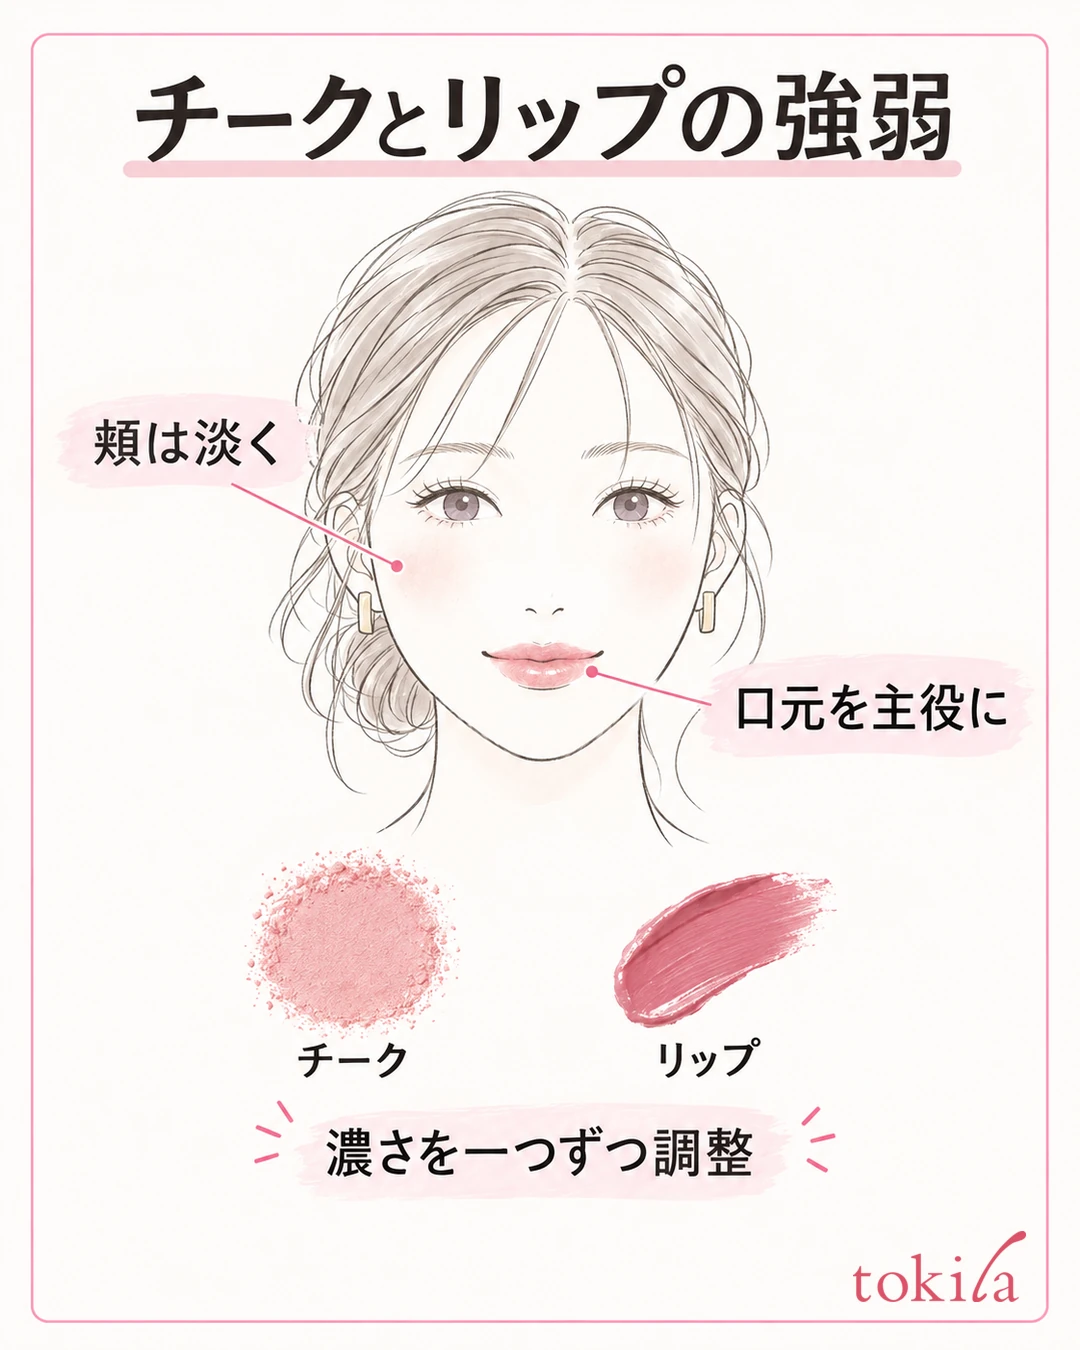
Once you have finished the brows and eyes, match the color of the cheeks and lips. If you apply blush lightly first, then apply lipstick, look at your whole face and add to the cheeks, it is easier to adjust the strength of the color. On a day you use a deep lip color, you can decide the finish of the lips first and then add blush.
There are branches in when to apply blush depending on its texture. In general, powder blush goes over a base set with powder, and cream or liquid blush goes before face powder, but some products can be used over powder. When you change the order, check the product's usage label, and blend little by little so you don't rub off the base.
If the colors look mismatched, rather than buying more right away, look for which part looks too strong. When a bright lip is combined with deep blush, both may stand out. If you want to keep the lips, first make the cheeks lighter. If you want the eyes to be the star, layer the colors of the cheeks and lips lightly. Deciding on one star like this lets you judge what to reduce.
You don't have to match them just by the name "pink." You can also give them something in common in tint, brightness, or vividness. The strength of shine and glitter also affects the impression, so rather than keep changing only the color, review the depth and texture one at a time. Specific examples are in matching lip and cheek colors, and if you include the eyes, in combining the three parts.
For lips, smooth the surface first, apply little by little, and check the center, the outline, and the corners of the mouth. Don't layer more color over a spot that went outside the line; remove that part first and add only where needed. How to apply lip color to fix unevenness and overdrawing is also helpful.
5. Finish by checking from close up and from a distance to narrow down where to add
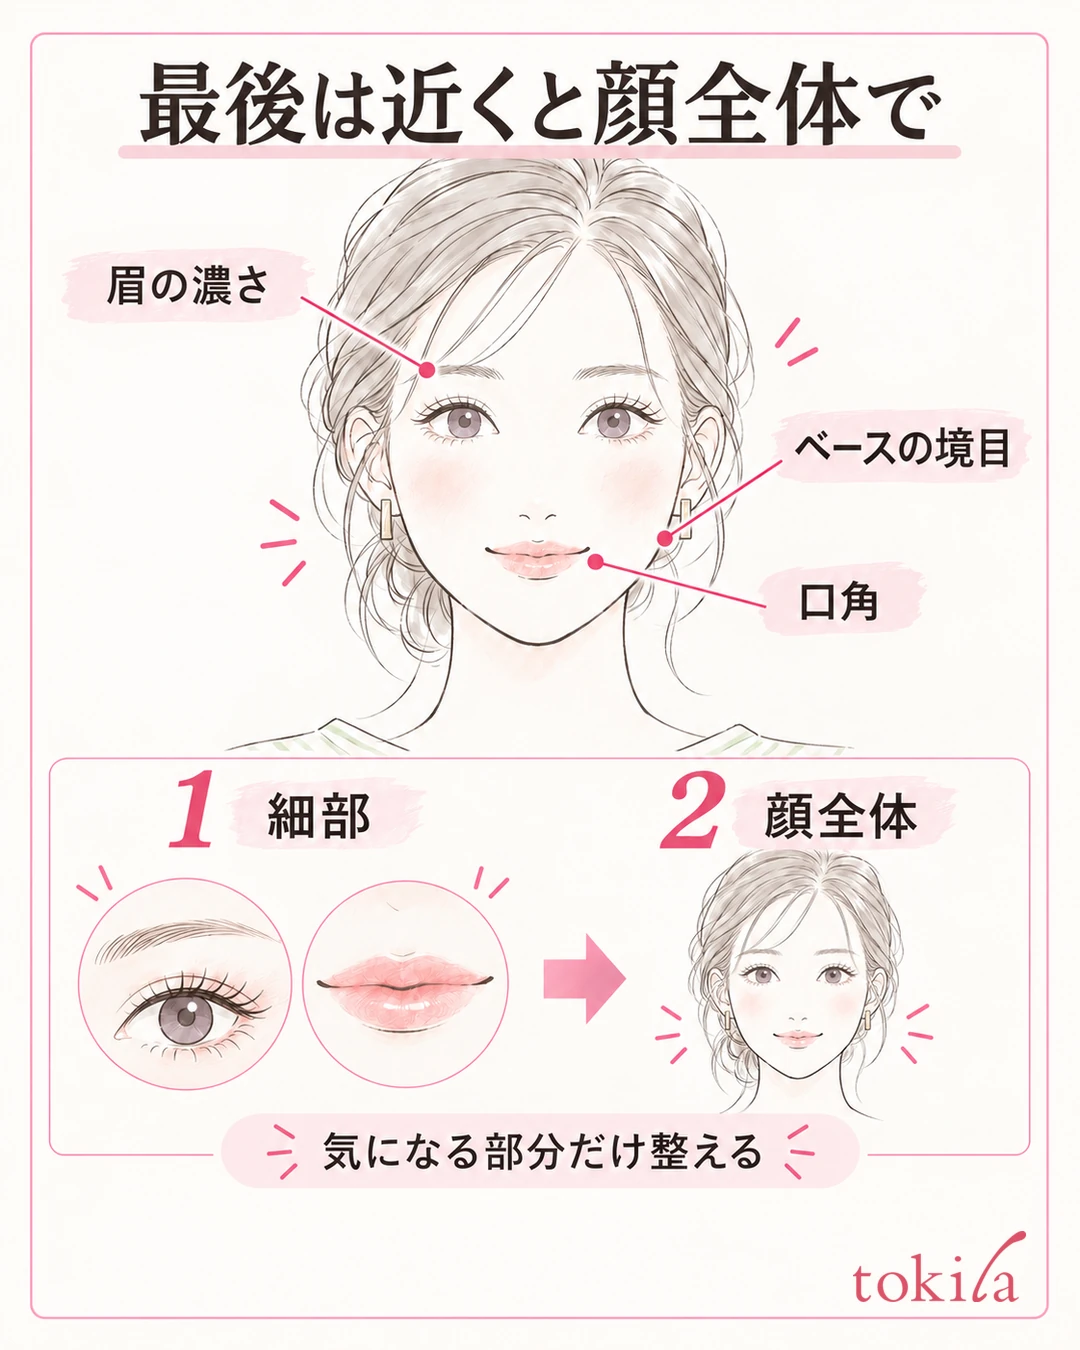
At the end, bring the mirror close and check the edges of the foundation, product collecting at the sides of the nose and under the eyes, any spots missed on the brows, color transferred under the eyes, and the corners of the lips. Next, move the mirror away and look at the balance of color and intensity across your whole face. If you add more while looking only at details, the whole look may become too strong, so switch the distance as you judge.
After applying lipstick, lightly open and close your mouth and also check the outline and whether it has stuck to your teeth. Don't touch mascara or eyeliner until they dry, and when fixing transferred color, tidy up a small area in a way that suits the product.
If possible, check in light that doesn't cast strong shadows on your face, and look at how your face connects to your neck. Don't compare while keeping your face close to the mirror with only one side in deep shadow. Making the lighting conditions the same helps you judge whether you need to add makeup.
Do corrections in the order of "tidy up the excess → add what is missing." If concealer has collected in a line, first lightly blend that spot with a clean finger or tool. Avoid applying more thickly on top of smudged base; add thinly only to the area that still lacks color. Eye adjustments are covered in preventing under-eye concealer creasing, and touch-ups on the go in the order for makeup touch-ups.
When you finish, lightly remove the dirt from your tools and check whether they can be washed with water and what cleanser to use. Make sure a clean side of the sponge is usable, and dry washed tools thoroughly before storing them. For specific handling, see caring for brushes and sponges.
On days that didn't go well, leave just one thing to change next time. Examples are "narrow the area where I use concealer" or "apply blush lightly once and stop." It is easier to find the point to adjust if you don't change the order, amount, and area at the same time. Rather than adding more steps, try building a flow in which you choose what you need and finish little by little.



