
When you put on a hat, it is hard to see ahead. You can see if you lift the brim, but it drops again when you let go. In that case, before bending the brim or tightening the hat, check separately how deep you are wearing it and how it sits on your head.
Here we introduce steps for reviewing an everyday hat with a brim before you go out. Finding a flattering angle is one thing; being able to see your surroundings is another. We give priority to the orientation and adjustment method of the hat you own, and go through checks so that you do not keep using a hat that remains hard to see out of.
1. Check the brim's shadow and the narrowness of your view separately

First, stop in a bright place with nothing on the floor. Check not only whether your eyes show in the mirror, but whether you yourself can see straight ahead. Even if your face is visible in the mirror, the edge of the brim may be entering your field of view. The starting point is to look in your usual posture without lifting your chin.
Next, put into words what bothers you. Separate whether "my face looks dark," whether "the brim hides the upper part of the view straight ahead," or whether "I can see right after putting it on, but the crown slips down." How dark the shadow on your face is and how far you can see are not the same thing. If you change the angle just to reduce the shadow, the fit may change as well.
After looking straight ahead, turn your face to the left and right as far as is comfortable and check the range you can see from the front to the sides. Do not compensate by tilting your neck back far, or check while holding the brim with your hand. If the crown tilts partway, remember that movement too, take the hat off once, and move on to the next check.
You do not need to walk around to check. Do not go out onto stairs or a road while it is hard to see, and if you notice it while out, check your surroundings, stop in a safe place and then take it off. Do not put up with it on the idea that "you'll get used to it if you wear it a bit" as a substitute for adjusting the size.
A short note is enough for the spots that bother you, such as "it dropped onto my forehead" or "the left side is lower." A photo can help you compare appearance, but it cannot capture your own field of view. It is important not to treat being able to see your eyes in a photo as the only condition for being able to see your surroundings.
If only the lighting at the mirror is dim, you may be looking at the shadow on your face. On the other hand, if the edge of the brim hides the direction you want to see even in a bright place, changing the lighting will not solve it. Compare with the state without the hat and sort out which one is bothering you.
2. Check the front-back orientation and the position of the opening

Take the hat off once, and check its front-back orientation and the inner band that touches your head. The inner band is the part called the "sweatband." The shape differs between hats whose brim is only at the front and those with a brim all the way around. Do not decide that the back is always where the tag or seam is; adjust the orientation according to the shape and instructions of the hat you own.
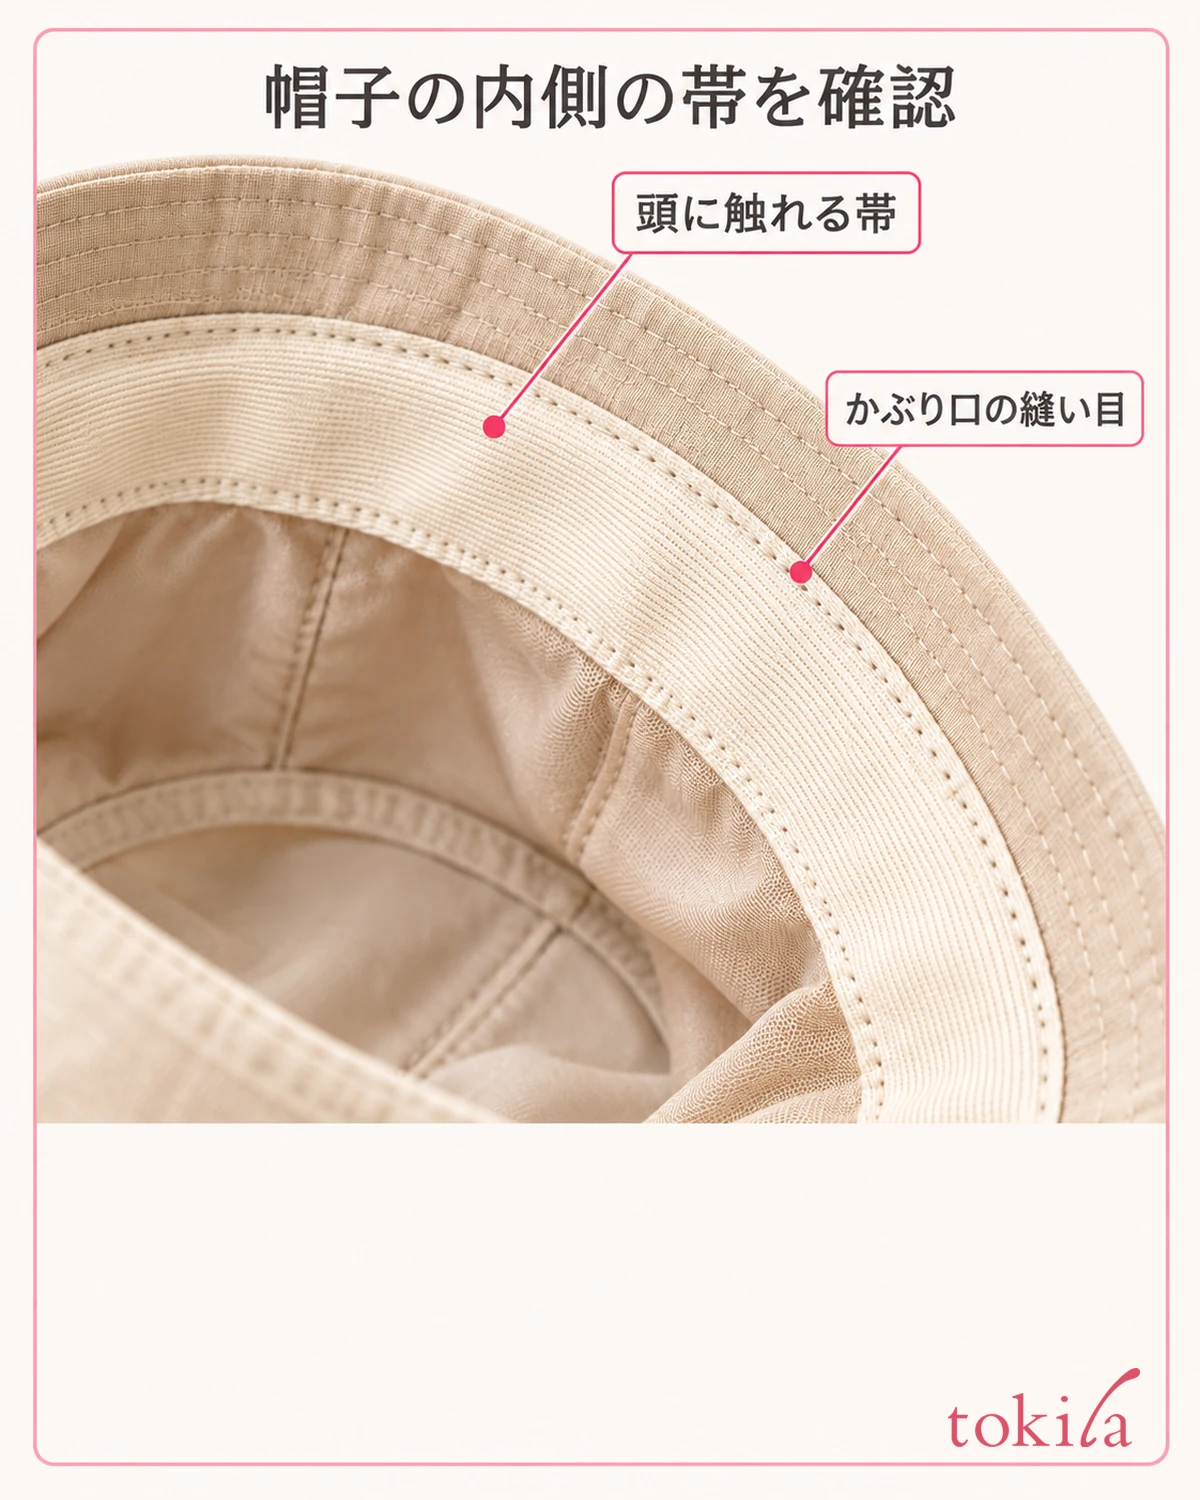
Style your hair the way it will be that day, then put the hat on again. Check whether a high knot or thickly layered hair pressing against the inside makes the hat sit up or tilt. Do not let your hair down or tie it up each time you check; first make it the same as it will be when you go out. You do not need to pull your hair hard and push it into the hat.
When putting it on, support the crown with both hands to adjust its position rather than pulling the tip of the brim. Do not push it deep onto your forehead from the start; stop where it sits naturally, let go, and look straight ahead. If you shift the position a little, support the whole hat again and do not bend only the brim up strongly.
Wearing it shallower does not solve everything. Even if your view widens, if it just sits on top of your head and is not stable, do not go out in that state. If you can keep your view only by tilting it far forward or back, next check whether the depth and shape suit the way you are wearing it now.
You do not need to apply a position such as "so many centimeters from the forehead" to every hat. How it sits changes with head shape, hat depth and hairstyle. Check on your own hat whether it does not squeeze or hurt, and whether you can check your surroundings even after letting go of the hand supporting the crown.
If you normally wear glasses, wear them when you try it. Do not lower your glasses or press hard on the temples to fit the hat; check whether they stay in their usual position. If adjusting the hat shifts other items around your face, review the combination as well.
3. Look at size and adjustment features separately from shape and depth

Look at the hat's label and check the head circumference size and the range that can be adjusted. "Free size" does not mean it fits everyone in the same way. Features such as an inner adjustment tape or a back belt differ by product. Do not pull on a decorative ribbon thinking it is for adjustment.
If you look up a size guide, use a soft tape measure to measure your head circumference at the position where you wear the hat. Go all the way around from the forehead, above the ears, and the back of the head, and check that there are no twists or strong tightness. If a measuring position is specified, follow that guide. Do not decide by numbers alone; also check how it actually feels to wear.
If there are adjustment features, move them little by little in the direction the instructions describe. Do not tighten hard all at once; put the hat on again and look at pressure on the forehead and temples and at slipping of the crown. Avoid putting up with tightness to secure your view, or pulling the belt to its limit.
If it still sits up, tips forward, or touches only on one side even after adjusting, include shape and depth as candidates, not just the head circumference number. Even at the same labeled size, the shape of the part where the head goes in is not the same. Do not stretch a tight hat by hand or widen it by wetting it; switch to trying a different shape.
If you add something inside, first check that it is a method that can be used on that hat. Packing in paper or thick cloth on the spot is not a standard fix. If you find it cannot be made to fit with the adjustment features alone, do not force it into a wearable state; keep the option of choosing a different size or shape.
If you are unsure about the measured value, set the tape measure position and measure again. It is important not to tighten it in order to look smaller. Because size labeling standards differ between brands and shapes, do not judge that another hat is the same size based only on the label on the hat you own.
4. Compare brim direction and length without deforming it

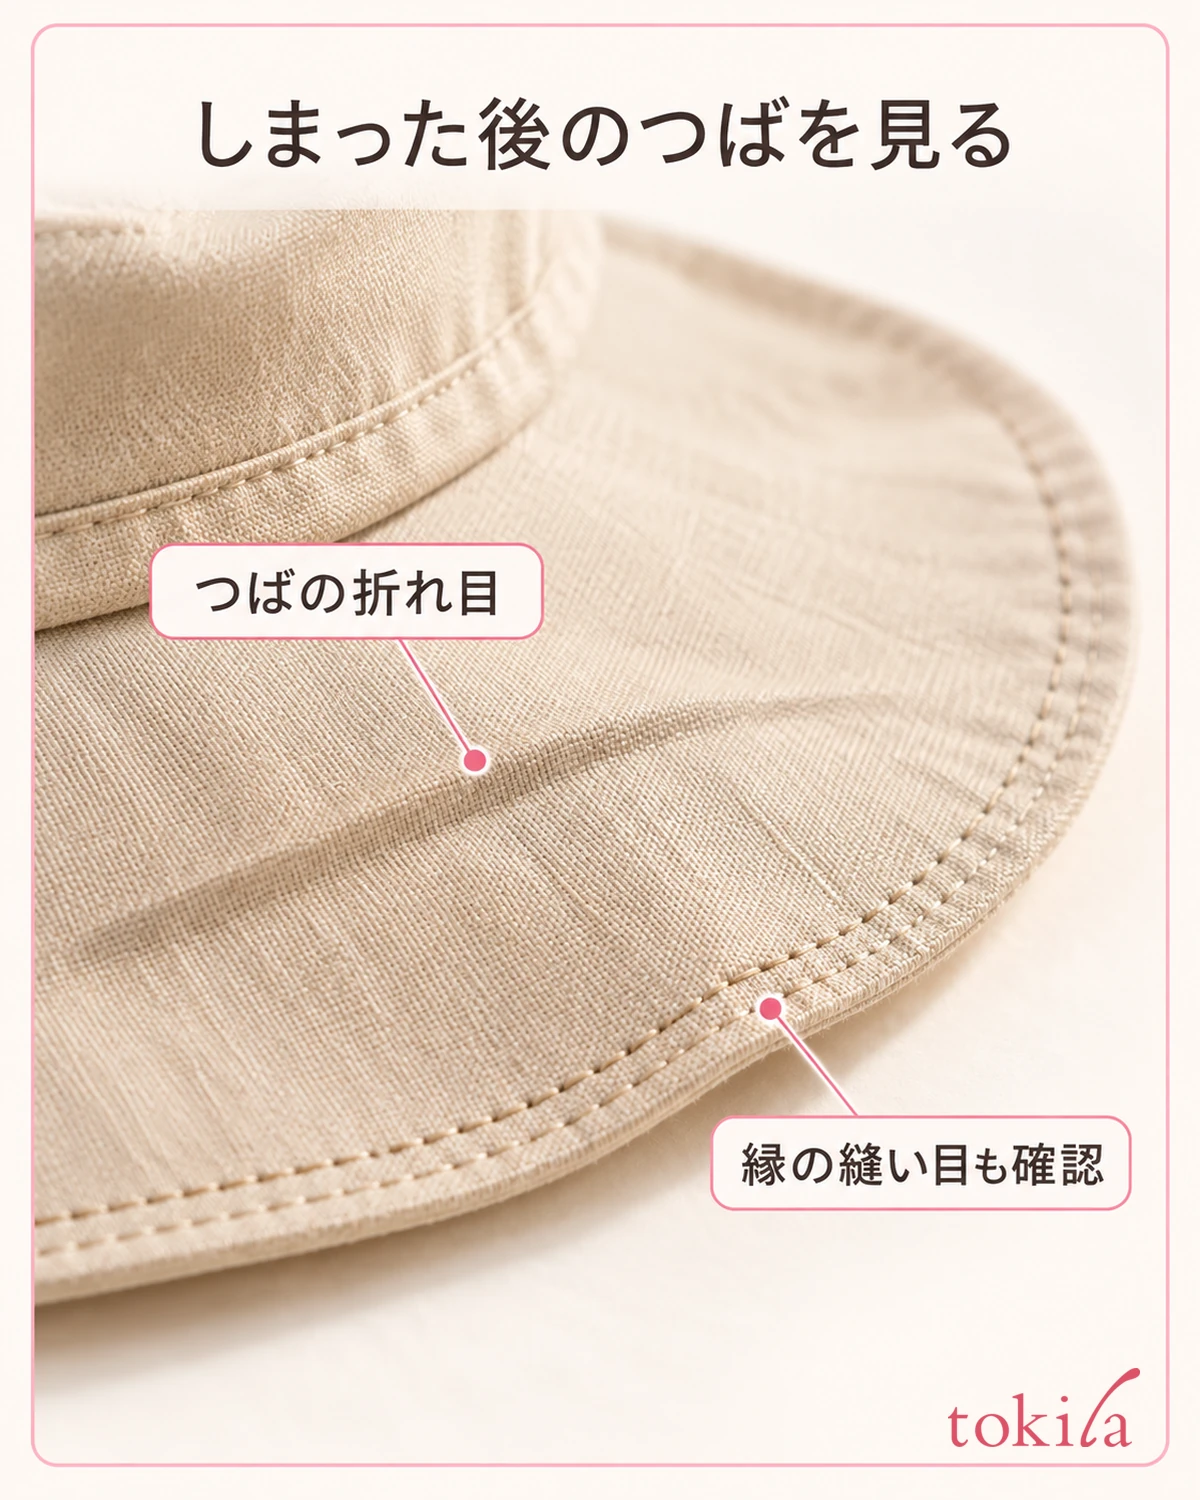
If the opening is stable but it is still hard to see, look at the brim's length, its downward angle, and whether it droops softly. Check in the mirror from the front and the side, and distinguish the part that goes on your head from the part that projects forward. Not summing it up as "the whole hat is big" just from the outside impression becomes a clue for choosing the next candidate.
If it is specified that the brim can be raised, adjust it within that range, let go, and then check how it looks. Do not judge from appearance alone whether it can be folded back or whether it has wire. Do not extend to methods such as bending a stiffly cored brim hard, or changing its shape with an iron or hair dryer.
If you have another hat at hand, put them on one at a time and compare. First match your hairstyle and posture, adjust the opening, and then look at the range in which the brim enters your view. Just holding the two together will not tell you the actual depth or tilt. While trying them on as well, do not lift your chin; return to a natural posture and judge.
If you have only one candidate, you do not need to cut the length or stitch it down to create a comparison. Record the conditions that trouble you, such as "the head circumference fits, but a shape where the front drops is hard to see out of." Use it as a memo for choosing something with a different brim shape or depth the next time you try one on.
Do not assume that a shorter brim is always comfortable, or that a longer one is always unsuitable. How you see also changes with material and tilt. Even if your aim is to avoid sunlight, do not prioritize a state where it is hard to see your surroundings; choose something that suits both the purpose and visibility. You can also sort out the differences in hat shapes in hat types and the basic way to wear them.
If the size chart lists the height or brim length, read them as items separate from head circumference. They can be a clue when choosing among similarly shaped candidates, but dimensions alone do not guarantee your field of view. Having understood the differences in shape, check the hat as worn.
5. Check with your hands off, and choose again if it does not fit

Finally, lower the hand that was adjusting the crown and, in a natural posture, check straight ahead and to the left and right once more. Standing still, move your face comfortably, and see whether the hat slides down and whether it catches on your glasses or hair. If you have to lift the brim many times during the check, do not yet consider it easy to use.
Look back, one thing at a time, at why the view changed. Distinguish whether you changed the wearing depth, used an adjustment feature, or switched to a different shape. If you change several at once, it becomes hard to know where to start fixing things when you are back in the same state next time.
If you cannot find a stable position, it hurts when tightened, or it seems about to come off when worn shallower, then for that day switch to another hat you are used to, or give up wearing one. Even with fasteners or a chin strap, they do not necessarily solve a poor fit in visibility or size. Use attached features within the range of their specified purpose.
After taking it off, also check the brim and crown for creases and the adjustment parts for fraying. If a deformation that happened in storage does not go back, check a response that suits the material and care label before fixing it with force or heat. If the same spot drops next time too, do not decide it is only a matter of how you wear it; review the condition of the shape as well.
Once your view and wearing comfort are sorted out, enjoy the balance with your clothes and hair. If you are unsure about colors, move on to how to compare hat and jacket colors. Rather than holding an awkward angle to look good, please try choosing, from the candidates you can wear naturally with your hands off, the one that goes with today's outfit.
When choosing next time, in addition to a color you like, check in order "it sits well with my current hairstyle," "I can adjust it without strain," and "I can look around with my hands off." Rather than deciding you are bad with hats in general because of the one that did not fit, narrow down your candidates for trying on by avoiding the conditions that troubled you.



