You want to buy a lip liner but cannot decide whether to match your lipstick or your natural lip color. Start by choosing the lipstick you will pair it with and how you want the outline to look. A liner that blends naturally with lipstick and one whose outline color you want to enjoy call for different comparisons.
This article covers choosing a colored lip liner before purchase. We look separately at color, tip shape, sharpening versus twisting, and application order. Clear outlining products and primers for the entire lip serve different purposes, so do not assume products are equivalent just because their names or packaging look alike.
1. Decide whether to blend the outline or enjoy its color
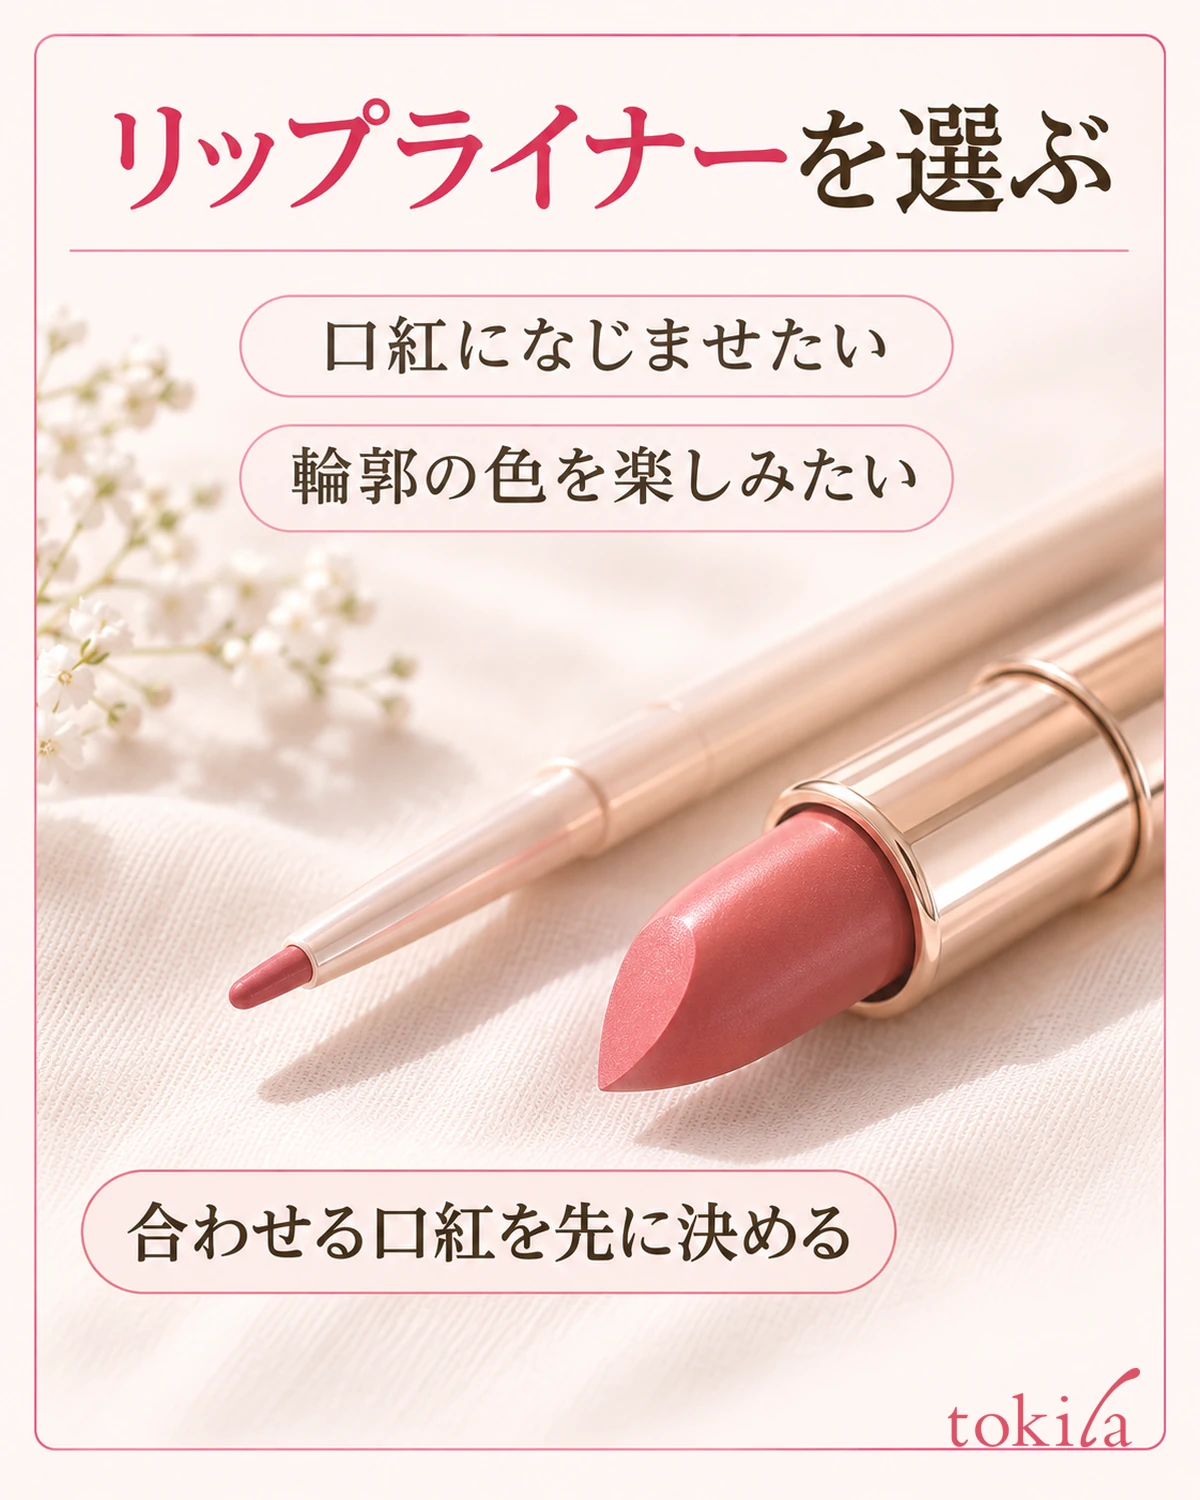
First decide what you want the liner to add. To subtly define the outline of your usual lipstick, look at how they blend together. To enjoy a little color around the lip border, differences in lightness and undertone relative to the lipstick can also guide you. Neither choice needs to be the only correct one.
Before visiting a store, choose one lipstick you often use and note its name or shade number as a reference. Trying to match many lipsticks with one liner can hide differences: it may blend with red but stand out against pale pink. Start with the shade you most want to wear it with and avoid adding too many candidates.
Even when matching your natural lip color, imagine how the result will look after lipstick is applied. A shade close to bare lips will not necessarily blend equally well with every lipstick you own. Whether the lipstick is sheer or strongly pigmented also changes how the line underneath appears.
Put your aim into one sentence: “I only want to define the outline” or “I want to enjoy the color together with lipstick.” If you want a colorless outlining product, look for its stated purpose rather than treating pale beige as clear. Thinking first of defining your existing outline, rather than substantially changing your lip shape, can make selection easier.
2. Compare lightness and undertone with your lipstick, not just shade names
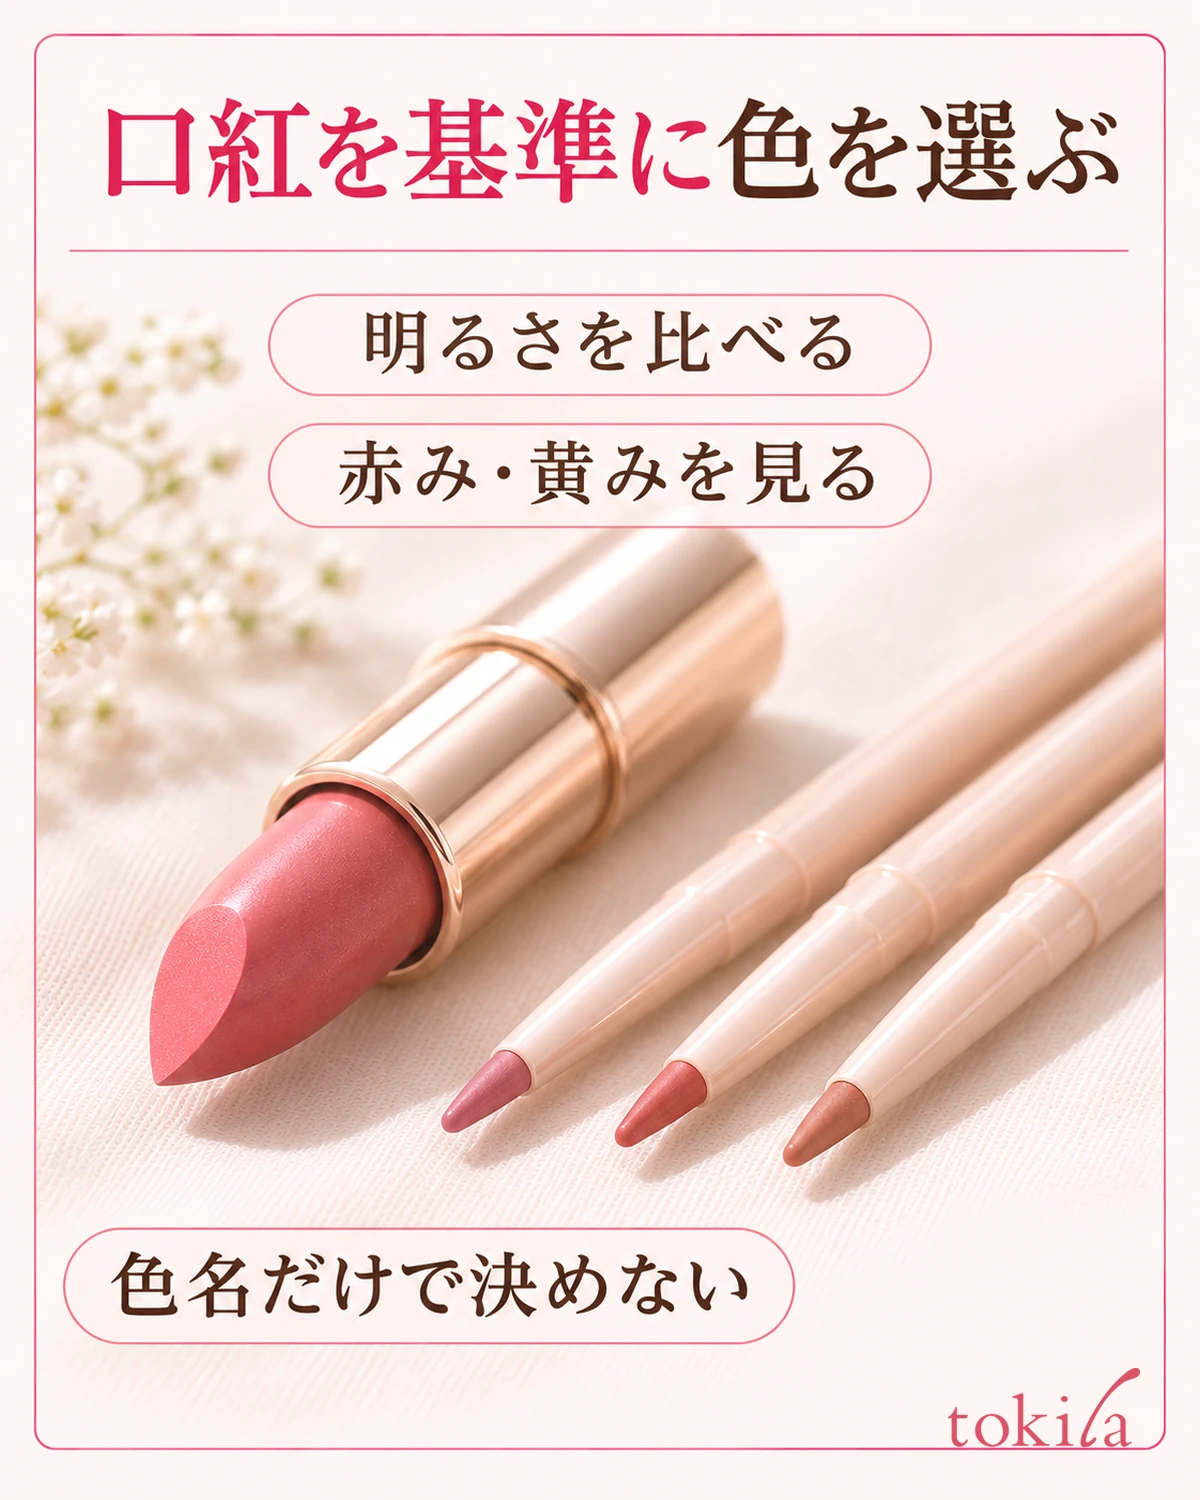
For a natural blend, start with a shade close to the lipstick you mainly use. Even when products share names such as “rose” or “beige,” their lightness and red, blue, or yellow undertones differ. Do not assume they match based only on packaging or screen images; compare candidates using store swatches and guidance where possible.
A set comparison order can reduce uncertainty. First check whether the line alone looks much darker than the lipstick, then examine red or yellow undertones. Choosing a clearly defined outline is fine if you like it, but if your aim is a natural blend, there is no need to force a strongly contrasting combination.
When testing, do not simply compare two colors seen under different lighting or applied in different amounts. Use the same lighting and a consistent idea of how much the lipstick and liner will overlap. Color on the back of the hand may differ from the result on lips, so a hand swatch alone does not guarantee the finished look.
If only the outline of a liner you already own stands out, you can also checkways to review the color and line widthbefore replacing it. When choosing a new liner, separating a color mismatch from a line-width problem can help you avoid buying another product with the same issue.
When shopping online, distinguish close-up photos of a single liner from images showing several shades together. Screen brightness and photography affect color impressions, so do not sample a small image area and conclude that it matches your lipstick. Note the candidate’s shade number and description alongside the lipstick you plan to use, and leave unverified conditions marked as unverified.
3. Match the area you want to draw with the tip shape
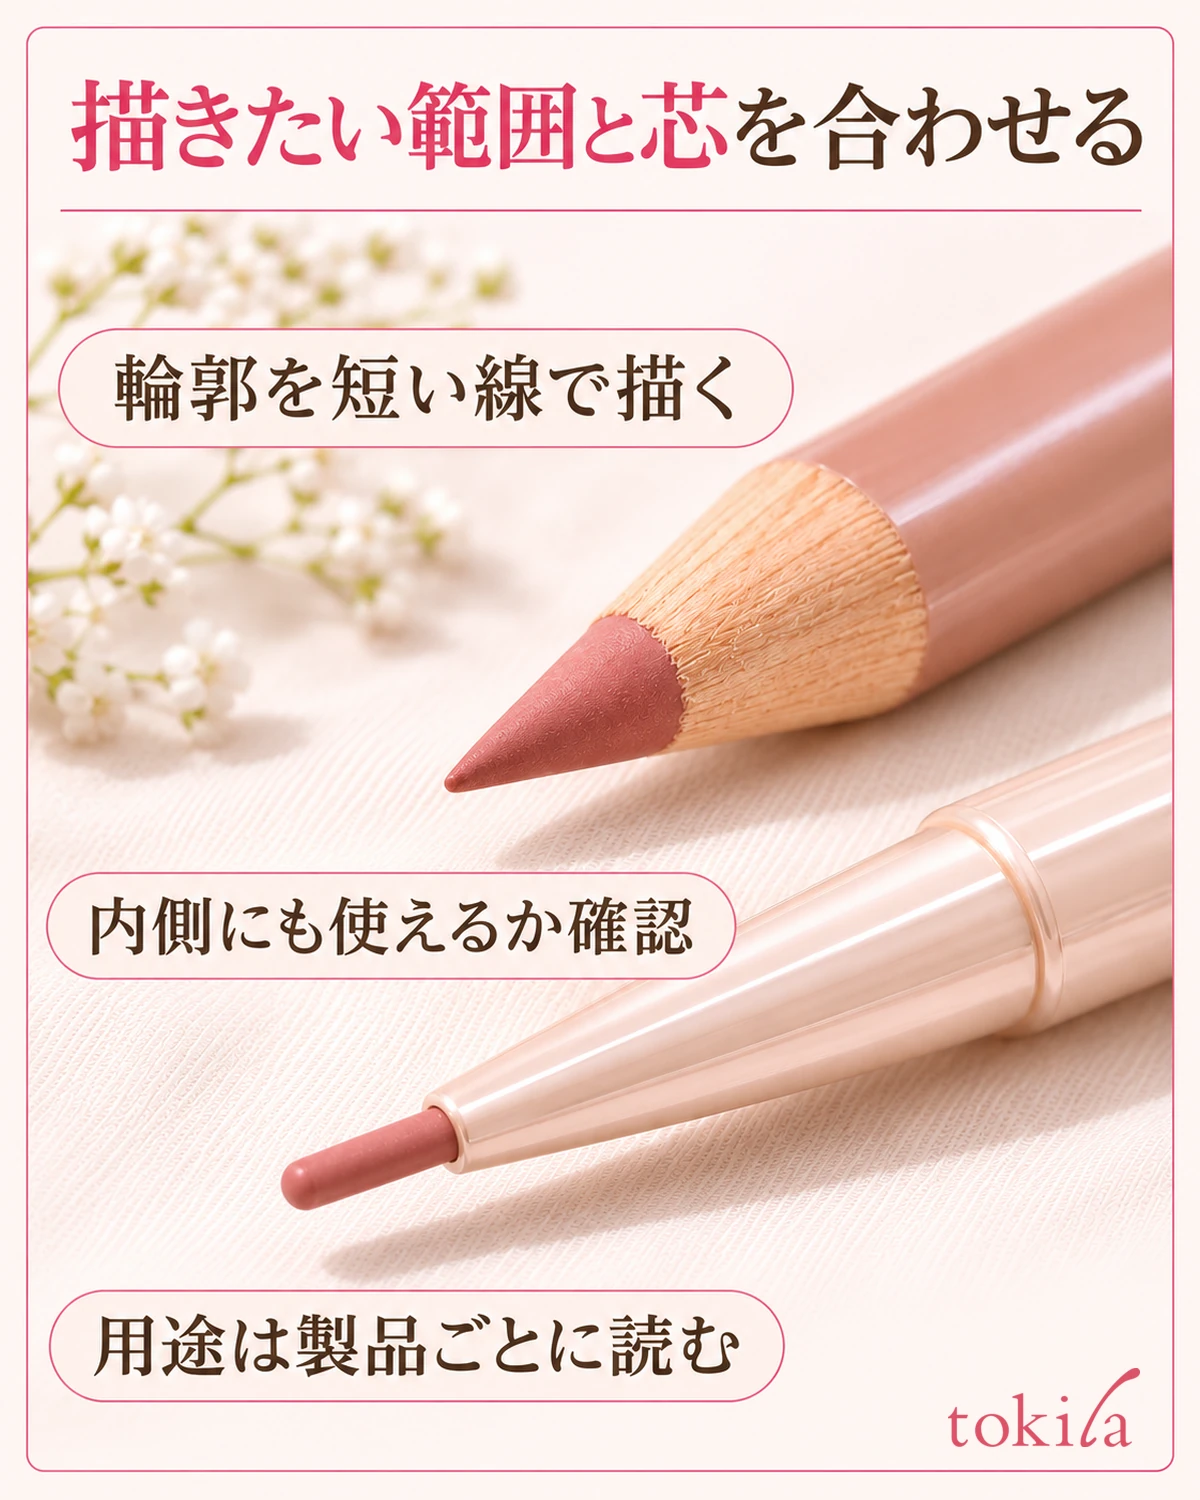
Next, examine the tip. Connecting short strokes along the outline and extending color inward require different shapes. For fine lines, check the tip’s narrowness and shape; for wider areas, check whether filling in is an intended use. Read the usage description too. The finest tip is not necessarily the easiest for everyone.
Even pencil-shaped products differ: some have rounded tips, while others are shaped by sharpening. Do not judge only by a photo that makes the tip look fine; read how to reshape it after use has rounded it. Do not turn a product intended for outlining into an all-over lip color just because its tip is thick.
If you can test how it draws, follow the store’s hygiene guidance. Check whether the line moves without firm pressure and whether you can stop where intended. Firmness and smoothness concern handling as well as preference. Do not choose on the assumption that you must keep pressing hard or practice through pain to get used to it.
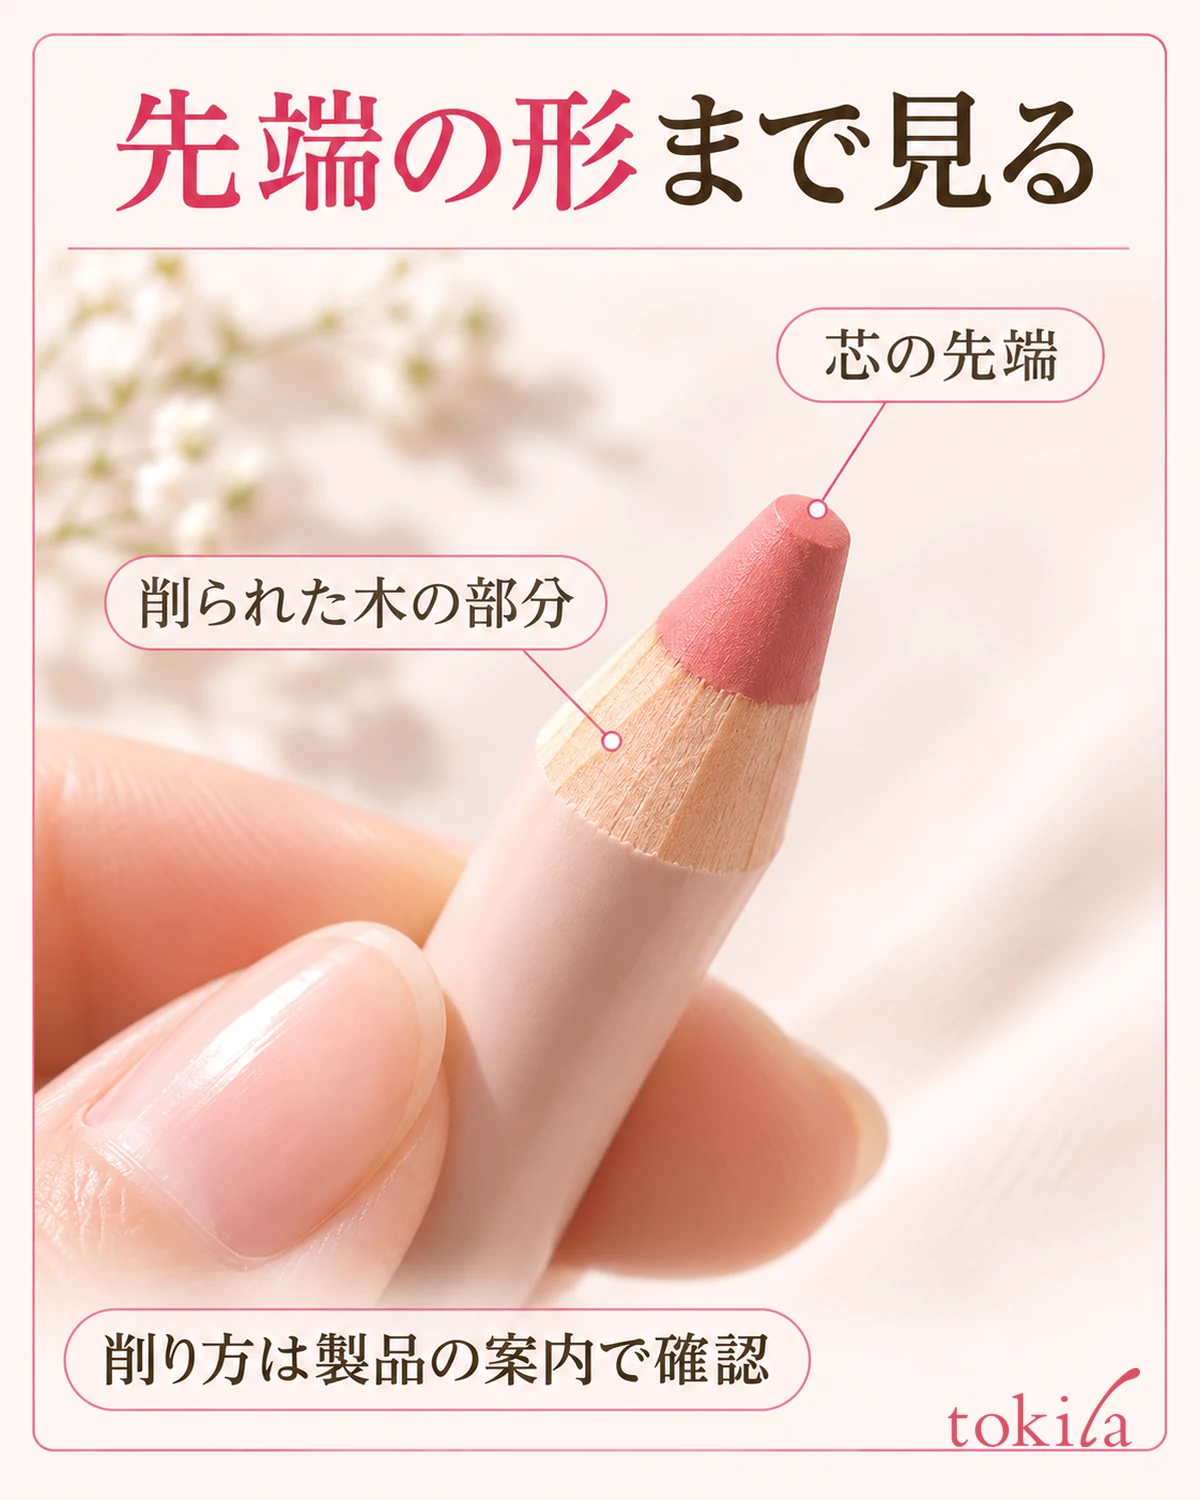
The photo focuses on the tip of a sharpenable pencil, showing the colored core and the sharpened wood around it. It illustrates a tip shape that is hard to see in a full-product photo. Do not treat this shape as a universal sharpening method; compare it with the chosen product’s instructions. The color is not an actual product swatch, so check real shades using product samples.
Before purchasing, you can also check whether a blending brush or other accessory is included. Rather than choosing by the number of accessories, consider whether you need them for your routine. How liner and lipstick are blended differs by product, so keep candidates whose instructions explain suitable tools and application areas.
4. Compare maintenance for sharpenable and twist-up types
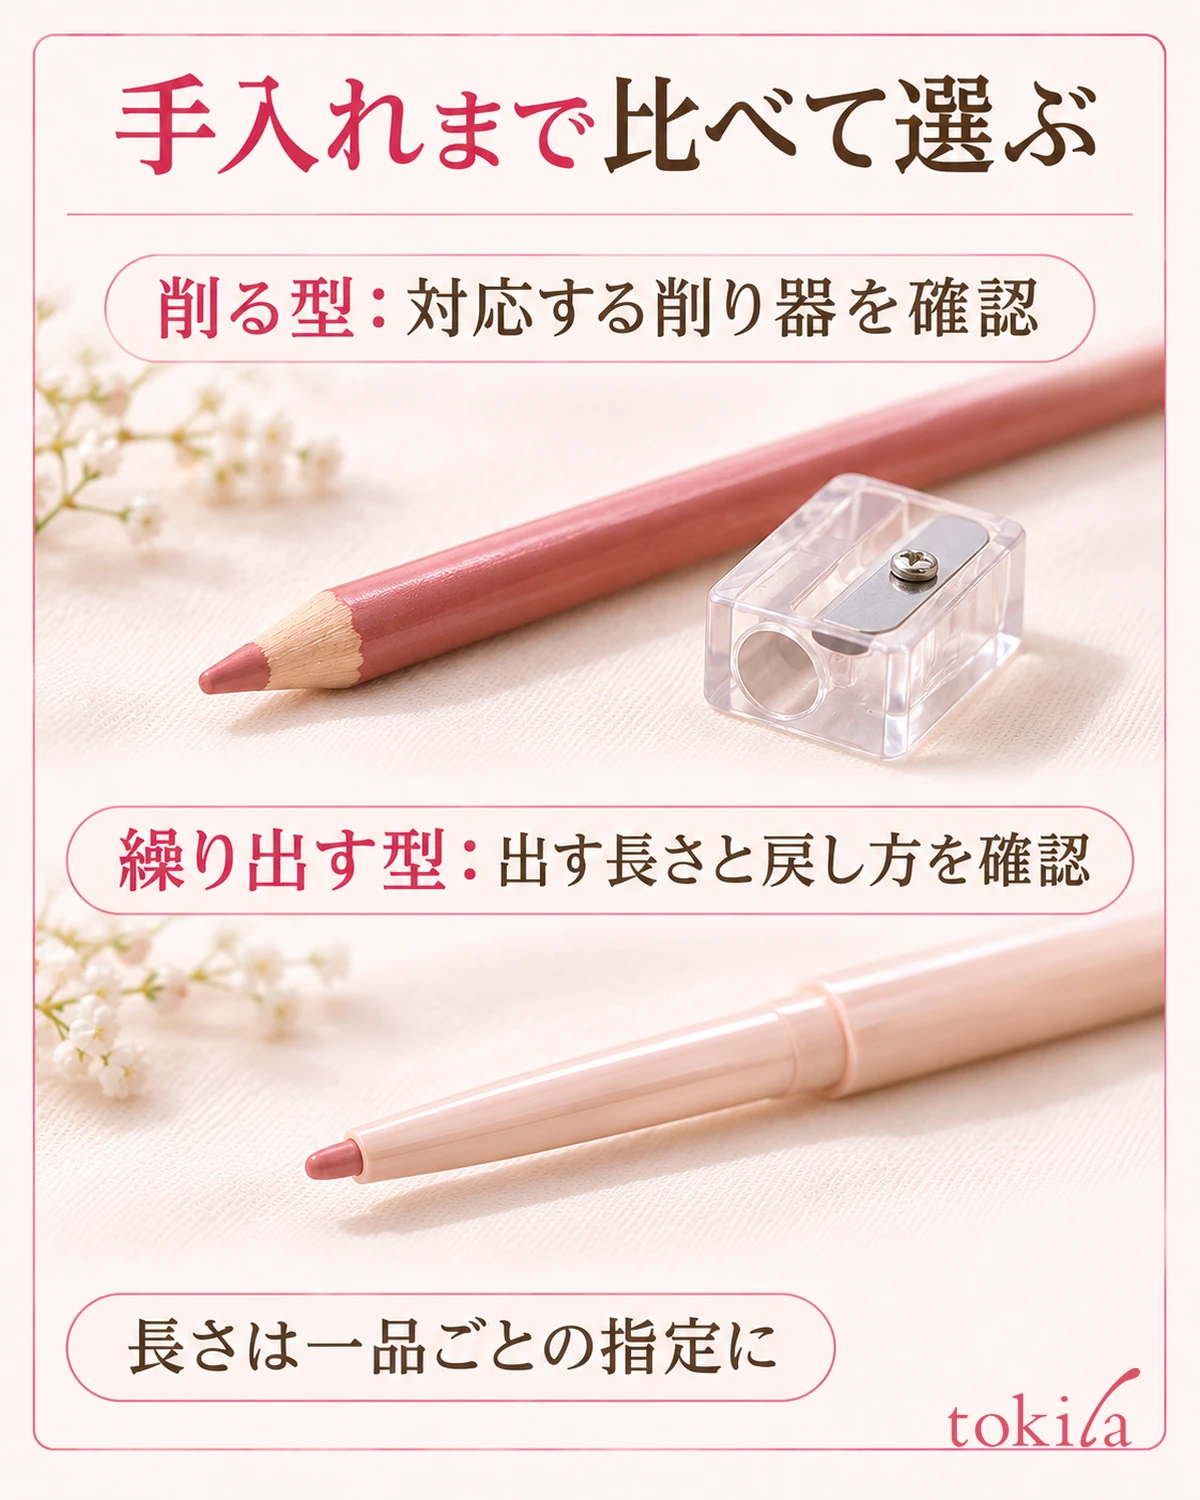
For sharpenable types, check the compatible sharpener and sharpening method. Do not assume any stationery sharpener will fit; choose according to barrel thickness and product guidance. Some products advise against an overly sharp point, so do not keep sharpening indefinitely just to draw fine lines.
Some twist-up types eliminate the need for a sharpener, but check separately how far to extend the core and whether it retracts. This does not mean it will not break when extended too far. Follow instructions to extend a little at a time where specified, and do not transfer another product’s recommended length to it.
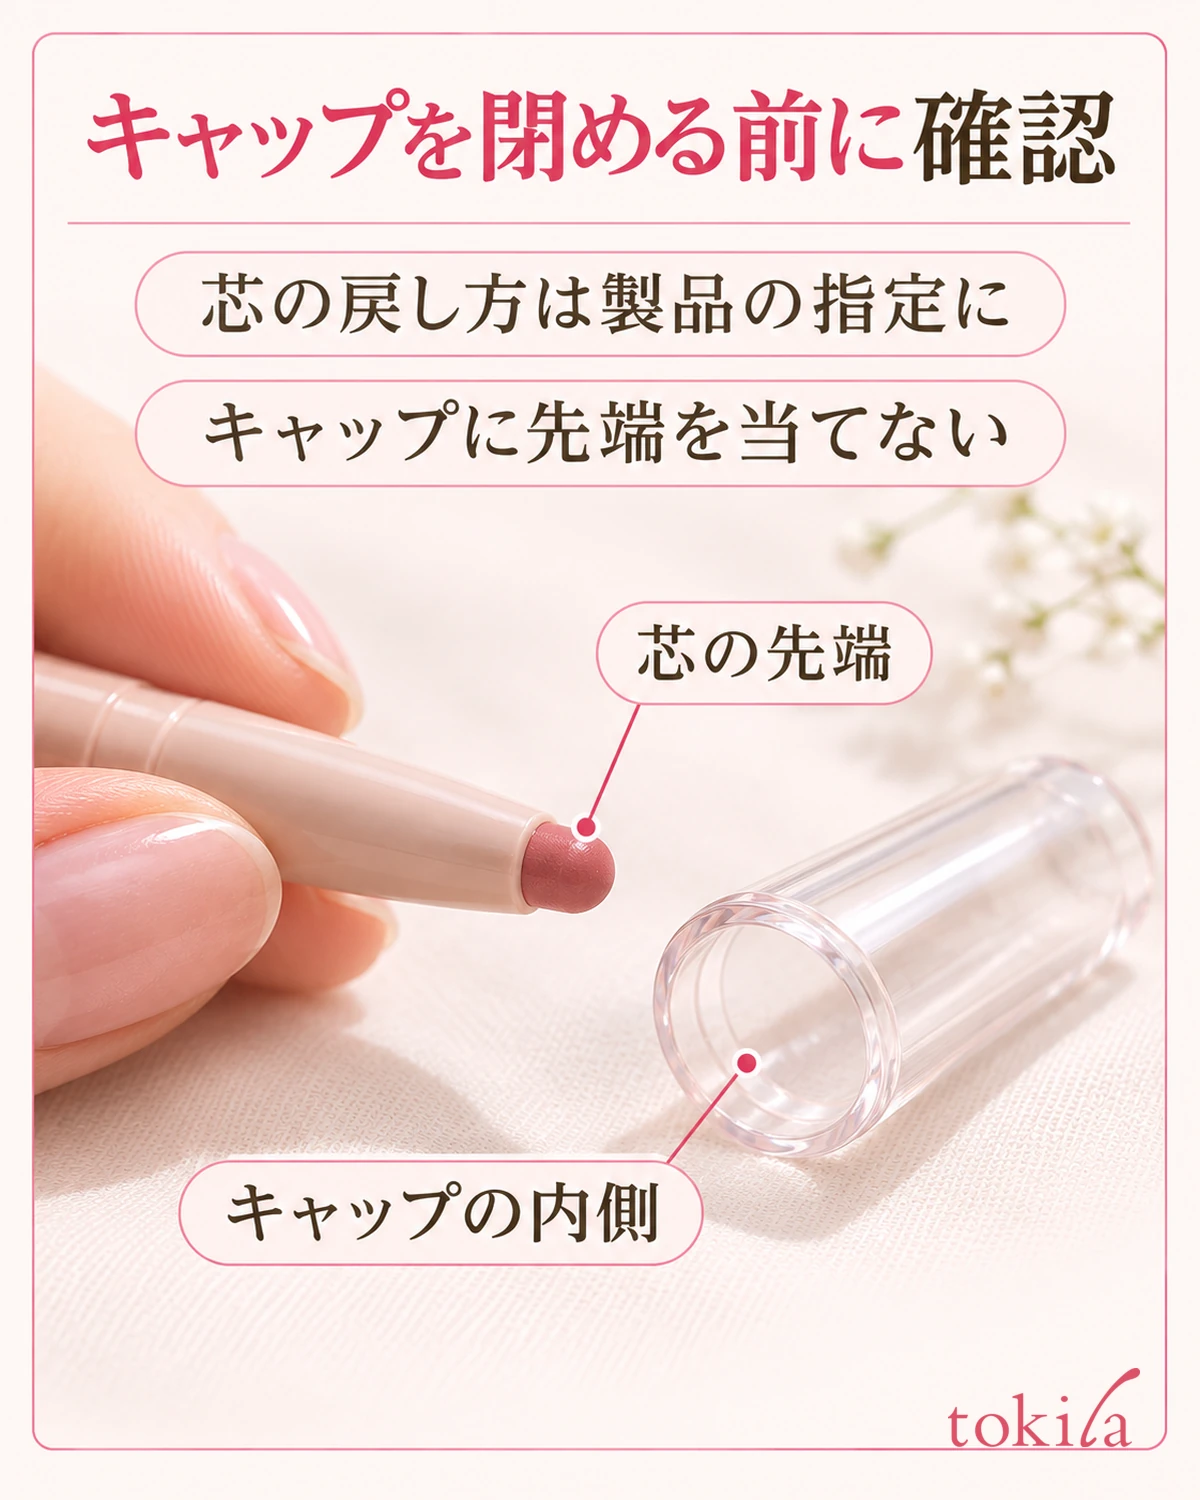
The supplemental photo shows the twist mechanism just below the core and the space inside the cap. When buying, imagine how you will put the liner away after use as well as examining the barrel; this helps assess a liner you plan to carry. Read how to keep the core from touching the cap in light of whether the mechanism retracts.
Someone who wants to shape the tip at home and someone who wants quick touch-ups while out may value different things. Compare carrying a sharpener, closing the cap, and handling the used tip with your intended setting. Do not assume all twist-up types are portable or all sharpenable types are inconvenient.
If you cannot tell whether the barrel needs sharpening, do not infer that it twists up merely because its exterior looks plastic. Conversely, a visible rotating part does not guarantee that the core retracts. If the mechanism is unclear before purchase, check the packaging or ask in the store. Do not rotate unopened store products or forcibly pull caps just to find out.
5. Read the order with lipstick and the removal method before choosing
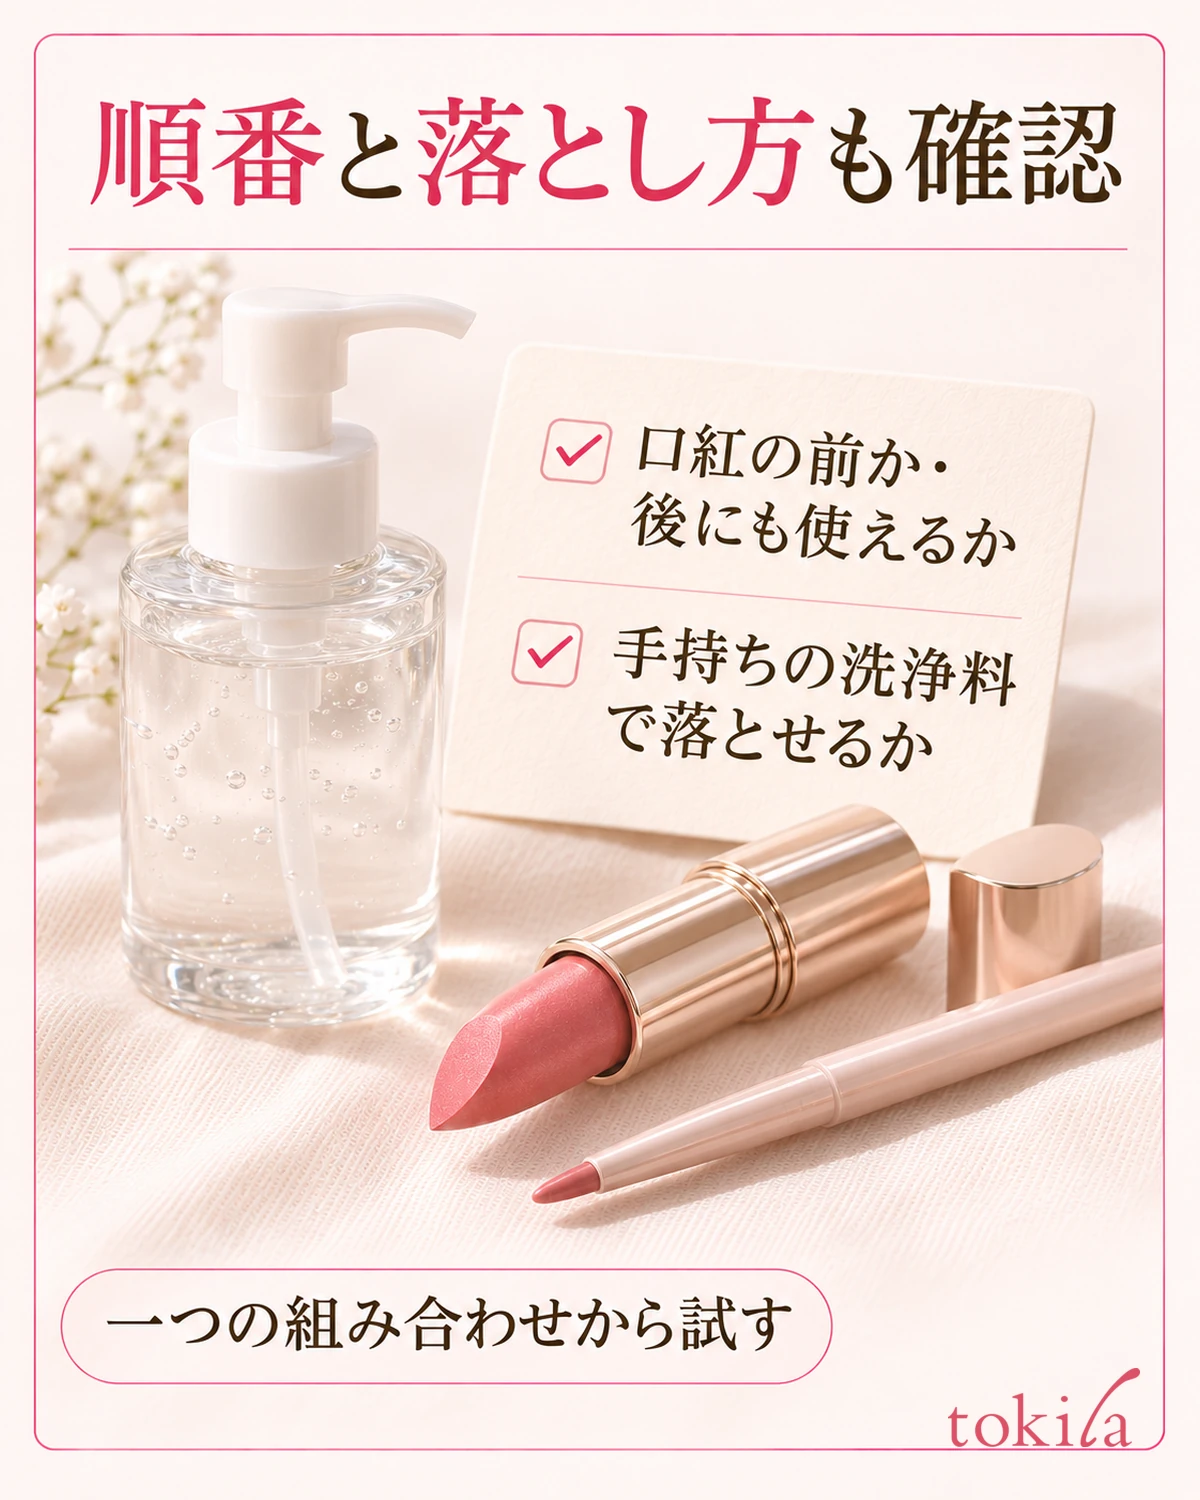
Finally, check whether the liner goes on before lipstick or can also be used afterward. Even if designed for use with lipstick, do not assign the same order to every product. Look beyond an example that ends with drawing the outline: choose with an understanding of how to blend inward and layer lipstick as well.
When pairing it with glossy lipstick, consider how the liner’s line will remain visible. Color and texture differences are separate conditions. On days when changing lipstick, avoid changing the primer at the same time. Trying one combination at a time makes it easier to identify what to review if the finish differs from your aim.
Read before purchase which cleansing product is required for removal. Claims of resistance to removal do not establish a specific wear time; check them alongside removal directions. If you do not know whether your current cleanser is suitable, confirm the instructions before starting. Do not plan on removing it through prolonged rubbing.
If redness, irritation, or other abnormalities occur, stop using it even if you like the color and follow its precautions. Do not test the drawing feel on chapped lips or injured areas. Rather than introducing many new lipsticks and liners at once, start with one combination.
Before settling on a candidate, review five things: purpose, matching lipstick, tip shape, maintenance, and application order and removal. Look beyond popular shades and color names to whether it fits how you will actually use it. That is how to choose a liner you can comfortably begin using after purchase.