
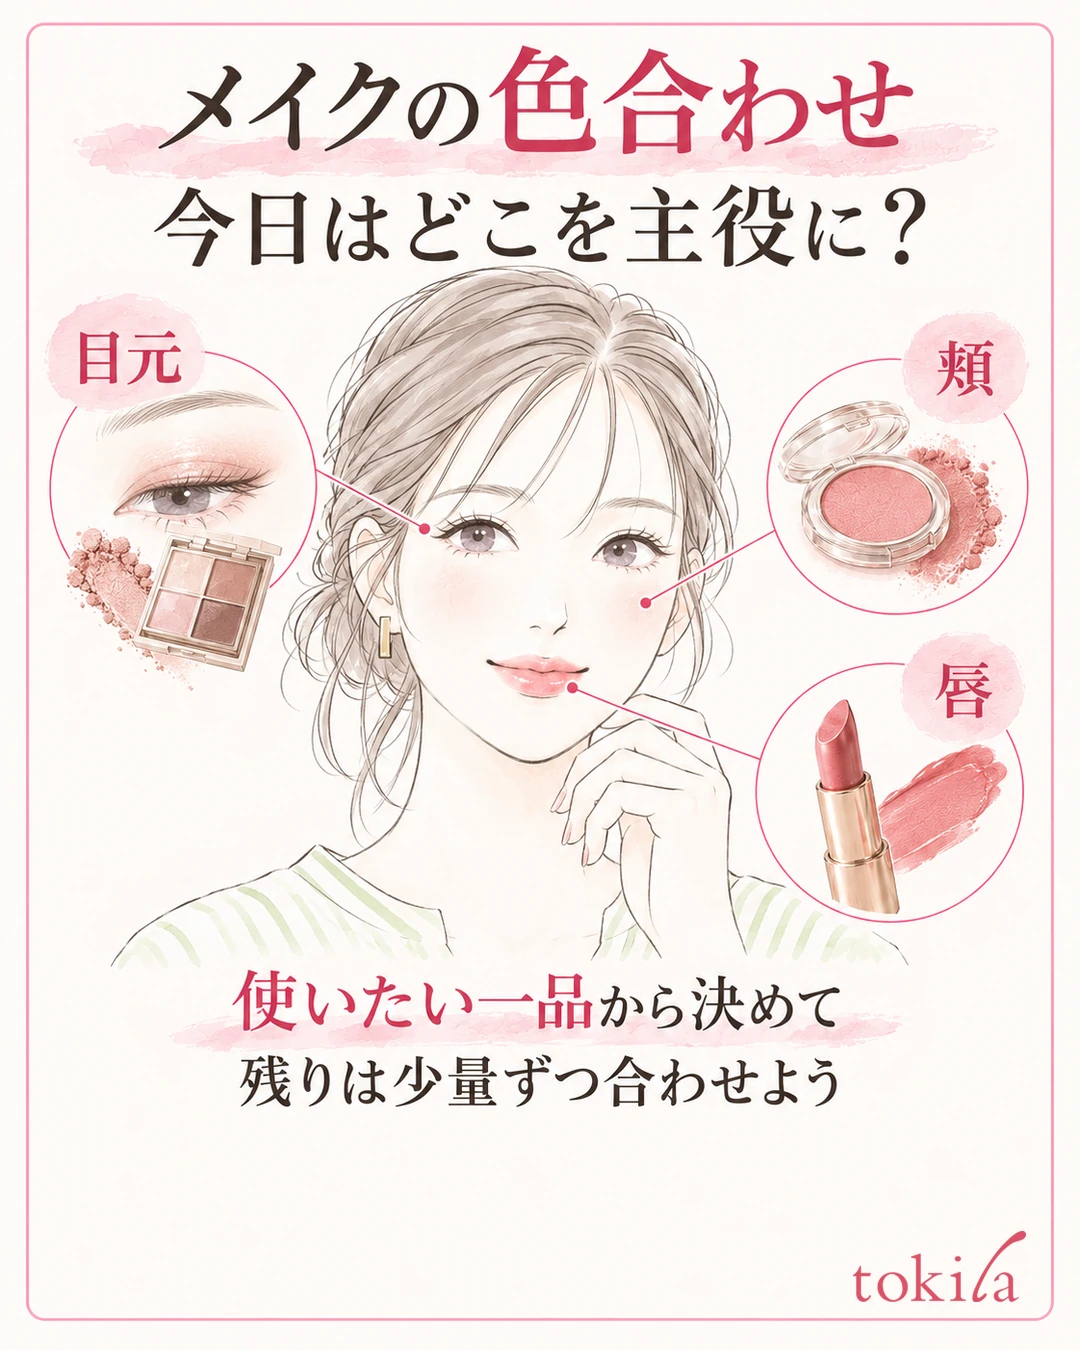
You love your rose lipstick, but once you add a brown eyeshadow and an orange blush, you can't tell what to fix. When coordinating the colors of three parts, you don't need to make everything the same color. First decide which of your eyes, cheeks, or lips you want to show off today, then adjust the remaining colors and their intensity.
The order to try has three steps: decide on the one item you want to use, match the other two parts using small amounts, and then step back from the mirror and adjust one spot at a time. This article introduces ways to try with cosmetics you already own by separating the focal point, what the colors have in common, how much you apply, and texture. For the basics of two parts, see also matching lip and cheek colors. The color combinations are options, not the right answer that limits your skin tone or preferences.
1. First, Choose One Focal Point Among Eyes, Cheeks, and Lips
Choose one place you want to draw attention to today: the lips if you have a red lipstick, the eyes if you enjoy layering eyeshadow colors. The point of choosing a focal point is not to skip the other parts but to make it easier to decide how much to add. If there is a color you already want to use, build from there.
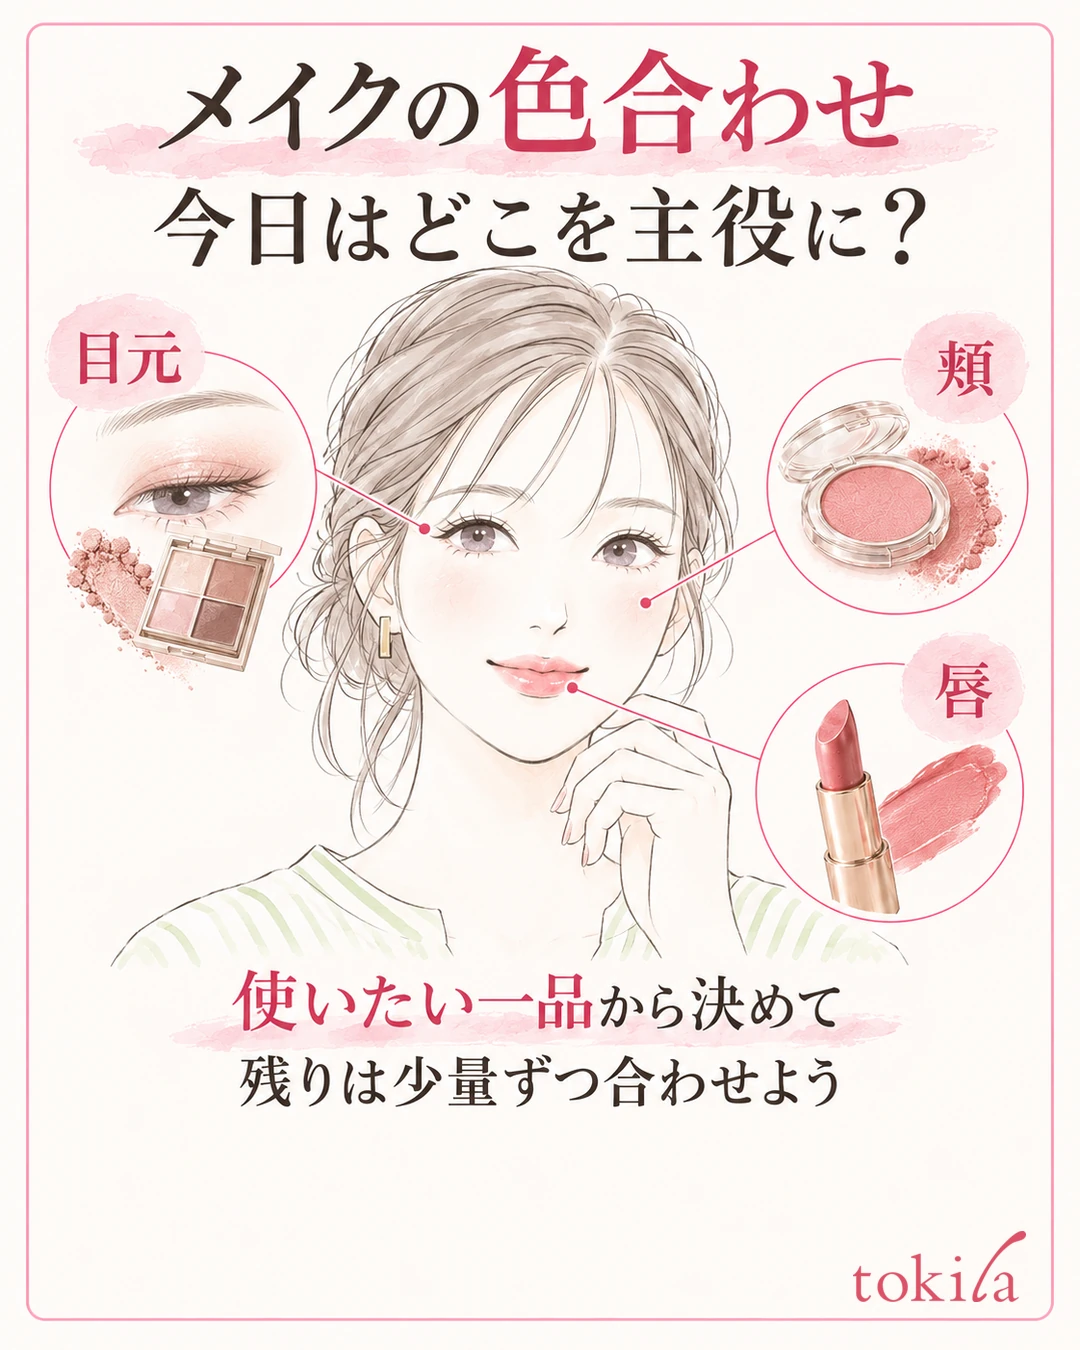
You can also make the cheeks the focal point and adjust the eyes and lips. A look where every part is bold can be fun too, but on days when you're unsure, starting from one part makes it easier to track what you changed.
You can also change the focal point of the same three items between workdays and days off. For example, on workdays you might pair light eyes and cheeks with lipstick, and on days off you might layer eye color and use less lipstick. Thinking about the finished look from the occasion lets you change the roles of what you own without buying more. On a day when you've decided "I want to show my lips today," don't keep adding colors that catch your eye along the way; go back to your original goal and decide the amount.
Step Back from the Mirror and Check What Catches Your Eye First
In a close mirror, your eyes go to small glitter or the outline of the lips. To check the focal point, move the mirror back to a distance where your whole face fits, and look at your face from the front. See whether the place you noticed first matches the focal point you intended. If you can't decide on a focal point, choosing "the one item I want to use today" is enough.
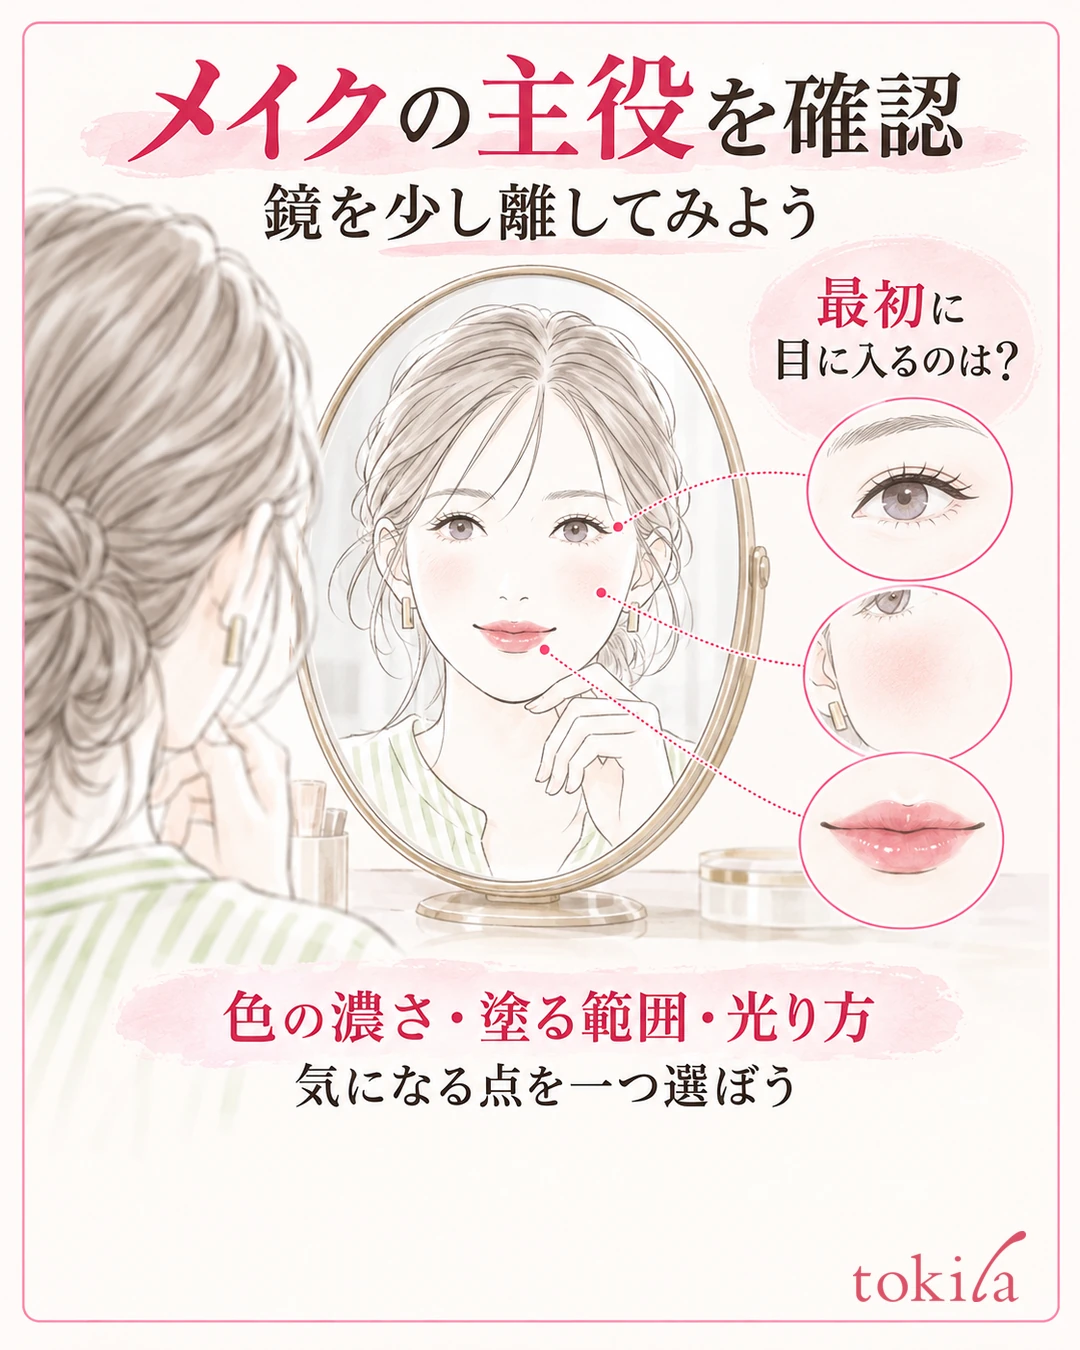
If you meant the eyes to be the focal point but the lips stand out, check the amount and shine of the lipstick before making the eyeshadow even stronger. If the cheeks look strong, look at the area as well as the color payoff. Thinking about color intensity, the area you apply, and how it shines separately will show you options for adjusting without changing the colors you love.
When you want to compare, change only one spot at a time and look at before and after in the same mirror and the same brightness. If you give the left and right sides of your face different makeup from the start, differences in light and face direction get mixed in. Avoid places where a strong shadow falls on half of your face, and look both from the front and slightly turned to the side.
2. Choose What the Three Colors Have in Common: Undertone, Brightness, or Vividness
Even if the colors differ, one thing in common makes it easier to think about the combination. For example, connect them with an orange-leaning undertone, center on bright colors, or match a calm level of vividness. Don't decide by the color name "pink" alone; look at it in the amount you will actually use.
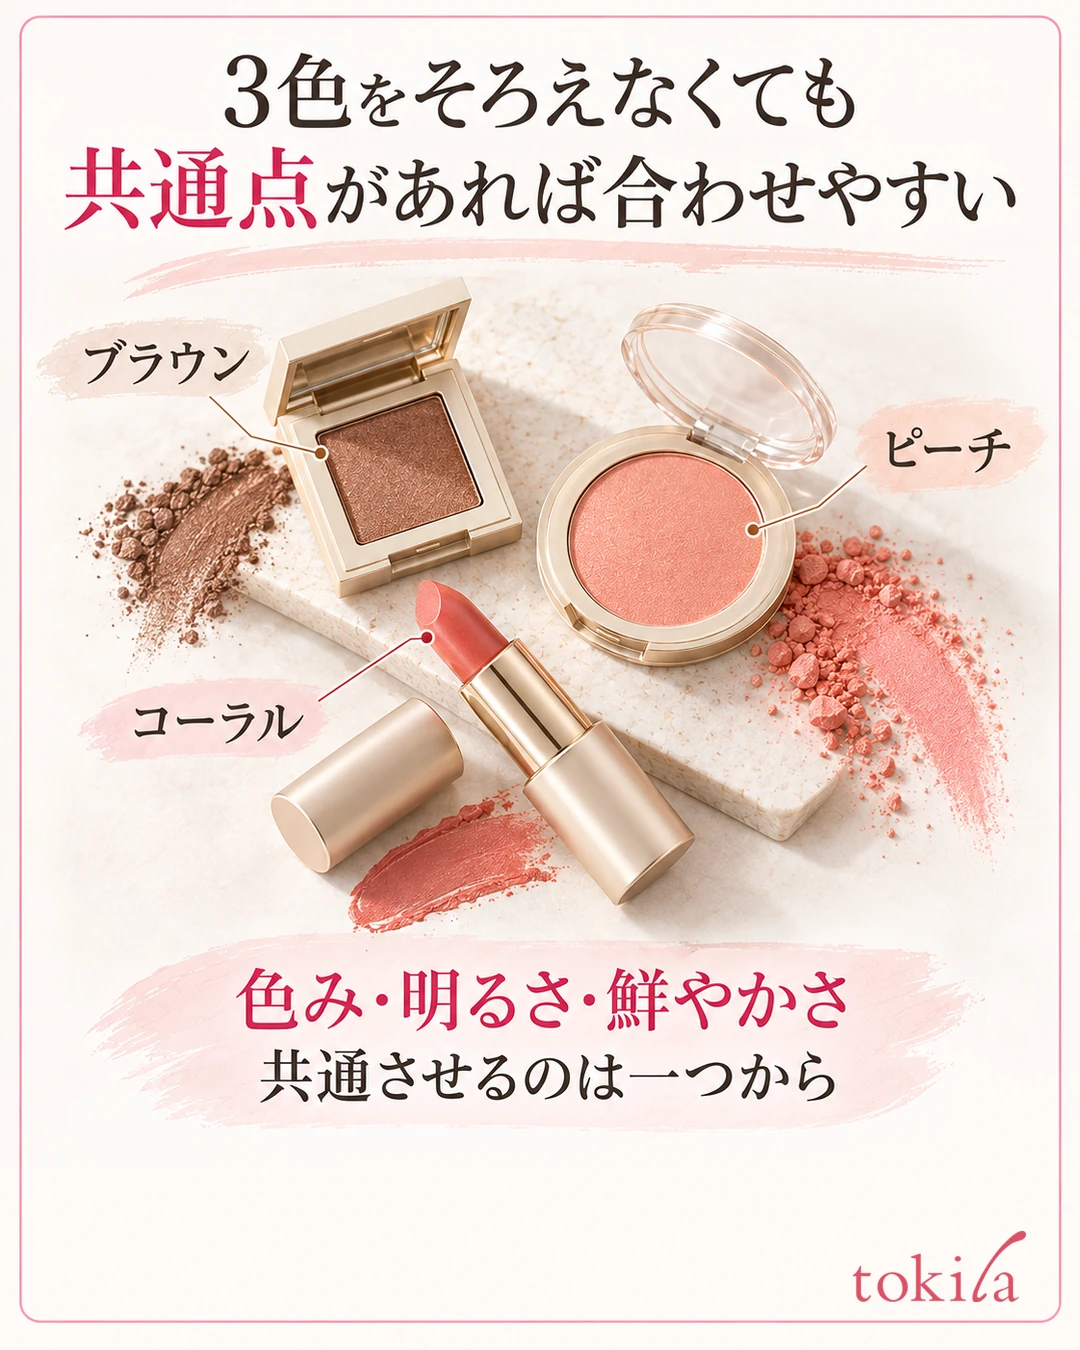
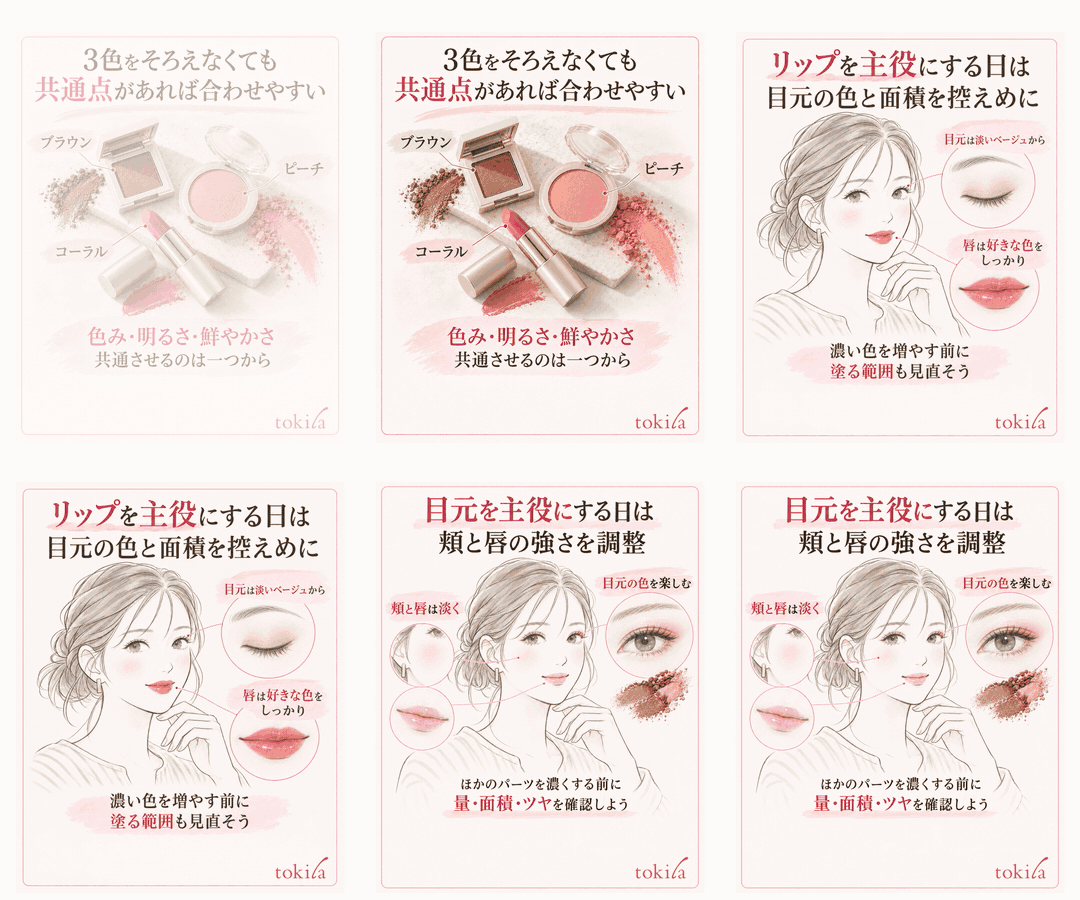
A sheer rose lipstick and a rose blush with a strong white cast look different even when they share a color name. For the basics of color, see how to think about color coordination. Rather than classifying all three parts completely, start by choosing one element you want to share and adjusting with how much you apply.
With Brown Eyes, Build a Link to the Cheeks or Lips
See whether your usual brown has a yellow, red, or grayish feel. Start by trying one pair: for a brown with a yellow feel, a peach-toned cheek; for a brown with red in it, rose-beige lips. There is no rule that the same color suits every brown.
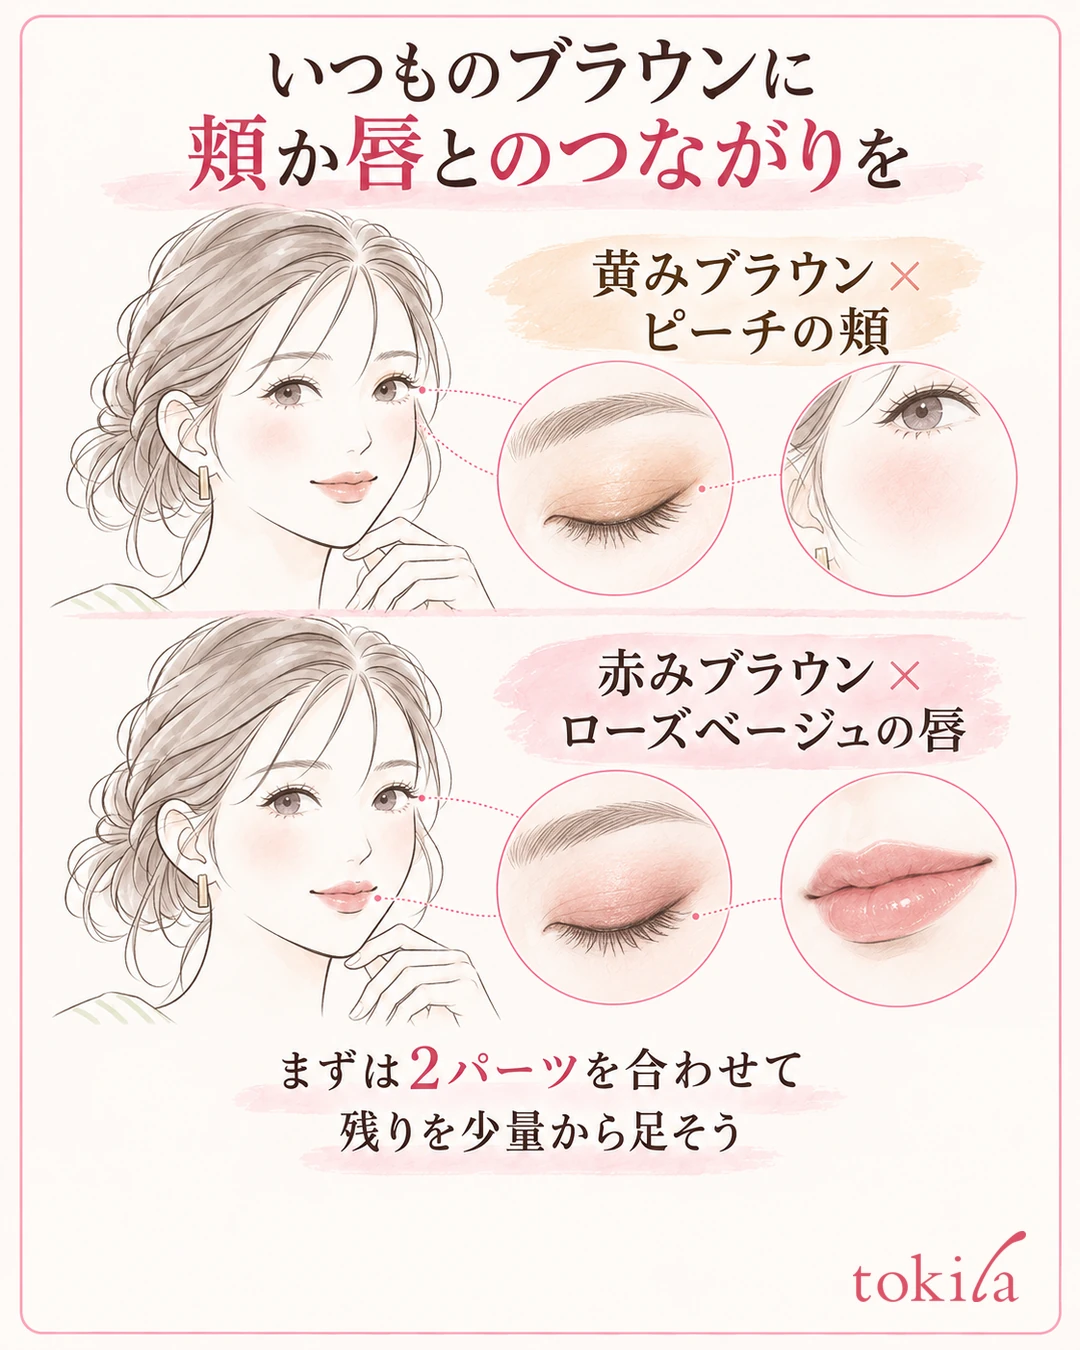
Once you give the eyes and cheeks the same direction of undertone, you can connect them with a calm color on the lips. Conversely, you can match the eyes and lips and keep the cheeks light. If deciding all three colors at once is hard, match two parts first and add the rest from a small amount. Before buying more cosmetics, it helps to write down the colors and parts you used.
The natural color of your lips also affects the finish. Don't decide from a swatch on your arm alone; put a small amount on your face and look at the combination.
3. On Days the Lips Are the Focal Point, Adjust the Eye Color and Area
On days you wear a vivid red or deep rose lipstick, start by keeping the eyes light. Even with your usual palette, you can adjust by making the area where you apply dark colors, or the places where you add glitter, smaller. Before applying a vivid color broadly on the cheeks, check how it combines with the lips across your whole face.
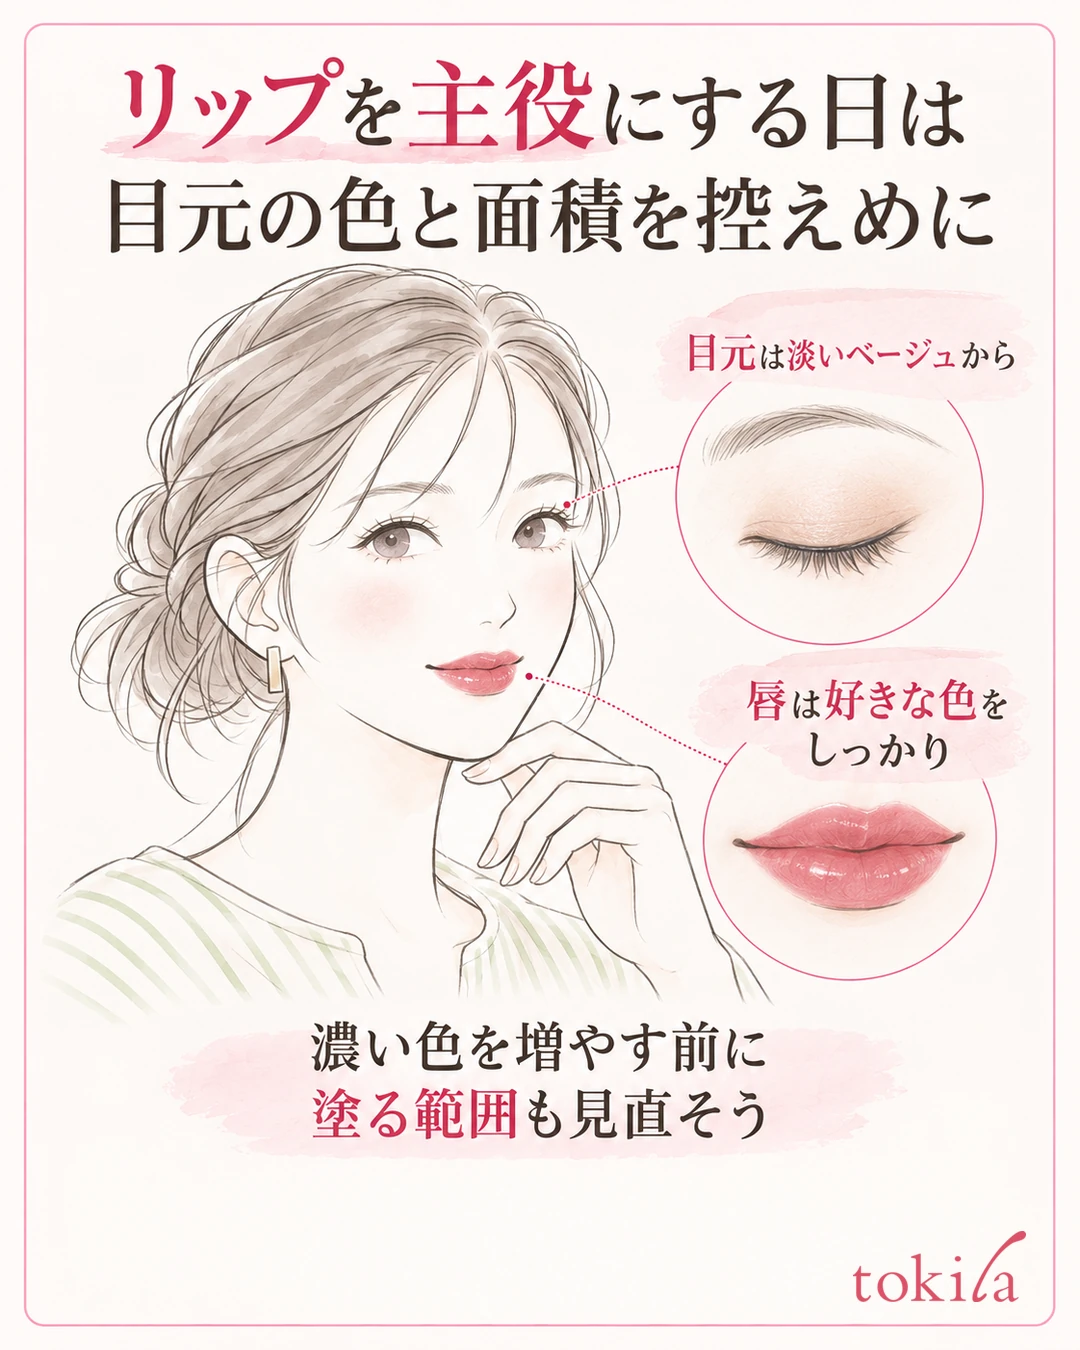
Restrained eyes are not the same as eyes with nothing on them. You can also blend in a pale beige or shape the brows and lashes to define the outline without adding color. Decide how strong the eyes should be by contrast with the lips you want to show.
Add Blush to the Cheeks in Small Amounts After the Lipstick
If you finish your blush in your usual amount and then apply a deep lipstick, you may want to fix both. On days the lips are the focal point, finishing the lipstick after the base and eyes and adding blush to the cheeks last, little by little, makes it easier to find the intensity you need. If a product has a set order of use, follow that instruction first.
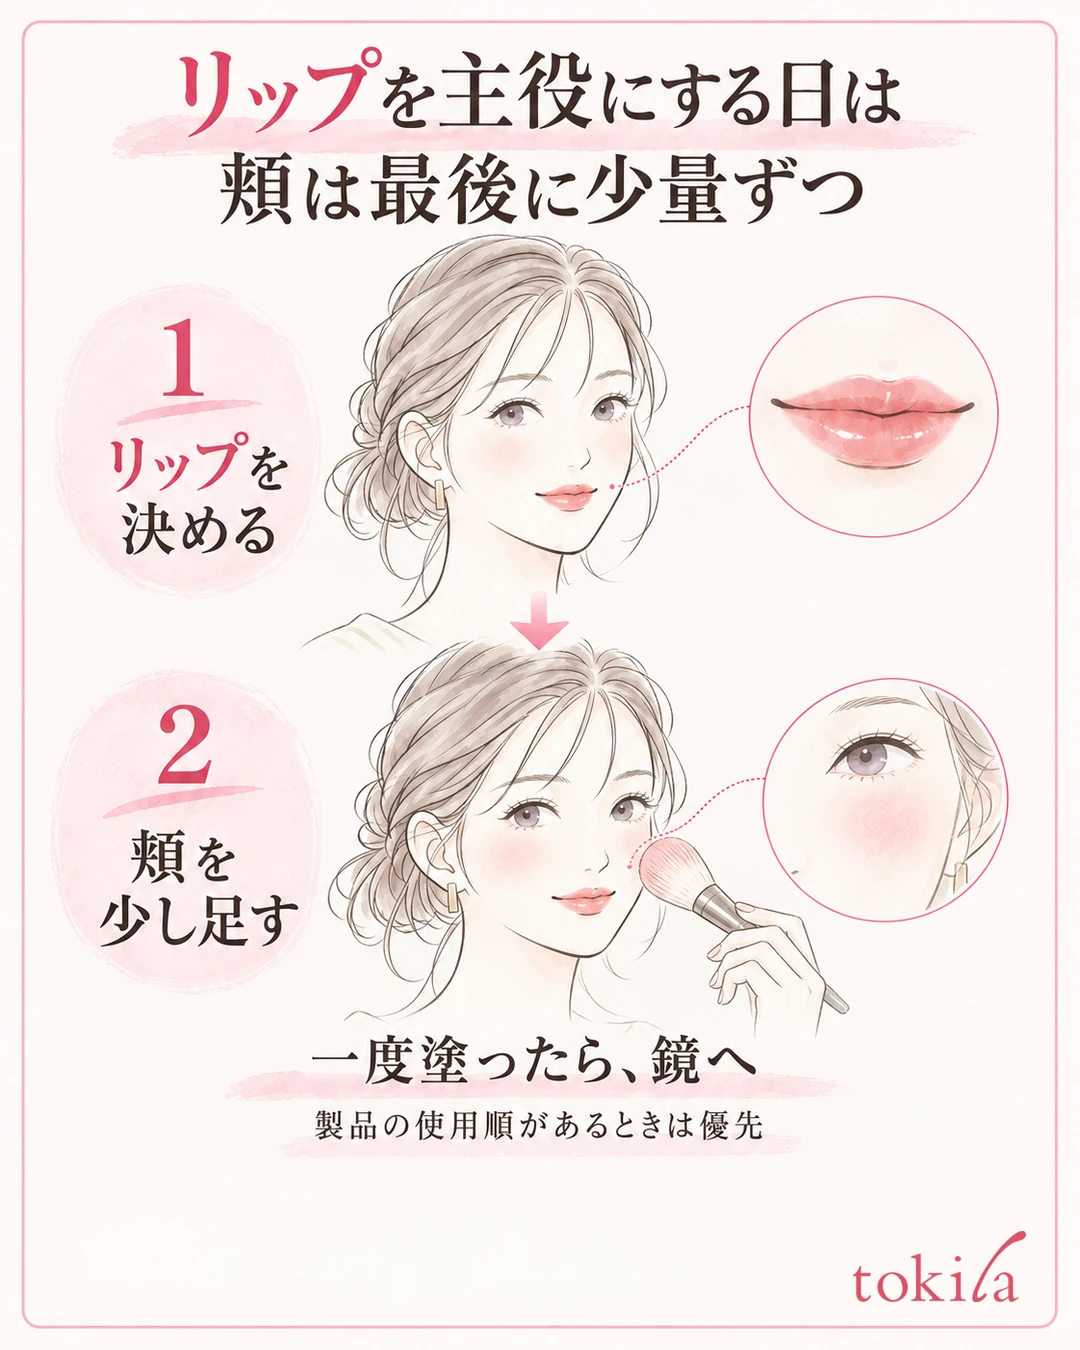
Don't spread the blush on the brush right away; check that you haven't picked up too much. Once you've applied it, look at the whole face and add only where it feels lacking. Even with the same color name as the lipstick, the cheeks cover a large area, so you don't need to build them up to the same strength. You can also match the undertone and change only the intensity.
On days the lipstick is very glossy, look at how it shines before adding shine to the cheeks. You can also pair matte lips with softly glowing cheeks. While adjusting, don't change color and texture at the same time; decide the amount of blush first and then think about shine, so it's easier to tell what changed the impression.
4. On Days the Eyes Are the Focal Point, Adjust the Strength of the Cheeks and Lips
On days you want to enjoy layered colors or a colored liner, finish the eyes first and then decide on the cheeks and lips. You can keep the cheeks and lips beige-leaning, or you can lightly echo the redness of the eyes in either one. The parts other than the focal point don't have to be neutral.
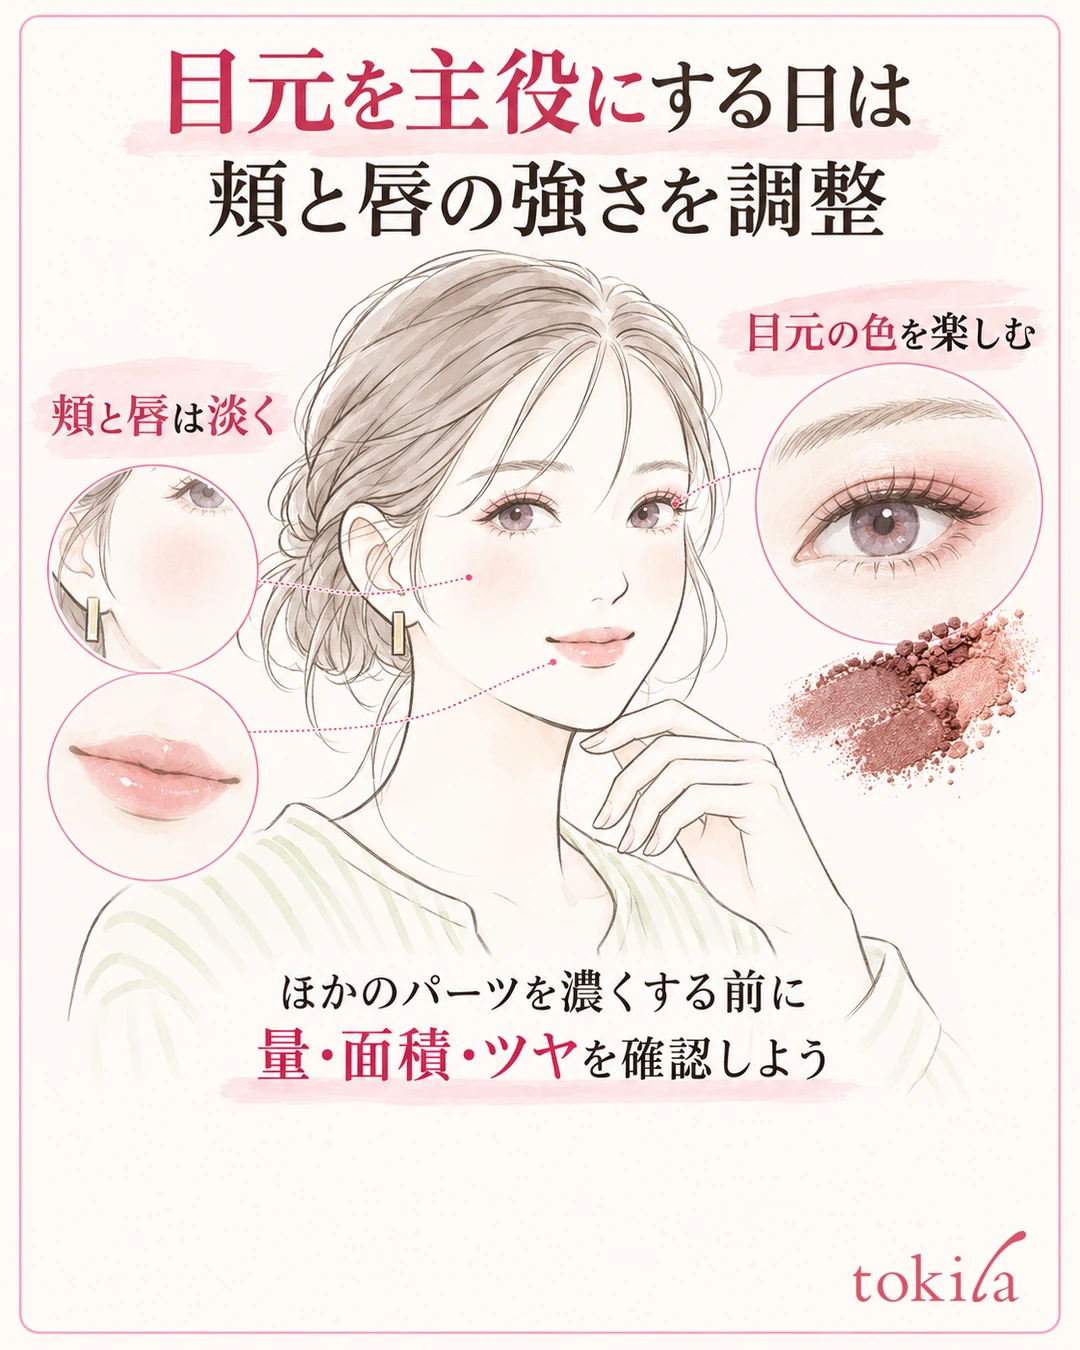
If the eyes have a lot of glitter, also look at the shine of the cheeks and lips. Even when the undertones come together, if all three parts shine strongly at the same time, it may look different from what you imagined. Before changing colors, check the area where you layered glitter or gloss.
Before Adding Colors, Reconsider Brightness and Shine
If you make the cheeks and lips deeper because the eyes look like they float, the overall strength increases and it becomes hard to tell what to fix. First see whether the cheeks and lips have become extremely chalky or vivid. Start by reducing the amount and area of the current color, then look at the whole face again. However, colors with a strong white cast or high coverage do not always give the sheerness you want even when applied thinly. If adjusting the amount doesn't change it, compare colors with a closer brightness or a sheerer payoff.
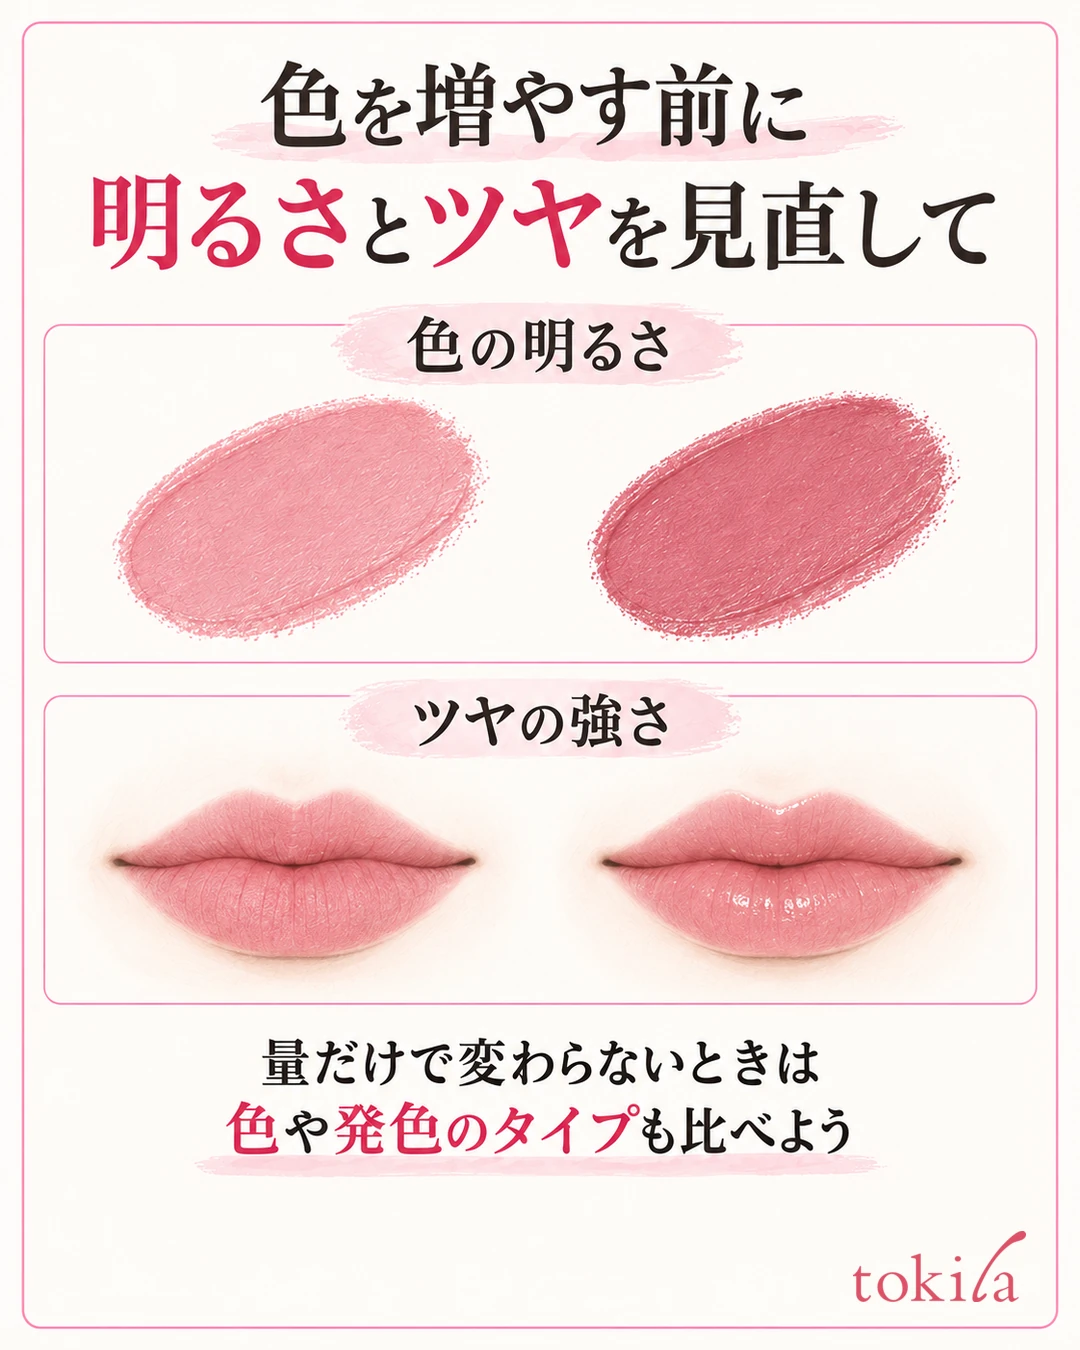
If you want to pair bright pink lips with deep brown eyes, apply one thin coat before layering thickly, and add only as much as you need. Connect the cheeks lightly too, and check the whole face for what is still lacking. Using the colors you love and making every part strong can be thought of separately.
When you add gloss, start with a small amount and follow the product's directions. On days you use a glowy blush, check before adding highlighter too. If you feel that "everything is mismatched," separate whether it is brightness, vividness, or shine that bothers you, and choose one element to change.
5. If It Doesn't Come Together, Fix One Spot at a Time and Compare
If you're bothered by the finish, separate the cause before adding a new color. Is it a difference in undertone, the intensity of just one spot, or strong shine or glitter? Sometimes you can keep a combination you like simply by reducing the amount or area you apply.
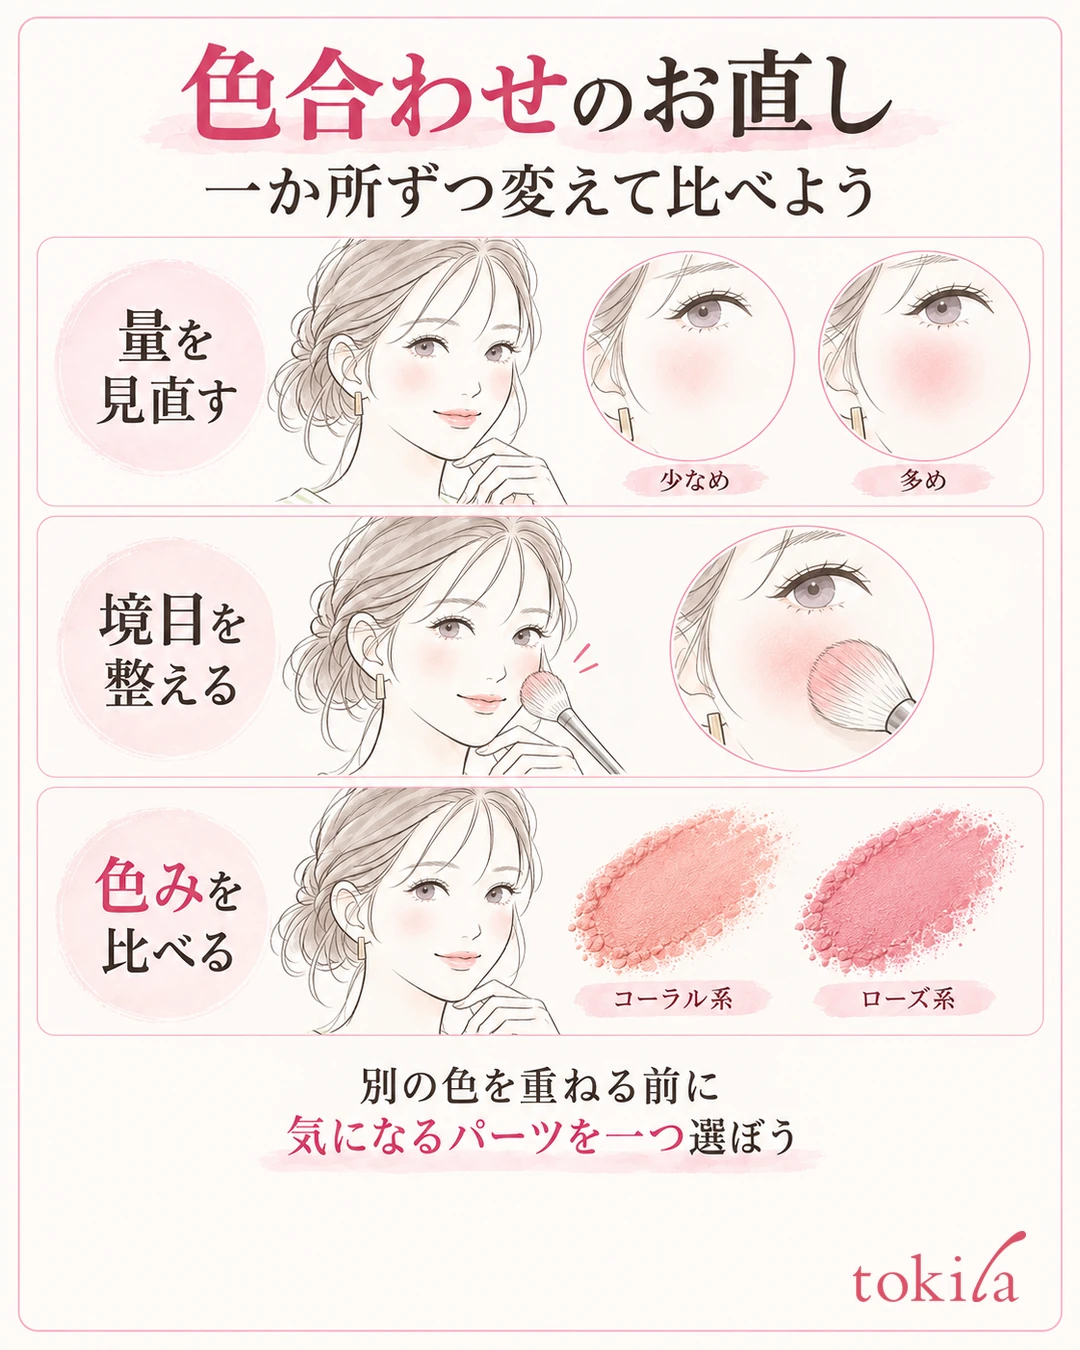
Think about fixes in this order: the amount on the part that bothers you, its outline or boundary, then undertone. Layering another color over a blush applied too widely or a thick lipstick tends to move the result away from the color you intended. When removing, don't keep rubbing; tidy it partially with a method suited to the product.
Don't Rely on Photo Color Correction; Check Under the Same Conditions
First choose the one spot that bothers you most, adjust the amount and boundary, and then return to the whole face. If it still bothers you, move on to the next. On days you don't want to change the focal-point cosmetic, you can also adjust the other parts first. This makes it easier to track the difference before and after than changing the eyes and cheeks at the same time.
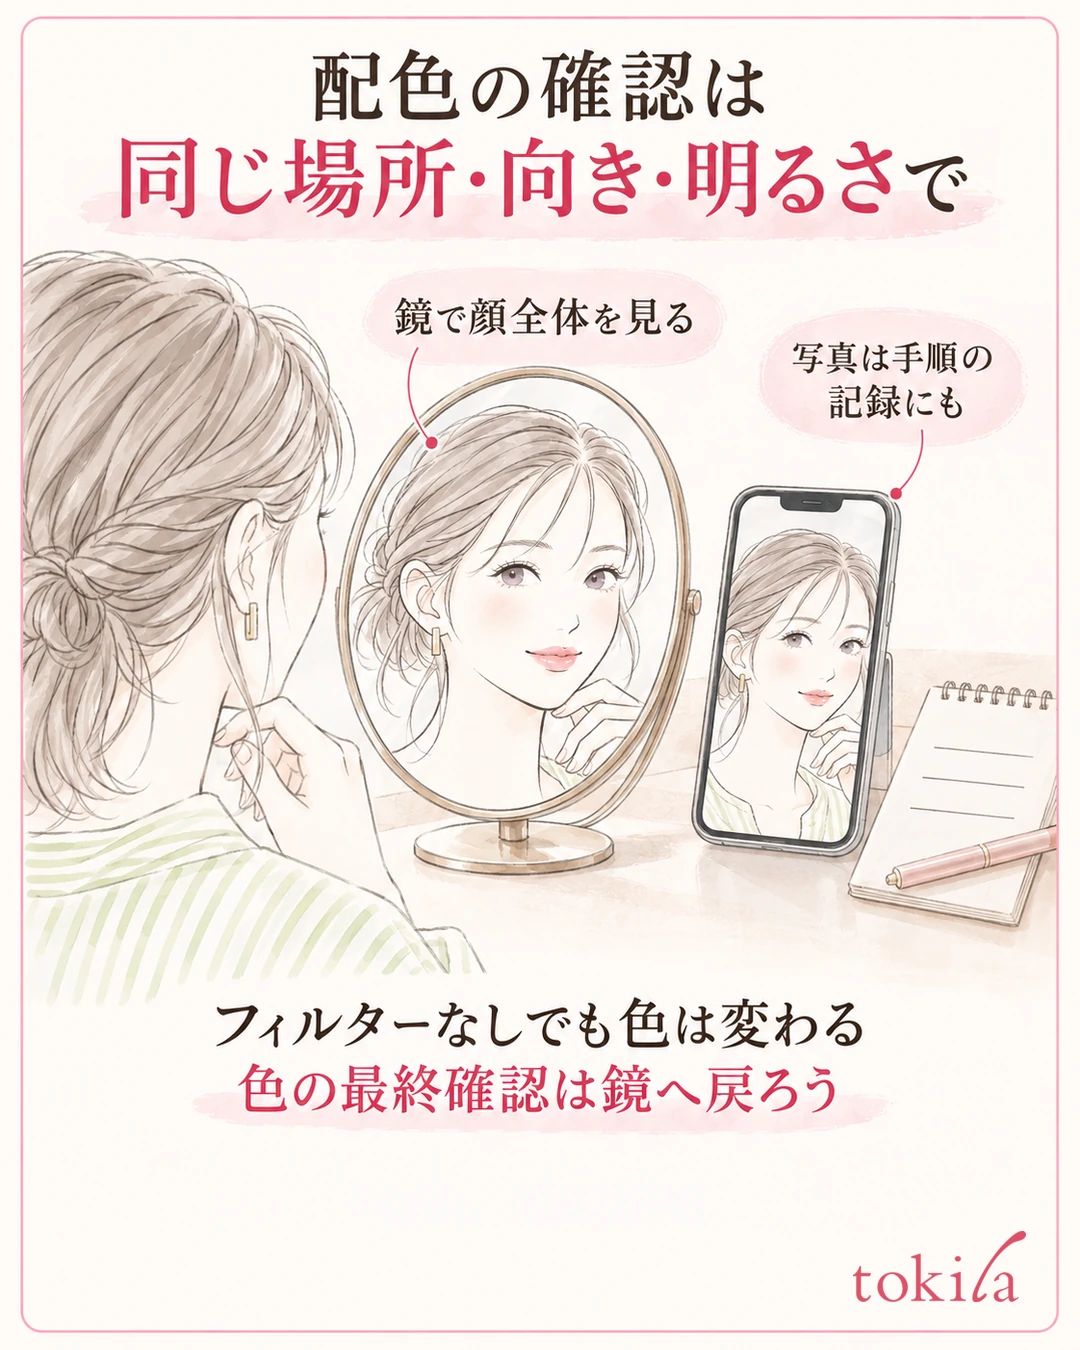
Take record photos in the same place, direction, and brightness. Skin-smoothing and color-changing filters can make the color look different from reality, so give priority to checking in the mirror. Even without filters, color changes with the camera's automatic correction and your device's display. Use photos as a record of the area you applied and the steps, and make the final color judgment back at a mirror in the same brightness. Don't decide that a look doesn't suit you from a single photo; also review how much you apply and the lighting.
For notes for next time, it is enough to write down the three items you used, the focal point, and the combination of amounts you liked. If you record it as steps, such as "rose lips first, light cheeks, usual beige eyes," you can reproduce it. Start from one item you like, try from a small amount, and find a color combination that feels comfortable for you.
Once you find a combination you like, try swapping out just one item for a different color. On a day you change only the lipstick, keep the amounts on the cheeks and eyes for now, check the whole face, and then adjust. On the other hand, on a day you change all three items, don't ask for your earlier finished look as it was; rebuild from the new focal point. Separating the time you spend looking at swatches from the time you spend trying them on your face lets you enjoy it without confusing the colors on the palette with the actual result.
Written by the tokila editorial team. The editorial team organized adjustment steps you can try with tools you already have.
Once you've decided on the colors, check the difference between your brows too. How to draw brows when the left and right differ
If you're unsure how far to apply two eyeshadow colors, start here. How to apply and blend two eyeshadow colors



