

To touch up your makeup, check in a mirror where it has broken down, tidy up excess oil and creasing, and then add only a thin layer where it is needed. If you layer foundation or powder straight on top, you can end up with a thick finish that keeps the original unevenness. There are three first forks in the road: "lightly press shiny areas," "blend areas where color has gathered," and "get the condition of powdery areas in order first." If the color is already sufficient once you have tidied up, you can stop there.
You do not need to redo your whole face the way you did in the morning. This article focuses on base makeup on the go and explains the steps separately for shine, creasing, and a dry-looking finish. For how to apply it in the morning, see Base Makeup Basics. Using only tools you can carry with you, start with the area that bothers you right now.
1. Before layering anything, tell apart where and in what condition your makeup has broken down
First look at your whole face in a mirror, and then move closer to the spots that bother you. Is your forehead or nose shiny, has color collected around the sides of your nose, or are there powdery patches on your cheeks? This is not about diagnosing your skin type; it is about observing so you can decide what to fix today.

If it is only shine, you may not need to add any color after lightly pressing off the oil. For creasing, smooth the edges of the gathered foundation first and then add more where needed. Another key point is not to keep layering powder on areas that look dry the way you would on shiny areas.
Your face can be in different conditions in different places, for example a shiny forehead but a powdery area around the mouth. Instead of treating your whole face the same way because "today is a shiny day," think area by area. Fixing black smudges around the eyes and faded lip color separately from uneven base makeup keeps the steps organized.
When you are short on time, pick one place to fix first
If you only have a short time on the go, decide which spot has priority before you start fixing your whole face. For example, if creasing at the sides of your nose bothers you most, fix that first and then look at your whole face. Decide whether to move on to the next step based on how it looks at that point.

If you hold the mirror too close, you may be tempted to fix tiny differences that are not normally noticeable. After checking smudges and creasing up close, move back to a distance where your whole face fits in the mirror. Aim to make noticeable unevenness smaller, rather than layering more to erase every pore and line.
Your next plans can also be a guide, such as a day with a meeting in the afternoon or a day when you will be moving outdoors. However, you do not have to redo a full face of makeup to match your plans. On days when you have few tools, just blotting oil, removing smudges, and tidying the outlines makes it easier to judge what you need to add.
2. Prepare your touch-up tools so that you can use clean surfaces
The basics are a small mirror, tissues or oil-blotting paper, a clean sponge, and the base products you already carry. If you also fix your eyes and lips, add cotton swabs and a remover for the eye and lip area that suits the product. Rather than putting everything in a large pouch, choose what you need for the places that give you trouble.

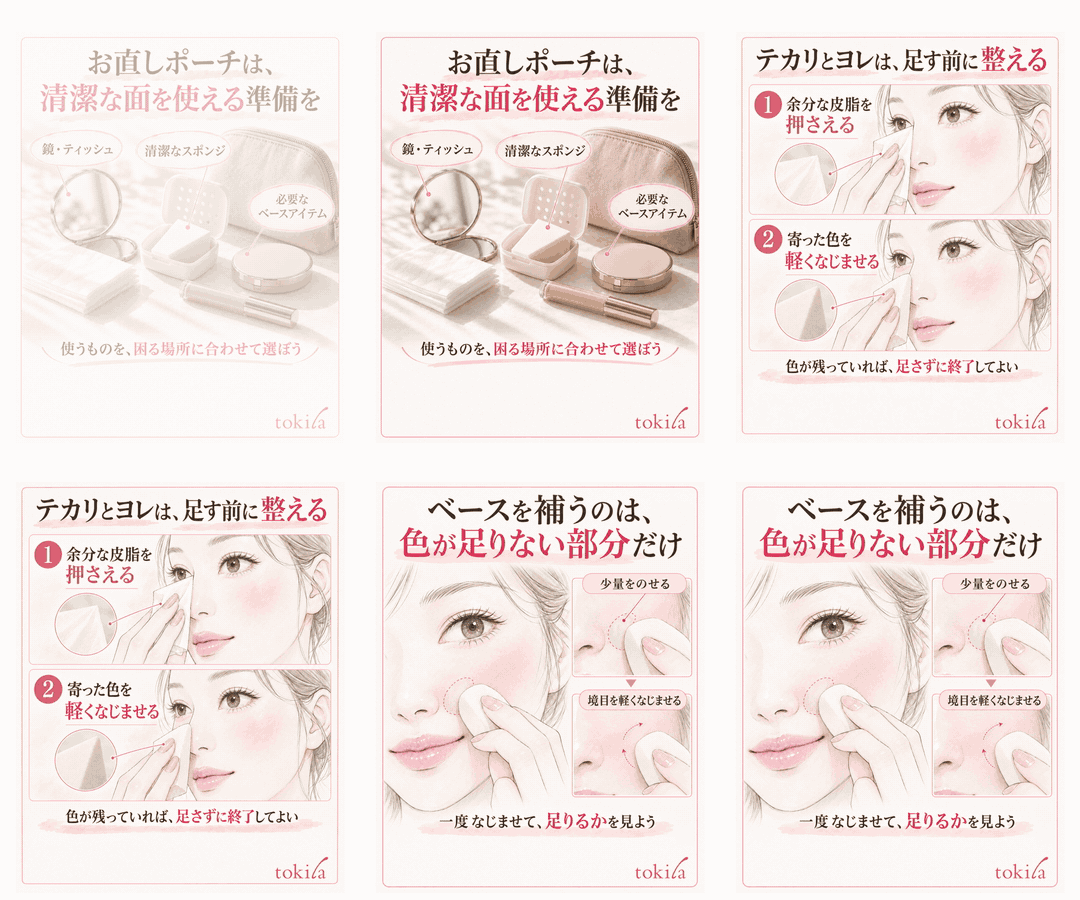
Avoid rubbing repeatedly with a surface of the sponge or puff that already has dark color or oil on it. Carry them so that you can use a clean surface, and keep them in a case so that powder from other cosmetics does not get on them during storage. Do not use a tool that has been dropped or is dirty directly on your face.
Compare the foundation and concealer colors you used in the morning with your touch-up colors. If the colors are too different, only the area you added to may look like a bright spot. If you layer a small amount at home and check that the edges blend in before taking it out, you will not have to choose again while you are out.
Check that a mist can be used over makeup
If you bring a mist to tidy up areas where dryness bothers you, check whether it can be used over makeup, and check the amount and the way to use it. It is not the case that spraying any toner you have on hand onto your face will give the same finish.

Here too, give priority to the product's instructions and use it at the specified distance and amount.
For products that you spray on your face, also check the precautions, such as closing your eyes and mouth. Choose a place where the mist will not scatter around, and make sure it does not get on other people or clothing. It is also important not to layer powder right away on skin that is soaking wet. Look at how it has settled into your skin before moving on.
3. Press shine away, and blend creasing before adding more
Lightly press a tissue or oil-blotting paper onto the shiny skin to absorb the excess oil. Rather than wiping from side to side, press on the spot that needs it and lift away. If only your nose bothers you, you do not need to keep pressing on your dry cheeks.
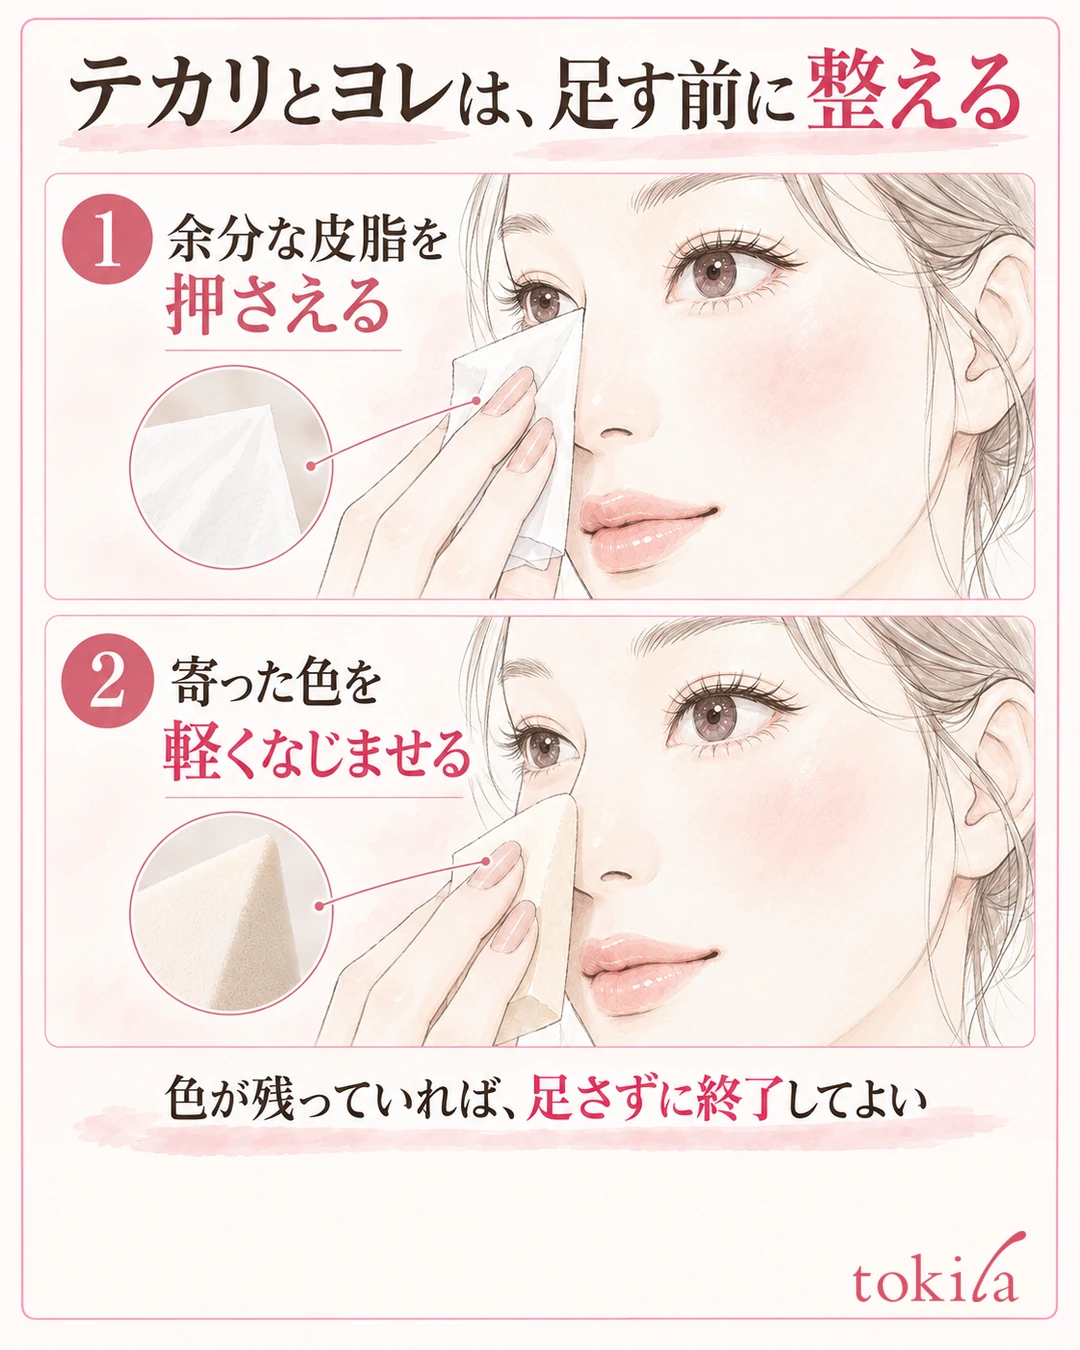
Next, lightly smooth the areas where foundation has gathered with a clean sponge or similar, using a side that has not picked up any new foundation. Keep the area you spread small, and once you have smoothed it, lift the tool away and take another look.
At this point, look at the condition after tidying up without adding any color yet. If enough of your skin tone remains, you can stop at that spot. If you find a spot where color has come off, that is when you add a small amount there. Do not make it a rule to redo your whole face every time after blotting.
For dry, powdery areas, get the condition in order before adding more powder
If your cheeks or the area around your mouth look powdery, avoid repeating the oil-removing step over and over. Check the condition of the lifted base with a clean tool, and if needed, blend in a moisturizing item that can be used over makeup, following its instructions.

Adjust the amount of mist or balm to the product you are using. When a wide area has broken down and when only a small spot bothers you, you do not need to mechanically use the same amount. Rather than rubbing hard to erase the powder, check whether any unevenness or excess liquid remains on the skin after tidying up.
If hardened base or thickly gathered areas do not come right after a light touch-up, do not keep adding more on top by force. It can be easier to manage the steps by removing the necessary area with a method suited to the product and redoing the base, including the primer. Follow the product's instructions for caring for the area you removed it from, too.
4. Layer a thin amount of base where color is lacking
Apply a small amount of foundation or concealer to the uneven color left after tidying up and to the places where it has come off. Before layering it thickly, blend it in once and see whether that is enough. Instead of spreading the same amount over your whole cheek, keep the area you add to small, such as the sides of the nose or one part of the cheek.

Follow the label on the product you have for the amount to use, and do not apply figures from another cosmetic.
Check not only the center of the area you added to but also the edges around it. Lightly blend the outside with an uncolored side of a sponge or similar, and check whether only the touched-up area looks raised. Instead of adding to your whole face each time you find unevenness, think separately about whether it is a boundary in color or a difference in amount.
Use powder last, only where needed
If you use powder, pick up a small amount after tidying up the base and blend it thinly onto skin that tends to break down. Pick the powder up with a clean, dry puff or brush that suits the product. If you pick it up with a tool that still holds a lot of foundation or moisture, it becomes hard to adjust the amount.
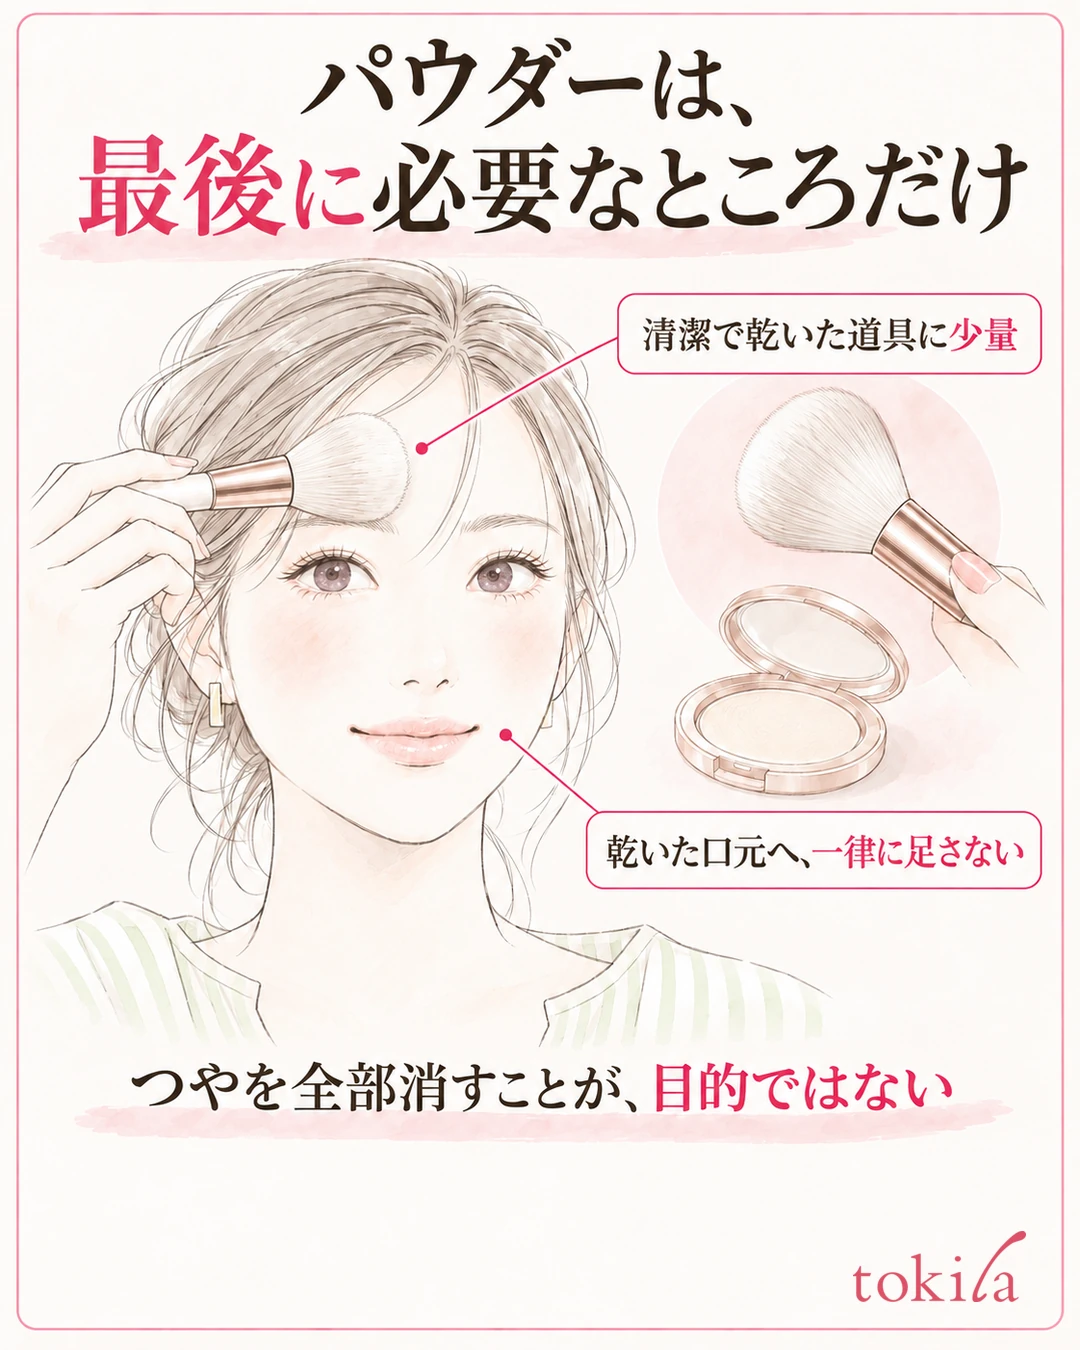
Try changing the amount you use on your forehead and nose, where you want a smooth finish, and around your mouth, where dryness bothers you. If tiny lines look stronger each time you add powder, stop adding and check the condition. Erasing all of the glow in the finish is not a goal common to every touch-up.
On days when you did not need to add any base, powder is not essential either. Decide based on the condition of the surface and the finish you like. If you can look at before and after under the same light and confirm that the color unevenness has become smaller and that only the touched-up area does not look thick, move on to the next part.
5. Tidy up only the features that need it: brows, eyes, and lips
Once your base is in order, check the faded parts of your brows, color that has transferred around your eyes, and the outline of your lips. For brows, use the remaining hairs and lines as guides and fill in briefly; for eyes, remove smudges first and then redraw only the lines you need. You do not need to make every feature darker than in the morning.

Steps for smudged eyeliner are introduced in Fixing Eyeliner When It Smudges. If uneven brows bother you, see How to Check the Height, Length, and Darkness of Your Eyebrows. Choose the tools you use to match the feature that bothers you.
For lips, look separately at color that has worn off in the center and color that has bled past the corners of the mouth. Tidy up what has stuck on after a meal and any excess oil, then add color to the needed area. If you add blush, too, check its intensity after fixing the base. Do not layer blush to hide unevenness in the base.
Finally, check your whole face and put your tools away
Move the mirror back a little and look at the overall balance from the front. Once you have checked the places you fixed, such as the edges around the sides of your nose, the color left under your eyes, and the outlines at the corners of your mouth, decide whether you need to add anything. Rather than repeating the motion of moving in close and adding more, set a point at which you finish.

Throw away the cotton swabs and tissues you used, and store sponges and similar items in a clean condition. Follow the product's care instructions so that you do not keep damp tools shut away for a long time. Put things away so that next time you will not have to touch up your face with a dirty surface.
If you recall the places you fixed today and the tools you needed, you can also narrow down what goes in your pouch. The basic flow of the order for touching up makeup is to observe, tidy up, and add if necessary. Choose the steps to match how your makeup has broken down, and try deciding the endpoint by your own finish.
Written by the tokila editorial team. The editorial team organized adjustment steps you can try with the tools you already have.
For touching up your lips, see How to Fix Uneven or Bleeding Lip Color
For putting away the tools you carry, see How to Wash and Dry Brushes and Sponges
If creasing around your eyes bothers you, also check how to tidy up locally before layering more. How to Fix Concealer Creasing Under the Eyes
If the shine or white band from highlighter looks too strong, you can check How to Fix Highlighter That Is Too Strong.
If the shadow beside your nose looks too dark, you can check How to Adjust the Darkness, Edges, and Amount of Nose Shadow.



