Do you repeatedly rub stubborn mascara or lip color with a makeup remover intended for the whole face? Point makeup remover is designed specifically to remove makeup from areas such as the eyes and lips. Checking where it can be used and which makeup it removes, then understanding the sequence of putting the liquid on cotton, letting it work into the makeup, and gently removing it will help you read your product’s instructions.
This article focuses on liquids applied to separately prepared cotton pads. Their procedure differs from comb-type products applied directly to lashes and cleansing sheets already soaked with liquid. Follow each product’s directions for shaking, quantity, contact time, and washing afterward; the quantities and movements shown in the photos are not standards for every product.
1. Check suitability for eyes and lips alongside the makeup you want to remove
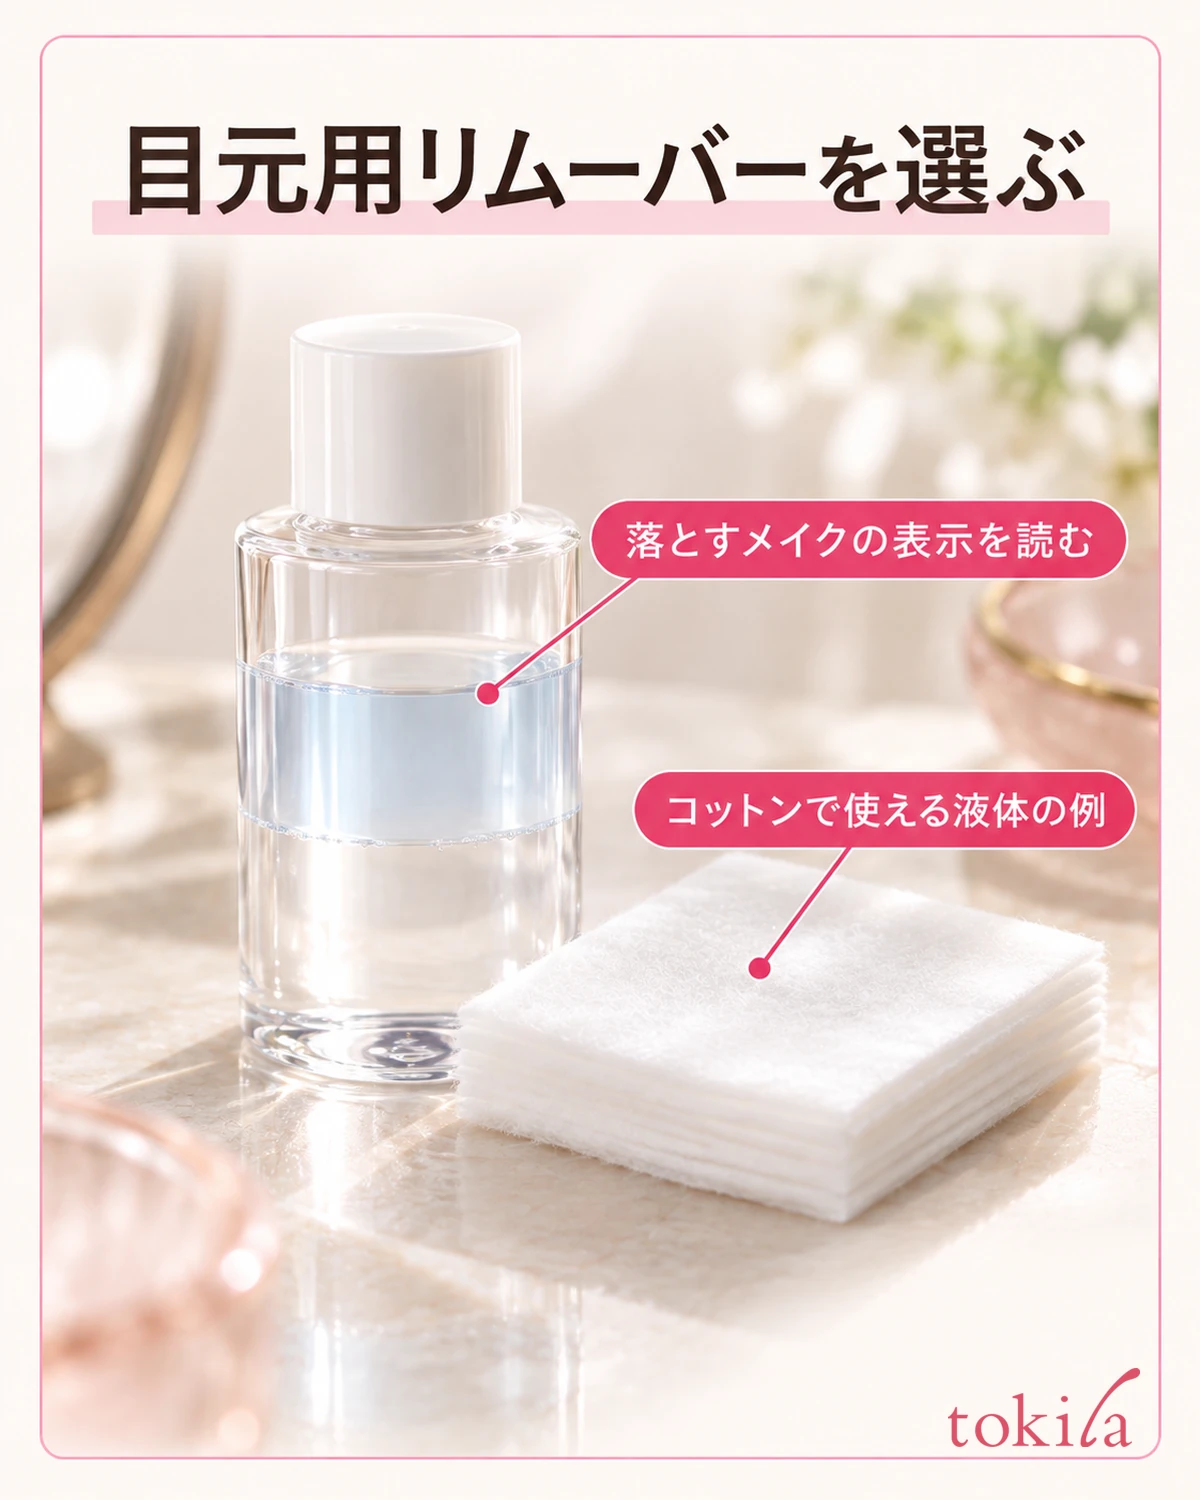
First, read the intended use on the container or outer packaging. Check whether it is for eyes only or both eyes and lips. Do not apply nail polish remover or a product intended only for correcting makeup to your eyelids just because the names seem similar. A clear liquid or a two-layer appearance alone does not tell you its application areas or cleansing strength.
Next, check the removal instructions for the eyeliner, mascara, and lip color you used today. You may need a product compatible with waterproof makeup, or another method may be specified, as with mascara designed to come off with warm water. Rather than trying to remove every mascara with the same remover, compare the instructions for both the remover and the makeup.
If you wear eyelash extensions, false lashes, or adhesive, also check the conditions for that combination. An oil-free label alone does not mean a product is suitable for every adhesive. Look beyond ingredients to permitted conditions and friction precautions, and check an unfamiliar combination before use.
If a product says to use it before cleansing the whole face, place it at that point in your routine. Removing eye makeup with a dedicated product does not mean you have also removed foundation on the cheeks or facial sunscreen. Separating the roles—working on localized makeup first, then moving to the whole face—helps clarify what to use where.
Redness, swelling, pain, or other abnormalities around the eyes should be treated separately from efforts to remove makeup more thoroughly. Follow the precautions, and consult a professional if abnormalities persist. This article explains cleansing methods, not treatment for eye-area problems.
2. Check shaking instructions and how much liquid to put on cotton
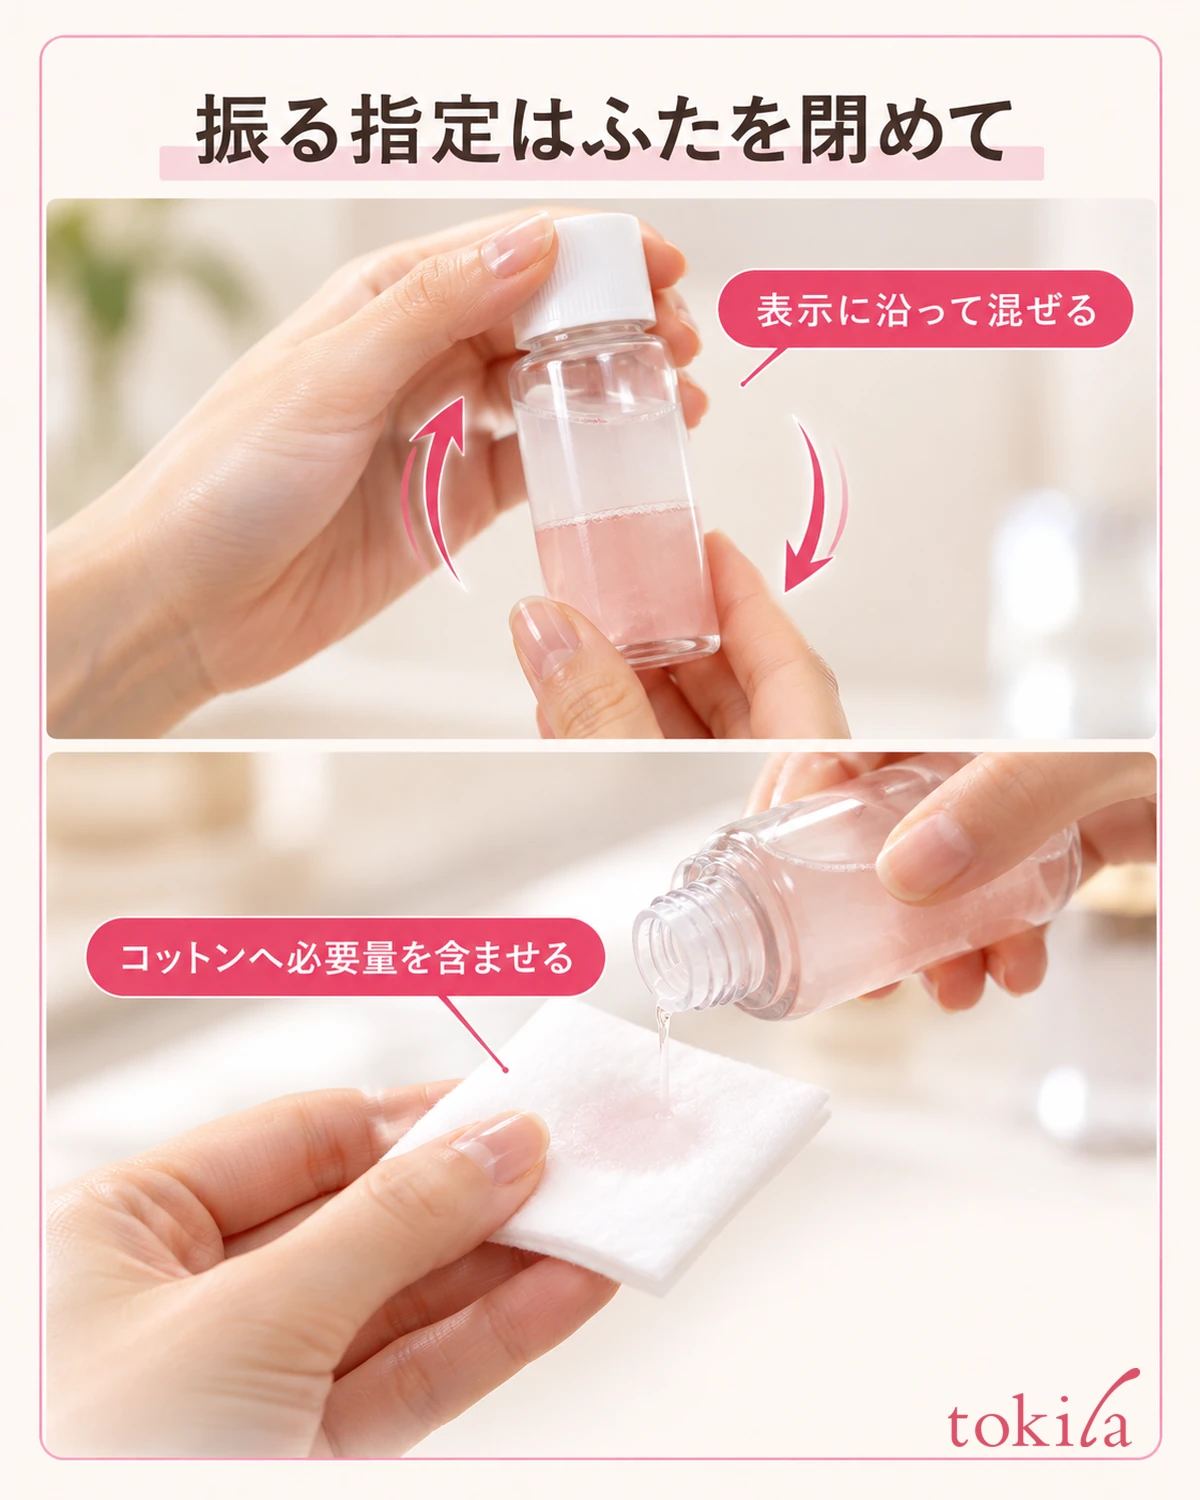
Clean your hands before use and set out the cotton and container on a stable surface. If a two-phase product with separated liquid instructs you to shake it, close the lid securely before mixing. Do not shake it with the lid open or borrow a shake count from a different product; read your own product’s instructions.
After shaking, soak the cotton with the specified amount. Even when a coin size is given as a guide, do not transfer the same number to another type of product. The size and thickness of cotton also change how liquid spreads, so do not use the wet circle in a photo alone as a quantity guide; return to the container’s instructions.
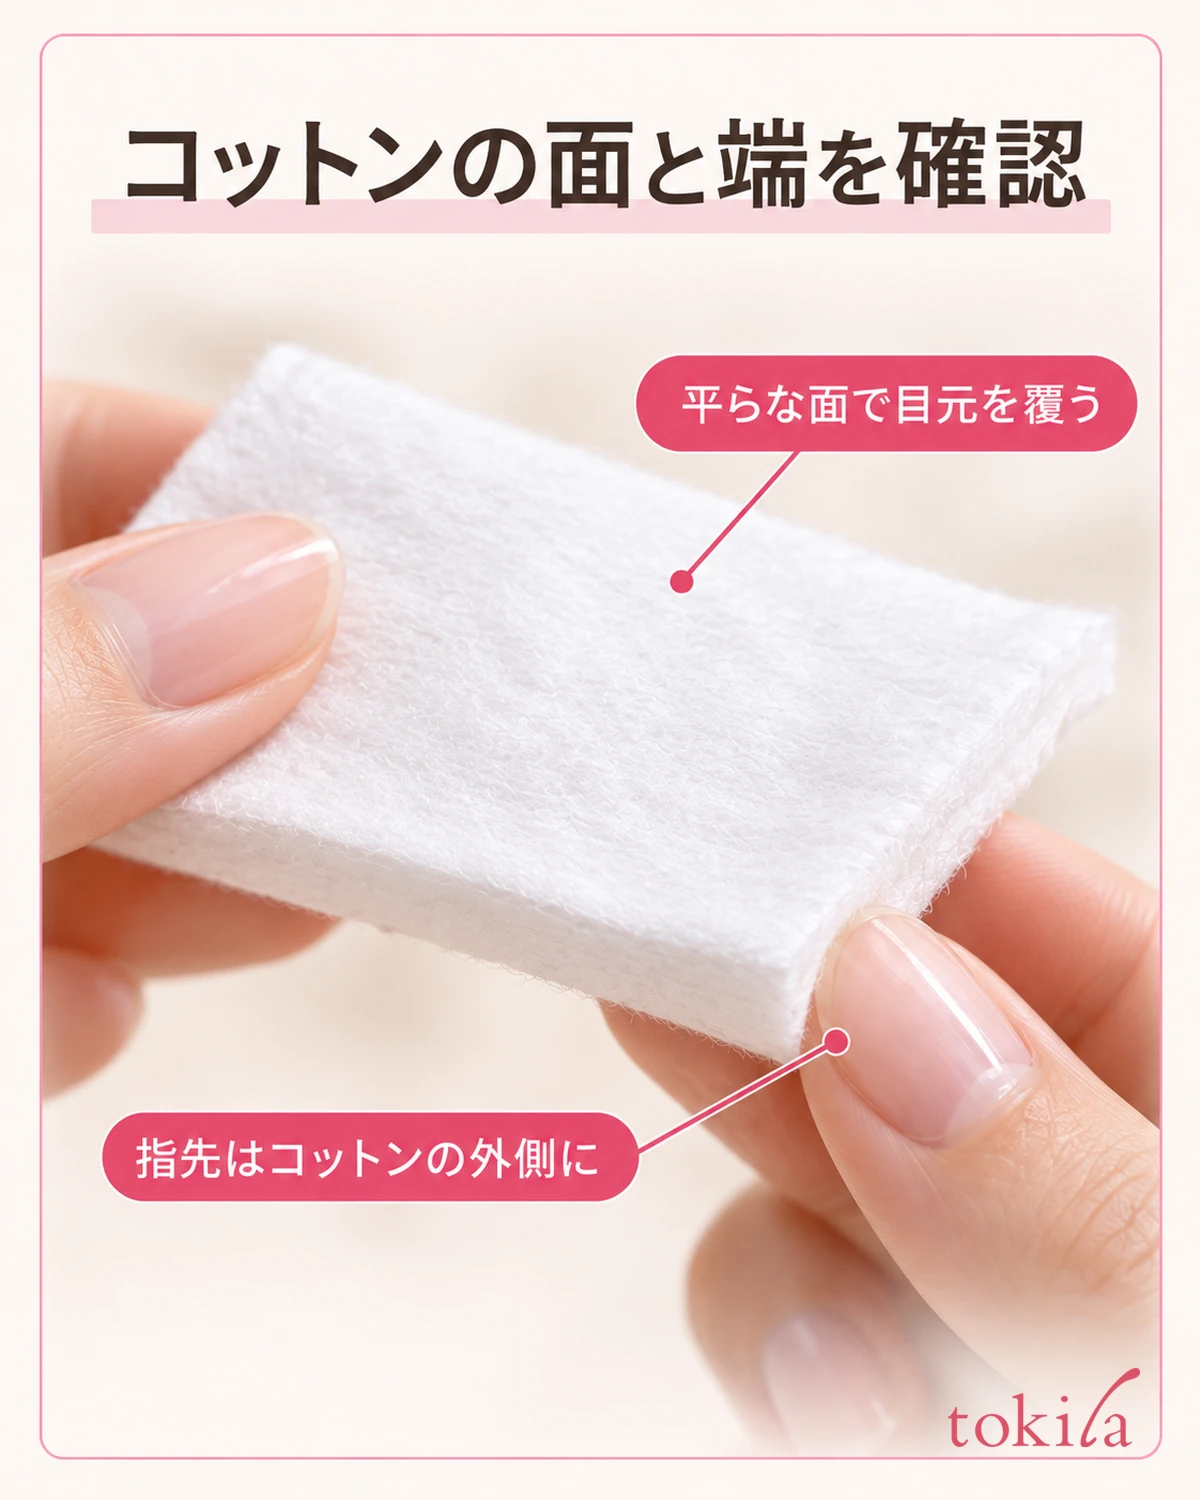
Hold the cotton so you can use a broad surface against the face. Rather than rolling it into a small hard tip, keep the surface flat and support it where fingertips and nails will not directly touch the eyelid. Do not add your own steps, such as layering many thin pads or squeezing them hard before use; follow the cotton and remover instructions.
Keep clean spares nearby so you do not keep rubbing with a dry area partway through. If excess liquid drips, do not carry it straight to the eye area; review the quantity guide and dispensing method. Do not press the container opening against dirty cotton or pour dispensed liquid back into the bottle. Keep unused contents separate from used surfaces.
Do not leave prepared, soaked cotton sitting for a long time; proceed to the application steps when ready. Transferring the liquid to another container or diluting it with water or lotion changes the original product’s conditions. If you lose track of how to use it, returning to preparation as labeled is the starting point, rather than adjusting it by mixing.
3. Close your eyes and lightly hold the cotton against the makeup
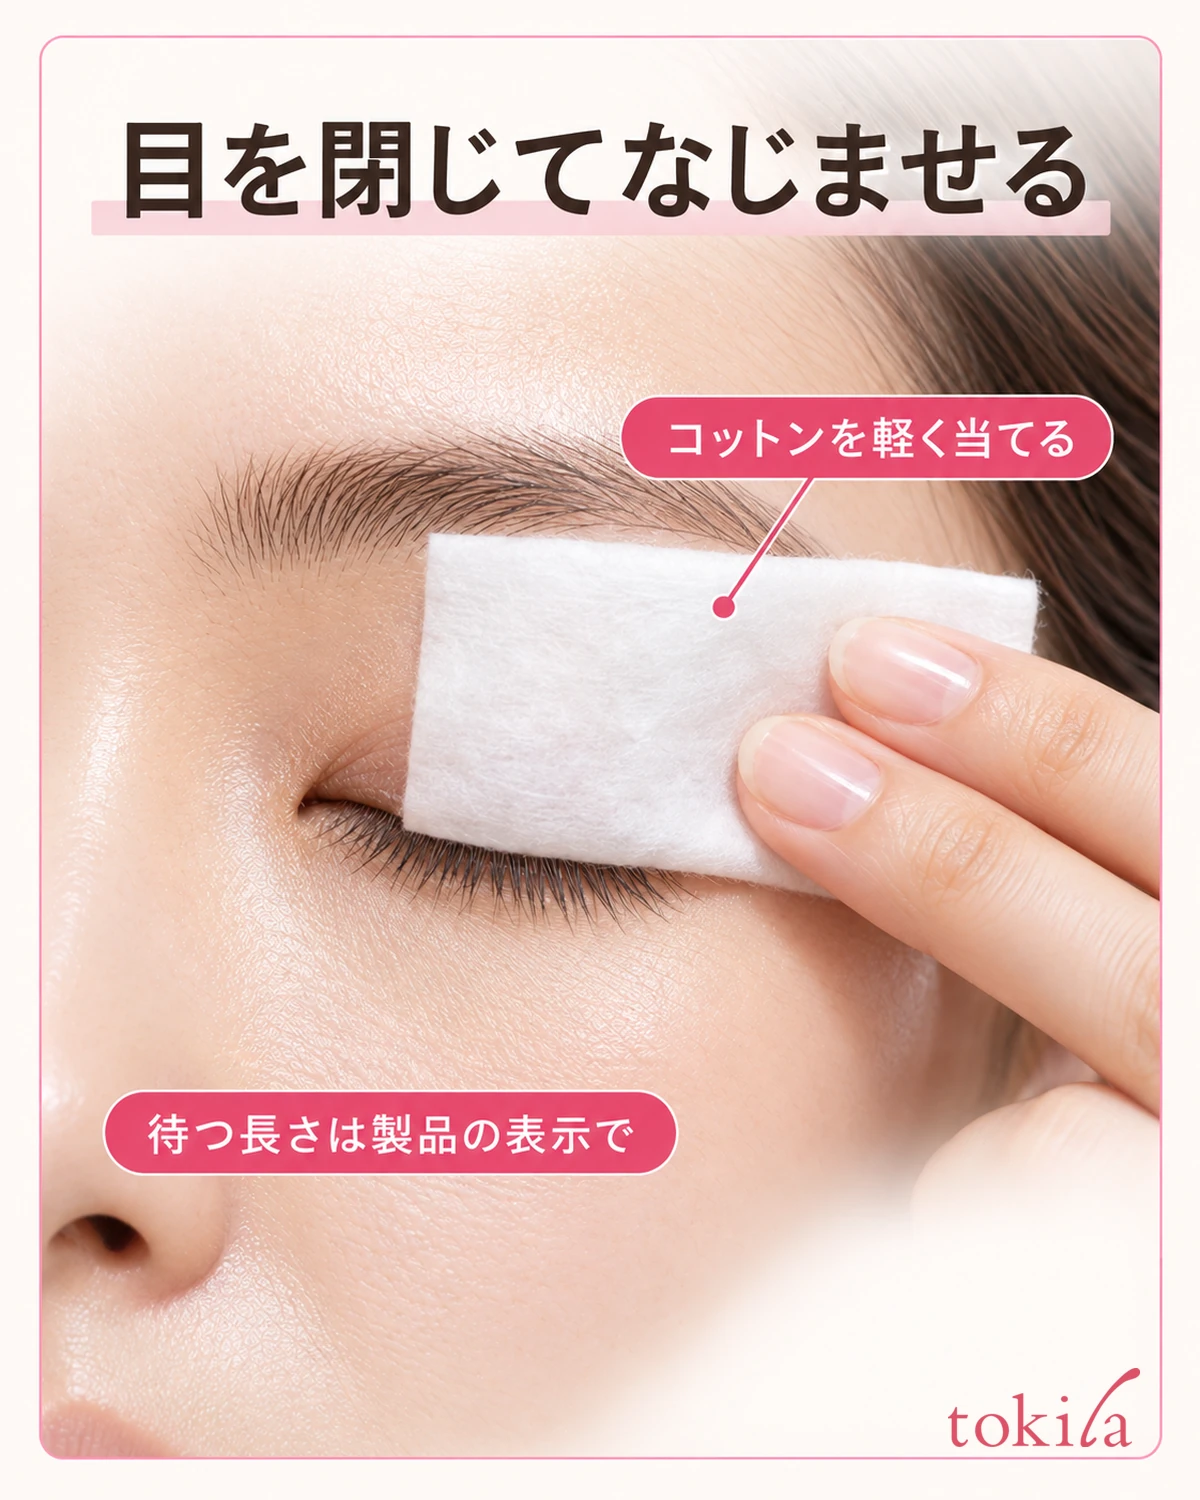
After checking the placement in a mirror, close your eyes. Lightly place the flat surface of remover-soaked cotton against the eyelid where the makeup needs removing. Do not keep your eyes open and pour liquid toward the lash roots. Support the cotton from the outside with your fingers, avoiding pressure that pushes into the eyeball.
Once in place, let it work into the makeup for the time described. Some products say a few seconds and others specify a number, so do not fix every product at ten seconds. Separate the soaking and wiping stages instead of immediately rubbing back and forth to remove makeup faster. Do not increase the time on the assumption that longer is better.
If cotton does not reach an area, do not stretch it excessively to cover the entire eye area or press hard to make it fit. Be aware of the area currently in contact and reposition as needed according to the product’s method. The photo illustrates contact; it does not indicate that one pad of the same size will be enough for one eye on everyone.
For products also suitable for lips, lightly place cotton against the lip makeup and let it work in. Use a clean surface or a new pad rather than moving the dirty surface used on the eyes to the lips. Keep the mouth closed and work on the outer lips; do not let liquid enter the mouth or rub hard inside the lips.
If stinging, pain, or strong irritation occurs during use, stop using the product rather than continuing with less pressure. If it gets into the eyes, follow the precautions and promptly rinse with water or as directed. If a foreign-body sensation or other discomfort remains, seek advice rather than prioritizing removal of the remaining makeup.
4. Move the soaked surface gently and replace dirty surfaces
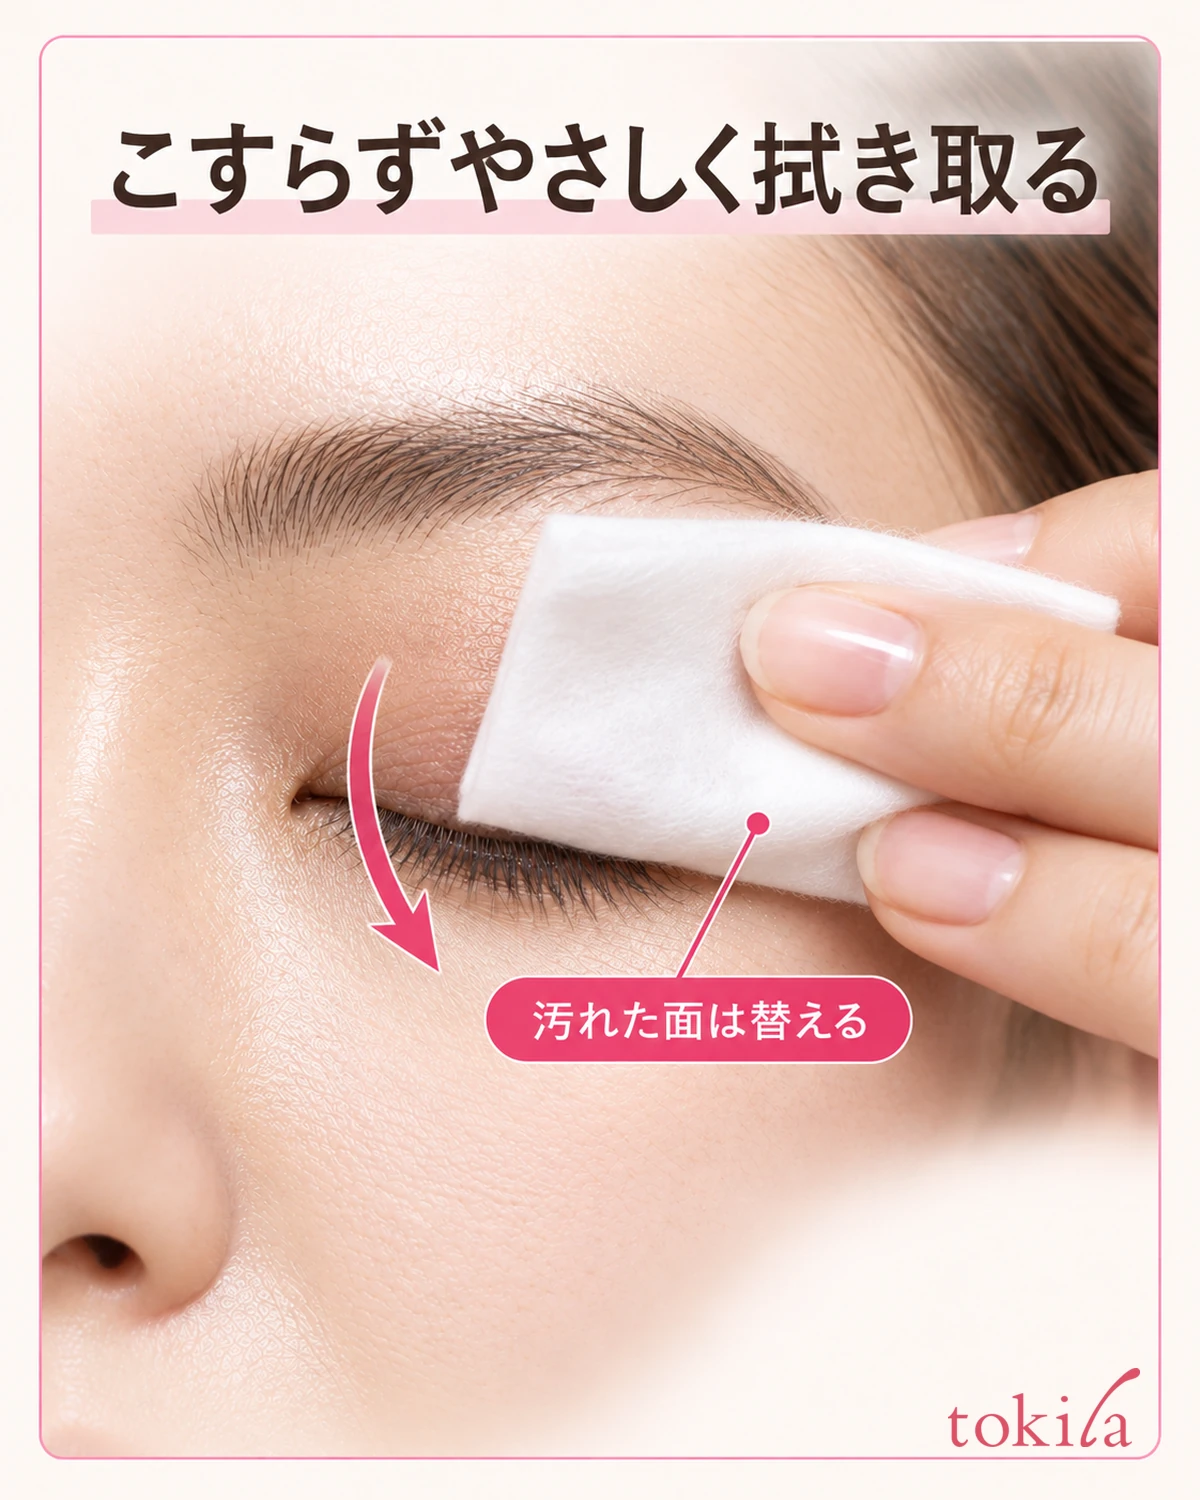
After letting the remover work in, slide the cotton gently as directed. When removing lash makeup from top to bottom, gently wipe away the loosened makeup rather than pinching and pulling the lashes. Do not make fast, broad back-and-forth movements to remove everything at once or pull the eyelid strongly sideways.
When color transfers to the cotton, change to a clean surface rather than continuing to spread the dirty area. Before turning it over, check whether color or liquid has reached the back. Replace it with a new pad if both sides are dirty or dry, and check the required liquid amount again. Looking at the surface currently touching your skin matters more than using up a single pad.
Remove the cotton before opening your eyes to check what remains. Even if color seems to remain between lashes, do not scrape with nails, pull out hairs, or pinch and pull with dry paper. Recheck the original removal instructions to see whether the makeup needs another method, such as warm water.
If a product describes using a cotton swab for color remaining in fine lines or vertical lip creases, observe the specified conditions and areas. Do not treat tracing the inner eye or mucous membranes as a universal step, and do not aim the tip toward the eye. If detailed instructions are unclear, check a method suitable for the product before improvising deeper access.
If makeup remains difficult to remove after repeated soaking, review makeup compatibility, shaking instructions, cotton saturation, and the contact stage before increasing force. This is a guide to checking use, not a cleansing-performance test. Do not judge actual removal performance or the relative merits of particular products by the darkness of the stains in the photos.
5. Move on to whole-face cleansing and put the container away
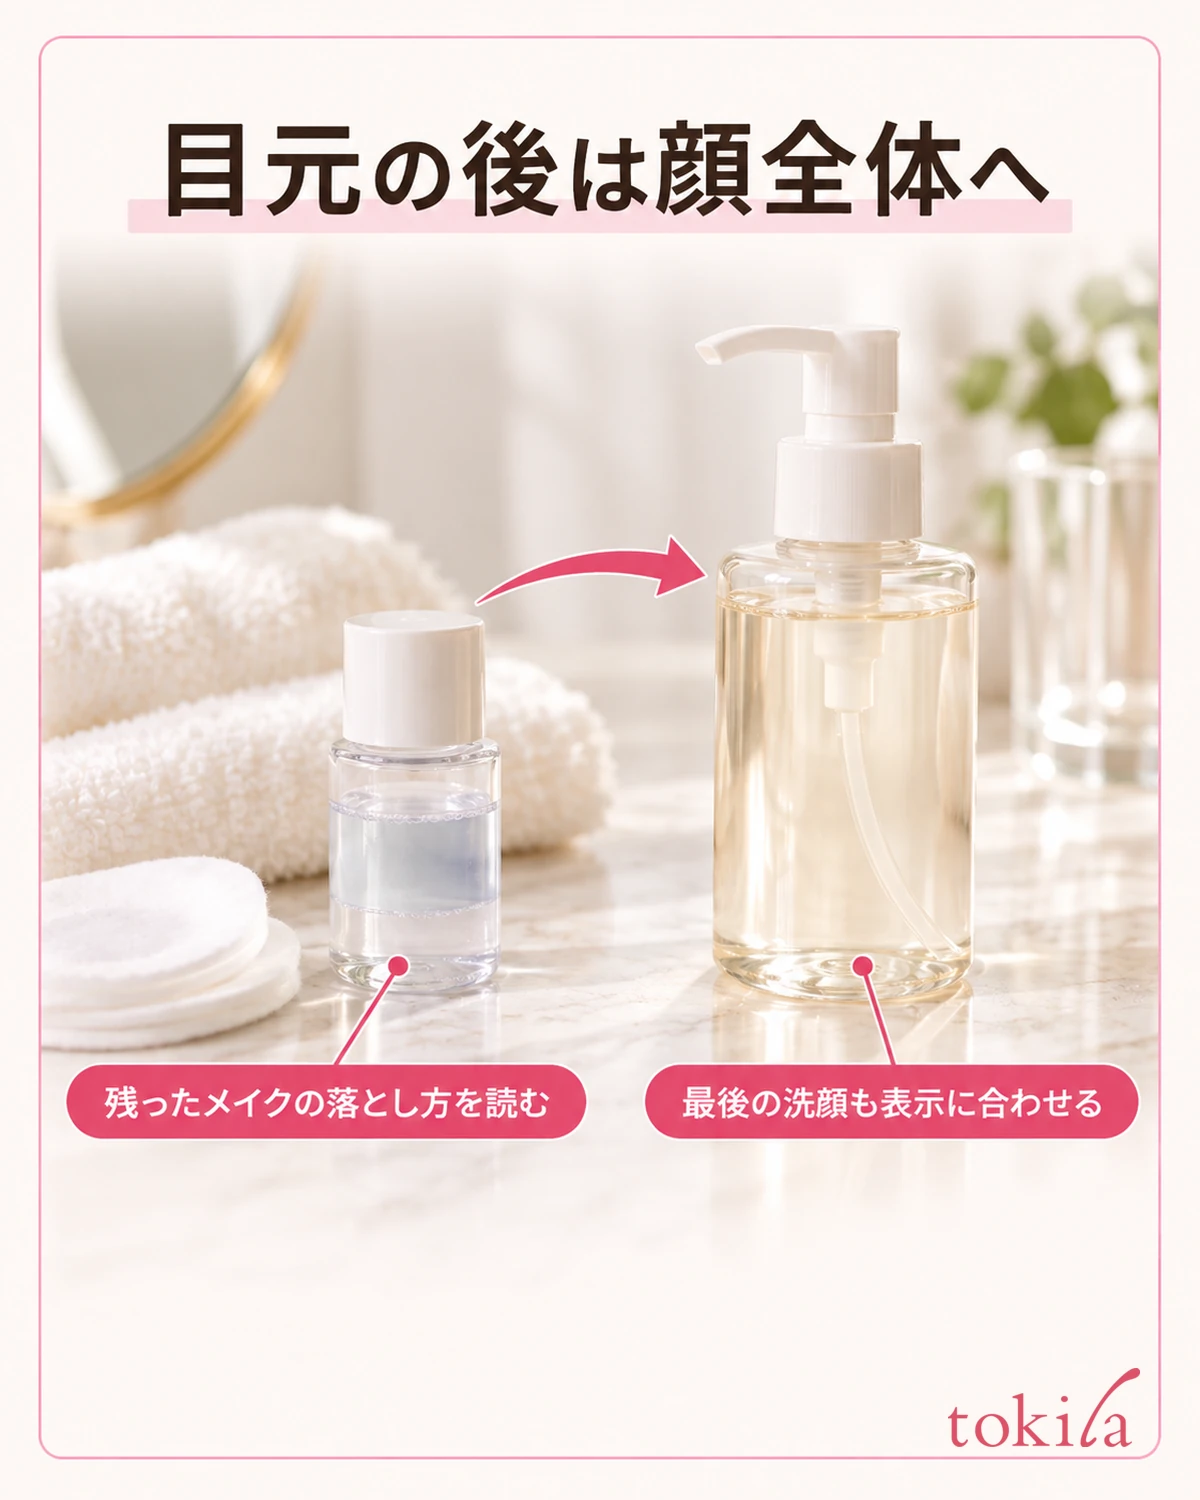
After working on eye and lip makeup, move to the makeup remaining on the rest of the face. Even if the remover itself needs no rinsing, that does not mean foundation or sunscreen used on the face has the same finishing procedure. Check both the whole-face makeup remover and whether washing afterward is required.
For example, if using a gel,checking hand moisture, working in the product, and rinsing with cleansing gelcan also help. The key here is to switch to a product suited to the area rather than adding point remover across the entire face as a substitute. Do not repeatedly wipe the cheeks with cotton already used for remover.
After use, align the bottle opening and cap before closing. For a screw cap, align it so it closes securely rather than forcing it on at an angle. Keep used cotton separate instead of putting it over the container opening. The photo shows the cap alignment area and the relationship between that area and the used surface placed away from it.
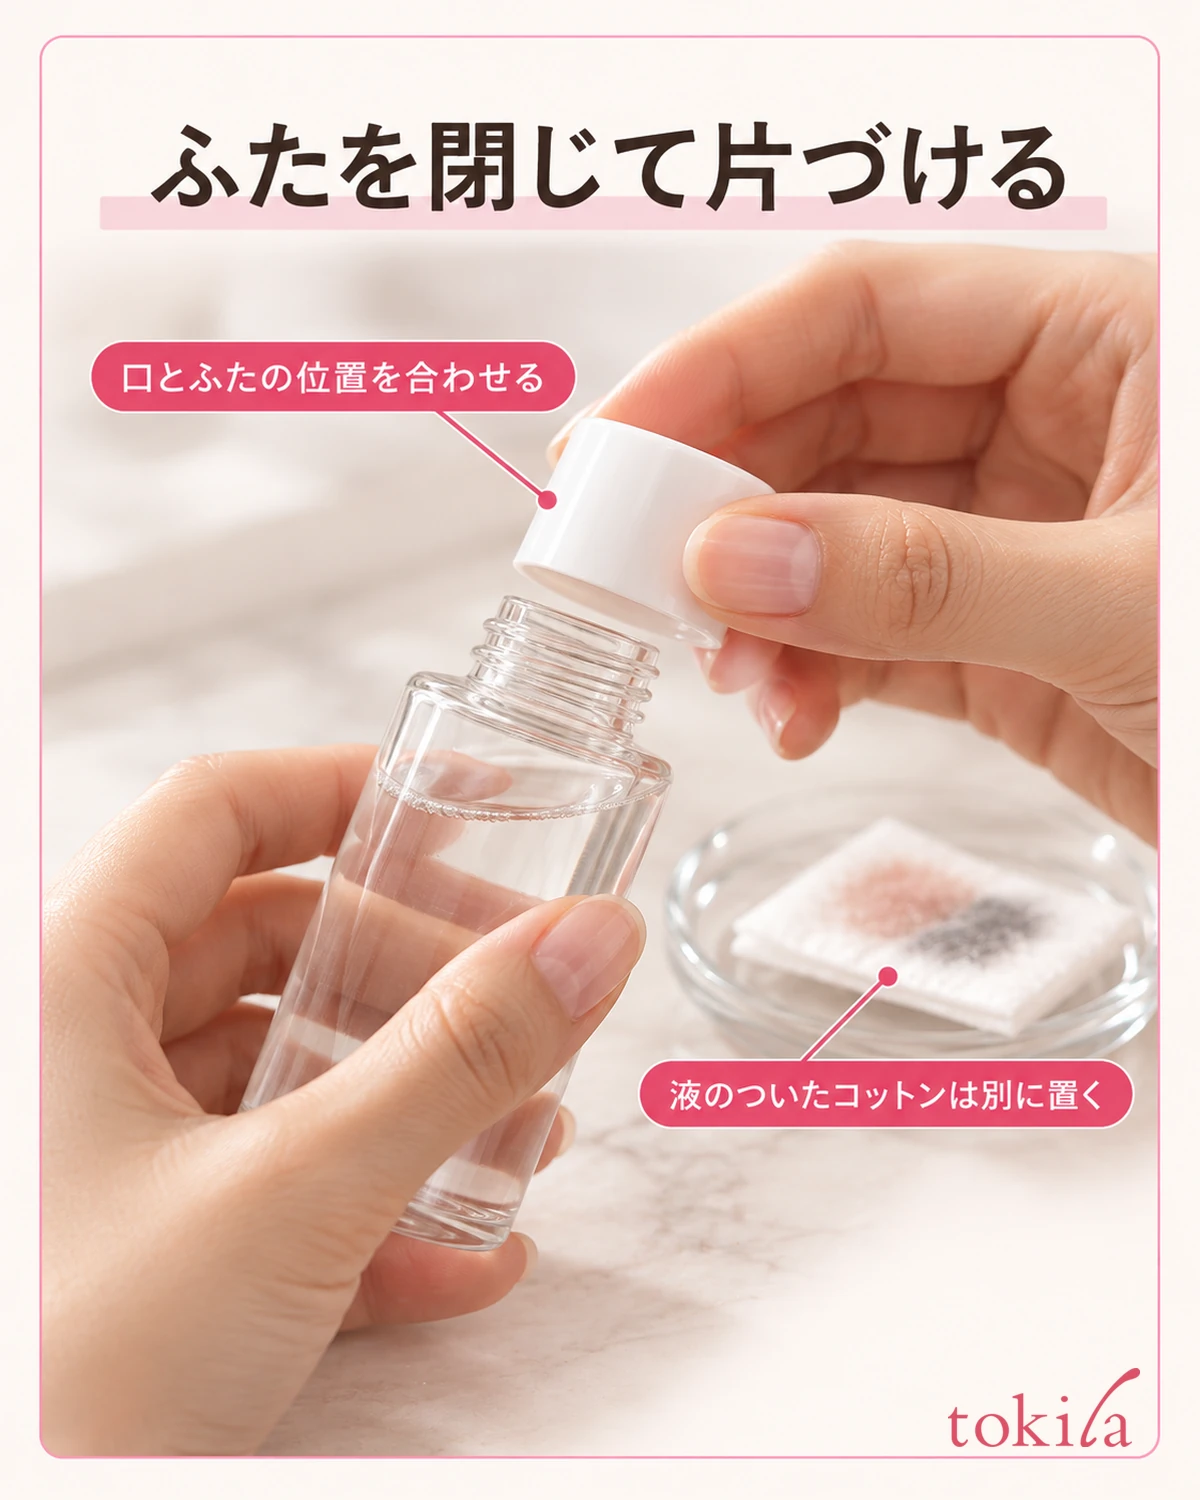
Follow storage directions, such as avoiding heat and direct sunlight. Do not conclude that a two-phase liquid has deteriorated solely because the layers separate again. If an unusual smell or appearance concerns you, check its condition and instructions before use. Avoid improvised refilling, such as adding another product’s liquid or refilling an empty bottle without washing it.
After cleansing and any necessary face washing, proceed to moisturizing. If tightness during washing concerns you,how to address tightness after washing and move on to moisturizingcan help you review cleansing and subsequent care separately. Avoid drawing conclusions about skin condition or moisturizing effects from the sensation immediately after removal alone.
Three things to remember for next time are compatibility with the makeup, preparing the liquid on cotton, and closing your eyes while letting it work in. Noting one difficult area or uncertain step makes the next label check more specific. Check use suited to your makeup and build a removal sequence from localized areas to the whole face.