Before using a new lipstick, should you add a lip primer, and can you use it like a lip balm? Lip primer is a makeup product for preparing the lips before applying lipstick. Even when names sound similar, consider its application area and order separately from tinted balms and coats applied over lipstick.
Focusing on solid lip primers that can be applied directly to the lips, this guide covers preparation, spreading a thin layer, checks before applying lipstick, and touch-ups. First read the instructions for both primer and lipstick to check the conditions for combining them. There is no promise of a universal effect such as guaranteed prevention of color transfer.
1. Check the lip primer’s purpose and the conditions for the lipstick you will layer
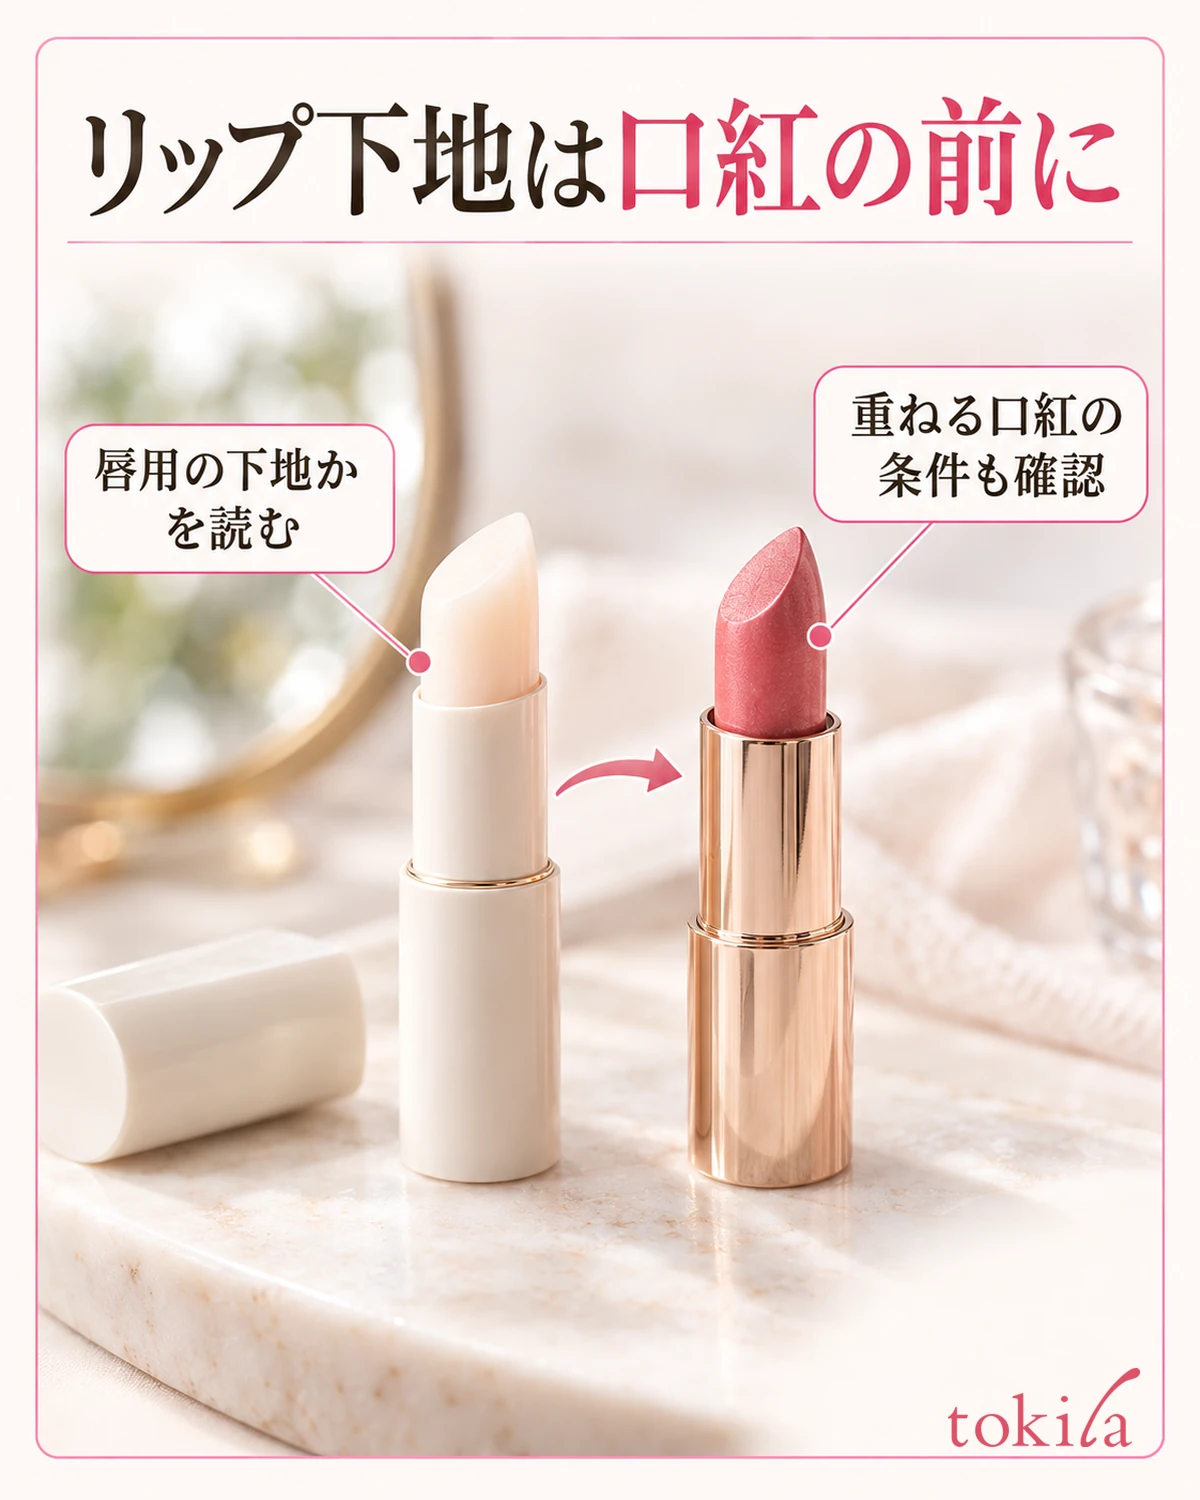
First check that the product you have is a makeup primer intended for lips. Choose by the stated application area rather than using a facial pore-minimizing primer or an eye base on your lips. Even with a clear-looking stick, appearance alone cannot tell you whether it is a moisturizing balm or a primer for use before lipstick.
A primer prepares the lip surface for the lipstick that follows. This is separate from treatment that changes the shape or wrinkles of the lips themselves. Smoothness of the finish and the way color appears also vary with the primer, lipstick, amounts used, and lip condition. Do not assume that applying primer alone will always resolve dryness or peeling.
Next read the instructions for your lipstick. Look for directions on using primer beforehand, a requirement to apply to bare lips, or compatibility guidance. Especially with liquid tints and products whose applied film must dry, check your particular product’s conditions before combining them. Do not decide that every matte lipstick needs primer.
With a combined primer and liner, also check which end to use and in what order. A single product can have separate roles, such as primer, then liner, then lipstick. Conversely, a coat applied after lipstick is a finishing step. Avoid confusing it with primer and adding it to the same area in the same sequence.
You can choose a day for tinted balm alone or a day for lipstick and primer. If you are unsure how to combine products you already have,layering tinted lip balm and lipstickis another guide to consult. Start by deciding today’s finish and products rather than making extra steps a goal in themselves.
2. Prepare the mouth area and check the tip and how far to extend it
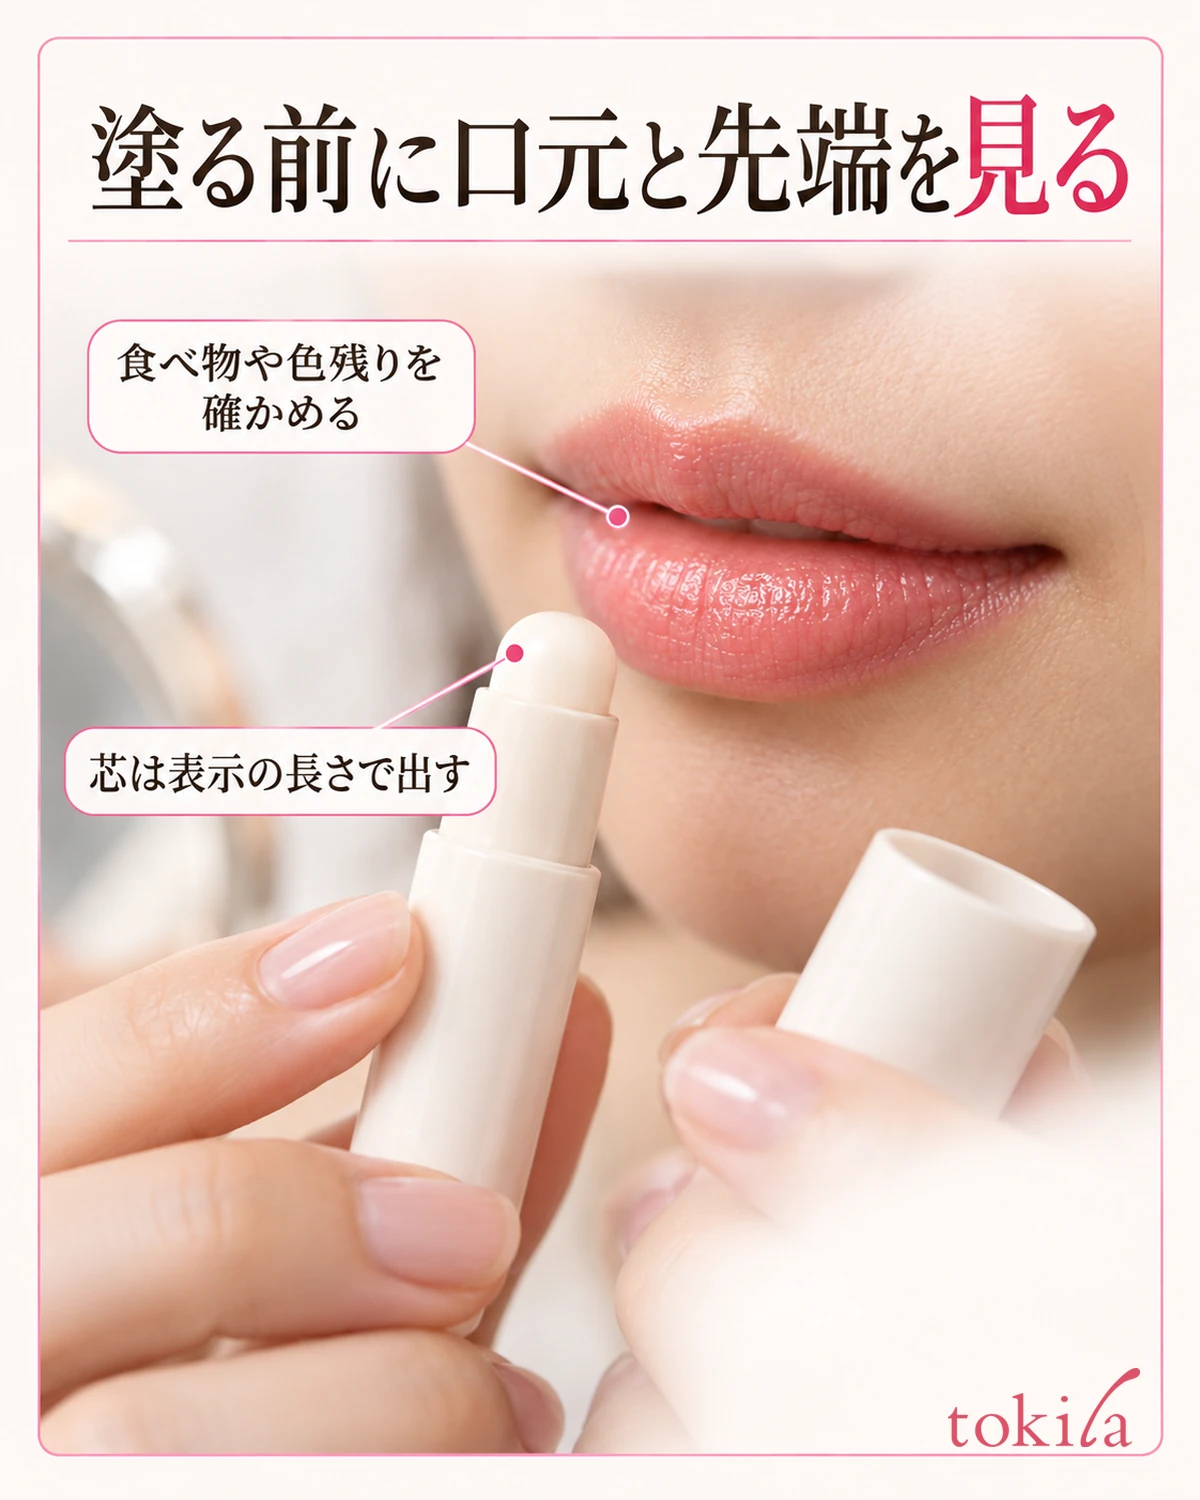
Clean your hands before use and look at your lips in a mirror. Gently remove any remaining food or drink before proceeding. If you intend to add primer over remaining lipstick, first check for instructions allowing touch-ups. Do not treat clean lips in the morning and lips with remaining color while out as the same situation.
If you also use a moisturizing lip balm, read the guidance on combining it with primer and lipstick. Avoid universal preparation rules such as always removing a large amount of oil before primer or, conversely, layering many moisturizing films. If you see a heavy surface layer, review what you have applied before adding more and start with a thin layer consistent with the directions.
For solid primer, remove the cap and inspect the tip. If transferred color, foreign material, or a chipped stick concerns you, check its condition and care instructions rather than pressing it firmly onto the lips as it is. Do not make homemade restoration, such as shaving the surface with a blade, washing with solvents, or reshaping with heat, a routine step.
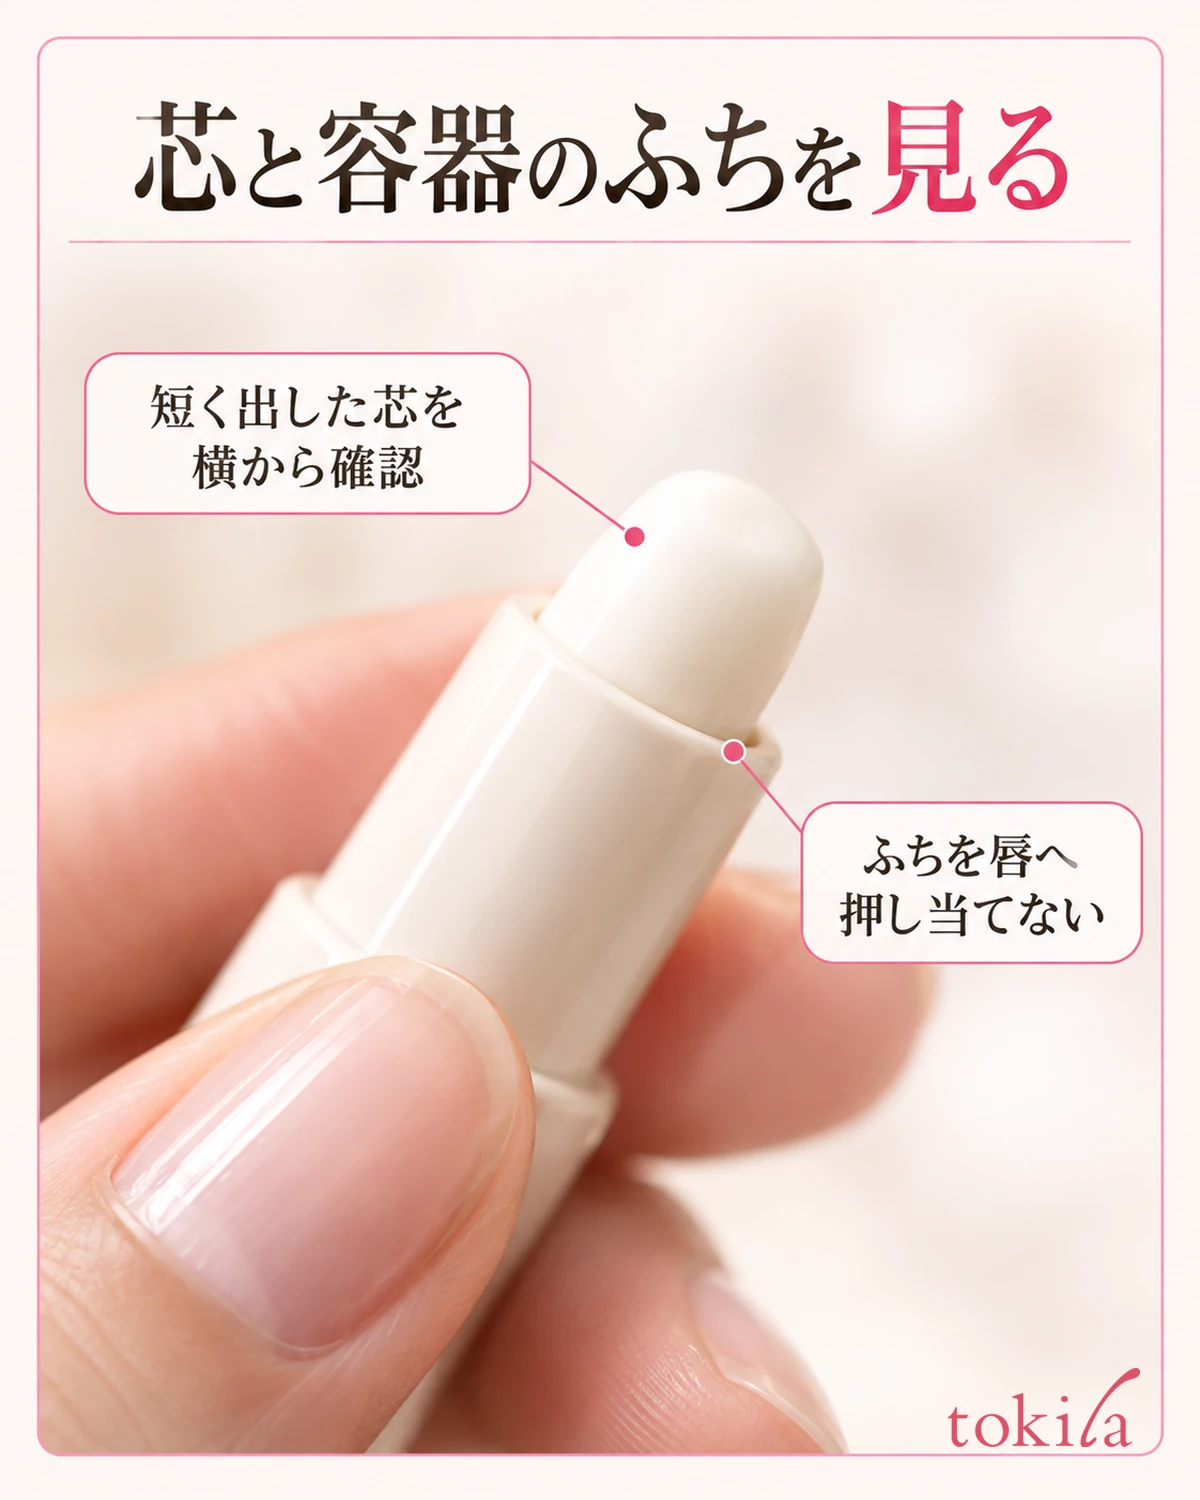
Extend the stick to the length specified for its container. A stated length for a thin liner end should not be transferred to the thicker primer end. Look from the side to distinguish the stick from the container rim and check which surface will touch your lips during direct application. Stop at the necessary length rather than assuming a longer stick is easier to apply.
Position the mirror so you can see both your hands and mouth. Support the container with one hand and adopt a position that lets you check the tip, helping you avoid applying without seeing the corners of your mouth. Start with a posture that shows your normal lip outline rather than stretching the lips firmly sideways.
3. Spread a thin layer over the lip surface when using a solid primer intended for direct application
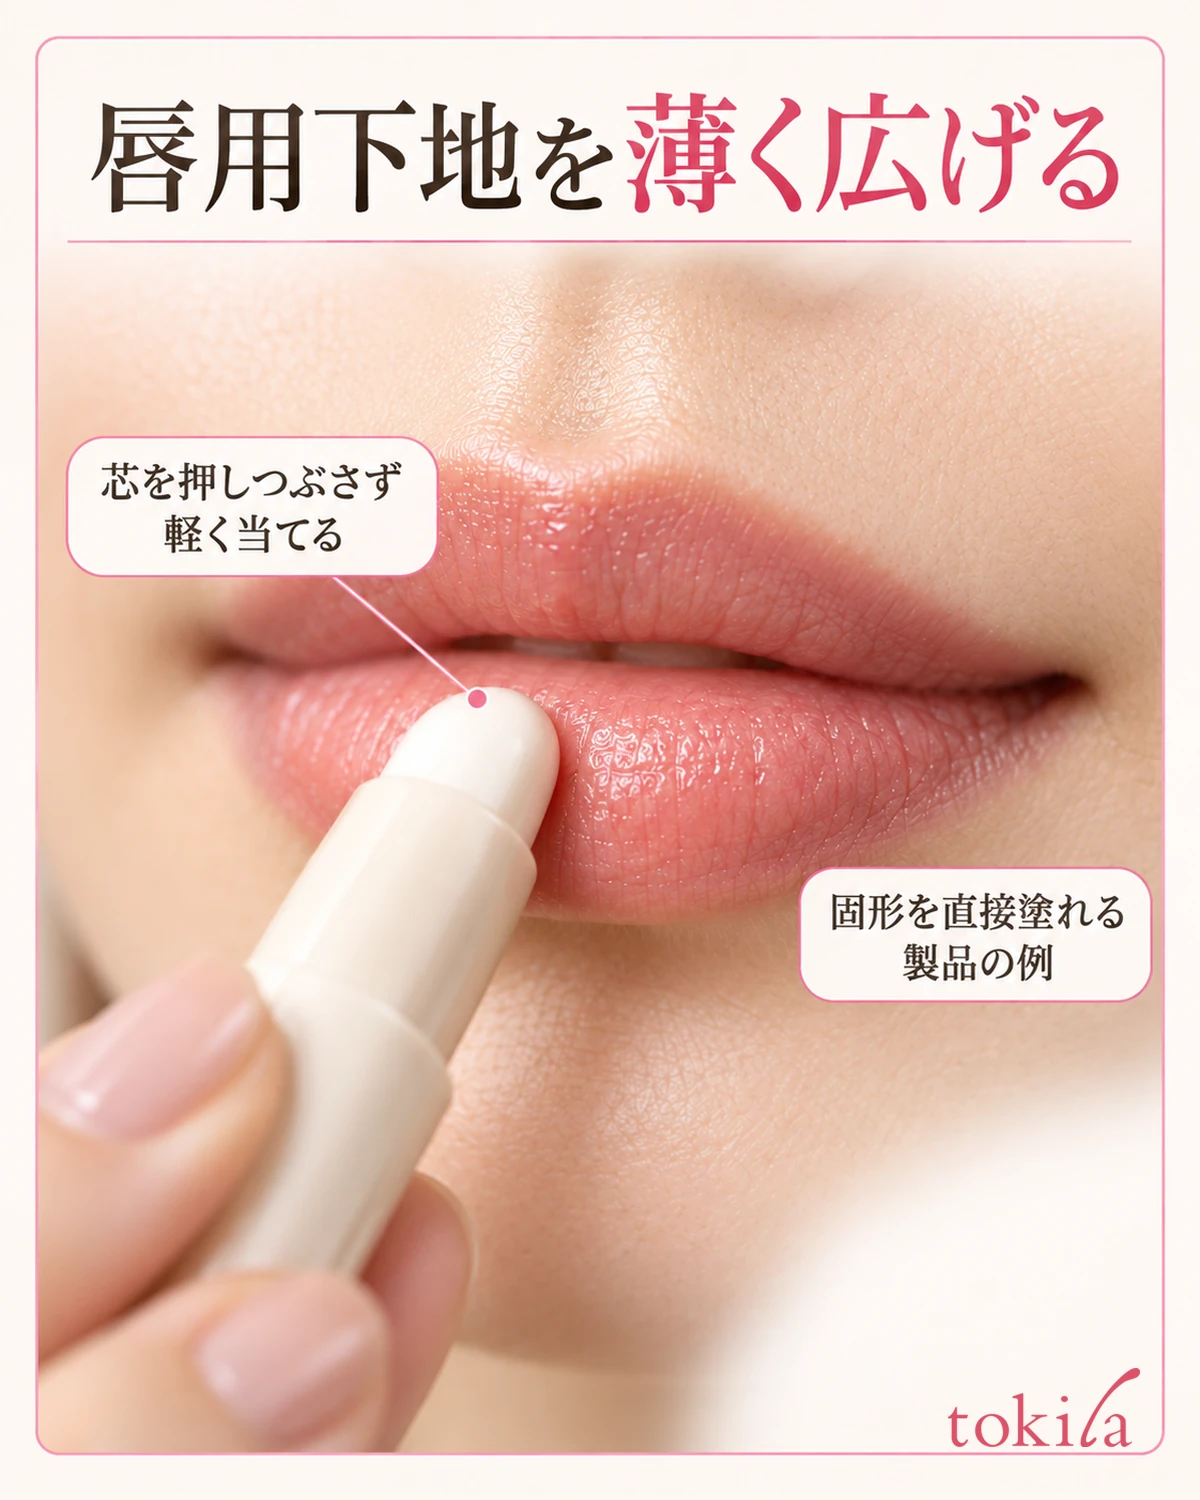
With a solid primer intended for direct lip application, lightly touch its rounded surface to the lips. Without pressing the container rim against them, work on upper and lower lips separately in short movements that let you track the area being touched. If the stick does not glide smoothly, avoid increasing pressure and pulling the lips.
Apply a thin amount consistent with the directions rather than repeatedly moving back and forth to build a thick layer from the start. Because clear primer makes coverage difficult to judge by color, work while tracking the surfaces touched: center and sides of the upper lip, then center and sides of the lower lip. This division is an example for checking missed areas, not a universal number of strokes or a single-pass instruction.
For products whose instructions include the outline, apply along the lip edge. Distinguish shaping the lip outline from spreading widely onto facial skin. At the corners, change your angle while looking in the mirror, then move the stick away to check. There is no need to push it into the mouth or onto mucous membranes.
Do not try to distribute primer by rubbing the upper and lower lips firmly together. If the directions specify a blending motion, follow that method, and avoid repeatedly applying to the same spot because you cannot see color. Even if the stick’s firmness or shape makes it difficult to handle, do not independently add a method of scraping it onto another tool.
Move the container away after application and look. If a thick white layer remains or clumps gather at the edges, review the amount before adding lipstick. Check your product’s method, such as whether a clean tissue can be used, and adjust accordingly. Rather than forcing a thick film to remain for the sake of retaining primer, check whether the surface is ready for lipstick.
4. Follow the settling instructions, then layer lipstick a little at a time
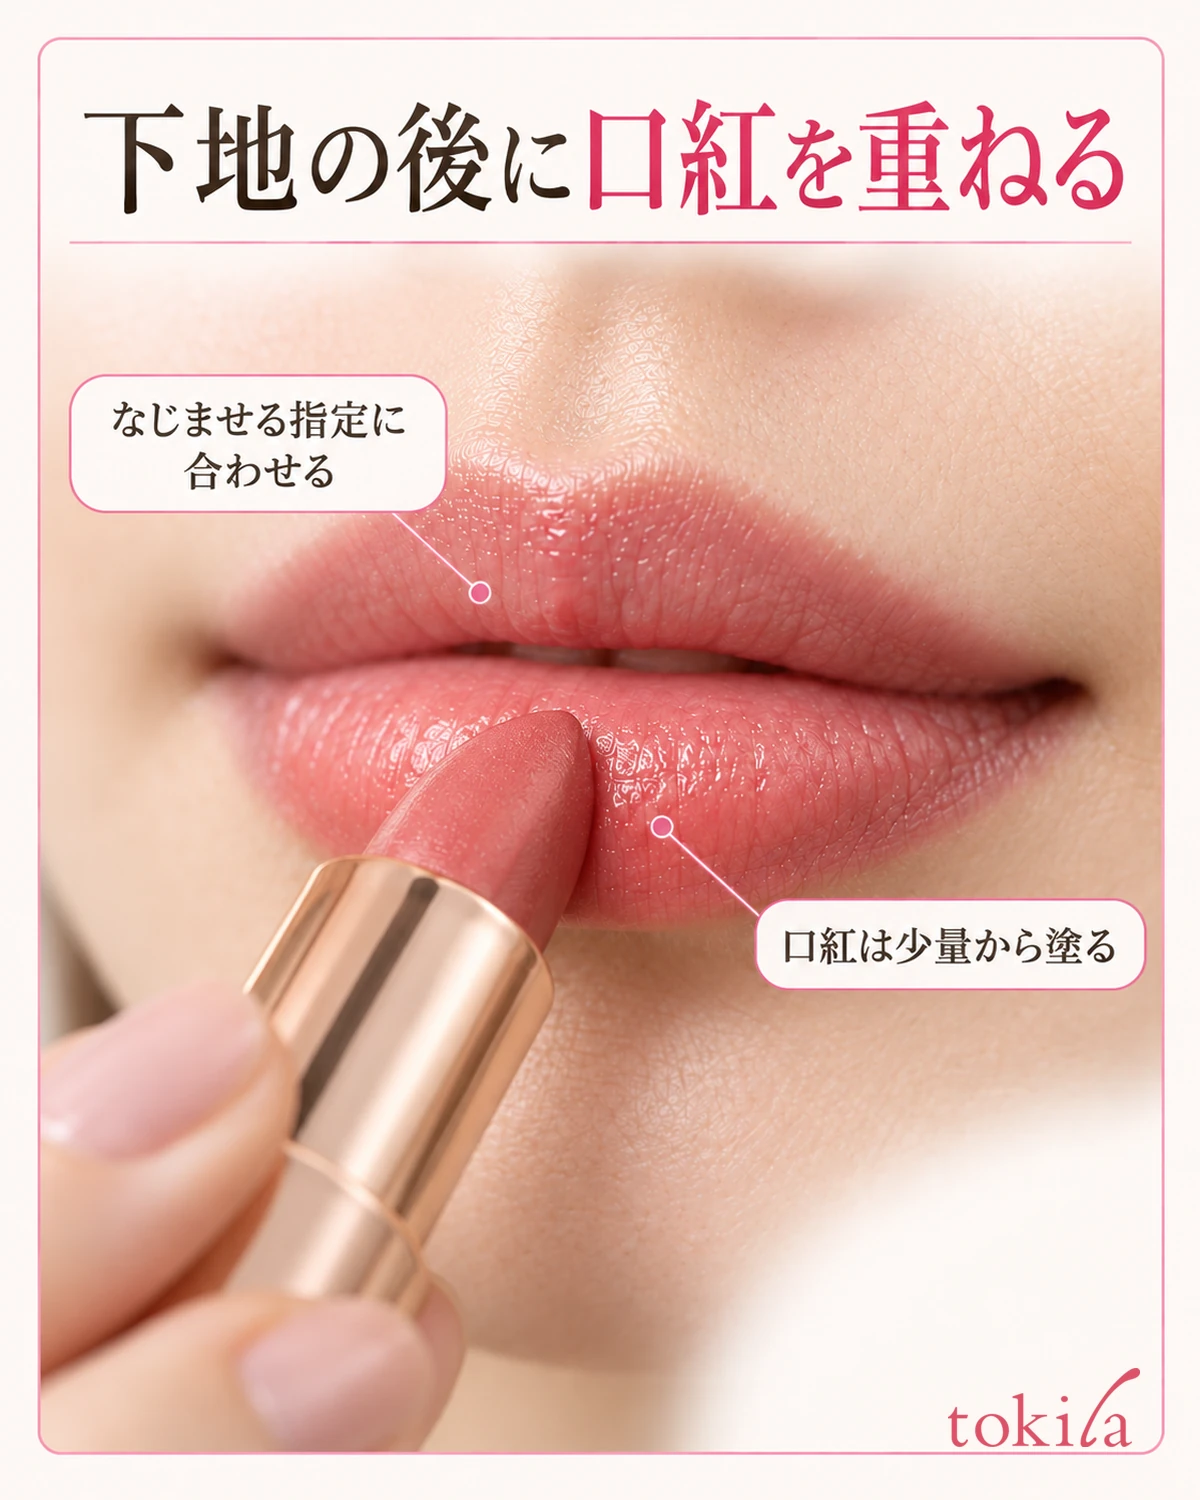
Follow the primer’s instructions for when to apply lipstick. If they say to let it settle briefly, do so; if they say to layer immediately, follow that sequence. Do not add fixed steps such as waiting one minute for every product or always blotting after drying. Also avoid repeatedly touching with a finger to test dryness.
If you use liner after primer, outline in the specified order. On days when you layer only lipstick, start with a small amount of your usual lipstick. Rather than applying twice your normal amount because primer is underneath, spread it over upper and lower lips while observing color and thickness.
Lipstick application also depends on its form. With a solid stick, watch the surface that makes contact; with an applicator tip, check the amount of liquid on its end. Basic liquid application is covered inhow to apply liquid lip tint,but the conditions for the particular product discussed there cannot be transferred to every combination of primer and tint.
If lipstick streaks or moves and bunches together with primer, stop before hiding it under a thicker layer. Review the amounts, settling step, and compatibility conditions in sequence. Rather than rubbing firmly to press it in, reset as needed using a method suited to the products, then build with a thin amount next time to make assessment easier.
To finish, move the mirror a little farther away and open your mouth slightly to check the corners and where upper and lower lips meet. Even when the outer color looks even, a thick layer may gather inside. The supplementary close-up helps locate this boundary; it is not intended to let you judge lipstick color payoff or wear from a single photograph.
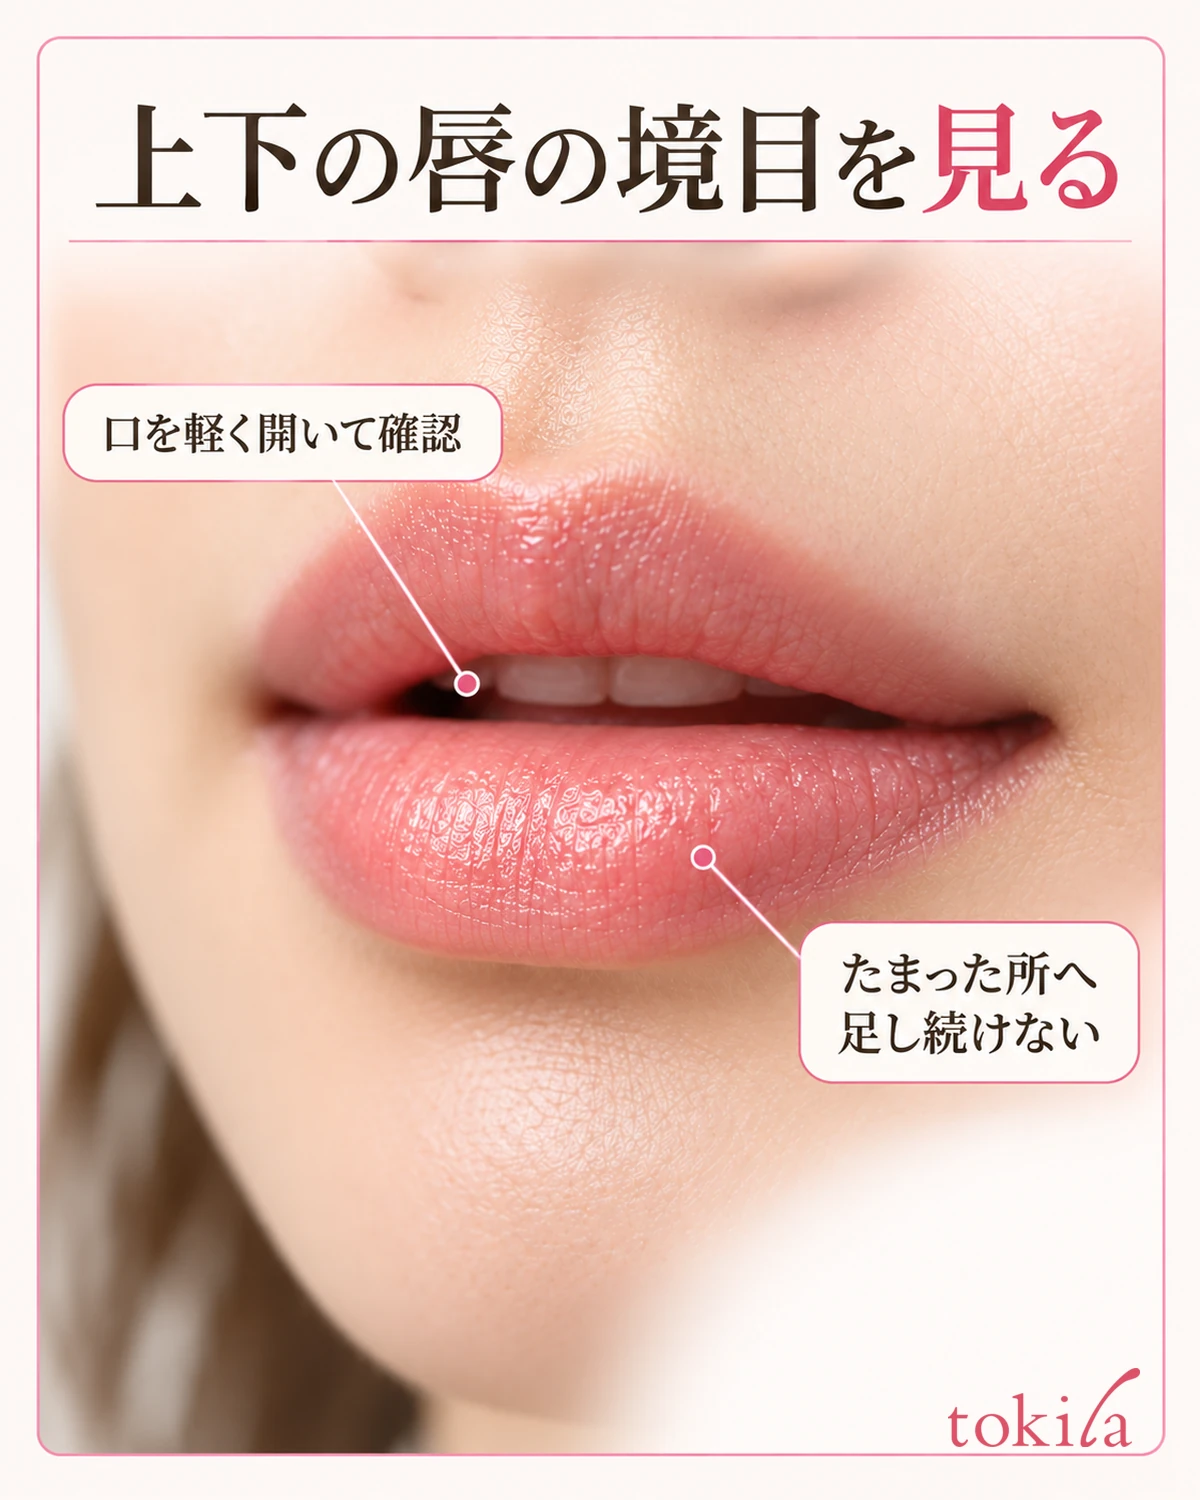
5. For touch-ups, examine the remaining film and choose the steps needed
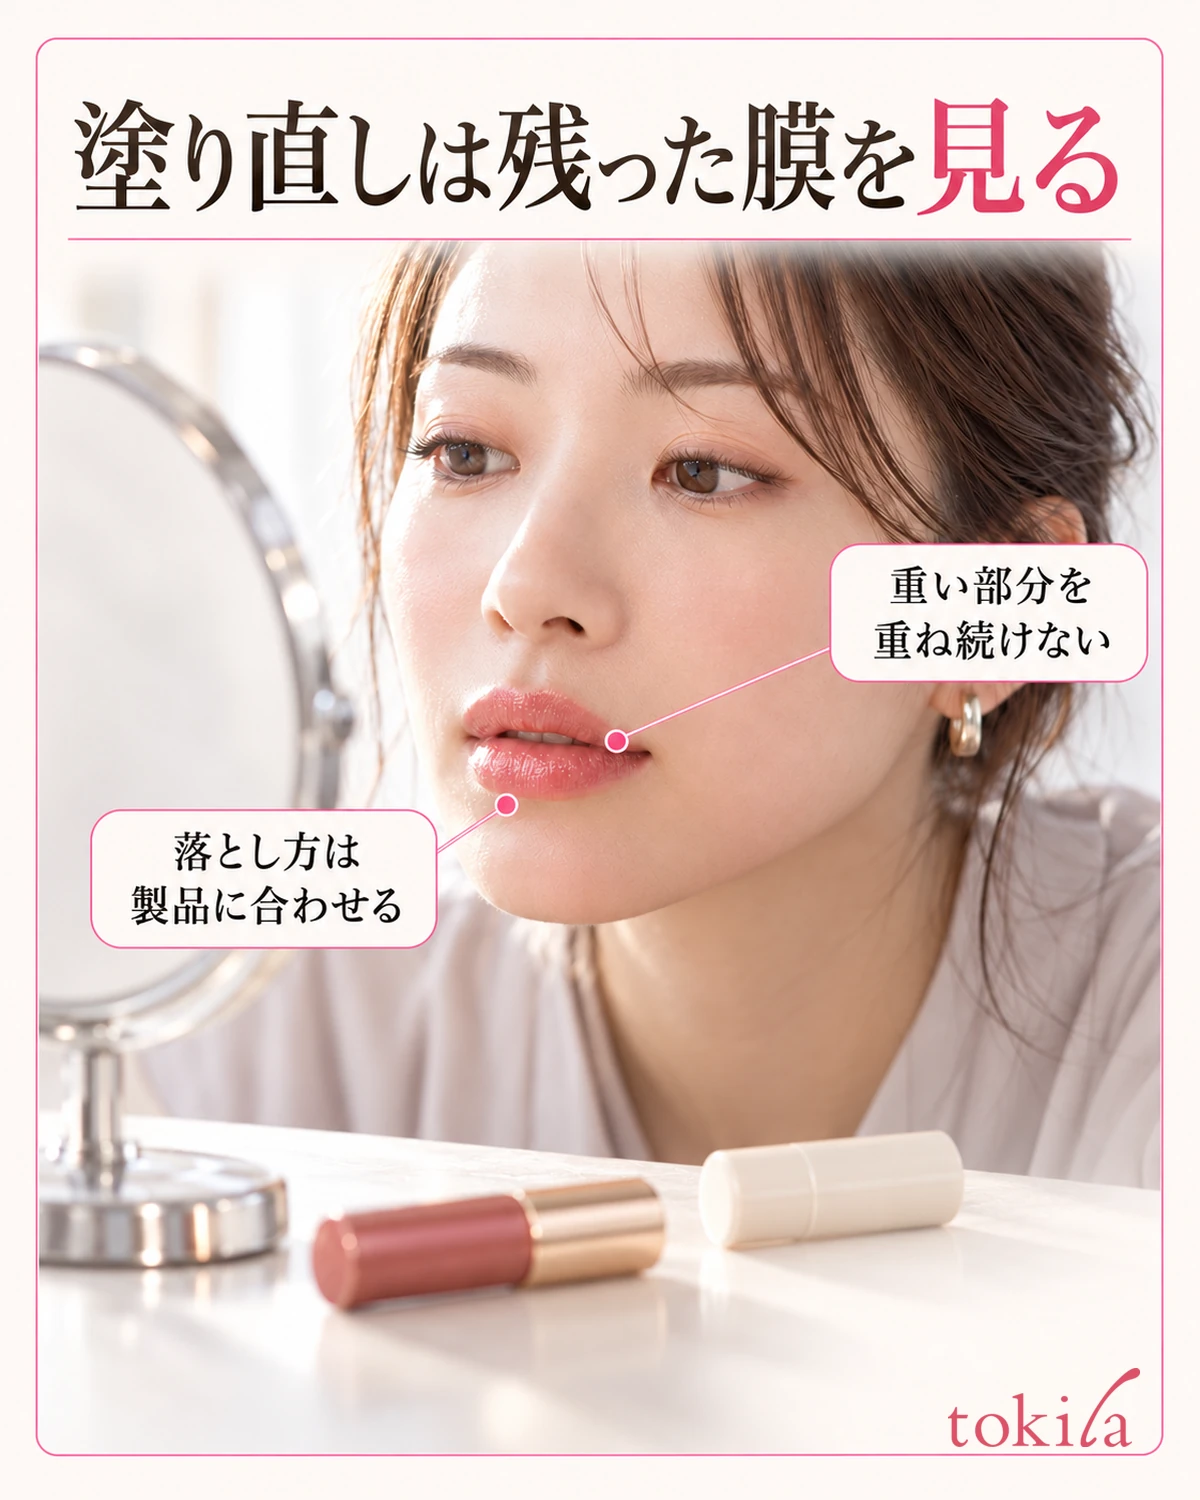
When touching up after meals or similar occasions, look at remaining lipstick color, dried film, and buildup at the corners. Clear primer can make it difficult to tell how much remains, so do not assume all primer is gone because color has faded. First examine the current state and consider whether you need to restart with primer.
Sometimes a little more color is enough; at other times, first resetting heavy layers or pronounced unevenness is easier to manage. Rather than treating repeated layers of primer over lipstick as a universal fix, follow the touch-up instructions and removal method for what you used. Do not try to completely scrub off firmly adhering color with dry paper.
After removing what is needed, inspect the lips and restart with preparation consistent with the instructions. If you notice abnormalities such as redness, pain, or strong irritation, stop use and follow the product’s precautions rather than trying to solve them with lipstick-layering techniques. Do not switch to thick primer application to conceal irritated areas.
After using solid primer, retract the stick according to the container’s guidance and close the cap. If lipstick color has transferred to the tip, check how to clean it before handling it. Keep the lipstick and primer caps separate and store them as directed, including avoiding high temperatures and direct sunlight.
For your next adjustment, choose one: the primer amount, timing before lipstick, or lipstick pairing. Compared with changing everything at once, this lets you reflect on which step became difficult. Read the lip-use and compatibility conditions, spread thinly, and check the boundaries after layering. Try this sequence when incorporating your primer into everyday lip makeup.